Assassin's Creed Syndicate Guide Walkthrough Sequence Seven
Driving Mrs. Disraeli
MISSION OVERVIEWMemory Type: Templar Conspiracy Suggested Level: 7 AssassinJacob Frye ChallengesDistract the reporters with an ally Do not get detected by Thugs in the slum Rewards£: 1000 + 250 (Full Synch Bonus) XP: 450 + 250 (Full Synch Bonus) Schematic: Iron Death Gauntlet Schematic |
Location: 10 Downing St., Westminster
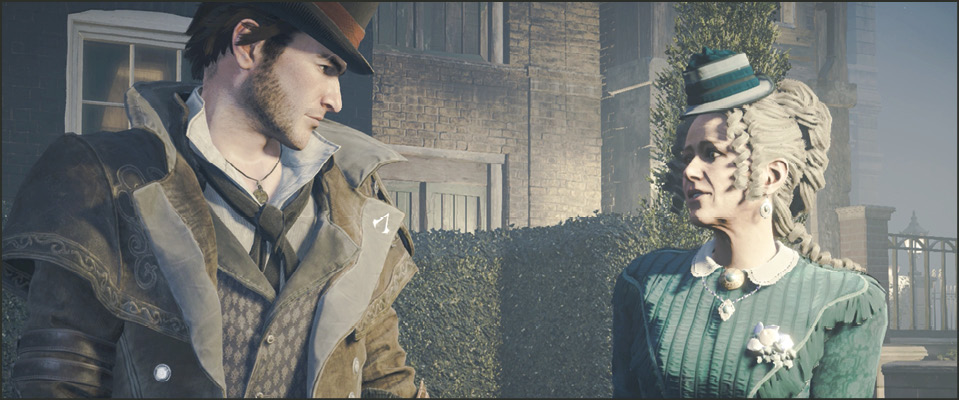
Enter the memory marker (1) in the Disraeli’s backyard on 10 Downing St., Westminster. Jacob meets Mary Ann Disraeli at night on a park bench with her small dog, Desmond, in a bag. Jacob is exaggeratedly polite and courtly to the Prime Minister’s wife as he asks if she is ready to tour Devil’s Acre. She tells Jacob she’s afraid she’ll have to cancel their engagement; there are scandal-hunting reporters crawling outside her door. She can’t risk being seen with Jacob. Jacob tells her that he will take care of them, discreetly.
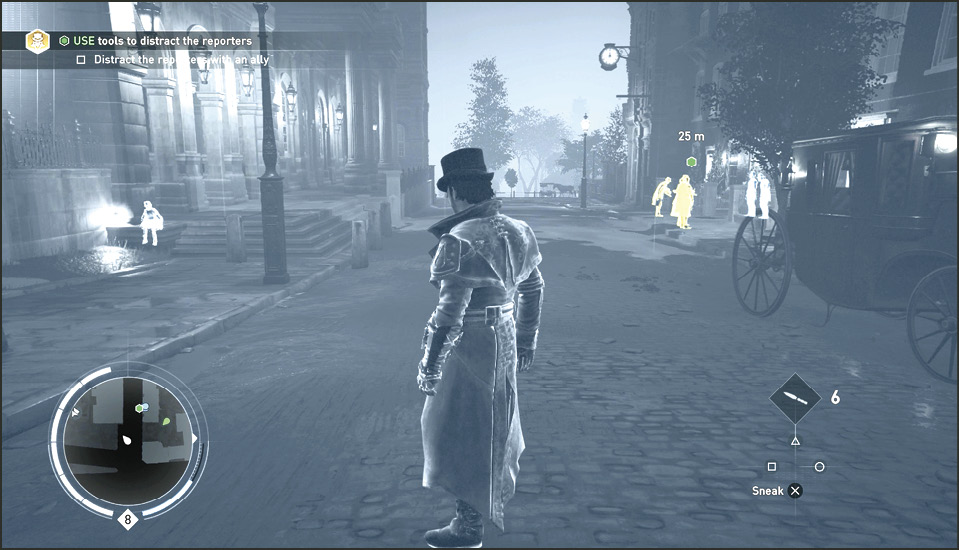
Current Objective: Use tools to distract the reporters
Challenge: Distract the reporters with an ally
When you gain control of Jacob, walk through the concrete archway in the yard and head south through the yard to the open metal gate near a haystack. Now you are at the street. To your right are the reporters (2) and police at the Disraeli’s front door. Across the street is a small girl (3) sitting on a stoop. She glows white when Eagle Vision is activated. Walk up to this small girl and speak to her.
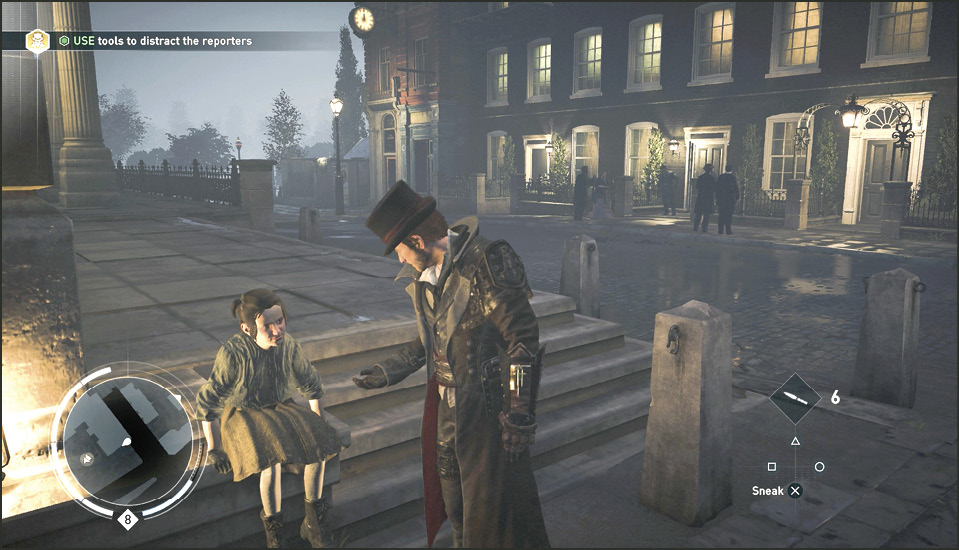
Jacob pays the small child to distract the reporters. She stands up and raises her arms and screams, “Blimey, look! It’s Squire Bancroft!” The reporters come running looking for an interview with the famous actor.
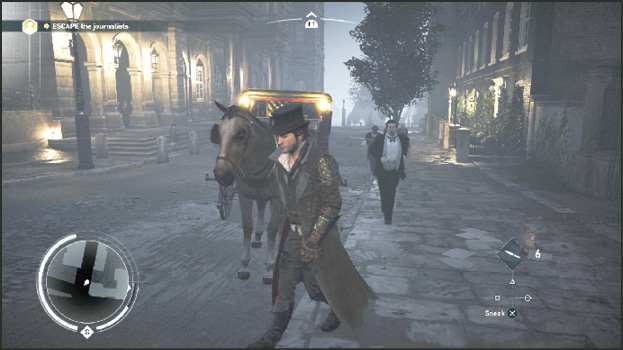
Current Objective: Escape the journalists
With the reporters chasing you, simply Rope Launch to a nearby rooftop and then zipline again to another distant rooftop to escape them.
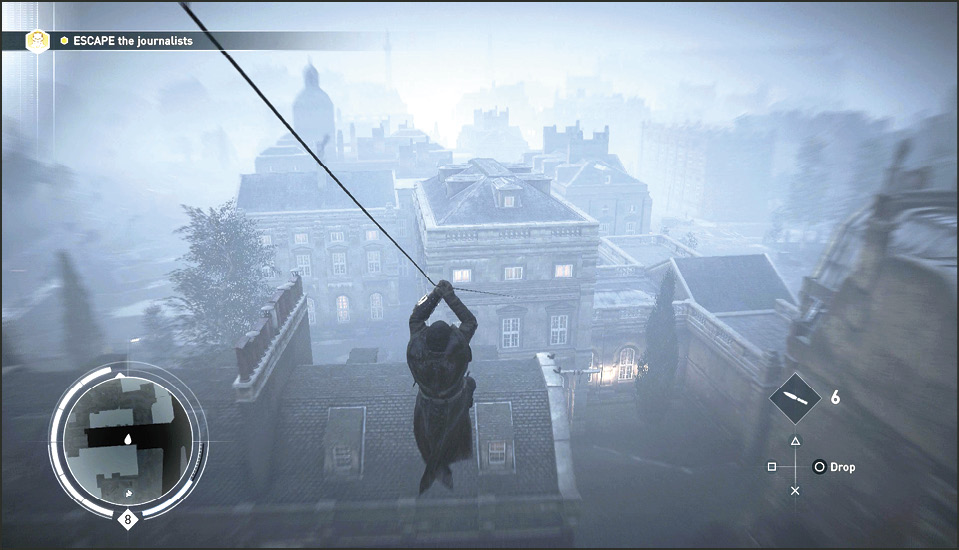
Current Objective: Reach Mrs. Disraeli’s carriage
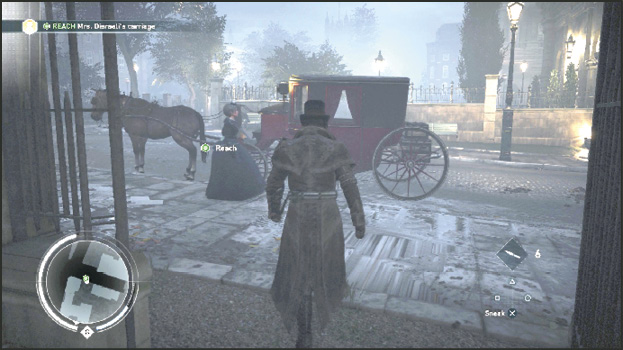
Once you have lost the reporters, head back to the carriage (4) outside the gate near the Prime Minister’s house. Get into the driver’s seat. Mrs. Disraeli enters the carriage.
Current Objective: Escort Mrs. Disraeli to the Devil’s Acre
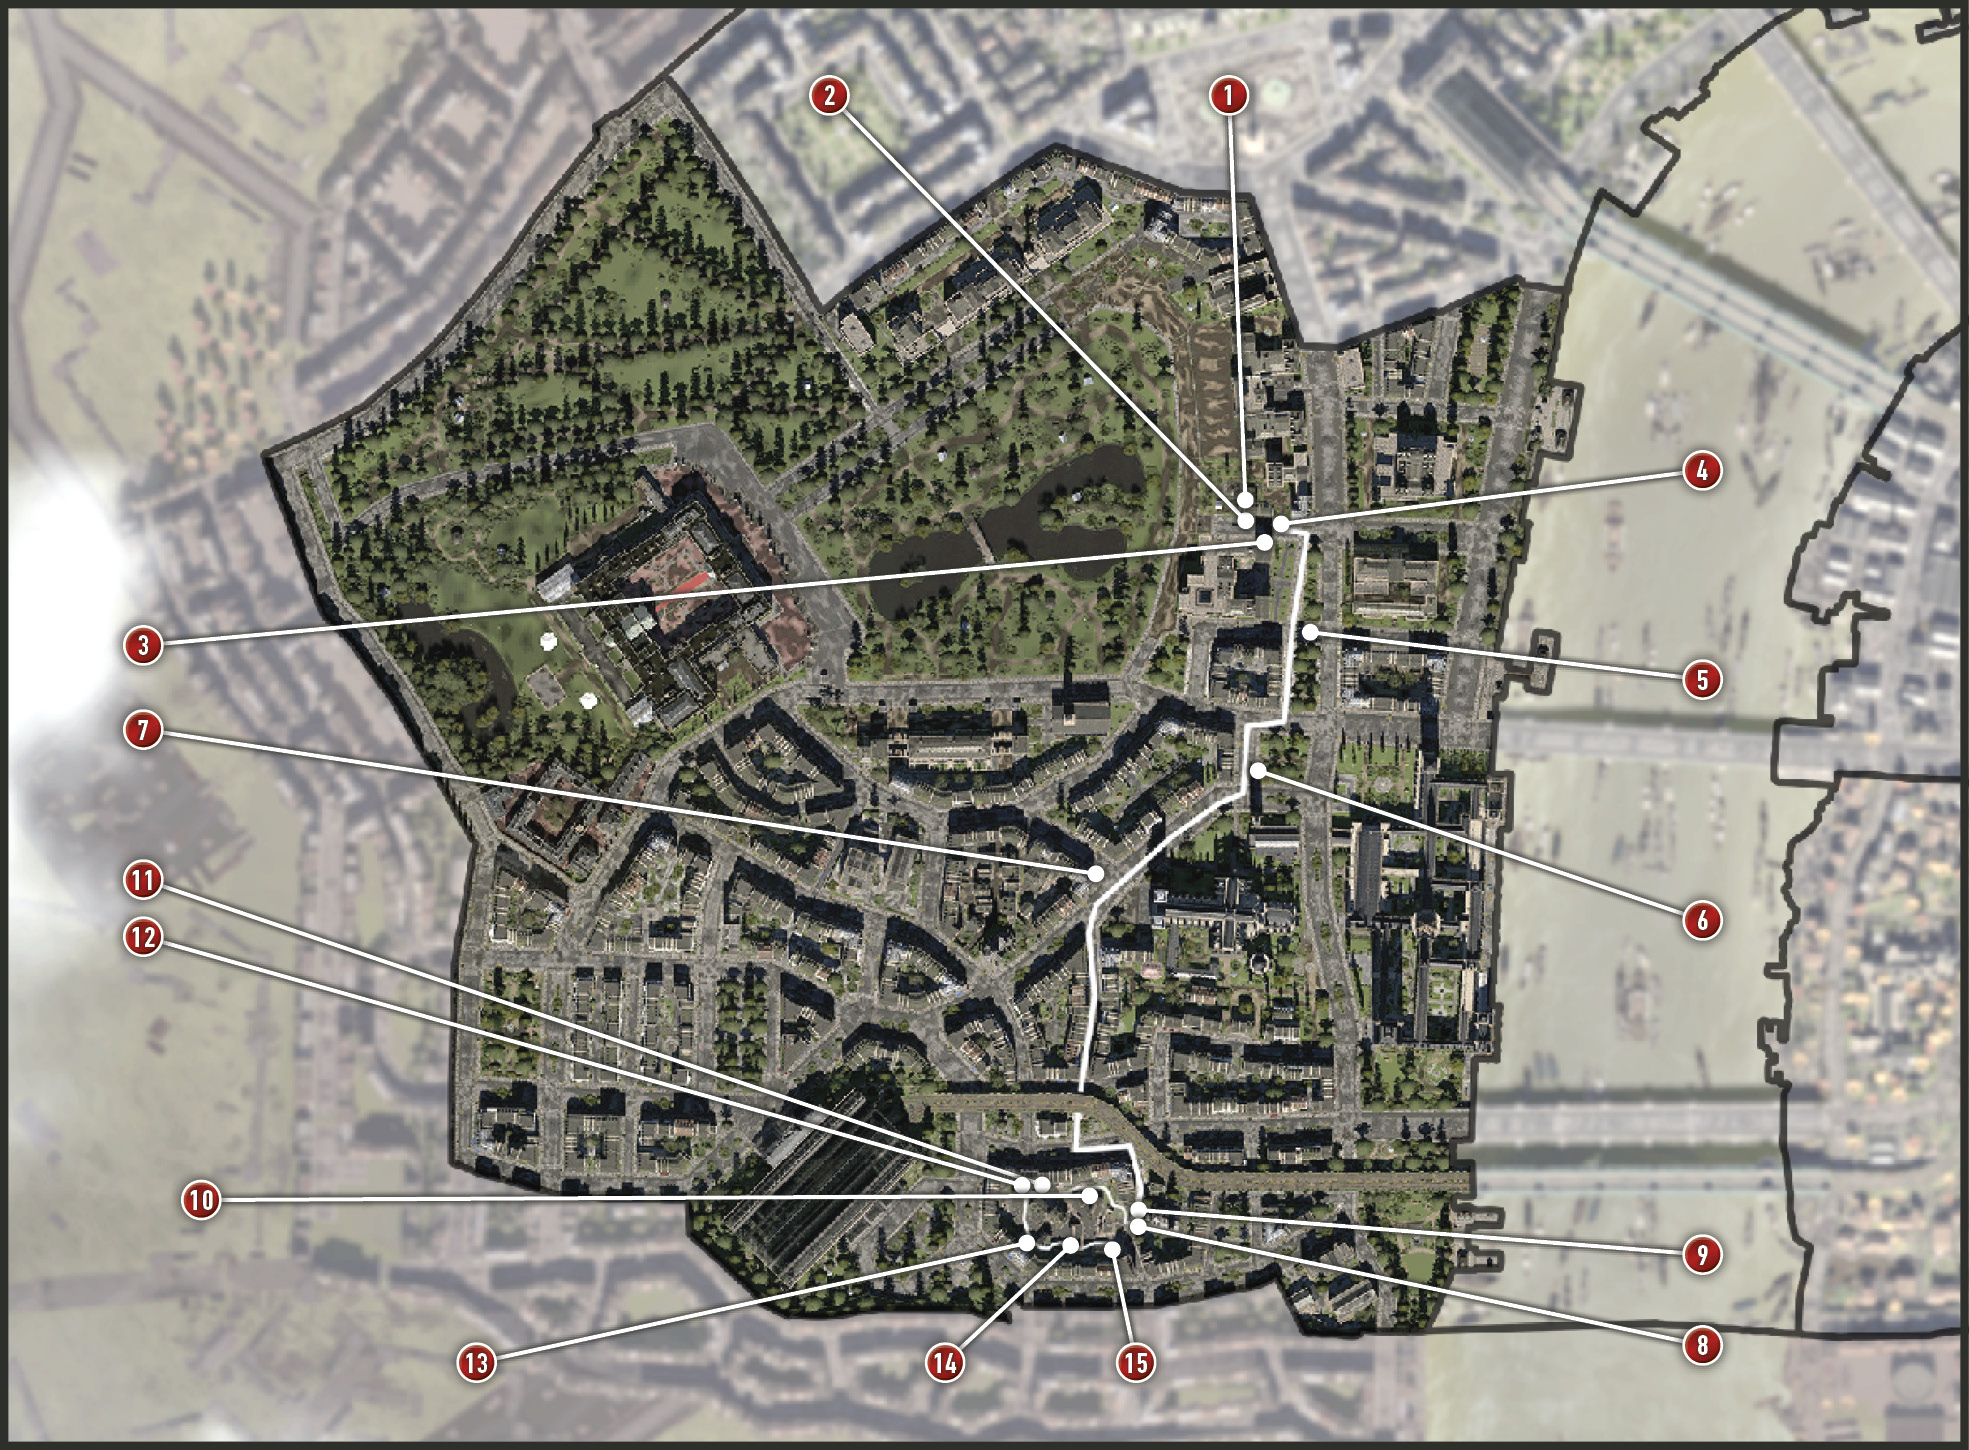
Follow the white route marker on the road to reach Devil’s Acre. A reporter in a carriage (5) is spotted about a block south from the Disraeli’s home.
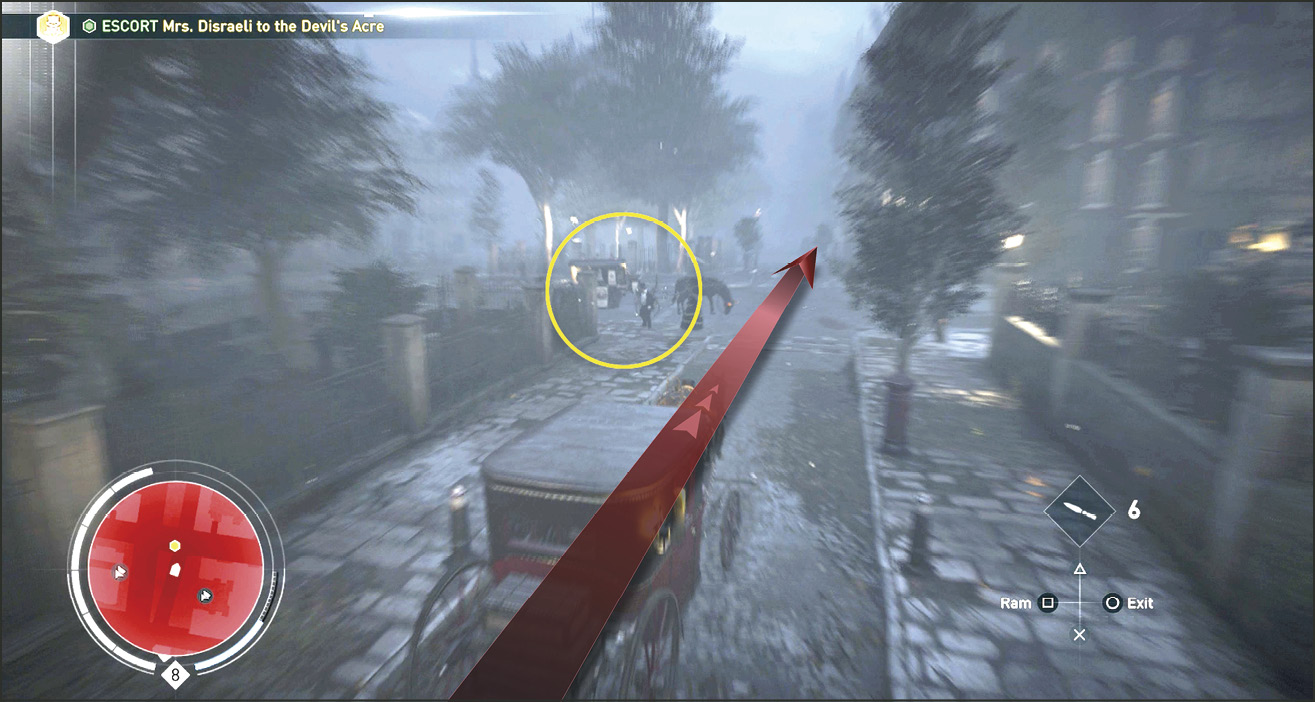
Current Objective: Escape the journalists
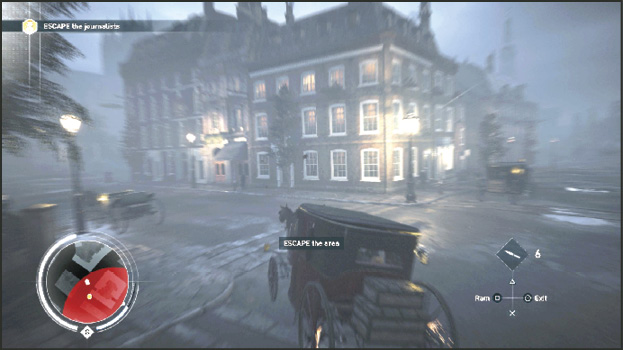
When you spot the journalist on the corner on your route to Devil’s Acre, just whip the horse and continue to blaze southward on the same street. When you reach the next intersection take a sharp right and then the next possible left and you lose the tail about halfway down the block (6).
Current Objective: Escort Mrs. Disraeli to the Devil’s Acre
Continue following the white route marker to the destination (8). About halfway there, another journalist in a carriage (7) spots you and begins to chase you. As soon as you spot him, veer left down the next side street (the same one marked on our map) and keep boosting until you have lost him, which only takes a few seconds. When you reach Devil’s Acre, stop in the Reach marker (8) and Mary Ann exits the carriage and energetically starts for the slums.
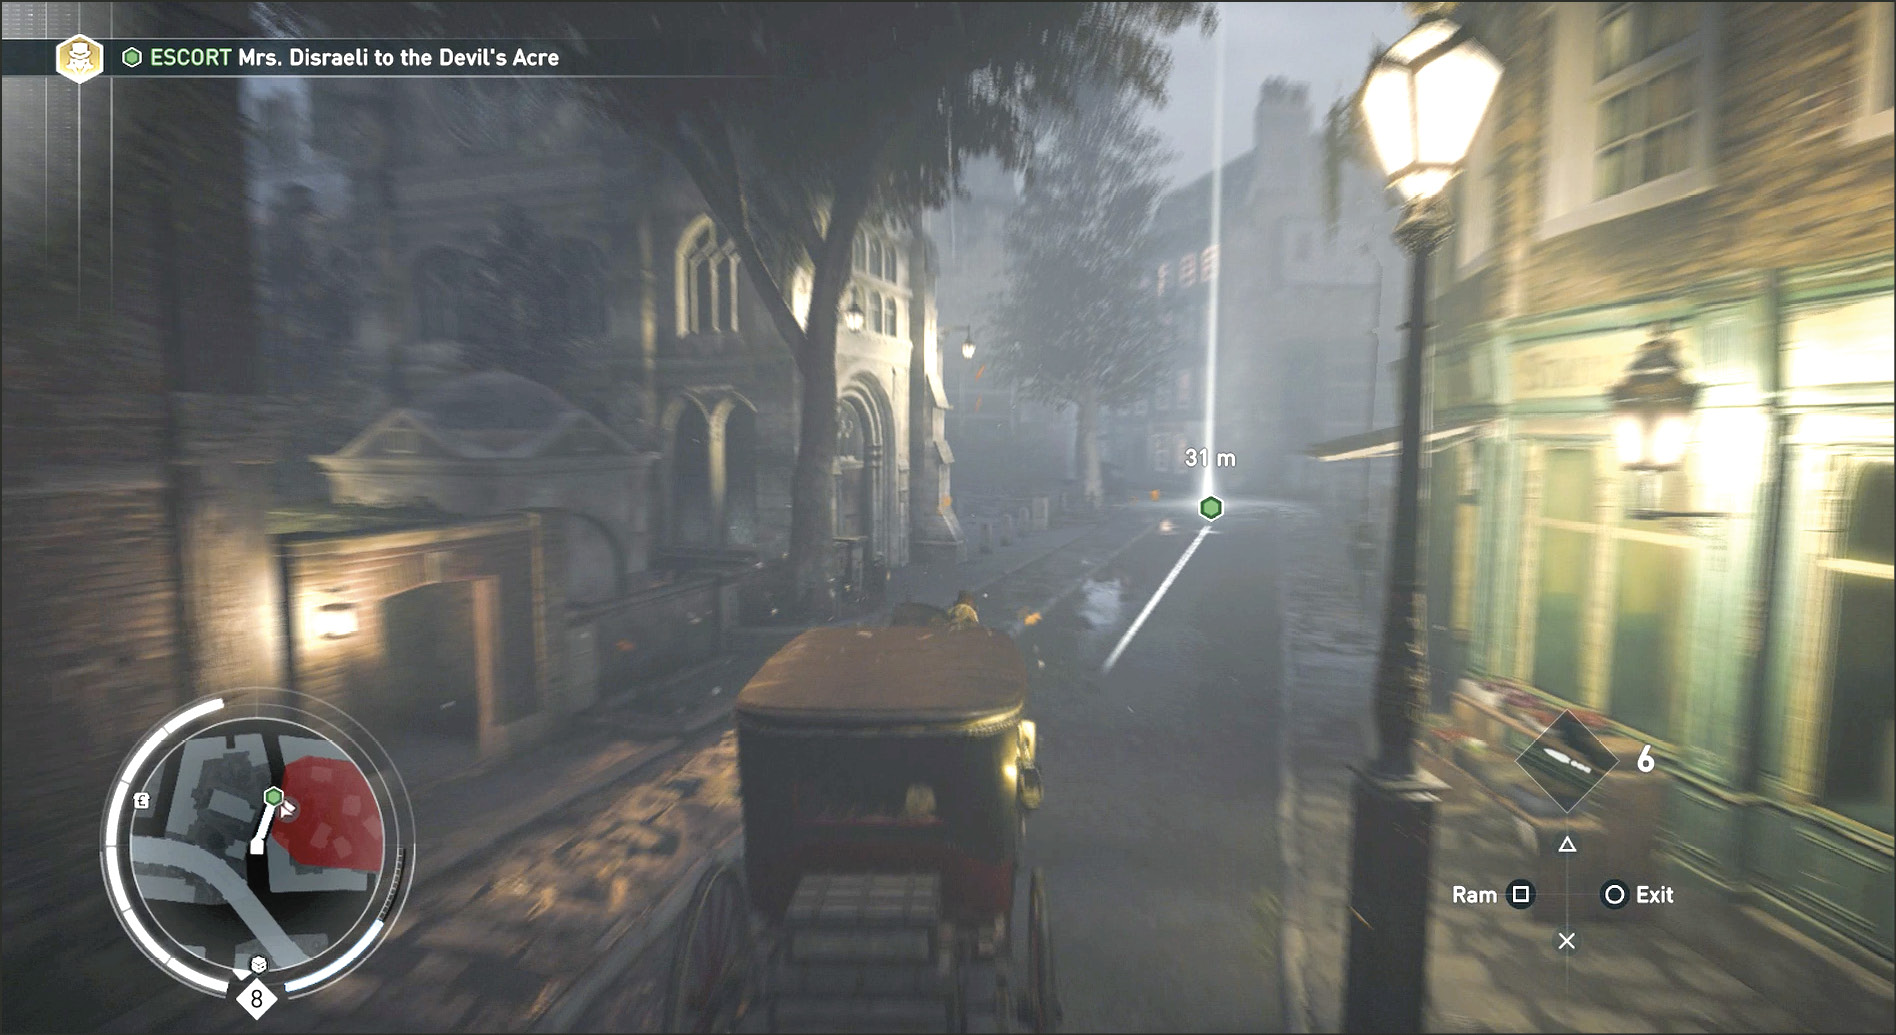
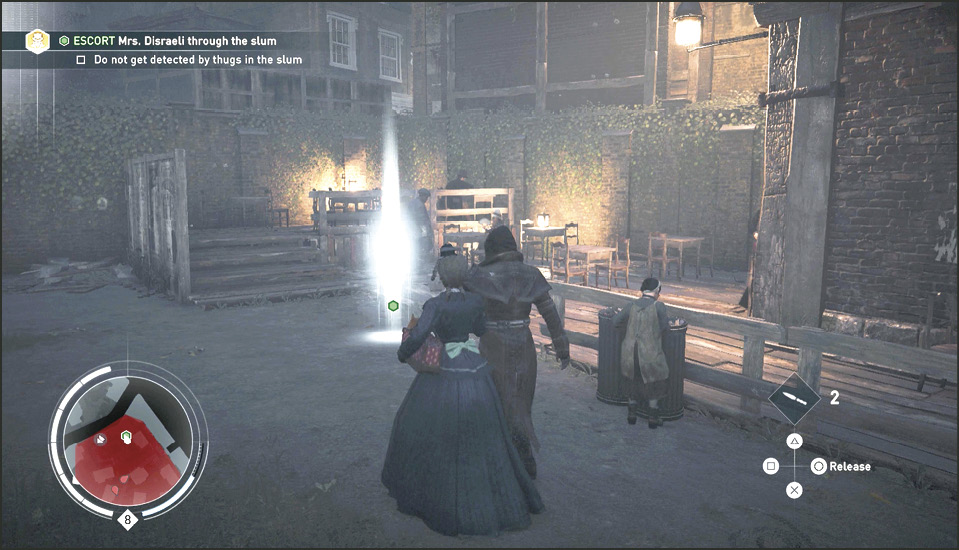
Current Objective: Escort Mrs. Disraeli through the slum
Challenge: Do not get detected by Thugs in the slum
Follow Mary Ann down the stairs into the slums. She stops at the bottom of the stairs (9). Activate Eagle Vision and look west to mark Blighters.
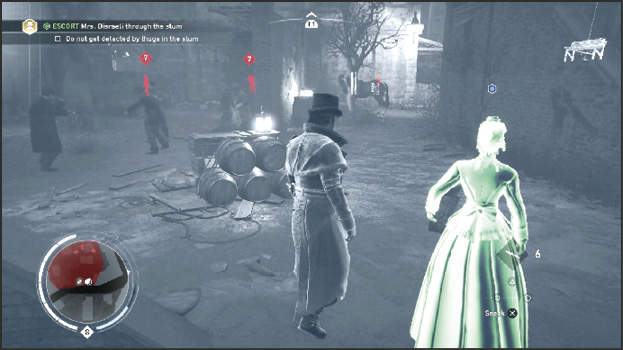
Approach Mary Ann and press  /
/  to escort her to the west towards the next Reach marker (10). Halfway to the marker her dog, Desmond, starts barking. Her dog growls when approaching danger. This causes a very wide, red detection ring to appear beneath your feet. You cannot have this. Stop your progression and stay away from Blighters to avoid being noticed. If you can remain undetected you can pass through the slums without killing anyone.
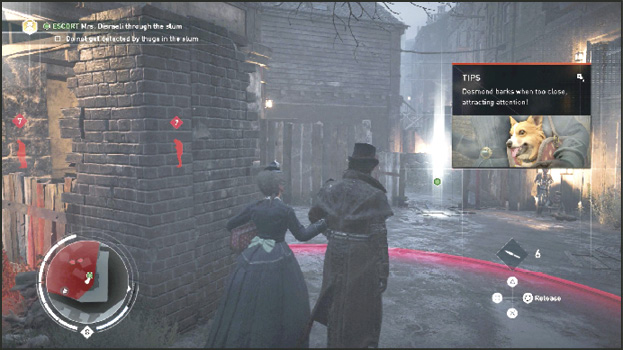
There’s a Blighter Brute standing near a barrel fire just beyond the first Reach marker at the gate opening. Leave Mary Ann behind and run up behind this Brute and dispatch him. He keeps his back to you, so this is an easy kill.
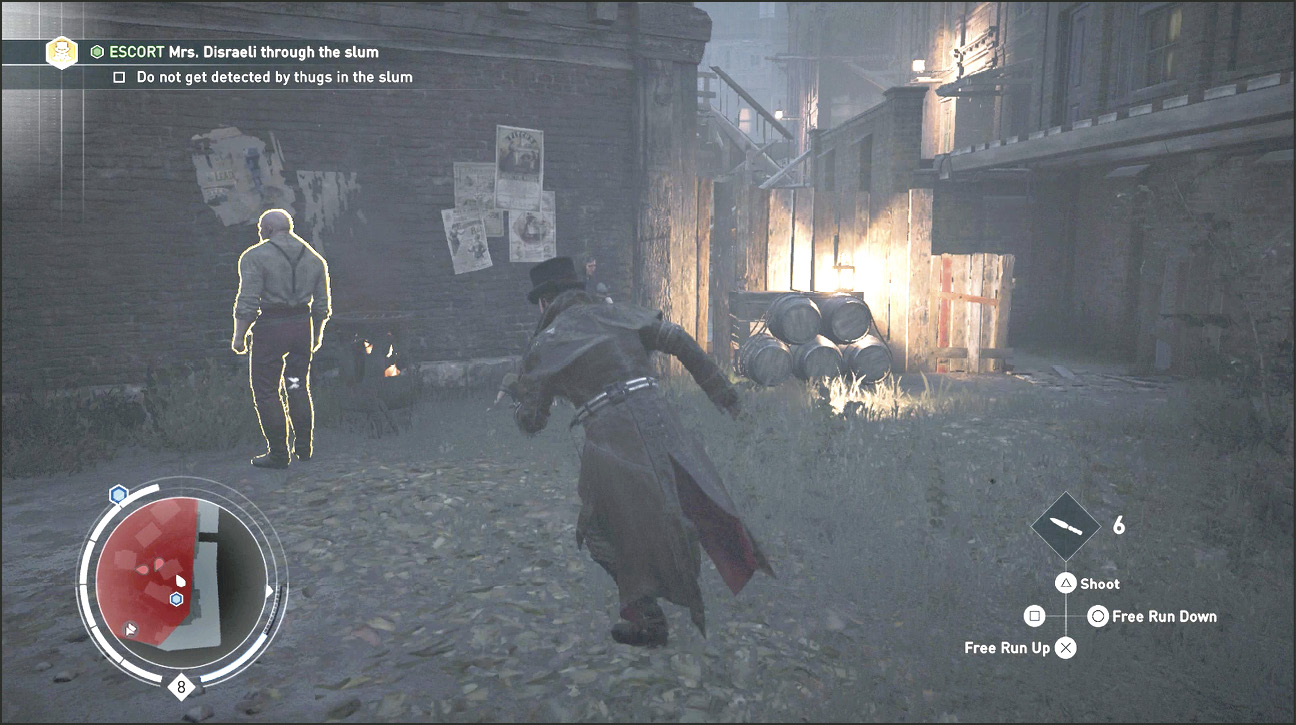
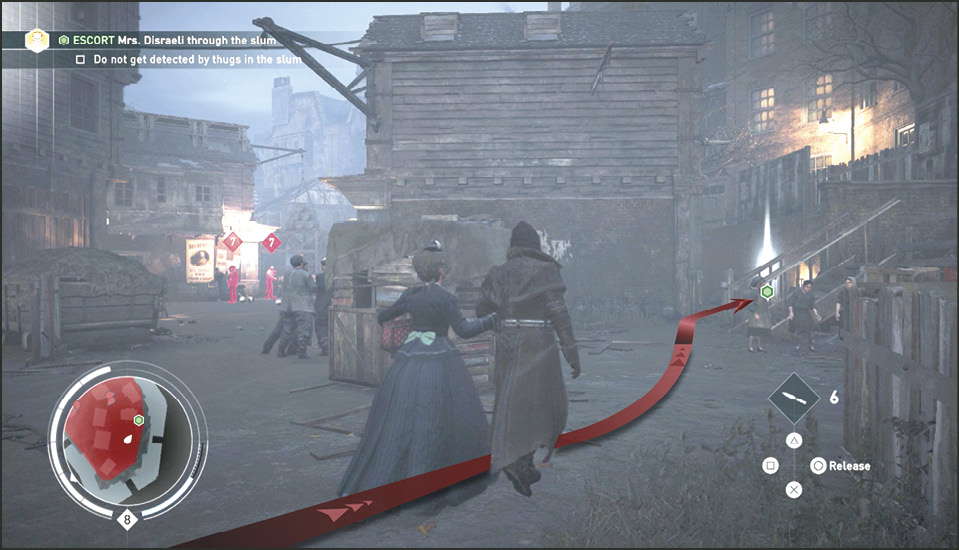
Go back for Mary Ann and take her arm. Walk through the Reach marker (10) and veer right to hug the right walls. Continue west through a narrow opening in a wooden fence near a lantern on the barrels. As soon as you pass through the fence opening, activate Eagle Vision and scan the area ahead for more Blighters.
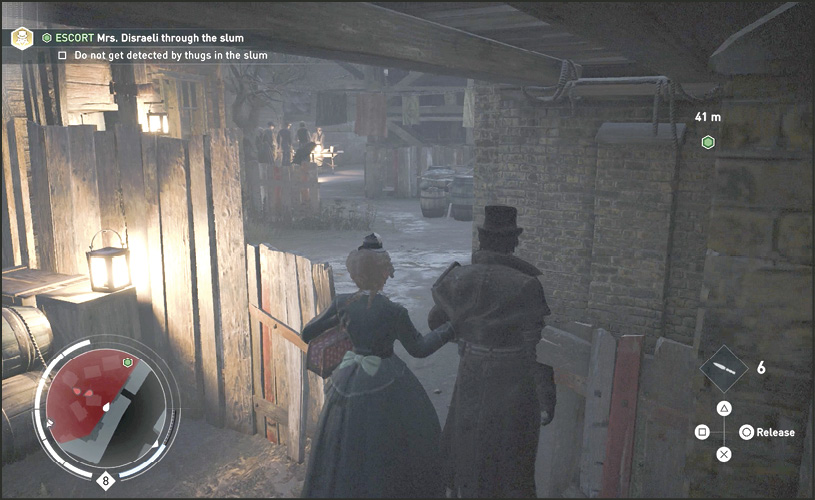
As you pass under a clothesline you can spot a couple of Blighters to your left through a passage between two buildings. Time your passage through this area when the nearest Blighter is facing away from you. Pass under a wooden scaffold bridge and you soon spot a haystack and a Blighter Soldier near some stairs ahead.
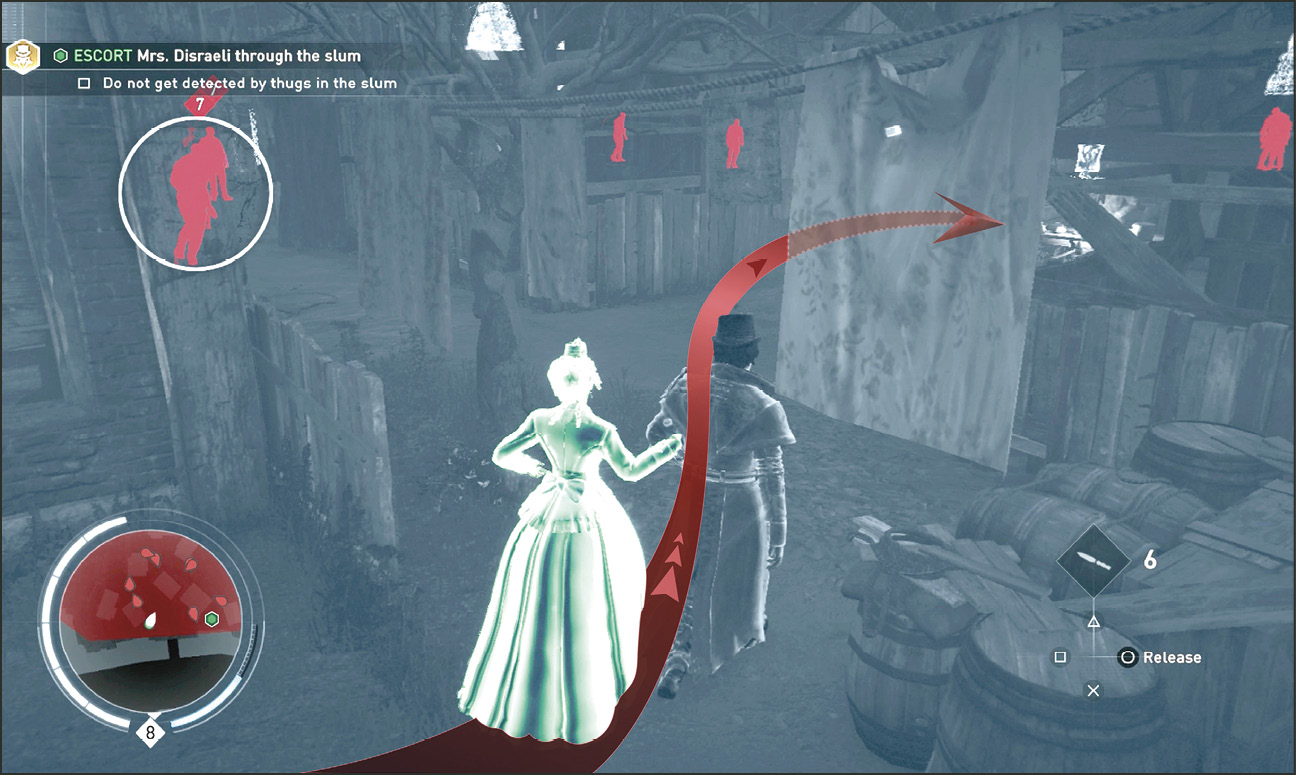
As you approach the haystack the Soldier walks away, through the next Reach marker (12), and continues farther to the east and joins a Brute. They both stand side-by-side for a while. Leave Mary Ann near the stairs (11) and the haystack and move silently to the back or side of the house the two Blighters are standing in front of. Rope Launch to the rooftop and use the lamppost jutting out of the building above them to launch a Double Air Assassination on them.
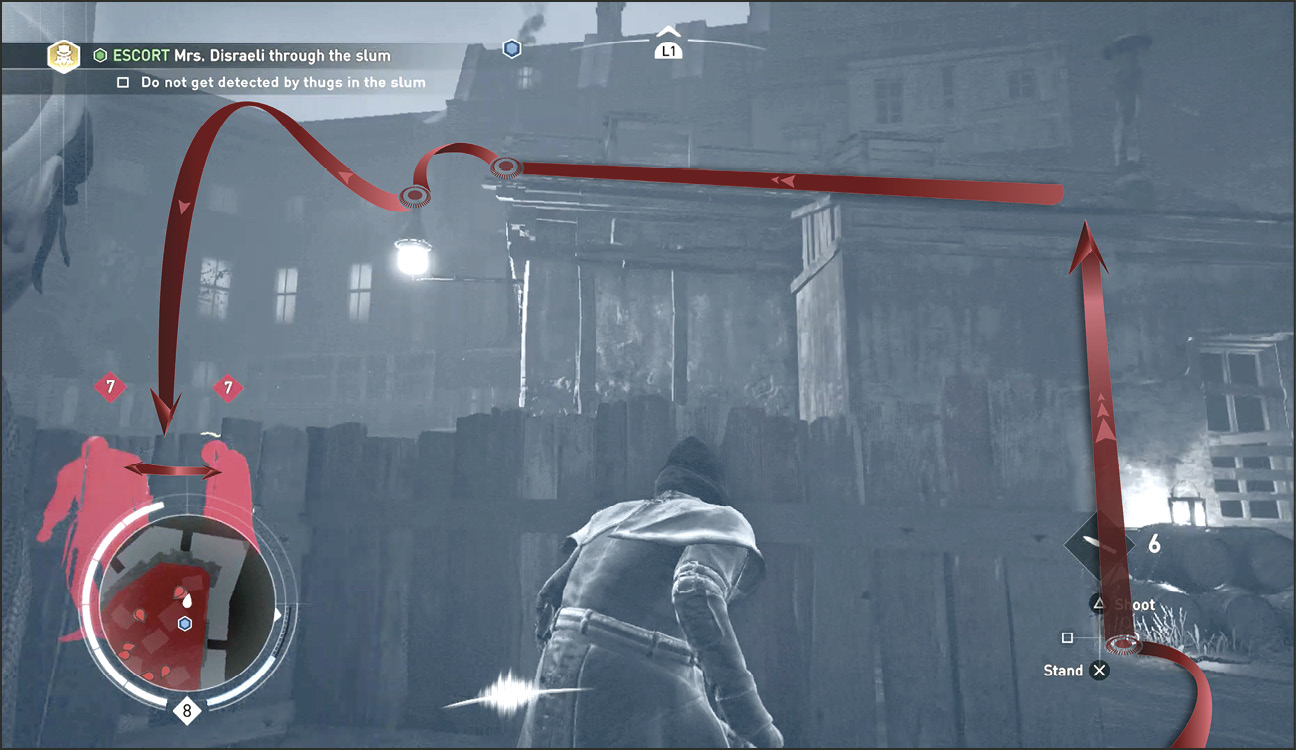
After killing the two Blighters, look to the northeast and find two Blighters standing under hanging barrels. Get close enough to get the barrels in knife-throwing range and take them out. Return for Mary Ann and Desmond (11) and move them forward through the next marker (12).
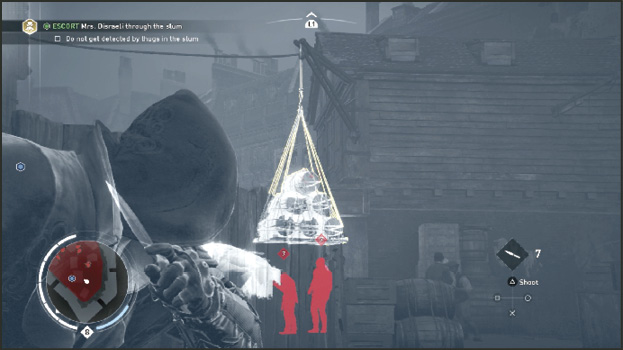
Walk over the dead bodies and head for the next marker (13) to the south, through a fence and behind some stairs and another house. Leave Mary Ann here in this shady area while you move ahead to clear the way again.
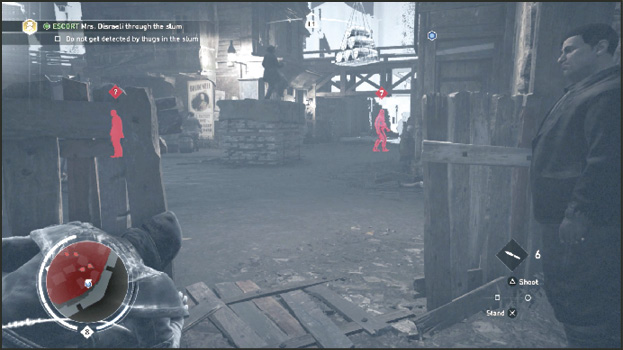
Move up to the next fence behind the house and, using Eagle Vision, look east to spot two Blighters that will be an issue. There’s a Brute patrolling on the right under hanging barrels and a Soldier just standing with his back to you on the left. Wait for the Brute to walk under the barrels (14) and drop them on him and then just throw a knife at the head of the Soldier or come up behind him and execute him.
Return for Mary Ann and now walk her safely the rest of the way to the last marker where the outside bar is located (15).
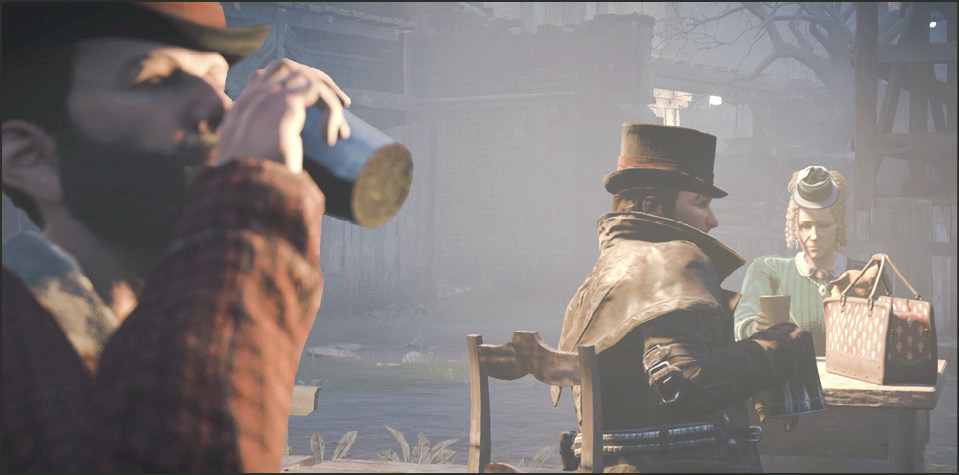
While sitting down to share a couple of pints, a Blighter sitting nearby takes notice of the odd couple and their dog in a bag at the next table. He promptly gets up, walks over to your table, and steals the puppy and bag.
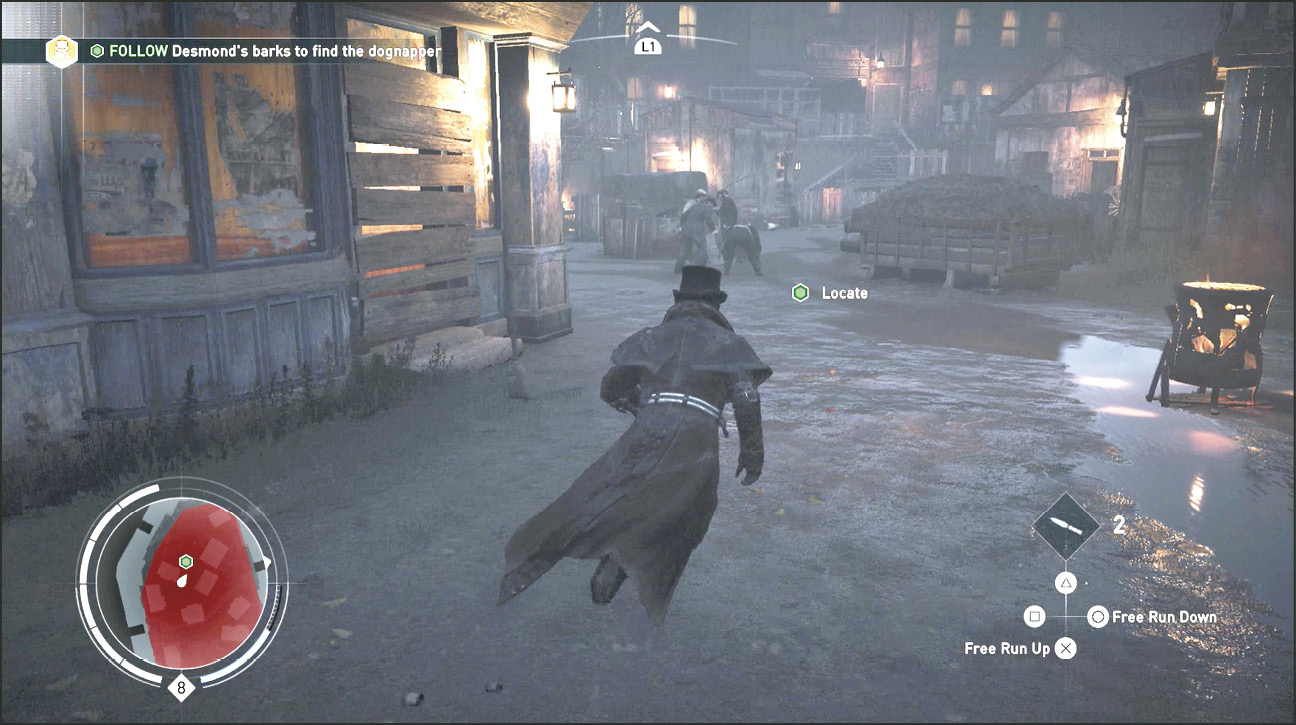
Current Objective: Follow Desmond’s barks to find the dognapper
You are tasked to follow Desmond’s barks to find the Blighter who stole him. Look onscreen to find the green blip on the ground and pass through it. When you can’t see the next green blip visually, glance at the Mini-Map to locate the next closest blip. Continue to follow the green blips until you run into the Blighter with the pup. The final location is where the first Reach maker appeared in the slums (10).
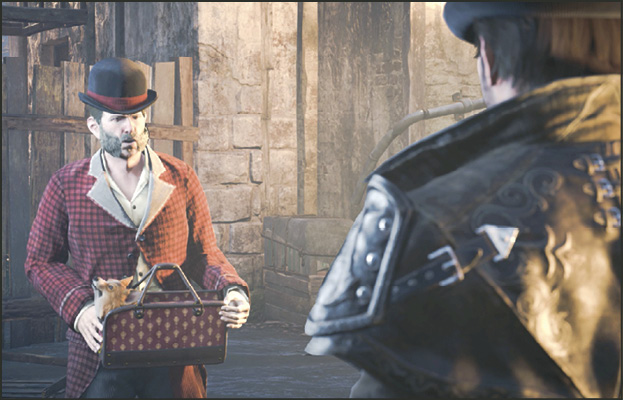
When you catch up with the thief he threatens you, but throws you the dog in the bag. Jacob suddenly realizes he just left the Prime Minister’s wife alone in one of London’s most dangerous pubs. He rushes back to see that she is doing fine holding her own with the locals.
Current Objective: Escape with Mrs. Disraeli
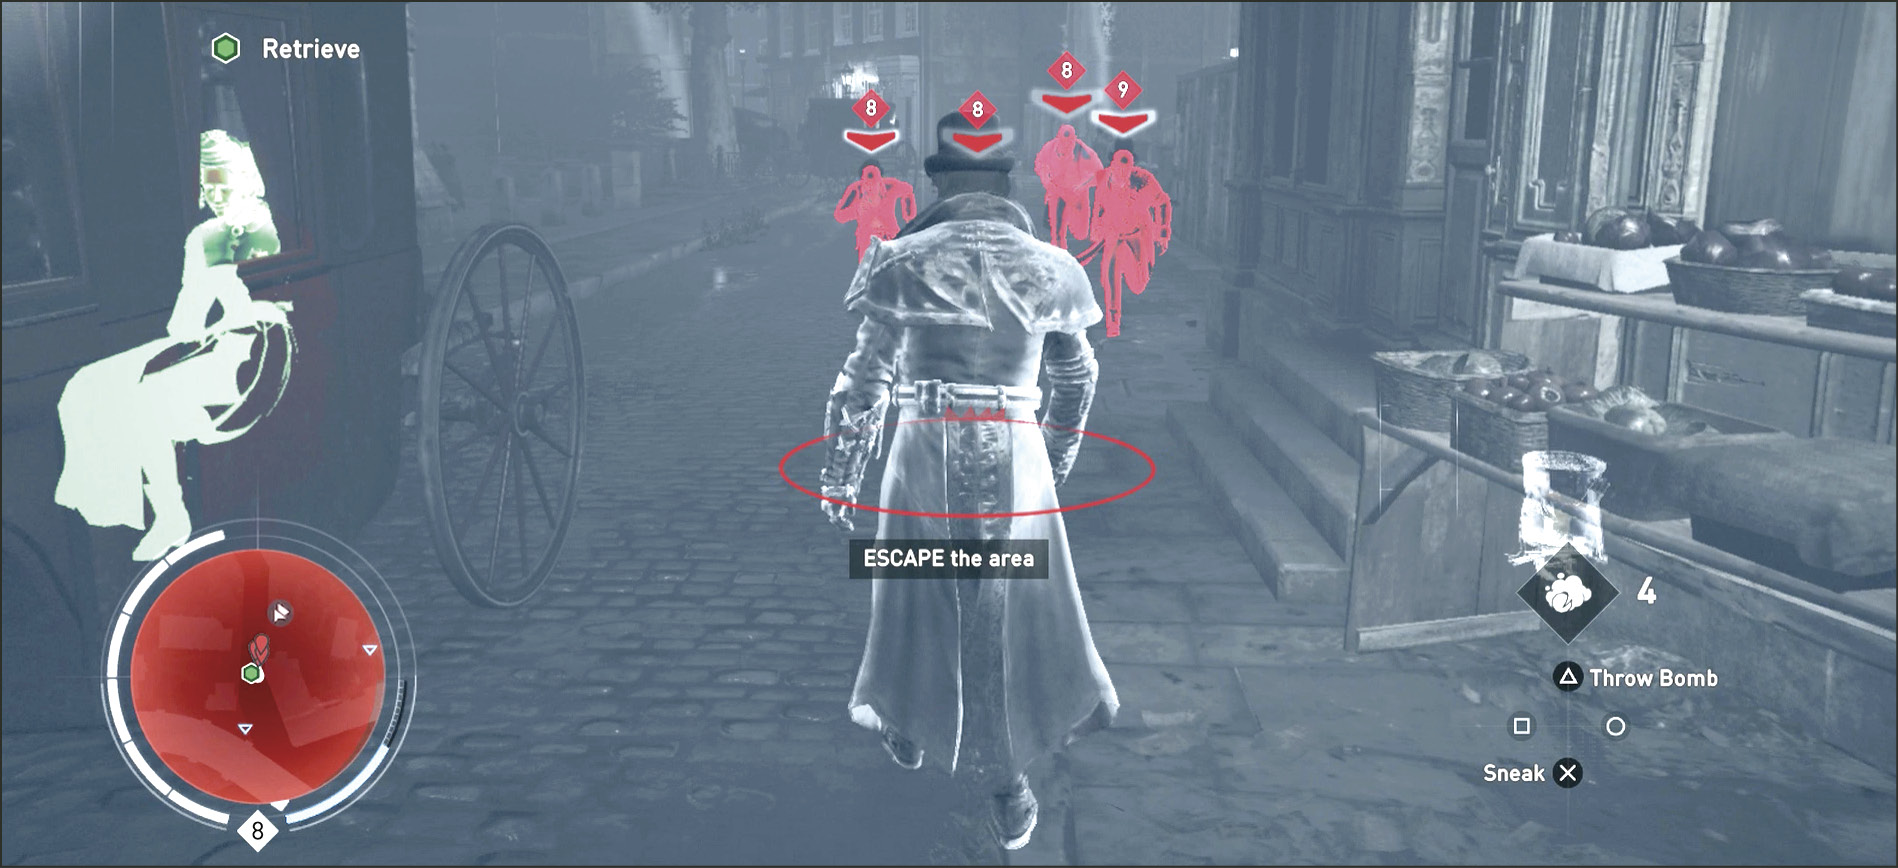
After the cinematic, Mary Ann, Desmond, and you are back at the carriage (8), but the dognapper and his Blighter friends are quickly approaching and they won’t be messing with the pooch this time. You can either stand and fight or jump into the driver’s seat of the carriage and take off for Mary Ann’s home. If you decide to stand and fight, begin the battle by throwing a smoke bomb down on the ground around you. This helps you make quick work of the three level 8 and one level 9 Blighters.
Current Objective: Escort Mrs. Disraeli back to 10 Downing Street
After the you have dealt with the Blighters or have chosen to escape in the carriage immediately, once you drive Mrs. Disraeli out of the red restricted zone you simply have to take her back home (4). Just before you reach her house she gives up the name of the man you seek: Lord Cardigan. She says you can find him at the Palace of Westminster.