Assassin's Creed Syndicate Guide Side Quest Dreadful Crimes
Murder At The Palace!
MISSION OVERVIEWMemory Type: Dreadful Crimes / London Stories AssassinJacob or Evie Frye Rewards£: 2750 (Max) XP: 1500 (Max) Cane-Sword: Dove Cane-Sword |
Location: Buckingham Palace, Westminster
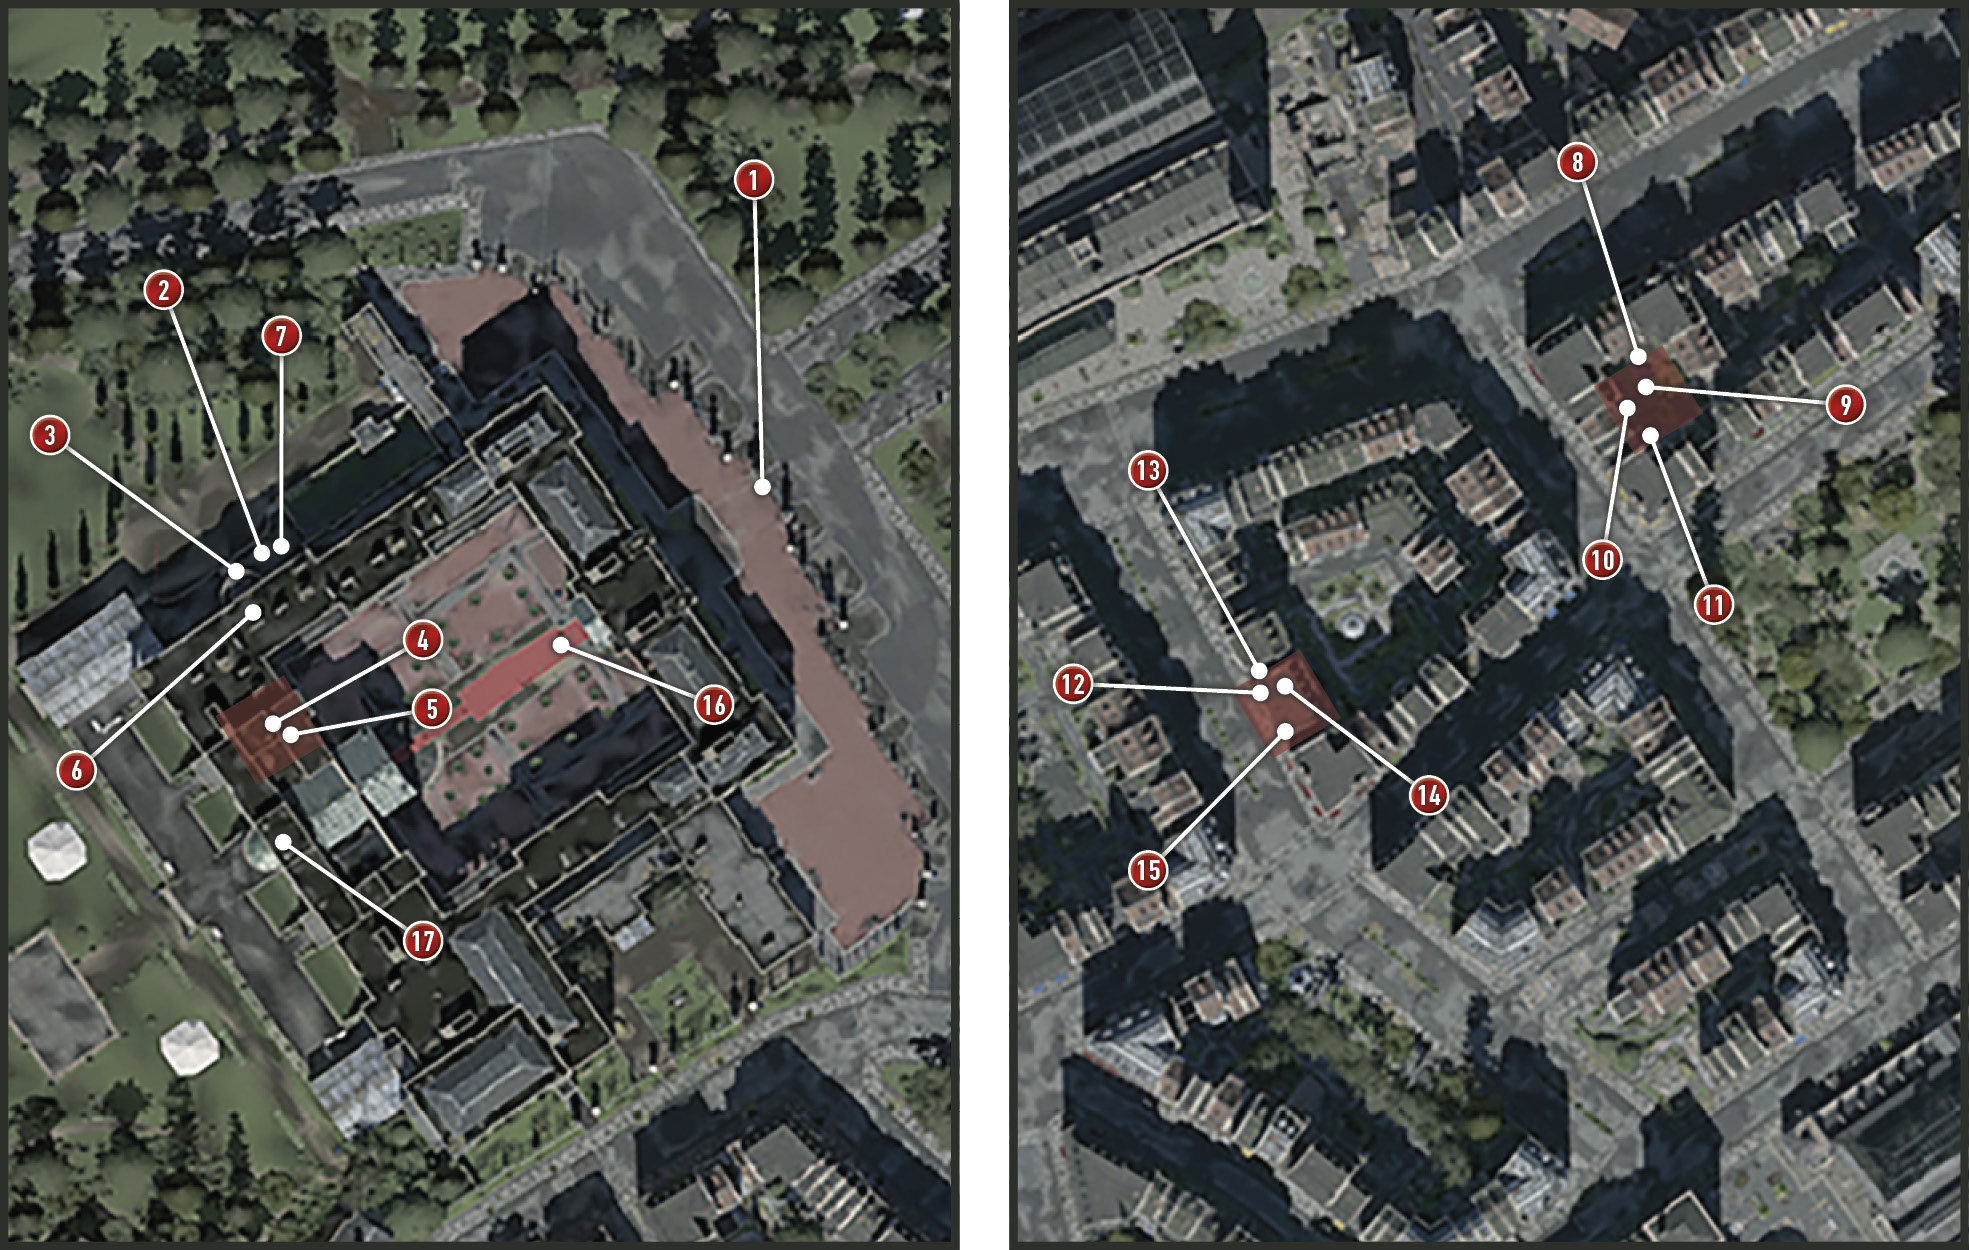
Solve the perplexing murder of a palace guard. Meet Frederick Abberline outside the palace (1) to start the investigation. He says there’s been a murder at the palace and tensions are high. The Queen is very nervous about security.
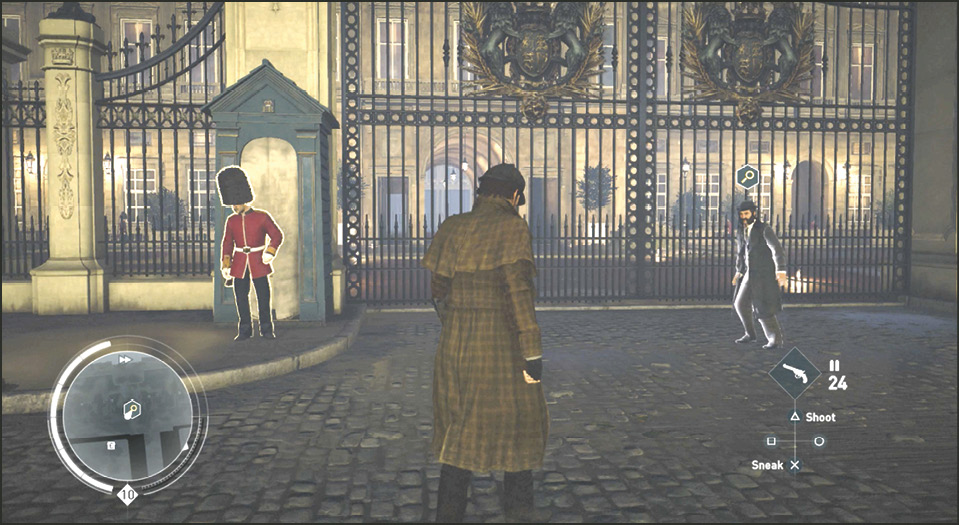
Objective: Follow Abberline
Follow Abberline from the front of the palace (1) to the Queen’s Study (2) on the second floor of the palace.
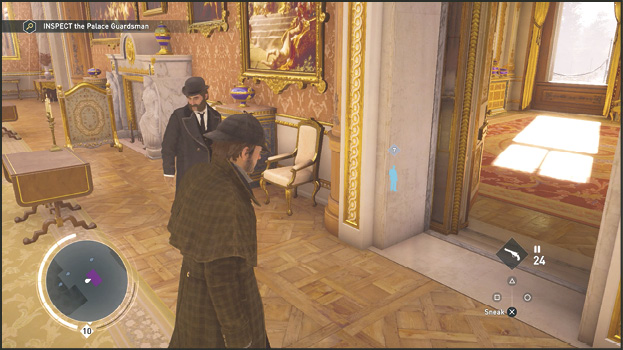
Objective: Inspect the Palace Guardsman
Investigation Area: Queen’s Study
Clues: 6
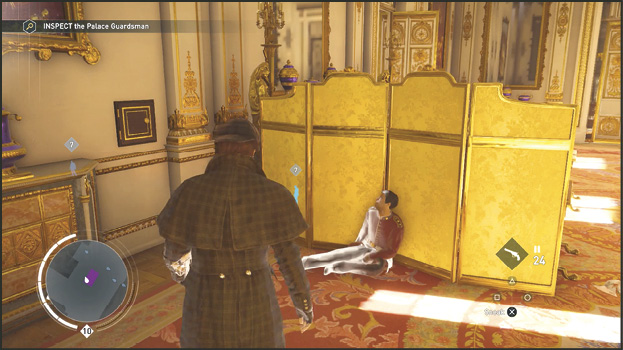
Queen’s Study – Guardsman’s Body: Find the guardsman’s body (2) on the floor propped up against the screen near the wall safe. His eyes and mouth are wide open. There are no signs of violence.
Queen’s Study – Guest List: Find this on top of the roll-top desk (3) near the body. It’s a list of invites to the investiture this evening. The Queen will knight several industrialists who oppose child labor.
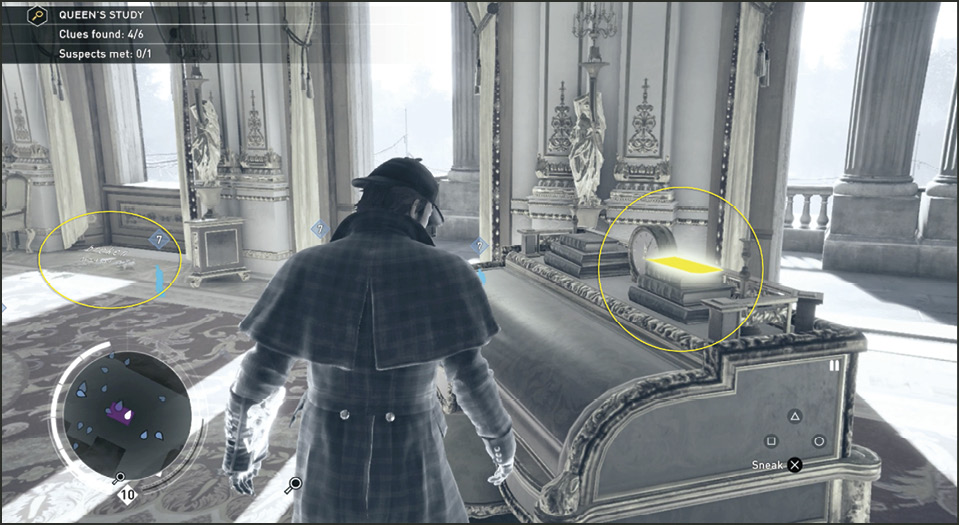
Queen’s Study – Vase: A broken vase (4) is on the floor beside the guardsman’s body. This is a sign of struggle.
Queen’s Study – Letter from Scotland Yard: This letter (5) is on a small table near the chairs in front of the fireplace. It’s a letter to Her Majesty’s Private Secretary, Sir Henry Ponsonby. He warns the secretary of a young boy (Artie!) being abducted and they think there’s a connection to disrupt tonight’s ceremony at the palace.
Queen’s Study – Window: Discover the broken window shards (6) on the floor below the west-facing windows. The broken area is large enough to allow access to someone.
Queen’s Study – Vault: Find the vault (7) on the wall next to the dead guardsman’s body. It’s marked by deep gashes as if someone attempted to break in. The Queen enters the room after you search the vault.

Objective: Reach outside the study
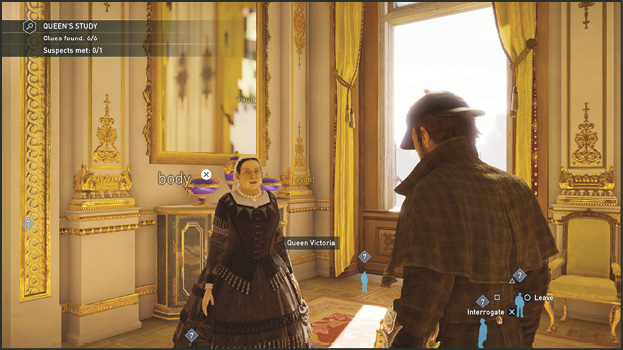
When you have inspected the vault in the Queen’s Study, the Queen enters the room and requests some time to be alone in the room while she looks in the safe.

Objective: Wait for the Queen
You can hear the Queen talking to herself while opening the safe if you activate Eagle Vision while out in the hallway waiting. She’s concerned someone is after the scepter and has to see it with her own eyes to know it’s safe. She says it’s “untouched” so all is well.

Suspect: 1
Queen Victoria: When the Queen opens the door to her Study, reenter the room and interrogate her. She becomes the first suspect. Ask her about the Body, the Vault, and the Event. She said the guardsman was dead when she arrived. She is the only one with the vault combination and knowledge that it contains the dove scepter to be used in tonight’s knighthood ceremony. All of tonight’s luminaries are invited to the ceremonies.
Objective: Continue your investigation
Investigation Area: Artie’s Yard, The Strand
Clues: 2
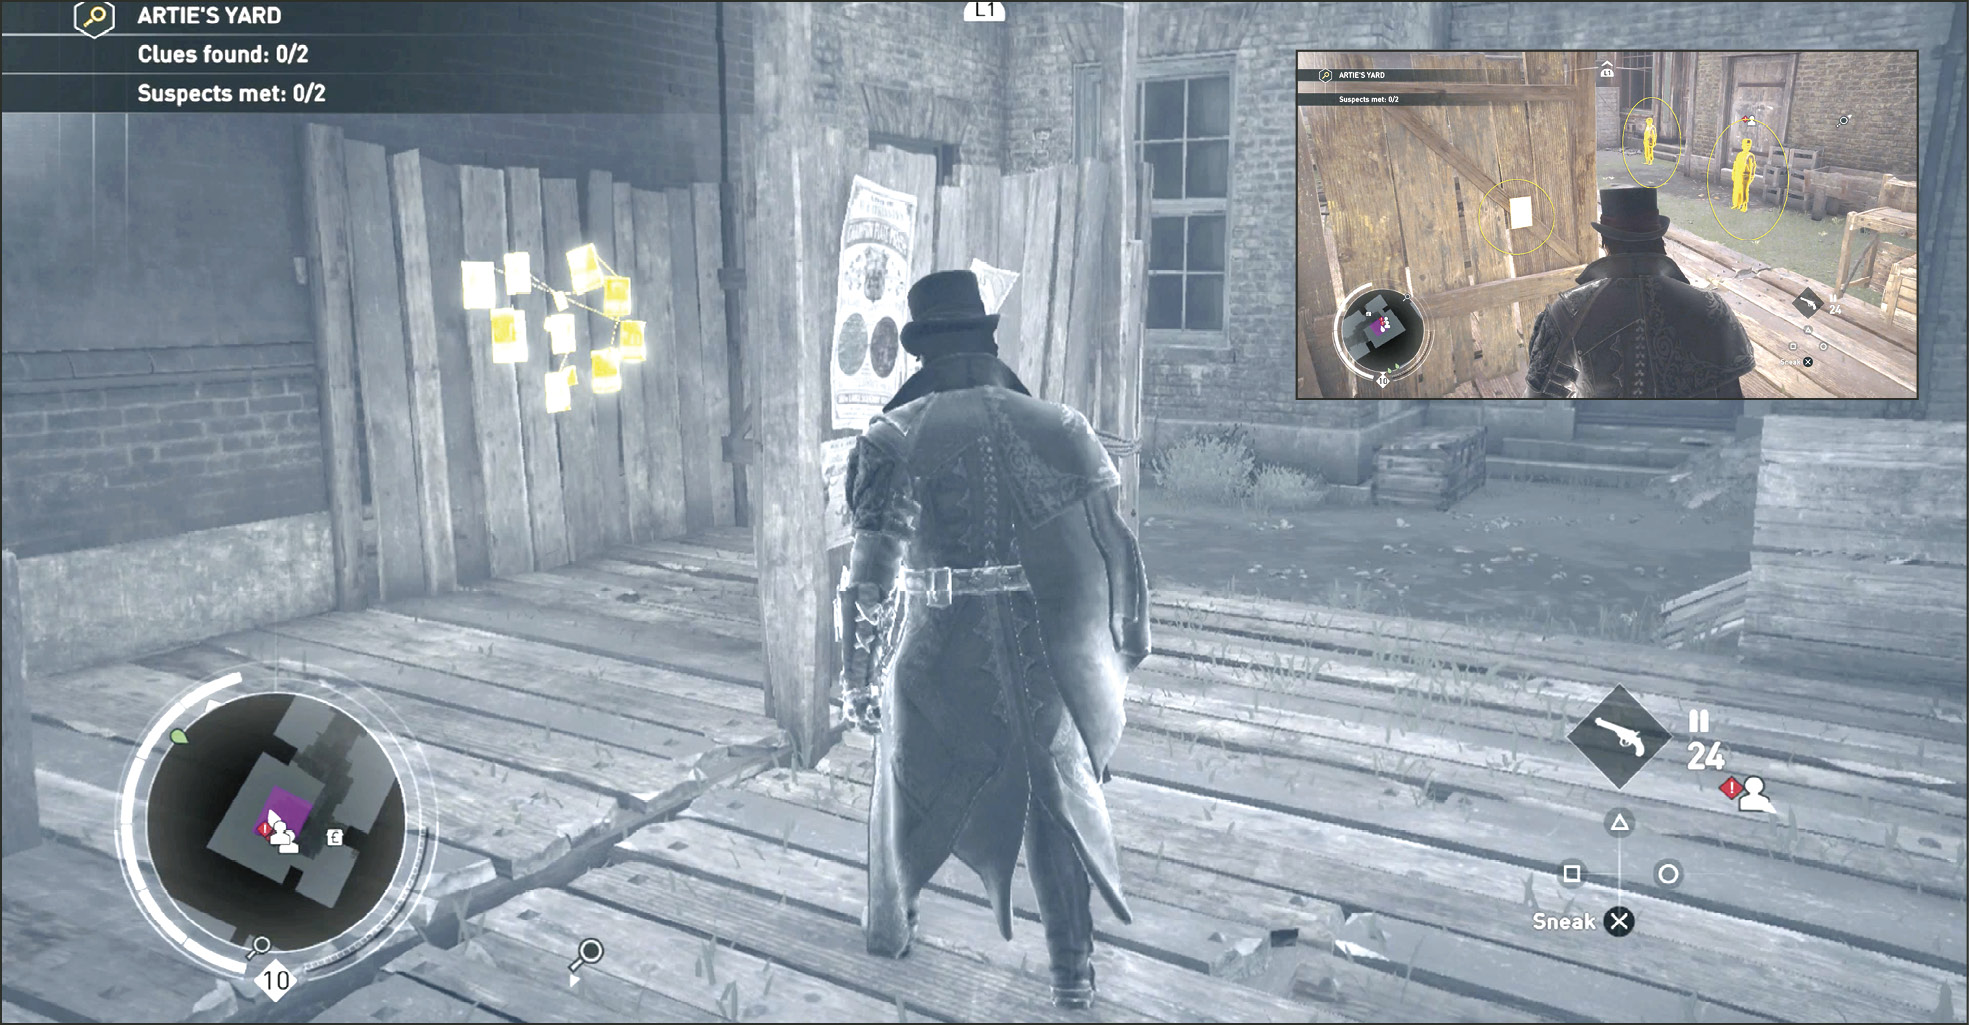
Artie’s Yard – Evidence Wall: Your little buddy, Artie has been abducted. His backyard is your investigation zone. Get a carriage and make the long haul northward. In his backyard you find two suspects and an evidence wall (8). Here you find that Doyle made clue connections from all the mysteries you’ve solved together, links from one murder to the other. And the final scrawl is unfinished: “Leading to… Raymond—”.
Artie’s Yard – Blank Paper: Pivot around from the evidence wall and find this apparently blank notepaper (9) on the opposite wall.
Suspect: 2
Buck: Talk to the little boy (10) closest to the evidence wall. Ask him about Artie, and the Evidence Wall. He thinks there’s a master criminal on the loose by how Artie was acting. He said Artie went missing in the morning. He said he was going on about the Queen for the last day or two…thinks she’s in some sort of trouble.
Dooley: Ask the second boy (11), Dooley, about Artie, the Evidence Wall, and Henry Raymond. He said Raymond had come by on the way from his publisher with his latest penny dreadful and was pretty excited about it. Dooley never liked him much. The most important thing is to ask him about the evidence wall. He tells you he writes the important stuff with invisible ink. Ask about the Blank Paper next. He tells you if you have smoke, you can see what it says.
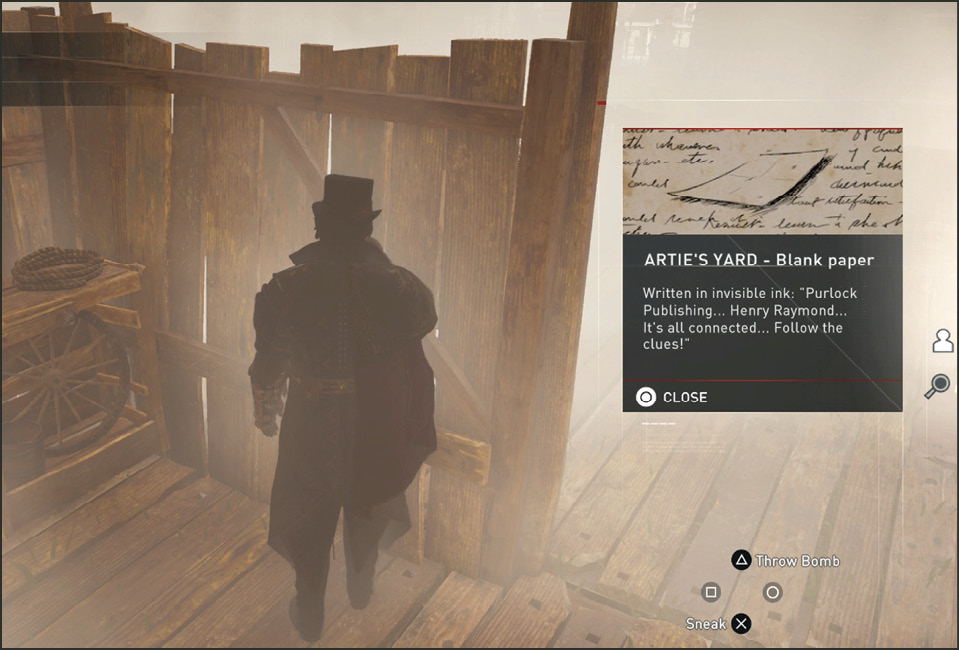
Return to the Blank Paper (9) on the wall facing the evidence wall. Throw a smoke bomb at the ground and re-examine the blank paper. This is written in invisible ink: “Purlock Publishing…Henry Raymond… It’s all connected…Follow the clues!” This opens a new area of investigation.
Objective: Continue your investigation
Investigation Area: Purlock Publishing, The Strand
Clues: 4
Purlock Publishing – Dynamite crates: Head southwest a block to Purlock Publishing. The front door is open. There are no clues on the first floor. Dynamite crates (12) can be found on the second floor hallway. They are empty but marked “Prescott Munitions No. 408.”

Purlock Publishing – Map: This map of Buckingham Palace is on a wall (13) on the third floor. The Queen’s study is circled in black.

Purlock Publishing – Galley Proof: This proof (14) is on a shelf on the top floor.

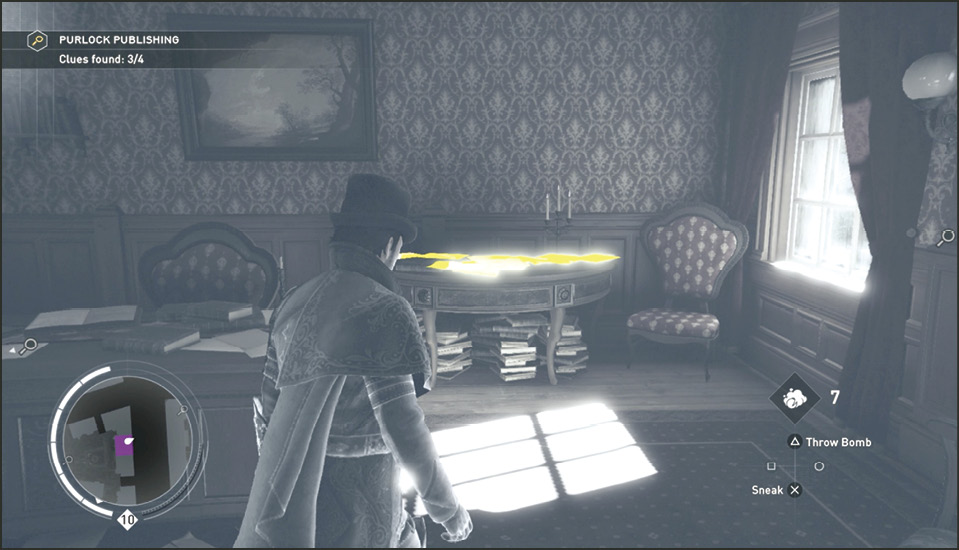
Purlock Publishing – Anti-royalist Pamphlets: Find these pamphlets (15) in the same room with the galley proof, on a table near the south corner window. It reads: “Down with the Monarchy!” “An End to our Suffering under Victoria!” “The Queen must pay for her Sins!”
Objective: Speak to a Palace Guardsman
Investigation Area: Buckingham Palace, Westminster
Return to Buckingham Palace and talk to the guardsman (16) in the middle of the long walkway to the palace entrance.
Objective: Evacuate the 3 party guests
Objective: Locate the Queen
You have one minute to evacuate three party guests. Stop talking to the guard if he’s still yappin’ and rush into the palace towards the green blips representing the party guests. Run into the palace and turn right to Warn the crowd standing near the stairs. Press and hold the  /
/  button.
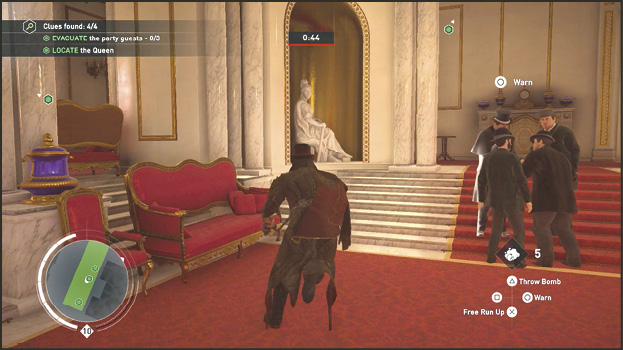
Turn and run up the opposite stairs (to the left as you enter the palace). Stop to Warn the group at the top of the first set of stairs.

Continue up the stairs and run in the direction of the Queen’s Study to Warn the crowd standing in the hallway outside the Study.

Location: Memory Palace
After freeing the guests you discover Henry Raymond has tricked you. There’s no explosion. You enter the Animus white room with Henry Raymond. Labels surround him: “Kidnapped Artie?Mad Bomber?Penny Dreadfuls, Who is he? and He is the key!” At this point you revisit the key areas of all the murder mysteries you worked on but this time they appear in the white room.
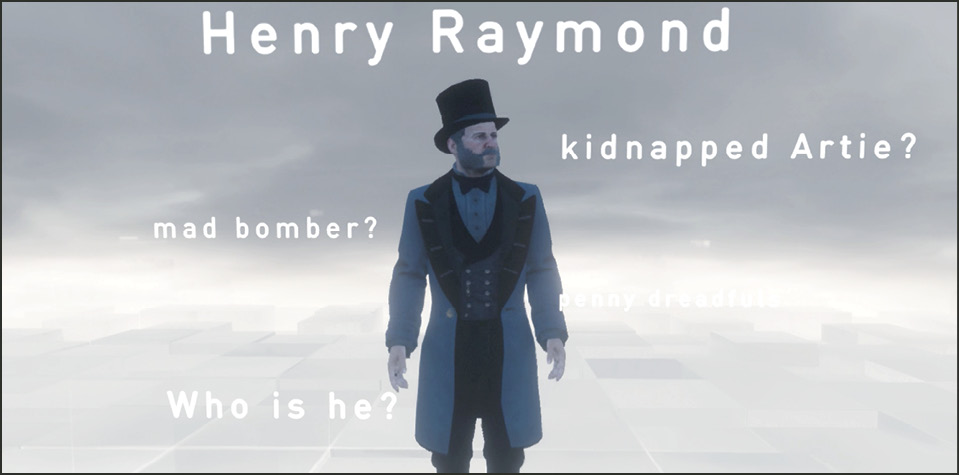
Location: Memory Palace; A Simple Matter of Murder!
Enter the Whitechapel G.A. gate and speak to Artie about “why evacuate?” He responds, “look beyond the obvious.”
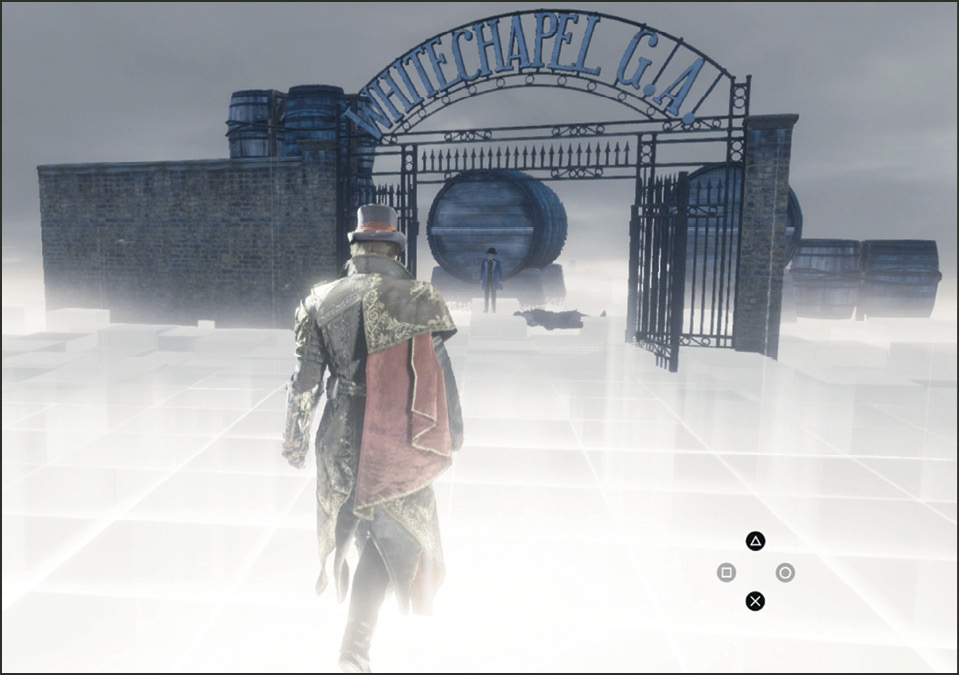
Location: Memory Palace; Conjuring Up A Killing!
Move away from the Whitechapel murder scene to the psychic’s séance table and interrogate Douglas—the accused. He says, “nothing more than a showman….

Location: Memory Palace; Purlock Publishing
Move away from the séance scene and Purlock Publishing appears nearby. Inspect the dynamite crates clearly marked, “Prescott Munitions No. 408.” Look away and another past crime scene appears. Walk to it.

Location: Memory Palace; Death Stalks The Colonel
When you enter the new scene you recognize it from your earlier crime scene, Death Stalks The Colonel. Prescott’s body lies at the Munitions Factory. Inspect the dynamite crates, empty munitions crates clearly marked, “Prescott Munitions No. 408.”

Location: Memory Palace; Three Henrys
Walk out of the crime scene, heading toward the three Henry Raymonds standing back, to back, to back. You must choose which Henry is the Henry that did the crimes. Which one is telling the truth? You must choose between the Diversion, Save Lives, or the Terrorist Henry. Talk to them all or just go straight to Diversion and “Accuse” him. This unlocks another, old crime scene…

Location: Memory Palace; The Case Of The Conflicted Courtship.
After accusing Diversion Henry, walk into the next crime scene simulation. It’s Prudence Brown from the Conflicted Courtship. She is not the focus here; continue past her to the picnic table. Inspect the scattered papers on the table. They read: “I always got what I want.” Written by a left-handed man.

Location: Memory Palace; The Most Hated Man In London
Now walk to the corner where the crate has crushed Mr. Ashton. Walk past him and talk to his wife you accused. Talk to Mrs. Ashton about “Diversion from what?” She says she brought him the invitation to the knighthood ceremony, the one with the special scepter.
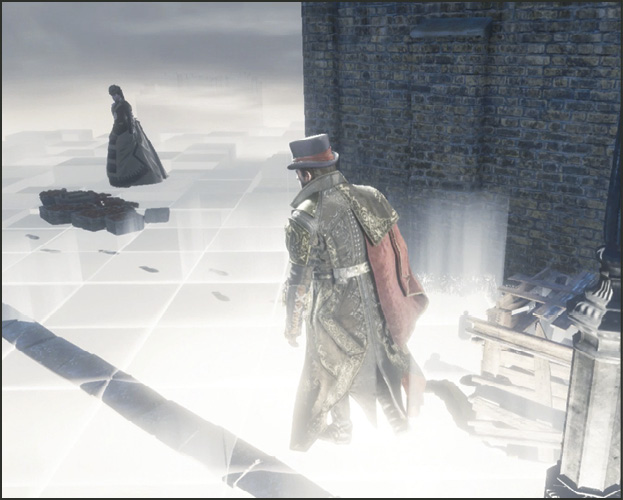
Location: Memory Palace; Locked In…To Die
Now go into the Locked In…To Die set and inspect the newspaper next to Cashan’s bed. There are several articles, one about the coming ceremony wherein the queen will use the storied Scepter with the Dove to knight an industrialist.

Location: Memory Palace; Conjuring Up A Killing!
Head back into the psychic’s set and interrogate Colonel Asquith who is now standing near a china cabinet. Talk to him about “diversion from what?” and he responds, “Never trust a man who tells you what you want to hear. He’s after something.”

Location: Memory Palace; Three Henrys
Confront the three Henrys again. This time there are: Kidnapper, Murderer, and Master Thief Henrys. Talk to them all, or just get to it and “Accuse” Master Thief Henry. He says he got the scepter with your help.

Location: Memory Palace; Death Stalks The Colonel
Now return to the Death Stalks The Colonel set. Curtis is there now. Talk to him about “how was it stolen?” “No one questions you when you wear a uniform,” he responds.

Location: Memory Palace; The Mystery Of The Twice-Dead Professor!
Enter the professor’s house and inspect the spider on the edge of the table by the professor’s dead body near the front door. It is a large distinctive spider, curled up in death. If you walk up the stairs here and drop off the end of the set you find Artie in the street. Talk to him.

Location: Memory Palace; Street Blockade
Talk to Artie in the blocked-off street set next to the Death Stalks the Colonel set. Ask, “How was it stolen?” He suspects the solution will turn on geometry.

Location: Memory Palace; Buckingham Palace, Queen’s Study


You must again accuse one of three Henrys. Accuse Observe Henry. Safe Cracker and Coerce Henrys are incorrect. He says “quite right.” And he explains, the dead guardsman was him; he used the poisonous spider to fake death. He had a perfect view of the safe when the queen opened it to check on the contents. He has stolen the scepter. He says he left clues for you at every turning point. He feels accomplished that he has outwitted you.
Location: Buckingham Palace; Entryway
You exit the Animus white room and you spawn with Frederick Abberline screaming at you to wake up. He says Raymond has taken Artie hostage, they’re on the roof, and your twin is here to help you. You see a green blip coming from the palace’s rooftop. Rope Launch there now.
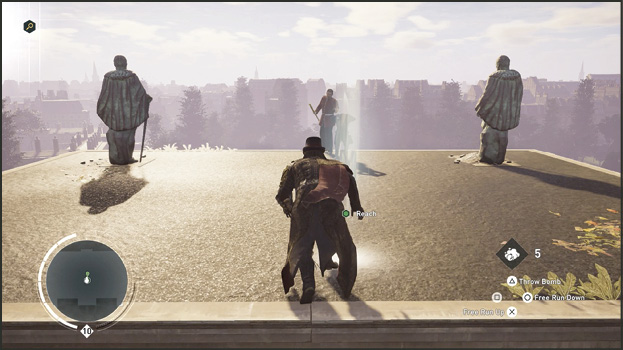
Enter the Reach marker (17) on top of the palace. Here you see Raymond holding the scepter with Artie as his hostage at the edge of a rooftop. You hold a gun on Raymond and then control switches to the other twin assassin.
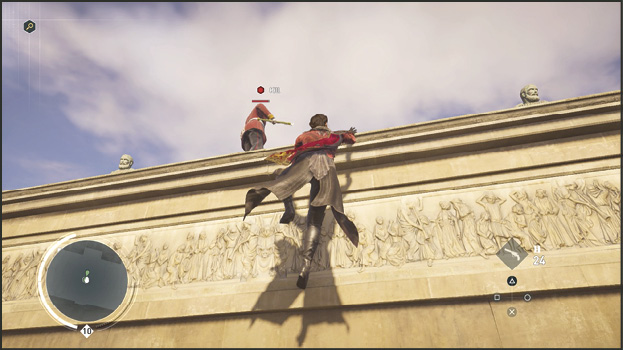
As the other Frye twin, get to the rooftops but come up behind Raymond from the backyard side of the palace and silently execute Raymond, who now has a “Kill” icon over his head.
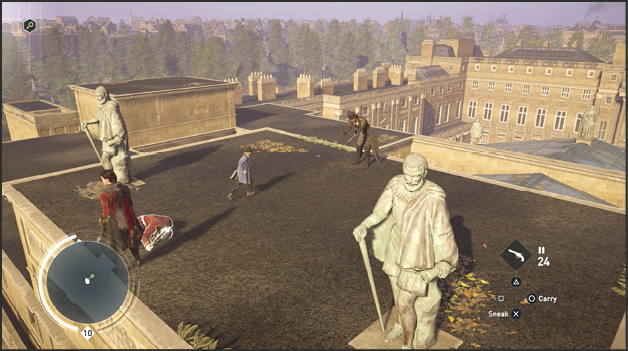
You killed Henry Raymond and saved Artie. That completes the Dreadful Crime memories. Unfortunately, they are no longer repayable in the Progress Tracker, because now you know who done it. Enjoy the happy ending and enjoy the reward: the Dove Cane-Sword.
Motive
Little Artie Doyle helped his friends solve several murders, all under the eye of Penny Dreadful author Henry Raymond. But Raymond was mad! All along, Raymond was plotting a final crime to demonstrate to the world his fiendish cleverness. Taking a uniform and some venom from the sites of previous murders, he entered the palace and feigned death in order to gain access to the precious Sceptre with the Dove! But all came to naught, and Raymond himself was slain!