Assassin's Creed Syndicate Guide Walkthrough Sequence Eight
Fun And Games
MISSION OVERVIEWMemory Type: Templar Conspiracy Suggested Level: 7 AssassinJacob Frye ChallengesDo not kill anyone while placing explosives Rewards£: 1160 + 250 (Full Synch Bonus) XP: 500 + 250 (Full Synch Bonus) Brass Knuckles: Copper Love |
Location: Alhambra Music Hall, The Strand
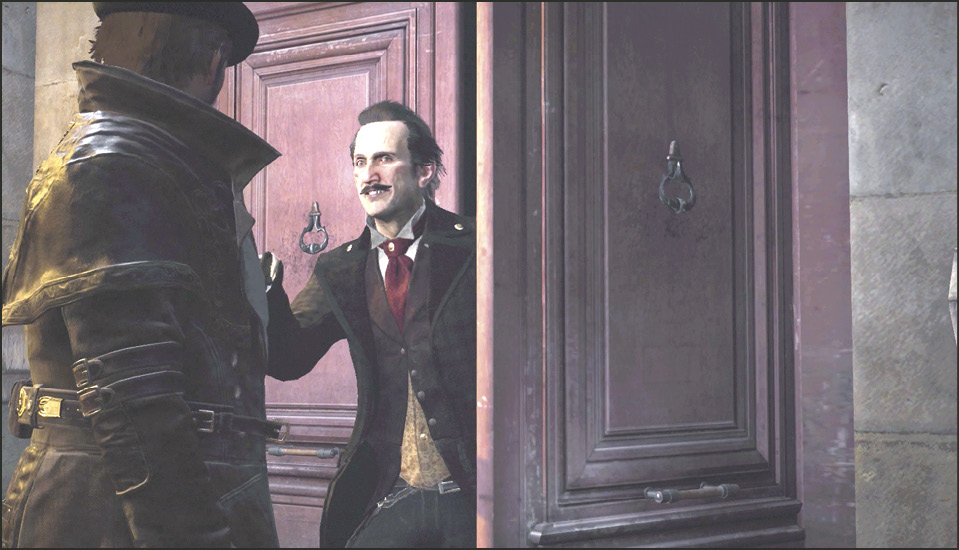
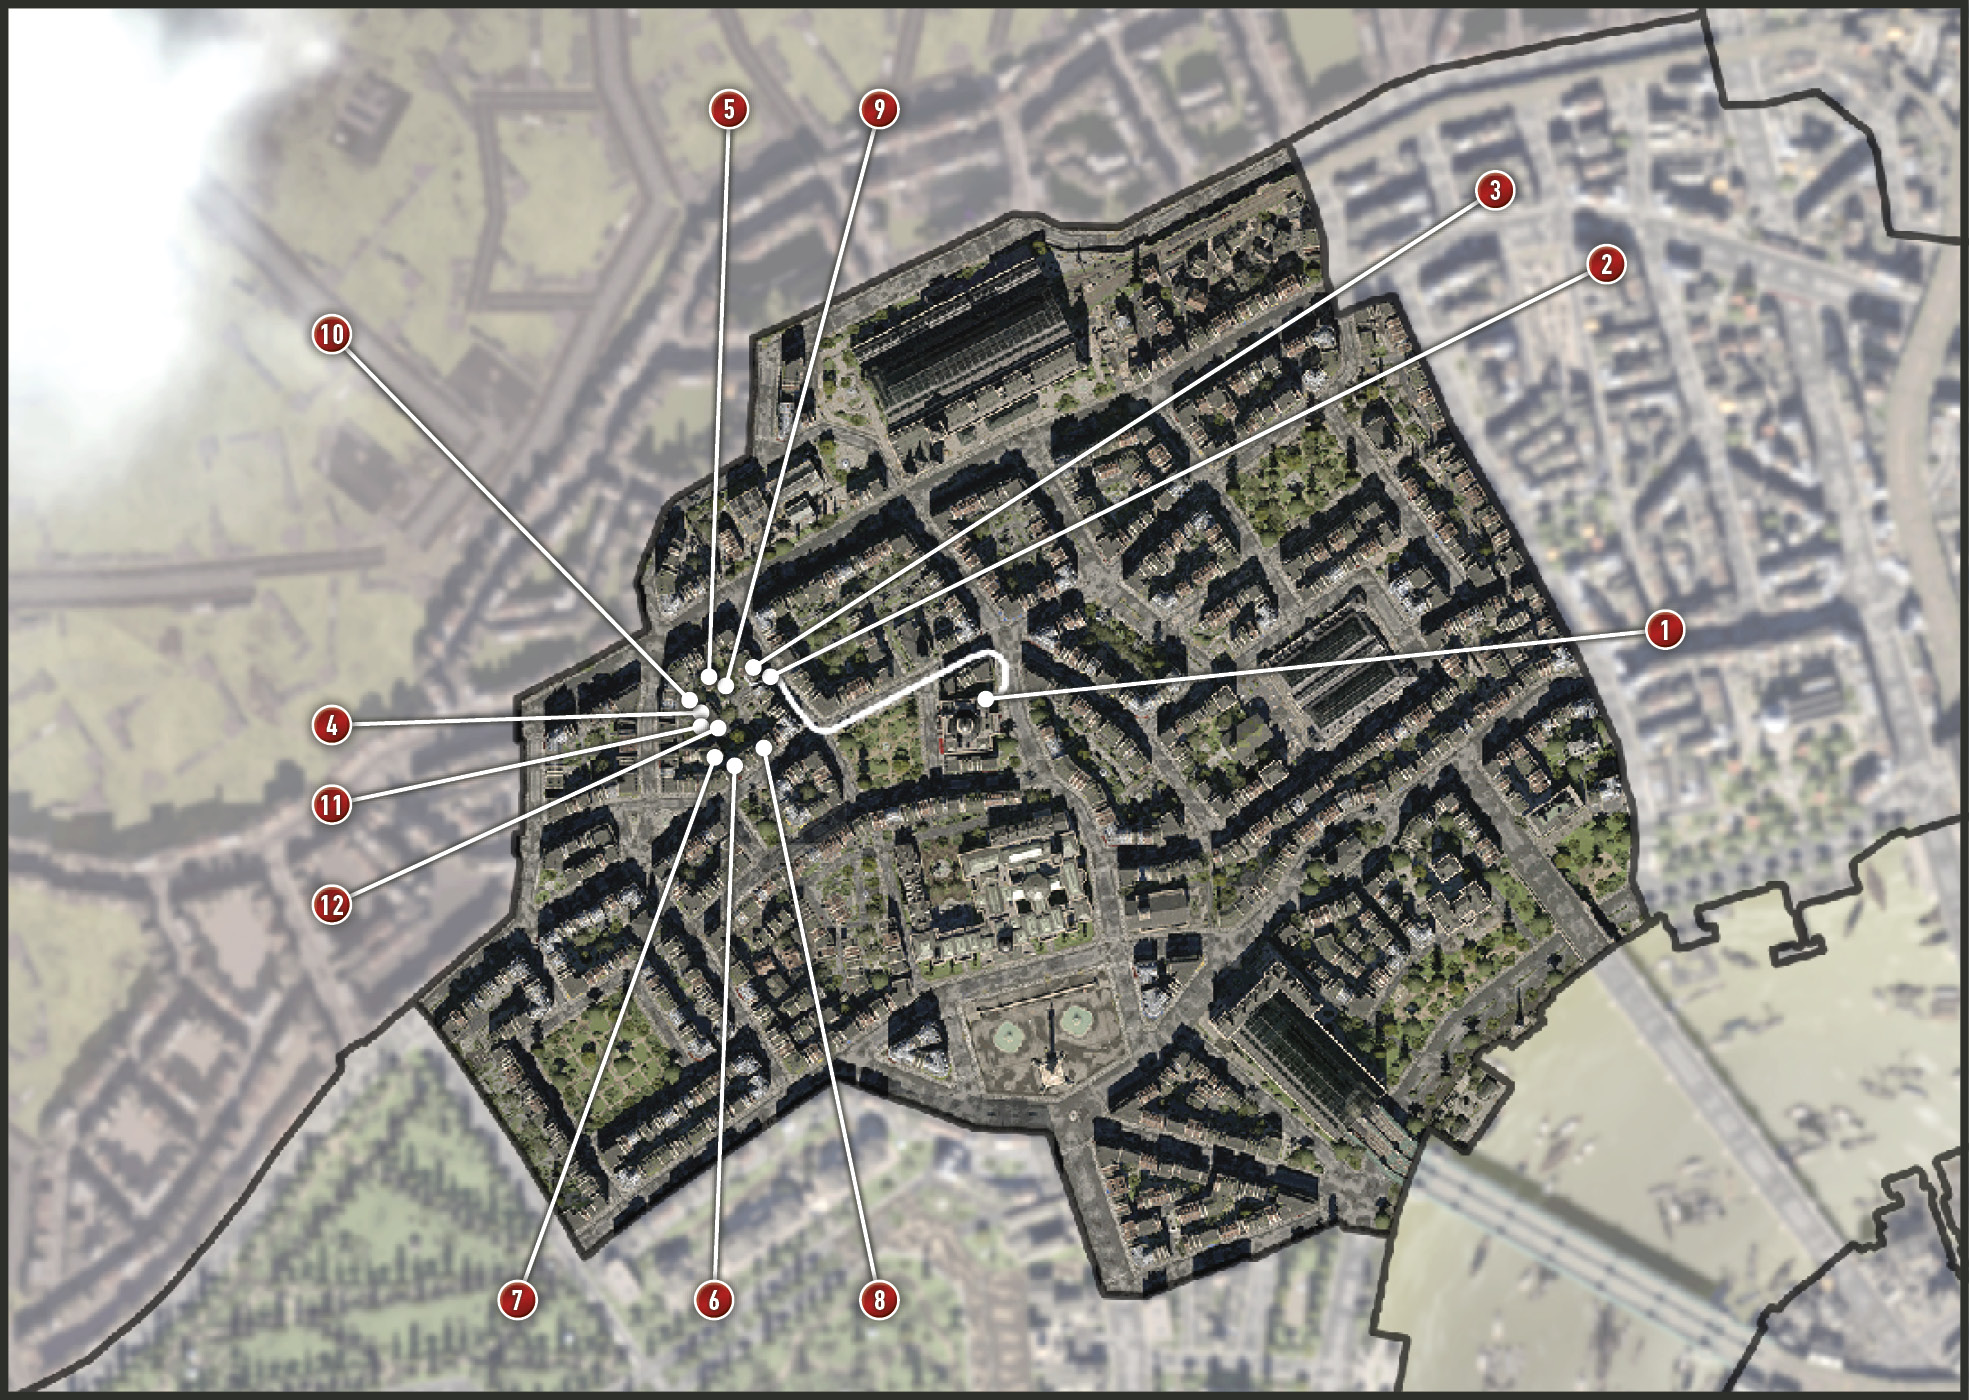
Return to the Alhambra to talk to Roth. Again, start this memory from the back door (1). This time Roth meets you at the door and directs you to his carriage in the street. He has something to show you.
Current Objective: Reach Starrick’s workshop
Enter the carriage in the street next to the Alhambra. Drive Roth to Starrick’s workshop compound about a block away to the west (2).
Current Objective: Follow Roth
Location: Starrick’s Workshop, The Strand
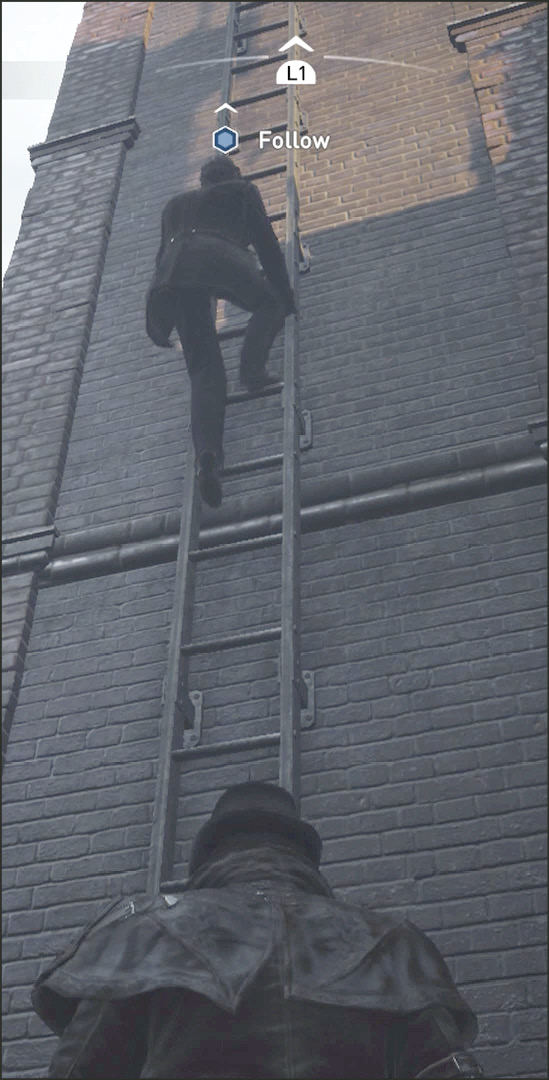
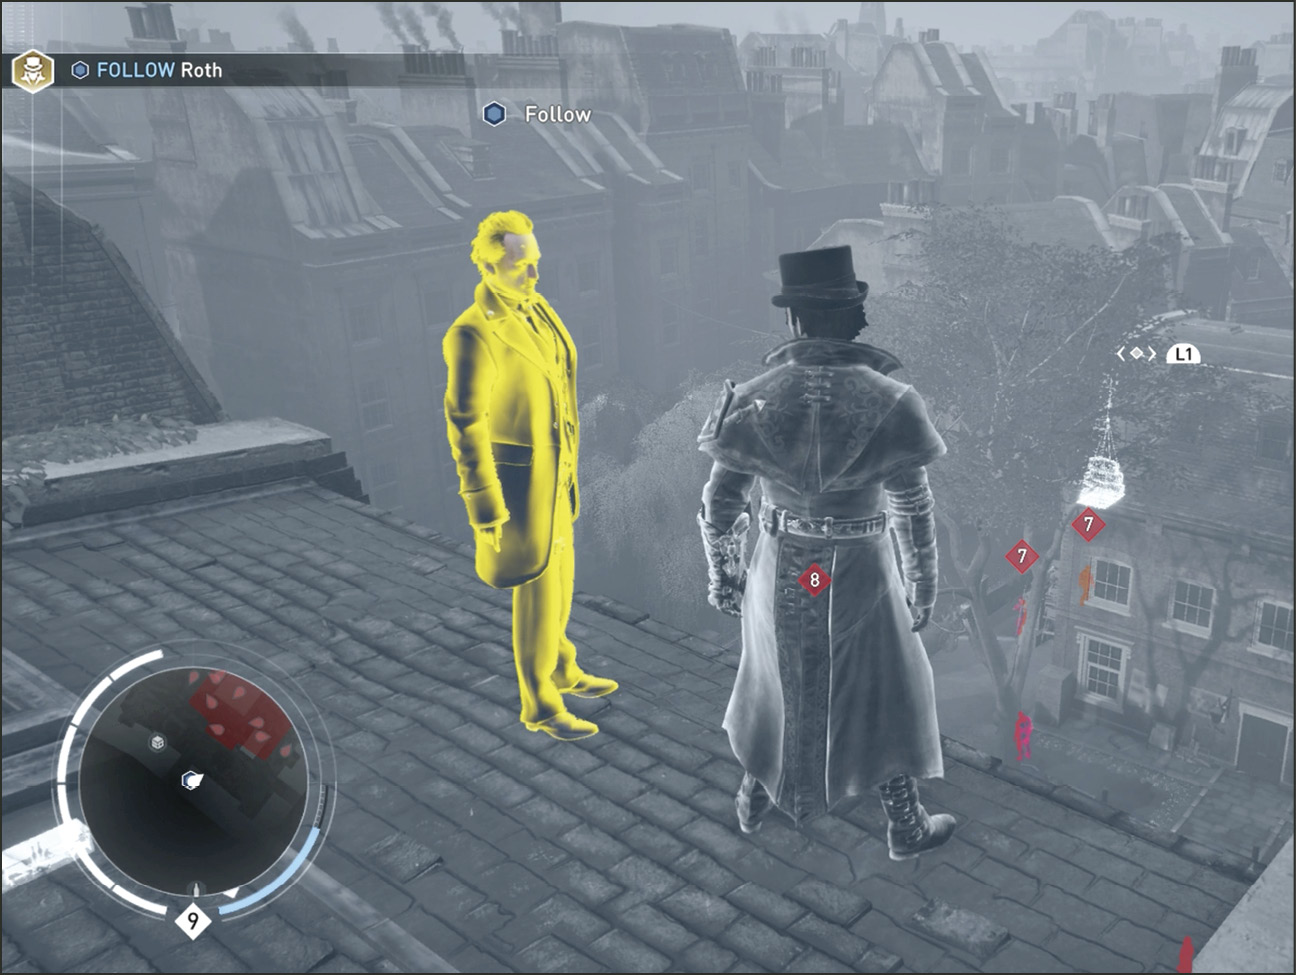
Once you enter the Reach marker outside Starrick’s compound (2), Roth hops out of the carriage and enters a short covered alleyway and climbs to the rooftop (3) of a building on the right. Follow him.
Enter Eagle Vision while standing on the edge of the rooftop with Roth. Notice the Templars all around the workshop to the west (4) across the street.
Current Objective: Rig the workshop with dynamite
Challenge: Do not kill anyone while placing the explosives
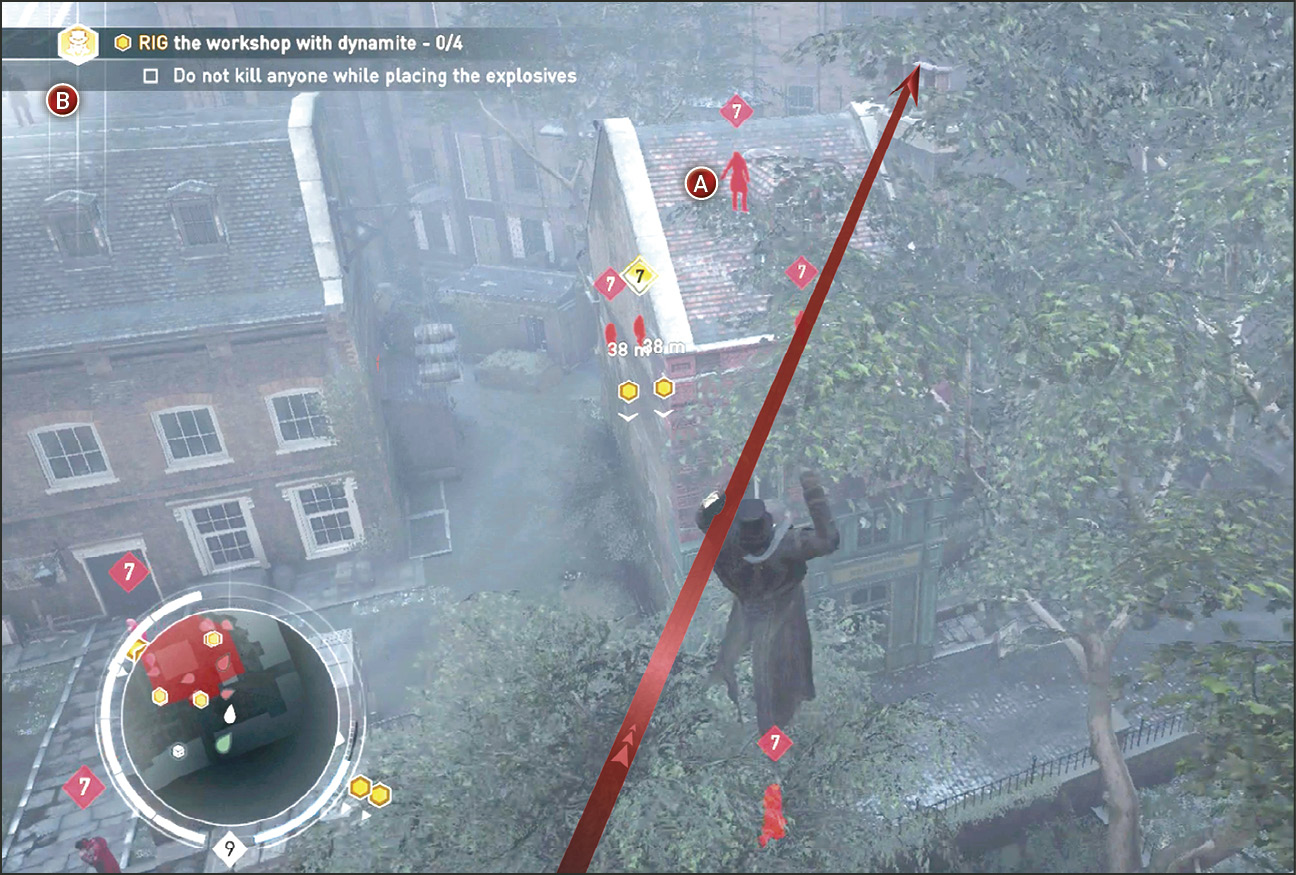
There are multiple crates of dynamite around the workshop that are easily spotted; they appear as orange blips onscreen and on the Mini-Map. There are four locations where you need to place the dynamite around the building. Walk to the edge of the rooftop to get as close as you can to the building (5) to the north of the workshop.
Acquire a Rope Launch lock-on on this building’s chimney and zipline there. Your target is the rooftop sniper that must be dealt with first. Walk over the peak of the rooftop and knock out the Sniper from behind. Kill no one to obey the Challenge rule.
Move to the south edge of this rooftop and Rope Launch to the northwest edge of the workshop’s (4) rooftop to get behind the Templar on the rooftop. Knock this Templar out. There’s one more rooftop Templar (C) to deal with.
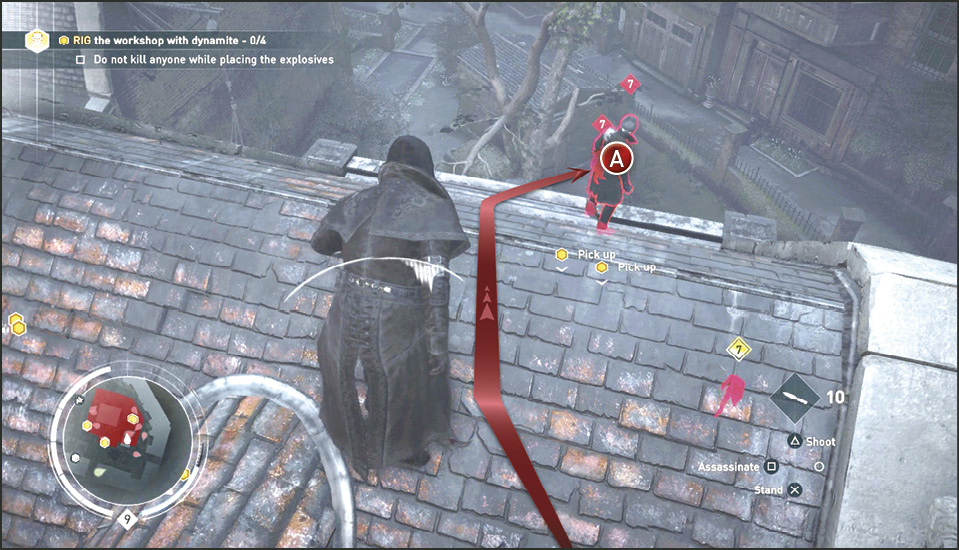
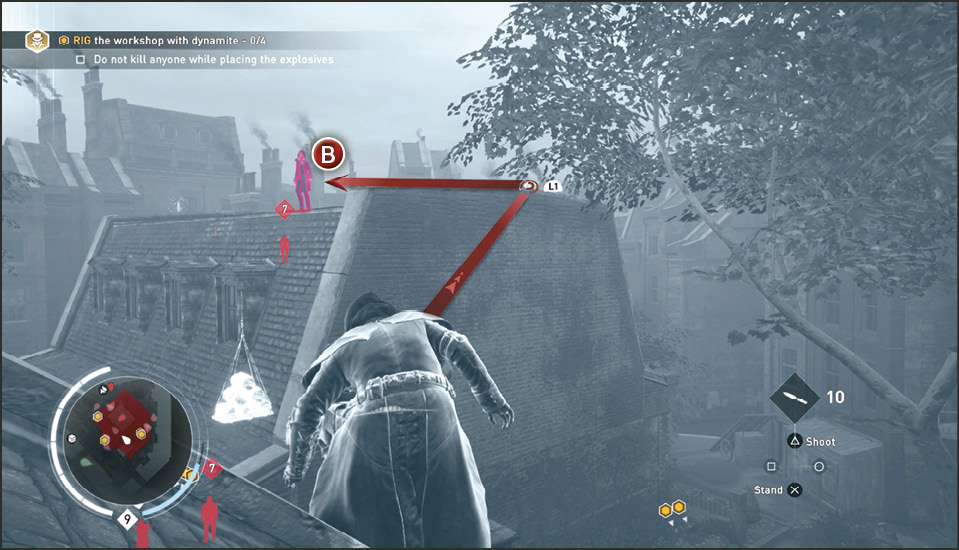
Move to the southwest corner of the workshop rooftop (4) and zipline to the buildings (6) on the southern edge of the workshop compound. You pass the last rooftop Templar who is on a building on the right (7). Now zipline to the south edge of the rooftop Templar’s building and come up behind her and knock her out.
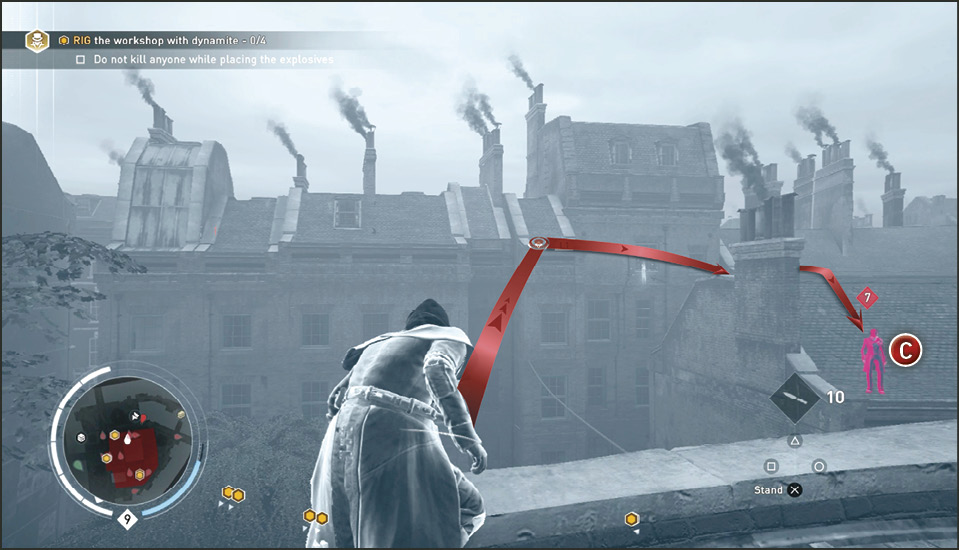
From the corner of this rooftop (7) you can look down to the alley and sidewalks around the workshop and spot about five or six of the Templars guarding the workshop. We will walk you through taking out every Templar down there. Taking them all out makes the Challenges in this memory much easier to deal with.
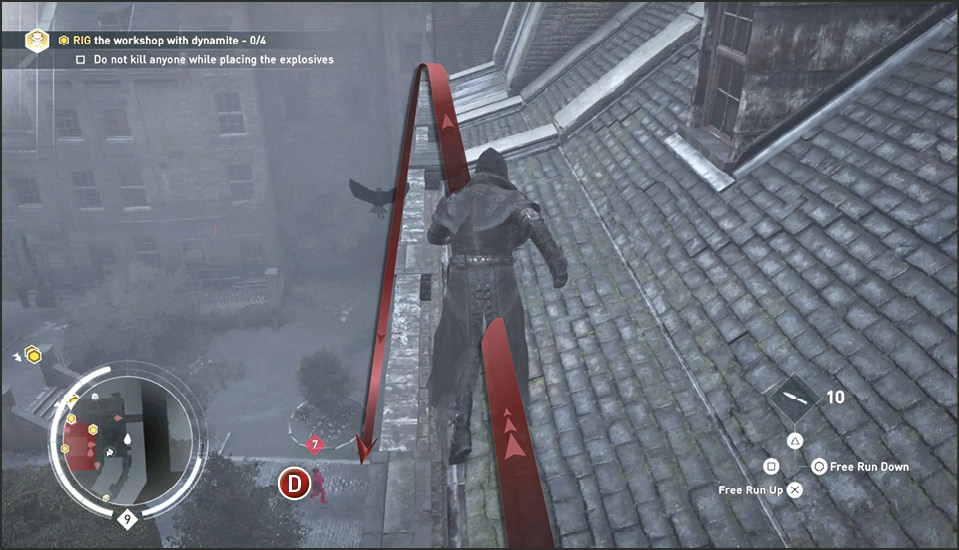
Return to the previous rooftops (6) and walk along the north edge heading to the end of the building (8) to the northeast. Drop down to the alley and knock out the Templar (D) that patrols the alley below.
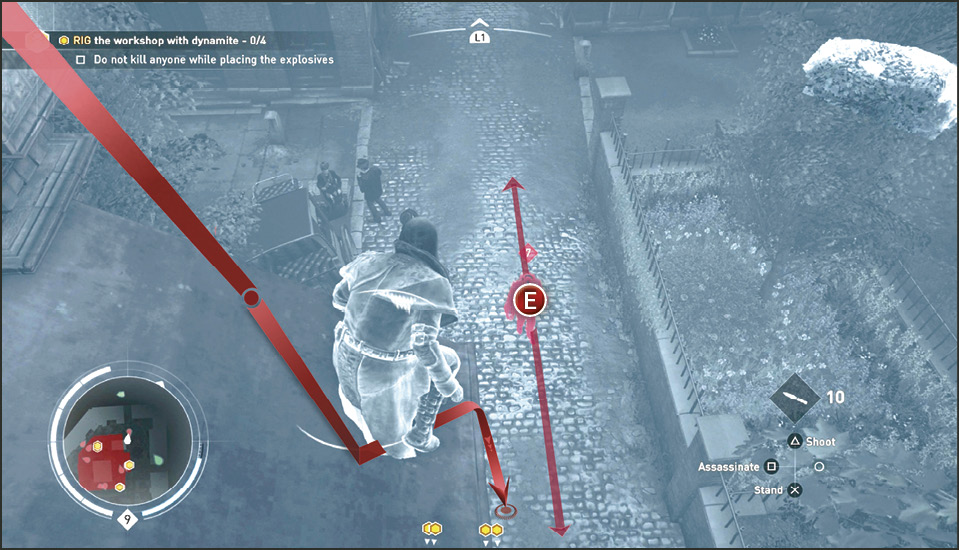
Get back to the rooftops and travel back to where Roth is standing (3). Rope Launch back to the rooftop of the small house (5) north of the workshop. Drop down to the red awning on the house’s east side. Wait for the patrolling Templar (E) below to walk south toward the nearest dynamite cache. Drop down and knock him out before he reaches the cart where the dynamite is located (there’s another Templar standing behind this cart at a gate entrance).
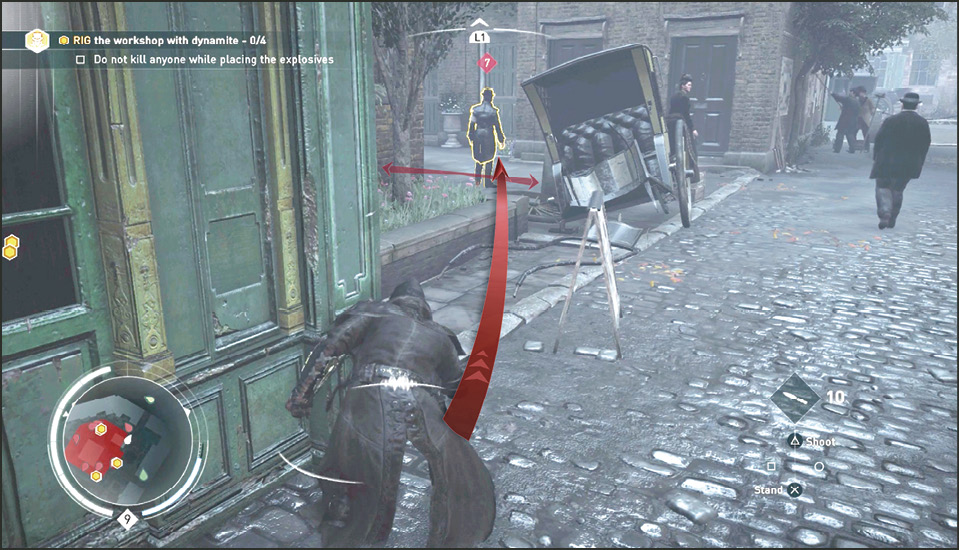
Now take cover at the northeast corner of this same house (5). While under the awning you dropped down from, look north for the patrolling Templar (F). He patrols from west to east and stops near the parked carriage near this house. When he turns back west on his route, sneak up behind him and knock him out.
Again, return to the east side of the house (5) and sneak up beside the cart (9) near the explosives. Use Eagle Vision to spot the patrolling Templars in the yard around the workshop. The Templar (G) standing with his back to you at the end of the cart near the explosives does not patrol. The Brute (H) closest to him in the yard patrols from just beside this Templar to a haystack next to the house (5). A Templar Leader (I) also needs to be watched, as he stops near the haystack at the end of his patrol. When the Leader (I) is far away from the haystack and the Brute (H) is walking toward the haystack, sneak around the corner of the cart and knock out the Templar Soldier. There’s enough time to pick him up and hide his body behind the cart.
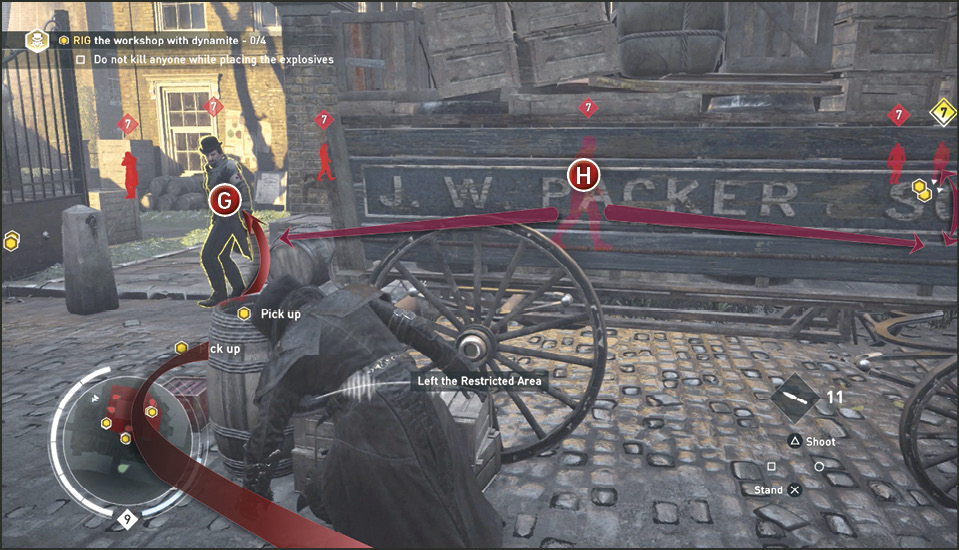
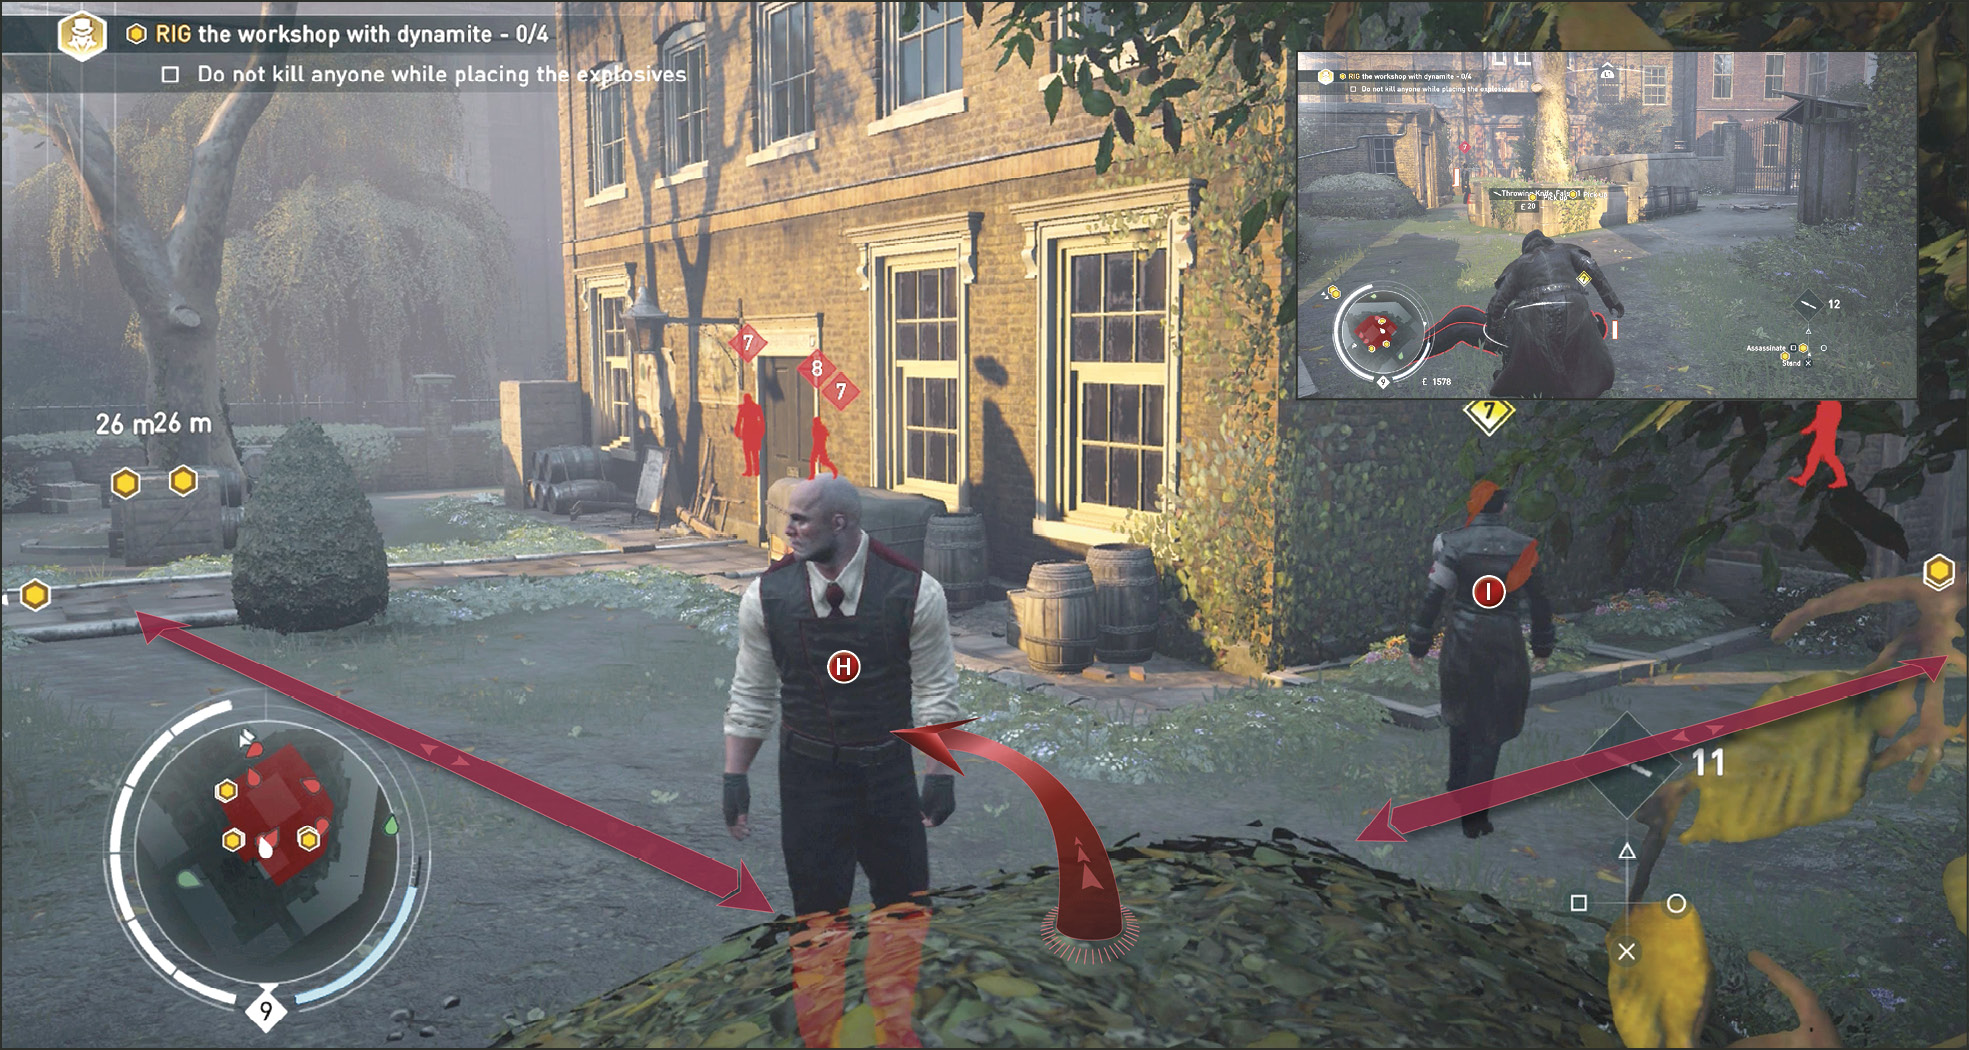
Do not interact with the explosives yet. Instead, get to the house (5) rooftop and perform a Leap of Faith into the haystack on the south side. When the Templar Leader (I) is walking away from the haystack and the Brute (H) turns and walks away from the haystack, silently exit the haystack and knock the Brute out. Hide his body behind the cart (9) so the Leader does not see it.
Renter the haystack when the Leader (I) is not looking and then wait for him to come and go again and sneak up behind him and knock him out. Do this quickly before he walks too closely to the Templar Soldier (J) guarding the small toolshed to the west. Hide his body behind the cart (9).
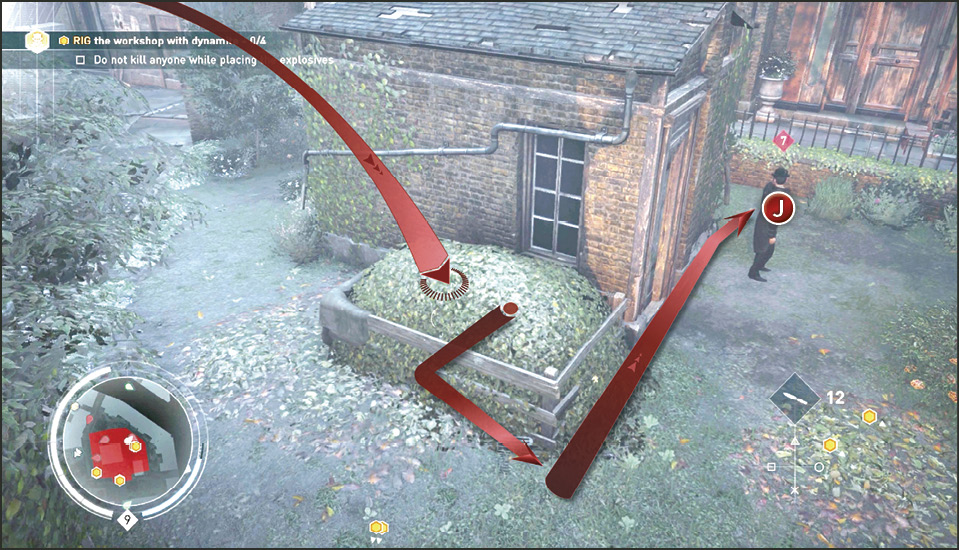
Rope Launch to the rooftop of the workshop (4) then Leap of Faith into the haystack (next to the toolshed). Exit the haystack and sneak around the north edge and come up behind the Templar (J) standing in front of the shed and knock him out.
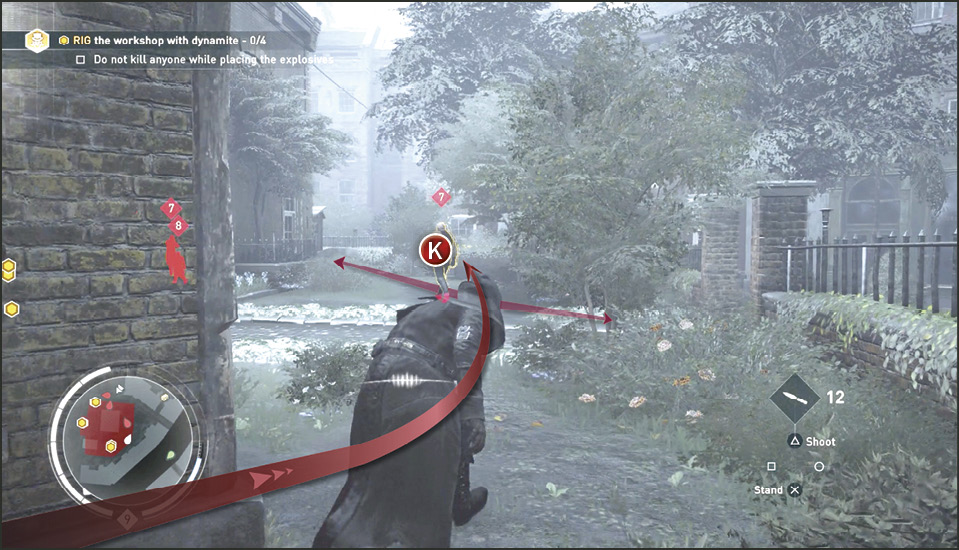
Cover beside the north fence and the toolshed (10) and watch the Brute (K) patrolling the yard to the south. When he walks away from you heading south, come up behind him and knock him out. You can leave his body where it falls. You’re almost done; only a couple more to go.
Creep up and cover next to the southwest corner (11) of the workshop. Look around the corner and observe the Templar (L) leaning on the stack of barrels on the south side of the workshop. This Templar Soldier does not move unless alerted. Come up beside him and knock him out. The Templar (M) walking a patrol route on the other side of the nearby fence does not see you through the fence, so you do not need to wait for him to walk by.
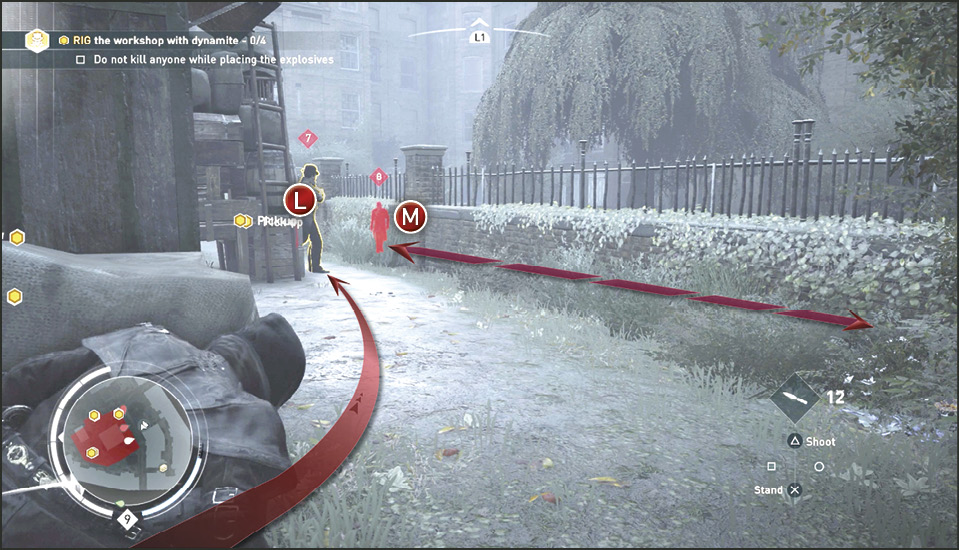
Hop up on the fence and then leap over when the patrolling Templar (M) walks by. Come up behind him and knock him out.
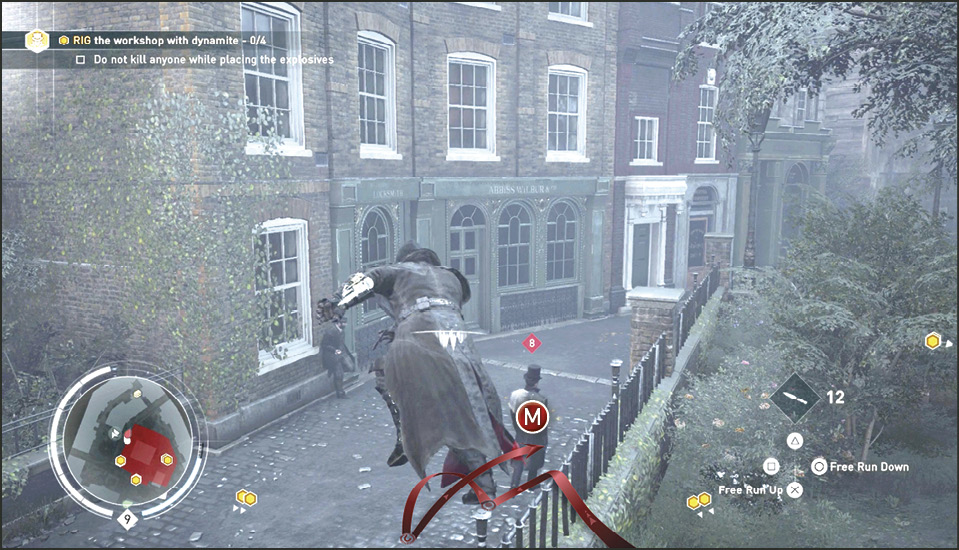
Place Four Crates of Dynamite in Four Locations
Now that all the enemies are knocked out, follow the yellow blips on the map around the yard to find the dynamite caches. When you pick up a crate of dynamite four green drop-off locations appear around the workshop (4). Place a crate of dynamite in each of these for locations (blipped green on the Mini-Map). Do not ignite or shoot the crates once placed.
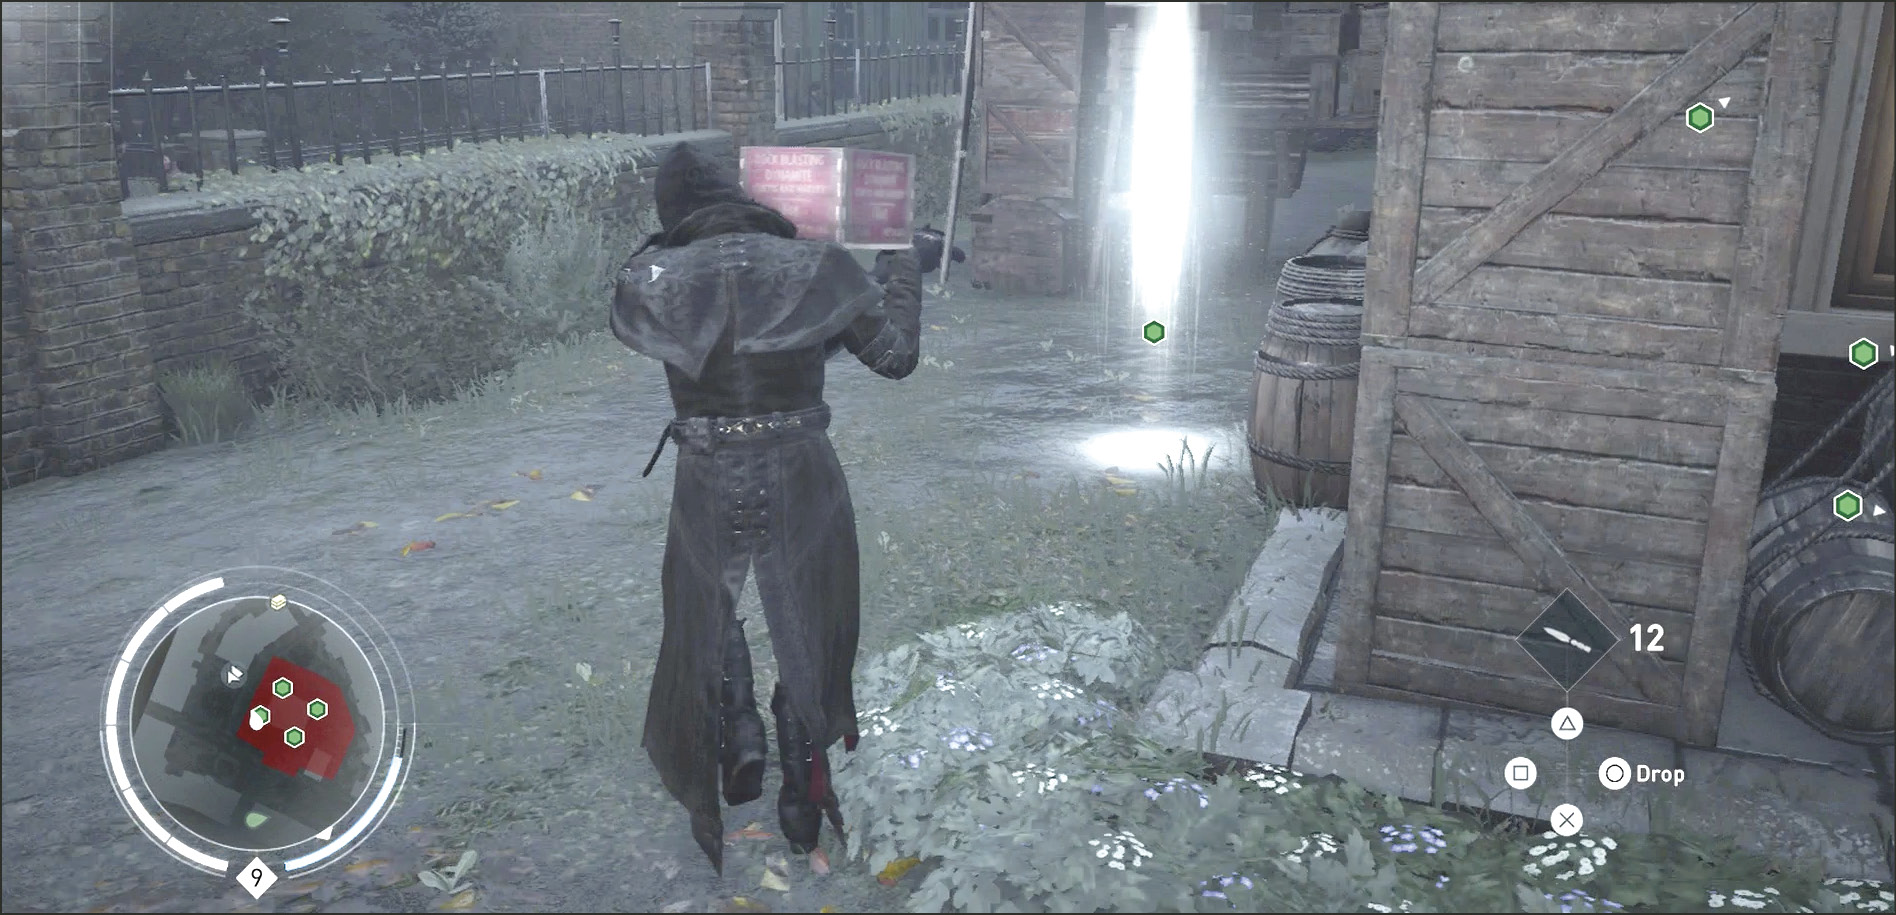
Current Objective: Speak to Roth
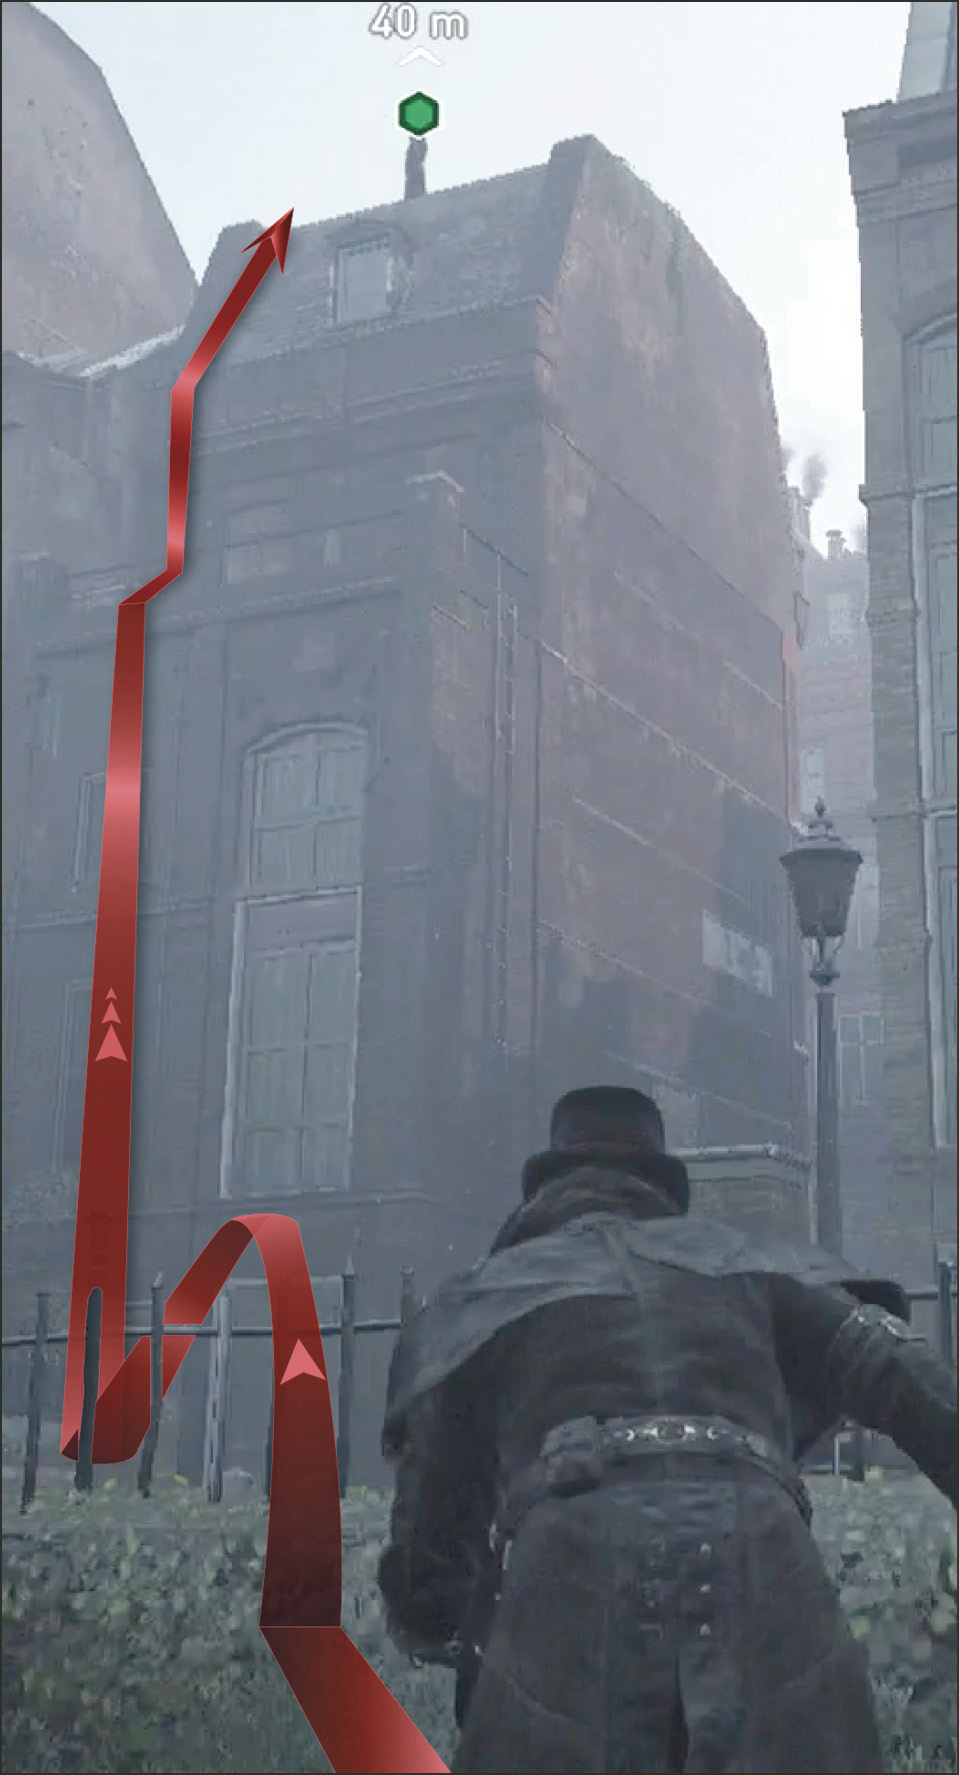
Once you have delivered one crate of Dynamite in each of the four locations, return to Roth on the rooftop (3).
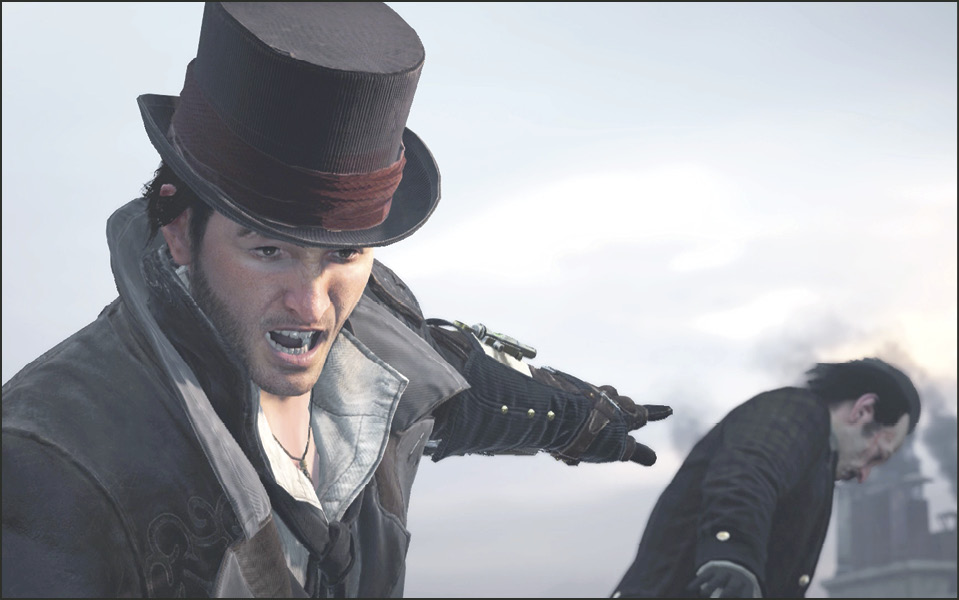
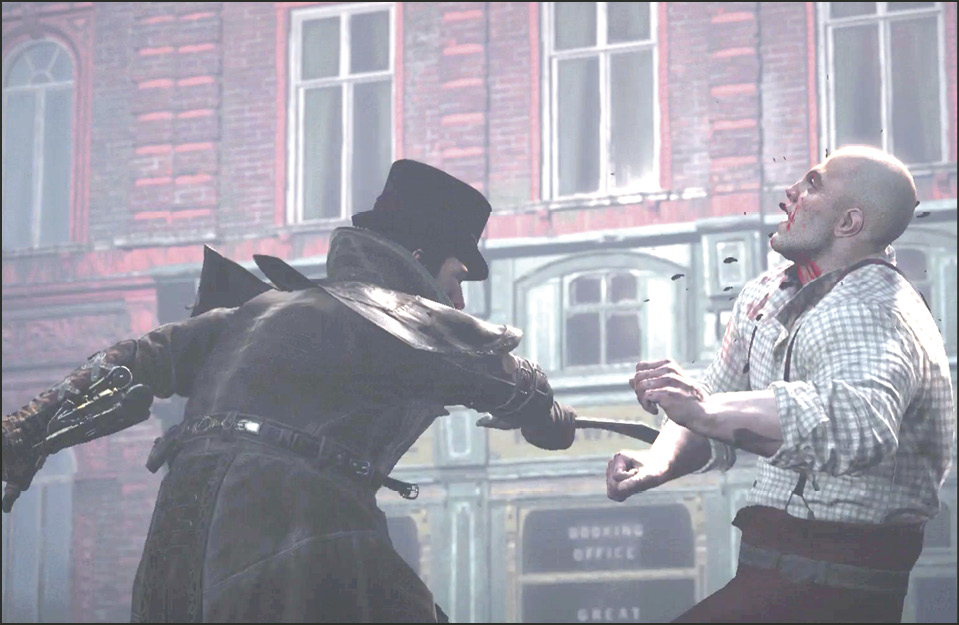
While talking to Roth on the rooftop, Jacob sees children entering the workshop that he just set explosives around to detonate. Jacob screams at Roth to stop his men from detonating the building. Roth has no concern for the children, so Jacob leaps from the rooftop and kills two of Roth’s men headed for the detonation switch.
Current Objective: Rescue the children
Challenge: Rescue all children in under 2 minutes
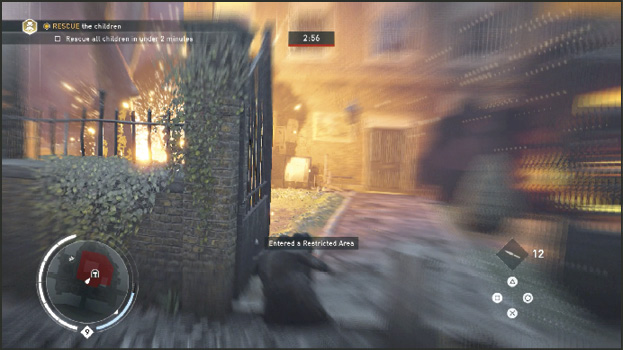
Three minutes tick away on a clock at the top of the screen. But you have less than two minutes to rescue the children from the doomed workshop (4). The building erupts in flames as you approach the front door and the concussion knocks you on your butt.
Get up off the ground and enter the rightmost first floor window that has been blown out.
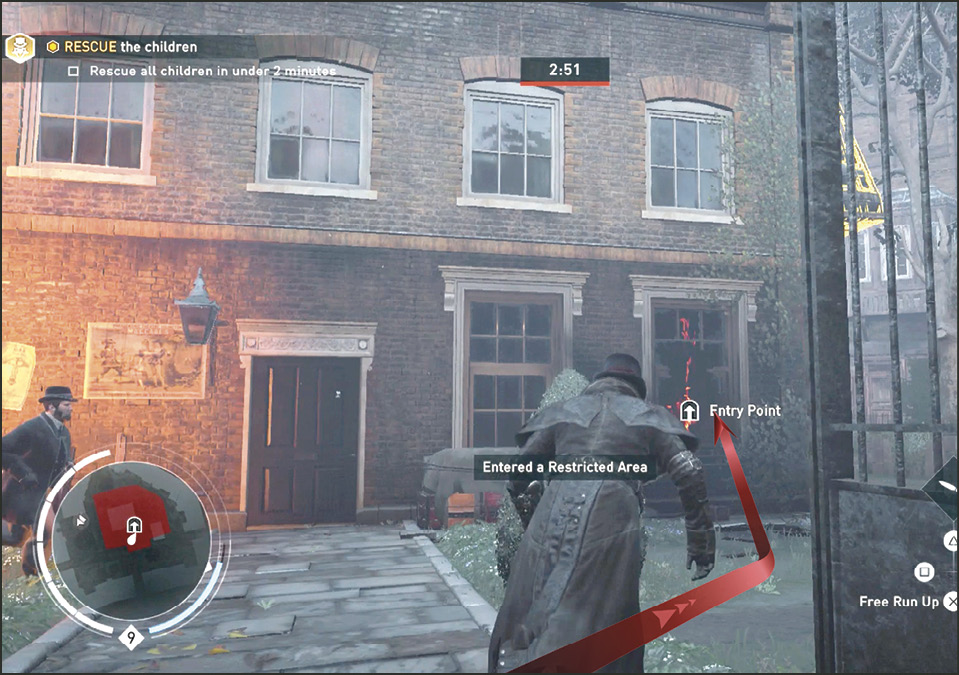
Activate Eagle Vision once inside the burning workshop to quickly spot the children (glowing yellow). There are three on the floor and four others still conscious.
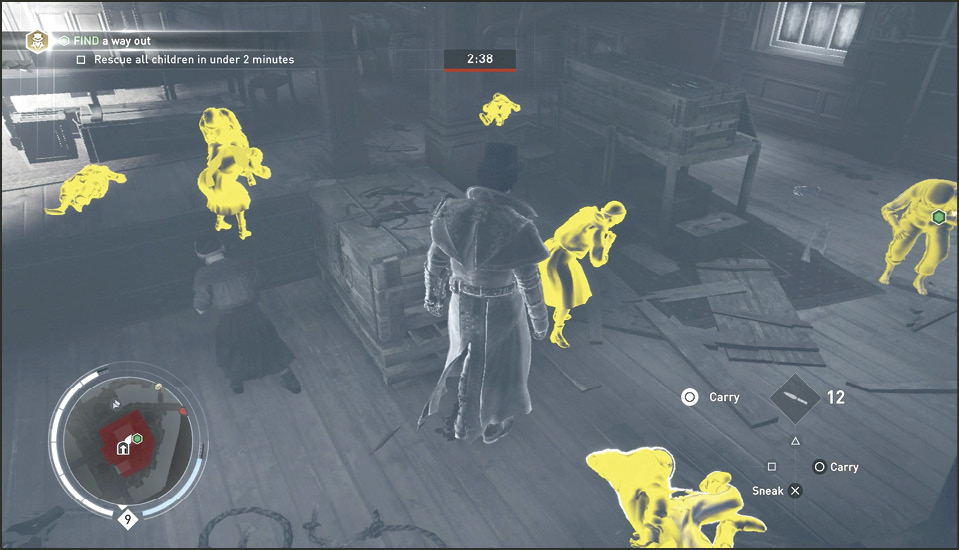
The first thing you need to do is head to the back (west) side of the room and kick the backdoor open. Four of the conscious children run out the door to safety. This leaves three to pick up and carry out one at a time.
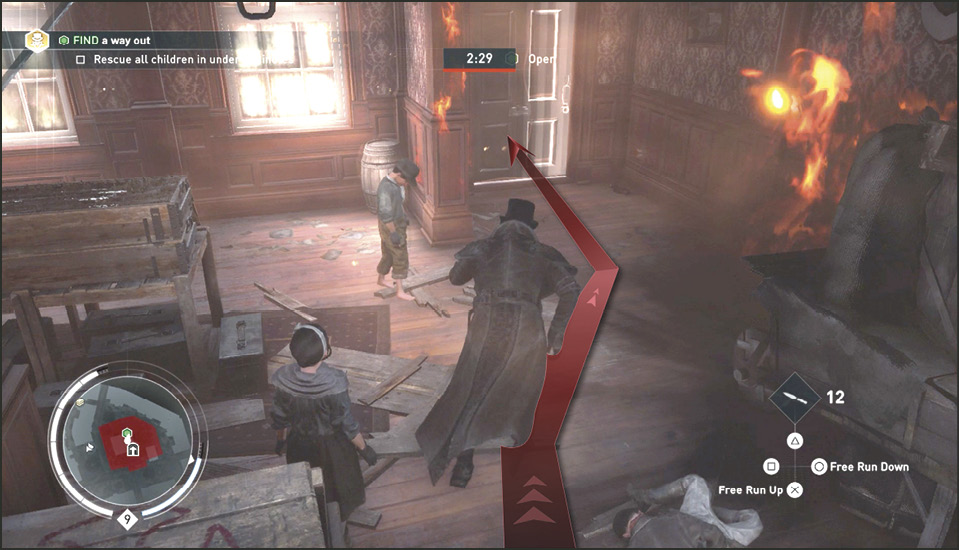
Pick up the closest child to the door and head though the doorway you opened. Run to the end of the walkway following the escaping children and place the unconscious child in the glowing Deliver marker at the gate. When you return to the burning workshop you spot a Templar nearby. Go ahead and kill him quickly (the “do not kill” Challenge is over).
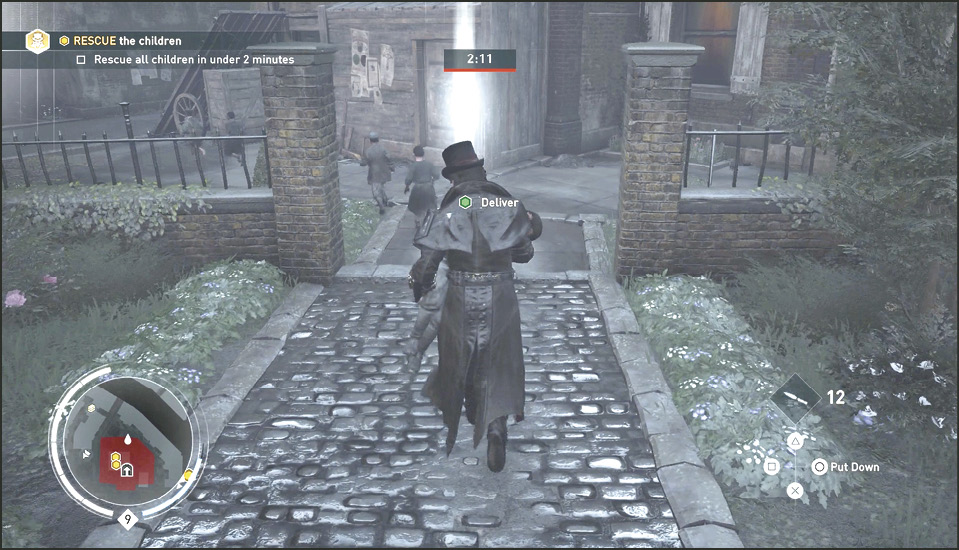
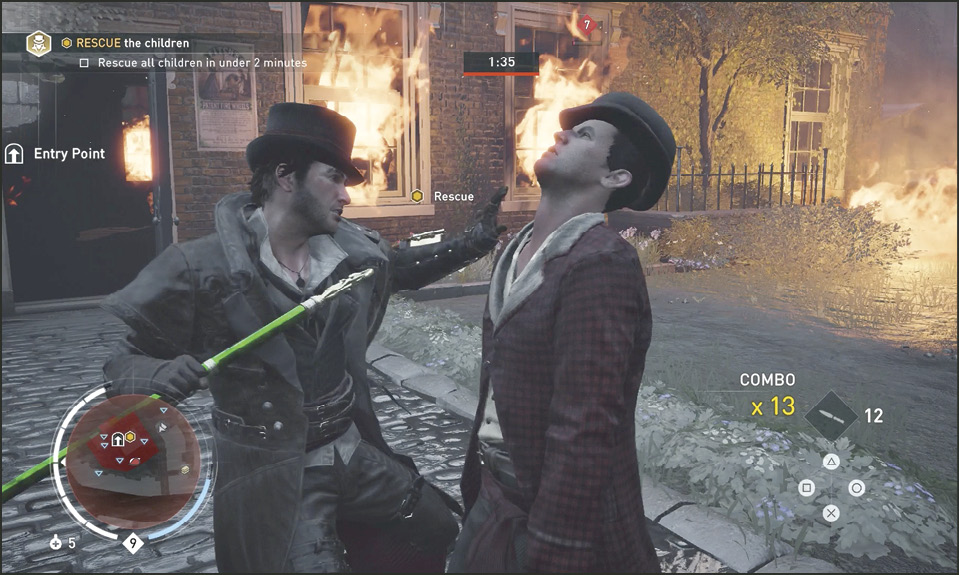
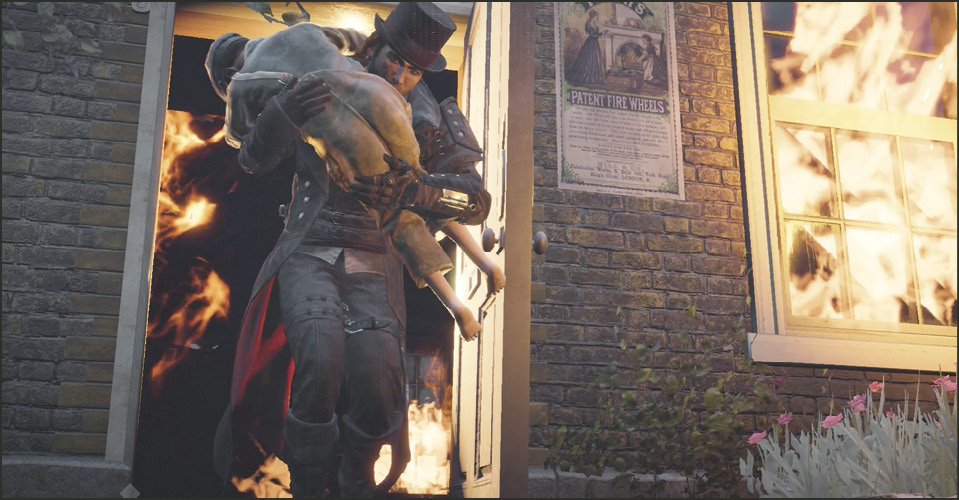
Now run into the burning building and save the last two children, picking each one up and bringing them to the delivery point. When the last child passes through the doorway the memory is completed.
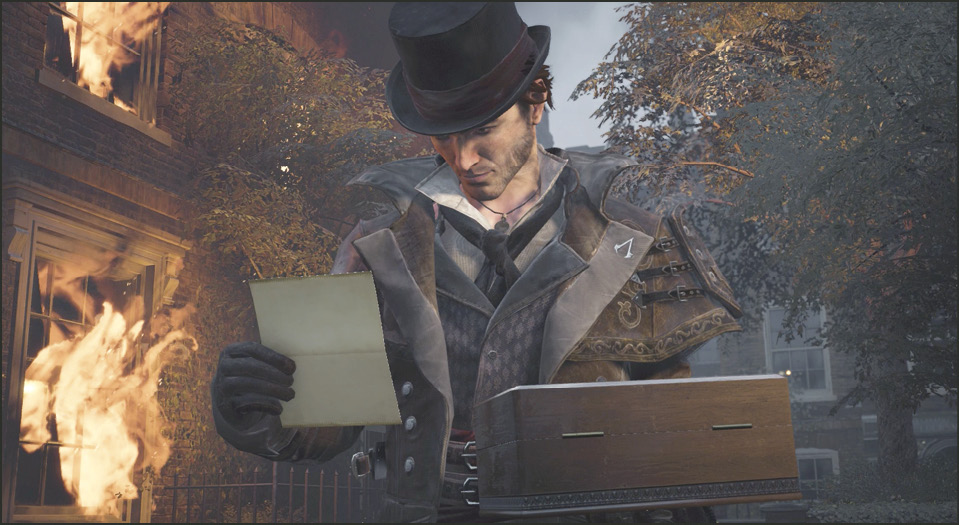
Roth’s doorman arrives on the scene and hands you a box with your “gift” from Roth inside. The The attached letter is an invitation to Roth’s play.