
Assassin's Creed Syndicate Guide Walkthrough Sequence Four
Overdose
MISSION OVERVIEWMemory Type: Templar Conspiracy Suggested Level: 4 AssassinJacob Frye ChallengesHalt the electroconvulsive therapy session Do not fire a single bullet Rewards£: 1230 + 100 (Full Synch Bonus) XP: 1000 + 125 (Full Synch Bonus) Firearm: Model 1 Revolver |
Location: Outside Lambeth Asylum, Lambeth
Jacob meets Charles Darwin outside of Lambeth Asylum. As the weather grows worse, Jacob relays what he has learned about John Elliotson and Starrick’s Soothing Syrup. Jacob proceeds into the asylum alone to keep Darwin out of harm’s way.
Current Objective: Reach the Vantage Point
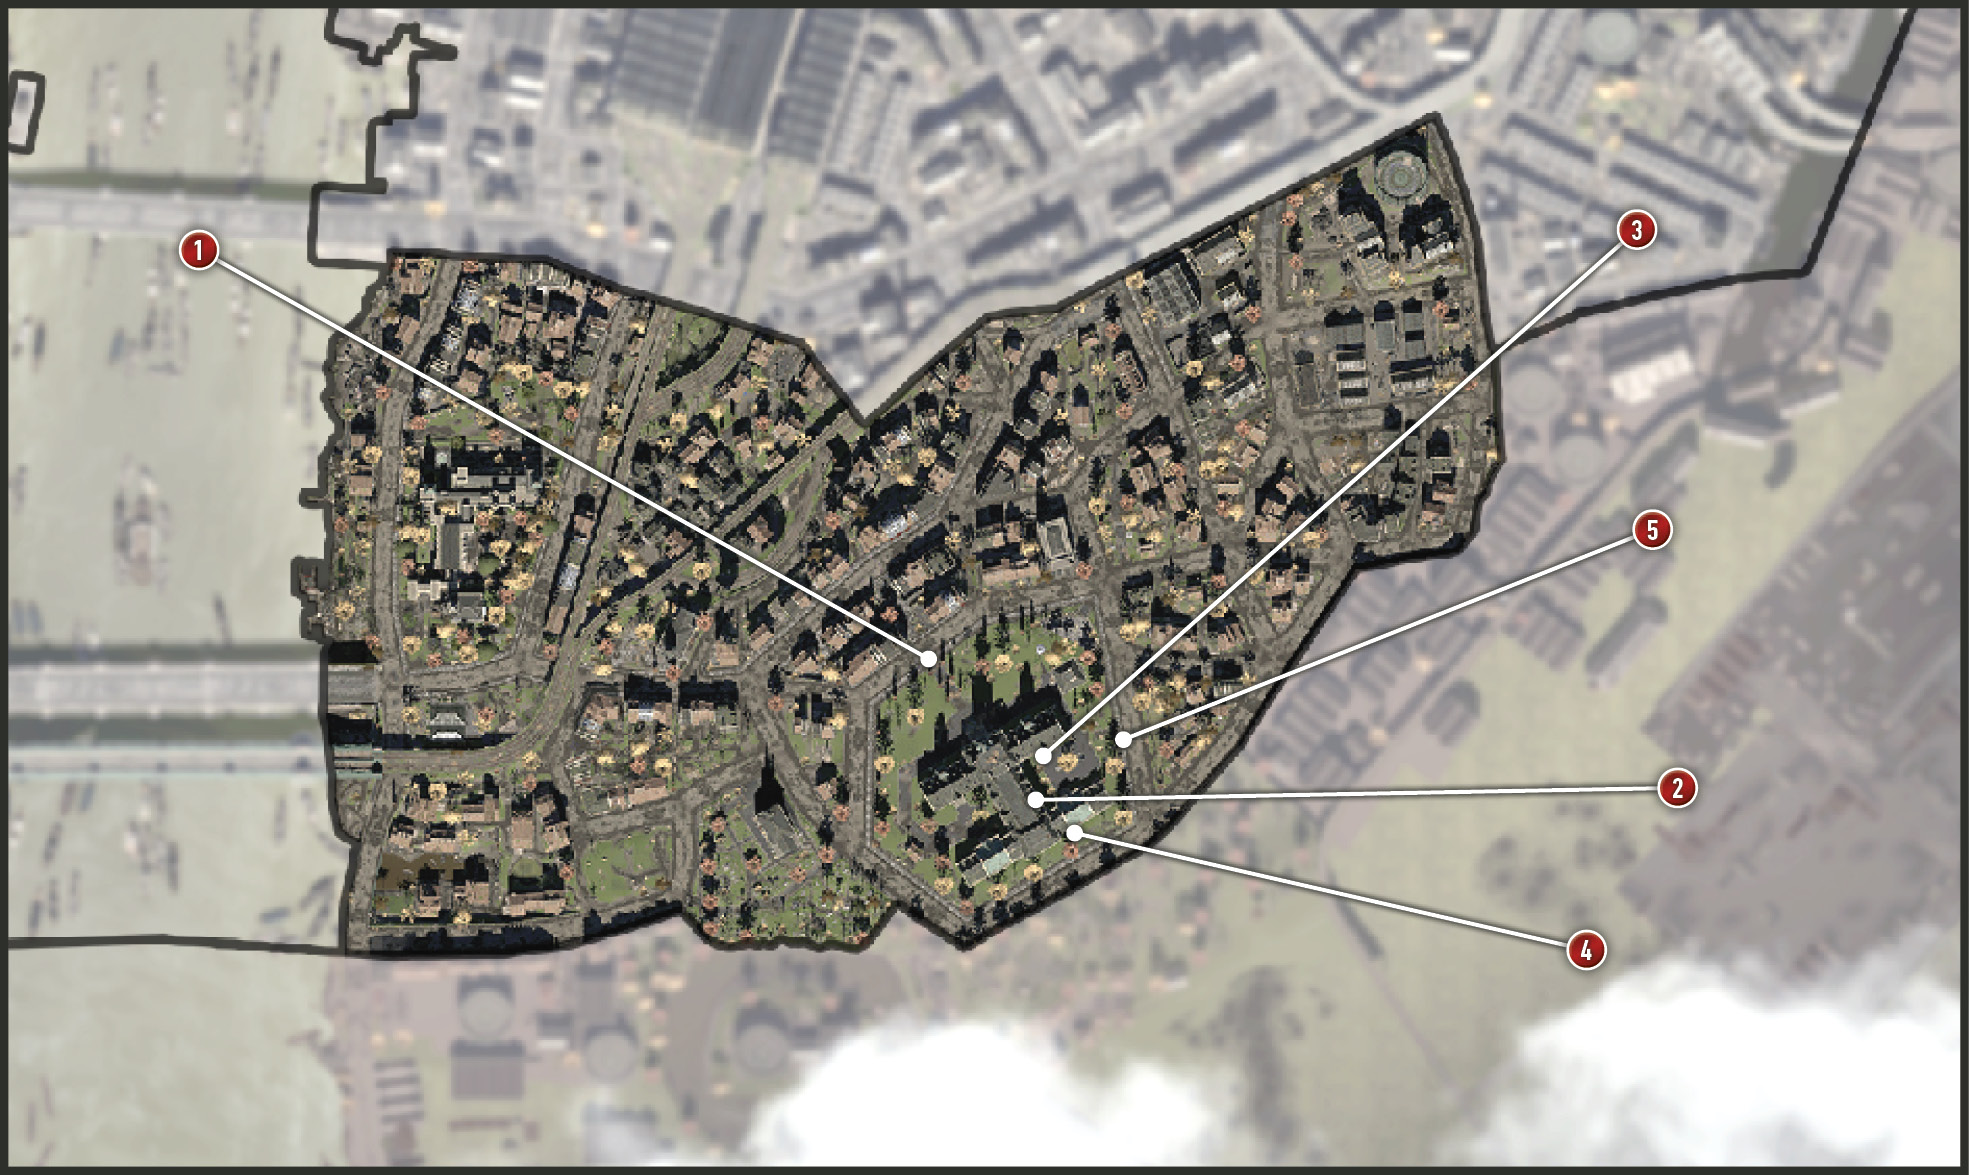
You begin this memory facing the North side of the asylum where the main entrance is located and locked. There are six entry points into the building. You are looking for the one that gets you closest to the eagle icon (Vantage Point).
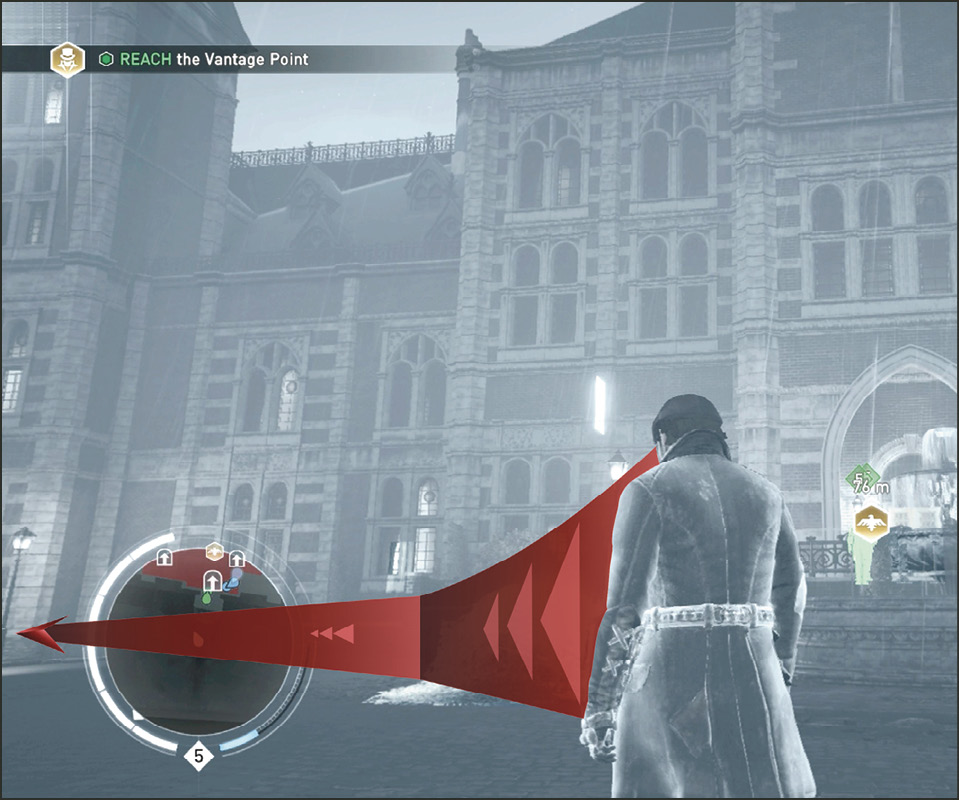
The entry point that gets you to the vantage point the quickest with the least amount of confrontation is on the east side of the building. We suggest walking close to the asylum with Eagle Vision activated so you can start marking orderlies inside along the way.
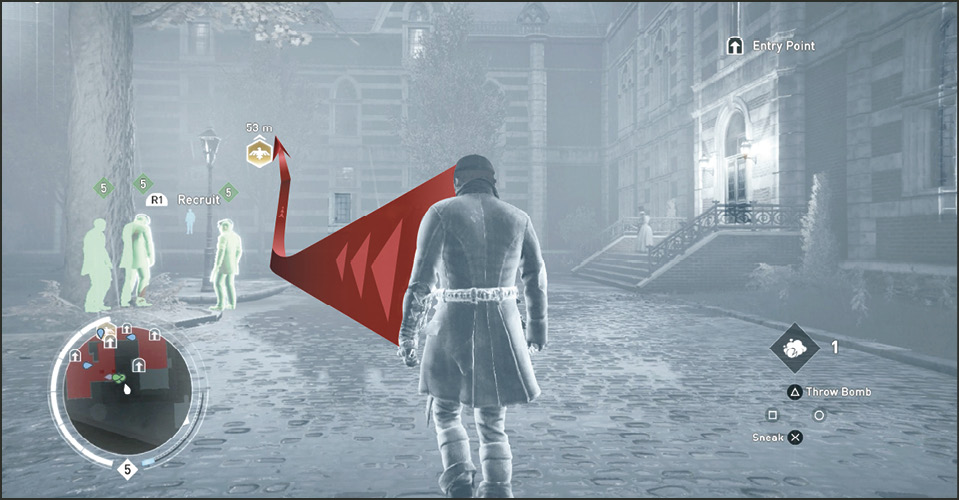
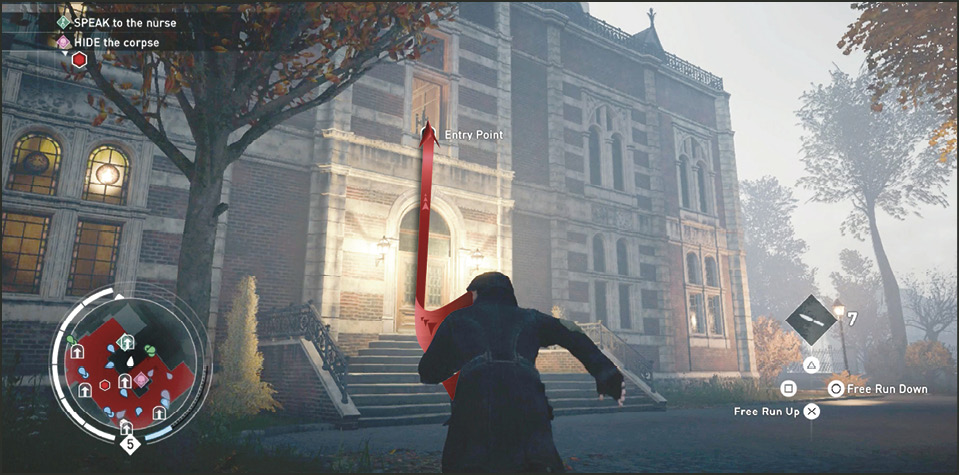
Once you have reached the east side of the building you see an entry point (open window) along the right wall above a locked door and another entry point on the back wall behind a tree on the second floor. Scale the back wall and enter the open window (2) behind the small tree.
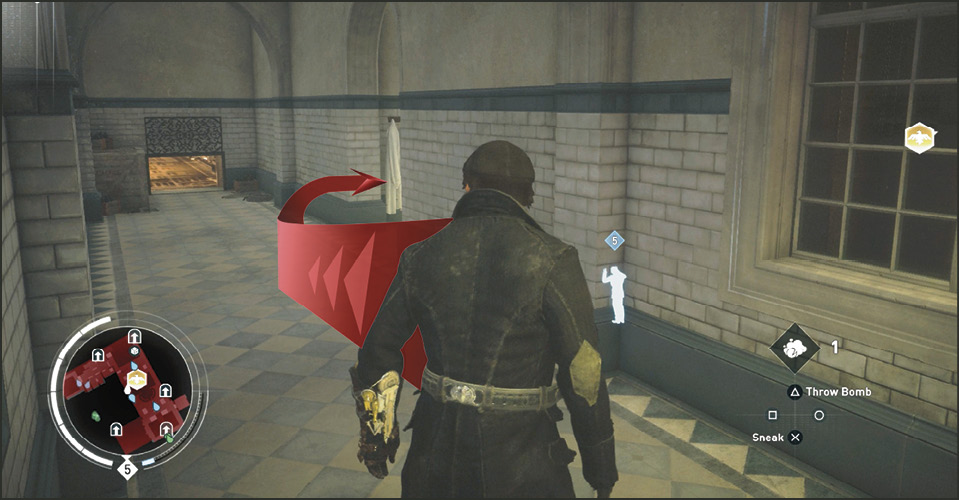
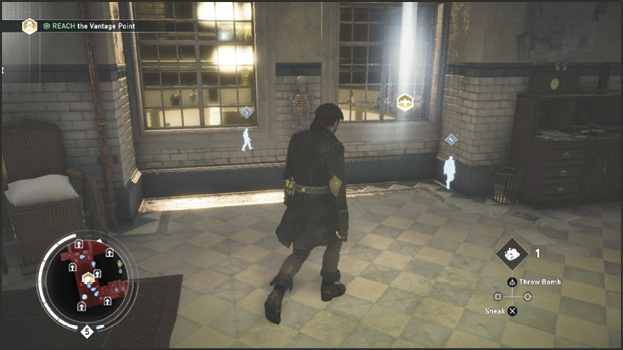
Once in the building, turn left and enter the first room on the right. The Vantage Point is an observation window with a view into the mezzanine where an audience of young doctors, rich men, and nurses watch as Dr. Elliotson performs a trepanation on a live subject.
The tool in the doctor’s hand jolts back, the audience gasps, and blood quirts from the patient’s head. The patient shakes and goes still. The doctor explains that too much pressure can sometimes result in unexpected outcomes. He moves to a speaking tube and asks for a cadaver to be sent up.
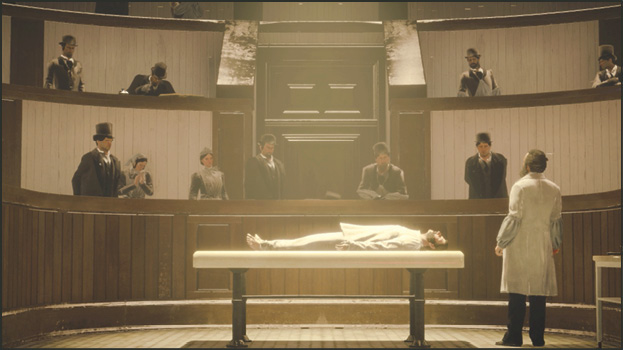
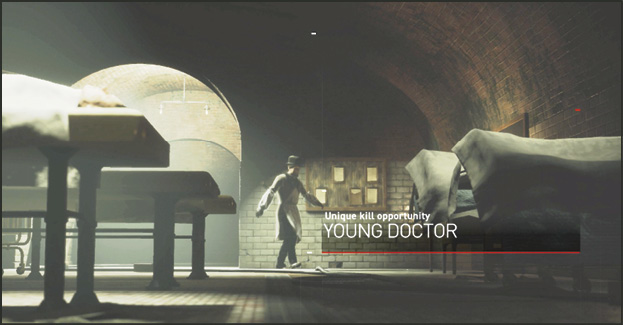
In the cinematic you are introduced to the different gameplay elements in this memory. First you see the Young Doctor in the morgue who receives the call for a cadaver. Finding him presents you with a unique kill opportunity… not his death, but a way to uniquely kill Dr. Elliotson.
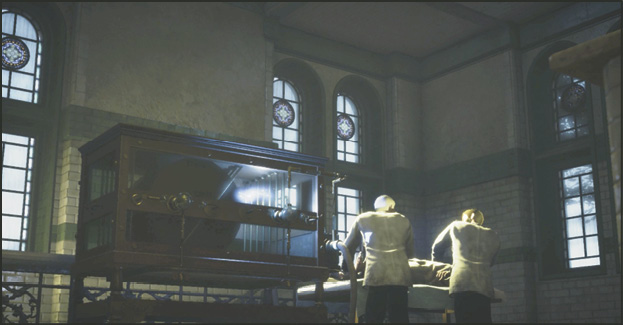
In the same cinematic you see a scene concerning the first Challenge: a couple of orderlies preparing to perform electroconvulsive therapy on a patient.
Lastly you see a nurse being fired and her key being taken away. This is your infiltration opportunity.
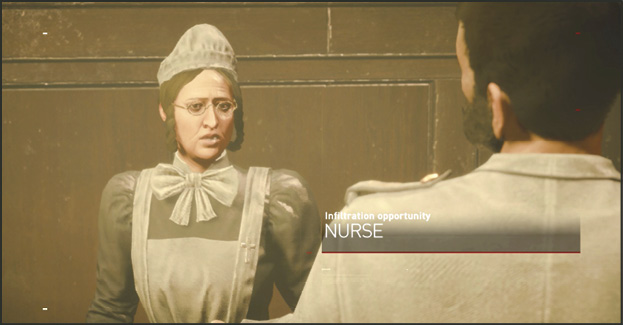
Current Objective: Assassinate Dr. Elliotson
Alternate Objective: Speak to the nurse
Alternative Objective: Hide the corpse
Challenge 1: Halt the electroconvulsive therapy session
Challenge 2: Do not fire a single bullet
As soon as control returns to you, remain in the position near the observation window and activate Eagle Vision. Look all around the area, mostly to your right and down to the floor. From this position you can mark a lot of orderlies and the three primary players in this memory. Look at eye level to the right, near a glowing ladder, to spot the Nurse (A). She has a key icon hovering around her. Press R3 to identify her. You learn that the ability to unlock all doors in the asylum is the advantage to helping this lady. You must find her now and speak to her.
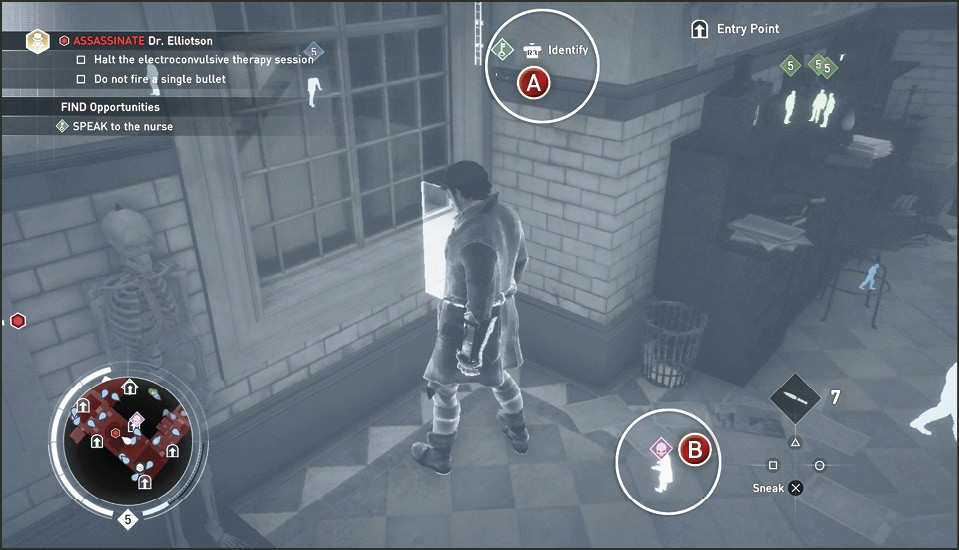
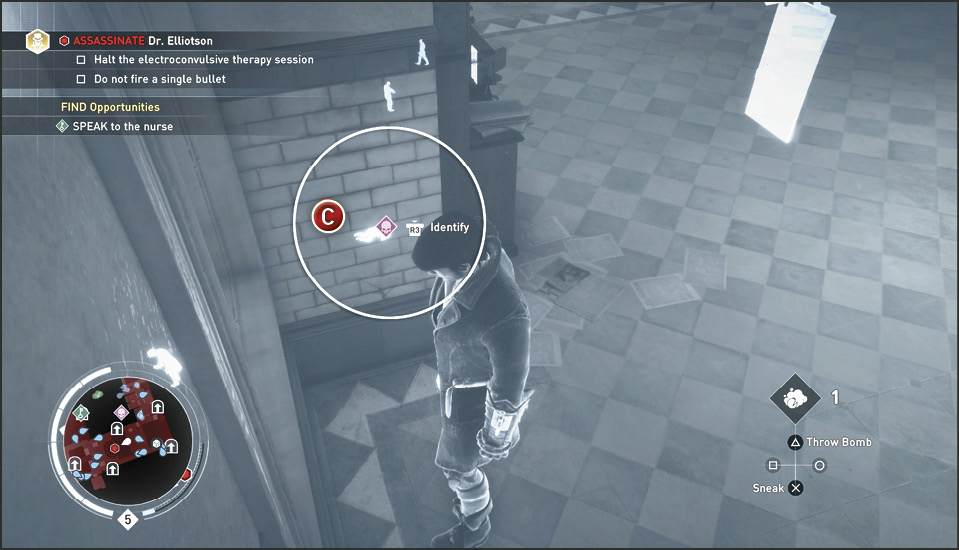
Look down at your feet and find the Young Doctor (B) with the purple skull icon hovering around. I know what you’re thinking: where do I get one of those, right? Beats having a key floating around, any day. Press R3 to identify the Young Doctor. You learn that you can take the place of the cadaver the doctor ordered to the medical theater. This allows you the opportunity to uniquely kill the doc. After identifying the Young Doctor and in the same general location below you can see, mark, and identify the cadaver (C).
How you go about beating these Challenges is entirely up to you. There are multiple ways in and out of rooms and plenty of entry points in and out of the asylum; the strategic options are endless. We take you through the quickest route we found while slaying few souls.
Speak to the nurse
Head back out into the previous hallway and exit the building through the same Entry Point (2) used to get inside.
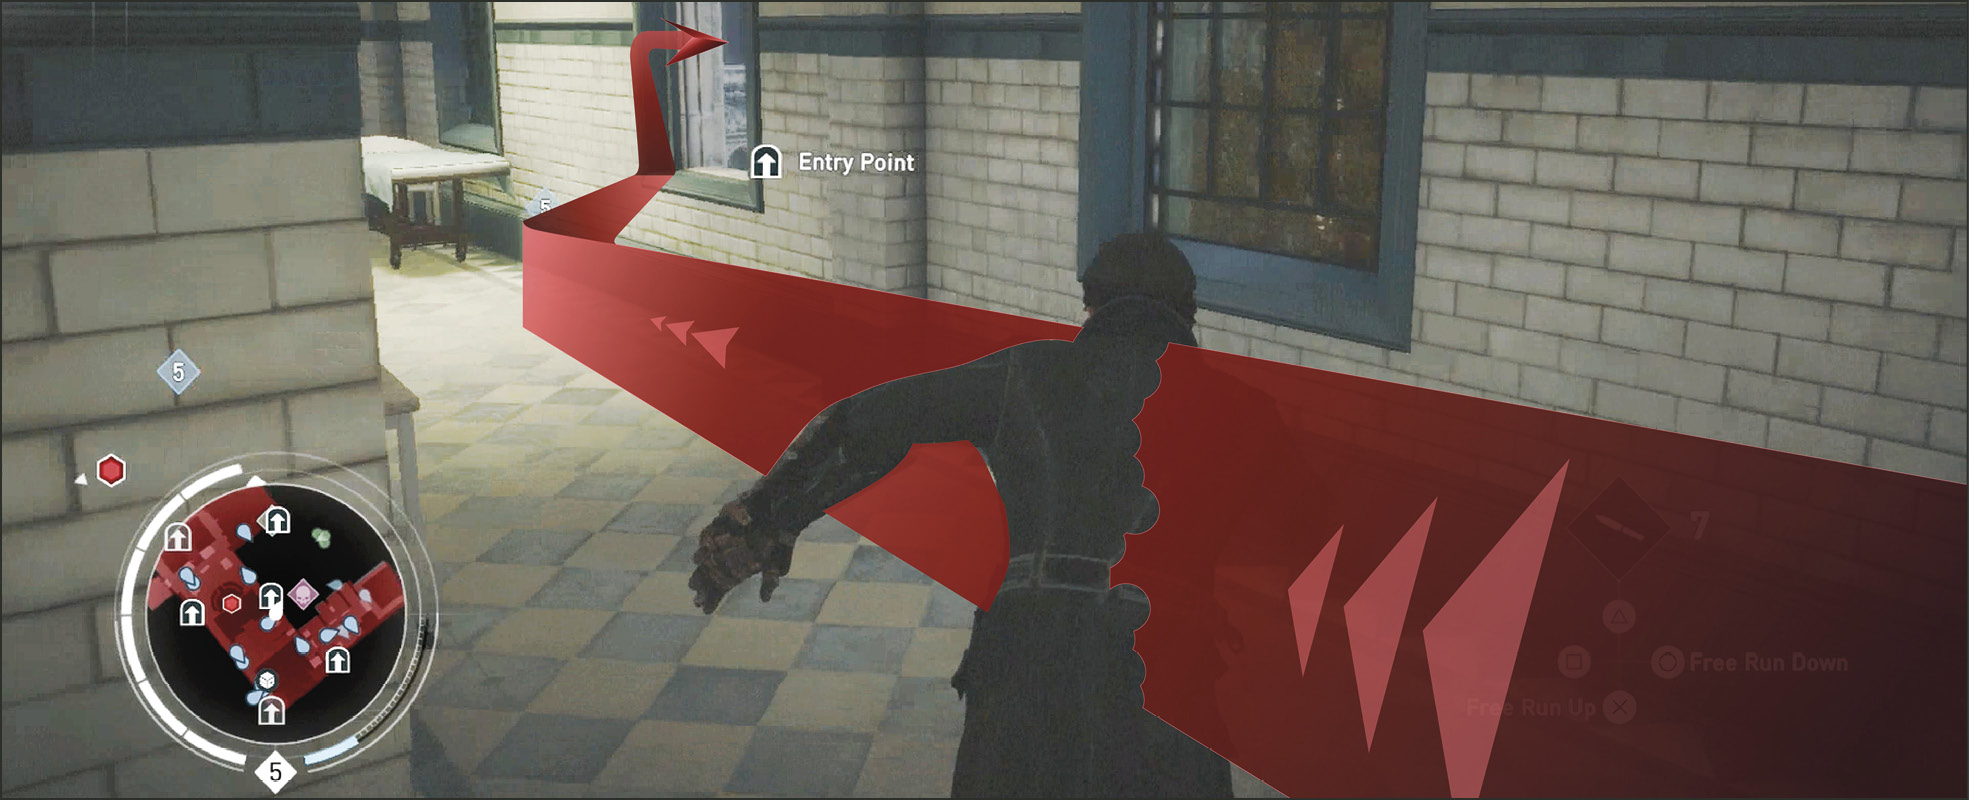
Once outside, look to your left. Find the Entry Point (3) window over the large locked door at the top of the stairs. Enter the asylum through that window.
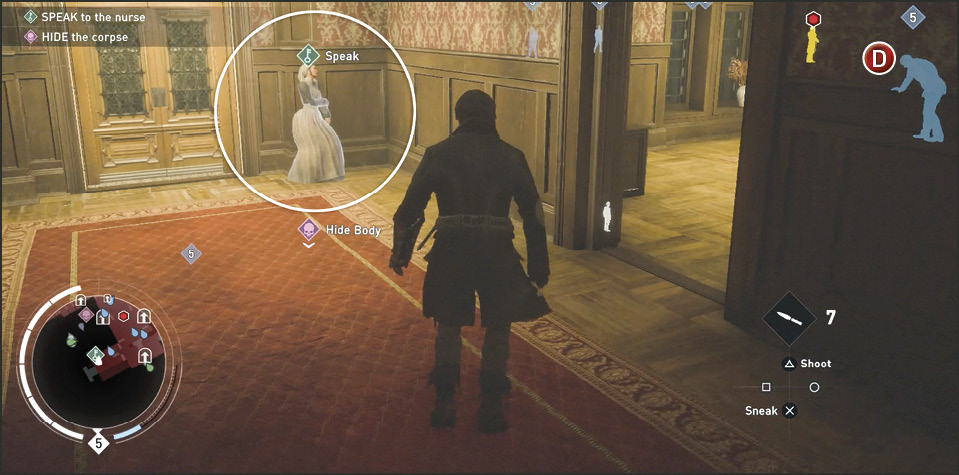
Once inside you cannot come back through that route (you enter an entryway with nothing to grab onto or Rope Launch out of). Drop down from the interior balcony to the floor. Turn and face the locked wooden doors. Find the Nurse in the right corner beside the door. Also notice two exits in this entryway, also to your right. The nearest orderly (D) is in the next room looking down at something on a desk. Do not alert him. Identify the Nurse and talk to her.
Alternate Objective: Steal the master key
The Nurse wants to speak to Mrs. Nightingale. She says one of the brutes stole her key and she can’t get out. You tell her to stay there and you’ll take care of it. Sneak up to the edge of the doorway near the Nurse and use Eagle Vision to spot the brute (F) with the key two rooms away.
Sneak up behind the orderly (D) in the next room leaning on the desk. Silently execute him from behind and then sneak quickly into the hallway behind you and silently take out the orderly (E) in the next doorway with his back to you. He sometimes turns around so catch him when he’s not looking.
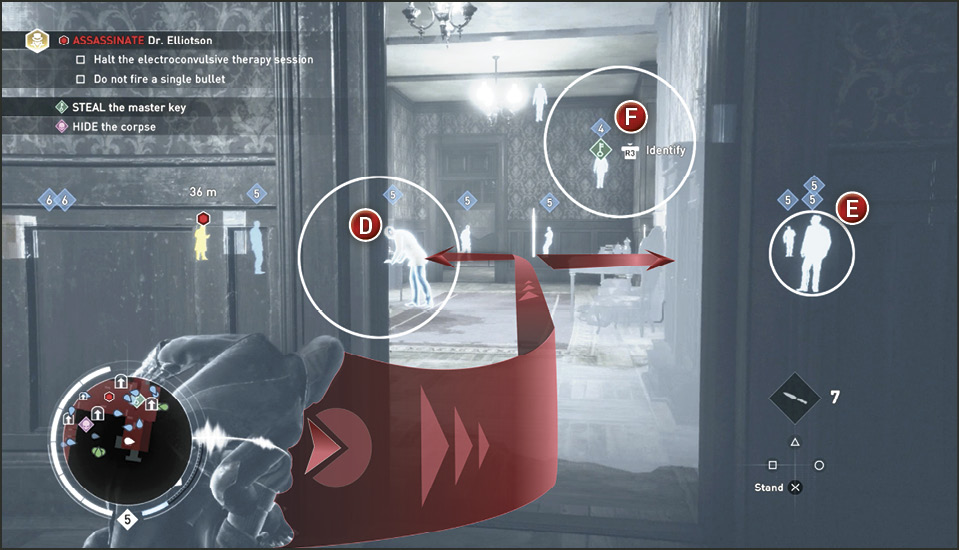
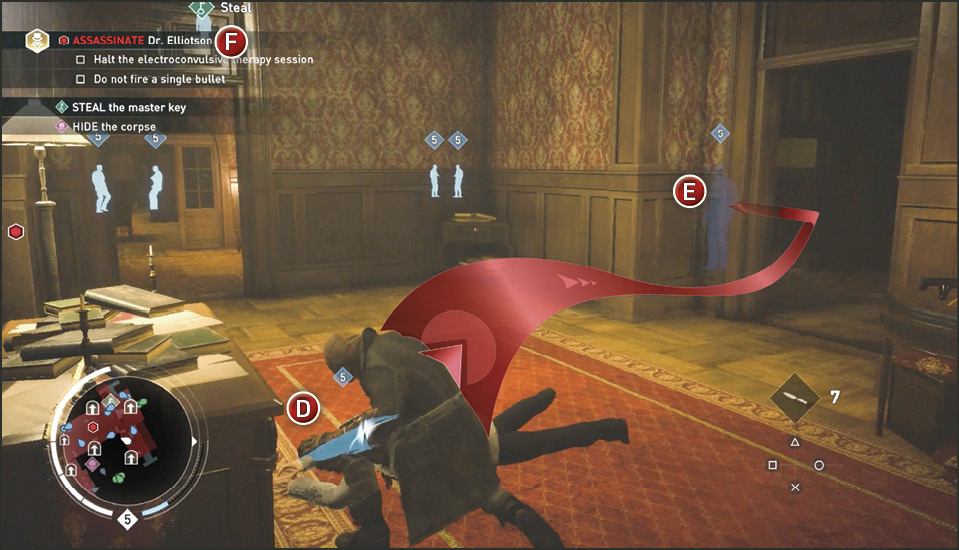
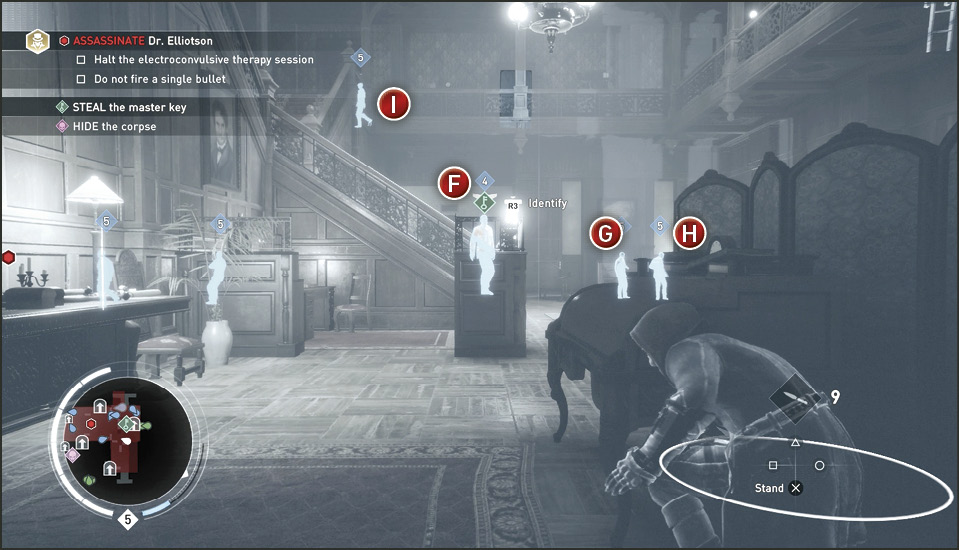
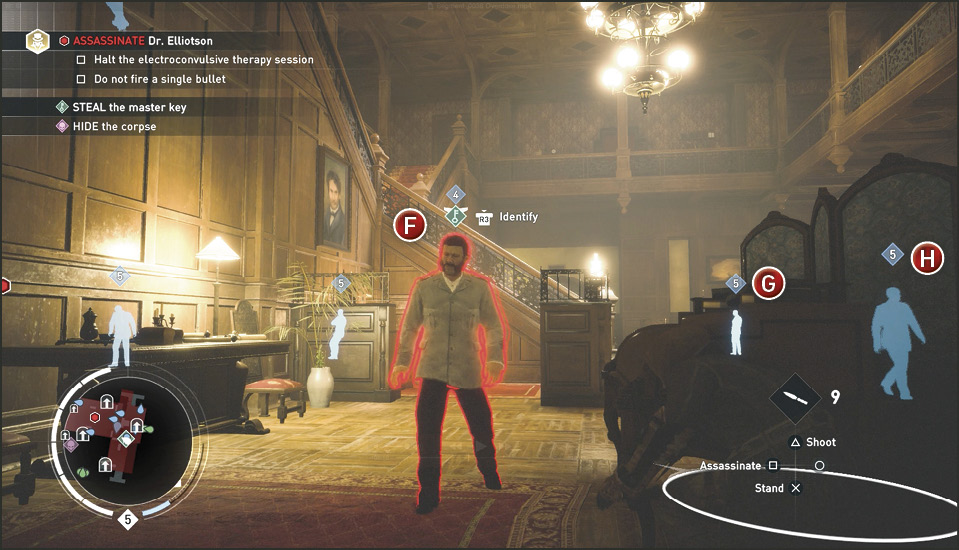
Move into the anteroom while hugging the right wall and stopping to cover behind the roll-top desk. Sit here and study the movements of the remaining orderlies in the area. The two (G & H) near the fireplace stay put and talk a while but one of them occasionally leaves and returns patrolling a path that comes as close as the other side of the screen behind the roll-top desk. The key bearer (F) patrols a little of the upstairs balcony and the goes up and down the stairs between the floors.
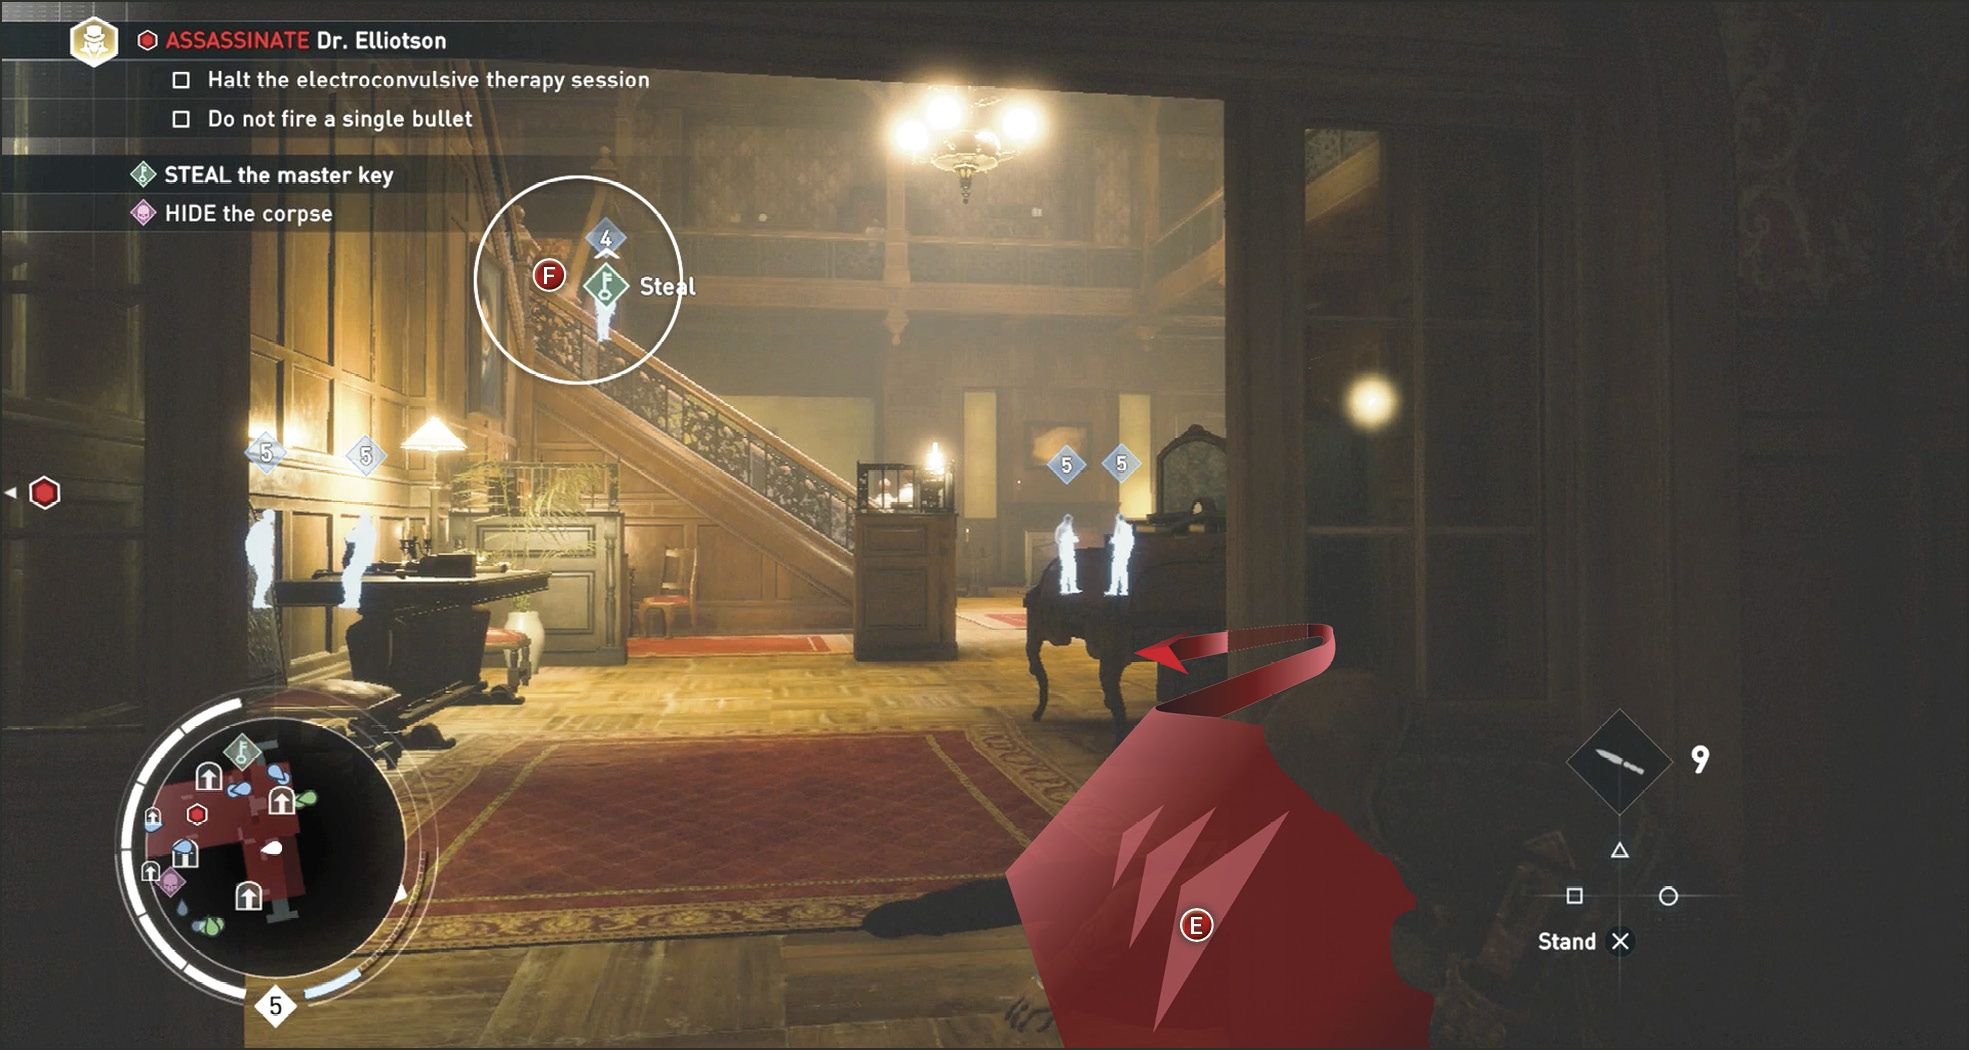
Lastly, an orderly (I) patrols the entire upper floor balcony. You start your attack when he’s not looking. So whistle for the patrolling orderly (H) when he is near, or whistle for the key holder when he is at the bottom of the stairs, whichever comes first. If one sees you, cover assassinate the other. Usually only that one orderly comes running. This ends up being an easy and quick kill. If this happens to you, duck into the previous room to become anonymous before you proceed.
Master Key Acquired
Challenge 1: Halt the electroconvulsive therapy session
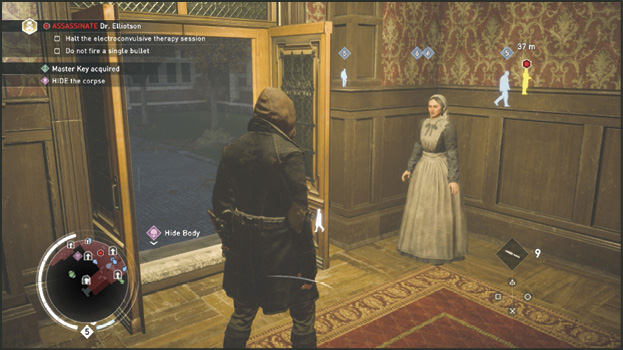
You gain the key the moment you kill the key bearer (if the auto loot Skill has been purchased). Head back to the Nurse in the previous room and unlock the front door so she can leave the asylum. Now you have the master key to all the locked doors and have just unlocked your quick exit for the end of the memory.
Exit the asylum again through the double doors you just opened. Move directly across the courtyard in a southerly direction. You’ll see an Entry Point icon (4) floating through the asylum’s southeast wing. Use the Rope Launcher to get to the rooftop so you can scale down the other side of the building to the open window.
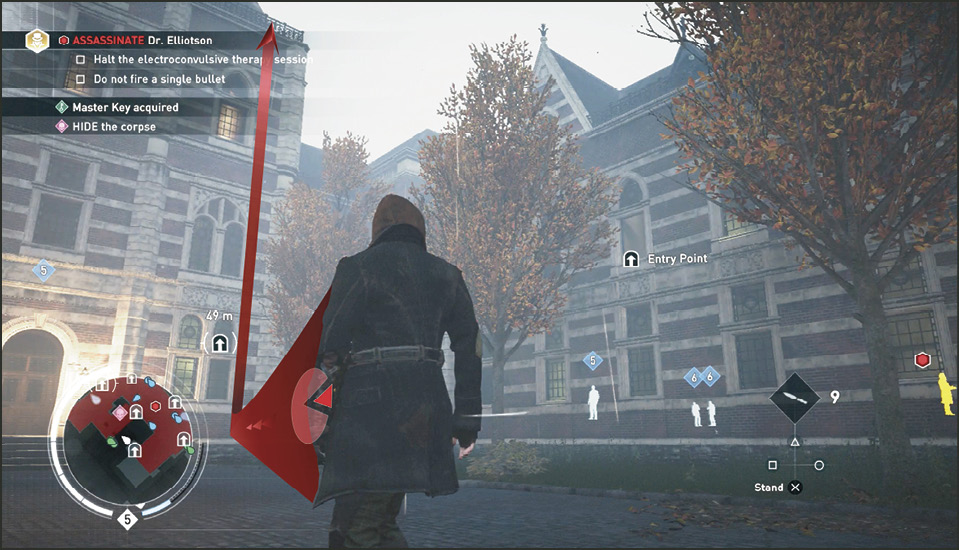
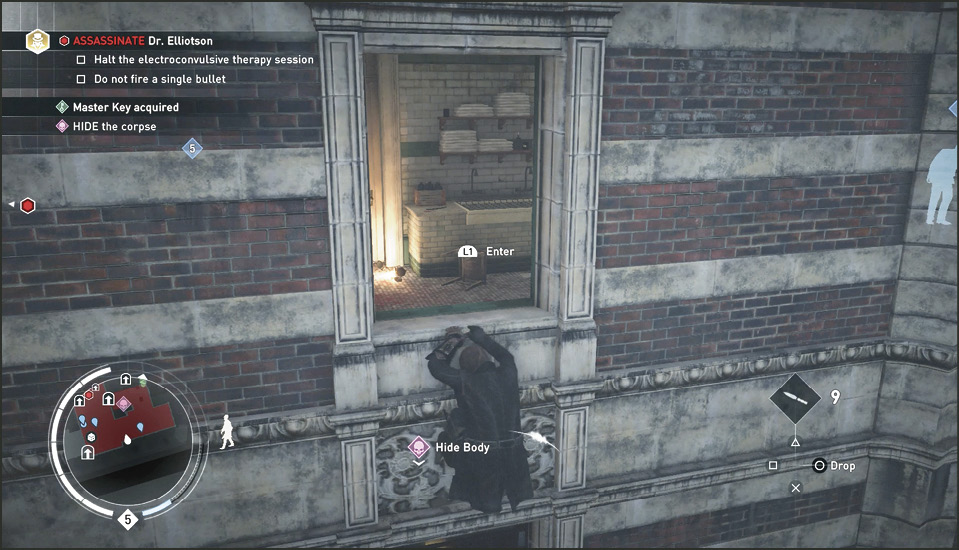
You find yourself in a scrub room in the patient ward with a bloody locked door on your left and an open floor vent on the right wall. Activate Eagle Vision and watch as the nearby patrolling orderly (J) walks past this vent. Slide Under the vent and assassinate the orderly from behind.
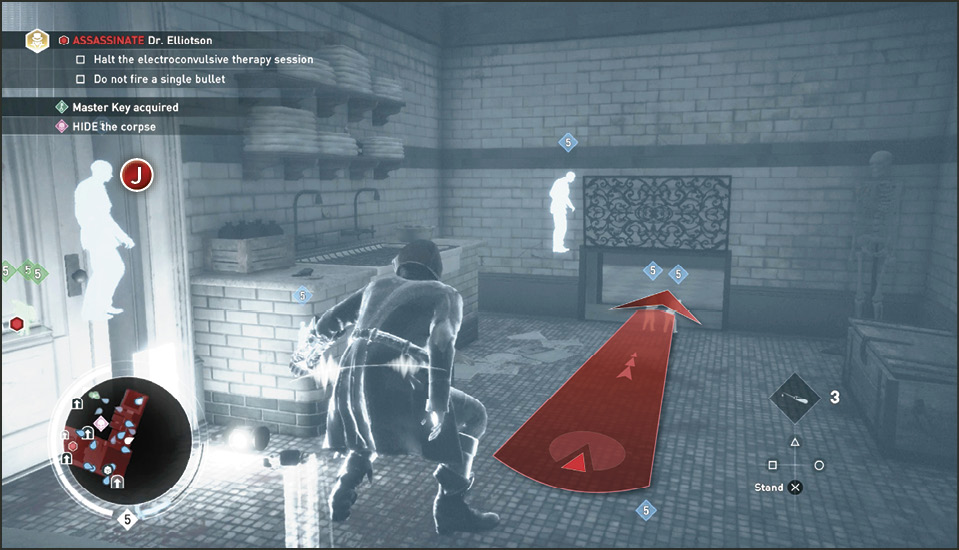
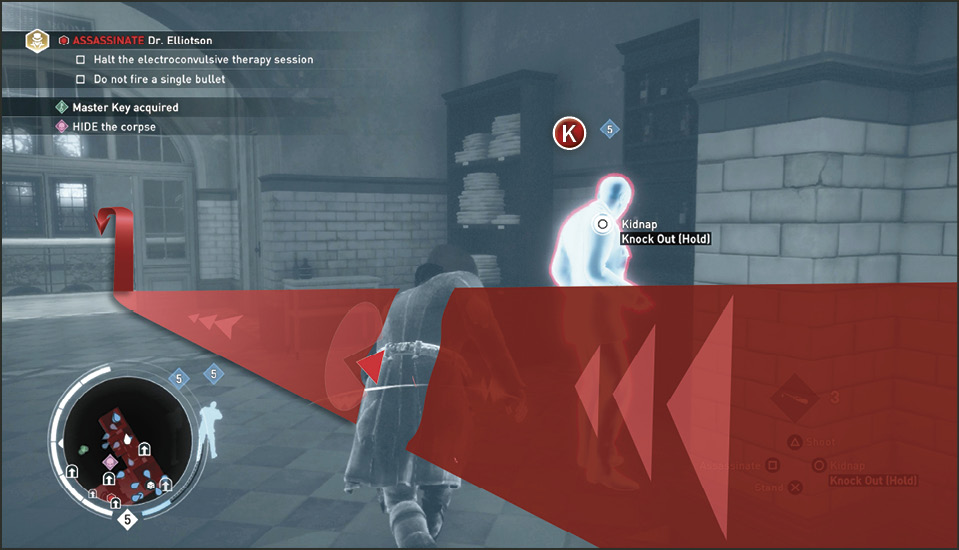
Turn around to the open hallway and use Eagle Vision to spot the orderly (K) just outside the door to the right. He is preoccupied and his face is buried in some cabinetry. Silently take him out and be ready to run to the east end of the hallway to stop the shock therapy event happening on the lower floor.
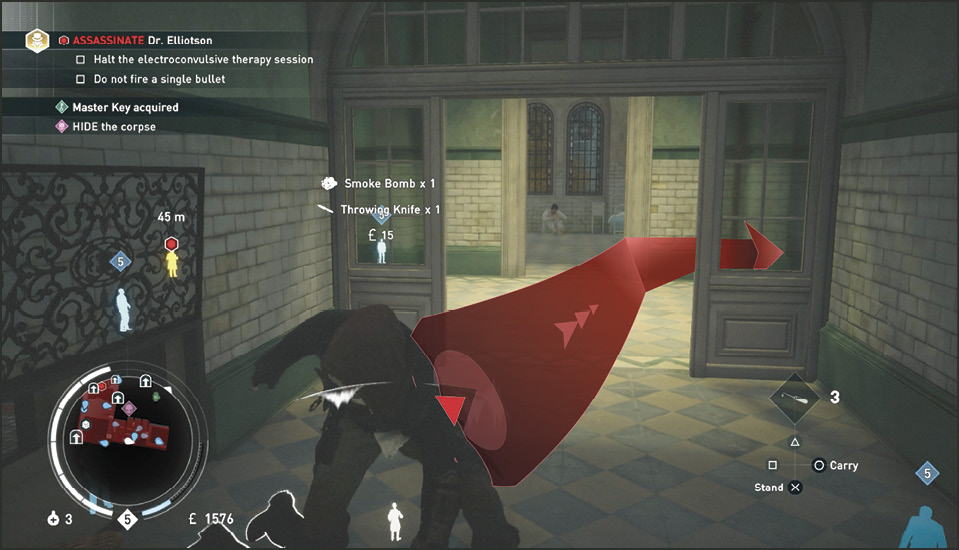
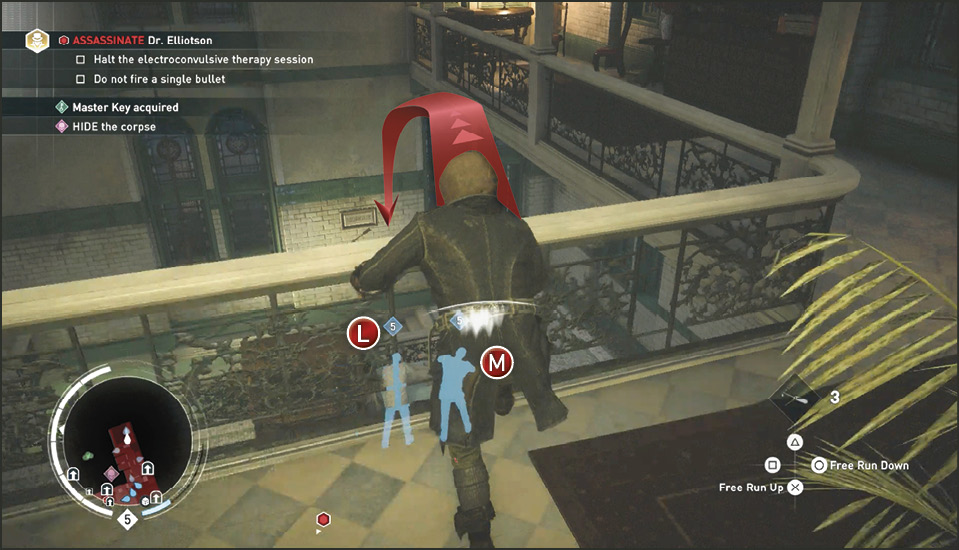
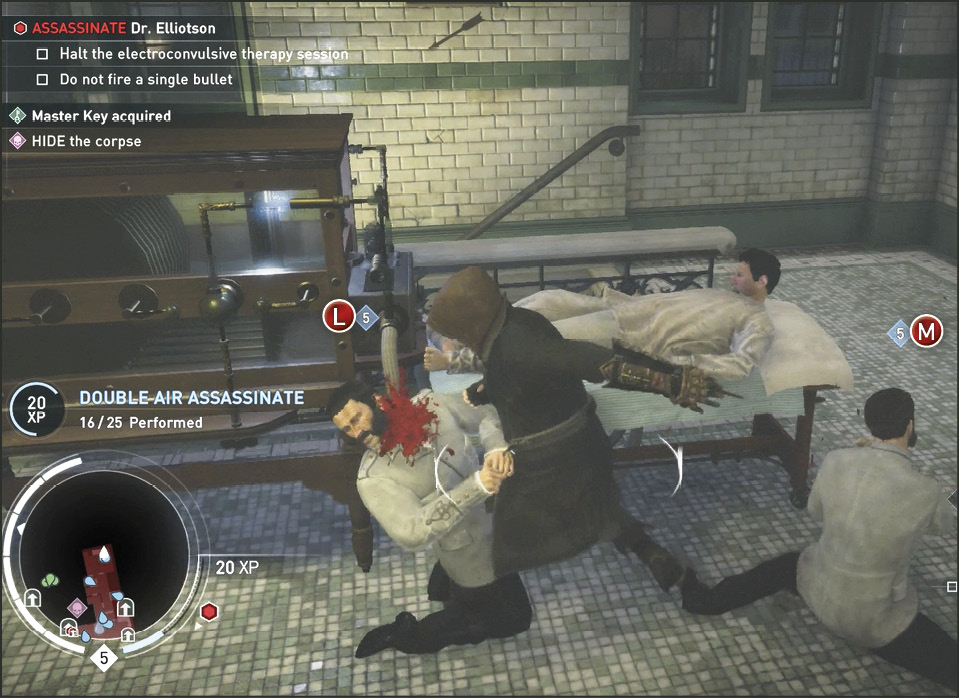
Dart into the room with the large balcony overlooking the electroconvulsive machine and two orderlies (L & M) wrestling a patient down on a gurney. Run up the balcony rail and perform a Double Air Assassination on the two orderlies before they shock the guy.
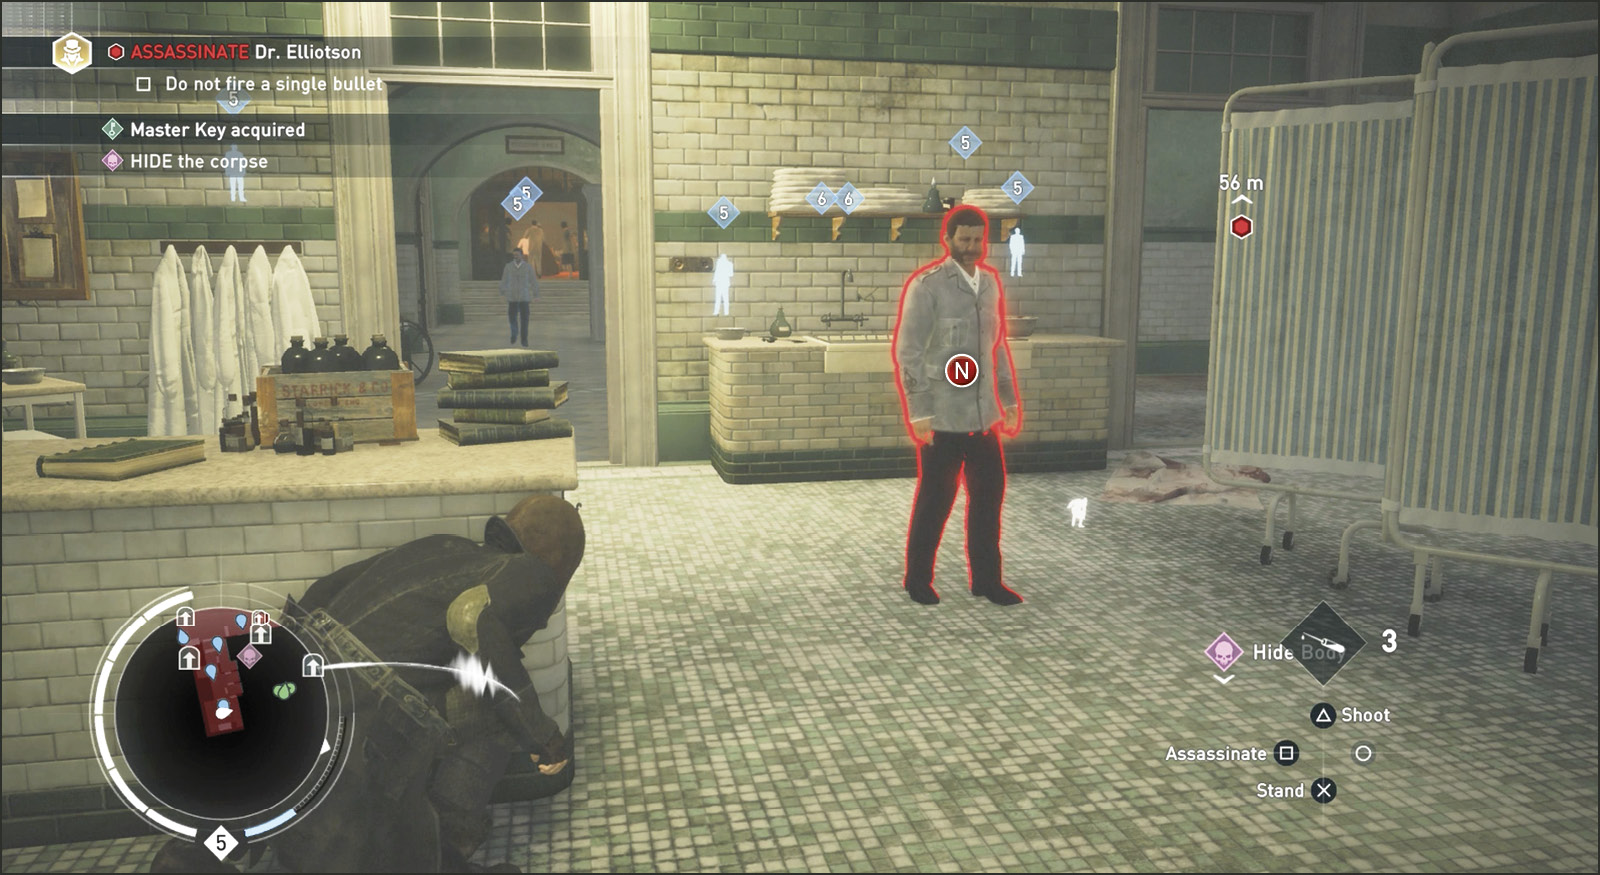
Quickly turn around in the same room and cover behind the island covered with bottles of Soothing Syrup and books. Cover Assassinate the orderly (N) that patrols into the room shortly after you enter.
Alternative Objective: Hide the corpse
While in the shock therapy room, turn once again and face the electroconvulsive machine. There’s a stairwell to the floor below behind that machine and a gurney. Head downstairs to the morgue now.
Stop and cover at the left corner on the landing midway down to the morgue level. Around the corner and down the stairs is an orderly (O). Whistle at him then Cover Assassinate him when he reaches your kill zone.
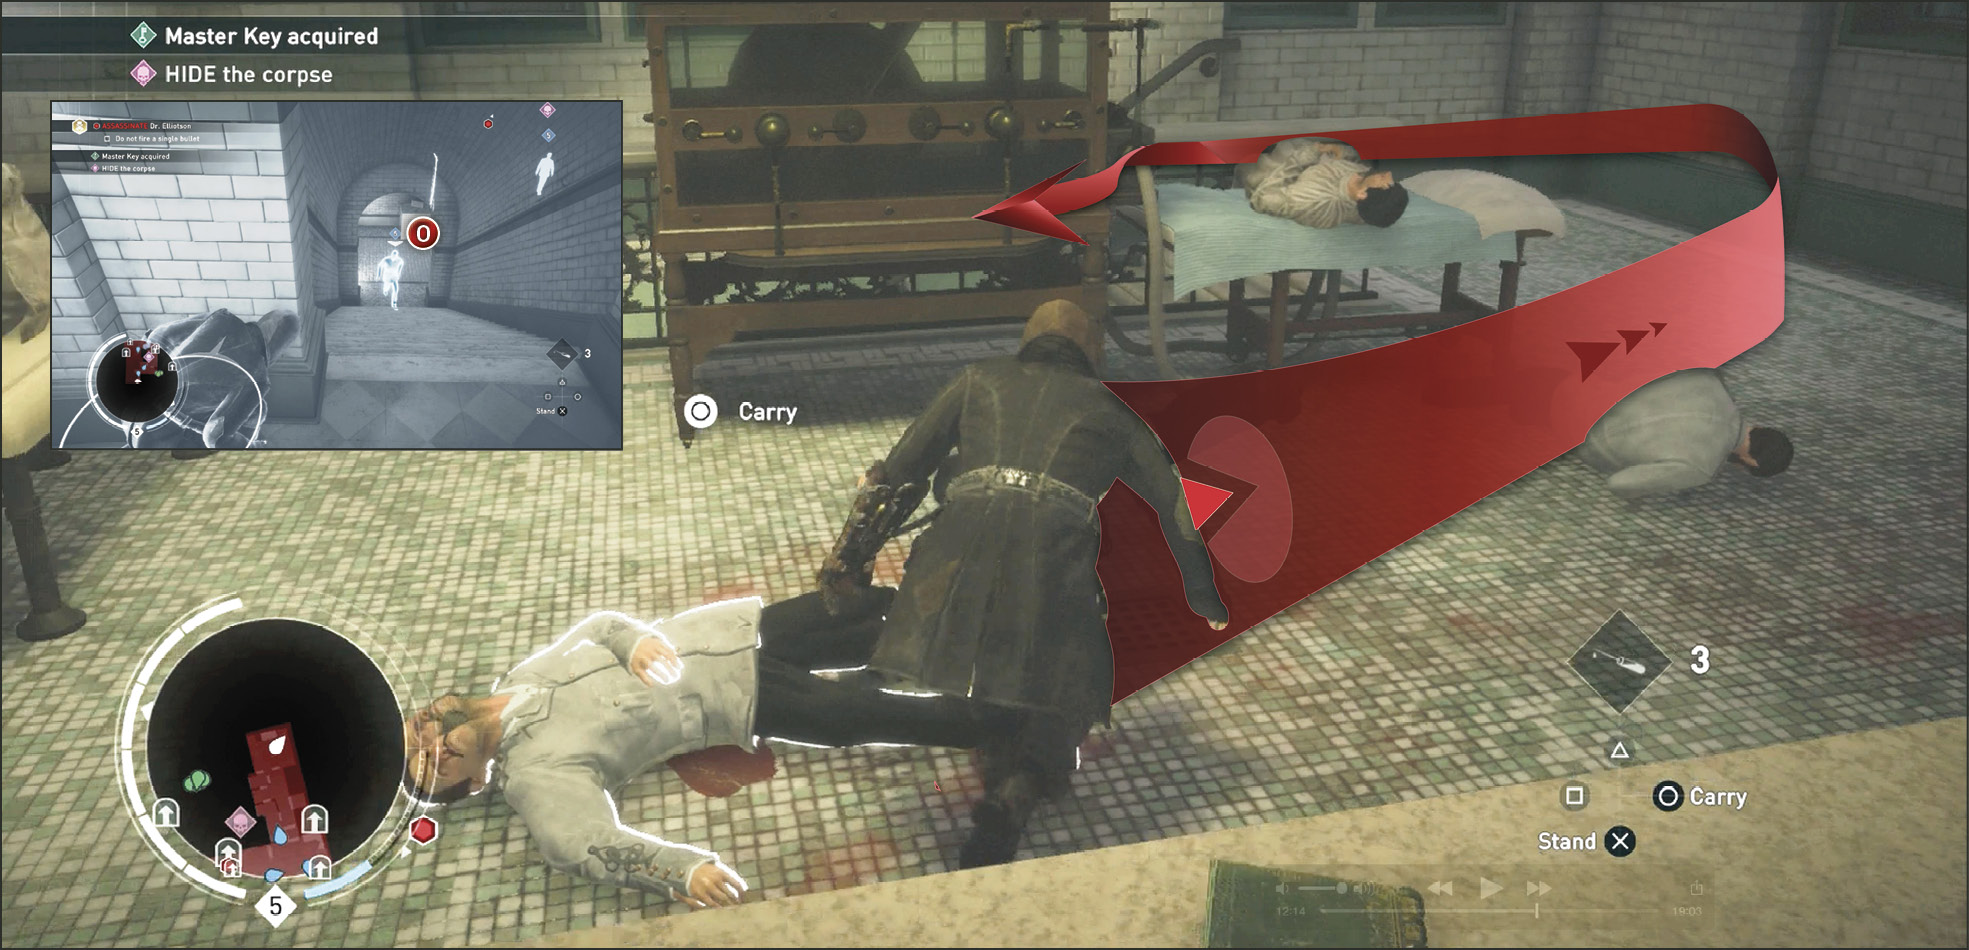
When you reach the morgue hallway, turn right and you see two exits along the left wall. All these rooms down here are interconnected so follow the patrolling orderly (P) around the hallway wall and silently dispatch him from behind.
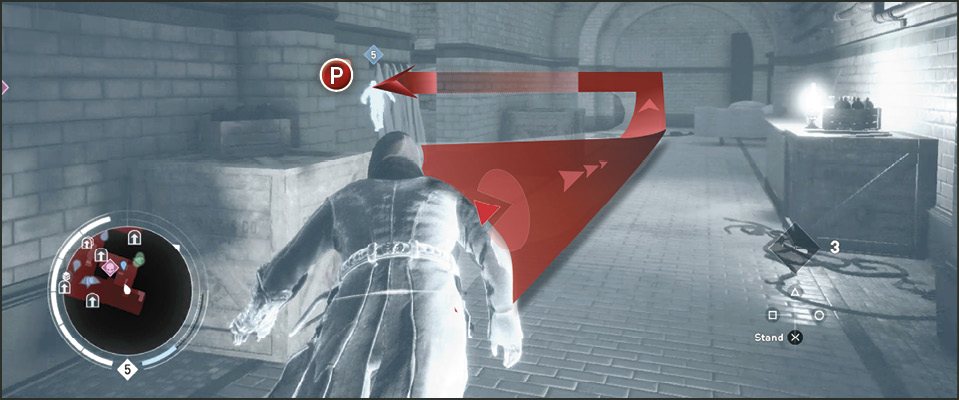
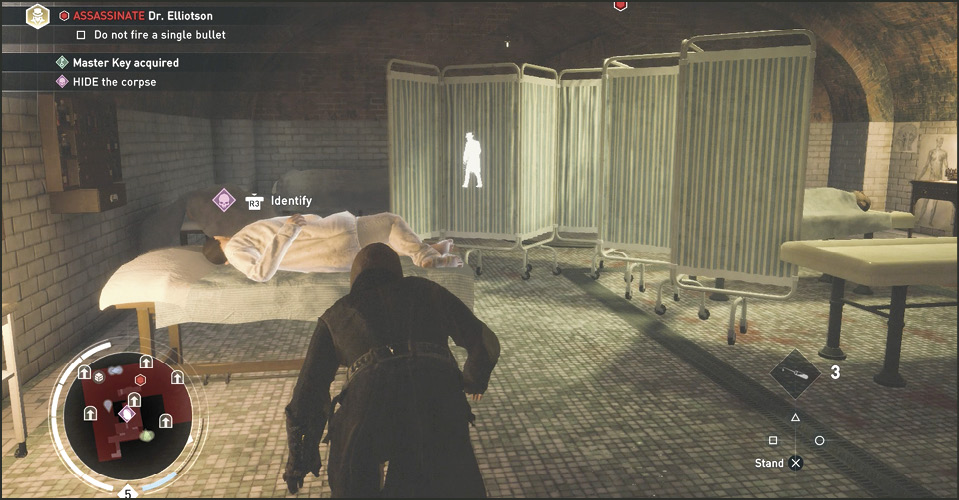
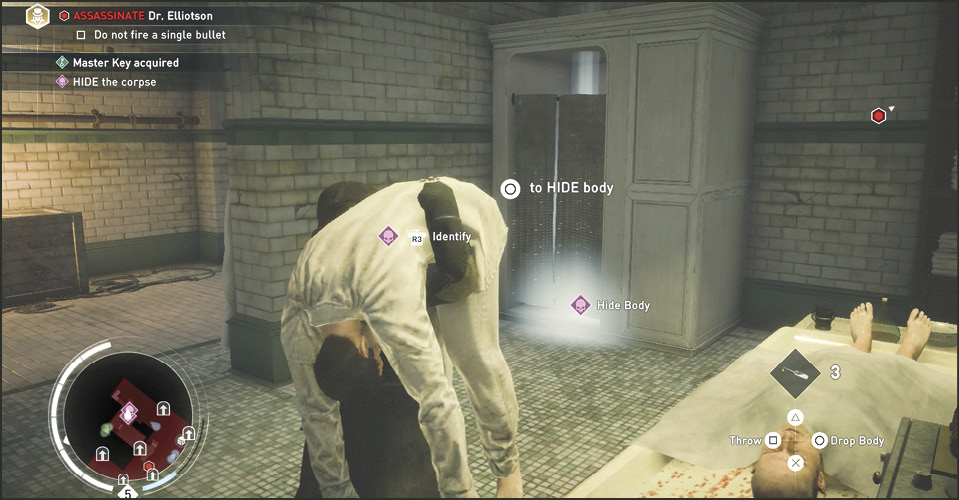
Enter the back left corner room and approach the cadaver on the gurney. The Young Doctor is behind a screen and does not see you. Pick up the cadaver with  /
/  and carry him into the next room (follow the Hide Body icon) and throw him into the booth. Drop him inside the booth in the glowing marker to complete the task.
Alternative Objective: Lie on the stretcher
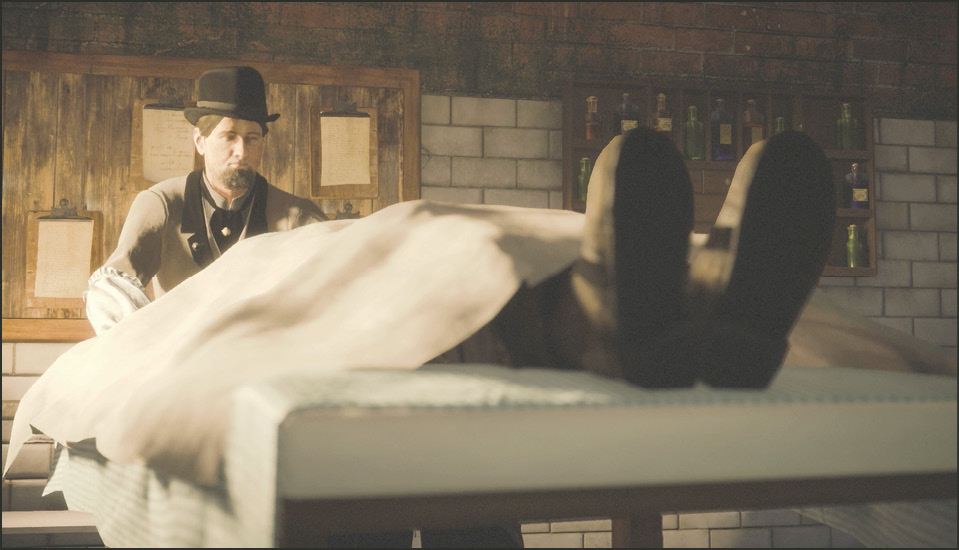
Return to the room where you found the cadaver and lie down on the same gurney. In a cinematic Jacob covers his body with a sheet and the Young Doctor begins pushing him into the anatomical theater.
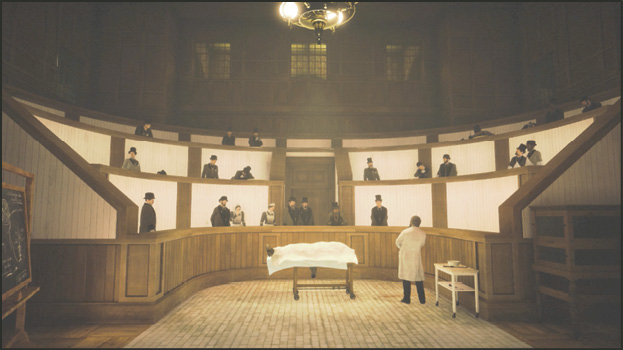
You are rolled right in front of Dr. Elliotson in the theater. While he rambles on to the audience a prompt appears on screen,  /
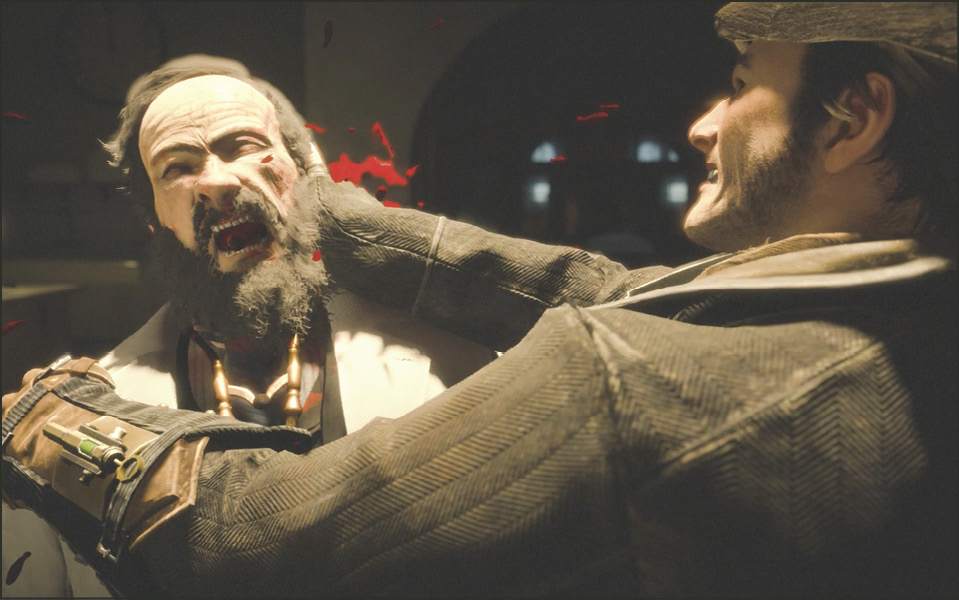
/  . This is the command to kill the doctor. Don’t wait too much longer after he notices that you (as a cadaver) should not be wearing boots. If you execute him using the prompt then its an instant cinematic kill, otherwise you must fight him in front of a frantic audience.
Current Objective: Escape the asylum
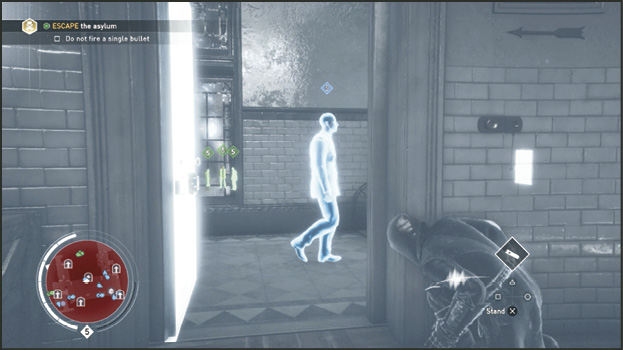
Now with the doctor’s dead body at your feet, you must escape the asylum to complete the memory. Use the master key from the Nurse to unlock the east door inside the anatomical theater. Wait for the orderly to pass by (use Eagle Vision to spot him) and then come up behind him in the open hallway and assassinate him.
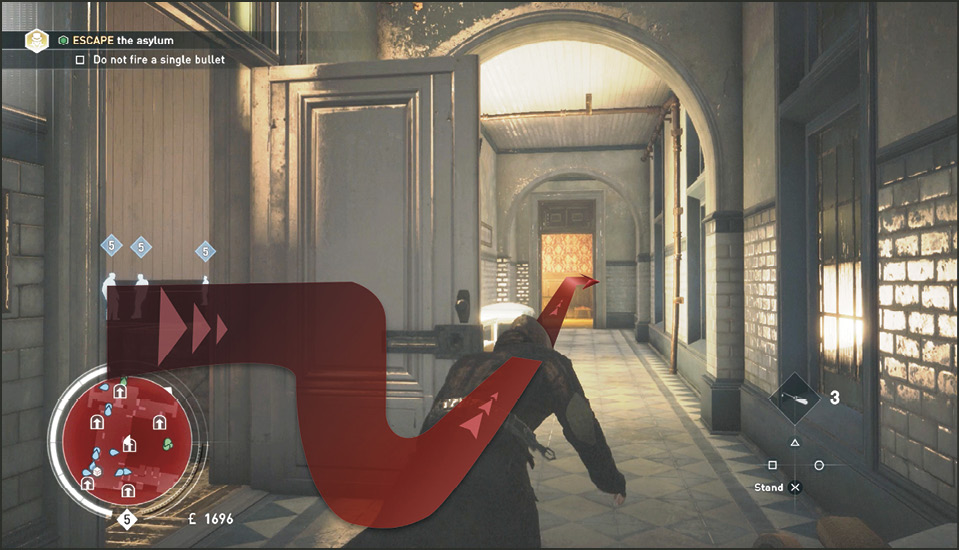
Turn left in the hallway (heading north) and turn right into the next hallway. You quickly recognize where you are when you see the glowing ladder a couple of open rooms away. Head through the next room, toward the ladder, and turn right to escape the asylum through the door you opened for the Nurse.
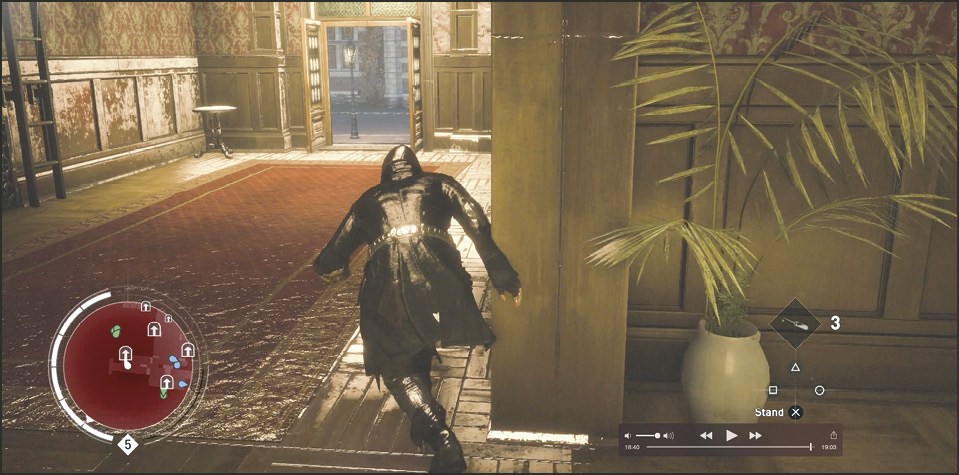
Head east (left) out of the doorway to run to the street (5), get out of the Restricted Zone, and complete the mission. You did not have to fire a shot during the entire memory so both Challenges have been met. Good work.