Assassin's Creed Syndicate Guide Walkthrough Sequence Five
Breaking News
MISSION OVERVIEWMemory Type: Templar Conspiracy Suggested Level: 5 AssassinJacob Frye ChallengesElectrocute thugs with voltaic bombs Rewards£: 800 + 125 (Full Synch Bonus) XP: 1250 + 150 (Full Synch Bonus) Voltaic Bombs: Voltaic Bombs x 5 |
Location: Alexander Graham Bell’s Workshop, Lambeth
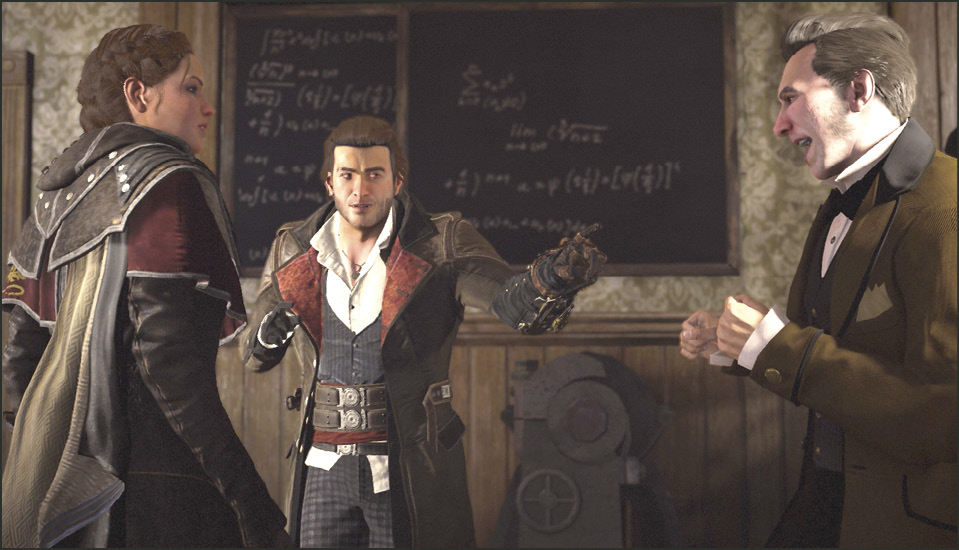
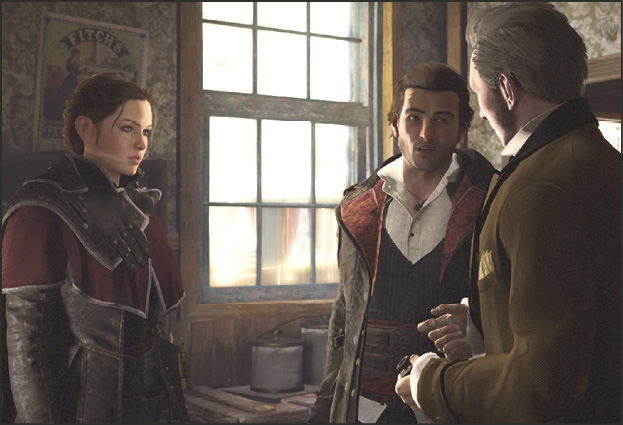
Evie and Jacob visit Bell in his laboratory to continue their conflict with Starrick and his control of the press. Bell is experimenting with some copper and zinc used to create voltaic bombs. He tells the twins he’s been working on a bomb that is meant to stun an assailant. The formula is not quite right so he needs to test them with your help. He also wants to destroy Starrick’s transmitters once the bombs have been tested.
Current Objective: Reach the rooftop
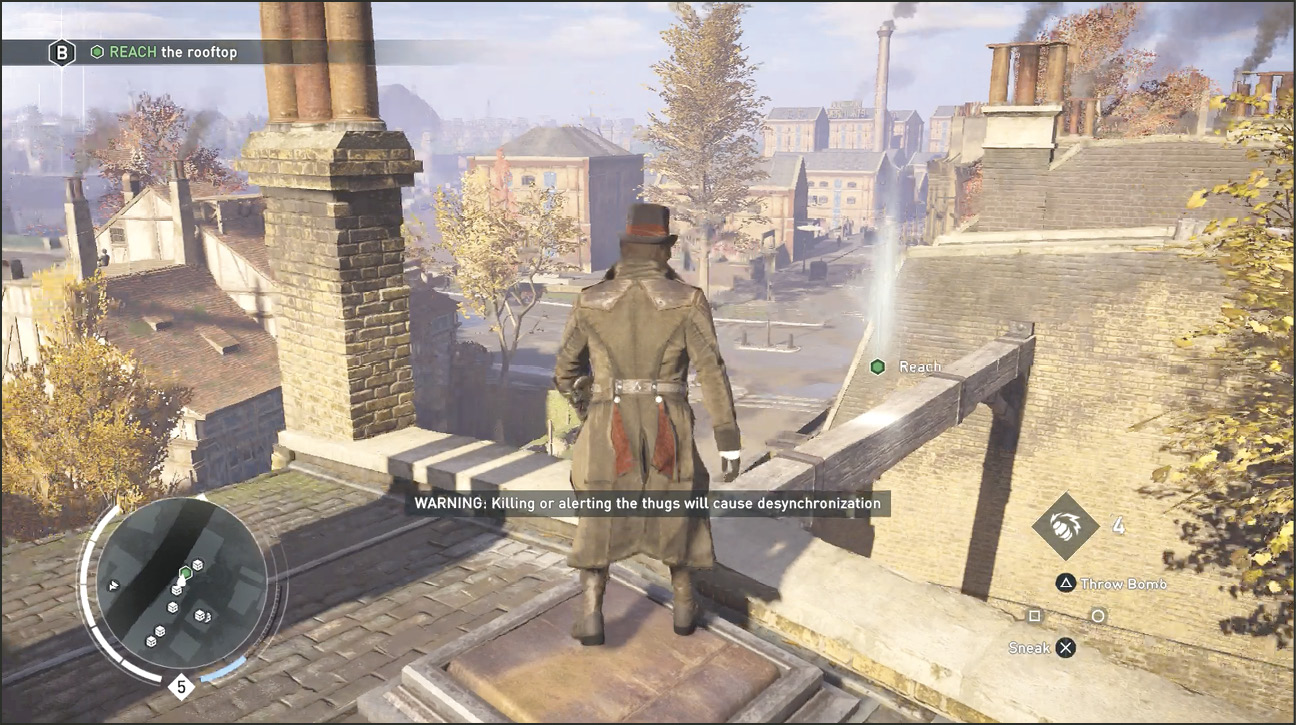
In this memory you are Jacob Frye. You stand facing the back window in Bell’s workshop when Bell left through the front door. Exit through the front door. Rope Launch to the top of Bell’s rooftop. Turn and head north and enter the Reach maker on a wooden post connecting this building to the next.
Current Objective: Wait for Bell’s signal
Challenge: Electrocute the thugs with voltaic bombs
Bomb Attack 1
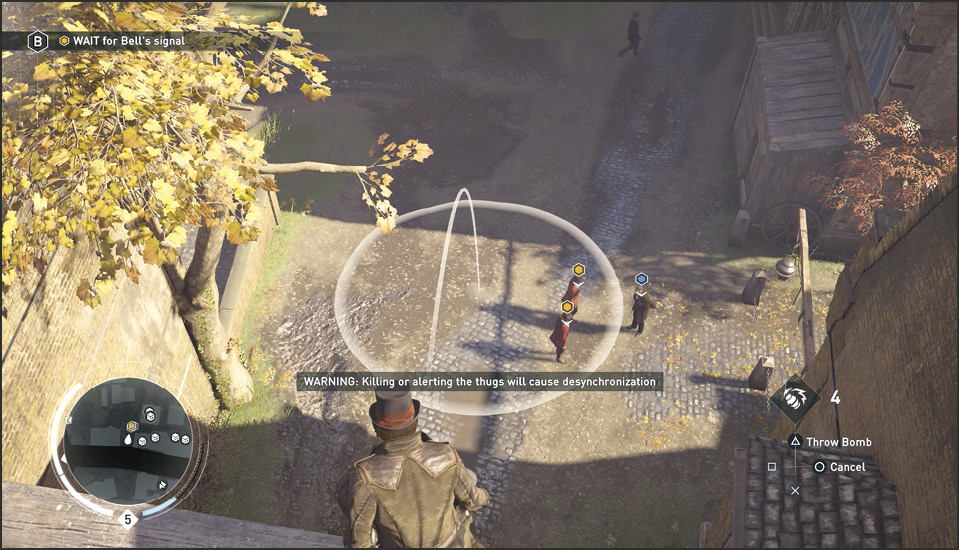
In the opening cinematic, Bell mentioned that you guys were going to play a bit of a linguistics game with the Thugs. You need to clearly hear what Bell is saying as he speaks to a couple of Blighter Soldiers below. If you cannot hear him clearly, turn up the sound and if that doesn’t do it, you can also try turning down the sound effects and music in the game so that the speech is louder.
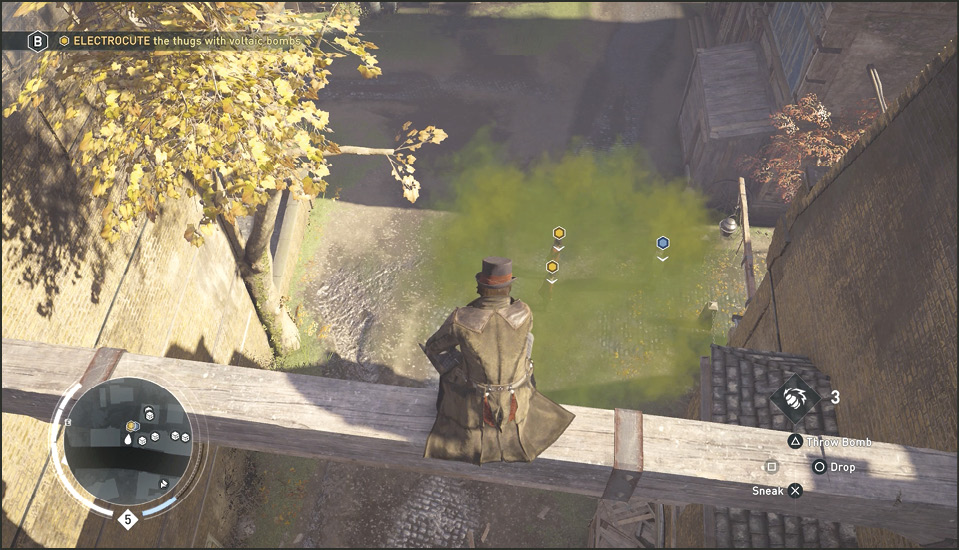
You have four Voltaic Bombs in your inventory. Select one and aim at the Blighters below. Do not throw the bomb until you get the “fruit” reference in Bell’s conversation. Bell is wearing rubber soles in his shoes, like the ones he handed Evie and you in his workshop. This means the electricity will not flow through the shoes and shock him. So technically you could include Bell in the bomb’s effect radius and he won’t get hurt. When Bell steps back and says, “PEAR-shaped,” throw the bomb at the Blighters.
Bomb Attack 2
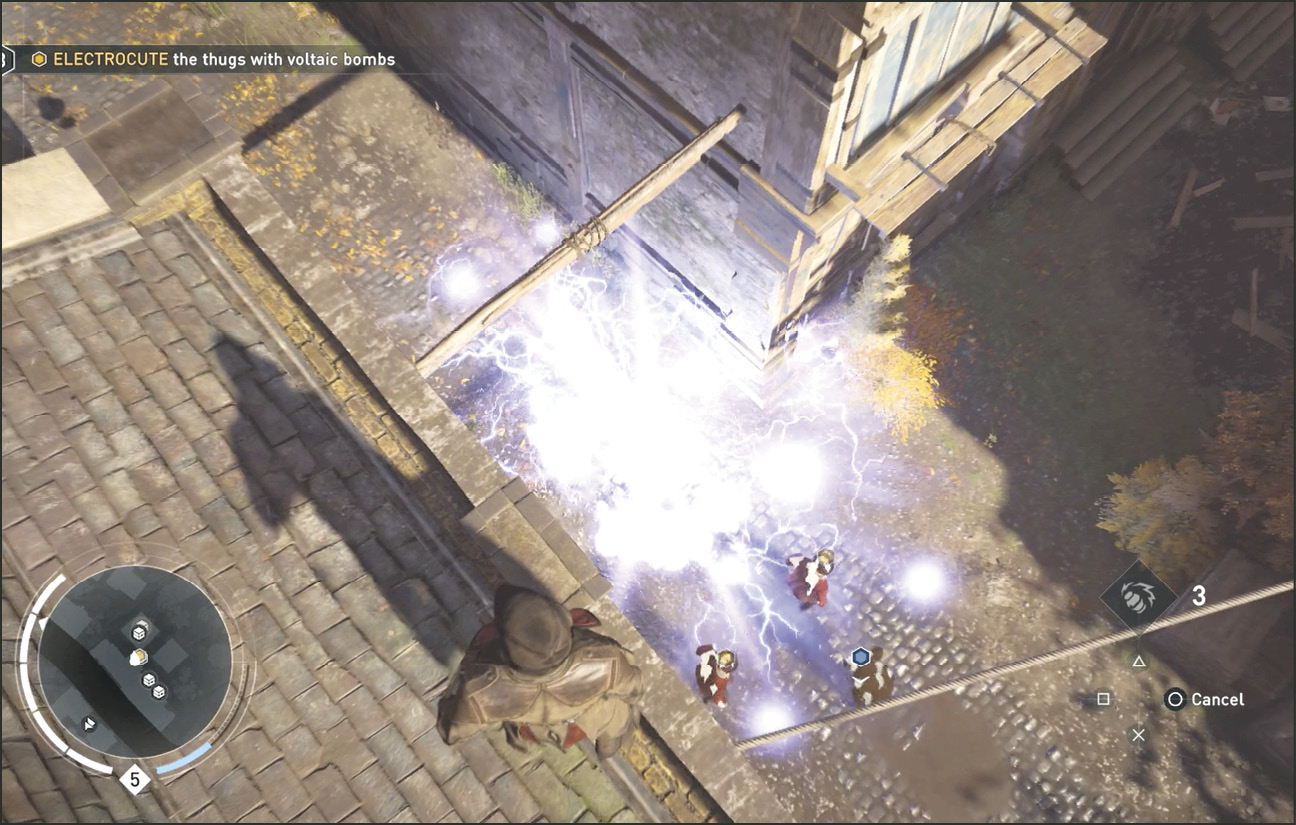
The first bomb is a failure. As Bell mentioned earlier, the formula has not been perfected. This first one turns out to be more of a stink bomb and the Blighters react as such. Bell and the Blighters move further into the alleyway (heading south). You notice many rooftop Chests in this area that are generated for this memory only. Each one only contains Voltaic Bombs. You can only hold four at a time so if you don’t need any, don’t bother opening any of these Chests. At Bell’s second stop, stand on the edge of the rooftop and be ready to drop a bomb on the Blighters when you hear the words “donkey’s APPLES.” The bomb’s blast has a much different and more promising look. Electricity shoots across the ground, shocking and damaging the thugs.
Bomb Attack 3
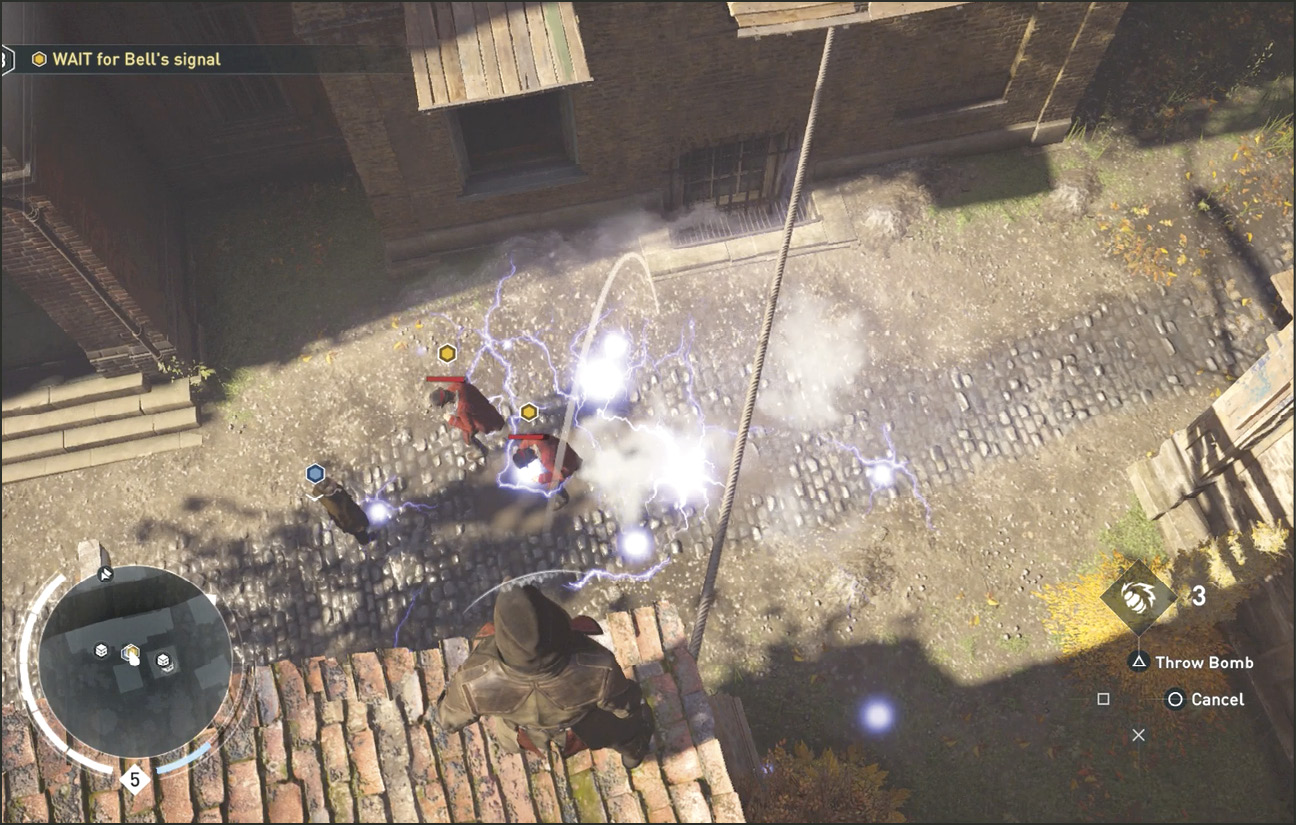
Bell and the two Thugs move a couple of more yards down the alleyway. Position yourself again and be ready to drop a third Voltaic Bomb on them when you hear a fruit word. This time Bell pushes one of the Thugs to count to three to see how far he makes it. Bell eventually ends a sentence with “…purple as a PLUM.” Release the third bomb attack on the Blighters below.
Current Objective: Eliminate the thugs
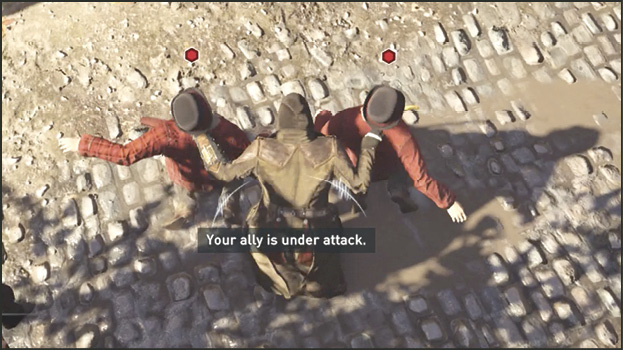
After this last bomb attack you are quickly alerted to protect Bell by defeating the two thugs. Step out on the edge of a rooftop, the suspended rope, zipline, plank, or balcony and perform a Double Air Assassination on the two Soldiers.
Current Objective: Follow Bell
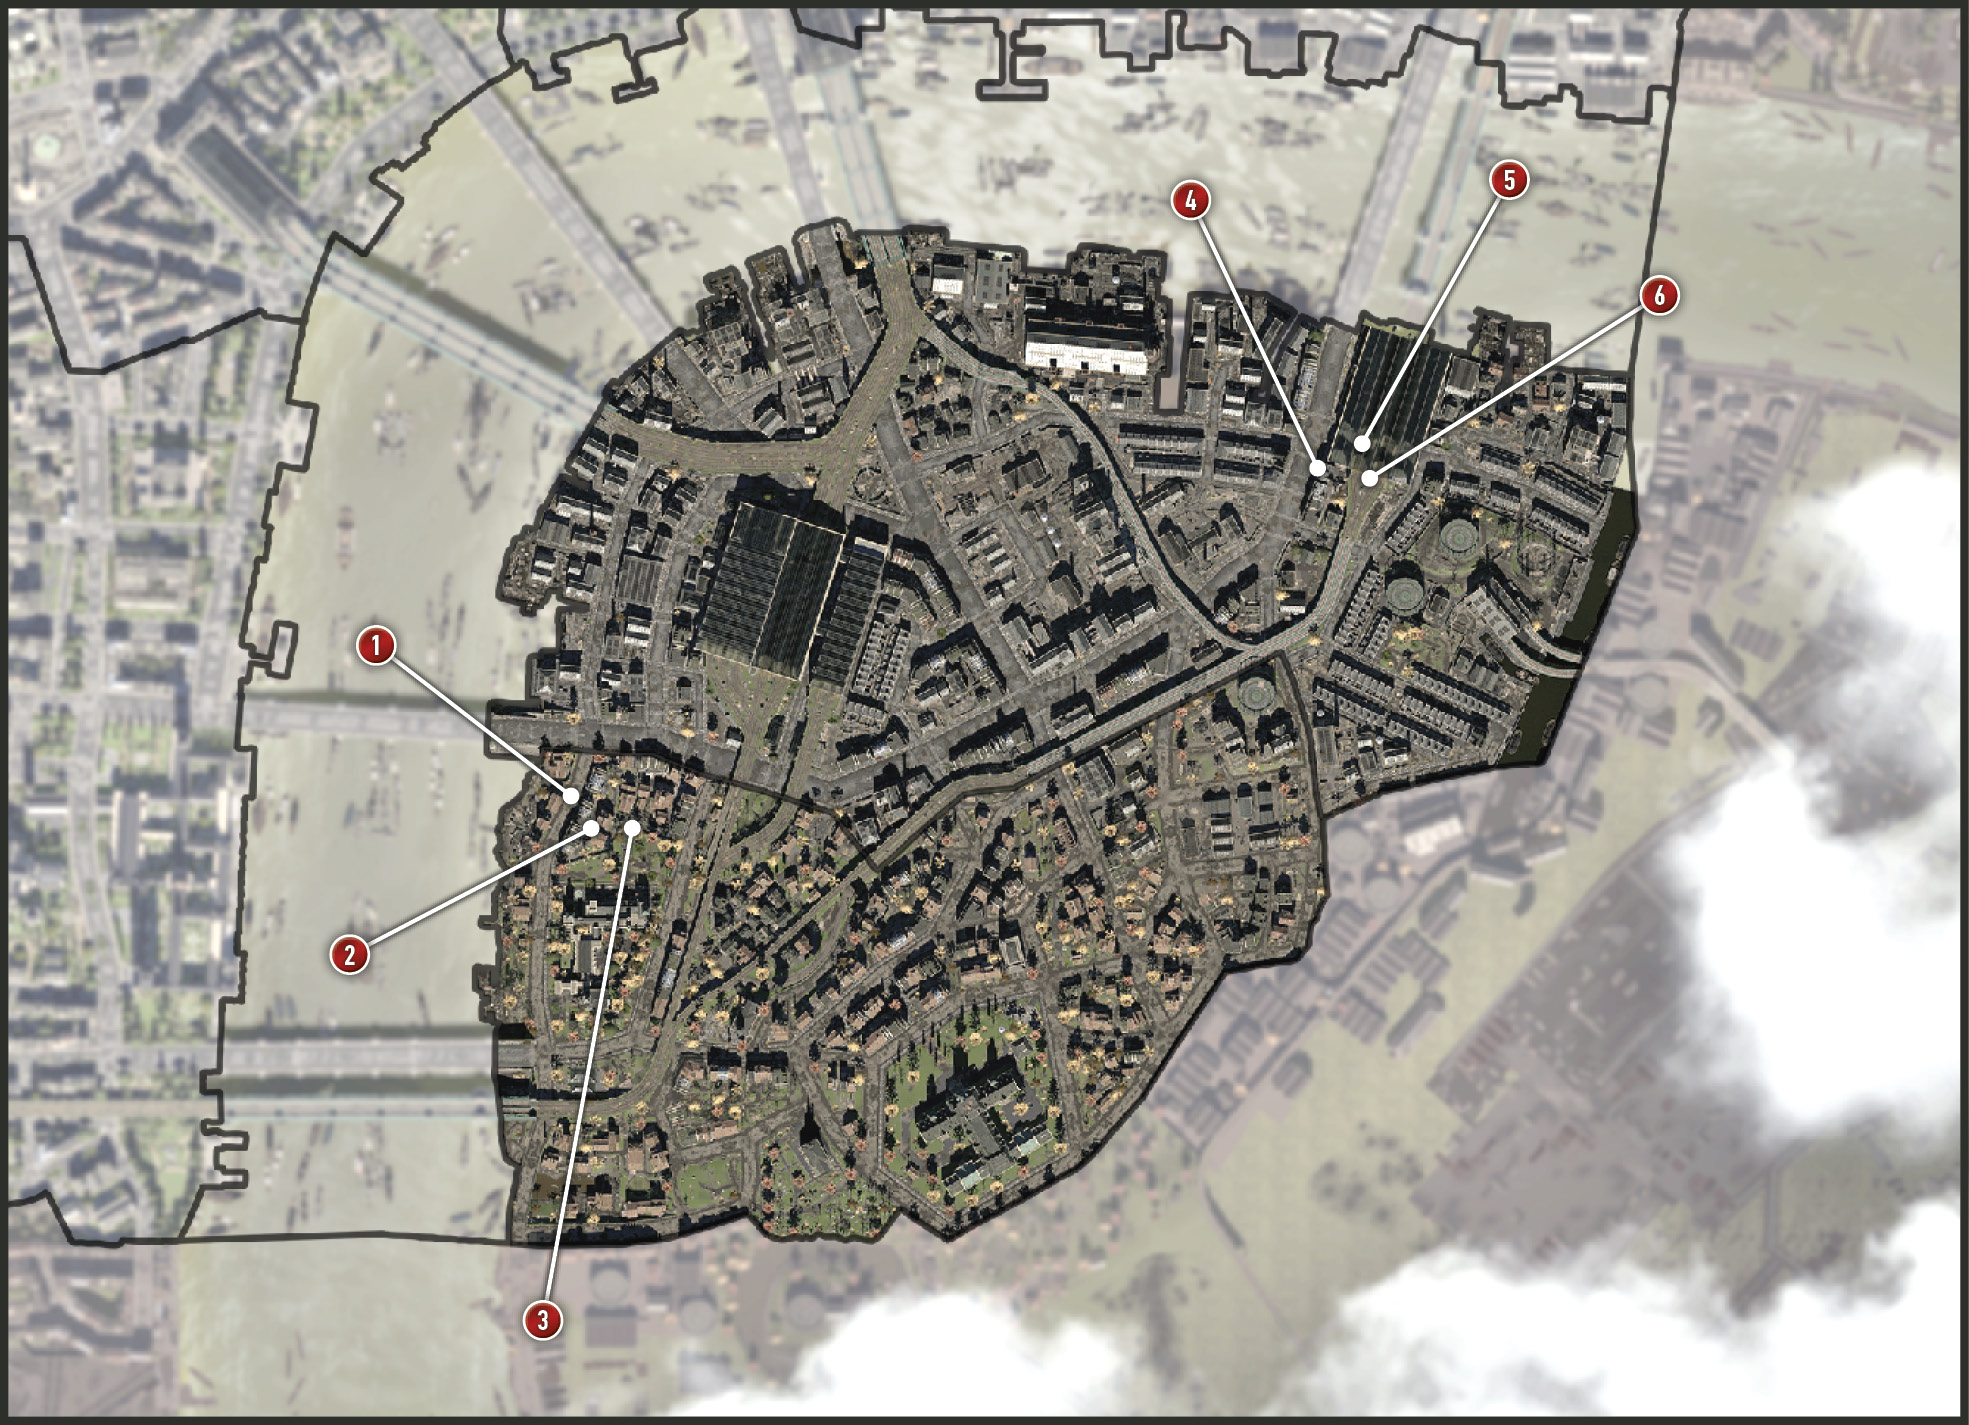
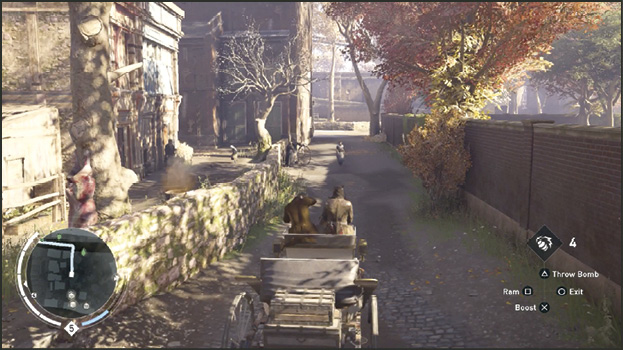
Make sure you raid one of those many Chests around to fill your Voltaic Bomb pouch. Follow Bell as he walks from the back alley (2) behind the workshop to his waiting carriage (3) in a nearby driveway.
Current Objective: Reach the telegraph station
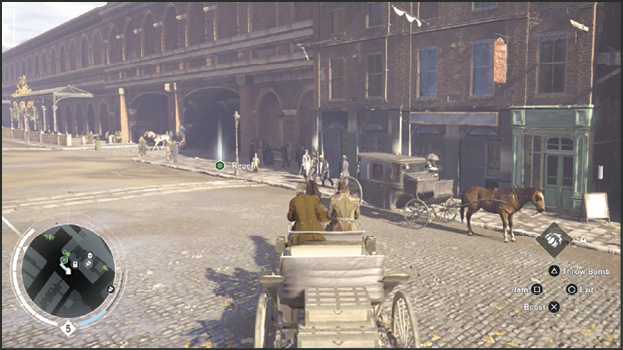
Enter the driver’s seat of Bell’s carriage and drive him to the telegraph station some 700 meters away. Follow the route marker to the destination (4).
Current Objective: Eliminate the two thugs
Challenge: Electrocute thugs with voltaic bombs
Location: Starrick Telegraph Company, Southwark
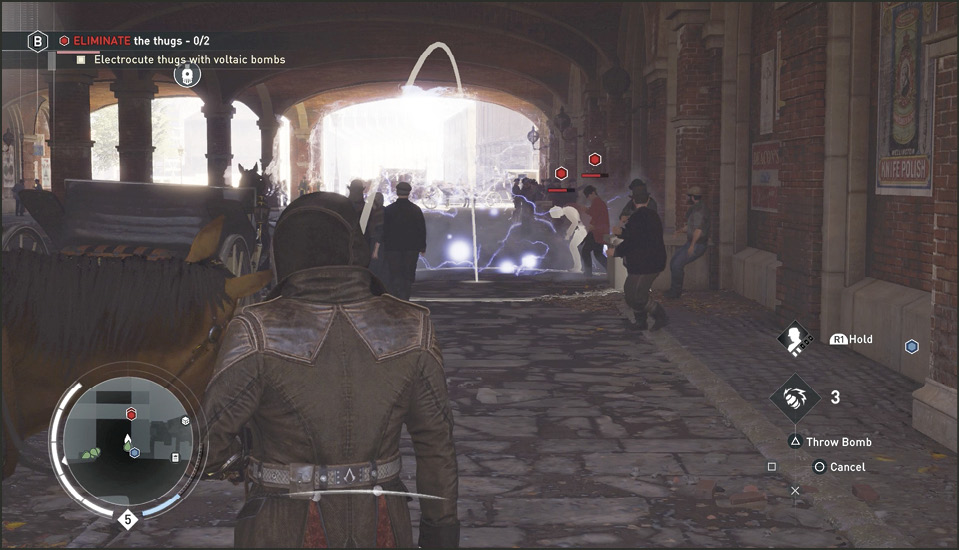
Exit the carriage and recruit some nearby Rooks. Head to the large tunnel running through the Starrick Telegraph Company (4). Get into bomb-throwing distance from the two Blighter Soldiers standing guard at the entrance to the telegraph company. Throw the Voltaic Bomb to shock the two Thugs. One bomb is not strong enough to kill, but it is all you need to complete the Challenge. So instead of wasting more bombs, rush in and finish them off with some assassin attacks.
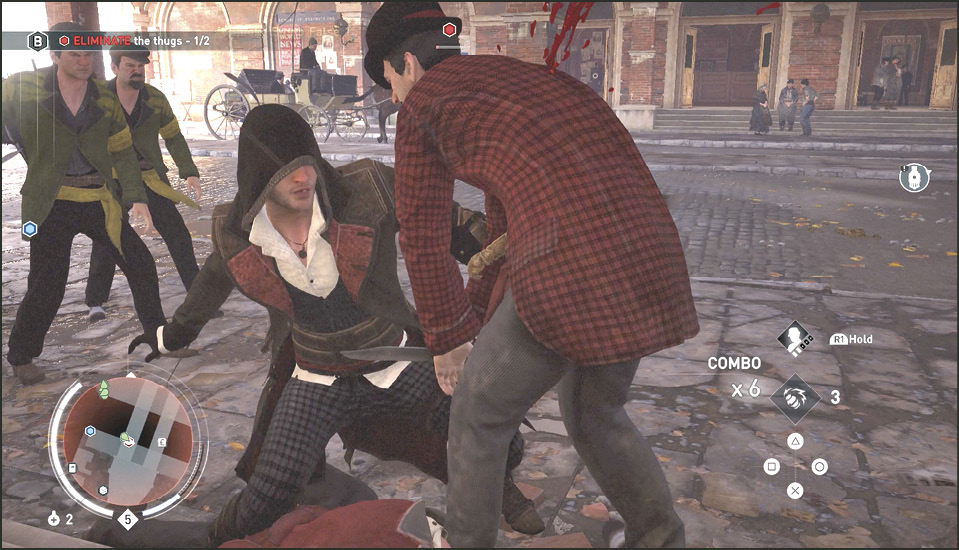
Current Objective: Defend Bell
Bell catches up to you when the violence ends. He enters the room (5) the Thugs were guarding. Inside, Bell starts tampering with Starrick’s transmitter. Stand next to him and face the door you just entered and wait for two of Starrick’s Enforcers to enter to try to stop Bell. Throw a Voltaic Bomb at their feet (away from your Rooks) and order the Rooks to fight. Both Enforcers arrive one after the other. After defeating the second one, Bell finishes his work and leaves the building. He heads across the street (inside the tunnel) and enters the northern side (6) of the telegraph company.
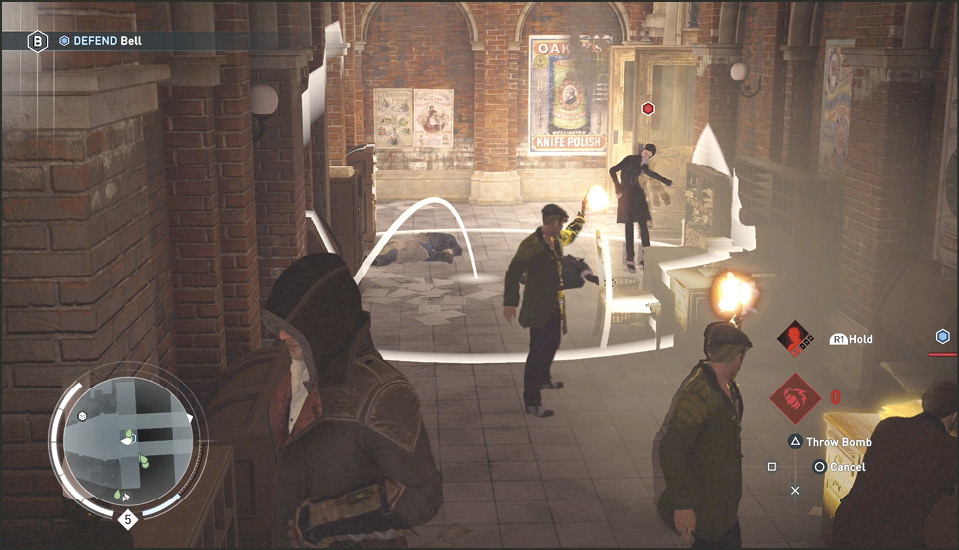
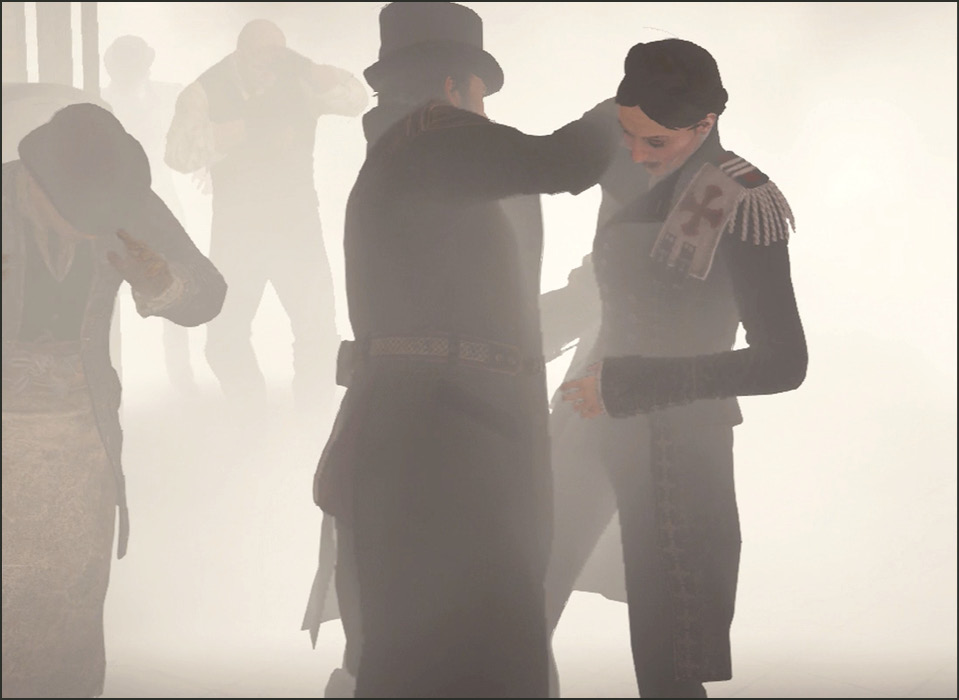
Loot the bodies of the fallen to hopefully collect more Voltaic Bombs. Bell finds another transmitter to tamper with behind the lobby desk. Look for a group of three Blighters (a Soldier, a Brute, and an Enforcer) to appear from the hallway to the northeast. They are on their way to attack Bell. A Smoke Bomb and some assassin moves makes short work of this group.
Follow Bell as he runs east to the next large desk enclosure. Loot the Chest behind Bell as he tampers with the last transmitter. Watch for a group of Blighters to attack from the east. Use Voltaic Bombs, Smoke Bombs, and your Rooks to finish them off.
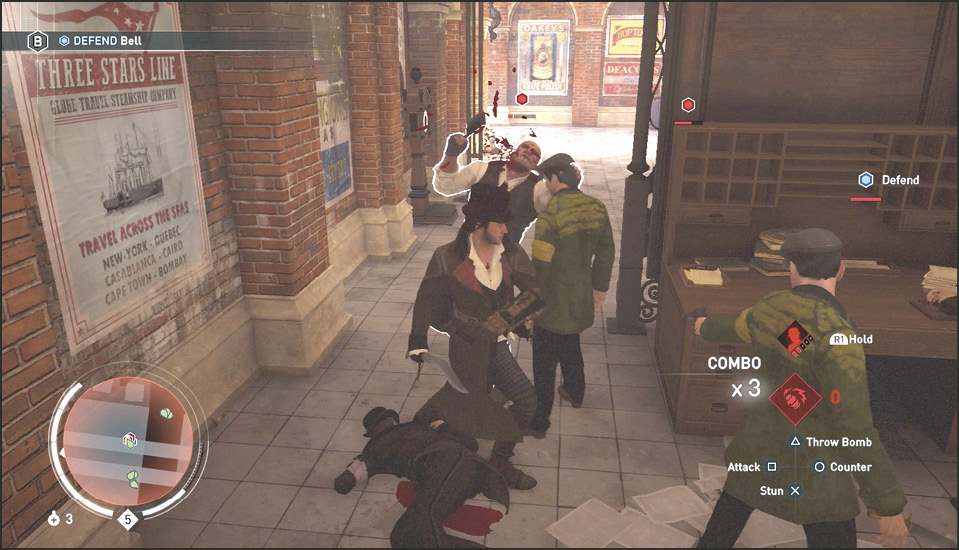
After defeating the third squad of Blighters you end up back in Bell’s workshop in a closing cinematic. Alexander thanks the twins for helping continue the cause. Before the twins leave, Bell invites them to visit if they have time. This opens Bell’s Associate Activity missions.