
Assassin's Creed Syndicate Guide Walkthrough Sequence Six
A Thorne In The Side
MISSION OVERVIEWMemory Type: Templar Conspiracy Suggested Level: 6 AssassinEvie Frye ChallengesKill fewer than 5 Royal Guards Rewards£: 1000 + 150 (Full Synch Bonus) XP: 500 + 150 (Full Synch Bonus) Outfit: Master Assassin |
Current Objective: Reach the vantage point
Challenge: Kill fewer than 5 Royal Guards
Location: Tower of London, 1868

Take a trip to the train hideout to find Henry Green and the start to this memory. Evie and Henry are surrounded by stacks of books. Evie finds an image of a key in one of her books. Henry says it matches the collection owned by the Queen, kept in the Tower of London.
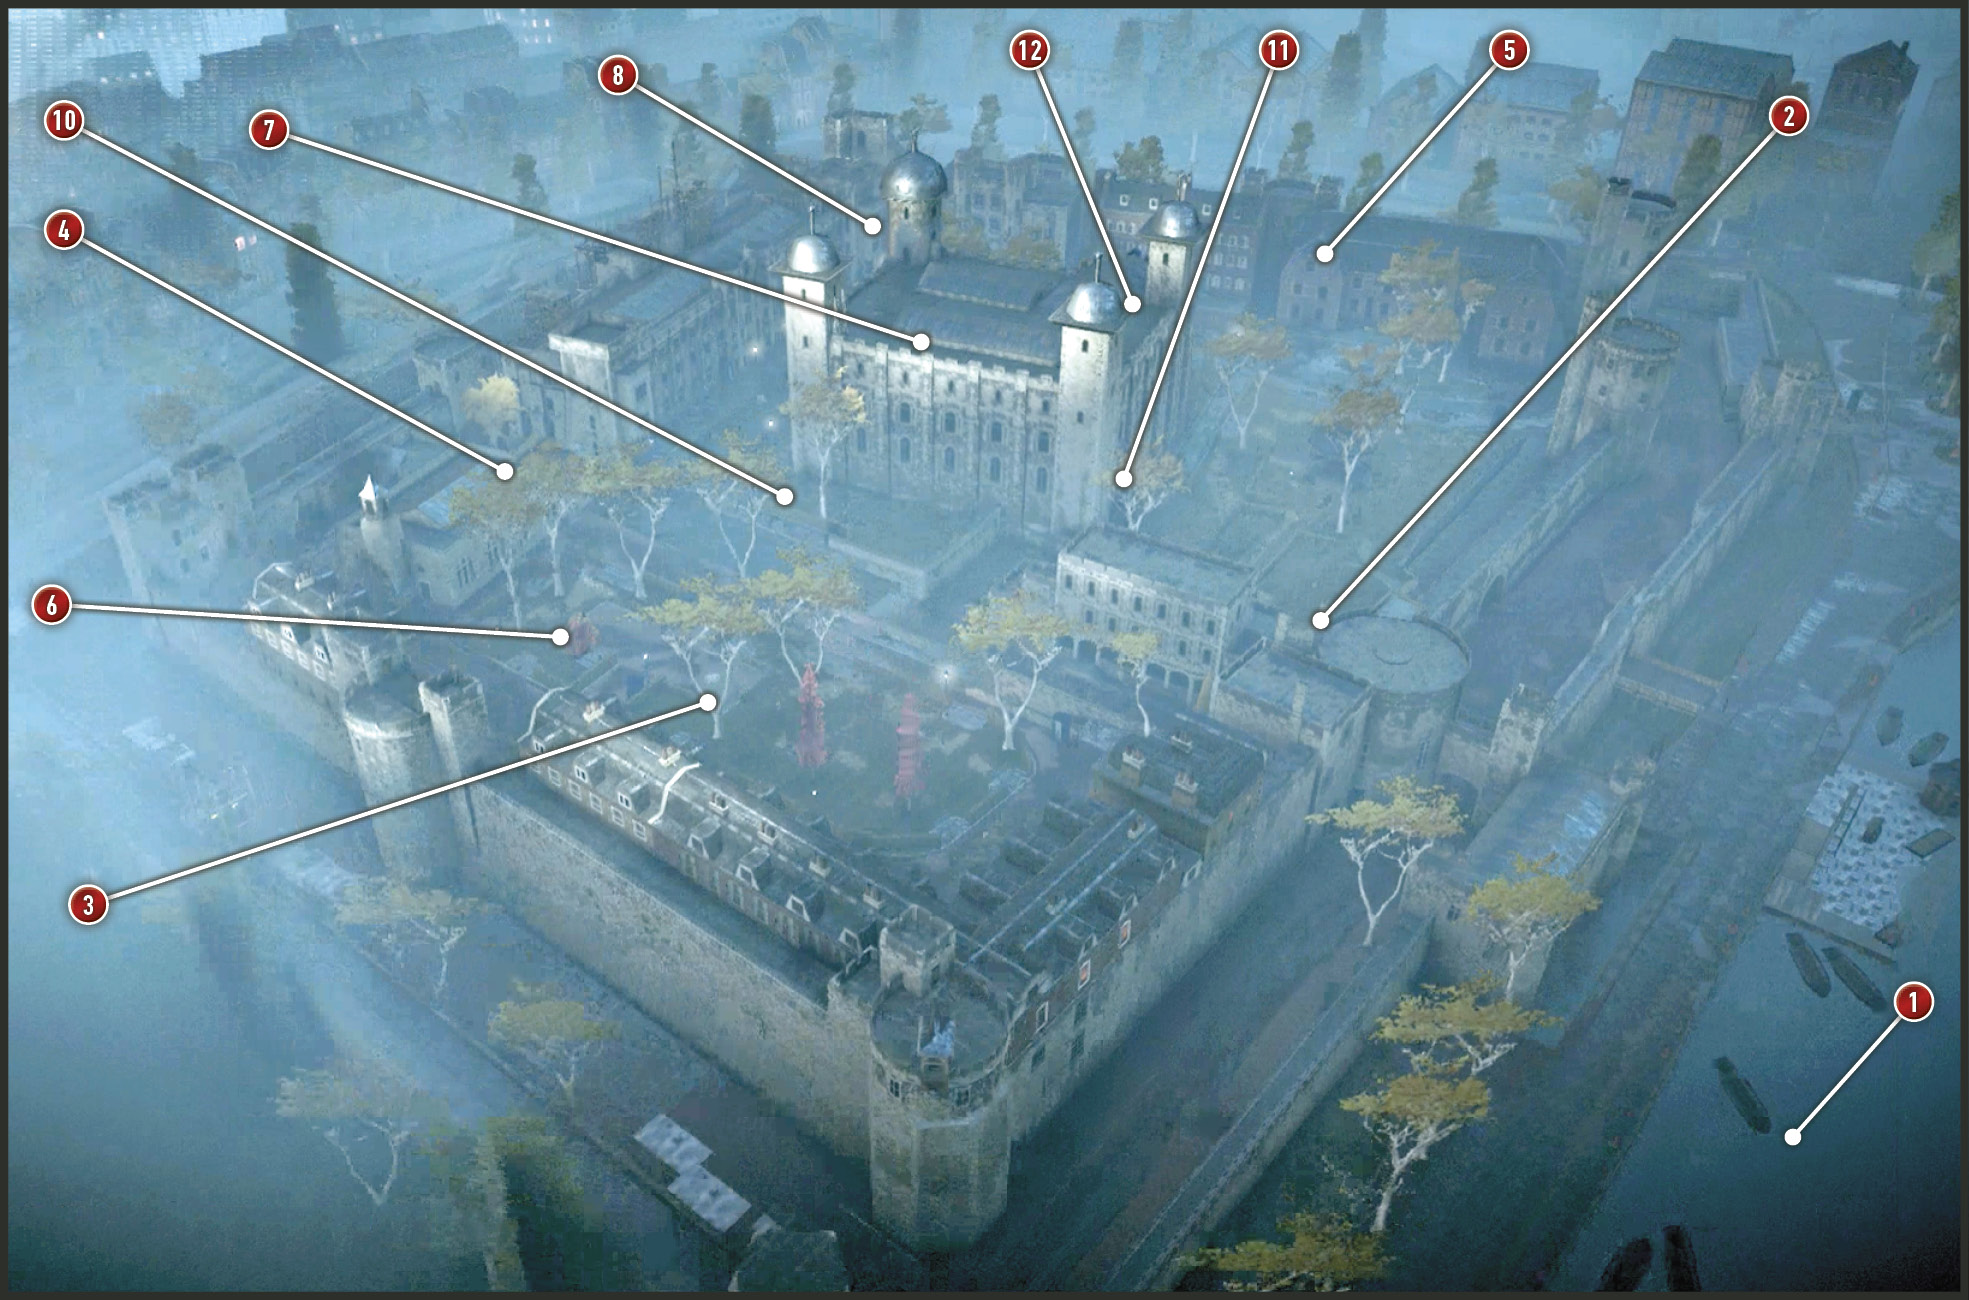
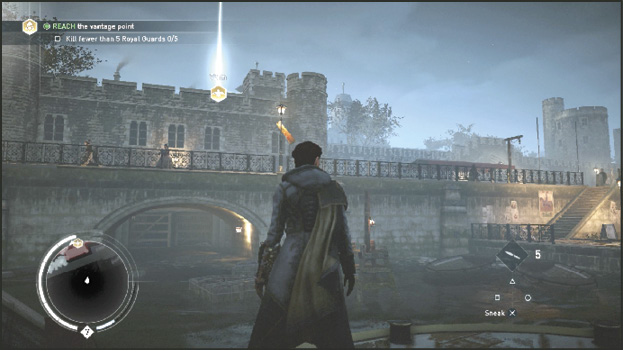
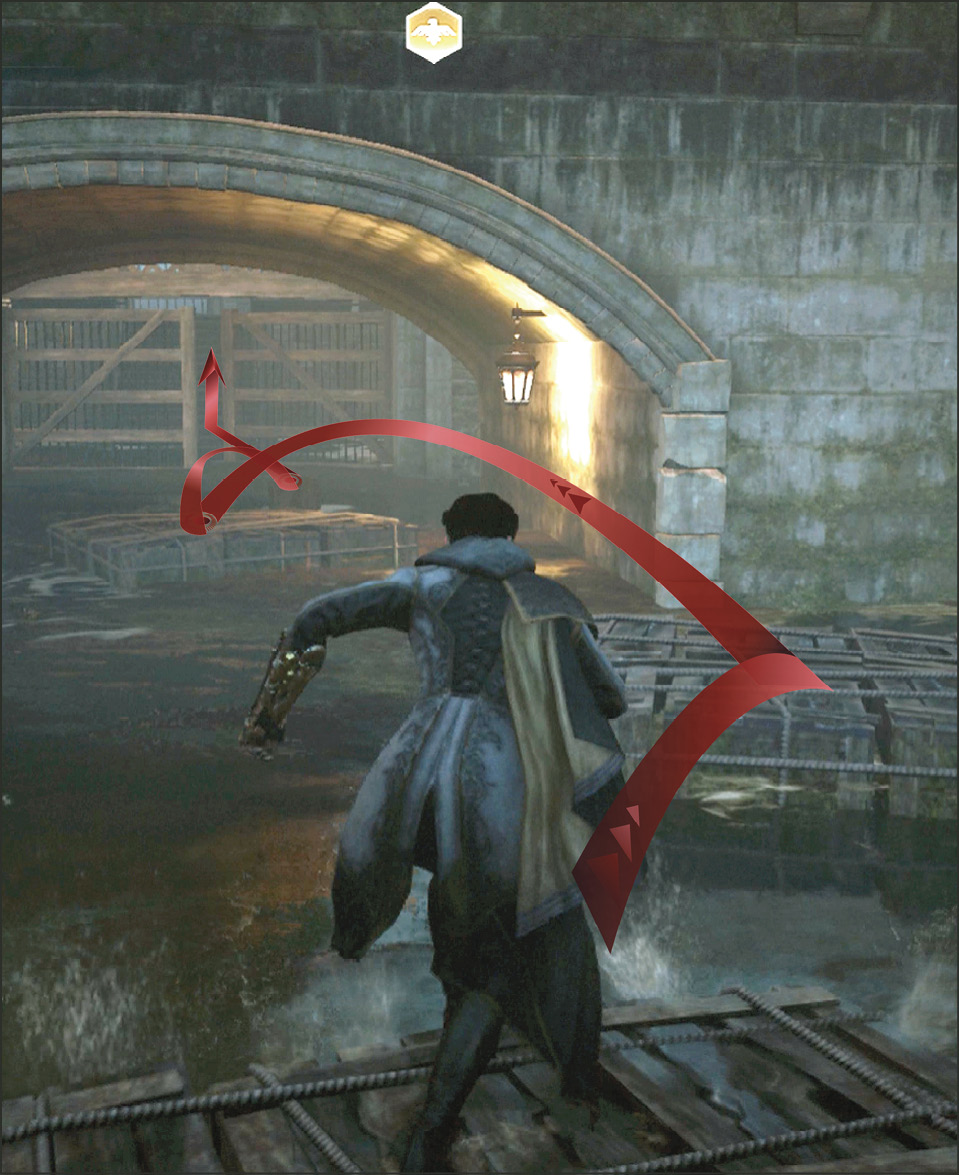
Hop off the ferry (1) and then leapfrog across the bundles of floating crates. Continue following the path of floating debris under the moat tunnel. You reach a slightly opened gate and a set of stairs can be seen through the gap.
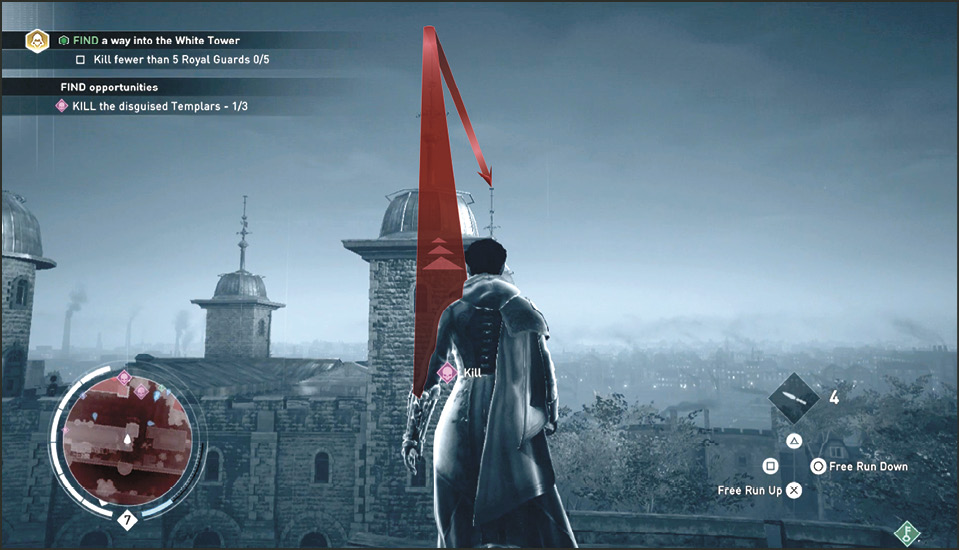
Before you climb the stairs, activate Eagle Vision and spot the blue Royal Guards marching on the pathway above. Climb the stairs when they pass and then Rope Launch to the top of the tower. You see a beacon of light radiating from the vantage point marker (2).
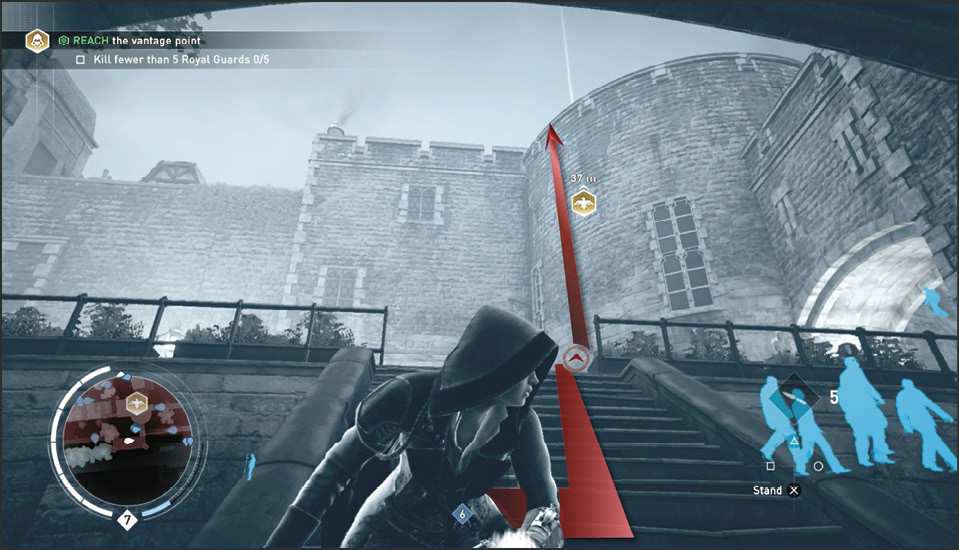
Climb to the top of the narrow spire and squat in the vantage point.
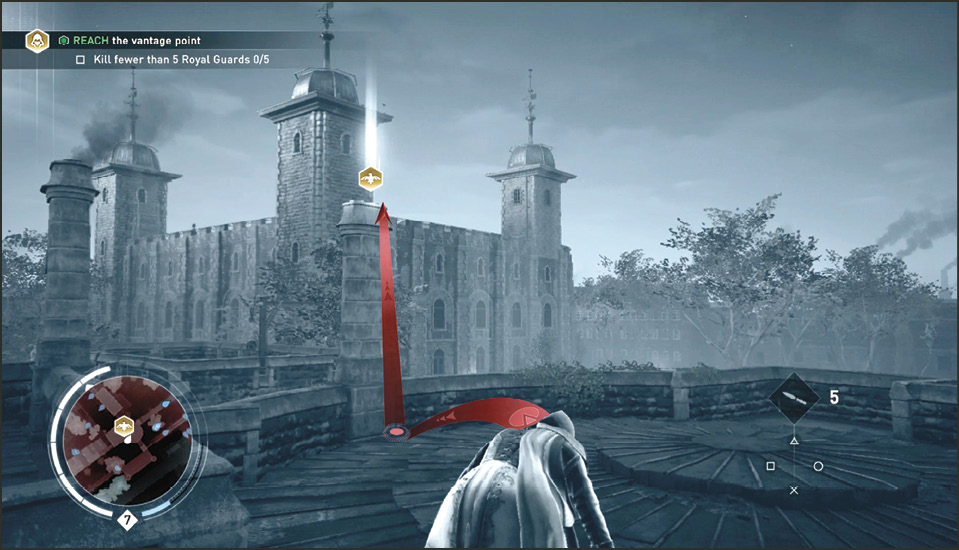
Vantage Point Vision
Lucy Thorne: Assassination Target
While in the vantage point you see your assassination target: Lucy Thorne. She’s in a chapel yelling at her guards about the Shroud being in a chest that matches the key. She demands they bring it to her.
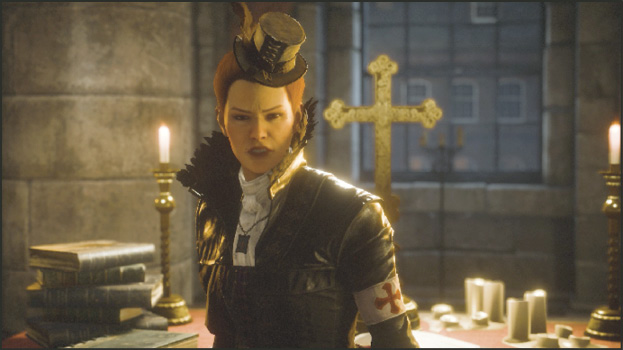
Chief Yeoman: Infiltration Opportunity
You see Chief Yeoman Warder (3) holding the master keys to the Tower of London. Get these keys and you gain easy entry into the tower to get to Thorne. Alternatively, you wont need keys if you simply go for the Unique Kill Opportunity. What the Yeoman’s keys guarantees is the Constable’s freedom; you won’t have to chase after the guard who has the keys to his cell.
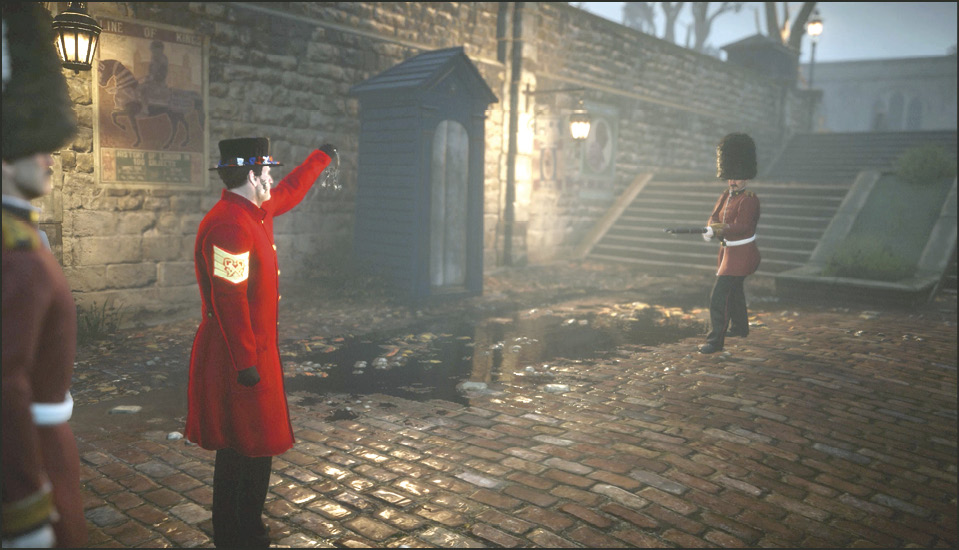
Allied Guard: Unique Kill Opportunity
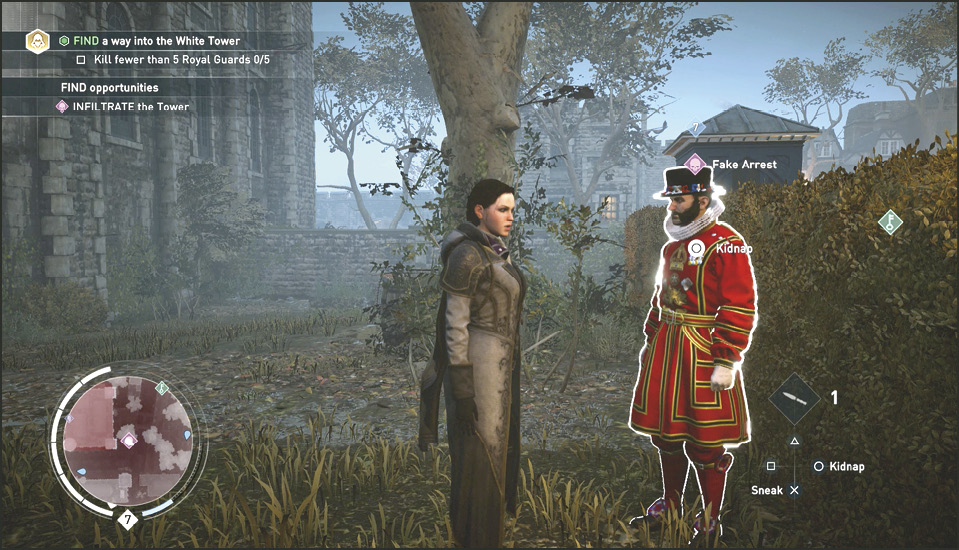
The Allied Guard is a spy and on your side if you take out some of the disguised Templars for him. They glow red in Eagle Vision so they are easy to spot. He will then allow you to be taken under (fake) arrest to get marched directly in front of Lucy Thorne. You need only speak to him (4) to begin and then kill three Templars dotted around the map. Kill at a safe distance with throwing knives. Once they are dead, return to the Allied Guard and let him take you under fake arrest. Walk yourself directly into the tower and up the stairs to see Lucy. Execute a unique kill  /
/  to take Lucy without a fight.
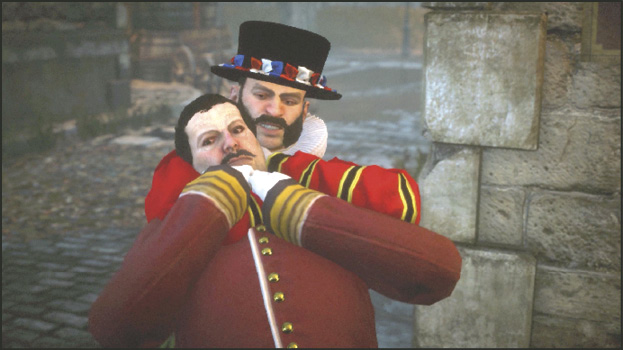
Constable: Assistance Opportunity
The final vision from your Vantage Point is of the Constable (5) being locked in a room. If you free him, you have access to a small gang of Royal Soldiers (including the Constable). You can Recruit them and they can aid in your raid on the tower. But for them to be of any use to you, you must first find the Templar holding the key to the Constable’s cell. This guy is on a lower floor in the same building. Take him out without much commotion and then return to free the Constable. Alternatively, you can simply unlock the door if you have a Master Key. This is why you should complete the Chief Yeoman’s Infiltration Opportunity first.
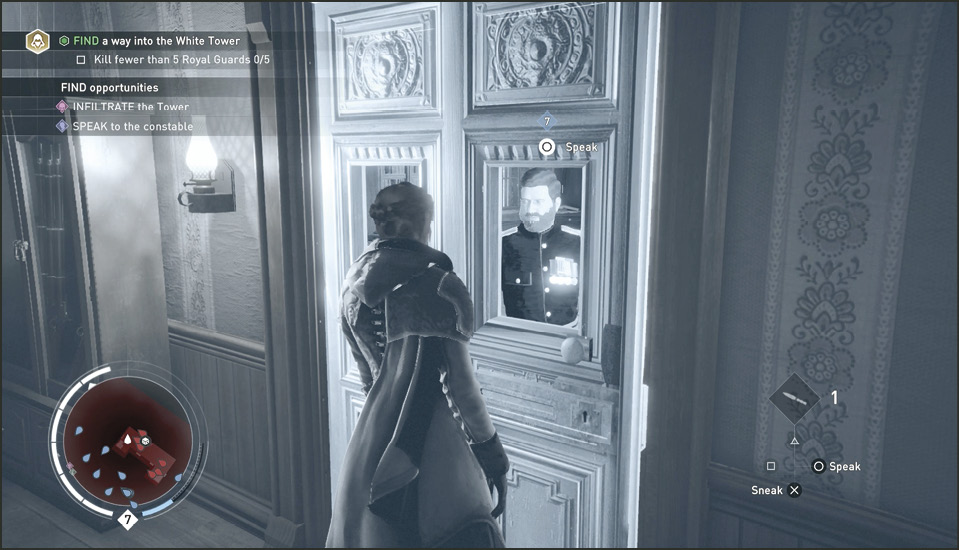
Current Objective: Find a way into the White Tower
Unique Kill Strategy
From the Vantage Point stoop, you have three directions to choose from: Go east and find the Constable; head north and find the Allied Guard; or head west and steal the master keys. You don’t have to do it all and you can combine a couple. For example: get the master key and then have a gang of rebellious Royal Guards help you fight your way to Lucy.
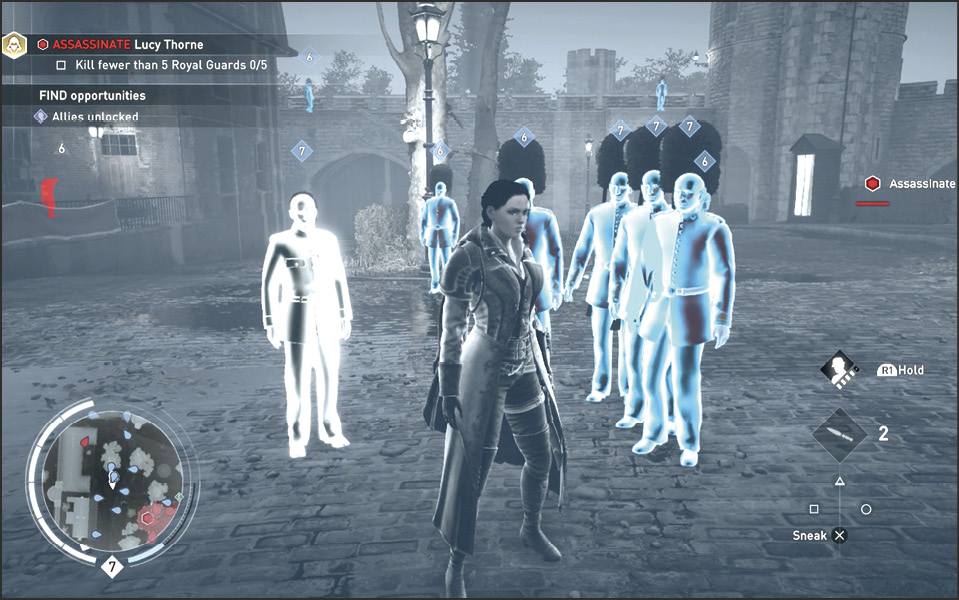
Not to worry, the Challenge award has nothing to do with these optional routes, as long as you personally do not kill five of the Royal Guards while doing any of them. We like to take any route that leads us to the Unique Kill Opportunity. So from here we will head west (it’s easier than going north to get to the Allied Guard).
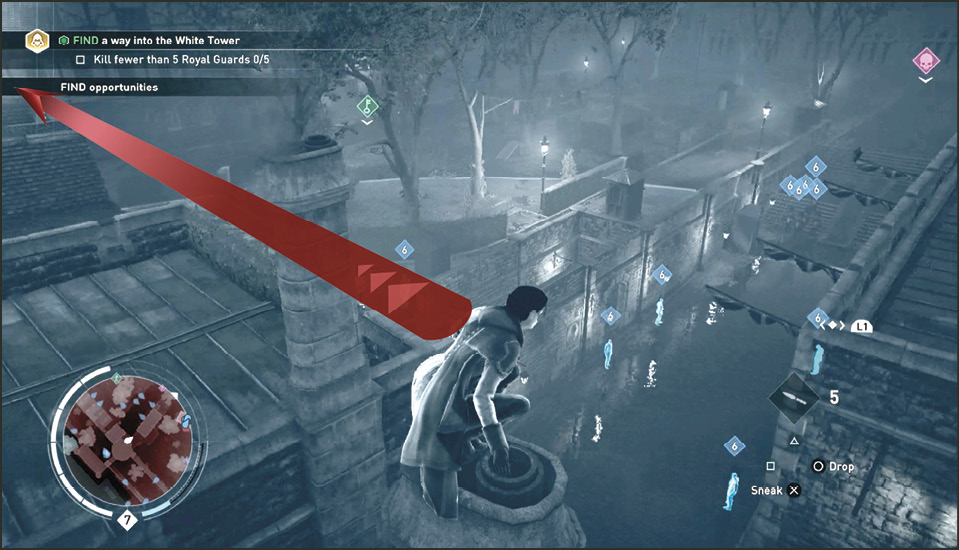
Follow the roofline around and start heading north toward the chapel area. You see a large courtyard with many hedgerows and trees. You also see the Allied Soldier’s blip (A) through this building. Once on the chapel rooftop, drop down to the Allied Guard (4) on the ground, investigating the body of the disguised Templar. Talk to him and he asks you to get rid of three Templars that could spot him if he is seen helping you.
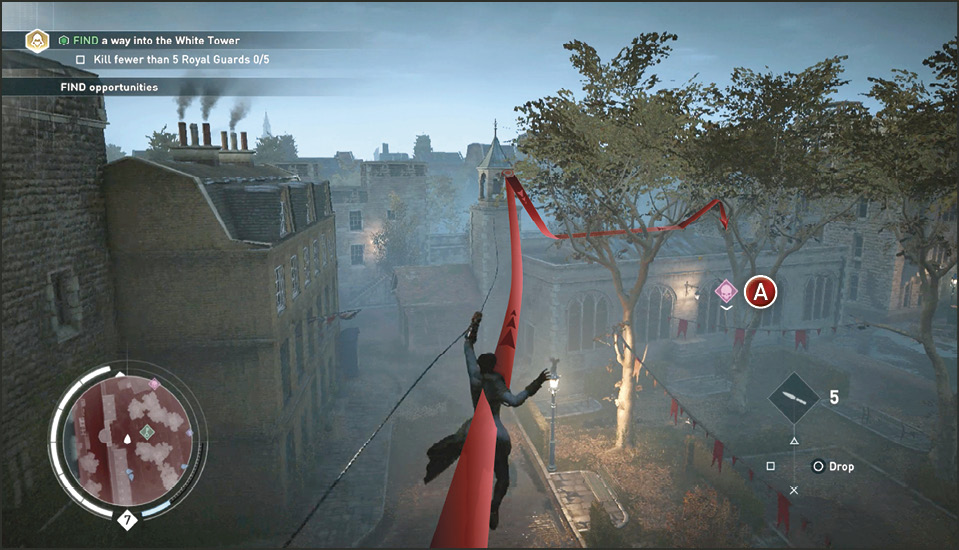
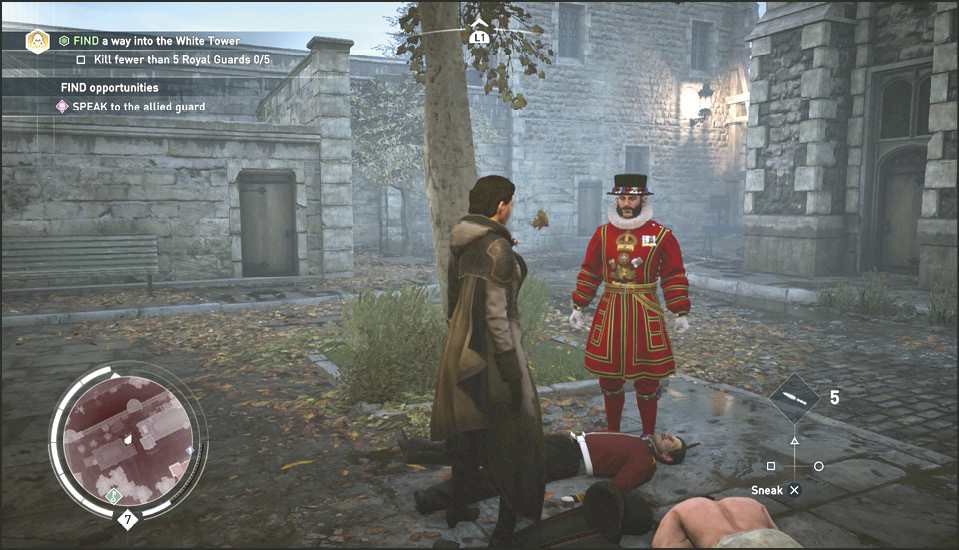
Side Objective: Kill the three disguised Templars
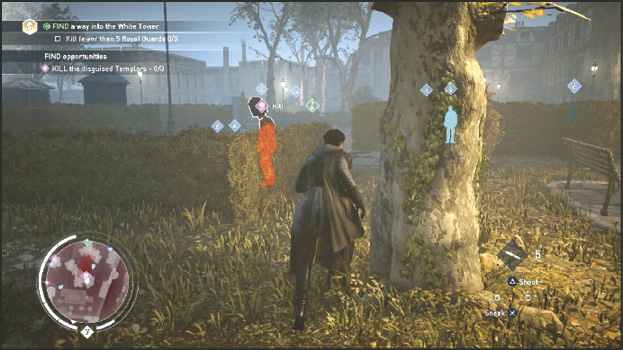
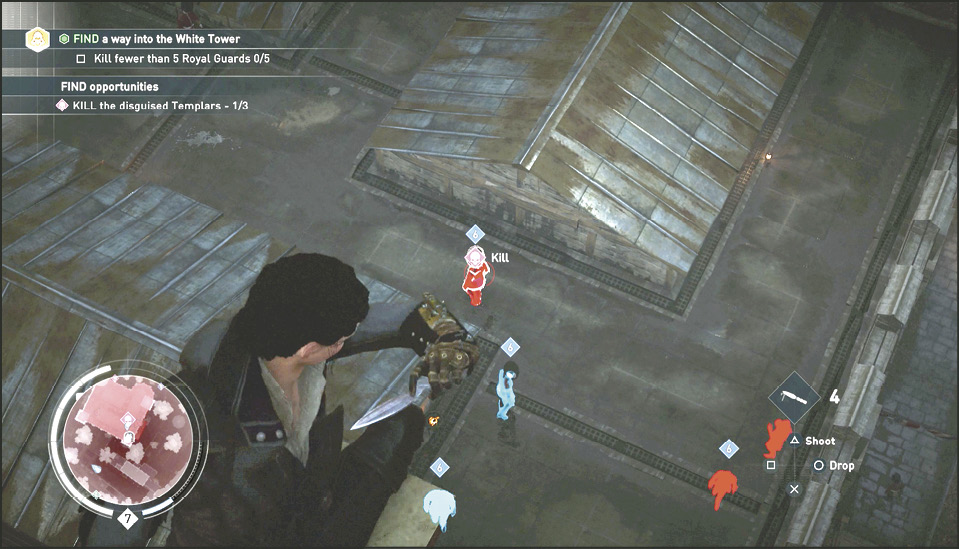
Completing this objective does not hurt your Challenge goal. These are Templars in disguise so they won’t be counted as Royal Guards. The closest Templar (6) is in that hedgerow courtyard in front of the chapel. Get to the rooftop and use the hedgerow as cover to get right up behind him. Stealthily assassinate him.
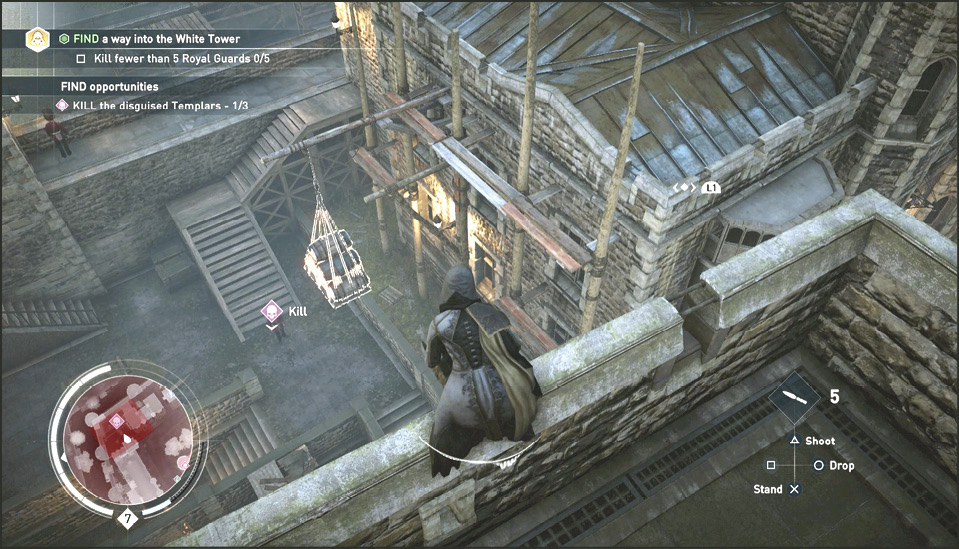
Head due east from the first Templar Kill location and get to the rooftops to move unnoticed. You spot the next target ahead (8) while moving along the north set of buildings. You can tell he’s on ground level but there are guards on the rooftop below you. To avoid them, simply Rope Launch to the top of the tallest scaffolds on this building ahead on the left. Move quickly in and out of the zipline to avoid detection. Rope Launch again to the northeast corner lookout tower and then remain there and look at the Templar below. Wait for him to walk under the hanging barrels and get him that way, or throw a knife at his head, or Air Assassinate him.
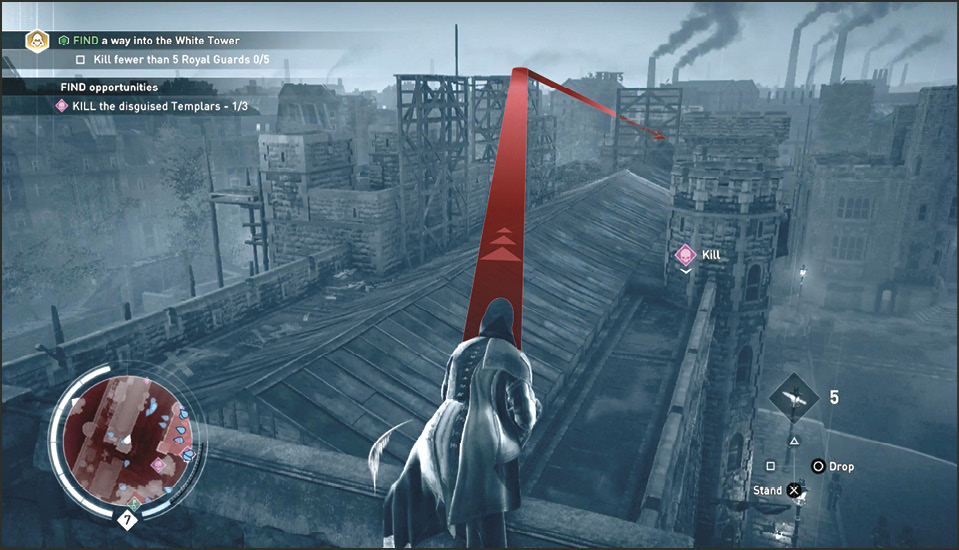
To get to the last Templar (9) quickly, head to the highest point near your last kill and zipline to the very top of a weathervane on one of the tall tower spires. This keeps you out of visual range of the patrolling Royal Guards on the rooftop below. The target patrols the rooftop pathway as well. Where in his patrol he is when you arrive helps you determine if you want to wait until he moves into knife-throwing range or if you want to zipline to the next weathervane to put him in range. Once you execute him with a thrown knife to the head, zipline back to the Allied Guard (10) who is now in a new location.
Side Objective: Reach the Allied Guard
Zipline to the northwest spire of the tower and you see the Allied Guard behind the shrubs on the west side. Talk to him and then have him take you under false arrest (it works the same way as if you kidnapped someone, but you will be walking in front). Press  /
/  to be kidnapped.
Side Objective: Infiltrate the Tower
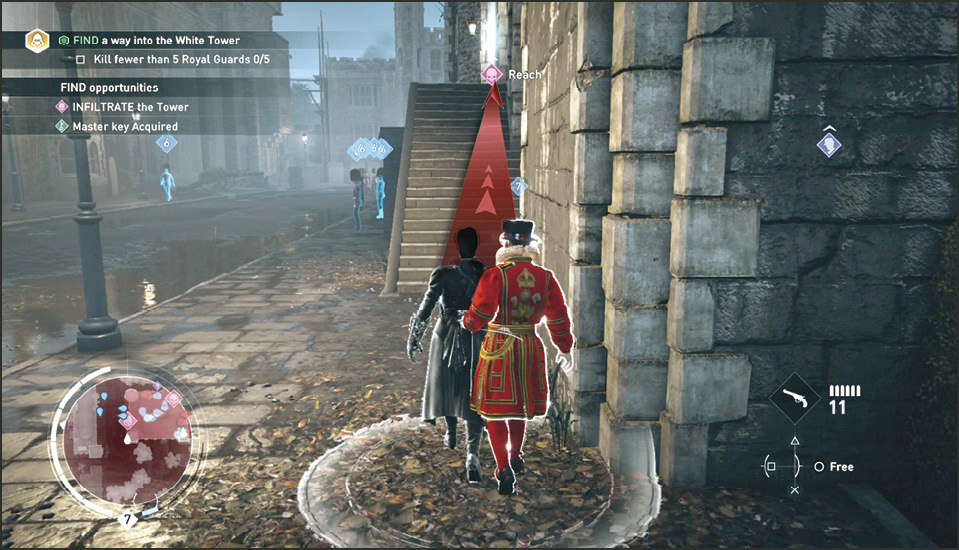
Walk your captor east along the north side of the tower. Just a few yards from where you got arrested you find stairs leading to a locked entrance. Walk slowly up the stairs so your detection zone does not intersect with the Royal Guards on the sidewalk.
Current Objective: Assassinate Lucy Thorne
Tower Interior: First Floor
When you reach the door, your Allied Guard screams at the guards inside to open the door. He is bringing Miss Thorne the assassin. Once inside, walk very slowly to keep your detection zone away from the Templars. Walk slowly up the stairs on the right.
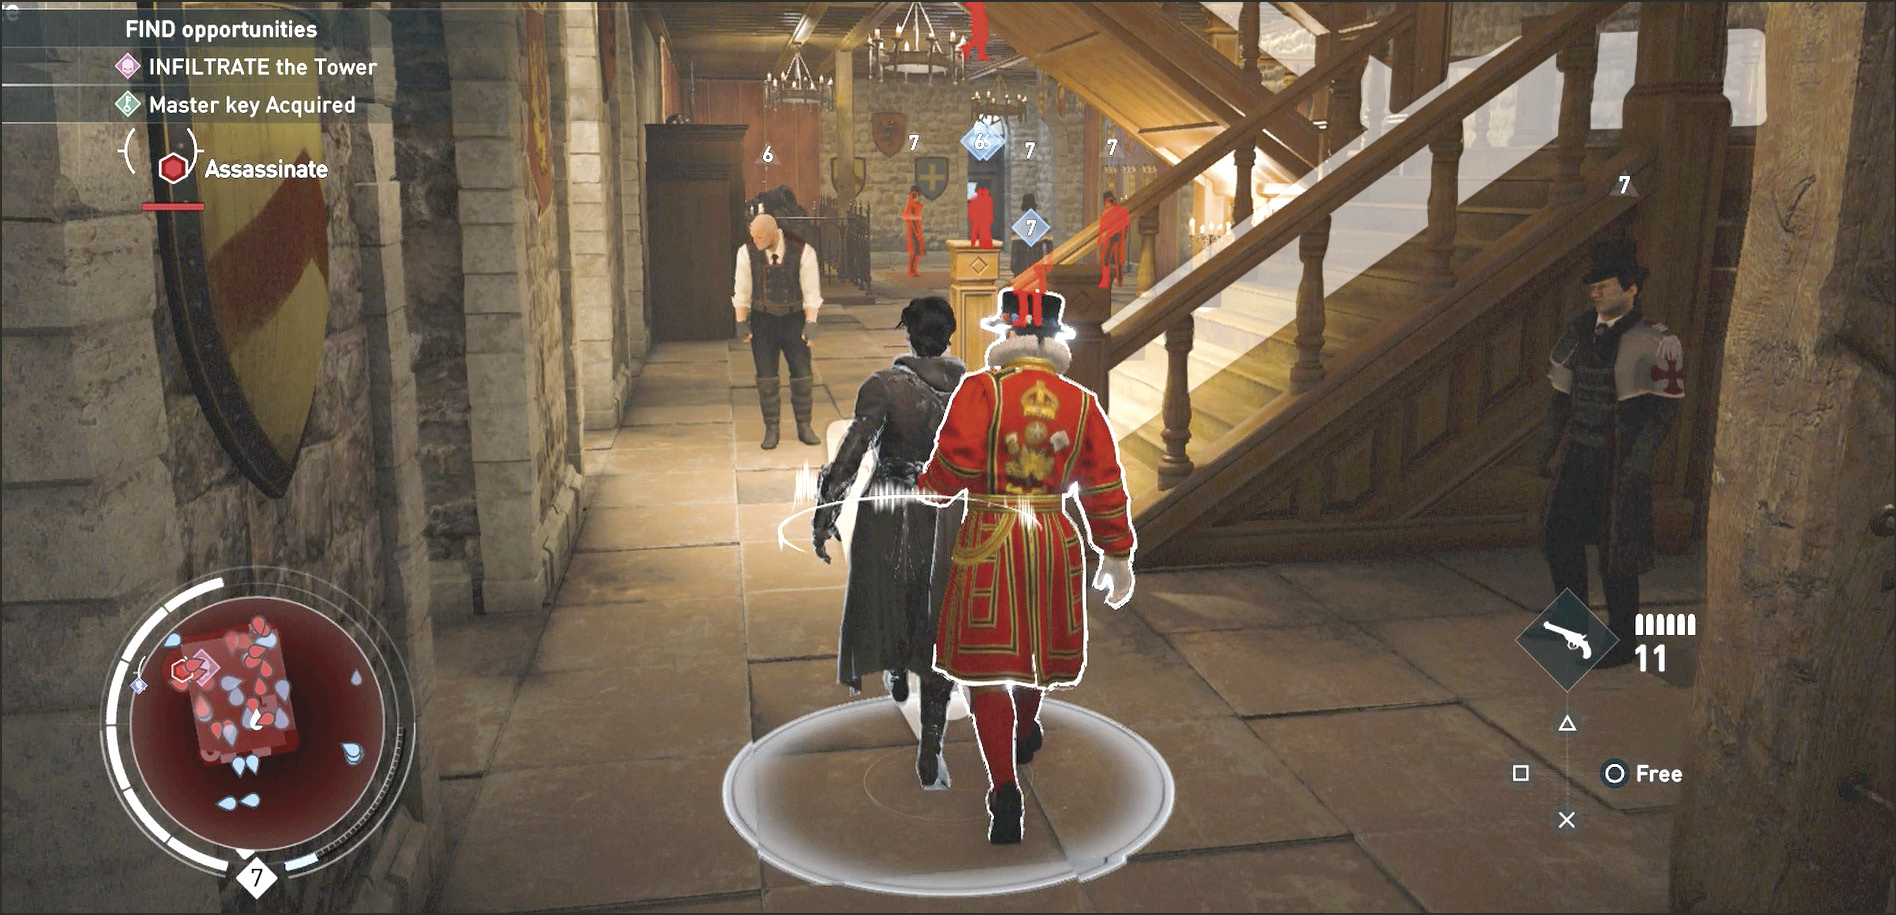
Tower Interior: Second Floor
Activate Eagle Vision at the top of the stairs to spot the Templars you must avoid. We suggest turning right to follow the hallway on the right. There is a single Blighter (B) patrolling this hallway so before heading left at the end of the hallway, wait for him to be on the right side. The passageway is too narrow for three.
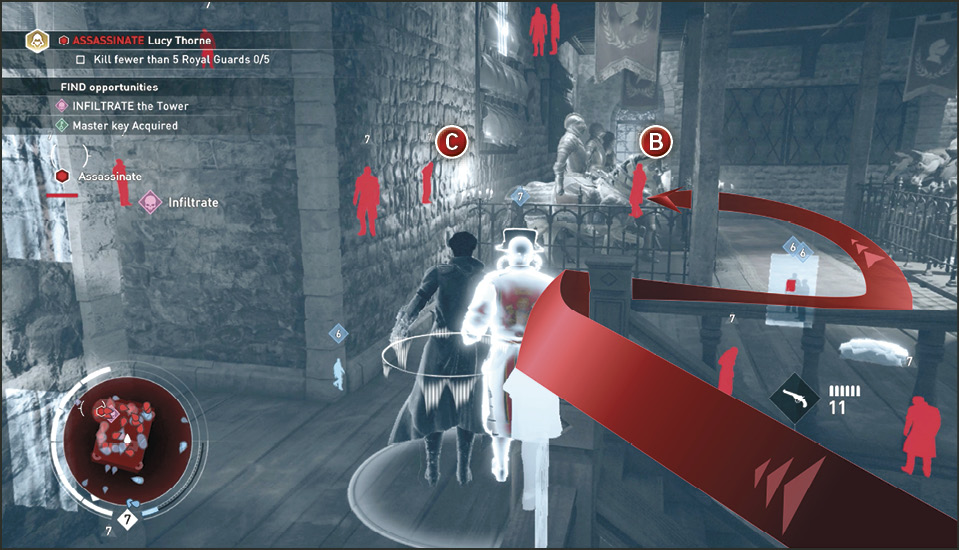
Tower Interior: Lucy Thorne’s Assassination
When you walk into Lucy’s chamber from the right hallway, turn sharply to the left to avoid the Templars (C) near the entrance and then follow the red carpet to enter the Infiltrate marker near Lucy.
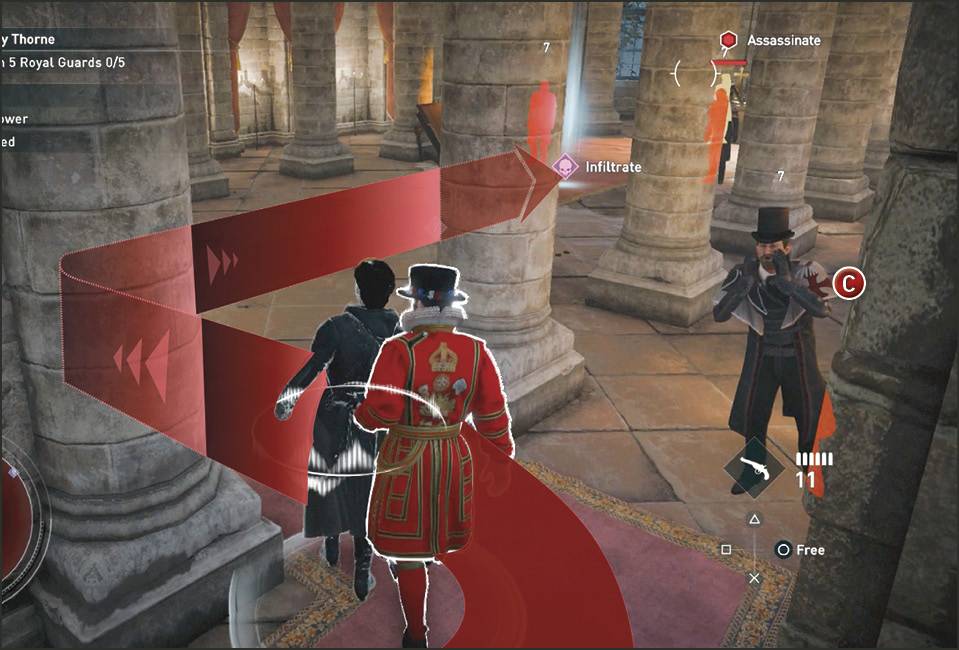
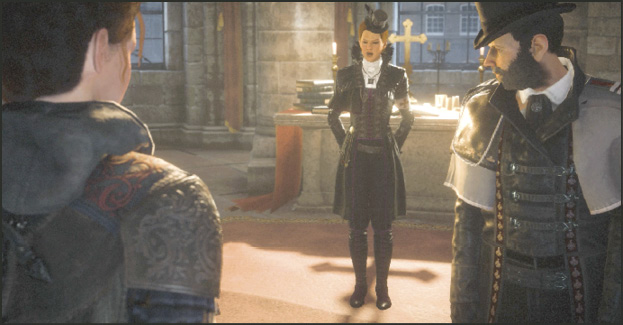
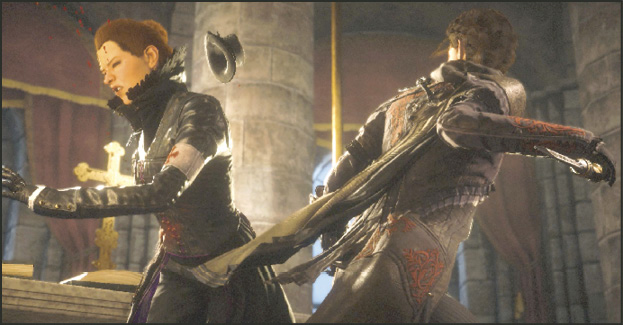
When you enter the marker a cinematic plays. Lucy asks you where the Shroud is located and then says that she’ll find it without your help and then strangle you with it. When she turns her back you are prompted to execute her using the / button. If you do not press any button, Lucy orders the Templars to kill you and you get into a fight with the Templars.
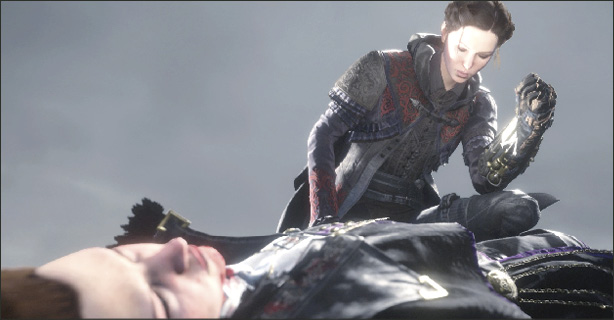
In the Animus white room, Lucy questions what good her death does; she does not have the Shroud and tells Evie she hopes she never finds it. Lucy refuses to reveal any information on the Shroud to Evie before she dies.
Current Objective: Escape the Tower of London
The tower erupts in battle between Royal Guards and Templars. Run through the chaos to make it back to the lower floor (using the same staircase you used earlier). Once on the lower floor, don’t exit through the door you used to enter the tower, instead, turn left (south) and dash to the open doorway (11) at the far end of the room.
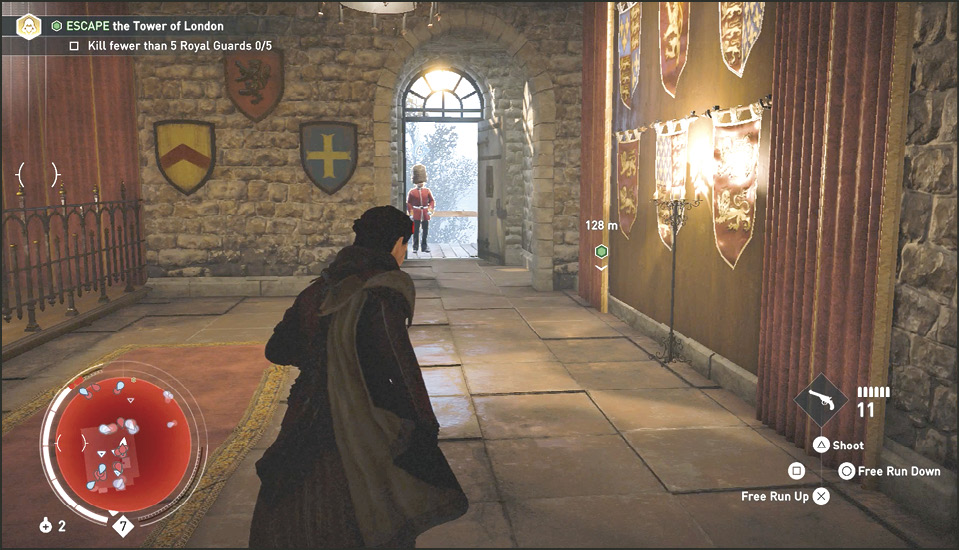
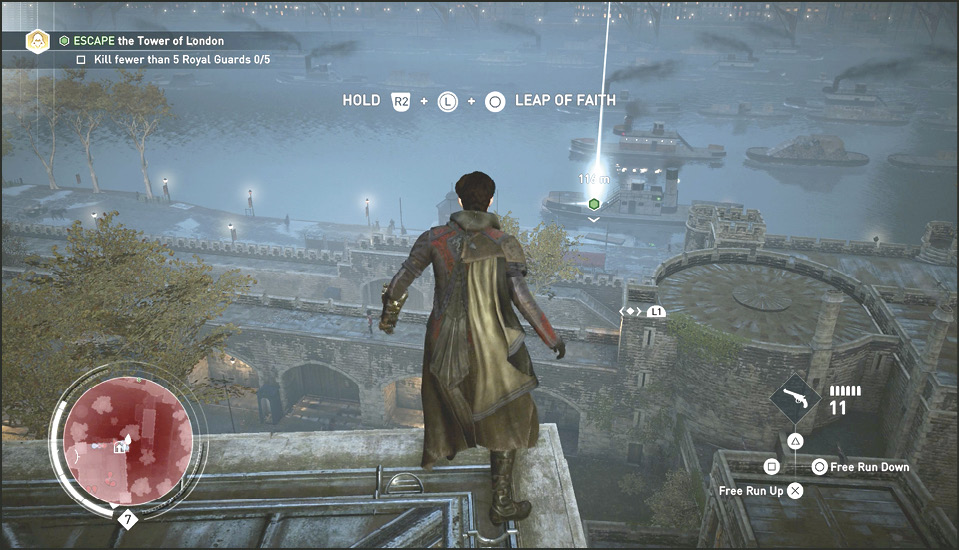
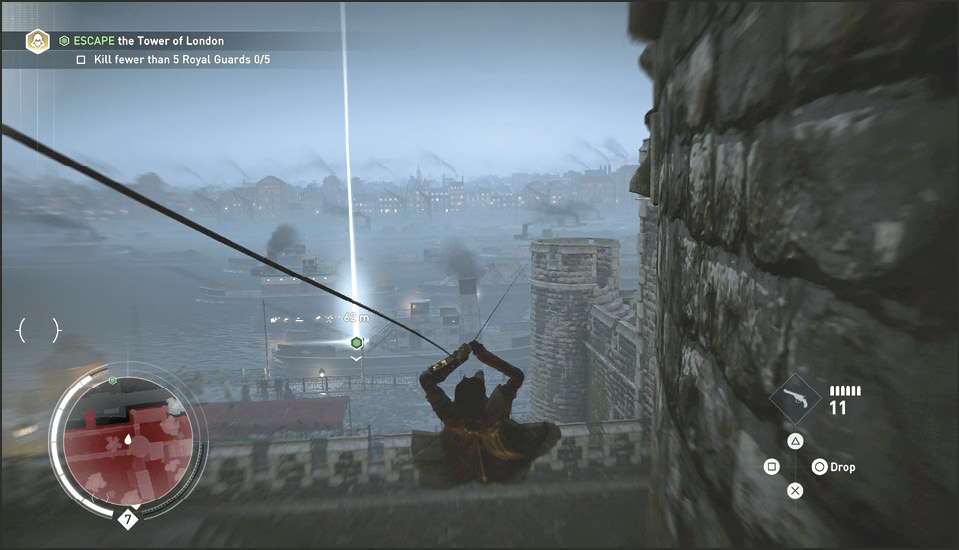
Do not kill the Royal Guard on the steps, instead Rope Launch to the top of the tower (12) and then face south to find the Reach marker on a boat (1) in The Thames. Rope Launch to the inner wall (2) of the fortress and then zipline to the outer wall and get to the dock. Leap to the boat where the marker is to complete the memory. Evie is seen holding the key taken from Lucy Thorne (the same one she stole from Evie when she made her escape through the window).
Location: Starrick’s Office
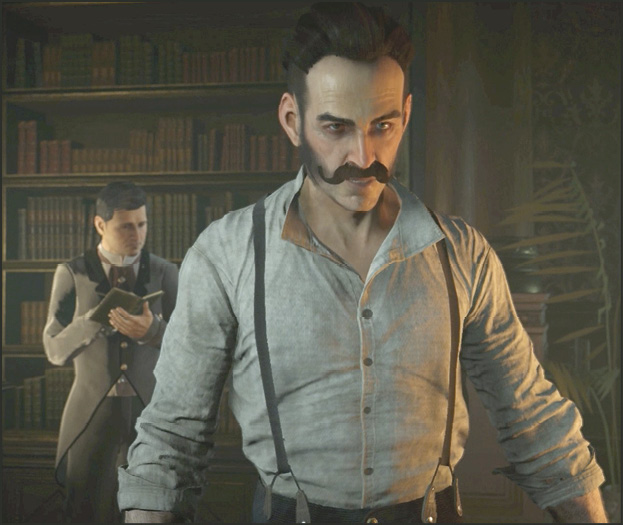
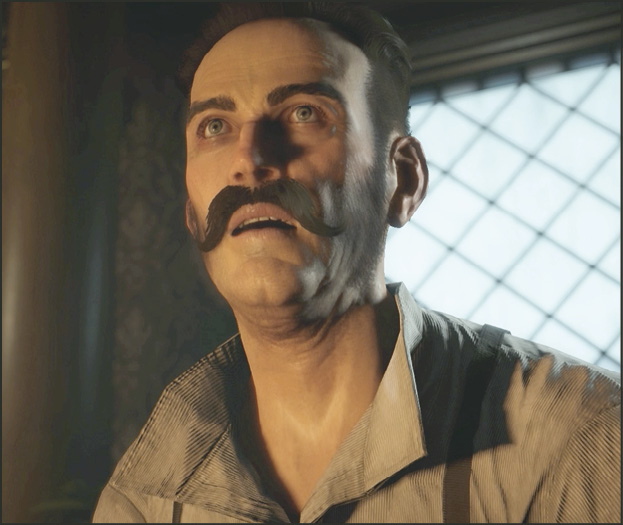
After assassinating Lucy Thorne, a cinematic takes us inside Starrick’s office as he dictates a letter to Miss Thorne (he is not yet aware of her demise). In the message, he thanks Lucy for securing the Shroud. But because he does not want to share the powers of the Shroud with her, he dissolves their business relationship. He continues to offer her wealth for life. Just as soon as the dictation ends, a messenger enters the office and delivers the news that Lucy Thorne is dead. And worse news, the key was not found on her body.