Assassin's Creed Syndicate Guide Walkthrough Sequence Four
Playing It By Ear
MISSION OVERVIEWMemory Type: Templar Conspiracy Suggested Level: 4 AssassinEvie Frye ChallengesDiscover all 7 of Kenway’s memorabilia collection Complete the piano puzzle without hitting a false note Rewards£: 700 + 100 (Full Synch Bonus) XP: 500 + 125 (Full Synch Bonus) Outfit: Defender’s Garb |
Location: Train Hideout
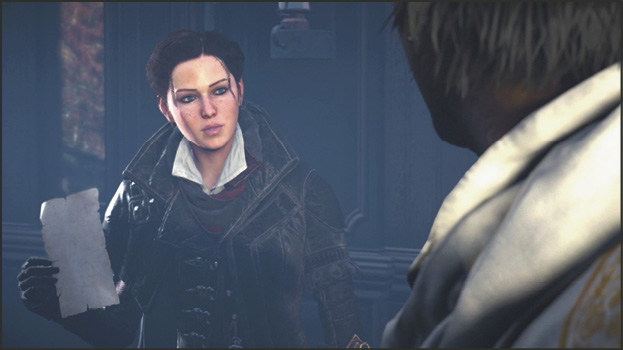
Locate the train hideout on the world map and select it. Choose to Fast Travel to the train. Once on the train you notice that Agnes has a mission for you, Stalk The Stalker. That will have to wait for now. Enter the next cabin to find Henry Green waiting to speak to Evie. Evie’s search for the Piece of Eden continues as she examines the notebook recovered from Miss Thorne’s chest.
Current Objective: Find the Jackdraw Sculpture
Location: City of London
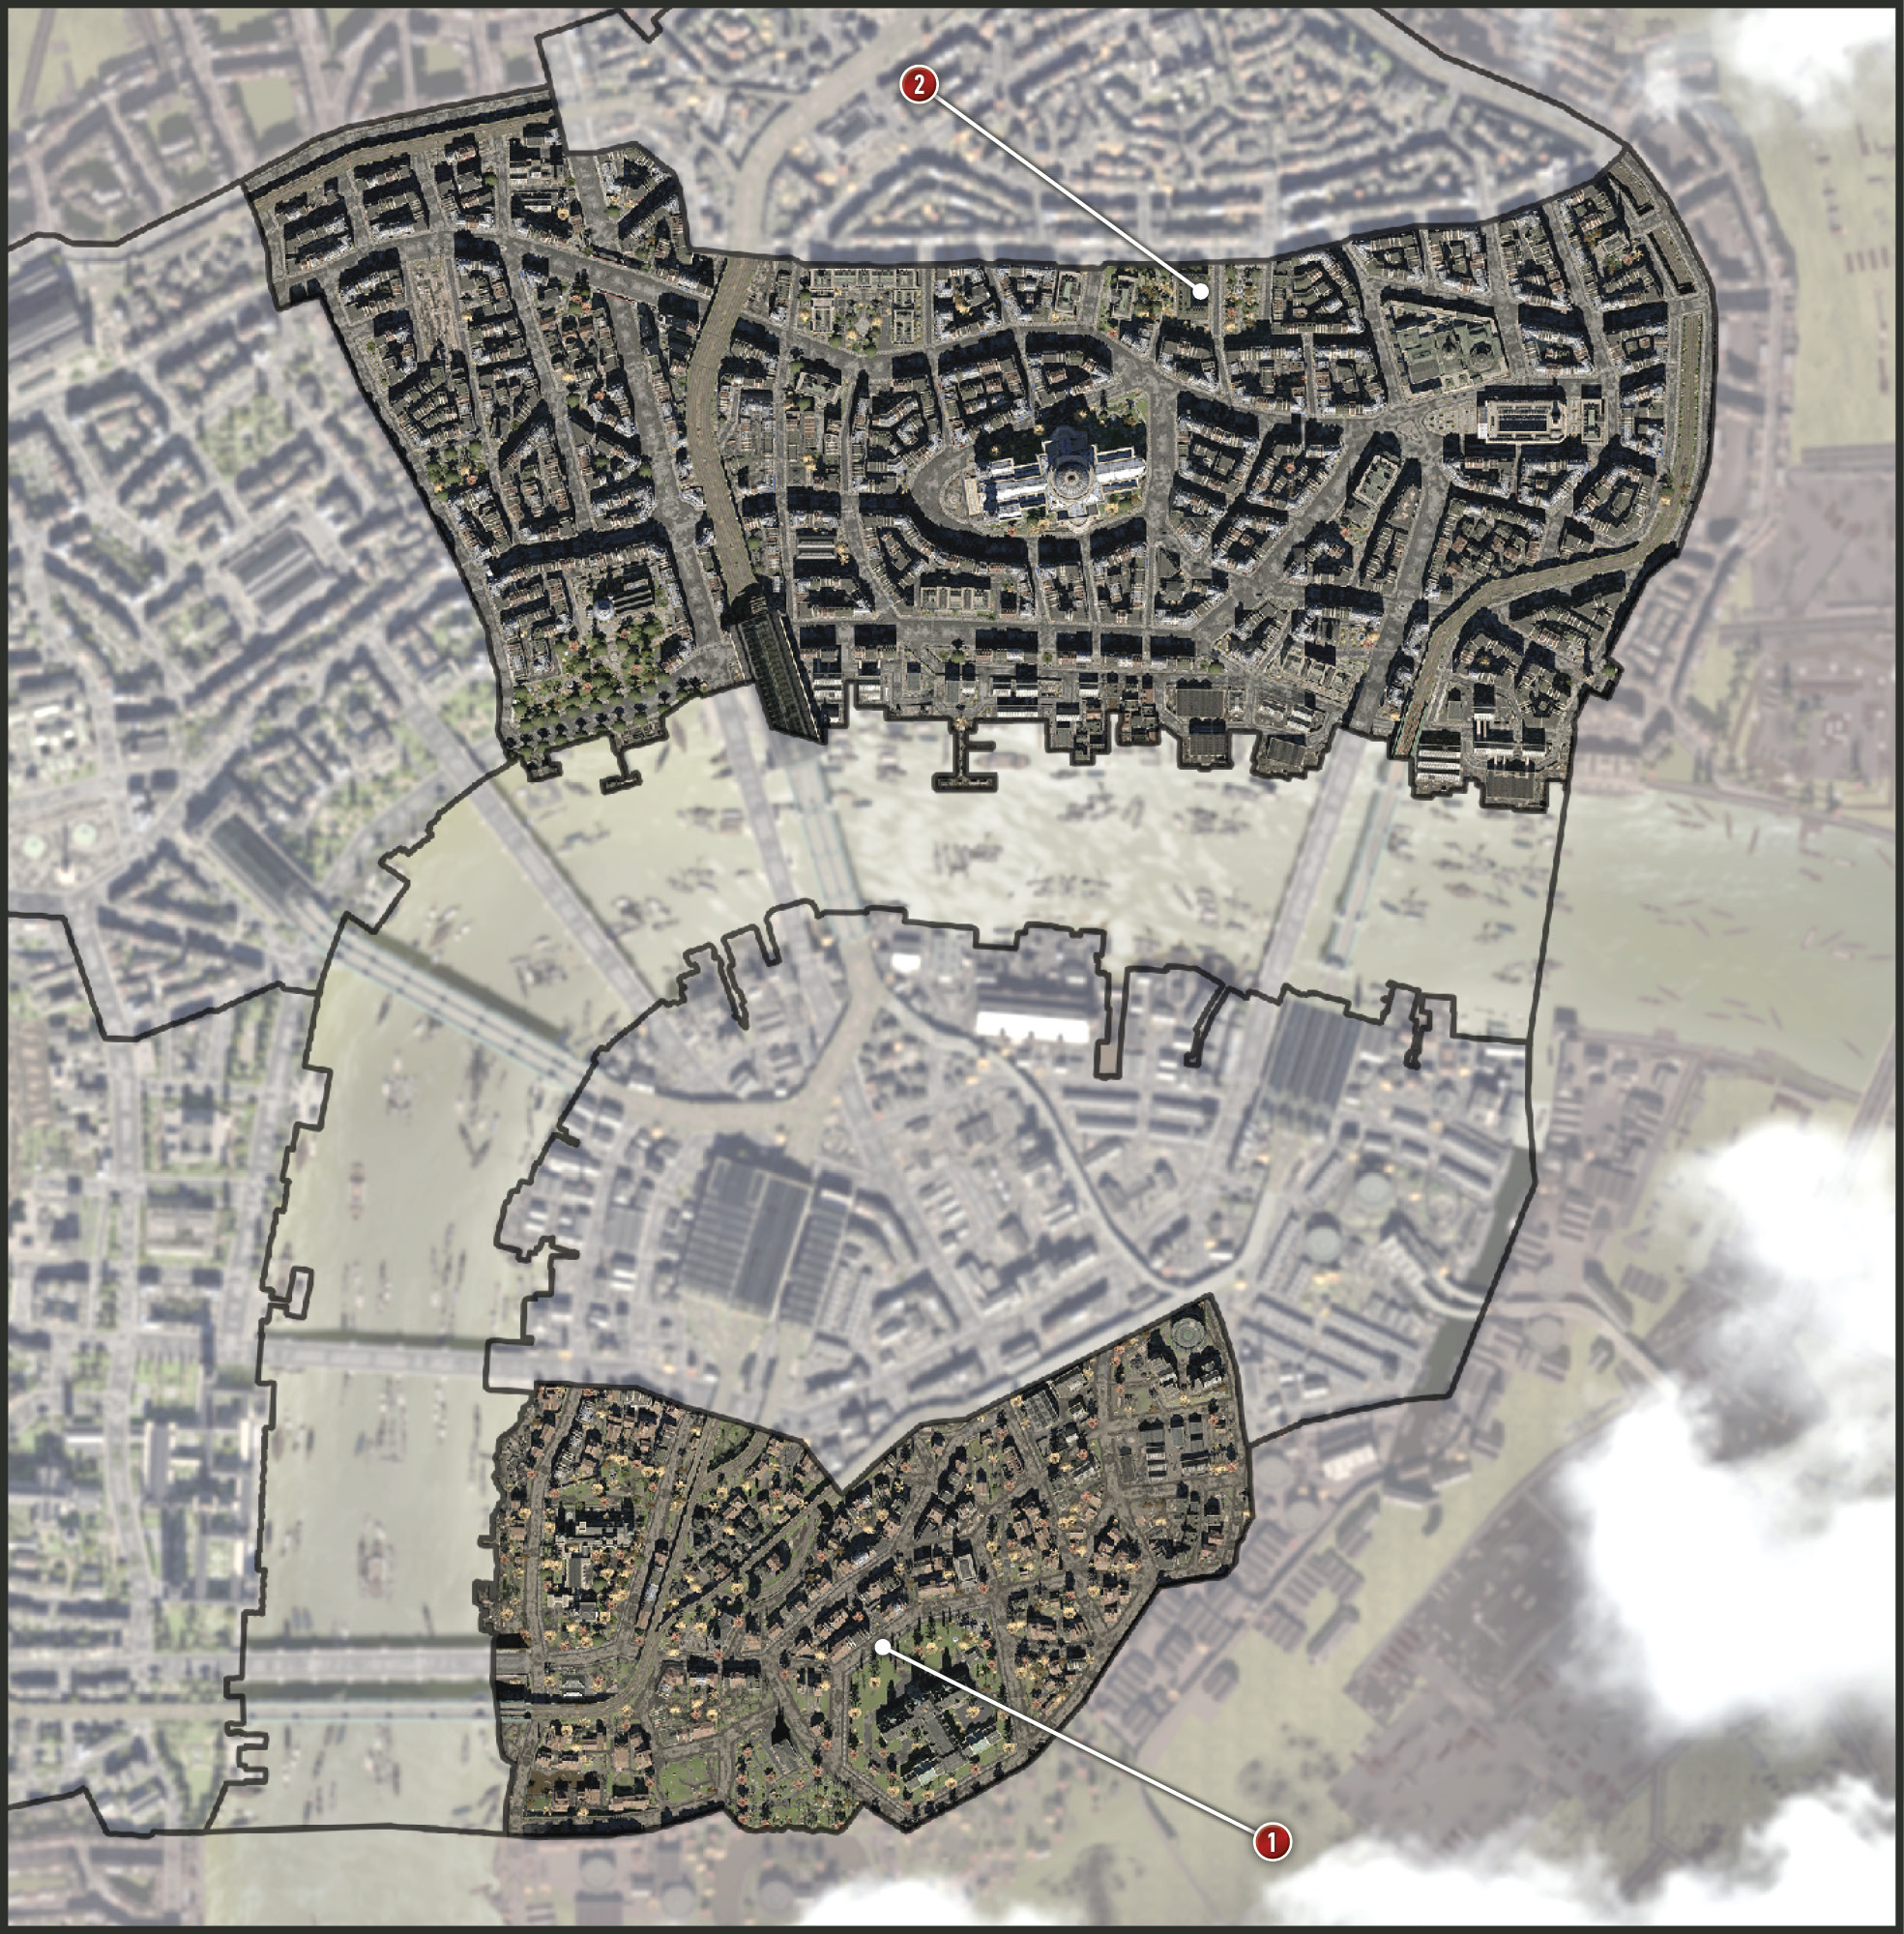
Enter the carriage (1) and allow Henry to get on before you take off. Follow the route marker to the green blip (2) in northern London a few city blocks away. Speed and drift in every corner opportunity to execute a few more London Drifts (Perk). Walk into the green zone indicated on the Mini-Map around the large mansion (2). Lucy Thorne is seen entering Kenway’s mansion. Evie accepts the added challenge of entering without Lucy knowing.
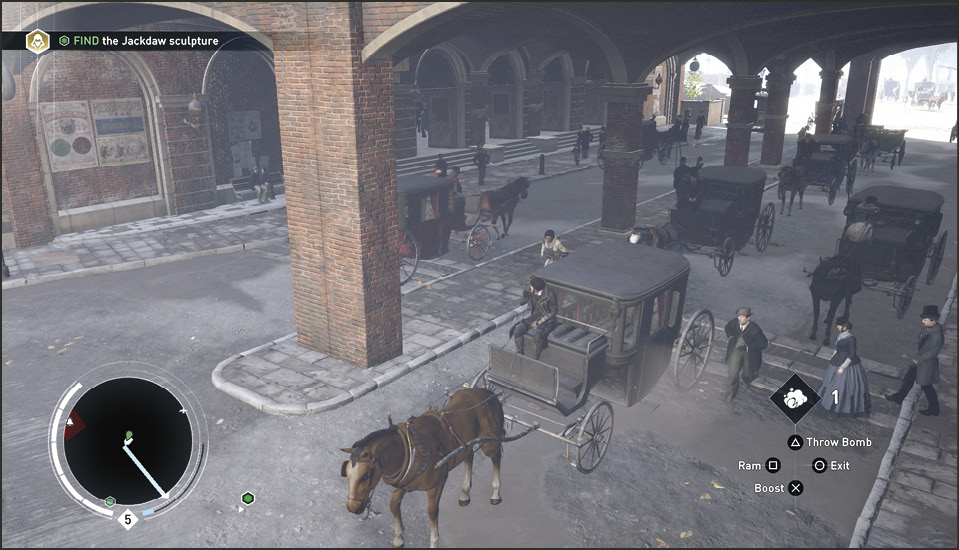
Current Objective: Find Kenway’s Secret
Location: Kenway’s Manor, City Of London
Approach the manor with Eagle Vision activated to spot and mark the level four and five enemies around and inside. You also can spot the secret inside the southeast section of the mansion. The first objective is met when you spot the yellow glowing grand piano on the first floor. This updates the objective: Examine the room for clues.
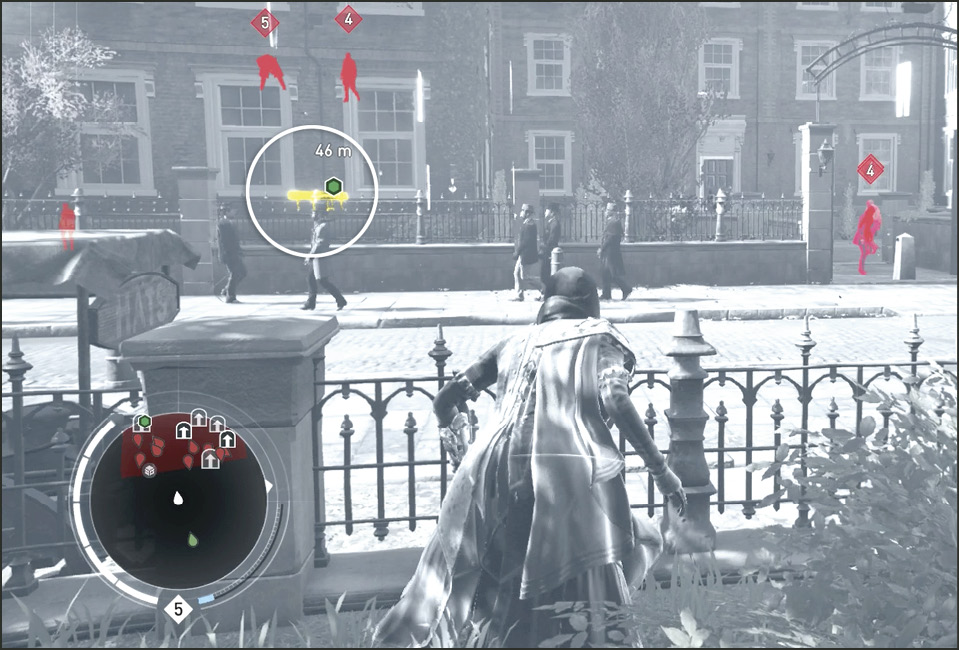
Current Objective: Examine the room for clues
Challenge: Discover all 7 of Kenway’s memorabilia collection
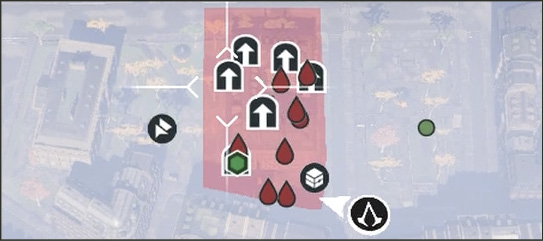
Look at the mansion on the World Map and you discover that there are six Entry Points into the mansion, the majority of them along the northern half of the building.
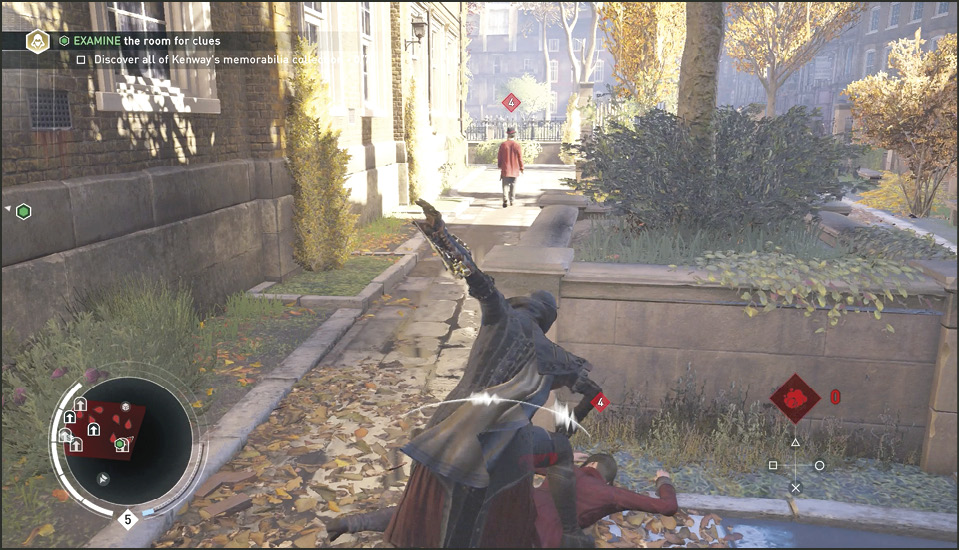
You can easily get to the rooftop of the house without entering the gated yard by walking up to the gates on the southeast side of the building (the gate is only a few feet away from the side of the mansion). Walk along the southern edge of the rooftop and Air Assassinate one of the patrolling Soldiers below and then Cover Assassinate the second.
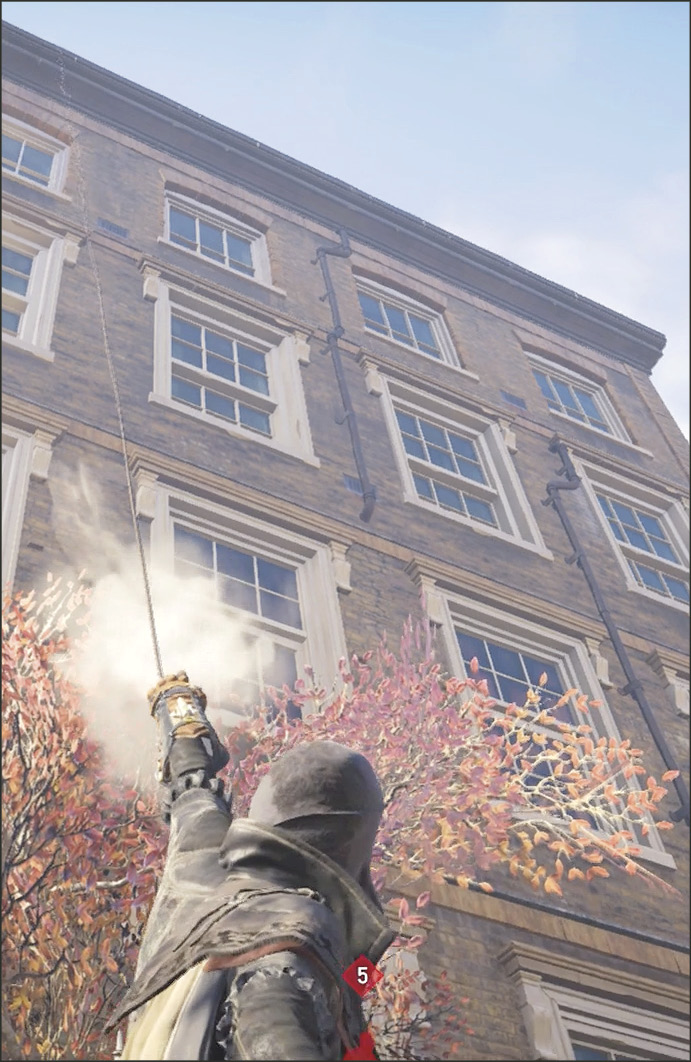
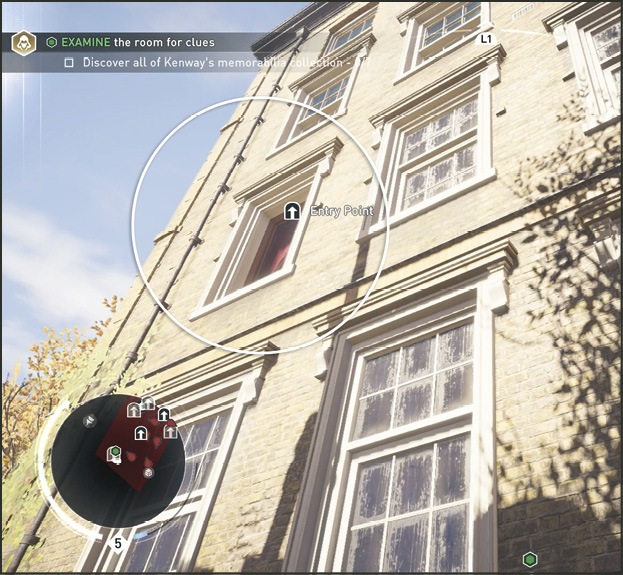
Remain on the south side of the mansion exterior and look up to the last row of windows on the southwest corner of the building. You find an open window (Entry Point) on the second story. Enter this window to breach the interior.
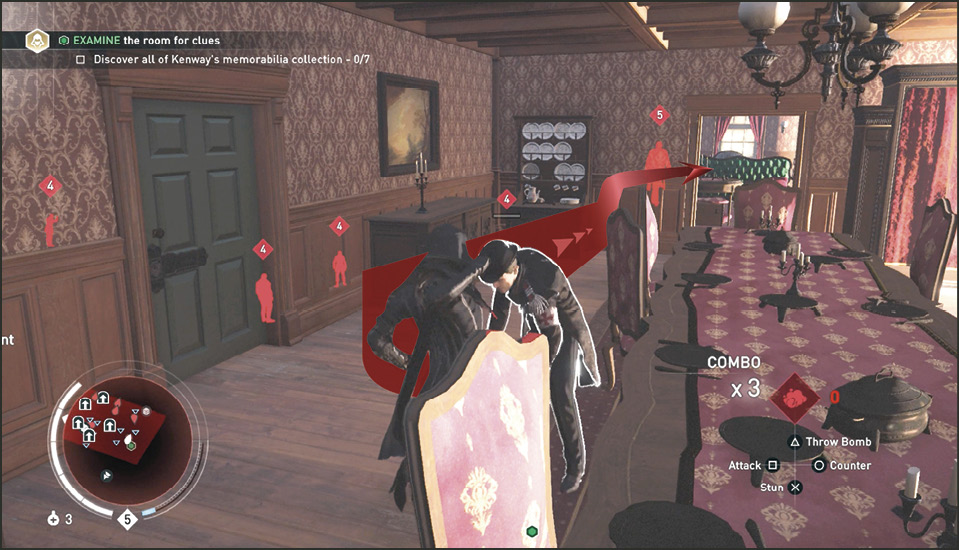
As soon as you enter the window, run forward and to the right to dispatch a Soldier (if he has patrolled into the room when you enter). You have the element of surprise so you can easily make quick work of him before the Soldier in the next room becomes a witness.
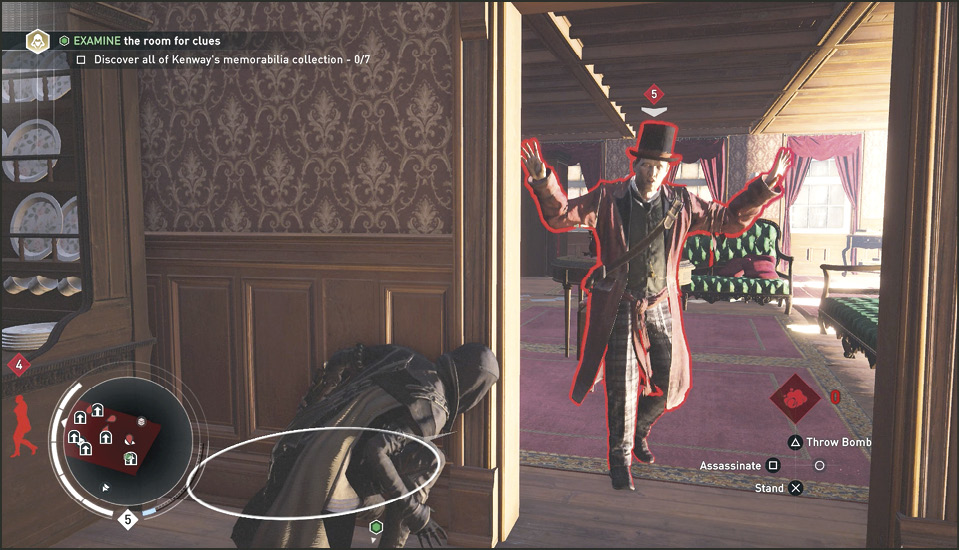
After dispatching the first Soldier, sneak quickly to the left side of the open doorway at the end of the dining room table. Cover and whistle for the Soldier in the next room and Cover Assassinate him.
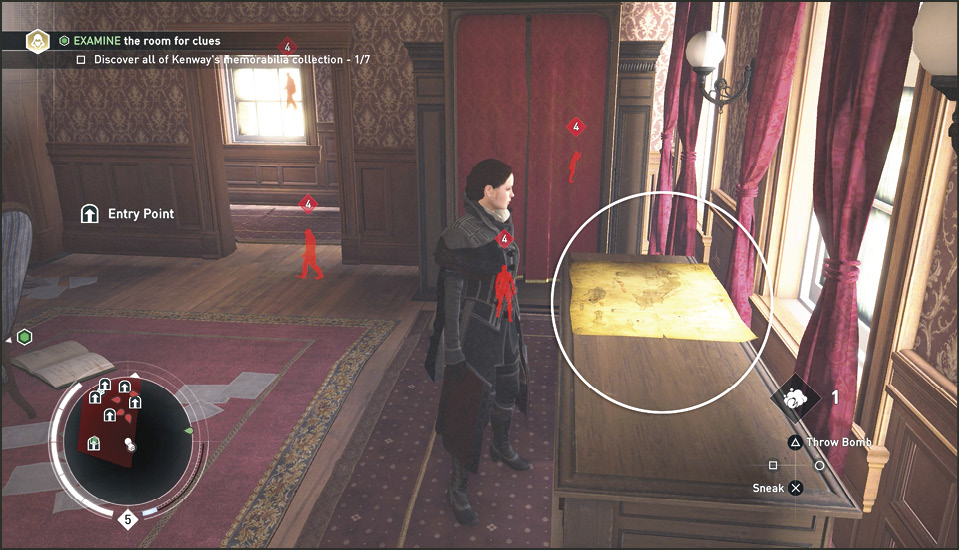
Clue 1: Map
You can find the first clue in the room adjacent to the dinning room Entry Point. Look for and examine the Map on the table near the window. There is also a booth to hide in beside the table if needed.
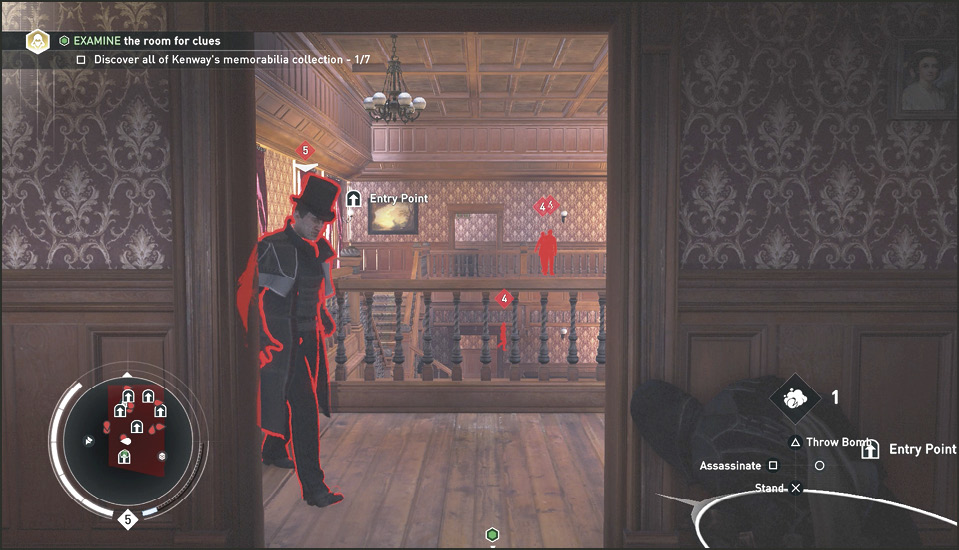
Exit the map room and head left in the hallway. Notice the locked door on the left at the end of the hallway (glows white while in Eagle Vision). This simply leads back into the dining room. So cover beside the open right door, whistle for the guard in the anteroom, and Cover Assassinate him when he inspects the noise.
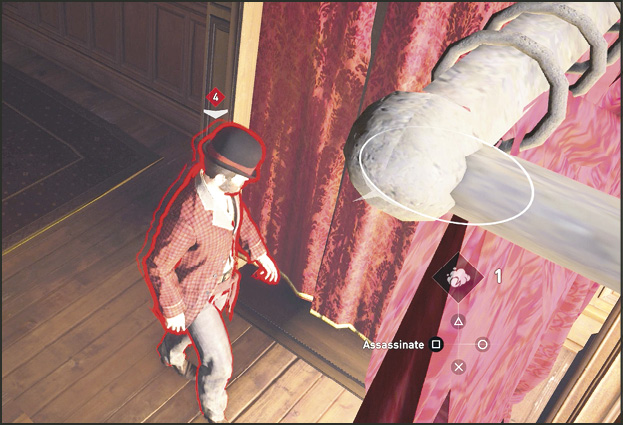
Enter the anteroom and hide in the booth in the back right corner. Whistle for the closest Soldier in the next hallway. Cover Assassinate him when he inspects the sounds behind the curtains.
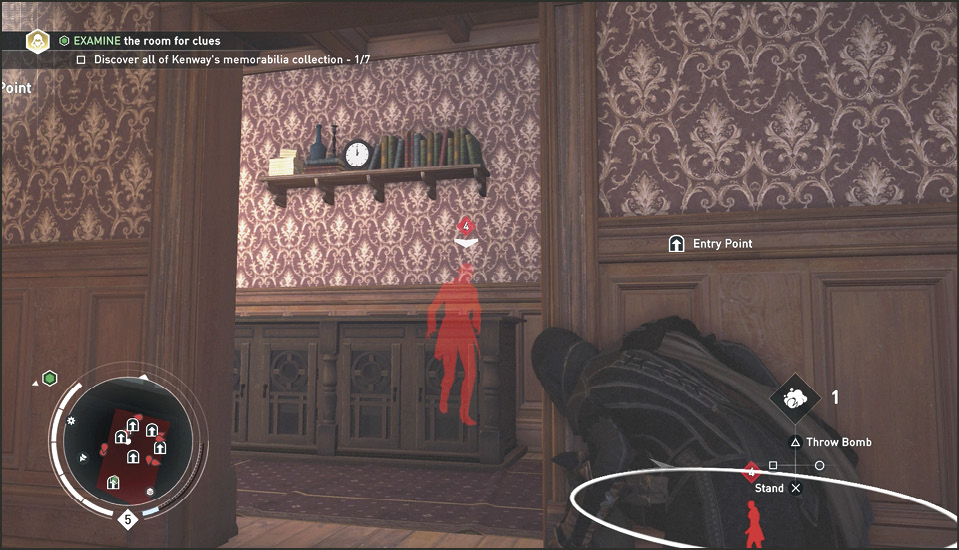
Cover beside the hallway doorway near the booth in the anteroom and whistle for the female Soldier in a room beside the hallway (you can spot her using Eagle Vision). Cover Assassinate her when she inspects the sounds. Remain in your hiding spot and whistle again for the next nearest Soldier in the same room. Show him the same fate.
Clue 2: Plume Hat
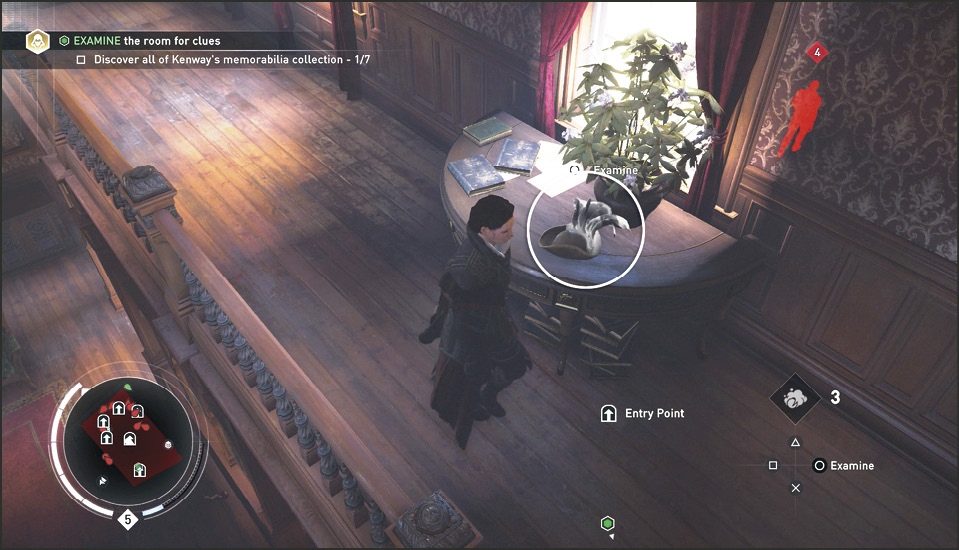
Before you enter the next hallway, head back to the table with the floral arrangement in the anteroom and examine the plume hat on the table beside the flowers. That’s two.
Clue 3: Paperweight
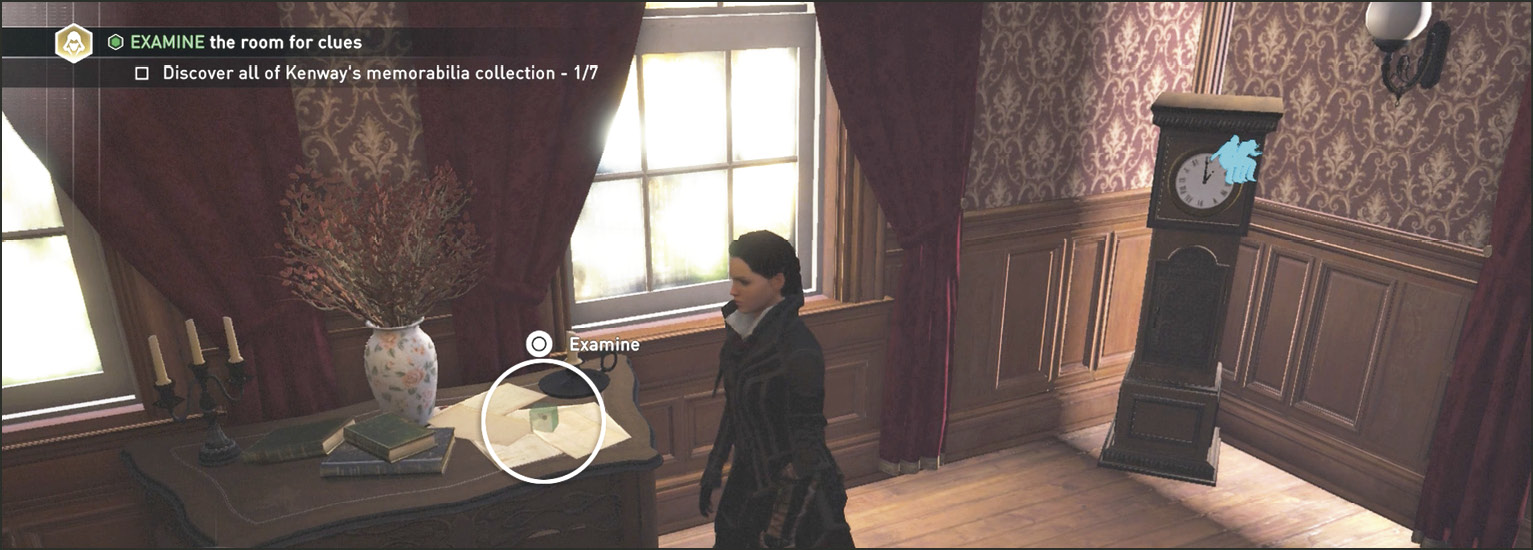
In the next hallway, enter the first room on the left. Move to the left side of the room to the table between the windows where you can find a small paperweight. Examine the glass cube to discover the third clue. Exit this room and head back into the anteroom. Head down the stairs to the first floor.
Clue 4: Hanging Swords
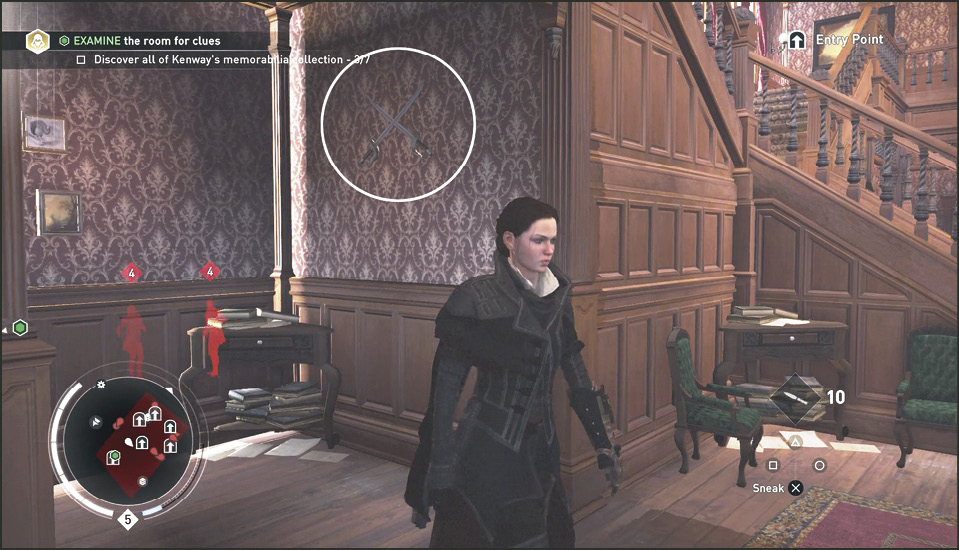
Examine the swords hanging on the wall under the stairs near the booth. This is your fourth clue.
Clue 5: Hanging Pistols
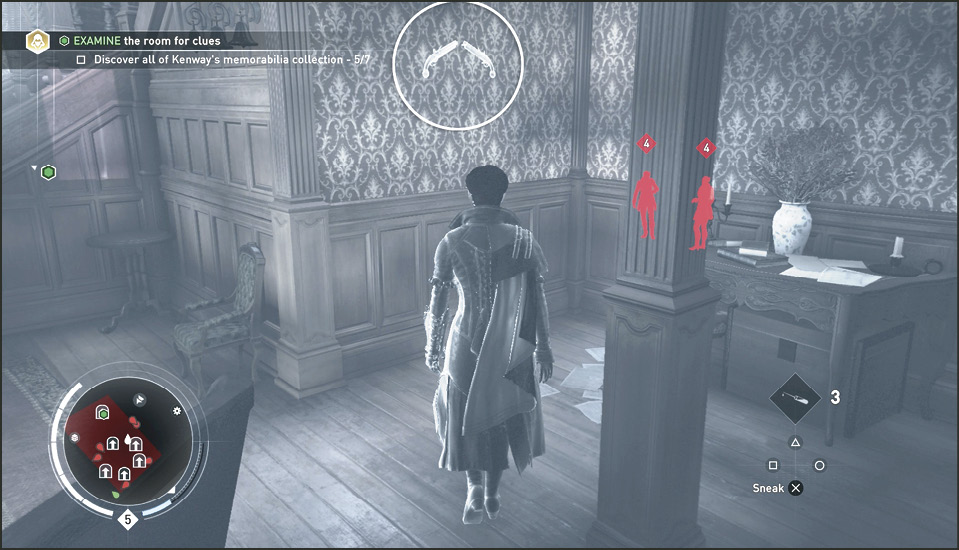
Head to the other side of the room and find the hanging pistols on the wall under the stairs. Examine them. These are the fifth clue.
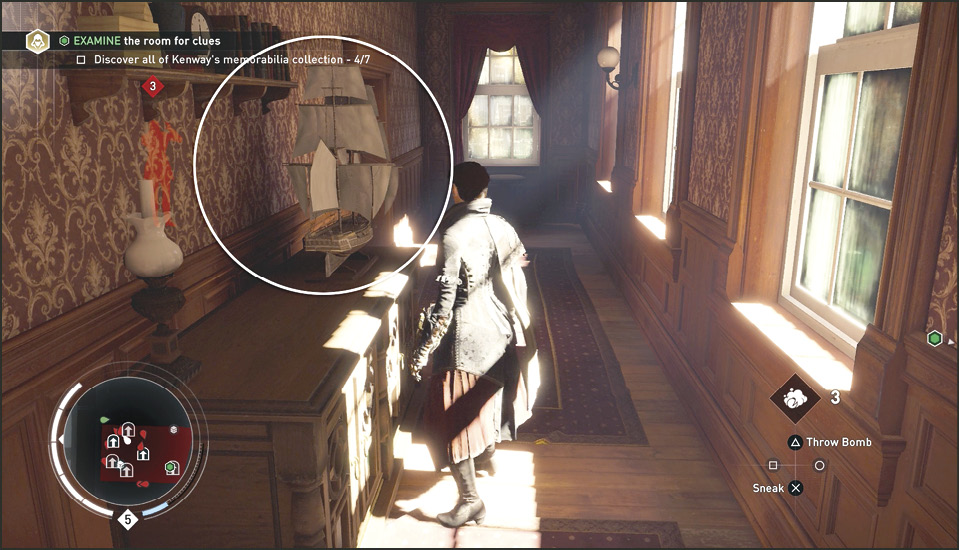
Clue 6: Model Ship (North)
In the anteroom, turn and head north and then enter the north hallway. Turn right in the hallway and head to the table near the end. Examine the model ship; this is your sixth clue. There is a locked door in the north hall. Unlock this door and enter to find a Chest at the foot of a bed.
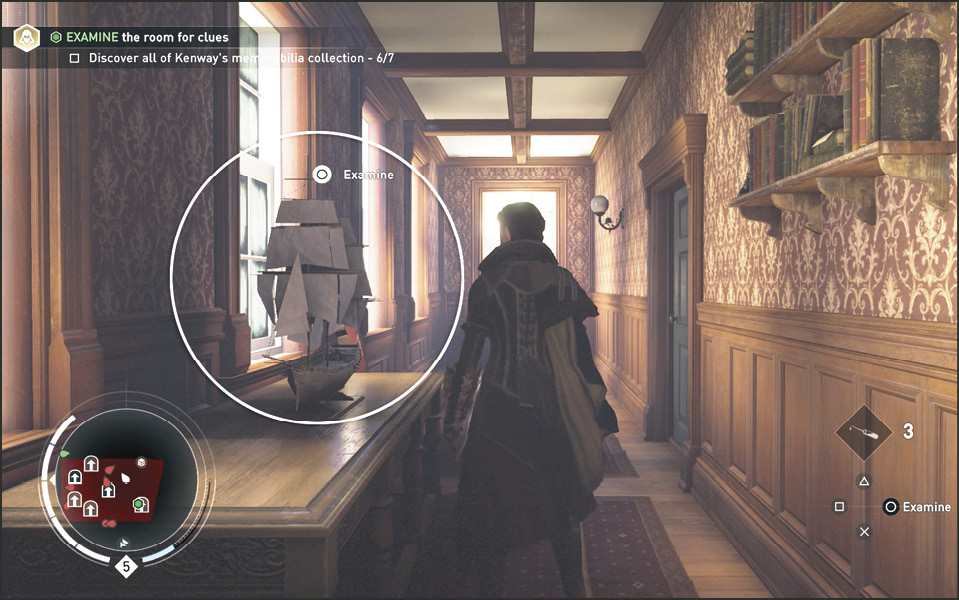
Clue 7: Model Ship (South)
In the anteroom, turn and head south and then enter the south hallway. Turn left in the hallway and head to the table at the end. Examine the model ship; this is your last clue.
Piano Room Puzzle
Challenge: Discover all 7 of Kenway’s memorabilia collection
Once you have discovered all seven clues, head into the south hallway on the first floor, unlock the locked door and enter the piano room. You meet up with Henry inside. Search for more clues before you examine the grand piano. Using Eagle Vision, examine the writing on the wall above the fireplace. Music notes appear on a staff, they are: D, A, D, E, F, D.
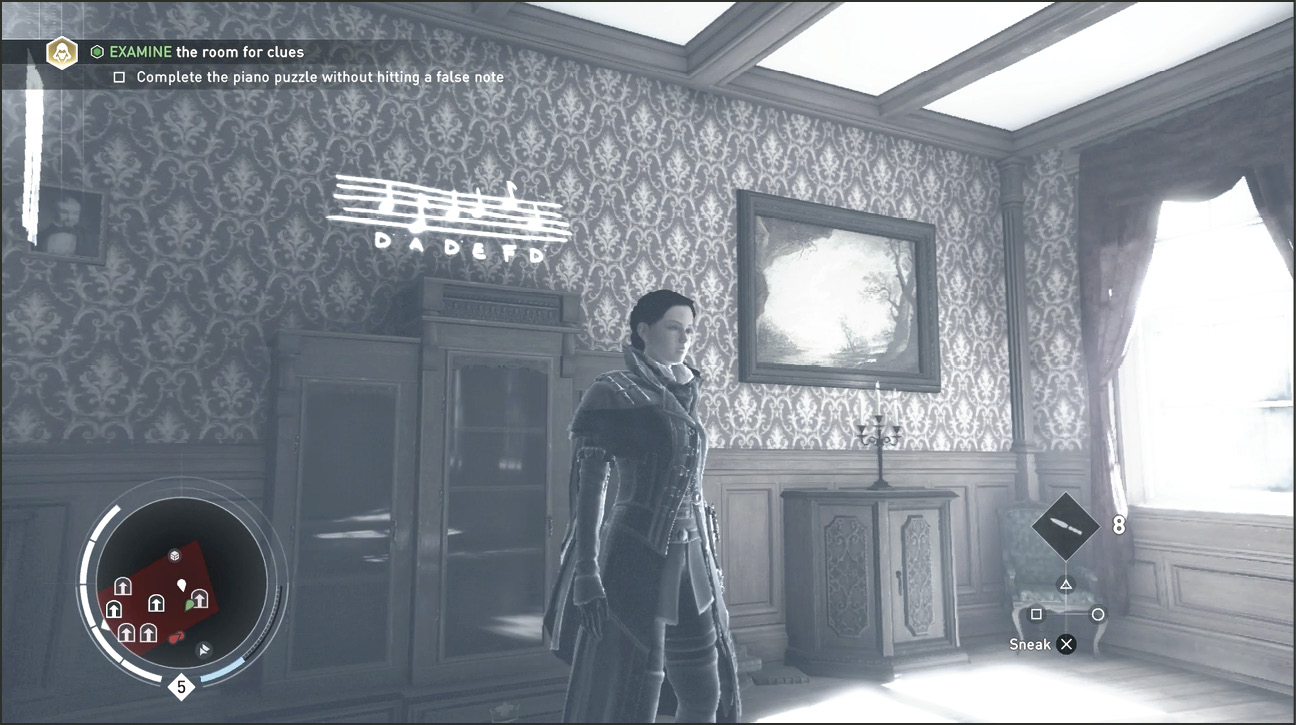
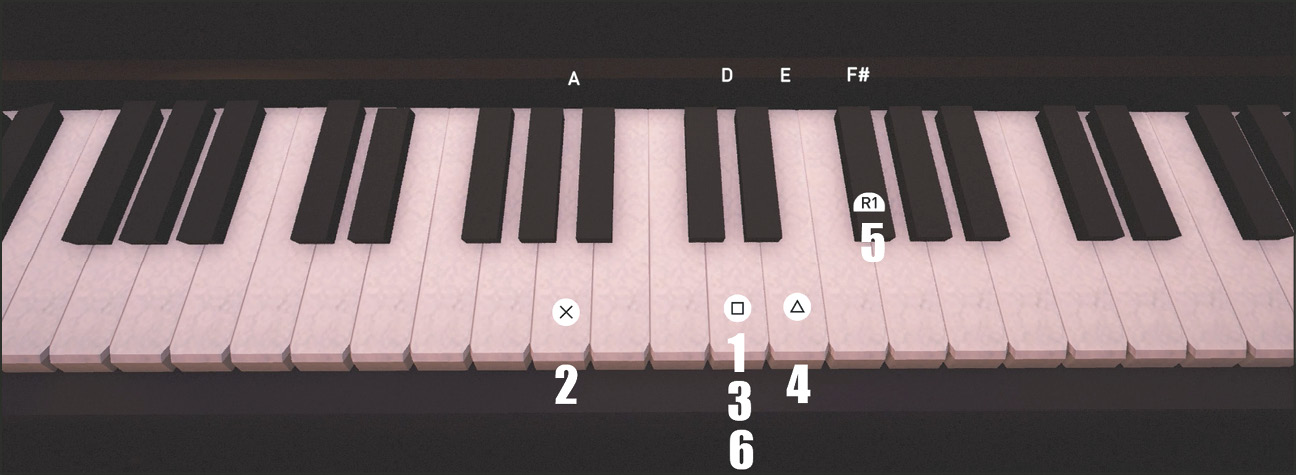
Approach and examine the piano in the room. A keyboard appears. The notes appear above the keys. Controller buttons also appear on the keys. Press the corresponding controller button to play the correct key. When you hit a bad note the sound of two notes play. Do not start over if this happens; simply play the correct note next. However, you fail the Challenge if you hit an incorrect note. The correct note order is: D, A, D, E, F, D (or follow our numbered keys in the picture).
Current Objective: Examine Kenway’s Treasure
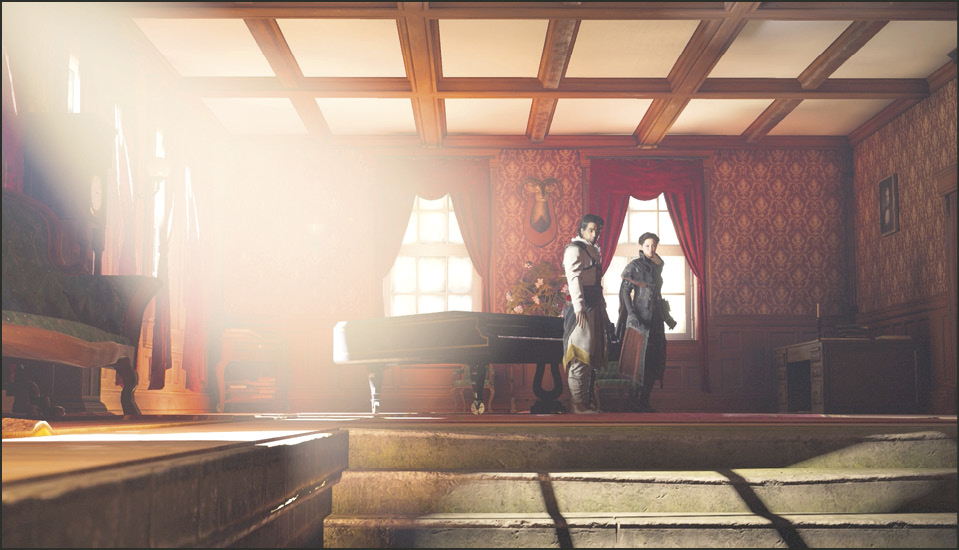
A large trap door in the floor opens once the melody is played correctly. Henry leads the way into the hidden cellar below the music room.
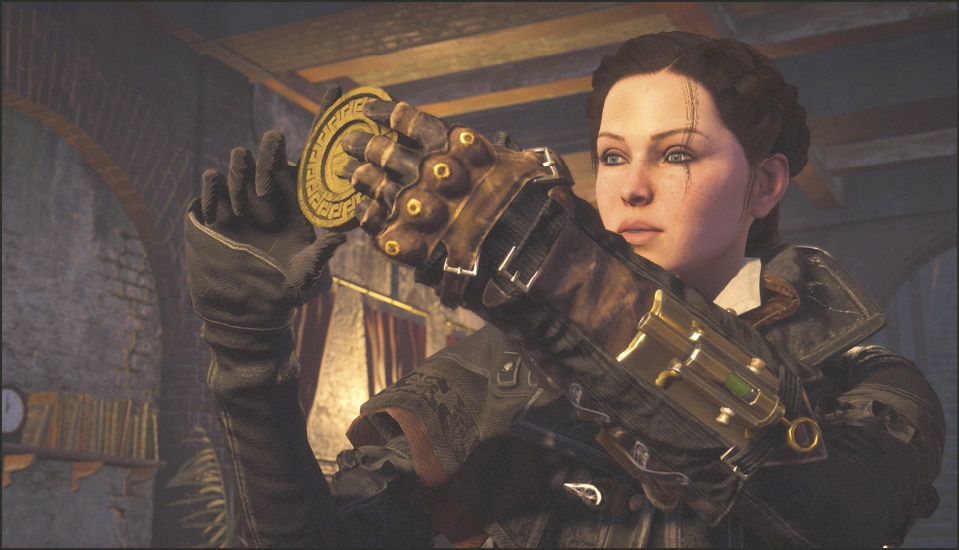
Open the Chest on the right side of the cellar and then examine the strange engraved disk on the table in the back of the room, marked with a green blip.
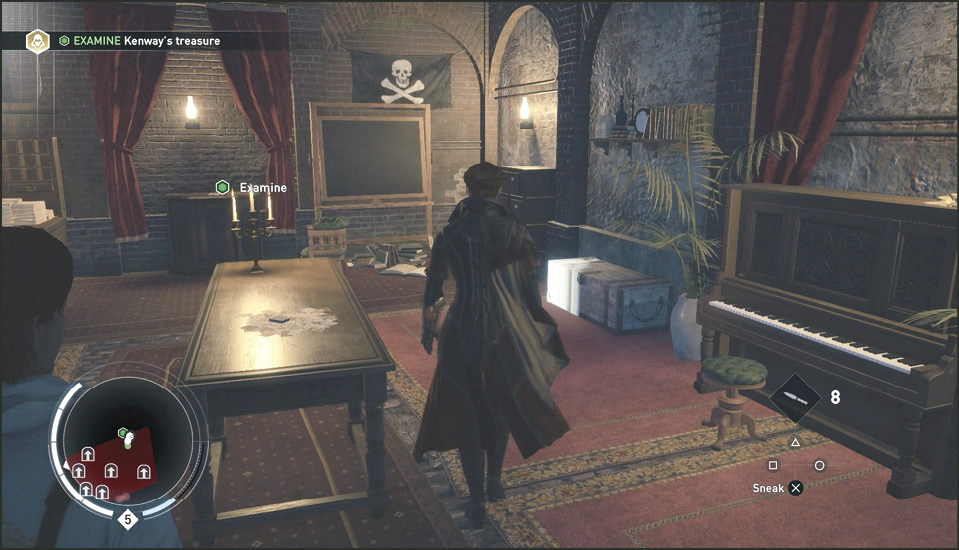
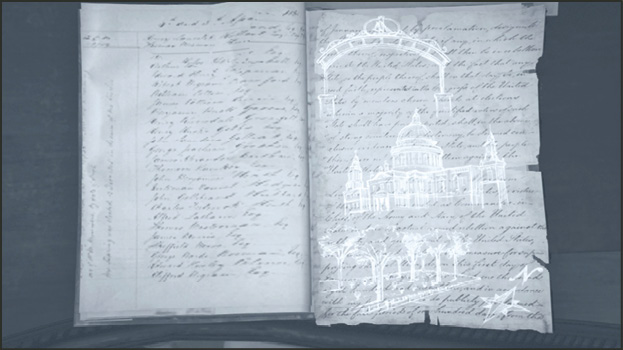
Evie picks up a piece of paper with some writing on it. She uses Eagle Vision to reveal the Assassins’ symbol and tells Henry it’s a history of the London assassins…bolt holes, vaults, and a hidden key. Just as they find what they were looking for, Lucy Thorne is heard on the floor above in the music room. She quickly notices the opening in the floor. Henry rushes to the lever in the cellar to close the floor from below.
Current Objective: Open the secret hatch
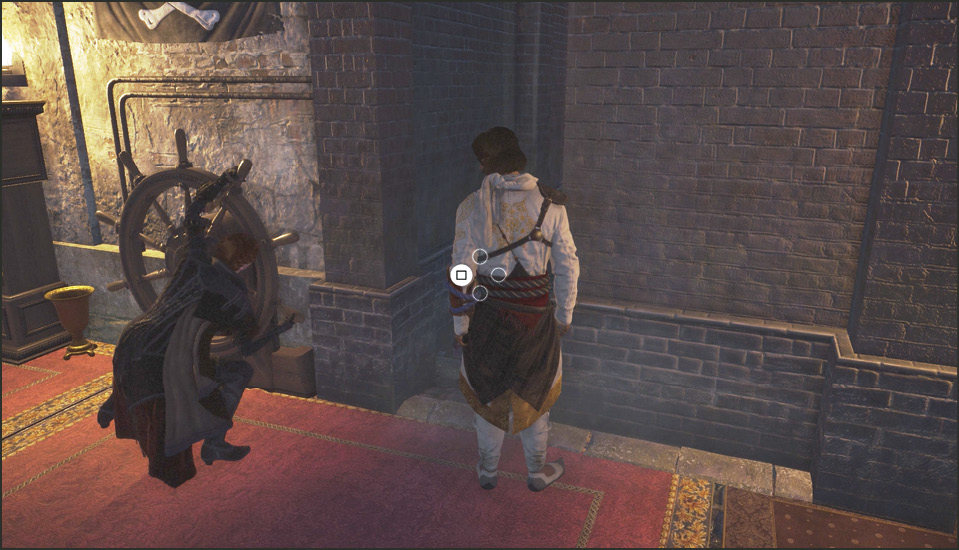
To escape the cellar, move to the left (east) side of the room and examine the ship wheel. A  /
/  button prompt appears on screen. Quickly mash this button to turn the wheel, which opens a hidden passageway in the same wall.
Current Objective: Escape the Kenway Mansion
Follow the open tunnel to the end where you can find a ladder leading to an alley outside. You could also Rope Launch to a building above and zip out quickly. This completes the memory.