Assassin's Creed Syndicate Guide Side Quest Associate and Income Activities
Gang Strongholds
 Gang Strongholds

While the main objective of every stronghold is to clear out the Blighter presence, 100% completion of the memory requires you to complete a few Challenges that differ between each stronghold. For a general completion, stealth is not necessary, but it is recommended to always enter from the top of the buildings surrounding the strongholds. If you are looking to get 100% synchronization on each of these activities, use the tips below to complete the required Challenges. Each Challenge can be completed separately so if you are having trouble completing two Challenges at once, try to complete one, then complete the memory, and then play it again to complete the other Challenge. While completing each Challenge separately rewards 100% synchronization for the memory, you do not get the 100% completion bonus.
Burn Blighter Heist Plans
Blighter Heist plans can be located with Eagle Vision. This usually requires searching the open floors of different buildings in the stronghold. There are often guards in the same room as the plans. Make sure to eliminate any enemies before destroying the plans as the action performs a small cut scene, making you extremely vulnerable.
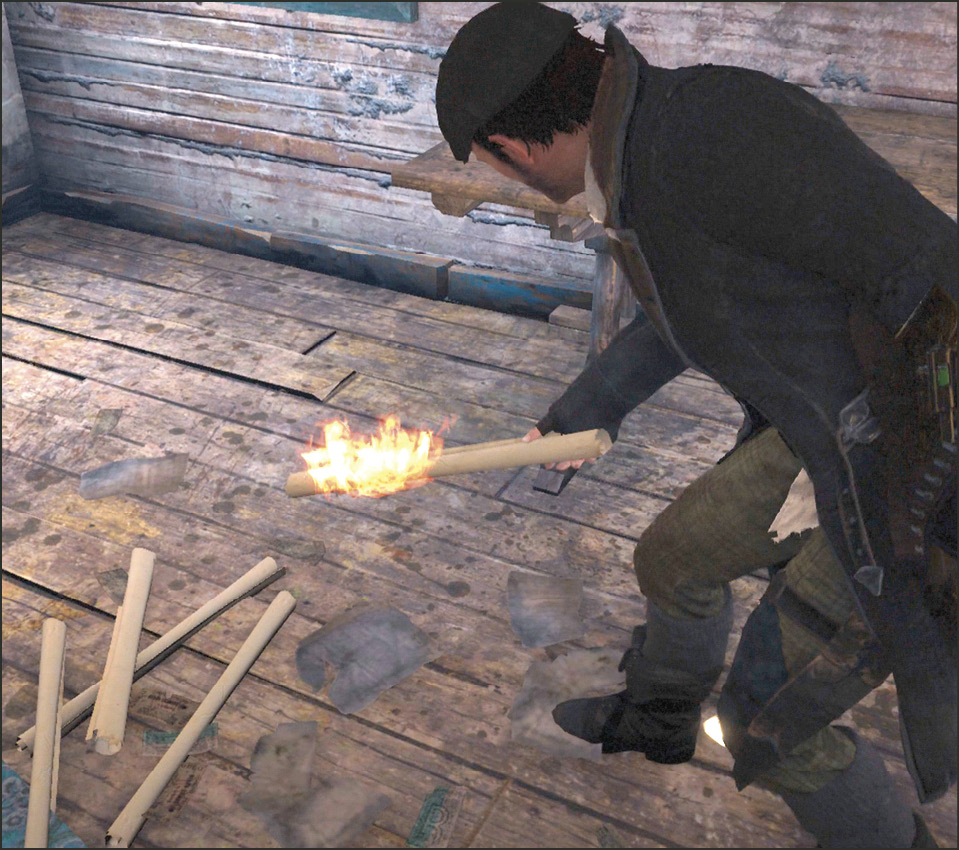
You can locate and burn the plans at any time, but it is much easier to just kill all but one enemy and then search for them, allowing you to get around without much effort.
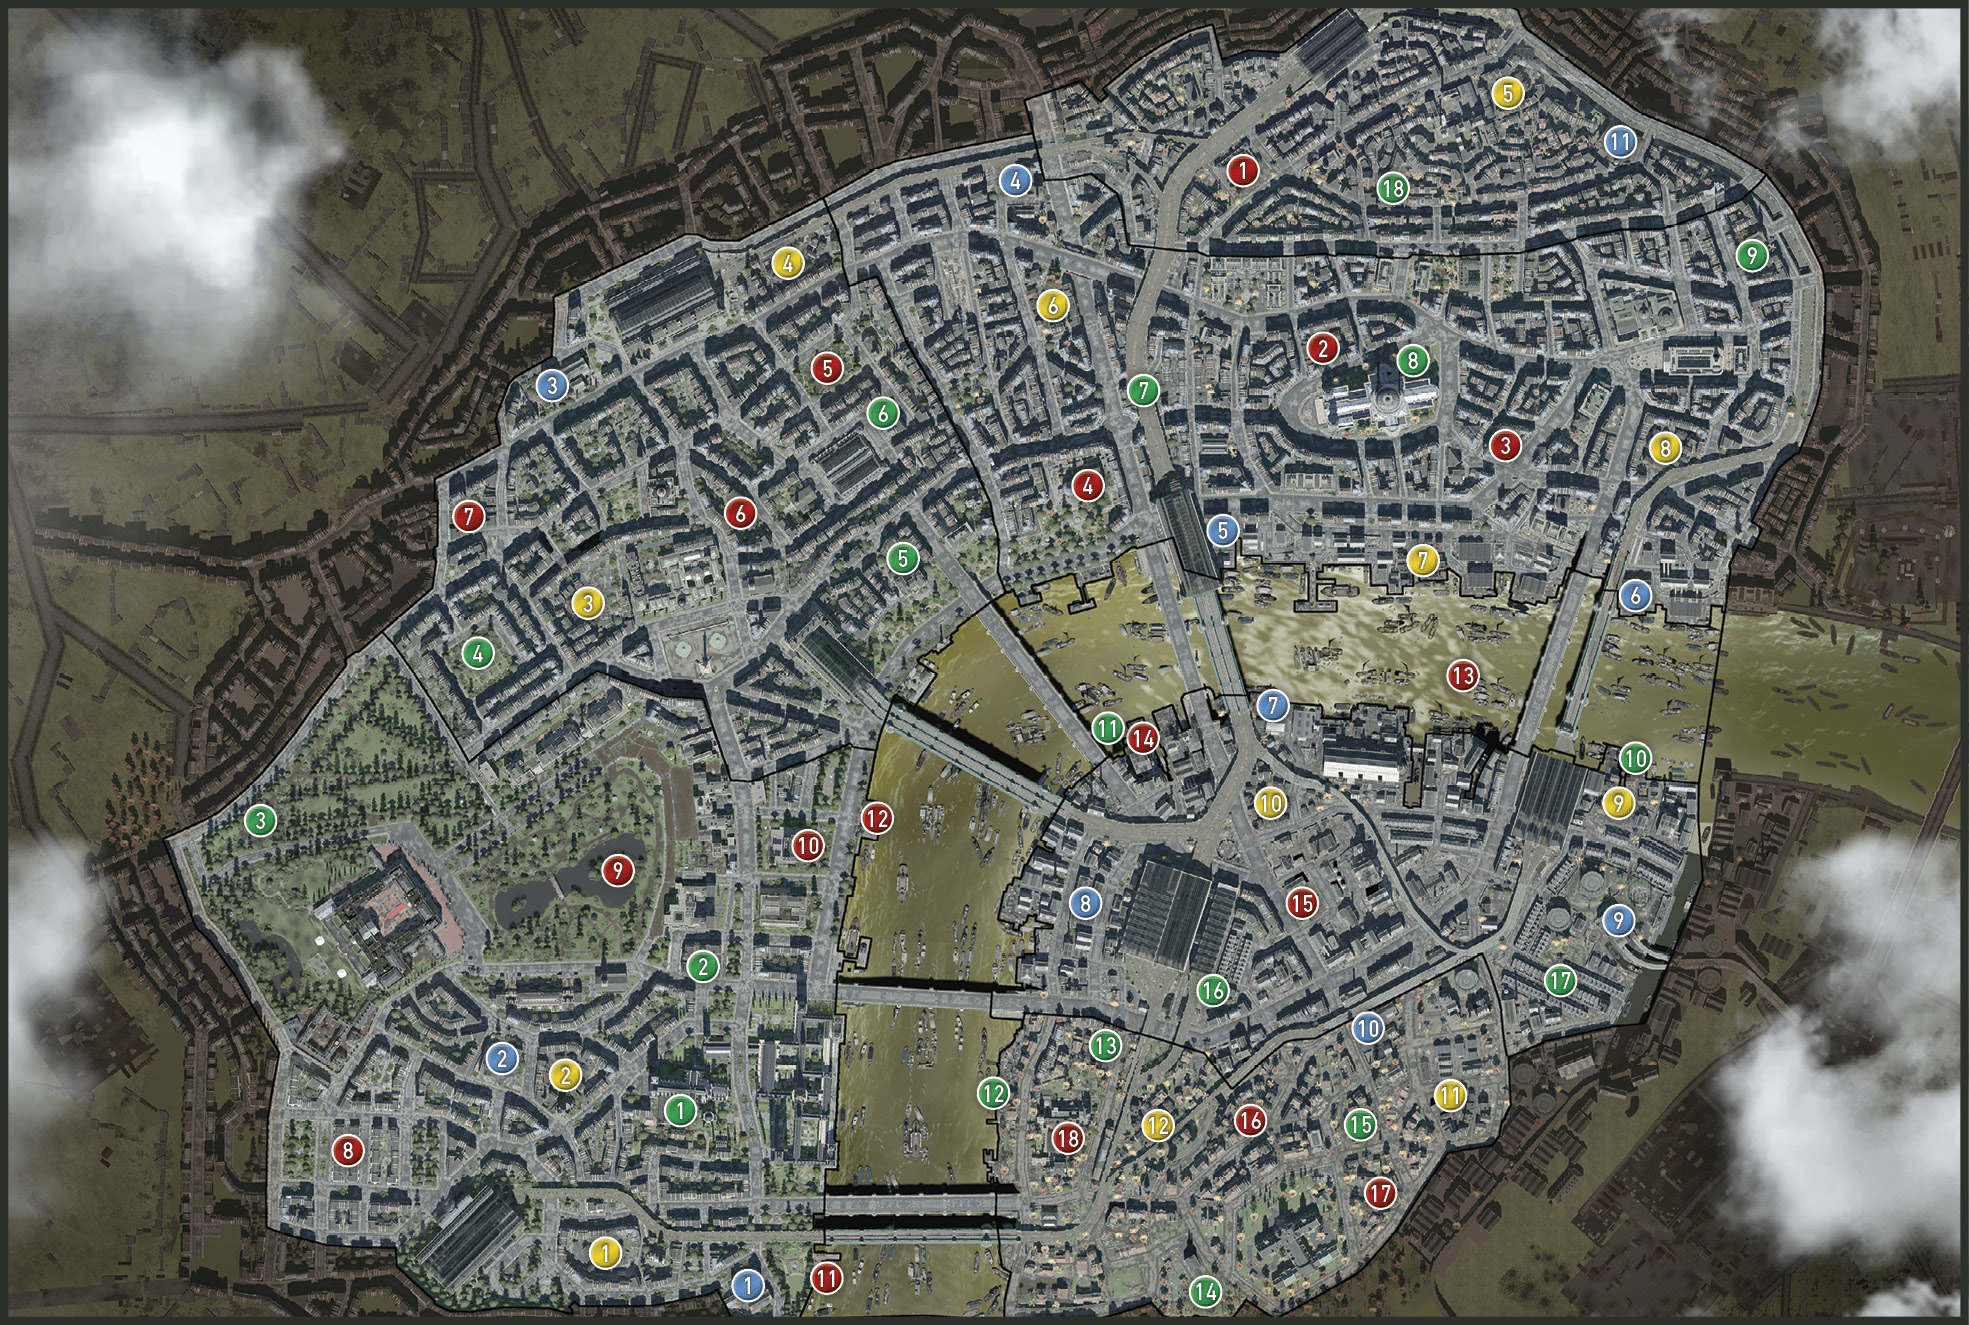
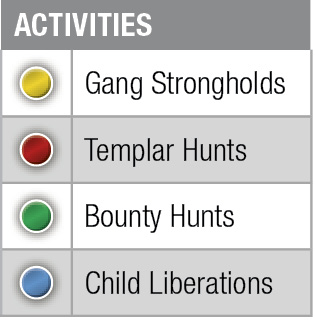
Strongholds
| Map | Lvl | Borough | Name | Challenges | Rewards/100% |
|---|---|---|---|---|---|
|
8 |
6 |
Rosemary Lane |
Free and protect captured Rooks. Kill the Leader undetected. |
£: 400 + 150 XP: 300 + 150 |
|
|
6 |
6 |
Field Lane |
Kill the Leader undetected. Burn Blighter Heist Plans. |
£: 400 + 150 XP: 300 + 150 |
|
|
7 |
6 |
Black Swan Yard |
Do not let the Lookouts call reinforcements. Kill the Leader undetected. |
£: 532 + 150 XP: 360 + 150 |
|
|
12 |
4 |
Echostreet Alley |
Burn Blighter Heist plans. Free and protect Captured Rooks. |
£: 400 + 100 XP: 300 + 125 |
|
|
11 |
3 |
Battersea Bellows |
Kill the Leader undetected. Free and protect Captured Rooks. |
£: 264 + 75 XP: 250 + 100 |
|
|
10 |
5 |
The Mint |
Do not let Lookouts call reinforcements. Burn Blighter Heist Plans. |
£: 400 + 125 XP: 300 + 150 |
|
|
9 |
5 |
Jacob’s Island |
Do not let Lookouts call reinforcements. Kill the Leader undetected. |
£: 532 + 125 XP: 360 + 150 |
|
|
5 |
2 |
Spitalfields |
Free and protect captured Clinkers. |
£: 264 + 75 XP: 250 + 100 |
|
|
1 |
9 |
Devil’s Acre |
Free and protect captured Rooks. |
£: 600 + 350 XP: 430 + 300 |
|
|
2 |
9 |
Blue Anchor Alley |
Burn Blighter Heist Plans. Kill the Leader undetected. |
£: 600 + 350 XP: 430 + 300 |
|
|
3 |
8 |
Clare Market |
Burn Blighter Heist Plans. Do not let Lookouts call reinforcements. |
£: 532 + 1330 XP: 360 + 600 |
|
|
4 |
8 |
St. Giles Rookery |
Free and protect captured Rooks. |
£: 532 + 1330 XP: 360 + 600 |
Do not let the Lookouts call reinforcements
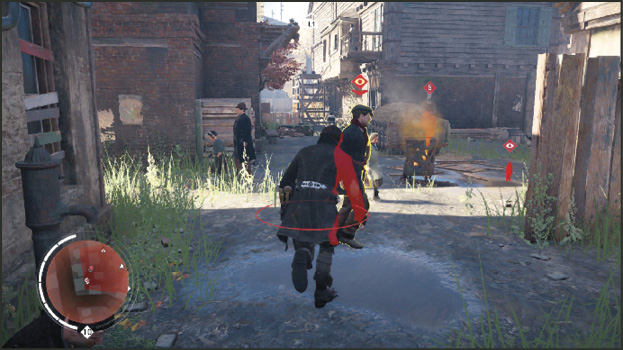
The easiest way to prevent lookouts from calling reinforcements is by killing them before they catch wind of your actions in the stronghold. When using Eagle Vision you will notice that Lookouts have a different Icon above their heads which lets you single them out of the crowd quickly. If you are spotted by a lookout the icon above their head changes colors; quickly kill them before they can get to a door to summon more enemies.
Free and Protect Captured Rooks/Clinkers
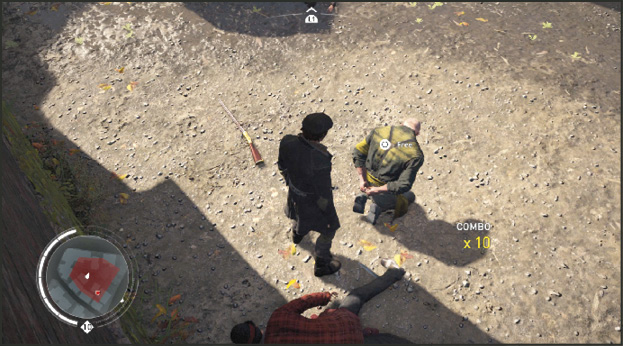
There are groups of Rooks being held hostage in the stronghold. Stealthily kill the enemies guarding them and they join your cause, immediately fighting any enemies in the nearby areas. Make sure to kill off any rooftop enemies before dropping down into the areas with the Rooks, as Scouts can easily pick off the Rooks (and you) with their heavy ranged attacks. If any Rooks die, this bonus objective fails, so be sure to stay near them after freeing them.
Kill the Leader Undetected
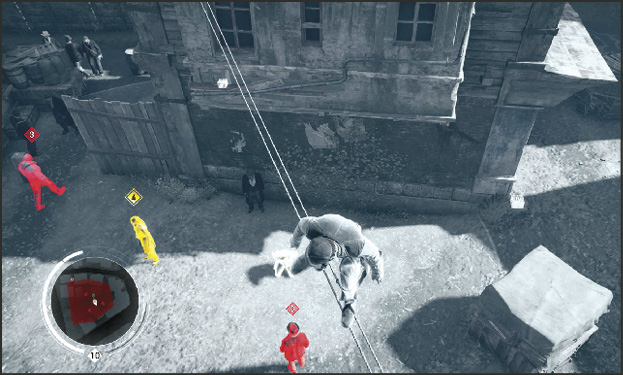
Locate the Leader with Eagle Vision. They are outlined in yellow while the rest of the enemies are the standard red color. The easiest way to accomplish this early in the game is to stick to the rooftops, eliminating any enemies that inhabit the area. Then either use your Throwing Knives or a quick Air Assassination to kill the Leader. Once you’ve eliminated the Leader, you no longer have to worry about the Challenge as it is already complete. This may be the easiest Challenge to accomplish once you unlock hallucinogenic darts after Sequence 4. Hallucinogenic darts allow you to effectively “recruit” any enemy in the stronghold, so aim for the ones closest to the Leader. Once affected by the dart, they break into a blind violent rage, and begin to attack the enemies next to them. Use this to your advantage by targeting a Brute as they have high enough health to easily outlast the Leader. It’s also important to note that killing the Leaders in a stealthy way causes any witnesses to flee.