Dark Souls III Guide (Steam) Walkthrough
Undead Settlement
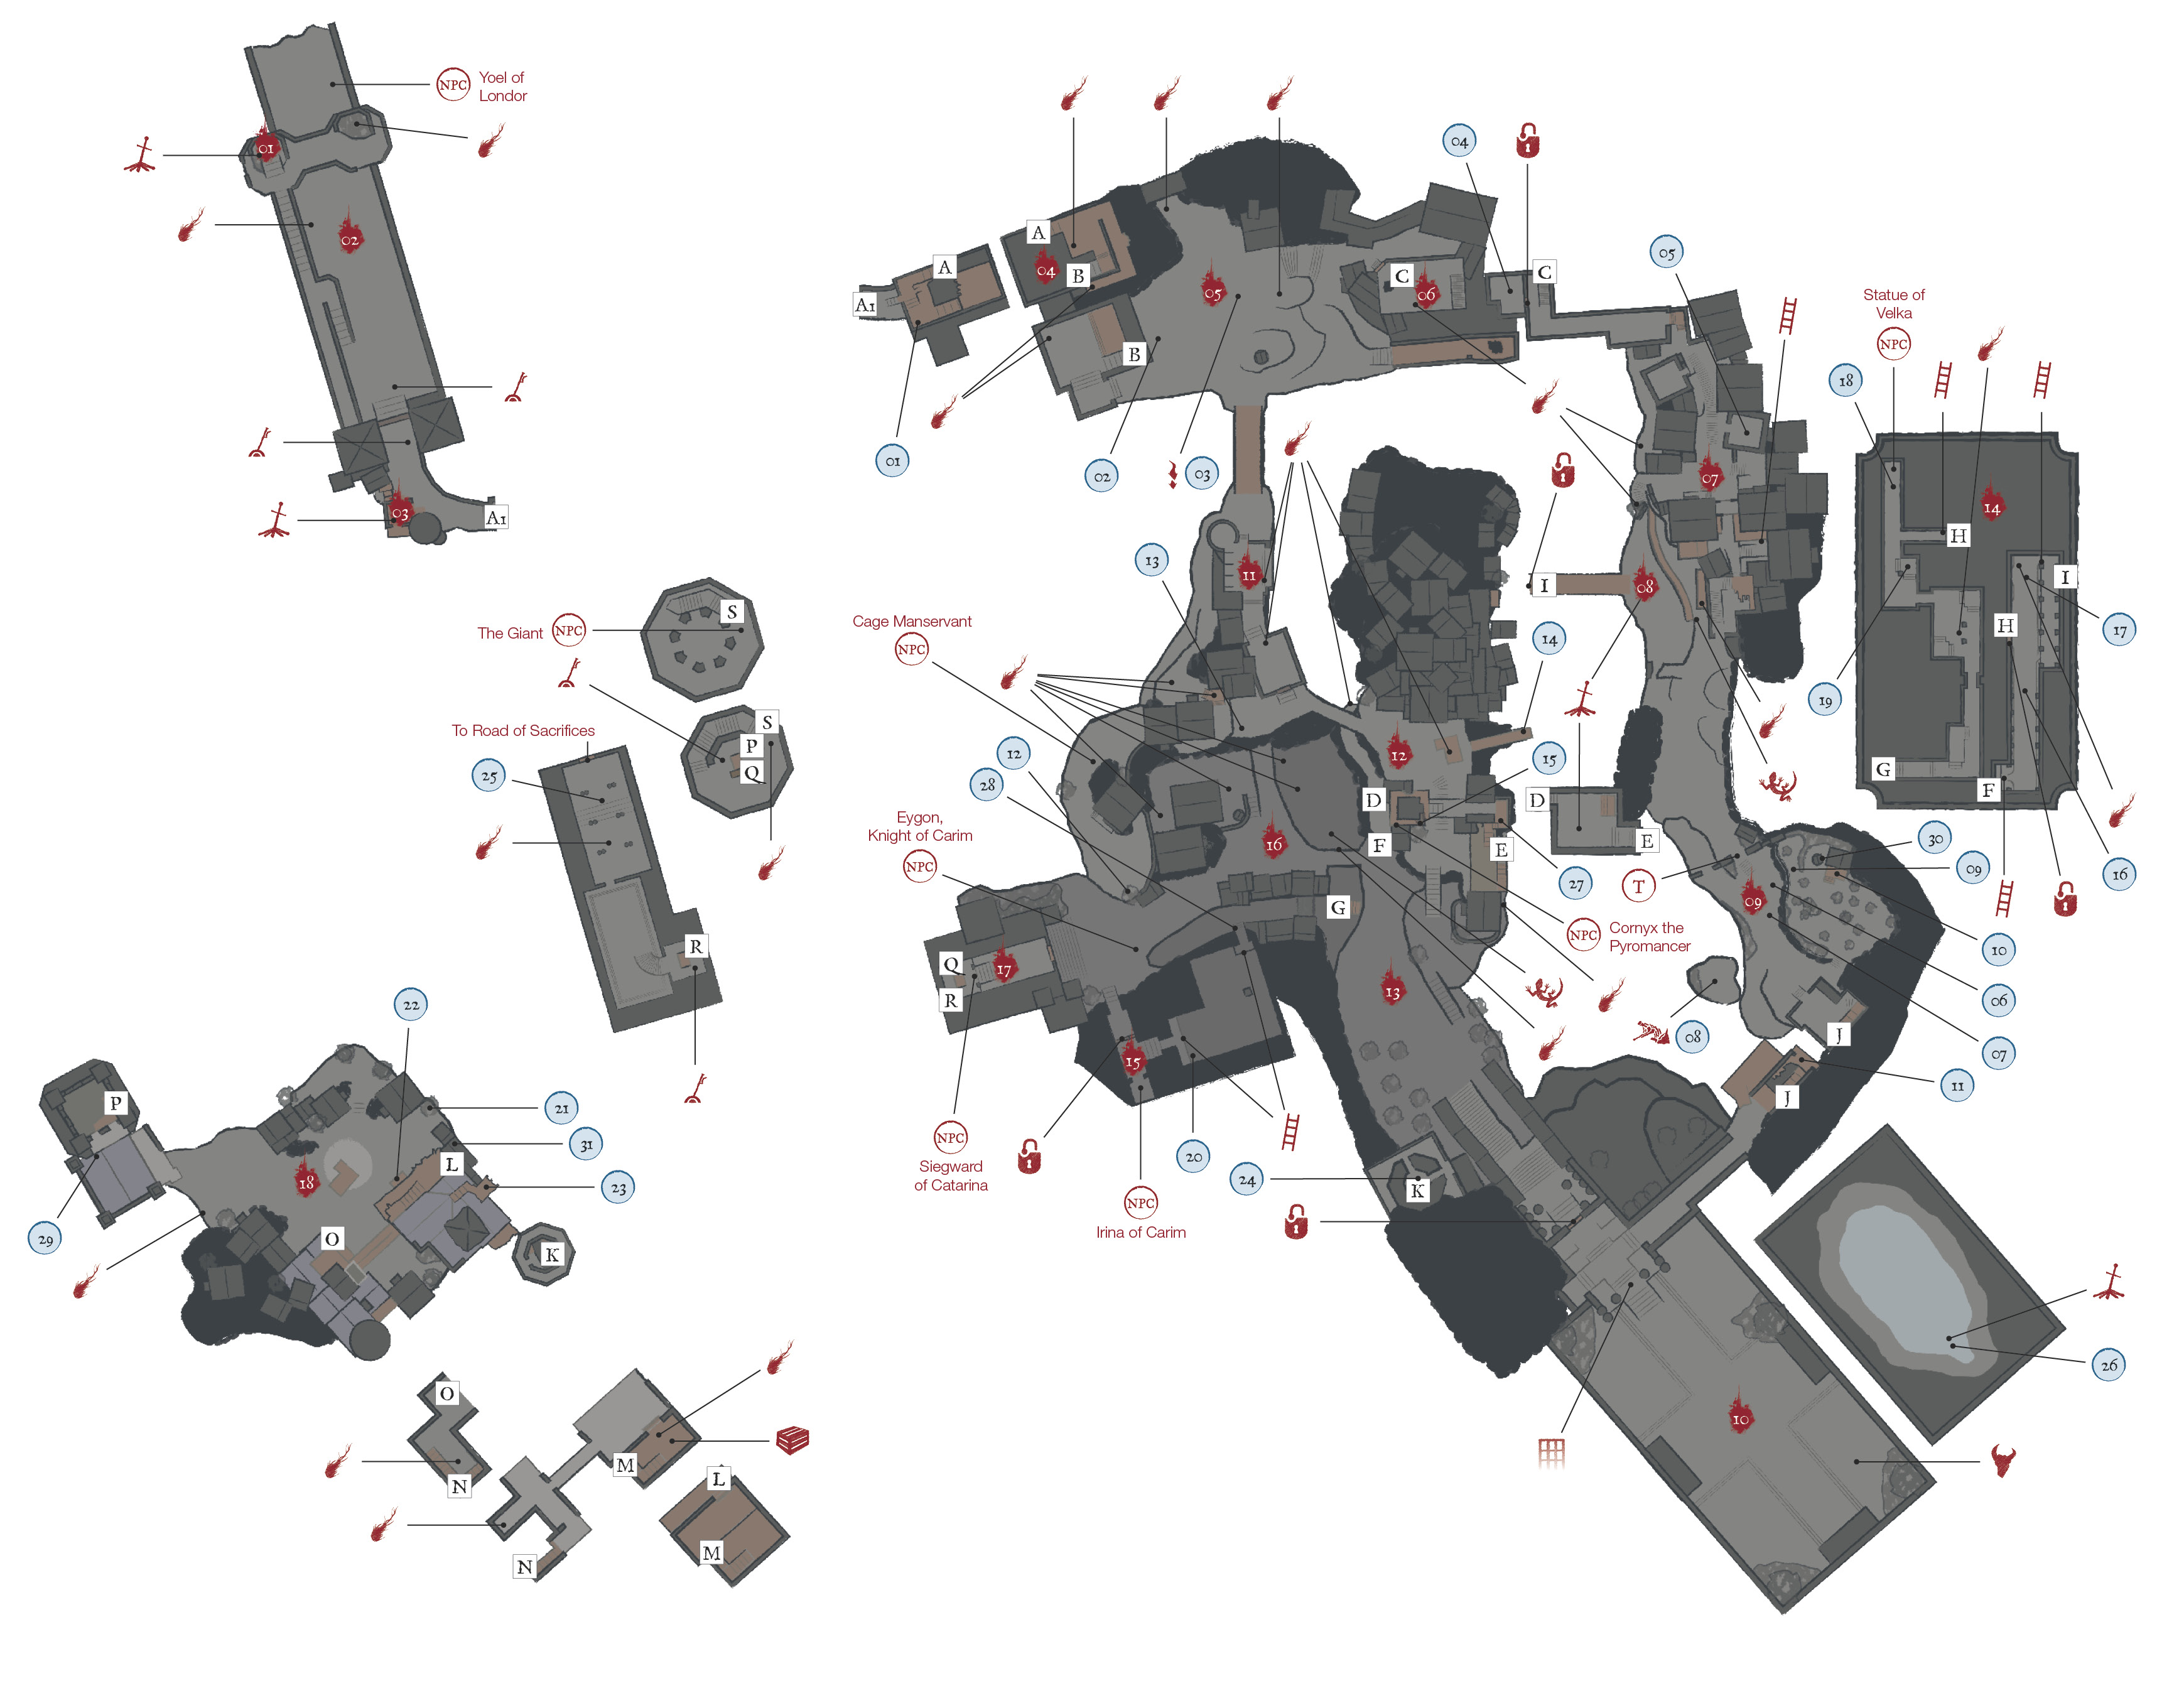
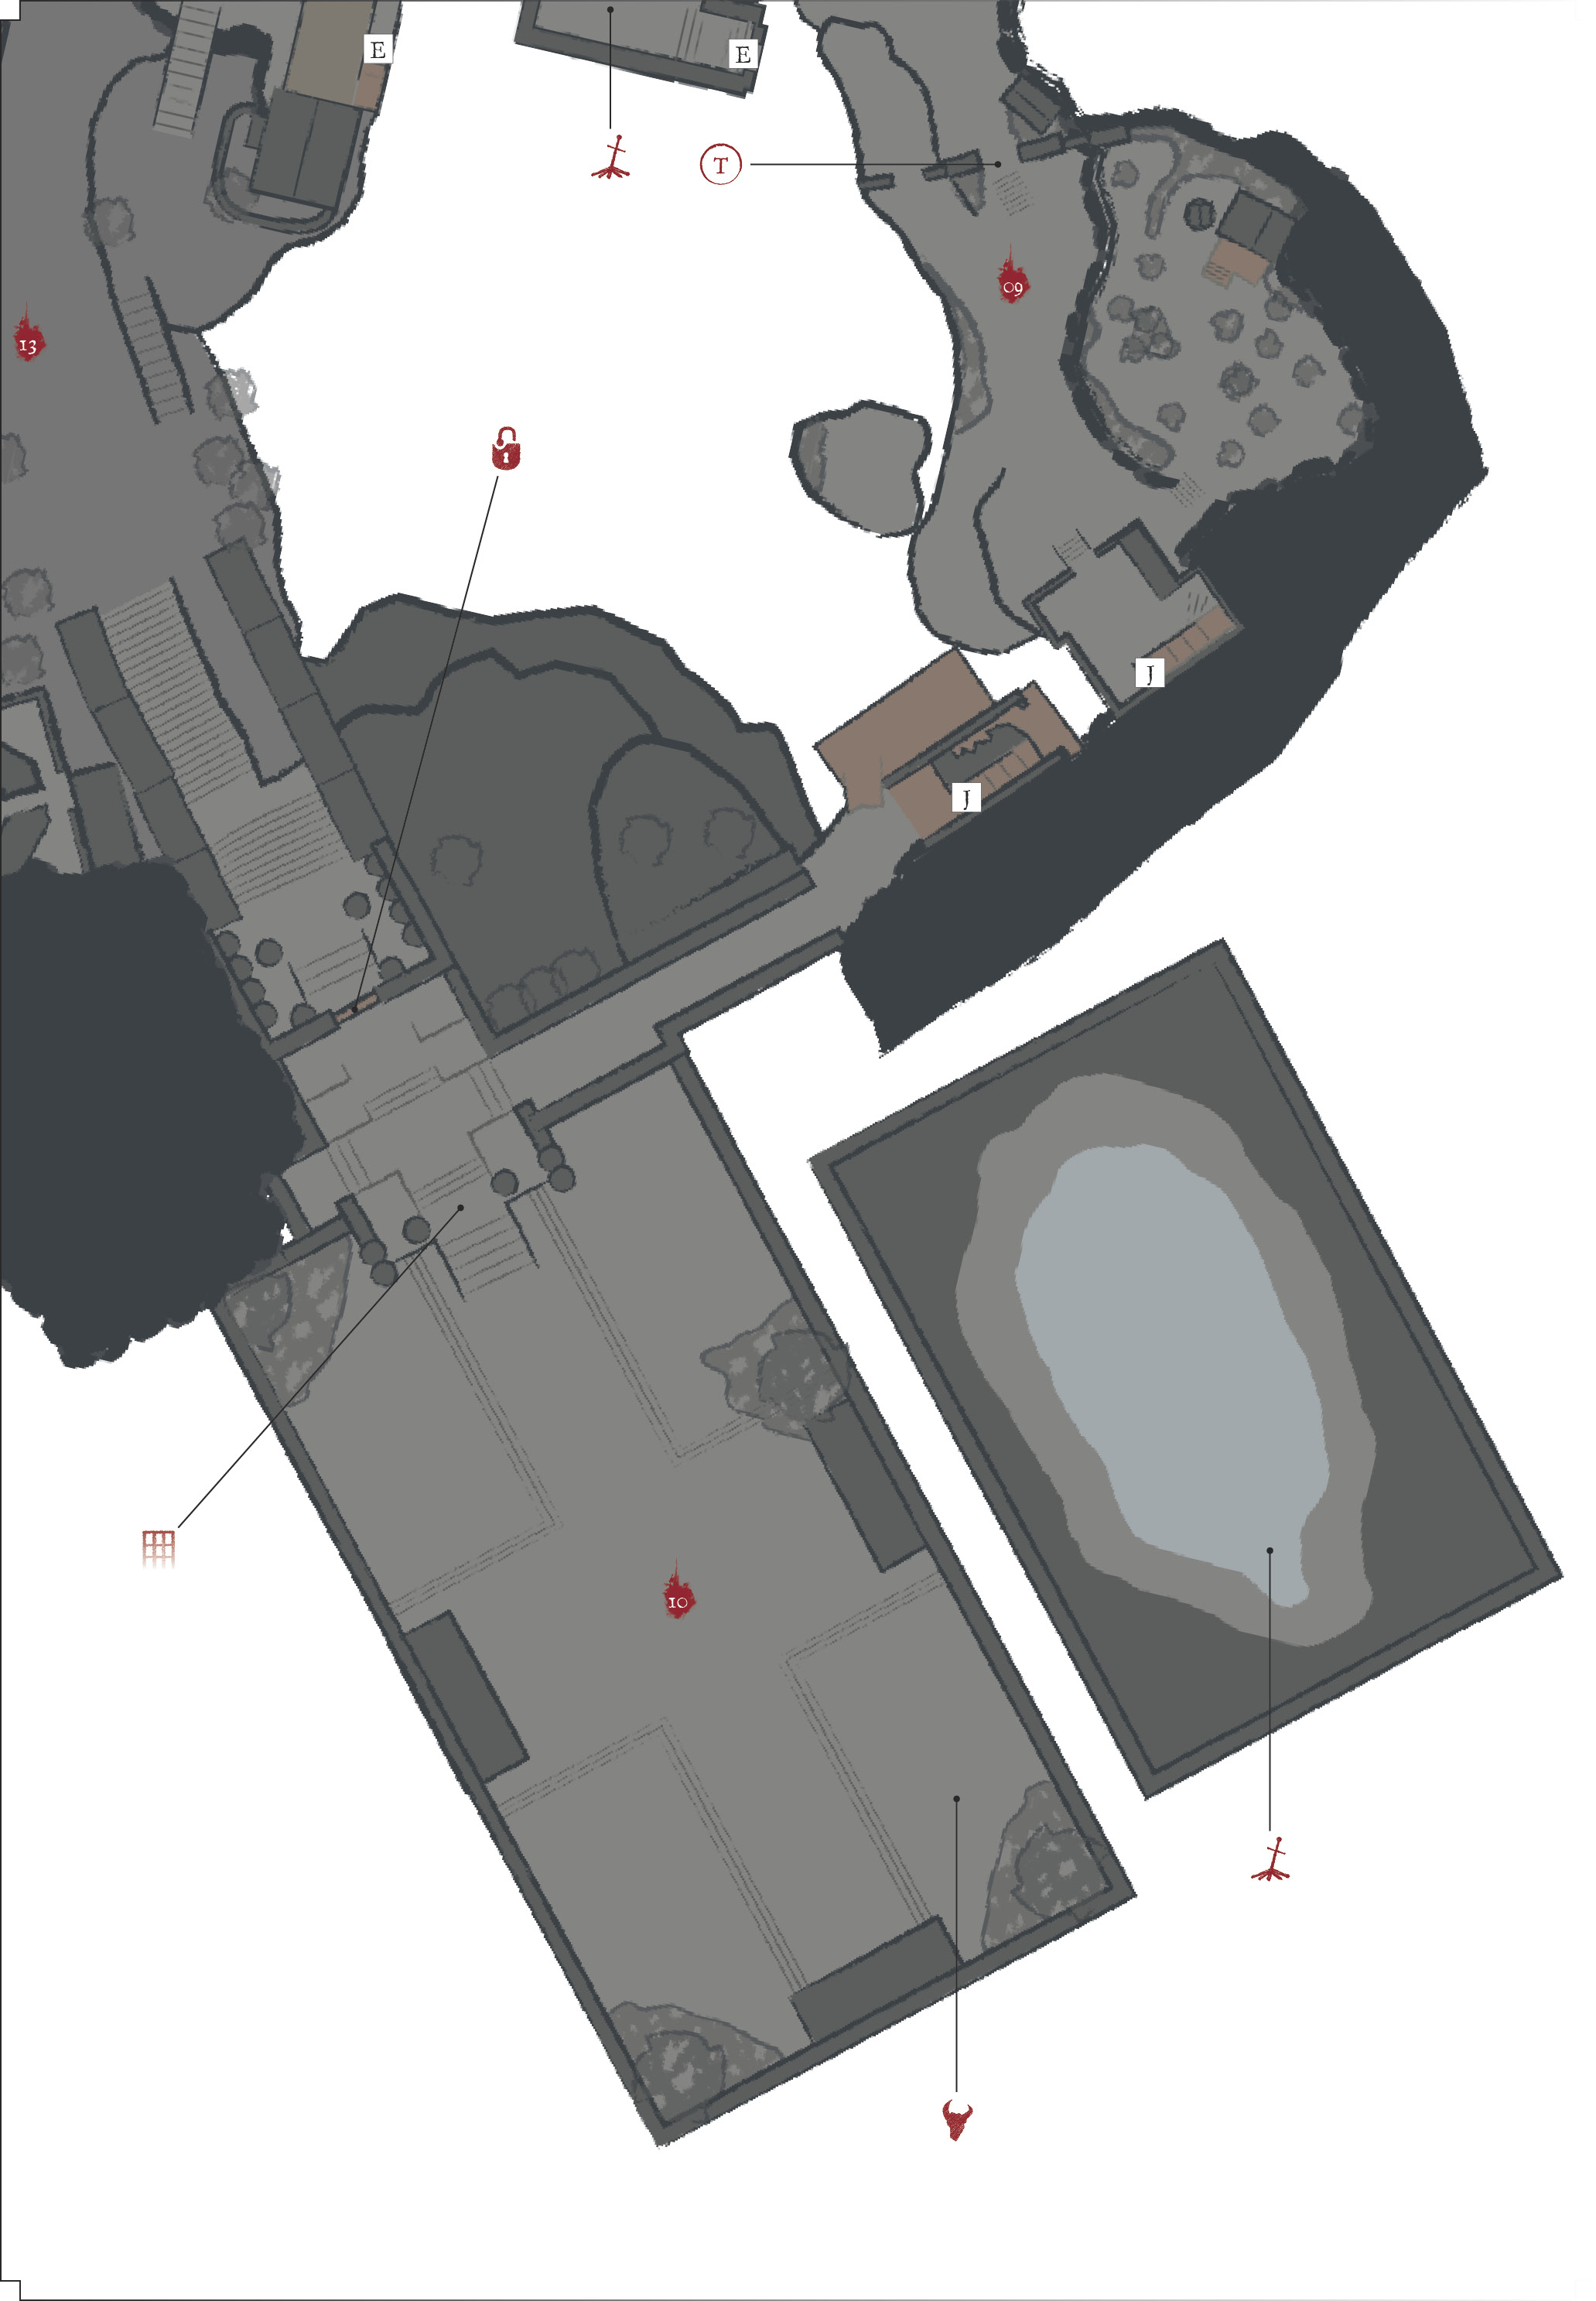
Major Items

|
Items |
|---|---|
| 1 | Small Leather Shield |
| 2 | Loretta’s Bone |
| 3 | Estus Shard |
| 4 | Warrior of Sunlight |
| 5 | Whip |
| 6 | Worker Garb |
| 7 | Reinforced Club |
| 8 | Undead Bone Shard |
| 9 | Mortician’s Ashes |
| 10 | Cleric Armor (full set), Blue Wooden Shield |
| 11 | Great Scythe |
| 12 | Flame Stoneplate Ring |
| 13 | Caduceus Round Shield |
| 14 | Flame Clutch Ring |
| 15 | Hand Axe |
| 16 | Caestus |
| 17 | Bloodbite Ring (on Large Hound-rat) |
| 18 | Loincloth |
| 19 | Red Hilted Halberd |
| 20 | Saint’s Talisman |
| 21 | Large Club |
| 22 | Northern Armor (full set) |
| 23 | Flynn’s Ring |
| 24 | Mirrah Vest, Gloves and Trousers, Chloranthy Ring |
| 25 | Irithyll Straight Sword |
| 26 | Wargod Wooden Shield |
| 27 | Partizan |
| 28 | Blessed Red and White Shield +1 |
| 29 | Life Ring+1 (New Game +1) |
| 30 | Poisonbite Ring+1 (New Game +1) |
| 31 | Covetous Silver Serpent Ring+2 (New Game +2) |
Enemies
| Enemy Name |
|---|
| Starved Hound |
| Peasant Hollow |
| Hollow Slave |
| Cathedral Evangelist |
| Cage Spider |
| Hollow Manservant |
| Skeleton |
| Hound-rat |
| Large Hound-rat |
| Boreal Outrider Knight |
| Demon |
| Curse-rotted Greatwood |
Bonfires Located Here
| Bonfire Name |
|---|
| Foot of the High Wall |
| Undead Settlement |
| Cliff Underside |
| Dilapidated Bridge |
| Pit of Hollows (Boss) |
Key Discoveries
| Discovery |
|---|
| Yoel of Londor |
| Cornyx, the Pyromancer |
| Irina of Carim |
| Eygon, Knight of Carim |
| Siegward of Catarina |
Bonfire—Foot of the High Wall
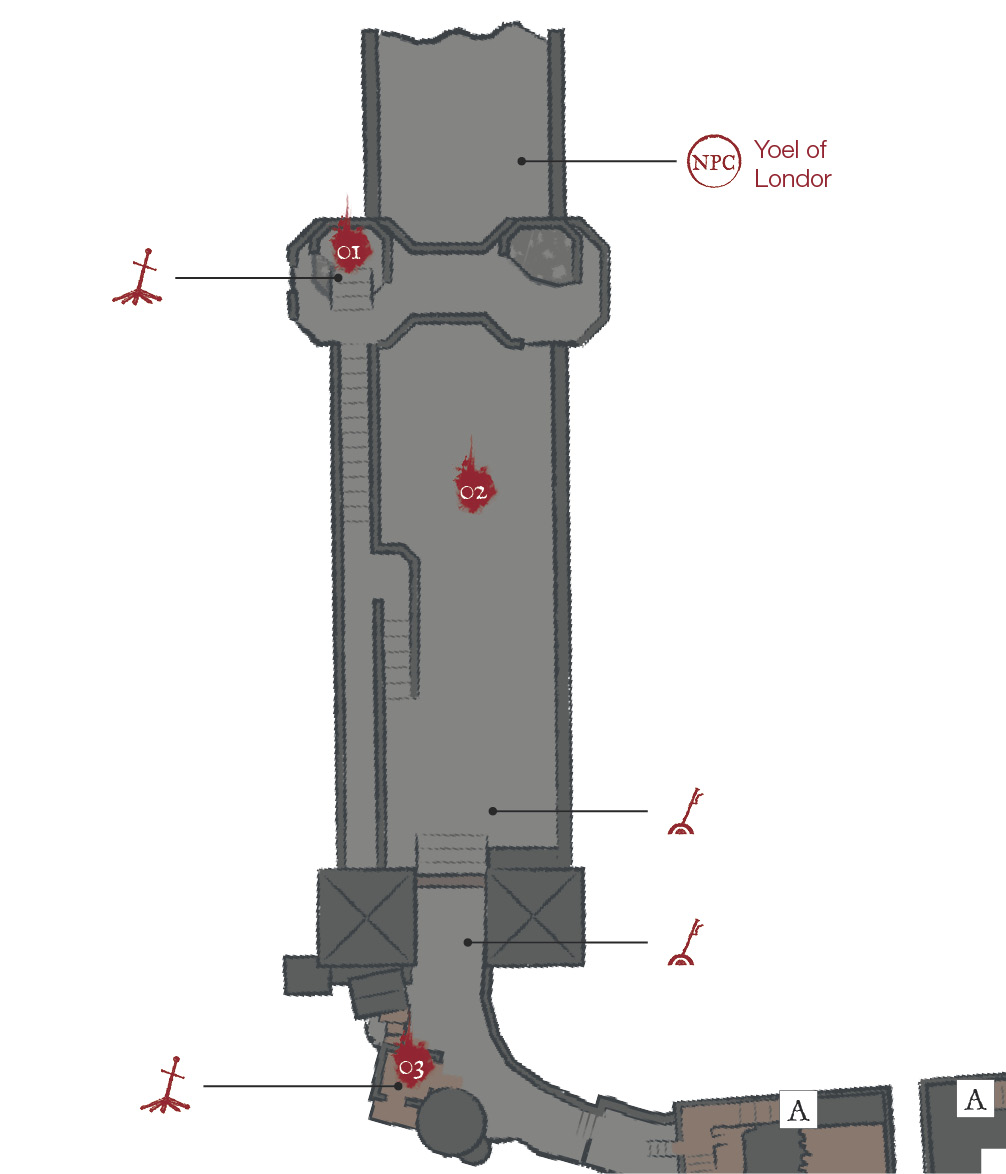
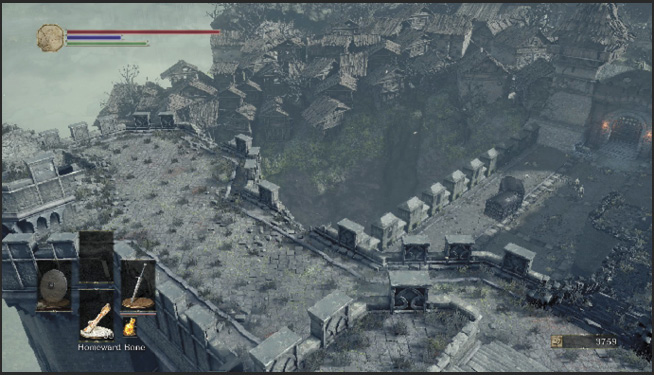
 You are taken to a Bonfire far below Lothric Castle, in the settlement of undead below. Light the fire (Foot of the High Wall), and start to explore this new area. There aren’t any monsters nearby, so you’re safe for now. Make your way over to the other tower to find a Soul before descending the stairs.
Yoel of Londor
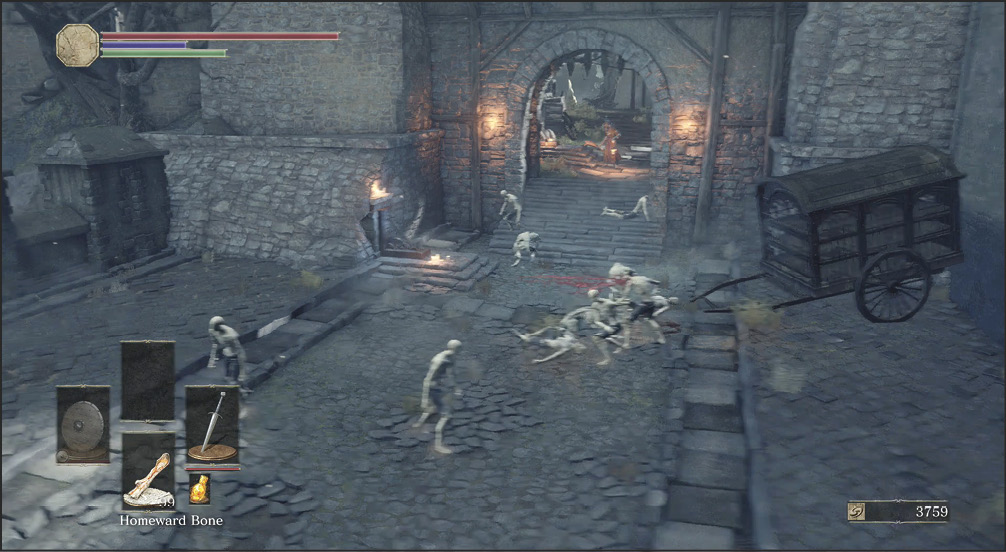
 A long stairway leads to a road where Starved Hounds unleashed by a group of Peasant Hollows are slaughtering many weaker undead. Use the confusion as a way to sneak in a few attacks against the Starved Hounds before they finish off their prey and turn on you. They’re much more of a threat than the basic, unarmed undead souls that are milling about.
Kill the pack of enemies, but don’t go toward the closed gate ahead yet. Instead, follow the street in the opposite direction. Watch out as more Starved Hounds try to surprise you at the other end of the road, hiding behind a fallen carriage.
They are guarding a pair of Alluring Skulls, a consumable item that can be used to create a distraction—when dropped, the skulls attract nearby undead foes, allowing you to sprint past unhindered, or score free critical attacks.
In the area beyond, you meet an NPC. Yoel of Londor is crying amongst a horde of his fallen comrades, on the right side of the road. Talk to him and agree to take him into your service. He’ll travel to the Firelink Shrine and serve as a dealer of spells there. Yoel also serves as a link to one of the endings to the game, so he is an important NPC despite his early appearance. See the NPC chapter for more details on the full questline involving him.
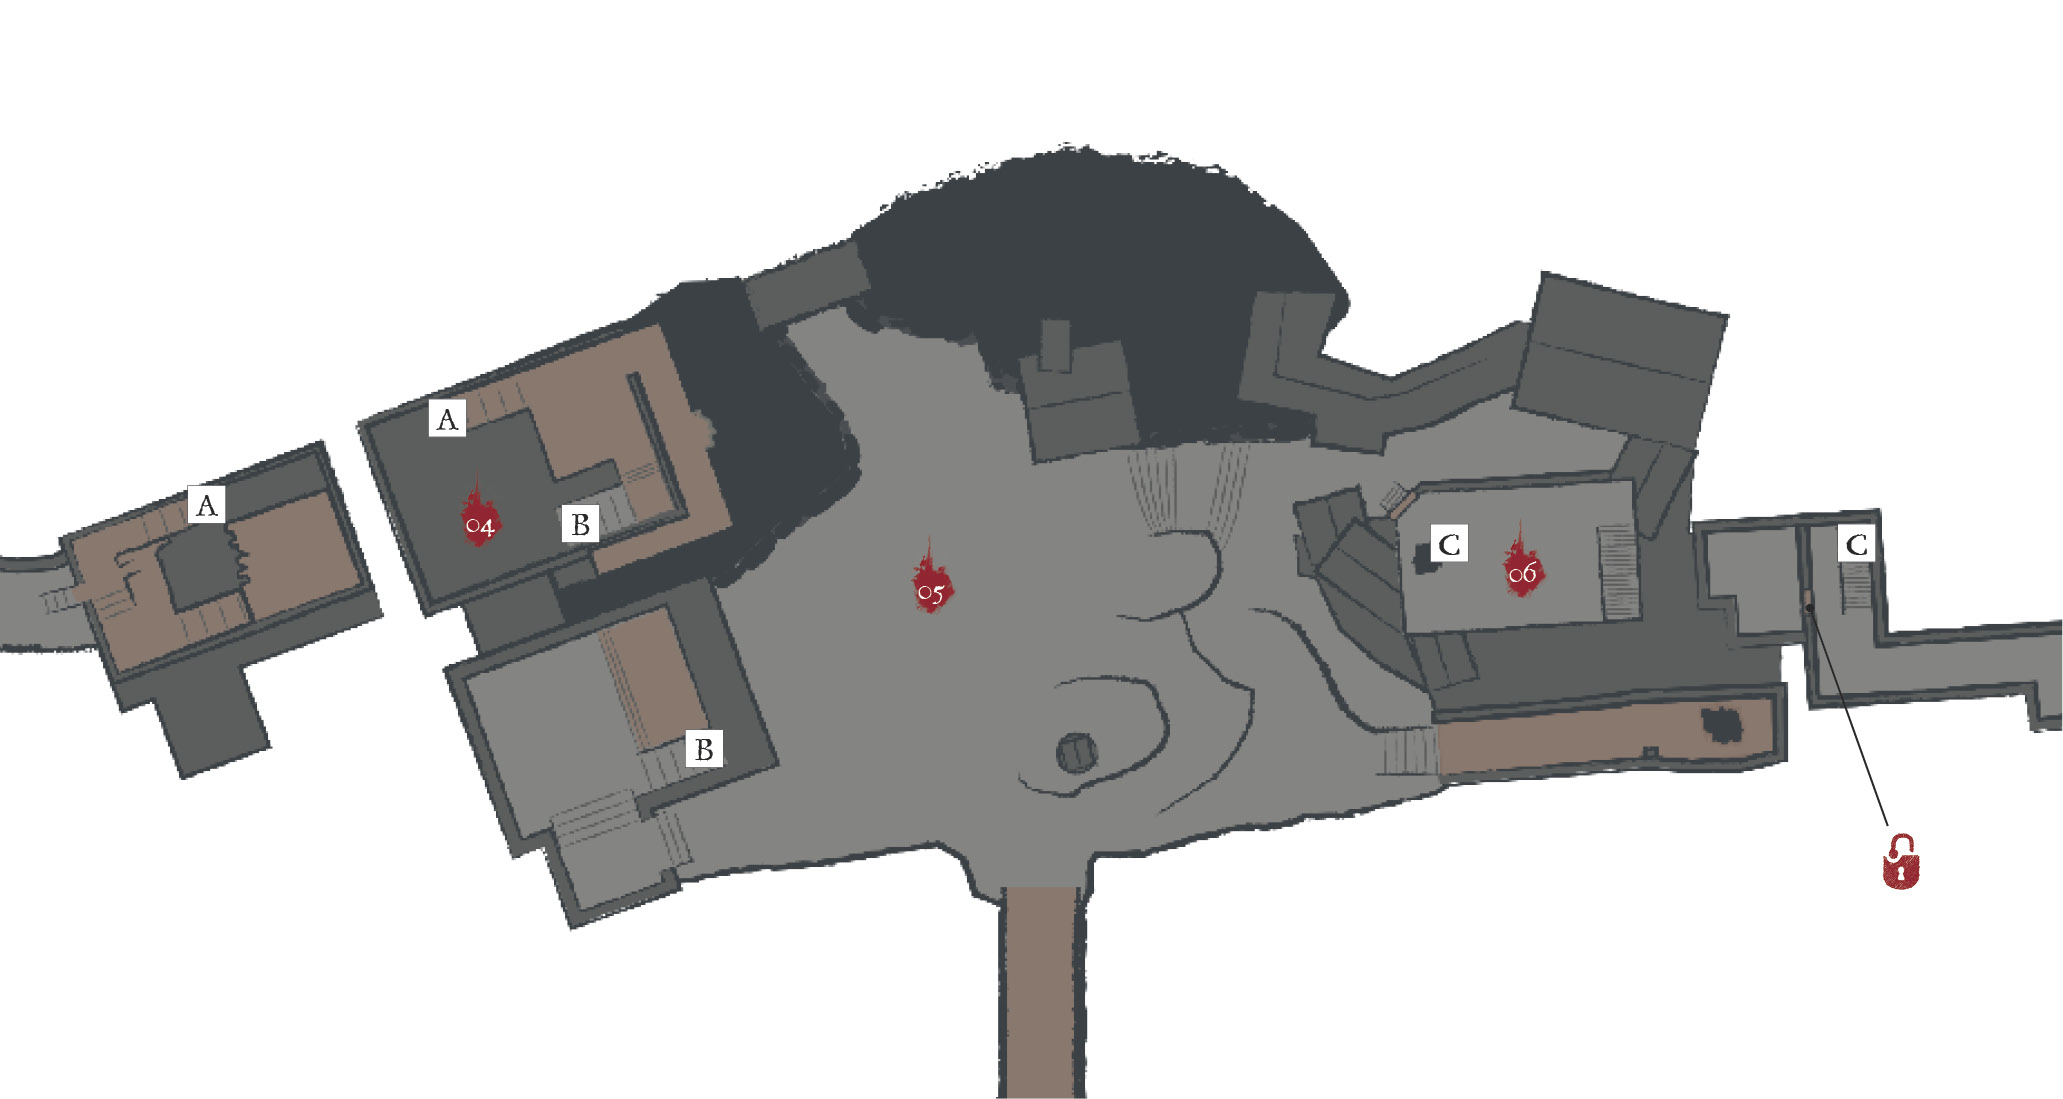
After you’ve finished exploring, use a lever near the large portcullis. This opens the way for you to enter the Undead Settlement proper.
Bonfire—Undead Settlement
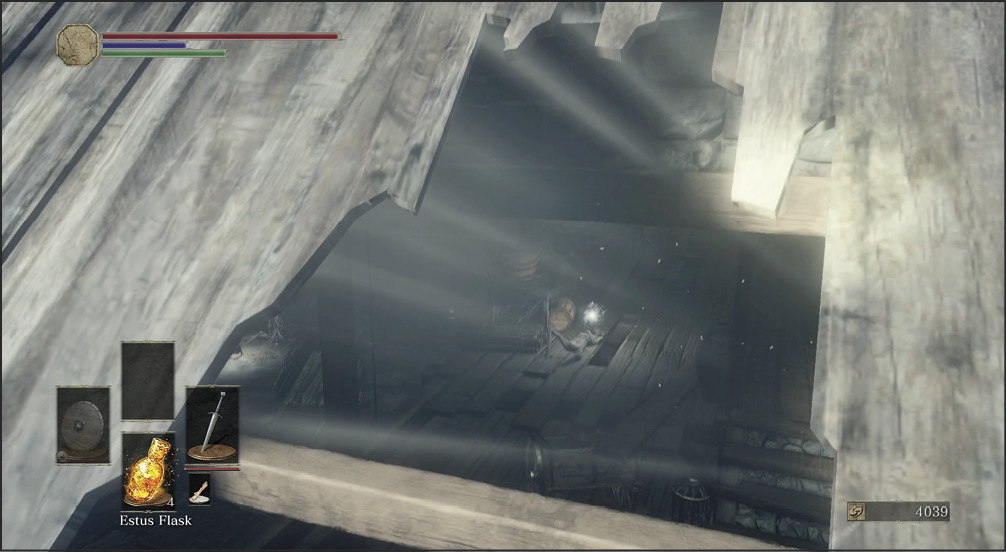
 Light a new Bonfire (Undead Settlement) inside a cabin as you proceed. You can use another lever to close the portcullis and make it harder for the Starved Hounds to bother you in the future, but it isn’t particularly important as long as you don’t go near these monsters after resting. The only other monsters are a couple of Peasant Hollows guarding a building ahead.
Get used to these foes because they are a staple of this area. Though very slow to attack, they have decent damage and good range, and they can stagger you easily if they land a blow. Pulling them out singularly helps you thin their ranks and ensures that you won’t become overwhelmed by numbers. It’s also useful to attack early and aggressively. Don’t bait them, though—it takes too long and actually leaves you more exposed because there are often multiple enemies surrounding you.
 The house here has a few Hollow Slaves, which attack from dark places. Sometimes, they’ll drop from a ceiling and land behind you, so listen carefully as you walk around. Keep your eyes peeled, and charge any of the Hollow Slaves that appear.
Unlike many other enemies, these foes have ranged and melee attacks. It’s always faster and safer to engage these enemies directly and score your kills. Hollow Slaves don’t have much health, so one or two attacks are usually enough to end the fight.
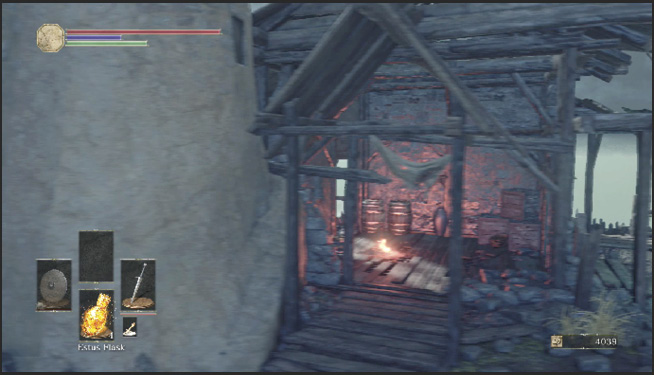
You find the Bones of Loretta close to this location. Her body is tied up on the outside balcony of the building. Cut her down, and collect the bones from the ground below. Bring those back to Greirat, if you’ve unlocked him from his cell in the High Wall of Lothric.
You can pick up a Small Leather Shield inside by cutting down a corpse, and some Repair Powder out on a ledge past Loretta’s body. Repair Powder fully repairs your equipped gear, but as your gear is repaired every time you visit a bonfire, this is rarely needed unless you are making heavy use of a weapon with extremely low durability (generally only weapons in the Katana class, with a few exceptions).
You also find a pair of Charcoal Pine Bundles inside, these allow you to quickly apply a Fire element attack to your right hand weapon. Unlike the Resin, this effect is extremely quick, fast enough to use during battle. Remember that you cannot apply an element to a weapon that is already inherently elemental (say if you have the Deep Battle Axe from the High Wall area, you can’t use the bundle on it, because it already has a Dark element attack).
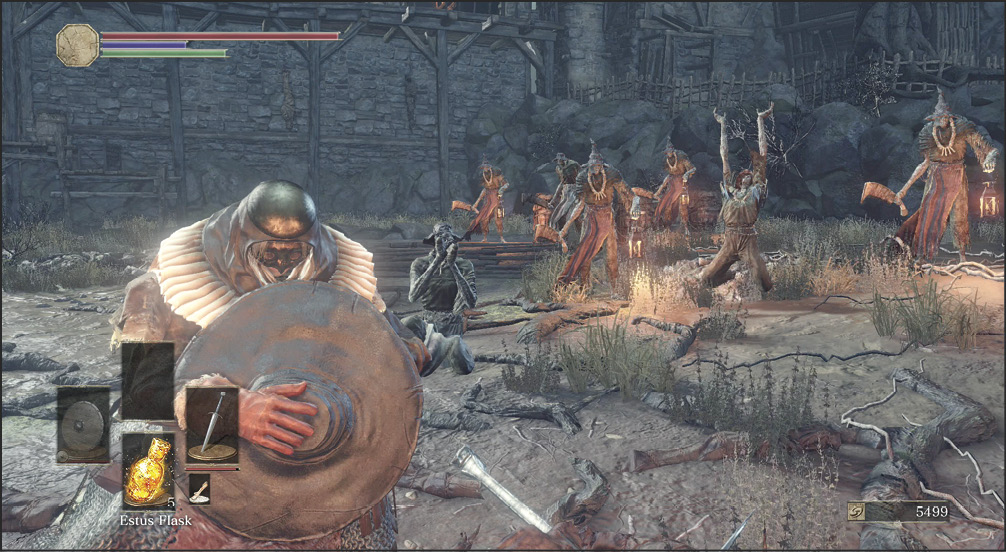
 The fight outside of the cabin is draining. You’re likely to use some of your Estus Flask, so you should only run this fight the first time you come through. That way, you can get all of the loot, rest afterward, and avoid the fight in the future.
There are about a dozen Peasant Hollows praying, with an Evangelist leading them. Kill as many of the Peasant Hollows as you can without drawing the attention of the entire horde. Once they realize that you’re there, things get tougher. Evangelists have ranged spells that track, and their melee attacks are wicked. Don’t try to interrupt them, as you likely won’t be able to stagger them before you get pounded. Instead, dart in, strike, dodge back, and retreat. Don’t try to perform multiple blows or long combos. Both tactics just lead to trading damage, and that isn’t what you want.
Don’t miss the Estus Shard here, it’s worth dealing with the giant pack of enemies at least once to secure, the Ember and Soul nearby are less critical.
There is a split in the path here. Both routes are filled with treasure that’s worth your time, and both directions lead to important locations. This walkthrough discusses the straight path first (6), and then talks about the one to the right, over the bridge.
 Fight through a few Peasant Hollows to get into a large building. You can get into the structure through either a hole on the right or a door to the left. The door route is better for treasure purposes. Go through it, and kill another new type of enemy. These Cage Spiders aren’t always alive, so try to lock on to them as you approach. If you lock on, the monster is alive and can attack you. If nothing locks on, you’re probably fine. These enemies can’t move much. Kill them at range if you want to be safe, or wade in if you don’t mind minor damage. These foes are more of a nuisance and only rip you up when there are groups of them to contend with.
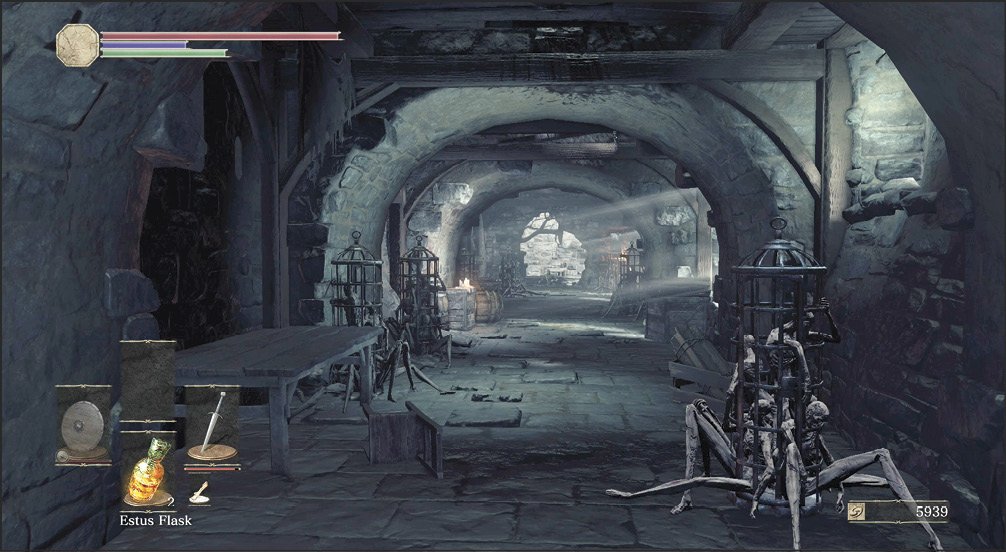
Search the initial room for some Charcoal Pine Resin, and then drop through a hole in the floor. Below is a cauldron with Estus Soup, as well as a Warrior of Sunlight Insignia. This emblem is a Covenant item, allowing you to join the Covenant of jolly cooperation. If you enjoy co-op play, this is the Covenant for you. The door out of this room is locked from the outside, but you can open it from within if you dropped down from above.
There are more Cage Spiders and Hollow Slaves on the way out of the building. They’ll be joined by an undead with red eyes that stalks you in the darkness. Watch for attacks from the walls of the corridor, and from the room above it. Back up and take the fights slowly if you need more space and want to be sure that your flanks are safe.
Be wary of the red eyed undead that awaits at the end of the hall leading towards (7). It can be a nasty fight in close quarters, so make sure the hall is clear of other foes before you engage. Try to initiate the combat using some of your Charcoal weapon enhancers, Firebombs, or ranged attacks to get in some damage before it can close with you.
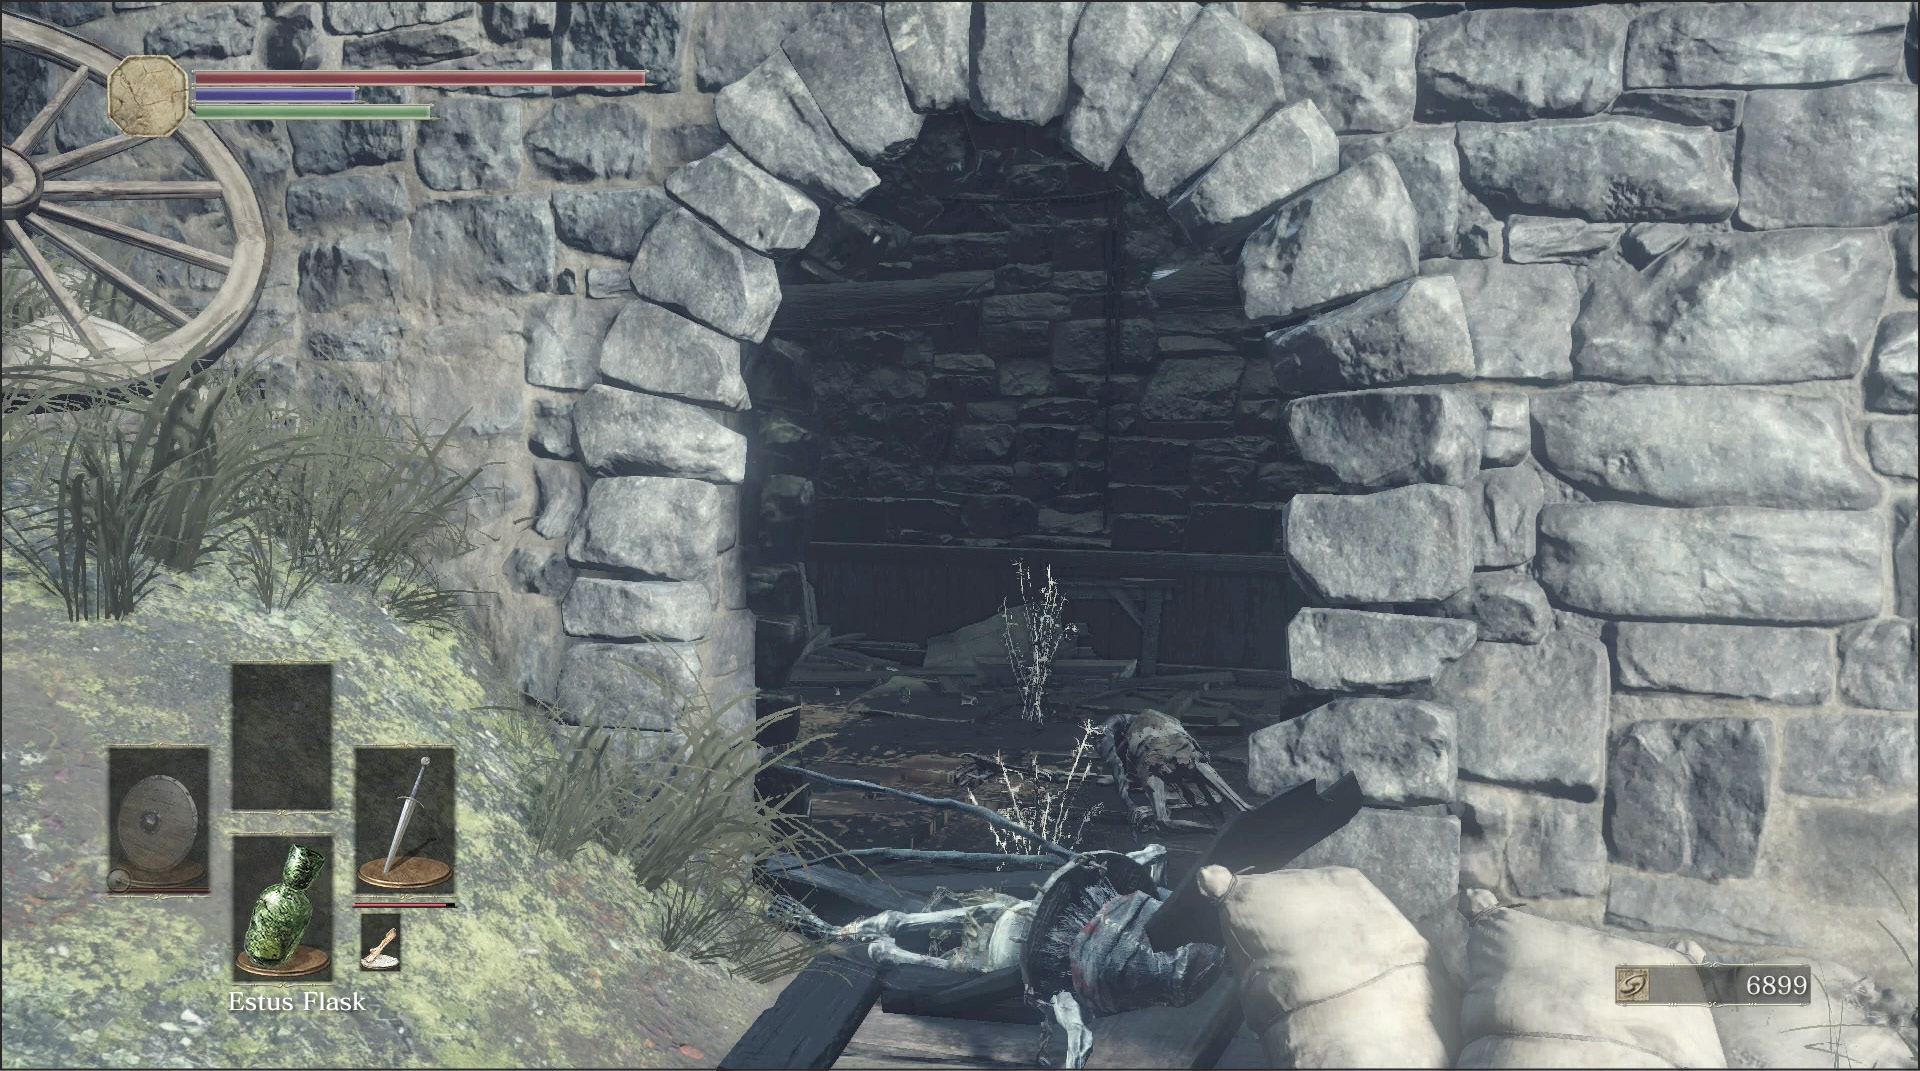
 A hill leads down toward more buildings, but the fighting here is very dangerous. A Peasant Hollow and a Hollow Slave wait behind a breakable door on the left, more Peasant Hollows line the road itself, and an Evangelist is off in the distance standing on an overpass above the street.
You have to dodge spells from the Evangelist while fighting off your other targets. Don’t hesitate to pull the enemies here farther back up the hill, out of sight of the spell bombardment.
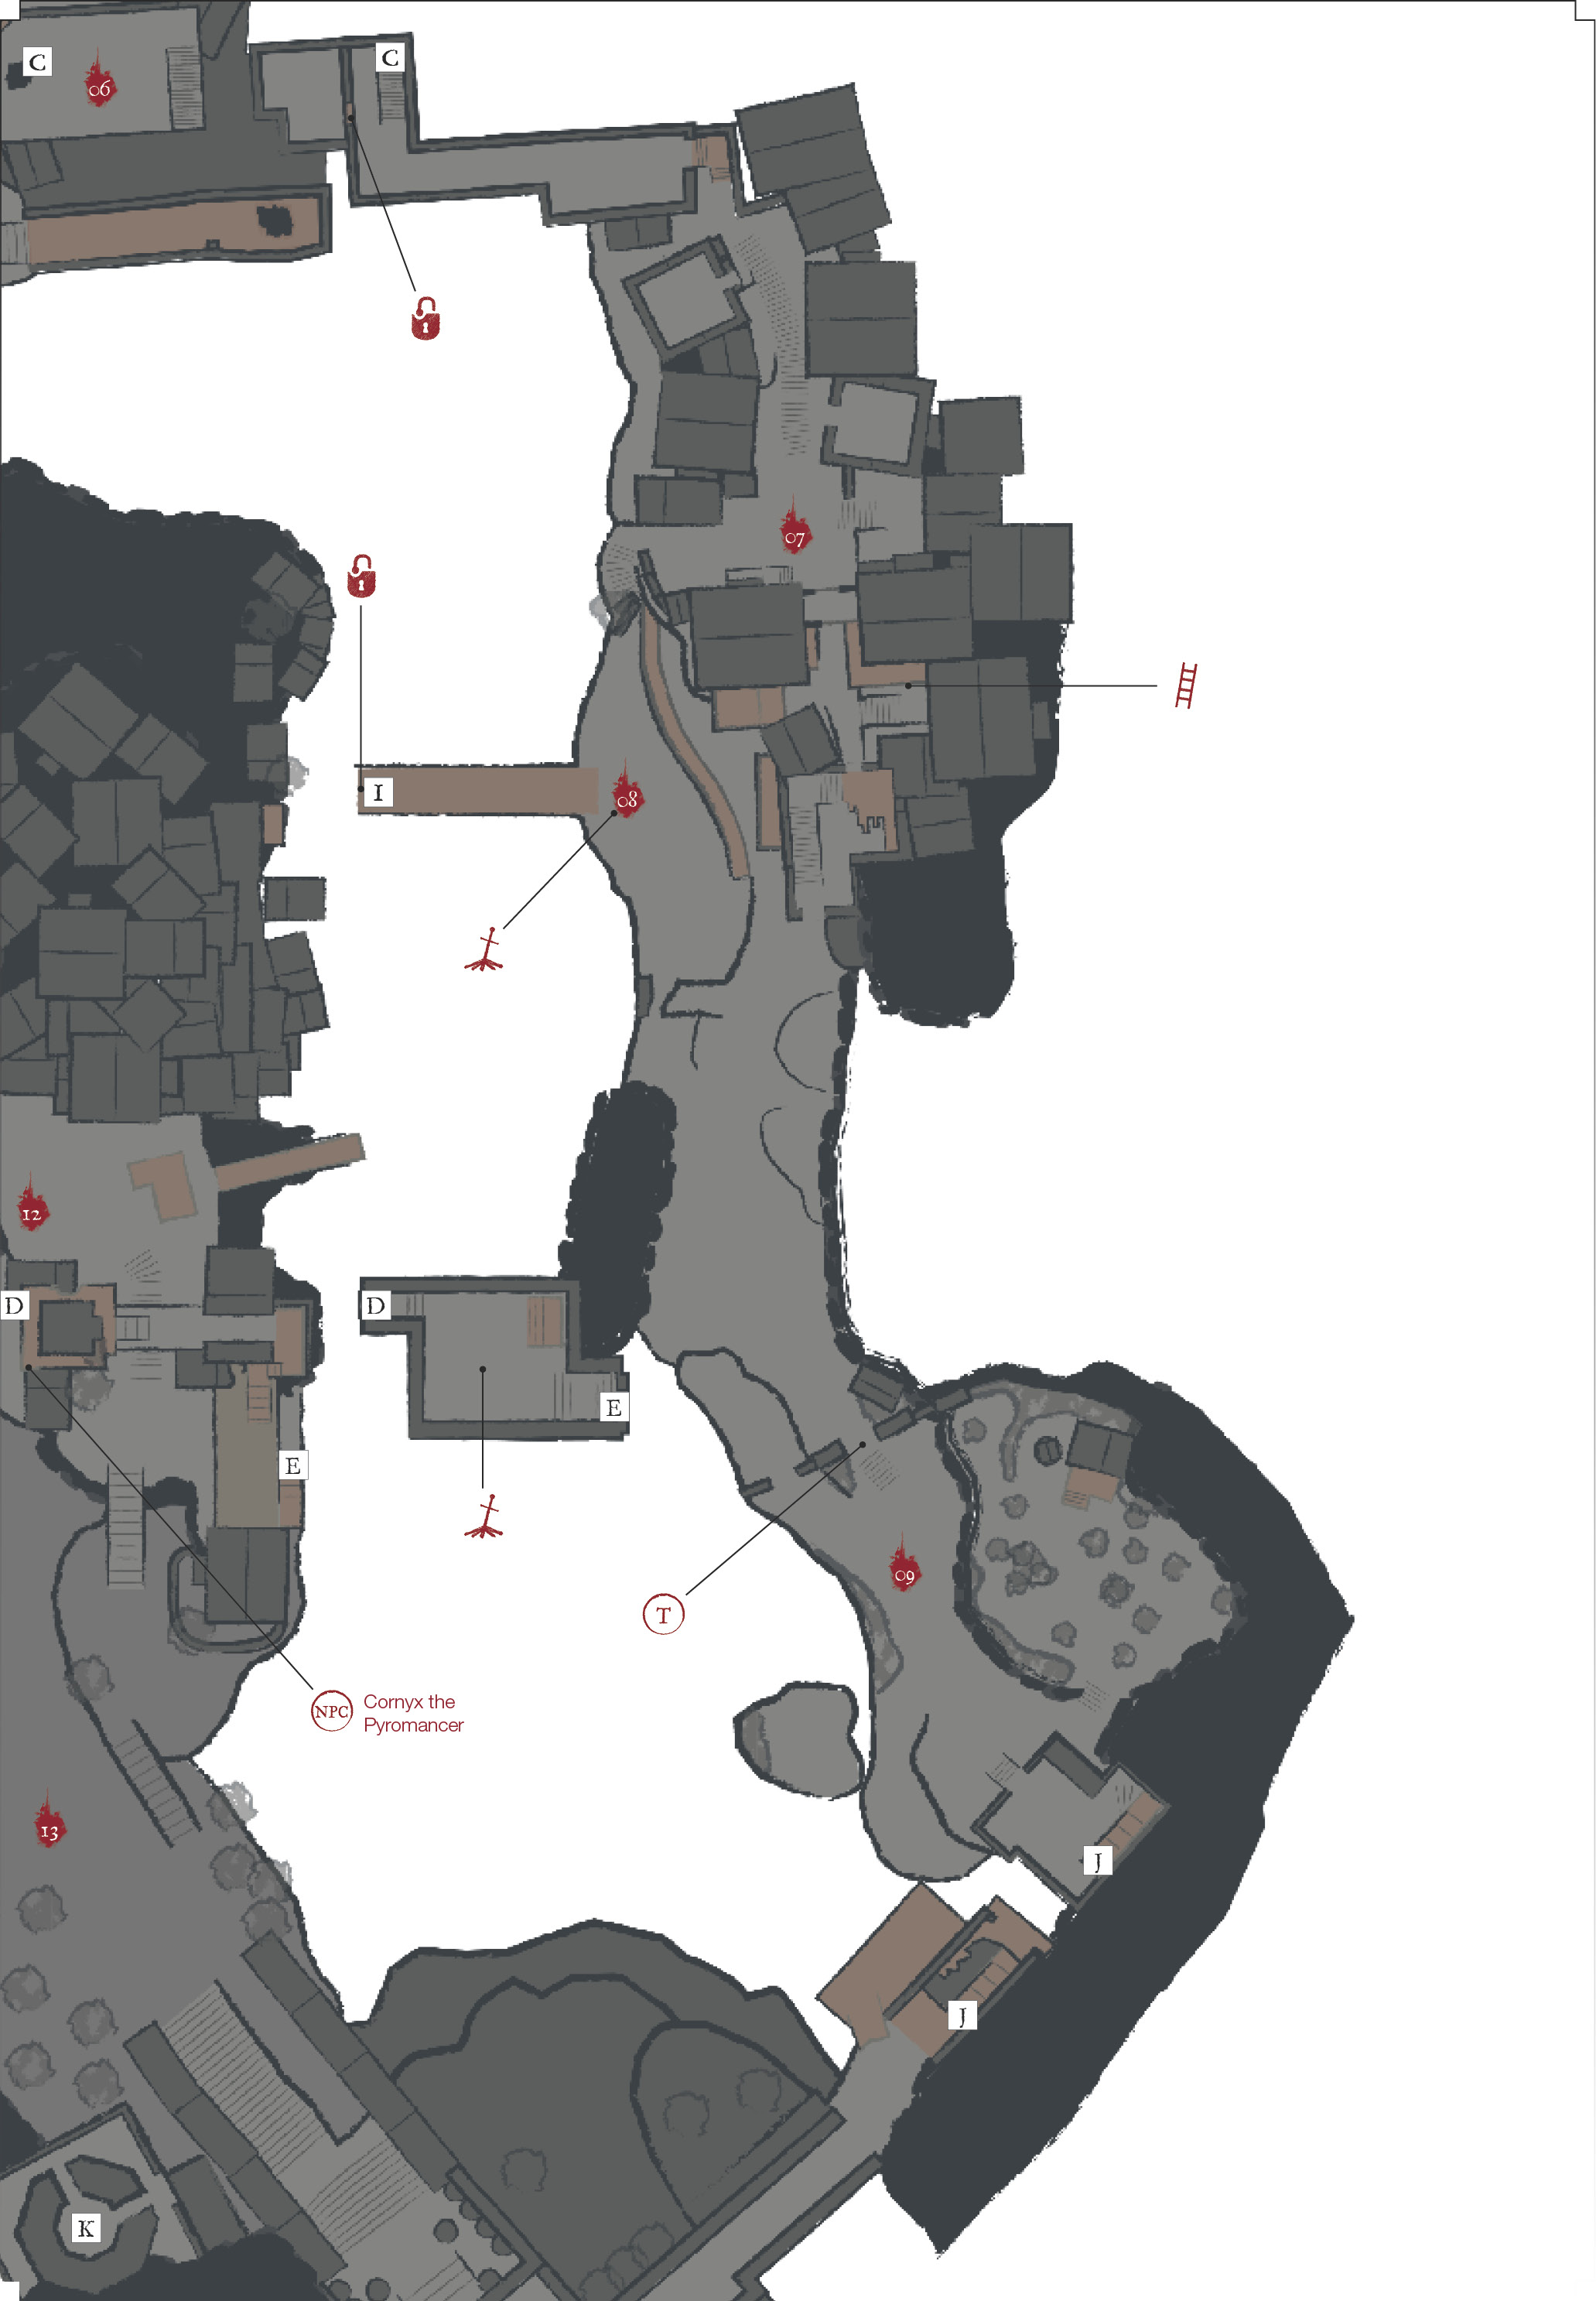
Once all of these enemies are dead, shoot the Evangelist, or pass underneath it and use a ladder to climb up to the walkway where your adversary stands. If the Evangelist hops down as you climb, you can use a Plunging Attack to deal heavy damage from above. She’s guarding a Titanite Shard on the walkway with her, and there’s a second located closer to the canyon edge just to the west.
You can pick up a Whip from the side ambush room, a Dex focused weapon that is generally not a great choice as a primary weapon, but its skill, Impact, has some interesting applications as a PvP tool, allowing you to bypass shields and slow Stamina regen. You can also use it against shielded enemies of course!
The building just past the Evangelist holds a lone Peasant Hollow armed with a two handed hammer, but you can bypass it entirely by going over the rooftops to (8) instead if you choose.
Bonfire—Dilapidated Bridge
 Before you proceed farther, you can go over the rooftops on the west edge, allowing you to get above a wooden walkway below. Make a running jump to pick up some Rusted Coins. These consumables temporarily boost your Item Discovery, a stat that gives you a better chance of finding items on defeated foes.
More importantly, below is a Crystal Lizard. Sprint and try to slay it quickly, because there is a Hollow Manservant waiting ahead, a dangerous foe. Don’t get too close, if you feel threatened at all, run for the nearby Bonfire first! You can come back for the Sharp Gem it drops. This gem type allows you to infuse a weapon to become Dex focused. So it is good for fencing style characters.
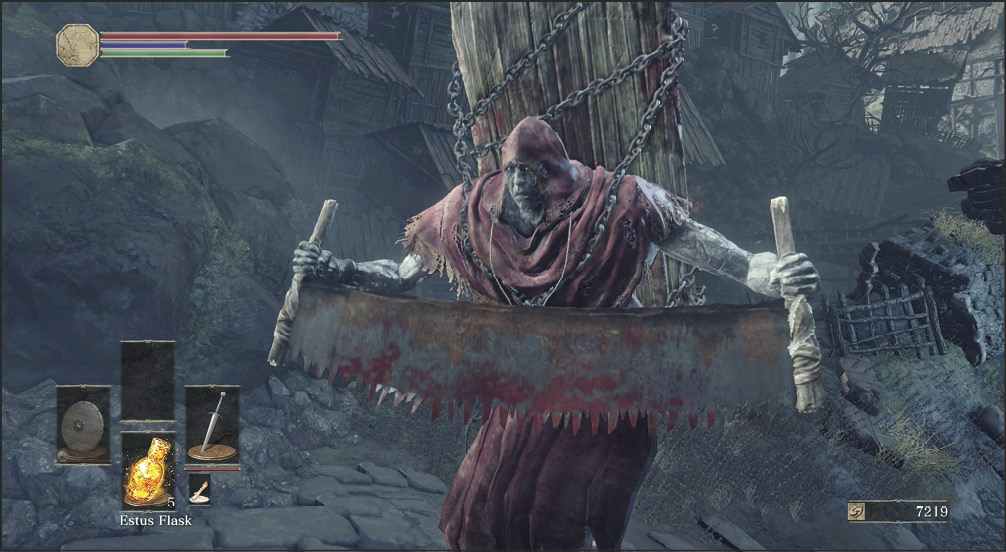
The first of the Hollow Manservant you encounter here is an unpleasant sample of others waiting elsewhere in the settlement. These larger enemies have high health and long combos, and they are very hard to interrupt. Don’t try to burn them down at your own expense. Use ranged weapons to pull them, bait out their combos, and take one or two hits during their recovery. When you’re still getting used to them, single hits are preferable because overstaying with your combos can leave you badly injured.
Drop off the hill on the right side to find a Bonfire (Dilapidated Bridge). This is a welcome sight—your Estus Flasks might be running low by now. The door to the west of here is locked from this side, you need to approach it via the other route from (5).
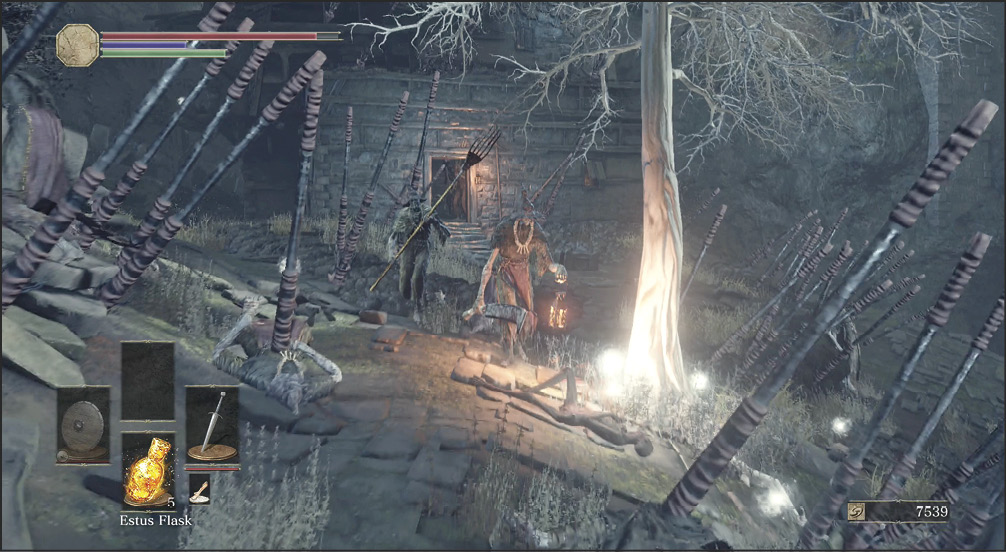
 Now that you’re rested, proceed ahead. You start to approach an area with many gigantic arrows stuck into the ground. That’s a warning if you’ve ever seen one! This is a place that wants to kill you.
The branches that you collect from the pale tree in this area can be given to the Giant Slave who is shooting at everyone. Take one when you go through this area so that you have it later when you meet the Giant Slave.
To get out of there, go into the cabin that’s directly across from where you entered. It’s filled with even more enemies, which will ambush you in the cabin. Lure them back into the arrow strikes, or roll past them and fight inside the cabin, where you’re safe from the big arrows. Be careful if you choose to enter the cabin however, as a Peasant Hollow with a two handed hammer and a dangerous red eyed assassin lurk within.
On the second level of the cabin, make a jump across a ruined gap in the floor to find a Great Scythe. This weapon requires moderate Str and Dex to use (14 of each). It has broad sweeping strikes, as well as a powerful critical swing as its skill, and inflicts the bleed effect.
The path through the Cabin leads up to the boss of this area. Before engaging the boss, be sure to open the large double doors that lead out onto the stairs of this temple, they only open from this side. You may also wish to reach the Bonfire at (12), though it’s about an equal sprint there or the one at (8).
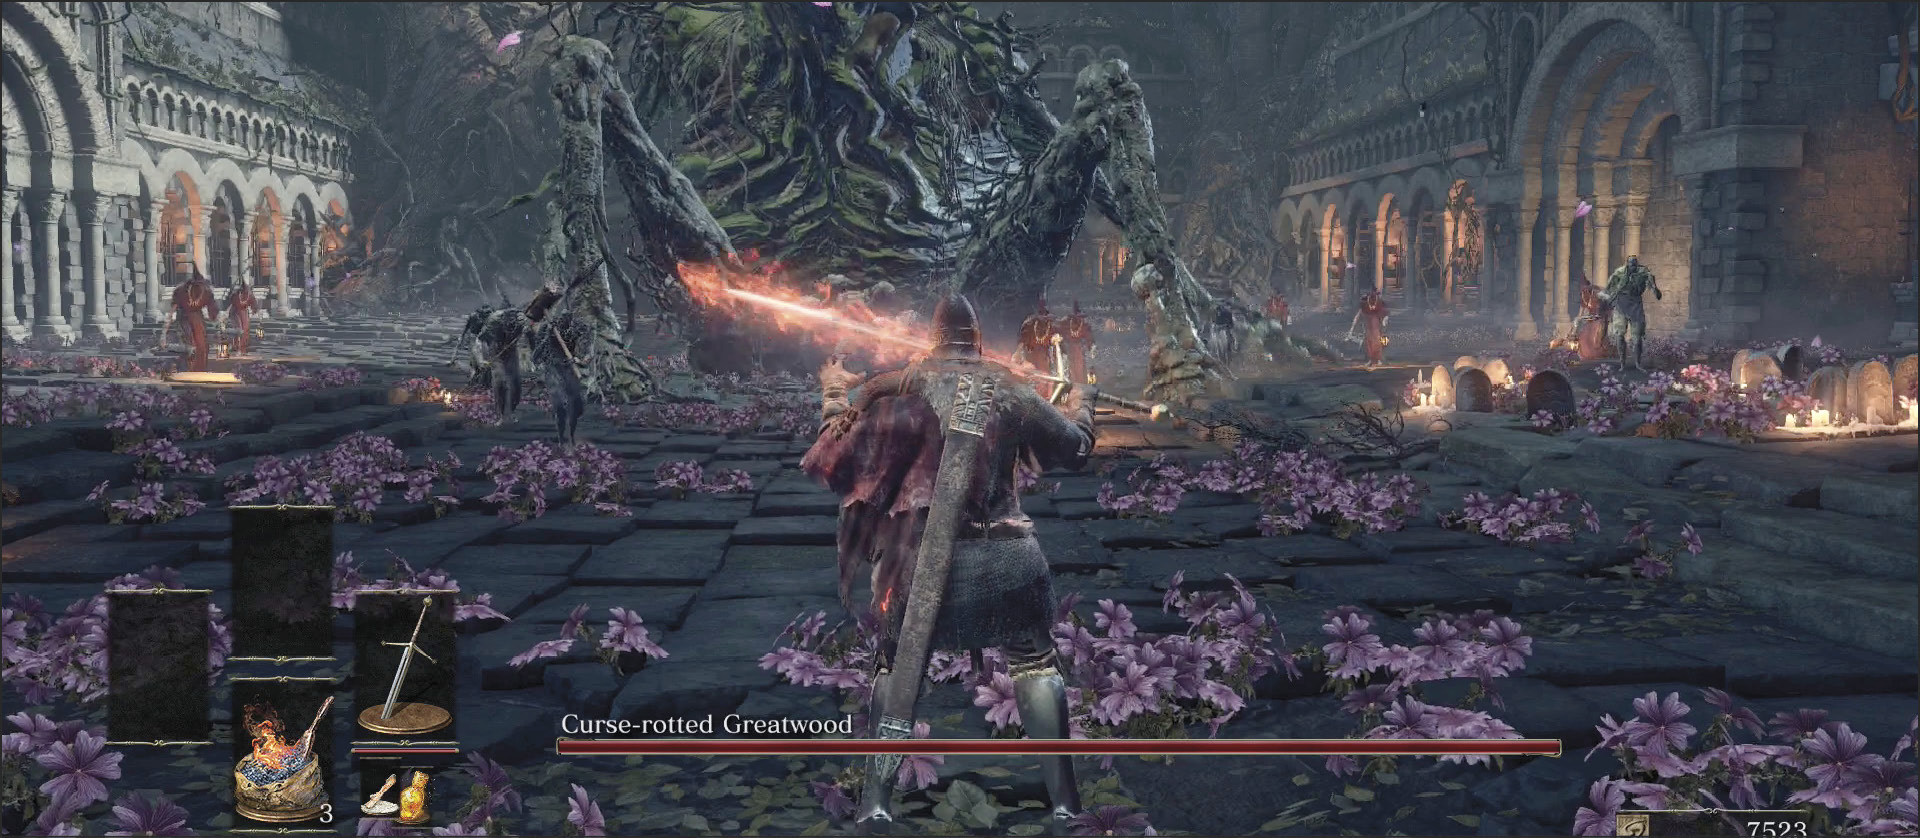
Major Battle
 Many Peasant Hollows are praying inside an open courtyard. If you approach them, a wicked-looking tree in the far corner starts to move. This quickly becomes a battle for survival as the Peasant Hollows approach you and their sylvan ally creeps closer.