
Dark Souls III Guide (Steam) The Bestiary
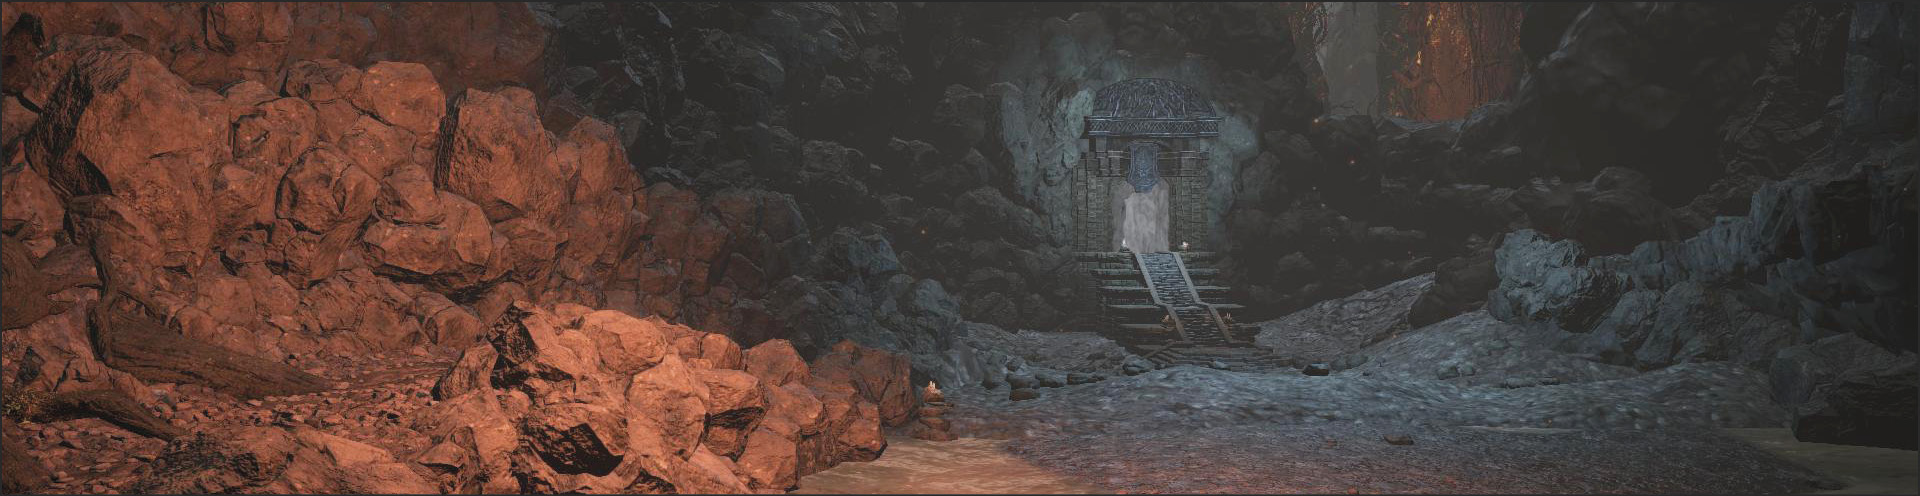
Smouldering Lake
Enemy Data
| Name | HP | Souls | Item Drop | Special Ability | Weakness | Resistant to | Ineffective | Type & Effective Items |
|---|---|---|---|---|---|---|---|---|
| Smoldering Ghru | 635 | 140 | Rotten Ghru Curved Sword or Rotten Ghru Spear/Ghru Rotshield/Titanite Shard/Large Titanite Shard | Ailment (Poison) | Physical Attack/Magic/Lightning/Dark | Fire | None | Alluring Skull/Rapport |
| Smoldering Ghru (Conjurator) | 635 | 140 | Rotten Ghru Dagger/Titanite Shard/Large Titanite Shard/Fire Gem | Ailment (Poison) | Physical Attack/Magic/Lightning/Dark | Fire | None | Alluring Skull/Rapport |
| Smoldering Ghru (Mad) | 635 | 320 | Titanite Shard/Large Titanite Shard/Fire Gem | None | Physical Attack/Magic/Lightning/Dark | Fire | None | Alluring Skull/Rapport |
| Smoldering Bastard Ghru | 336 | 140 | Titanite Shard/Large Titanite Shard | None | Physical Attack/Magic/Lightning/Dark | Fire | None | Alluring Skull/Rapport |
| Black Knight | 931 | 1600 | Black Knight Greatsword or Black Knight Greataxe/Black Knight Shield/ Black Knight Helm/Black Knight Armor/Black Knight Gauntlets/Black Knight Leggings/ Ember | None | Dark/Frost | Poison & Toxic/Bleed | None | None |
| Skeleton Wheel | 317 | 280 | Bonewheel Shield/Large Titanite Shard | None | Strike | Thrust/Lightning/Dark | Poison & Toxic/Bleed/Frost | Reanimated |
| Hound-rat | 239 | 60 | Soul of an Unknown Traveler | None | Slash/Fire | Poison & Toxic | None | Alluring Skull |
| Avaricious Being | 1686 | 2000 | Symbol of Avarice/Black Blade(Fixed) | None | Dark | Lightning/Poison & Toxic/Bleed/Frost | None | Alluring Skull/Rapport |
| Smoldering Rotten Flesh | 385 | 20 | Titanite Shard/Fire Gem | Elemental Attack (Fire) | None | Physical Attack | Fire/Poison & Toxic/Bleed/Frost | Alluring Skull |
| Basilisk | 602 | 80 | Mossfruit | Ailment (Curse) | None | None | Poison & Toxic | None |
| Crystal Lizard | 171 | 0 | Twinkling Titanite(Fixed)/Fire Gem(Fixed) | None | None | Magic | Poison & Toxic/Bleed/Frost | None |
| Carthus Sandworm | 3180 | 6000 | Lightning Stake(Fixed)/Undead Bone Shard(Fixed) | Elemental Attack (Lightning) | Thrust/Frost | Lightning/Bleed | Poison & Toxic | None |
| Great Crab | 1539 | 1200 | Large Titanite Shard/Titanite Shard(Fixed) | Slows character’s movement | Frost | Slash/Fire | Bleed | Alluring Skull |
| Lesser Crab | 168 | 80 | Blooming Purple Moss Clump/Rime-blue Moss Clump | None | Frost | Slash | Bleed | Alluring Skull |
| Old Demon King | 5301 | 25000 | Soul of the Old Demon King(Fixed) | Elemental Attack (Fire) | None | Fire/Poison & Toxic | Bleed/Frost | Demon |
| Demon | 2982 | 5000 | Soul of a Demon(Fixed) | Elemental Attack (Fire) | None | Fire/Poison & Toxic | Bleed/Frost | Demon/Alluring Skull/Rapport |
| Demon Cleric | 1425 | 900 | Chaos Gem/Titanite Shard/Large Titanite Shard | Elemental Attack (Fire) | None | Poison & Toxic | None | Demon |
| Demon Statue | 228 | 150 | None | Elemental Attack (Fire) | None | Fire/Lightning/Dark | Poison & Toxic/Bleed/Frost | None |
Demon Cleric
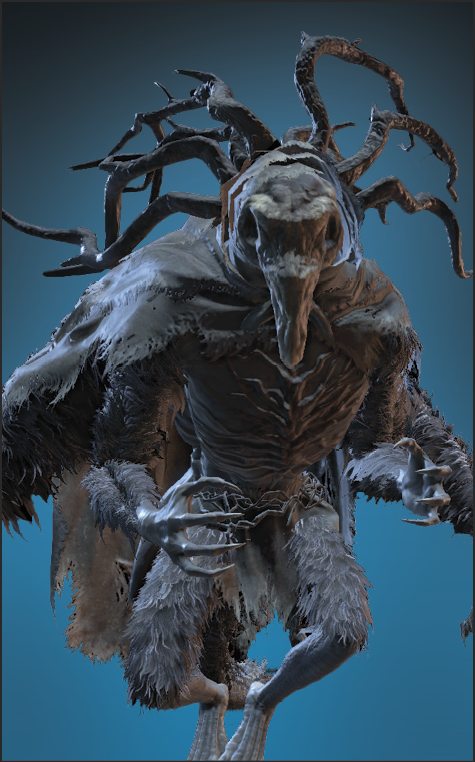
Demon Clerics are savage. A single one can be a serious problem, and any additional targets (whether Demon Clerics or Smouldering Ghrus) make them a very difficult encounter.
Take as much time as you need to pull everything else out of a Demon Cleric’s room. Only attack after the enemy is fully isolated. Even then, you have to use walls to break line of sight any time that you need to heal or regain Stamina.
Melee combos get the job done, but it’s always an ugly affair. You end up trading damage, so keep your supply of Estus Flasks high when you attack these monsters. After you’ve looted an Demon Cleric’s room, consider sprinting through it in the future so that you don’t spend so many resources every time you come through it.
Smouldering Ghru
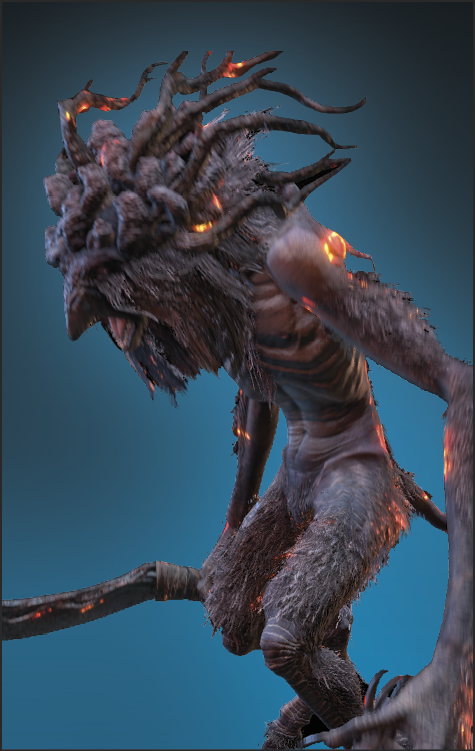
Cousins to the Ghru in the swamp, Smouldering Ghrus have Poison and toxic damage in their melee attacks, and their shamans have a cloud attack that fills a huge area with these effects. When you’re going through the Smouldering Ghru’s area, wear armor with resistances geared specifically toward surviving this, because that and the Demon Clerics’ Fire are the easiest ways to die down there.
Smouldering Ghrus come in groups. Each target has modest health and can be killed quickly. You need to capitalize on that, because these guys are horrible once they’ve gathered together. Rush each Smouldering Ghru you see and destroy them immediately, even if you have to take a little damage.
Carthus Sandworm
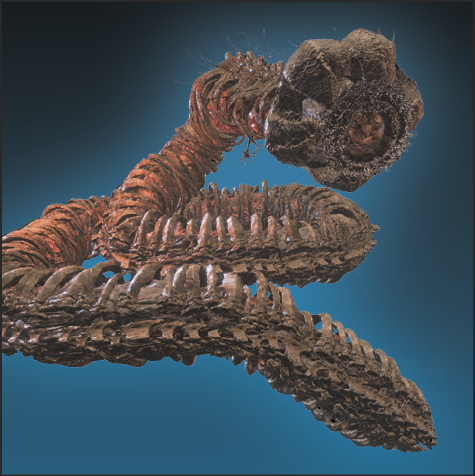
The Carthus Sandworm is a unique encounter in the Smouldering Lake. A monstrous worm that can fire devastating blasts of Lightning, it is a serious threat. Sprint past the area where the monster emerges, and look for a ledge above, up and to the right from where you first see the enemy. Get onto that ledge to avoid the ballistas and the Carthus Sandworm. Fire arrows or bolts from that ledge to kill this mini-boss and clear the area for future exploration.
Demon Statue
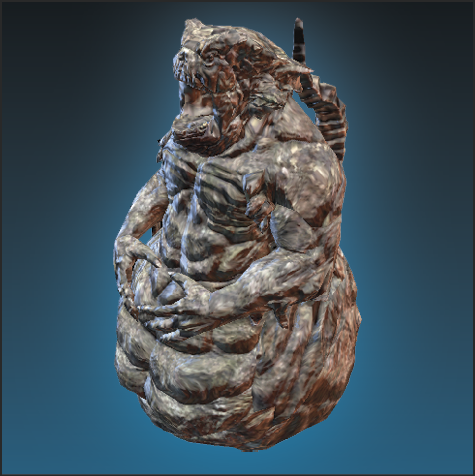
Demon Statues are almost immobile masses of flesh and Flame. They’re easy to kill, but all of them do tremendous damage if you get caught in their extended breath attacks. Use their lack of mobility against them. Back away and kill any other types of defenders first. Then, charge up to the Demon Statues and attack furiously. Or, stay out of their range, and shoot them for safe kills.