
Dark Souls III Guide (Steam) Walkthrough
Boss: Pontiff Sulyvahn
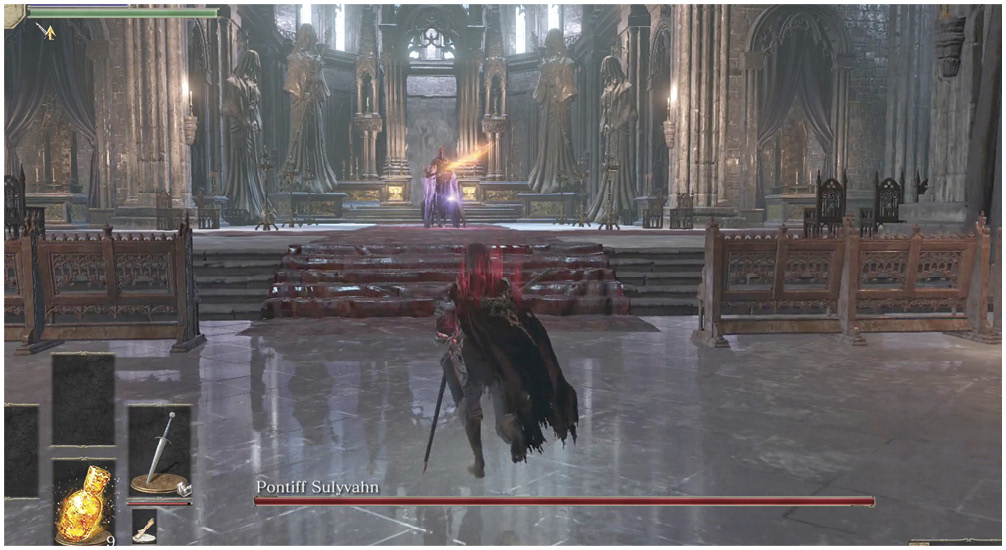
Stage I
The Pontiff is an opponent to be feared. His attack timings are fast and somewhat tricky to dodge. His ranged attacks are reliable, so you can’t play too many games with him, and his damage output is fairly high. Even though you get chances to heal, this is never a fight where anything is guaranteed.
Stay close to Pontiff Sulyvahn as often as you can. He’ll either cast spells at you or charge if you get too far away, so there isn’t much benefit in retreating. Stick near him. His sweeping attacks cover a wide amount of territory, so dodging must be based on timing rather than position. If you roll at the wrong time, you get hit whether you’re going backward, forward, or to either side.
The key to success is putting everything into raw offense. The Pontiff doesn’t have that much health for a boss, and he can be brought down somewhat quickly if you hit him with a decent chain of attacks. This is especially true when he starts to transition from Stage I to Stage II.
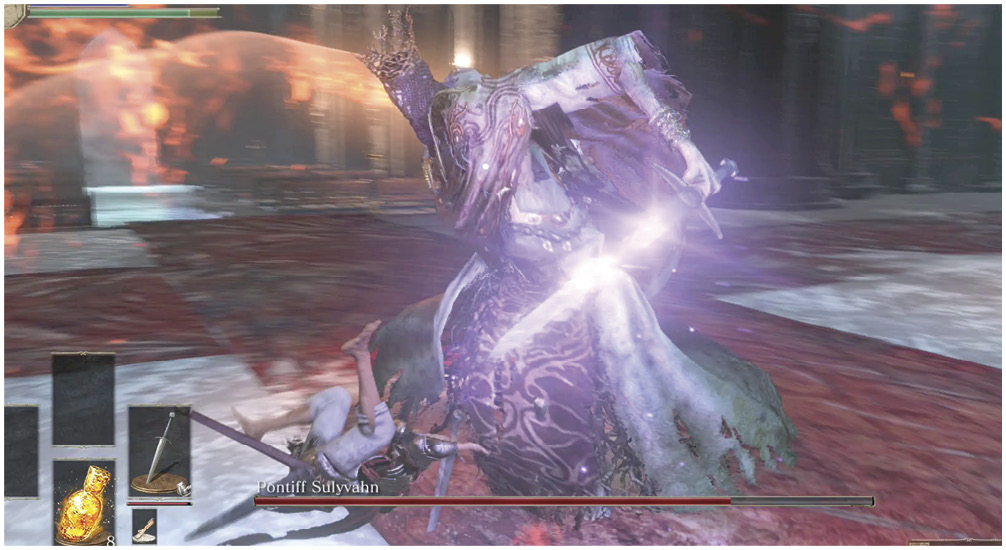
Stage II
The boss collapses when he starts his transition into the new phase. Do not back off here—close in, and take free shots. Get as many as you can, even if it means that you are out of Stamina when he rises again. The second stage is fairly tough, and every hit that you get now brings you that much closer to victory.
During this stage of the battle, Pontiff Sulyvahn tries to periodically summon a dark spirit to assist him. If he stands still and looks like he’s charging a spell, that’s what he’s likely working on. Rush him and attack as much as your Stamina allows. Destroy the spirit before it’s ready to come after you. Otherwise, you have to deal with two Pontiffs at once, and that’s not a pleasant experience.
This is another reason not to let the boss get far away from you. The more ground you have to close, the more likely it is for Sulyvahn to finish summoning.
It’s very hard to perfect this fight, but slugging your way through it doesn’t take many tries. Get your health topped off frequently, and focus on Magic and Fire Resistance.
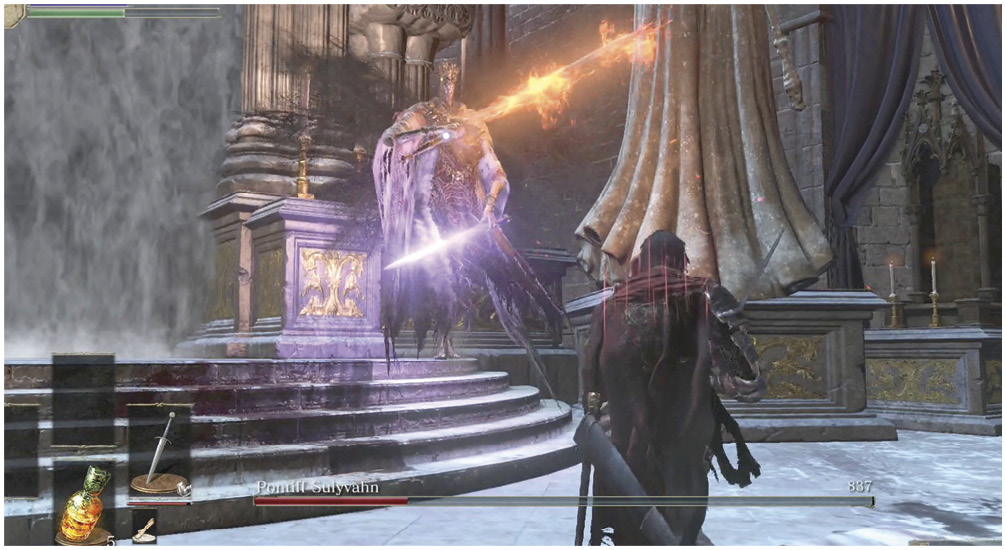
Use the new Bonfire that appears. It’s now a good time to go down to the Dungeons of Irithyll. However, you can also use the exit to the east to continue exploring the rest of the city of Irithyll above. It soon leads up to Anor Londo. That’s a very difficult area, but you can check it out whenever you like.
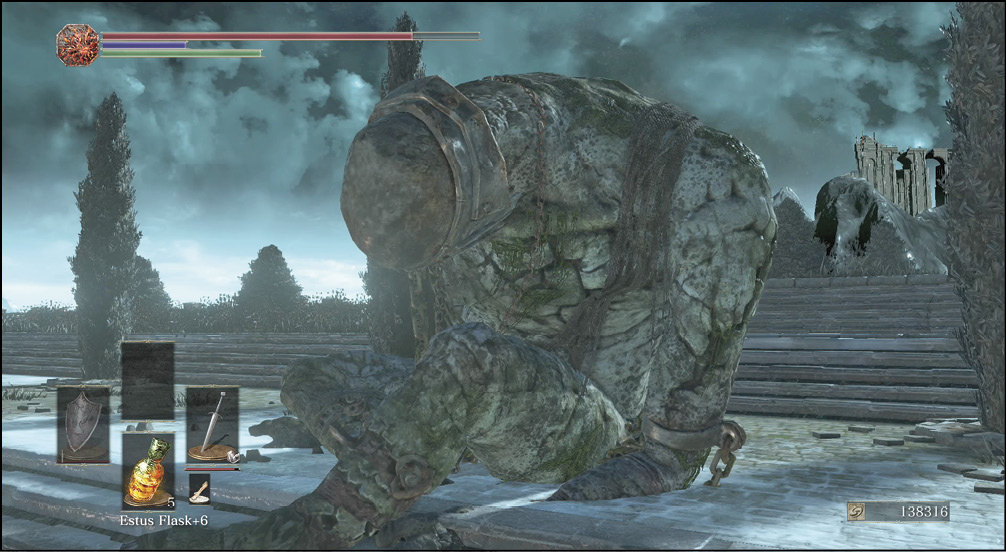
 A courtyard is littered with Giant Slaves, both alive and dead. Do not go after these massive foes when you first see them. Above that yard is a balcony where there are many Deacons of the Deep. They’ll hurl fire constantly while you try to engage the Giant Slaves, and it’s reckless to endure that.
Instead, sprint to the western side of the yard and look for a staircase. Irithyllian Slaves are in there, but they’ll pose little threat. Climb the stairs and slay the Deacons of the Deep above before you worry about the Giant Slaves. A Dark Stoneplate Ring is there too, but it can wait until you've cleared all of the ranged enemies in the area.
For more excitement, finish clearing the yard, and then go toward the twin sets of stairs that lead north. When you do this, two Unkindled foes attack you. Reposition until you get a chance to strike at one of them alone. A fast combo can kill one of these dual-wielding twins before their ally arrives to complicate things. The rest of the fight is a foregone conclusion. You get the Drang Twinspears after beating this encounter.
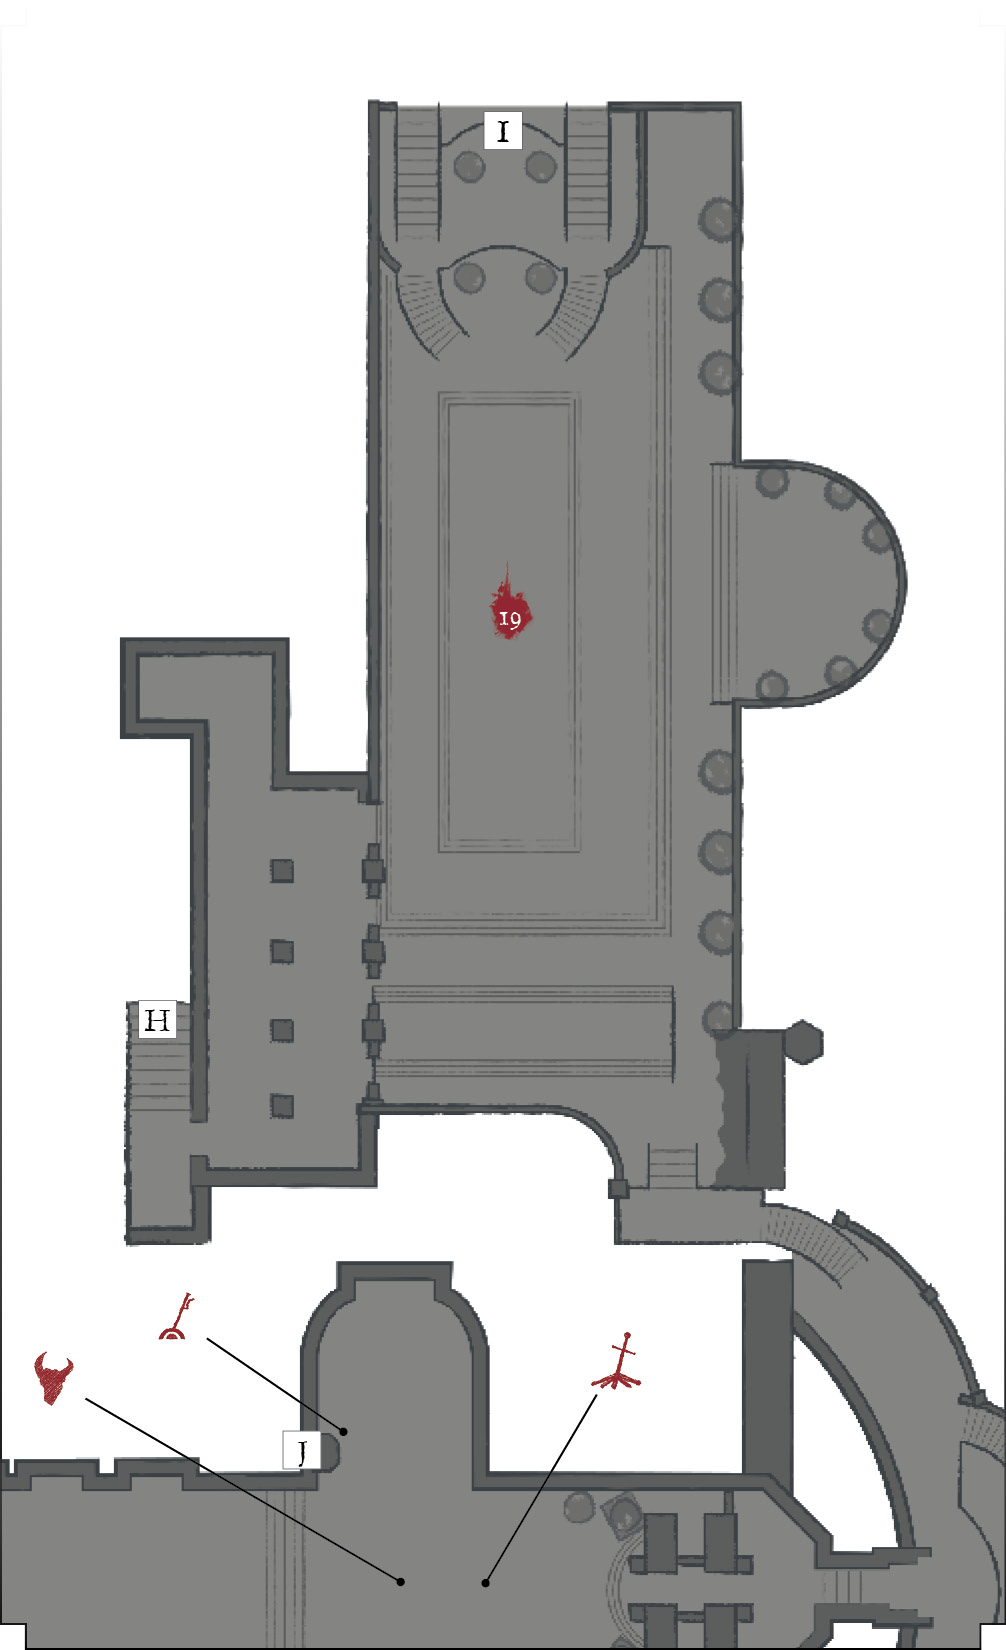
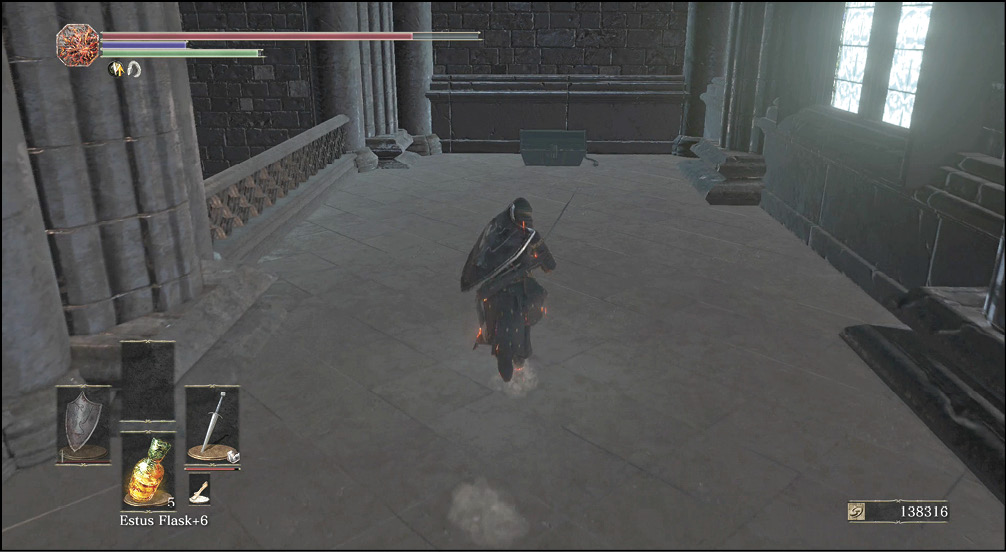
 There is an upper level to Pontiff Sulyvahn’s room. These upper walkways have a small platform that moves between the two tiers, so you can go back to the Bonfire and rest if you like.
Open the chest you find, and watch out for a Crystal Lizard to hunt, on the side opposite the lift. A Golden Ritual Spear is also up there. But, the chest is a Mimic, so keep your guard up.
On New Game +1, there is a Ring of Favor+1 that's also in the church.
Bonfire—Water Reserve
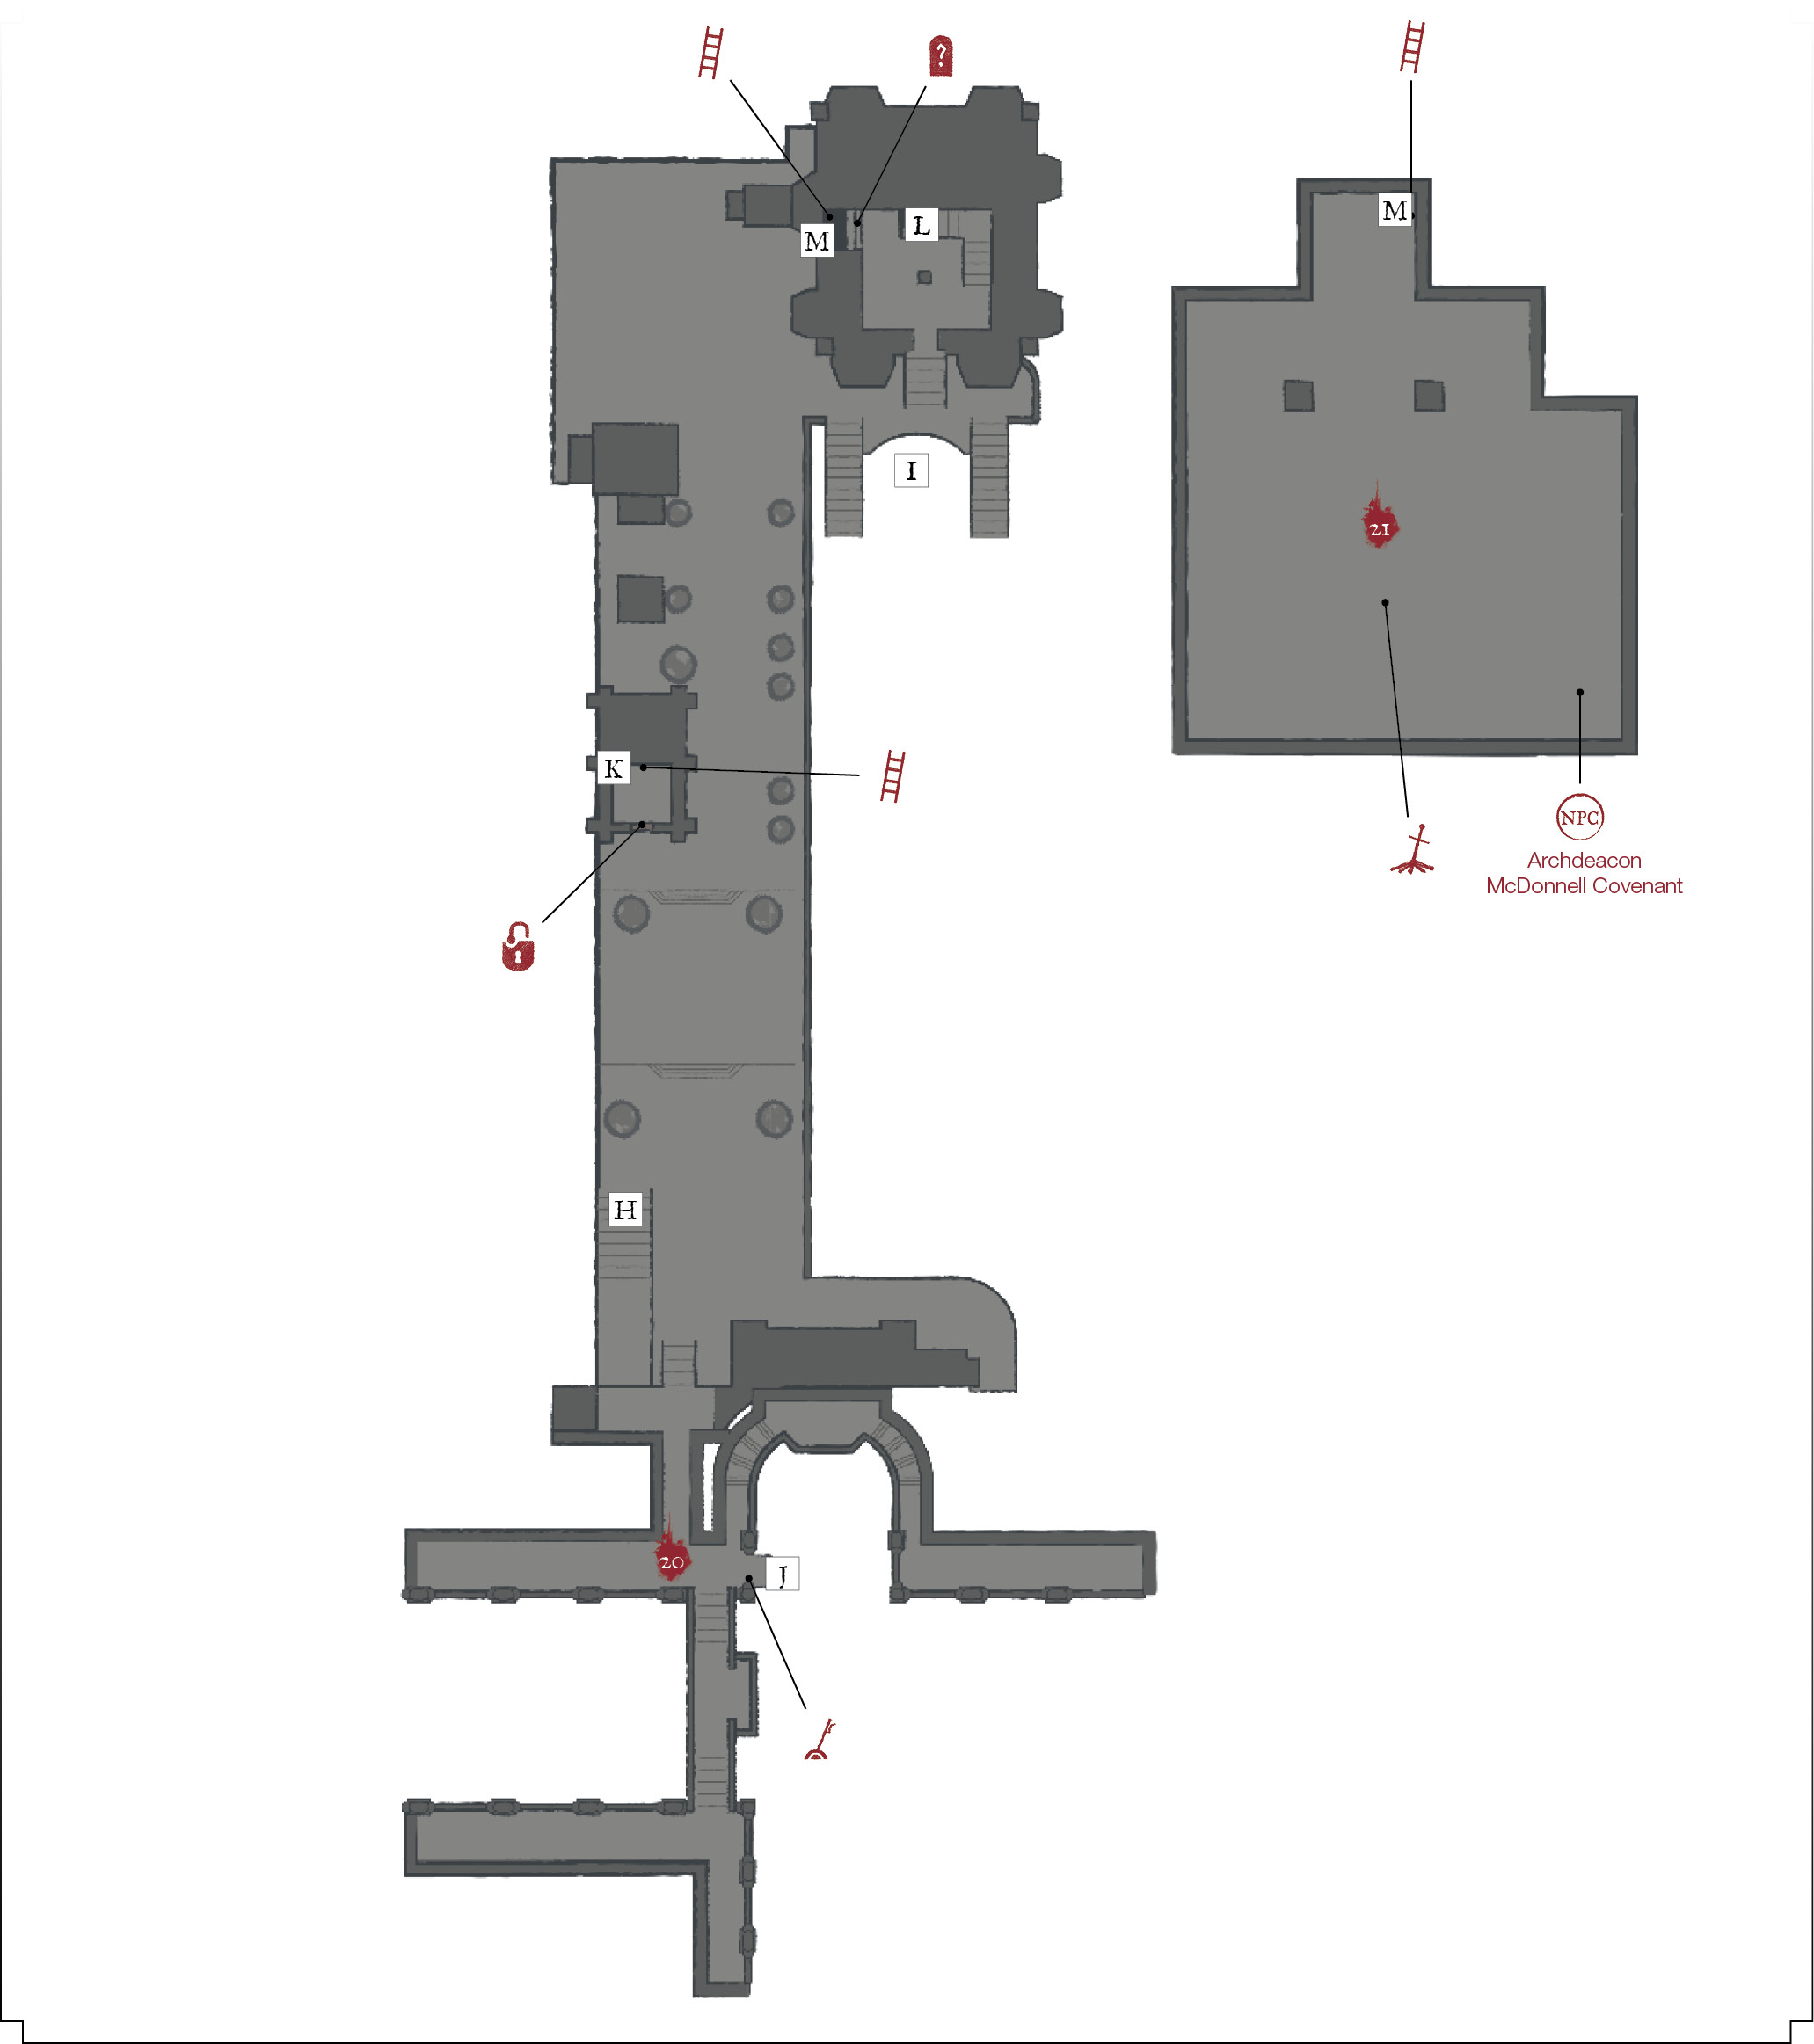
 Look for a secret door when you climb the twin staircases, and enter the next building. The first room is empty and only has a path leading up, but you know better than that. Hit the wall in the northwestern corner to open a way down. Climb the ladder but do not jump—it’s a long fall!
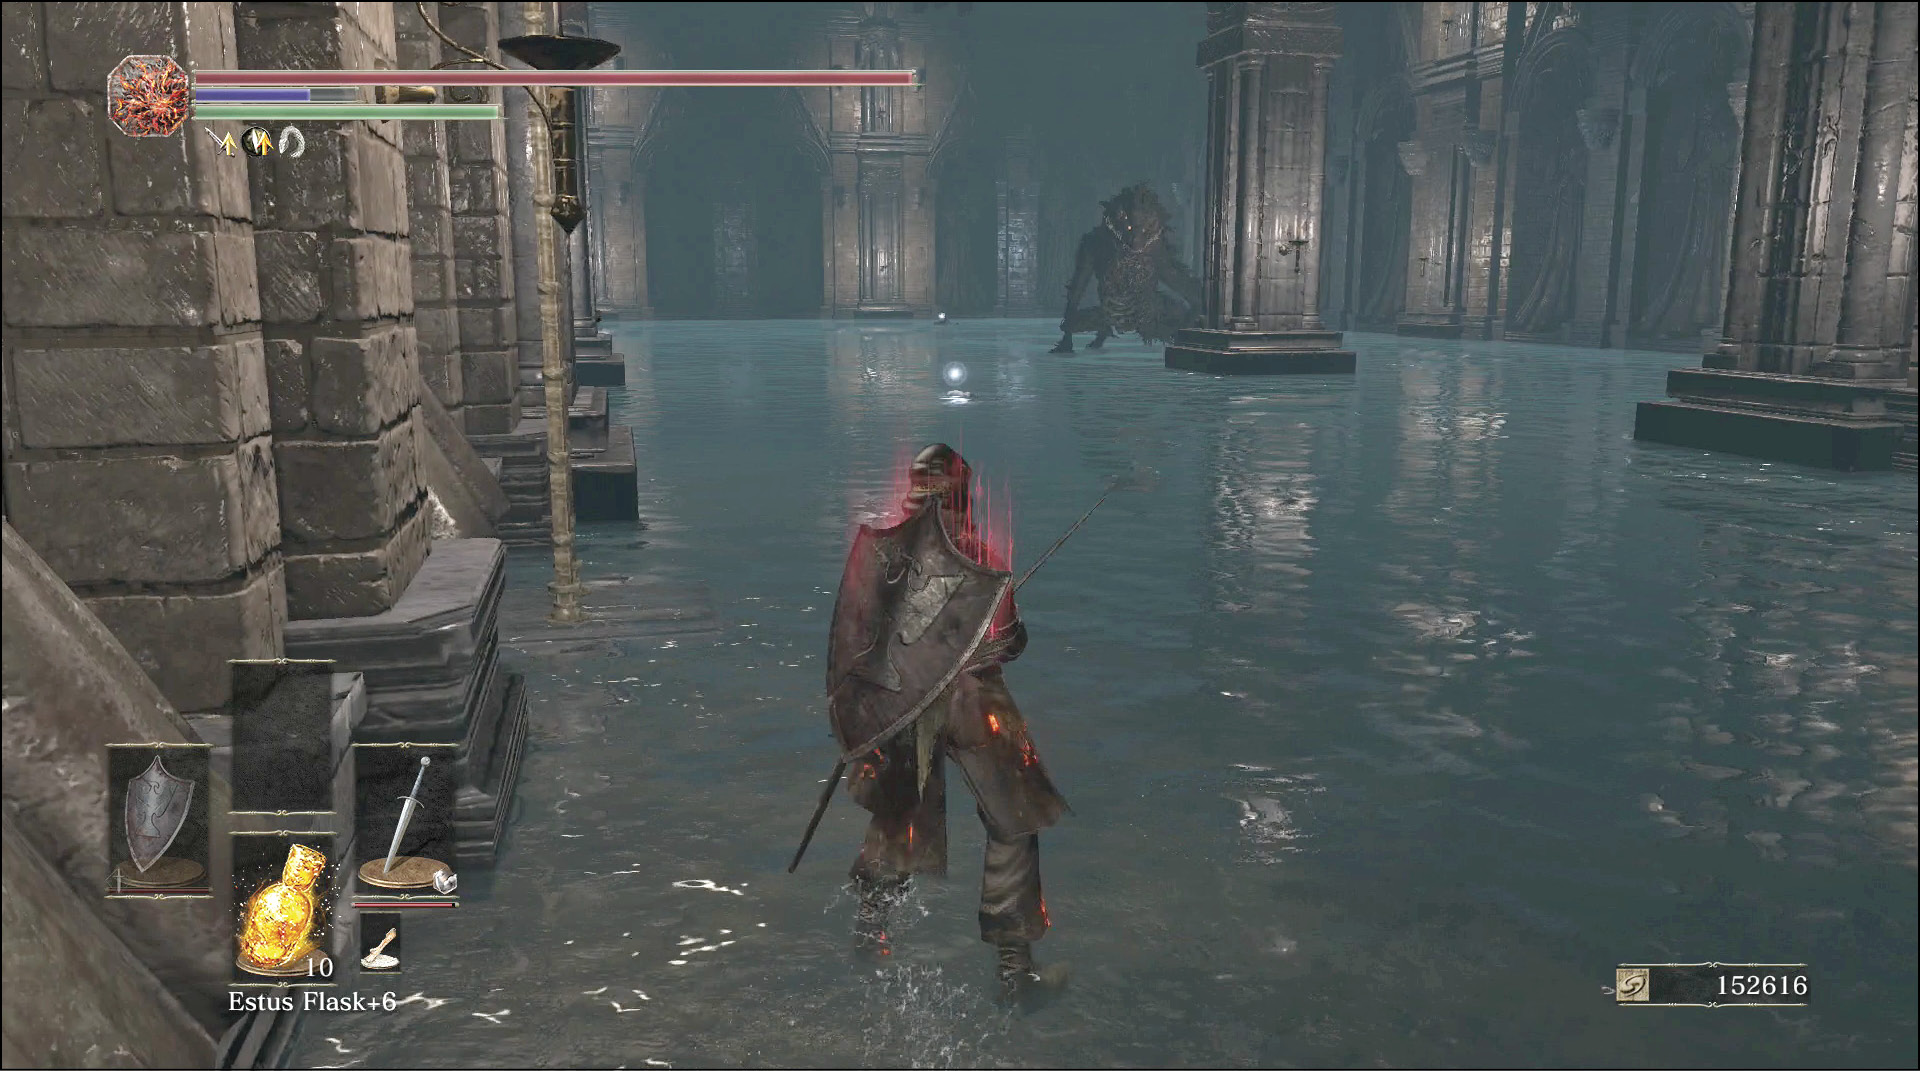
Very Long Fall!Jumping over a ledge without looking is a silly way to lose an Ember after killing a boss. Don’t be that person. Not that I did that. … I totally did that. |
Two of Sulyvahn’s Beasts are at the bottom, in a wet reservoir. It’s hard to kill them, but the entire area is a treasure trove. You get several good items, unlock a Bonfire (Water Reserve), and find Archdeacon McDonnell. The Beasts are one time-only monsters, so use everything you have and just get them down. But stick to your small entrance area while fighting the first one. If the two pair up, you’re going to get chomped really hard. You get the Ring of Favor from one of the monsters here, making this a lucrative encounter.
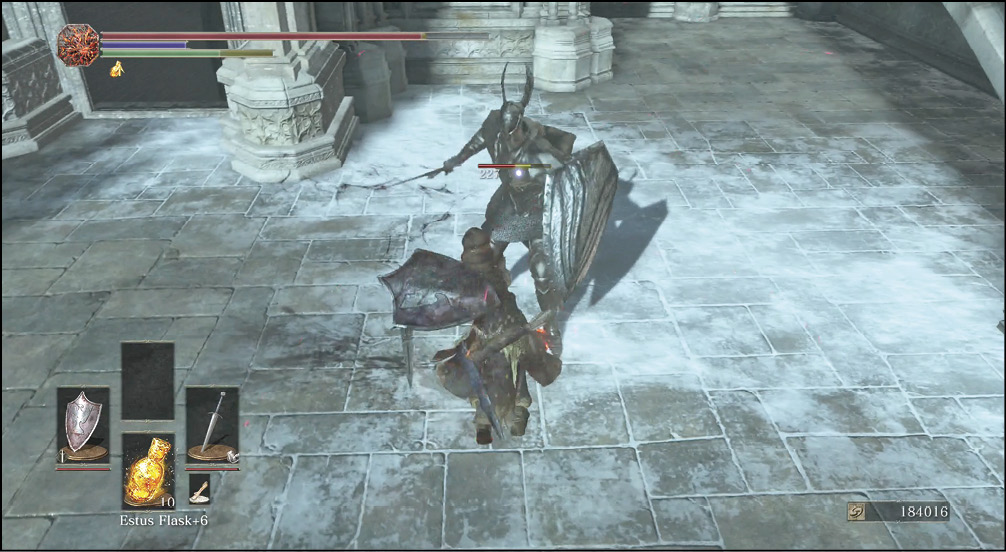
 When you get to the top of the stairs, sprint and run onto the rooftops. There are Silver Knights shooting from an elevated position, and anyone who has played the earlier Dark Souls games knows how difficult it is to rush these kinds of heavy archers on ledges like this.
It’s easier than it has been in the past, and you can get to the ledge where the Silver Knights are shooting without too many problems. These archers can’t see each other, so you also don’t need to worry about being shot in the back while you’re fighting (whew).
To the right, a small set of stairs can take you down to grab some Easterner’s Ashes. Below the southern bridge is a Dragonslayer Greatbow and some Greatarrows.
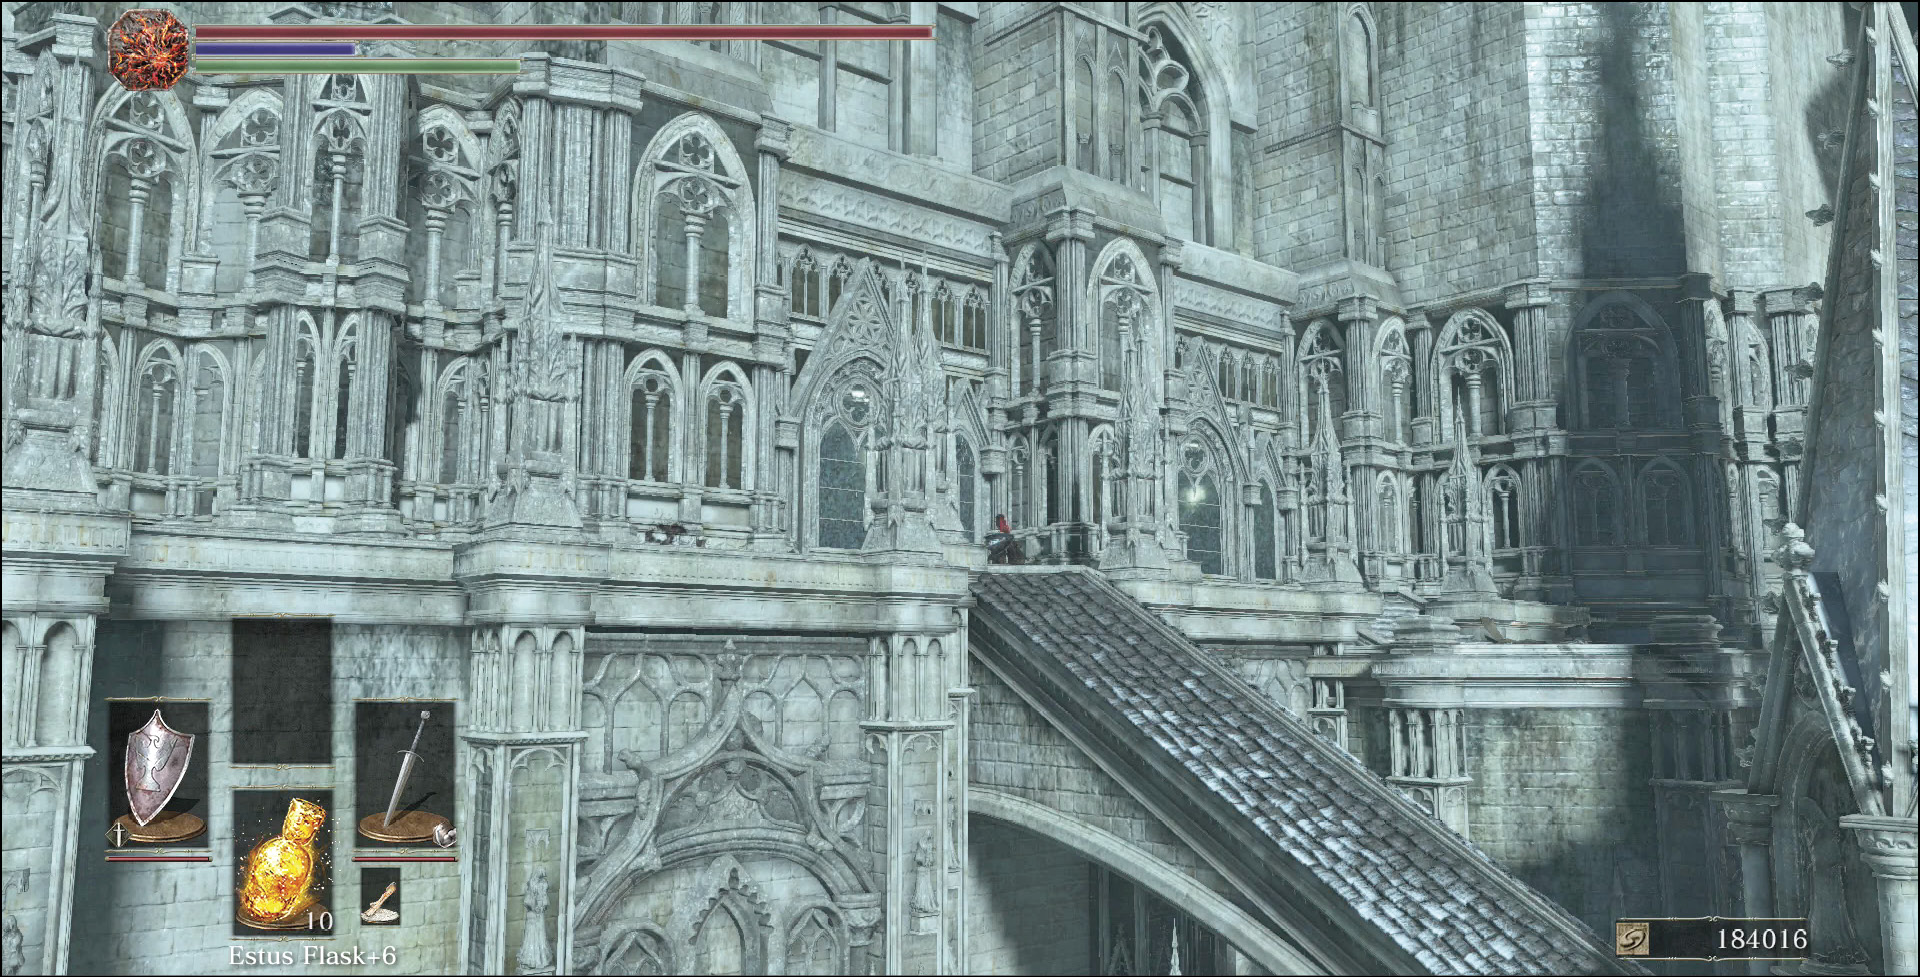
 Fight one more Silver Knight on a lower ledge. A sloped roof leads down toward a bridge. Take that to open a shortcut between this area and the Deacon of the Deeps at (19). When you’re coming back up, hop off of that sloped roof to find some equipment underneath the precarious walkway.
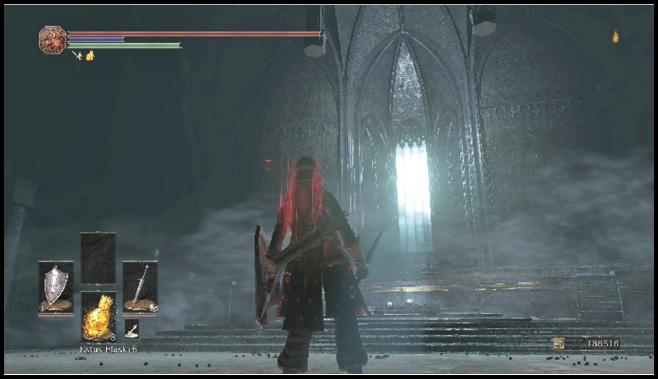
Bonfire—Prison Tower
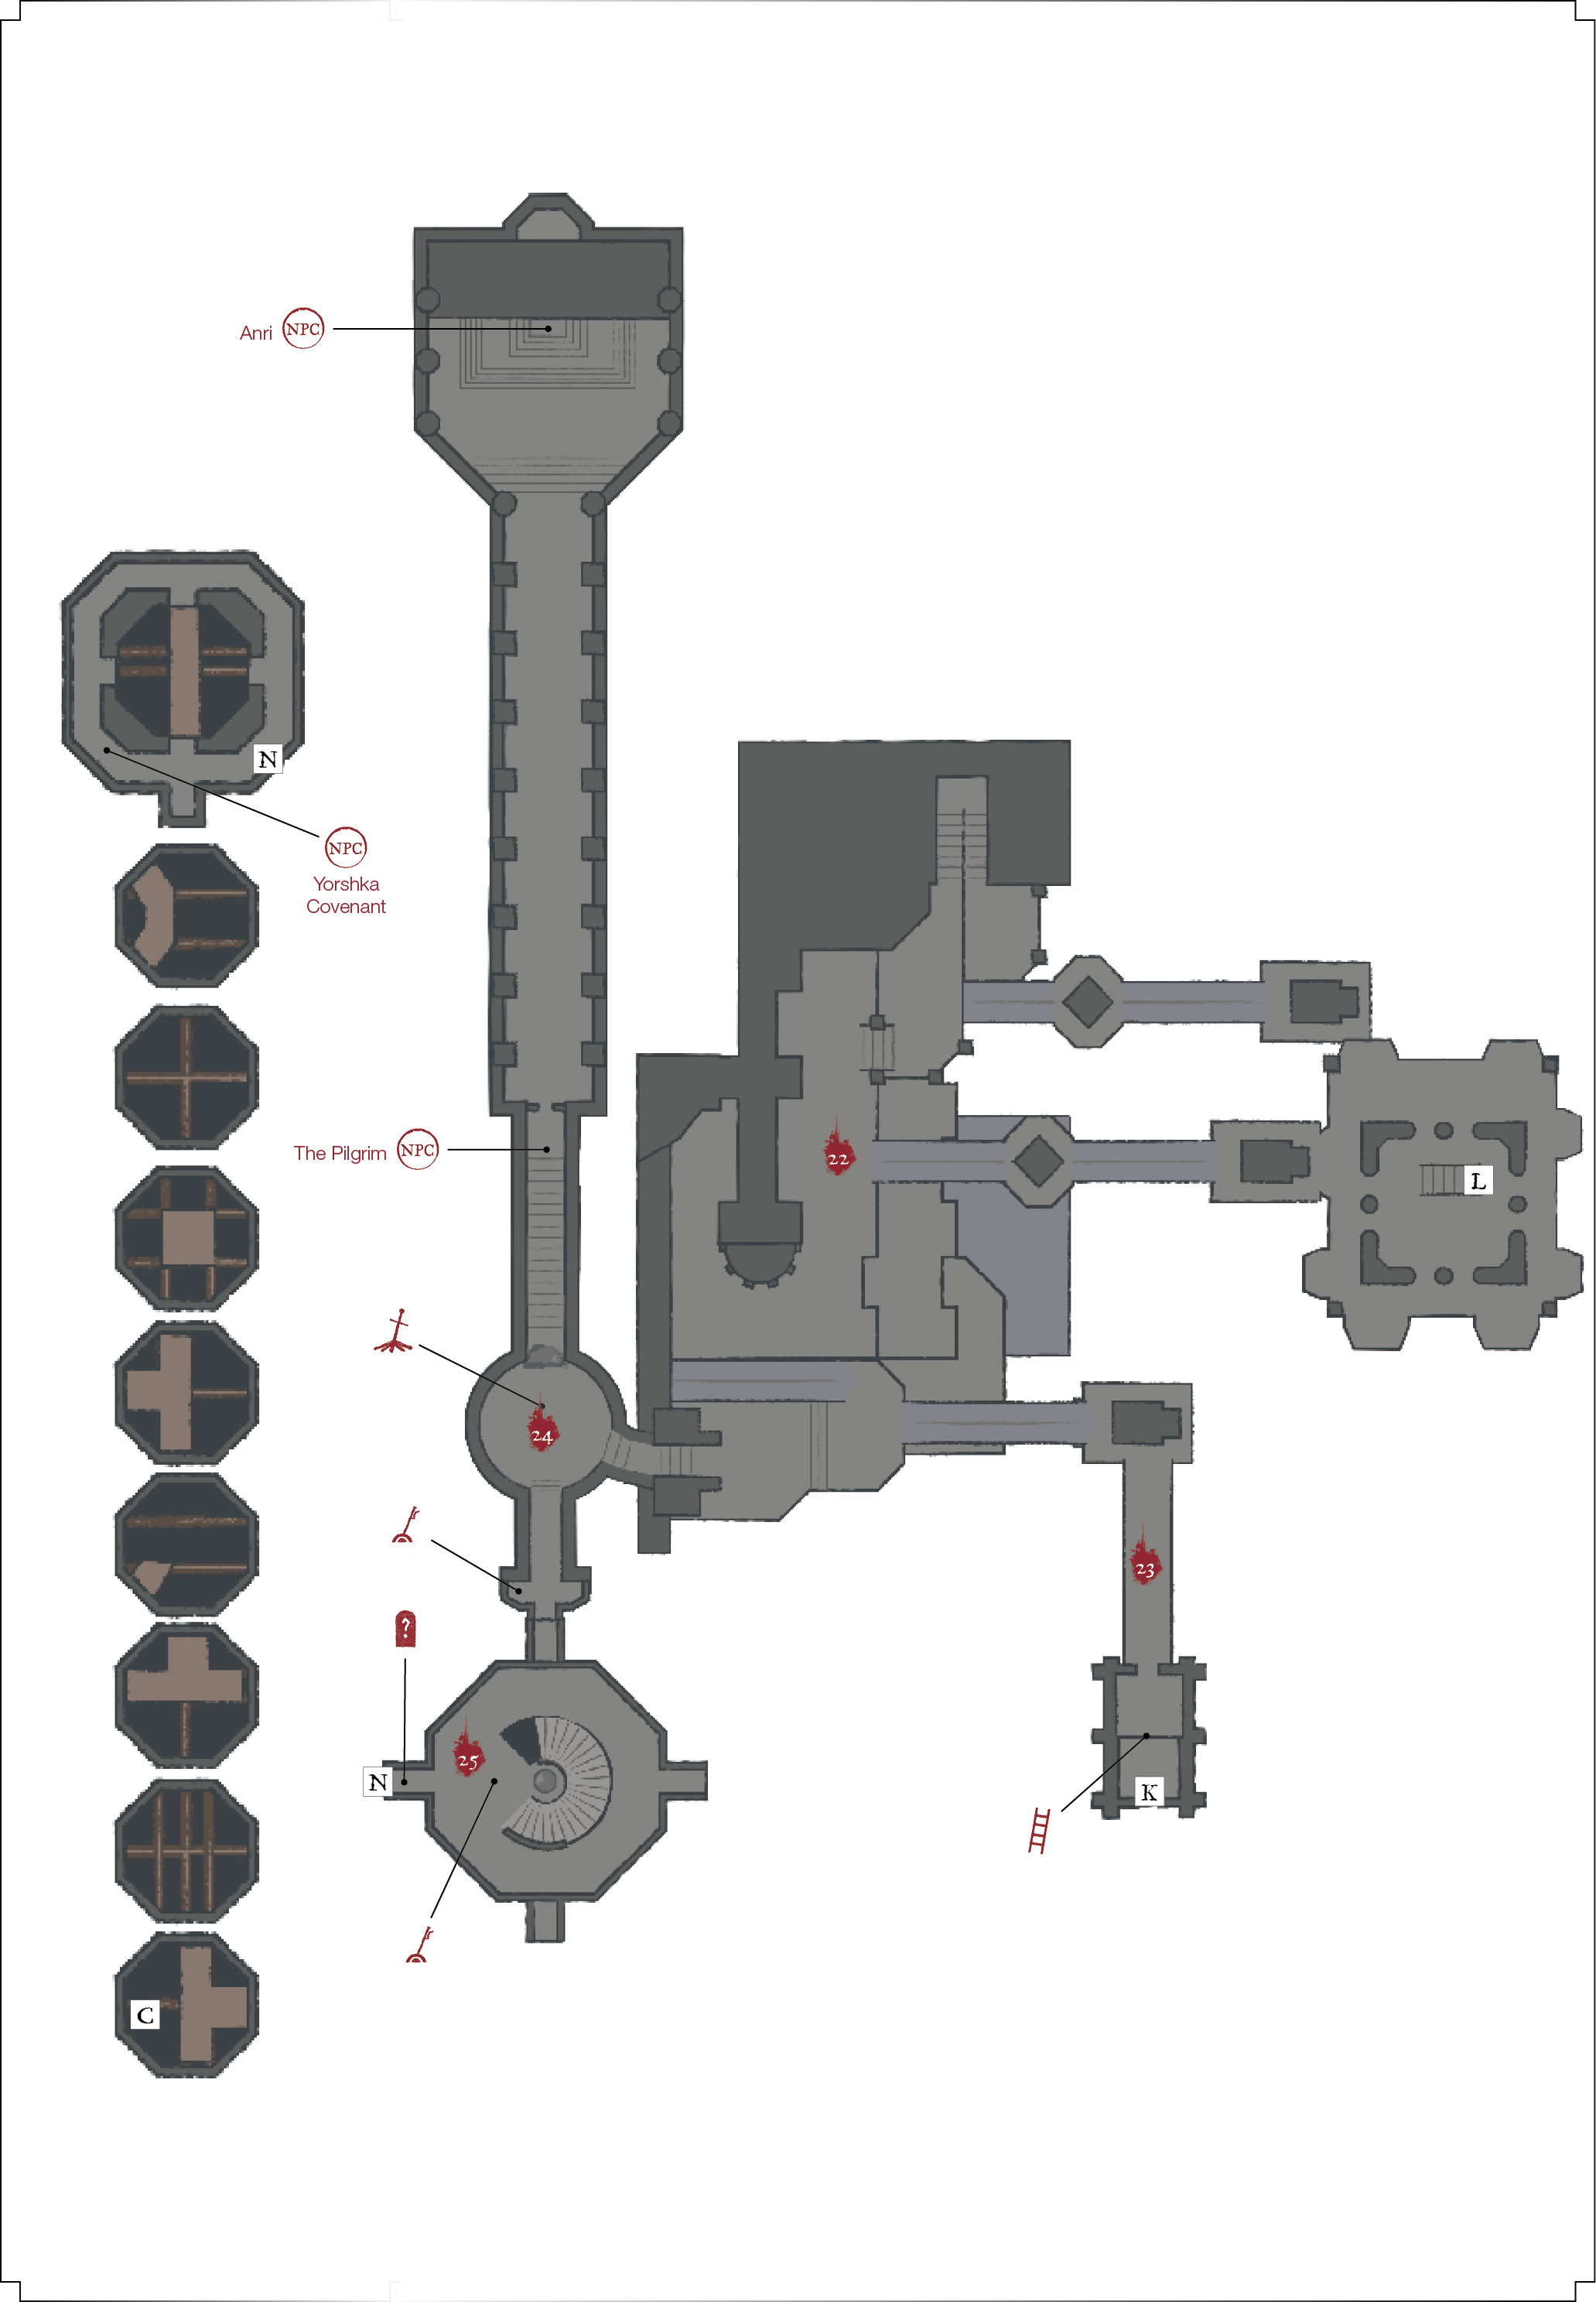
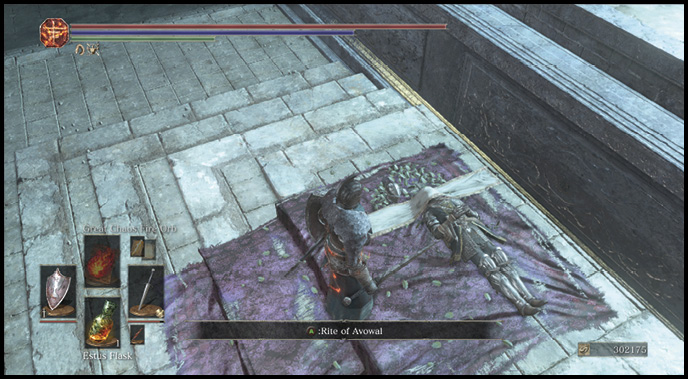
 A small room goes out toward a much bigger tower. If you strike the wall on your right, a large sculpture of a knight disappears, and a new path is revealed. You find the Brass Armor Set and an intriguing room down that way. Anri's line can lead you to the Sword of Avowel along the next hallway and a Chameleon spell when you return. Inside the final room, you receive Anri's Straight Sword and a Reversal Ring (from a small cubby to the right). Only the ring is there if you go without following Anri's quest.
 In the other direction, you arrive at a crank. Use that to spin the tower ahead of you. It stops, and you can then get into that tower. Climb to the top, and then use another crank to get the tower into a better position. At its highest point, the tower connects with Anor Londo. Get off of the tower bridge, and you’re there. Use the Bonfire that you find.
Return to the tower, and crank it back down. From the lower tower position, walk off of the tower balcony onto thin air while looking at a tower that isn’t far away. Proceed toward the tower ahead of you, and then jump off once you’re close to it. You find a Bonfire and Company Captain Yorshka, as well. From her tower, you can hop down through many ledges to get the some equipment and eventually land near the Church of Yorshka Bonfire at the bottom. The equipment includes both the Painting Guardian's Curved Sword, the Painting Guardian Armor set, and Havel's Ring+2 (on New Game +2 only).
You can always warp back to the Anor Londo Bonfire from the bottom, so this doesn’t cost you any real time.