
Dark Souls III Guide (Steam) Walkthrough
Cemetery of Ash
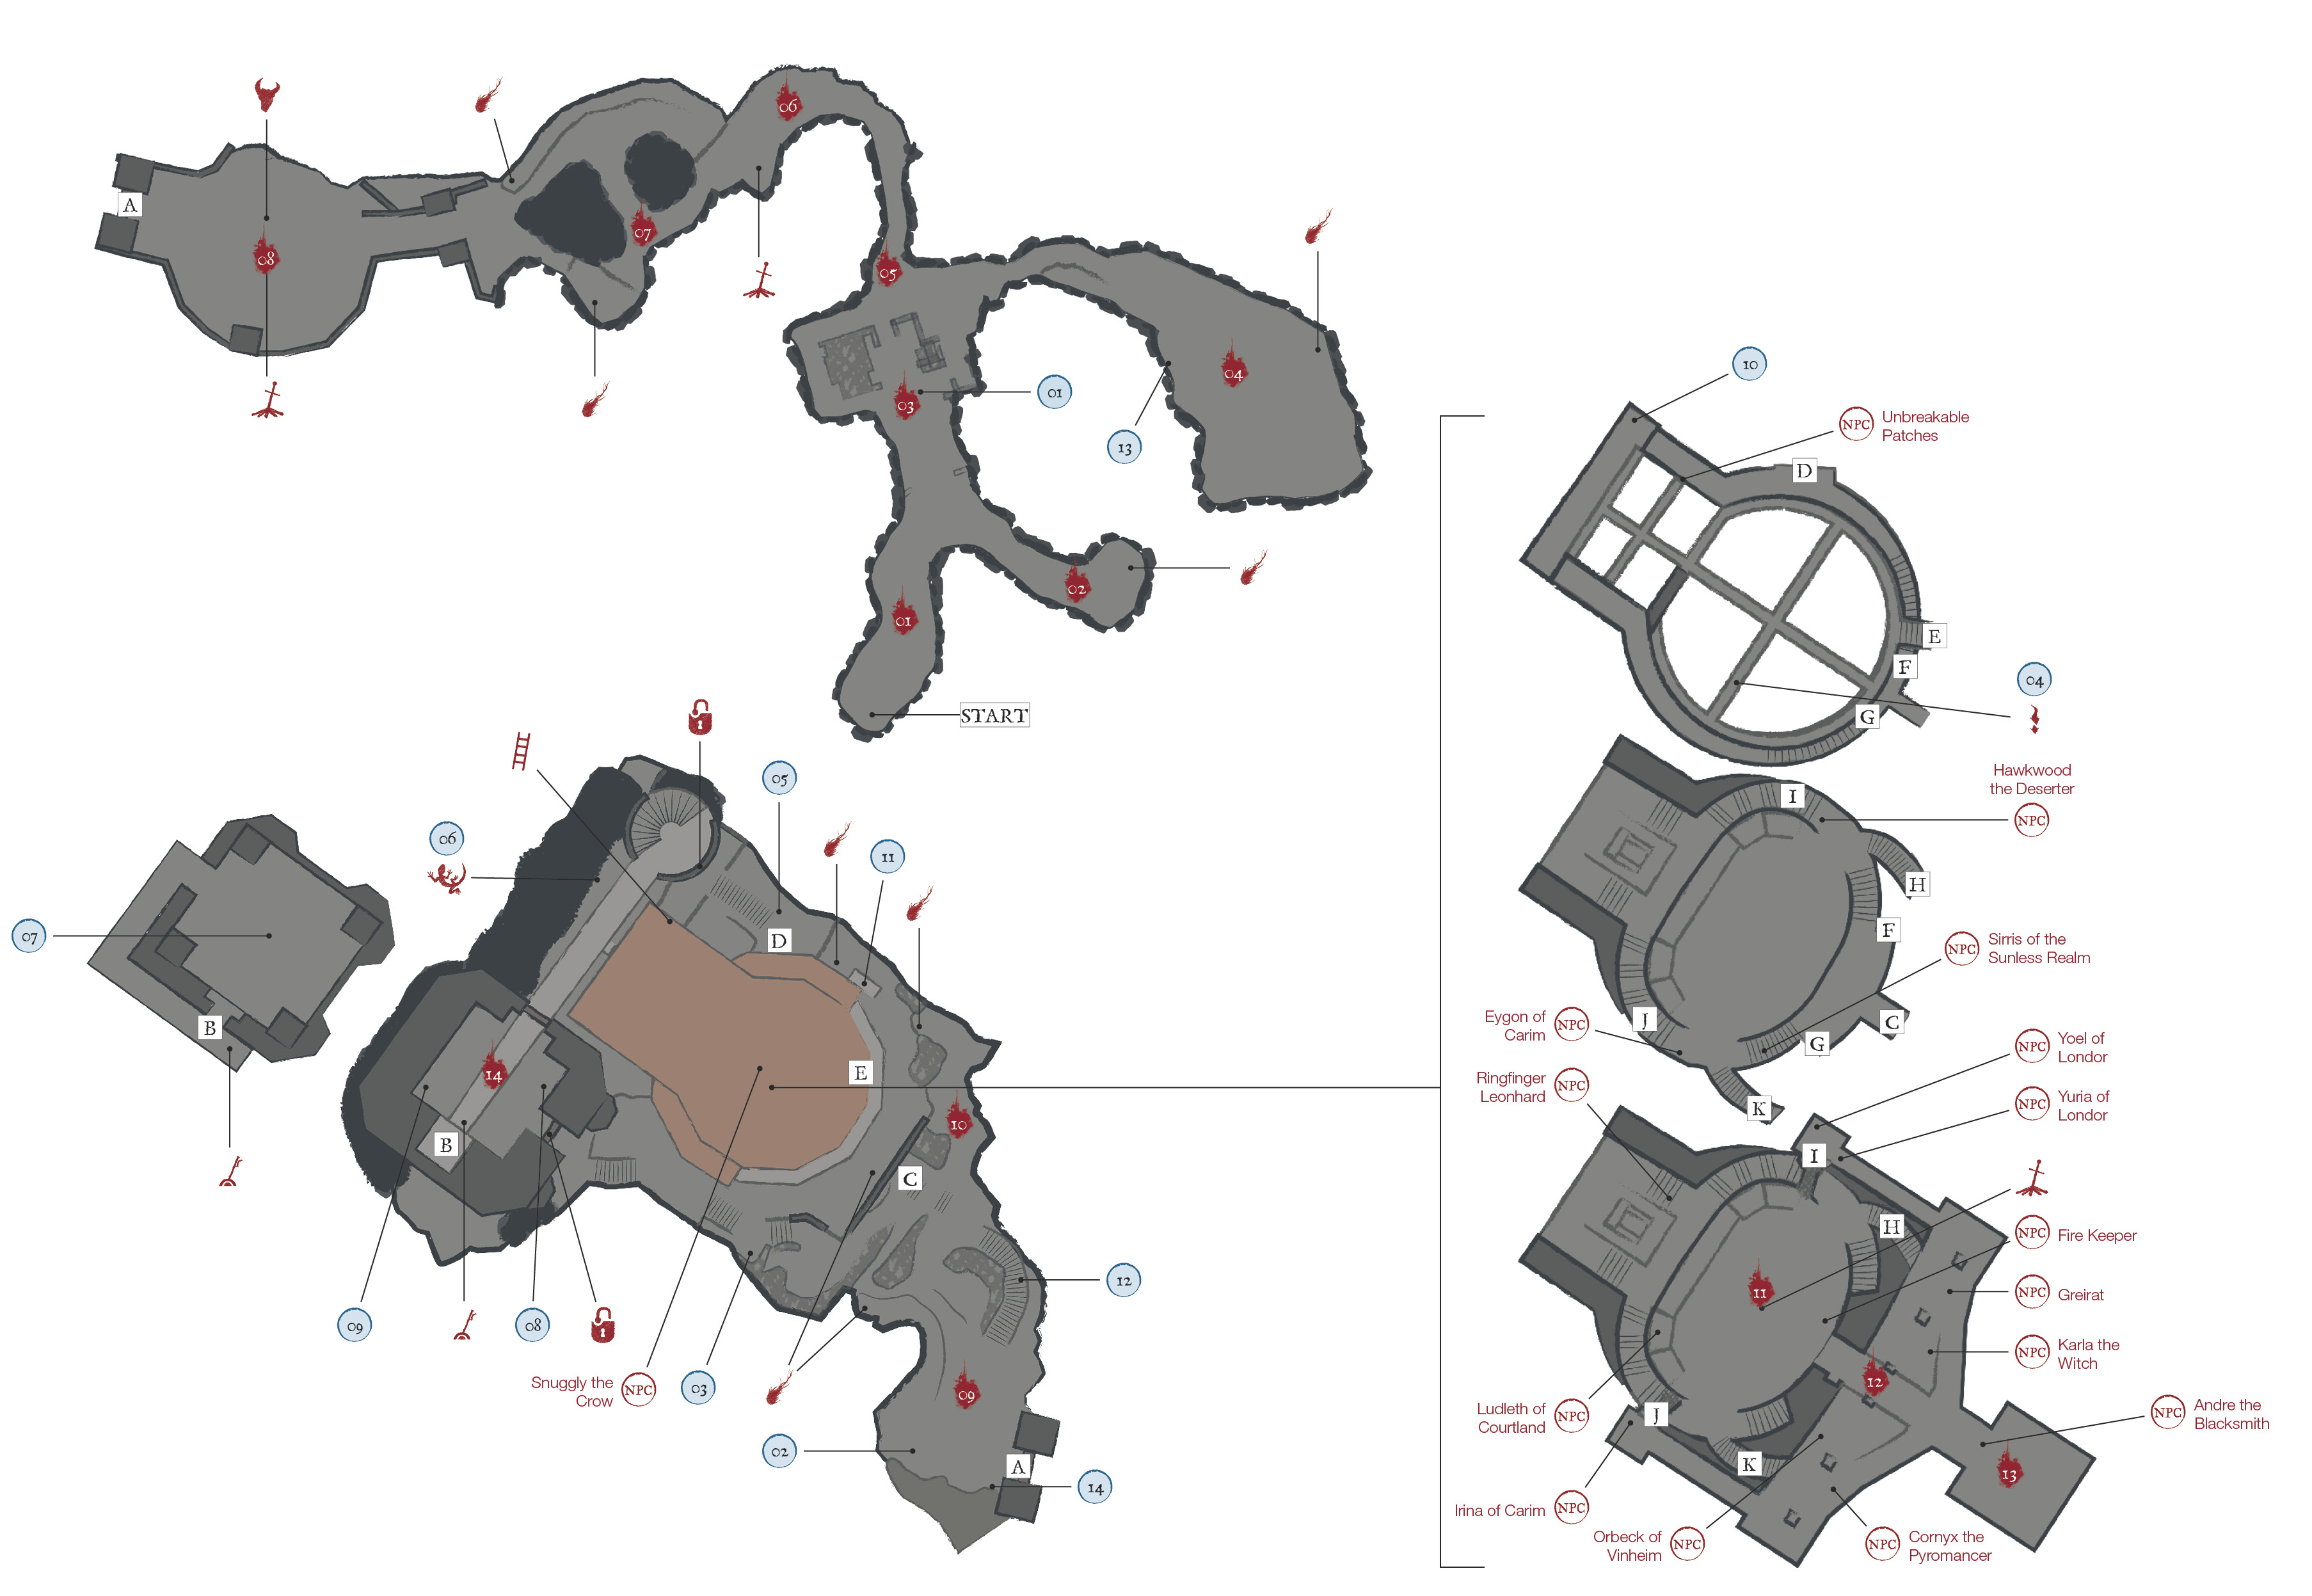
Major Items
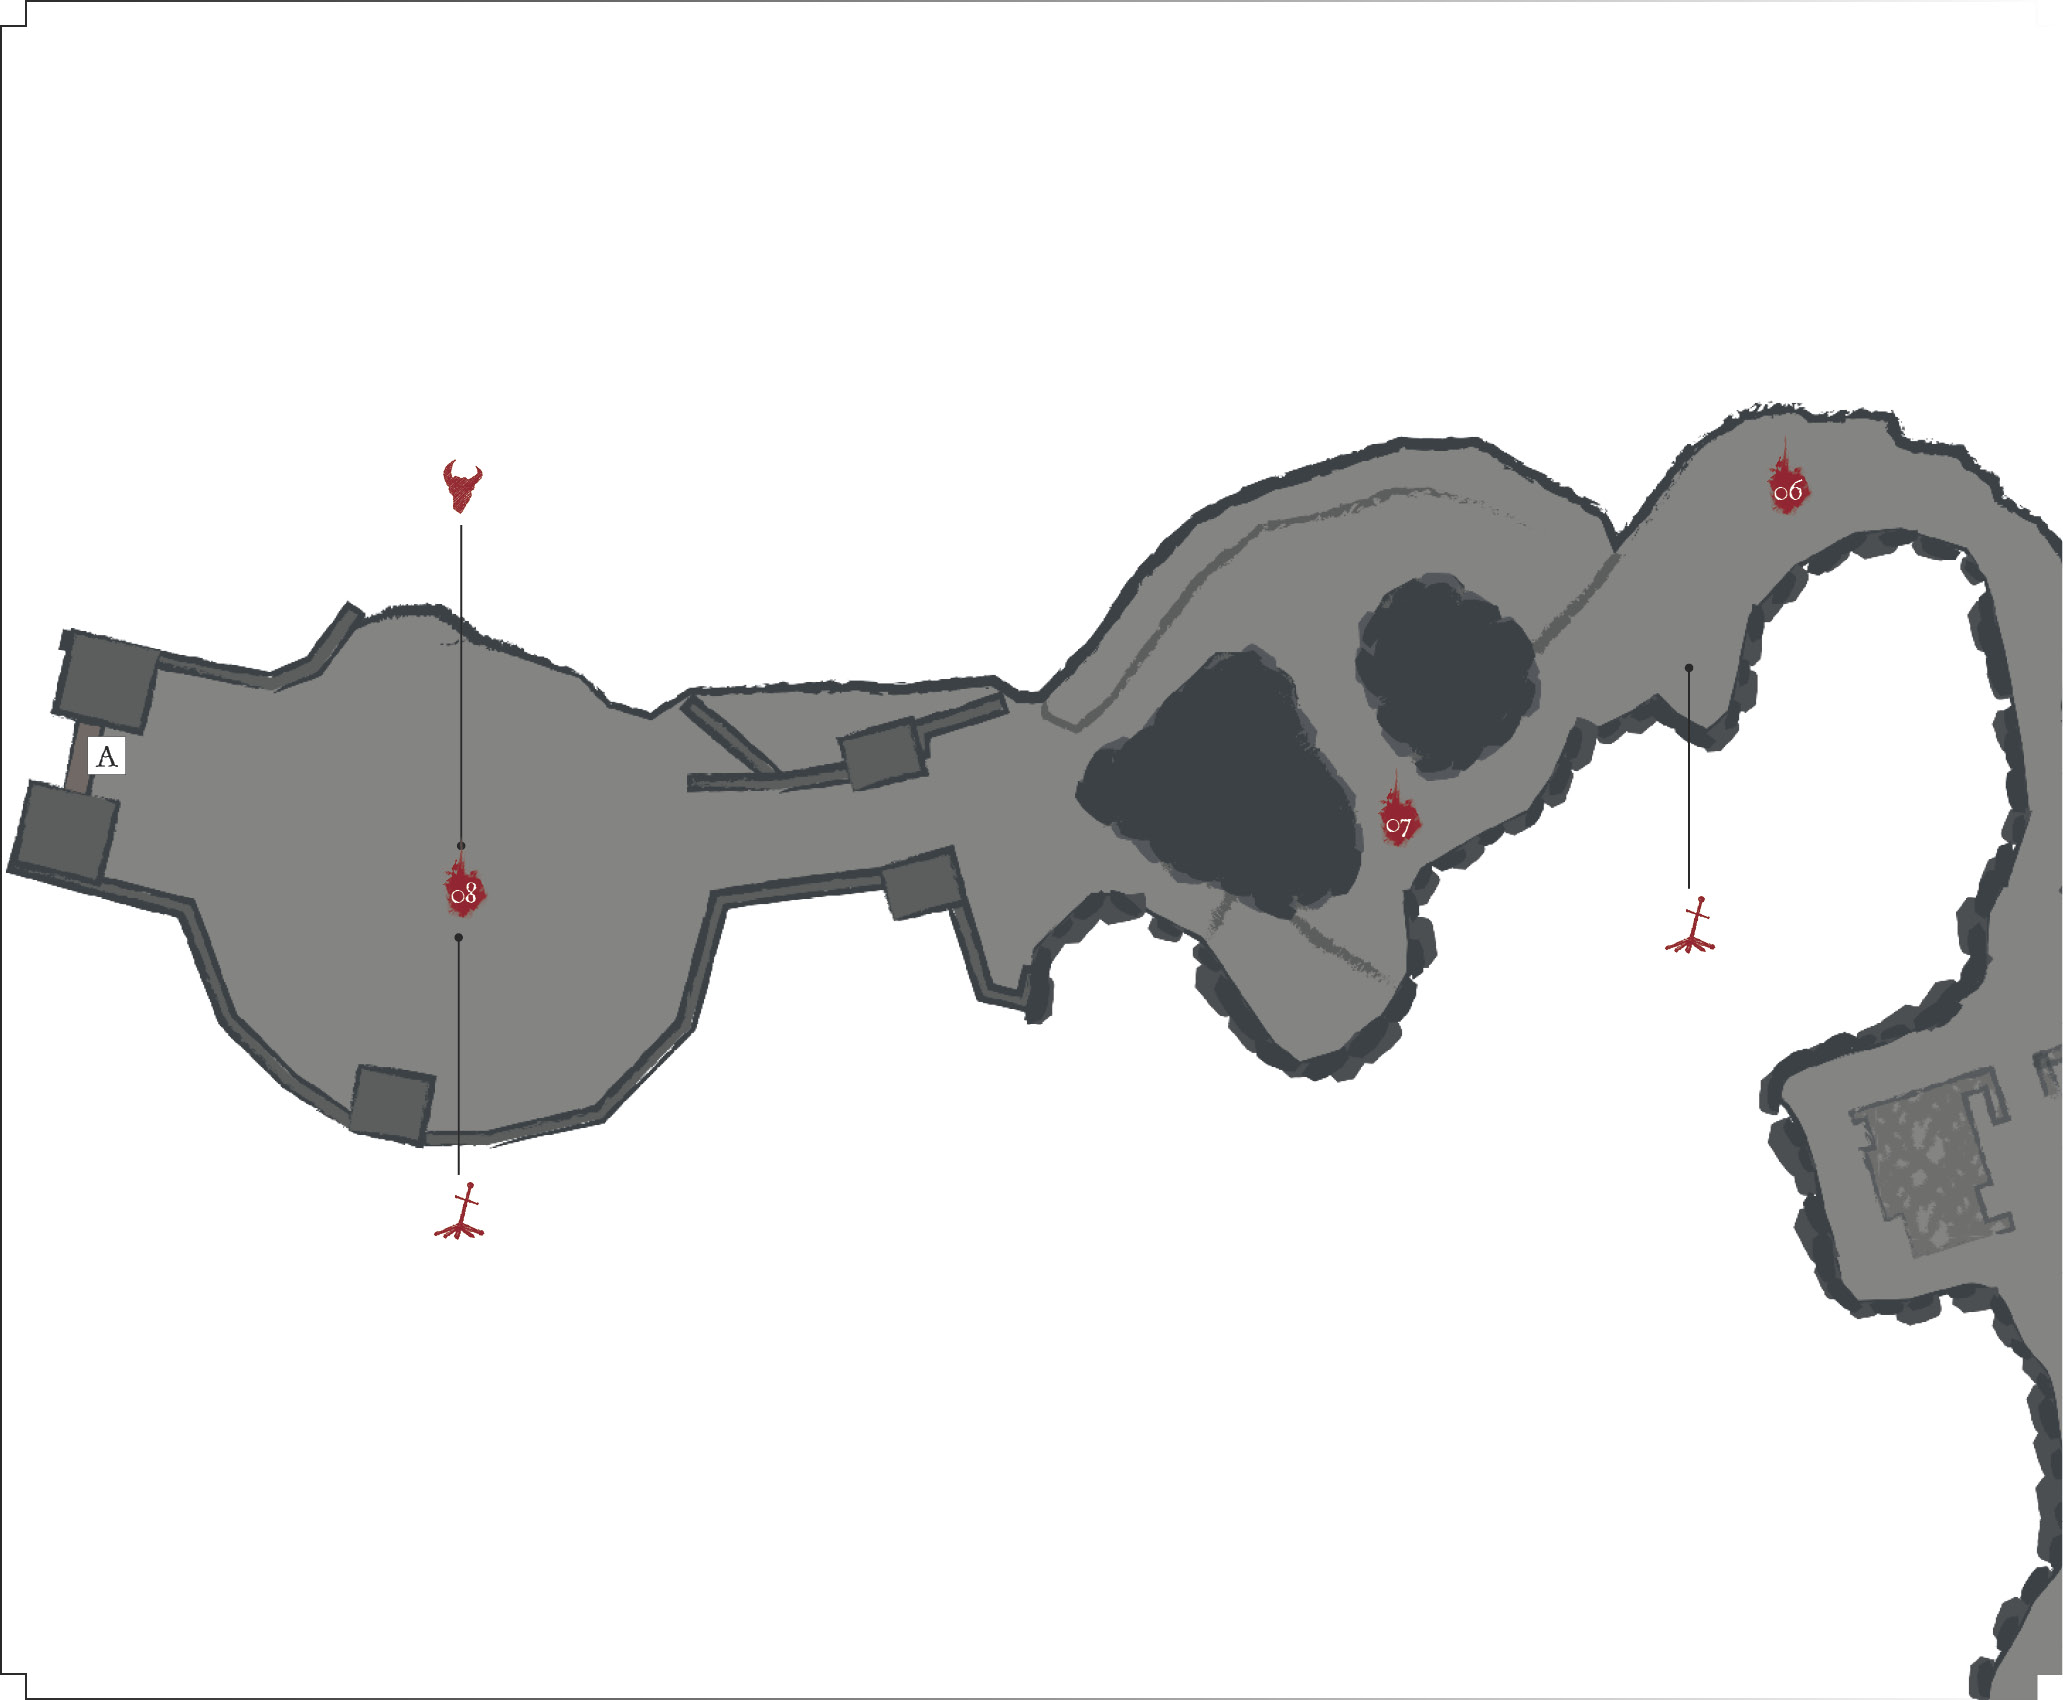
 | Items |
|---|---|
| 1 | Ashen Estus Flask |
| 2 | Broken Straight Sword |
| 3 | East West Shield |
| 4 | Estus Shard |
| 5 | Seed of a Giant Tree (occasionally) |
| 6 | Twinkling Titanite |
| 7 | Fire Keeper Soul |
| 8 | Fire Keeper Armor (full set, on ledge) |
| 9 | Estus Ring |
| 10 | Covetous Silver Serpent Ring |
| 11 | Hawkwood’s Shield (after defeating Abyss Watchers) |
| 12 | Sunset Shield (after aiding Sirris against Hodrick) |
| 13 | Speckled Stoneplate Ring +1 (New Game +1) |
| 14 | Wolf Ring+2 (New Game +2) |
Bonfires Located Here
| Bonfire Name |
|---|
| Cemetery of Ash |
| Iudex Gundyr (Boss) |
| Firelink Shrine |
| Untended Graves |
Enemies
| Enemy Name |
|---|
| Grave Warden |
| Ravenous Crystal Lizard |
| Starved Hound |
| Iudex Gundyr |
| Crystal Lizard |
Key Discoveries
| Discovery |
|---|
| Meet the Fire Keeper |
| Meet the Blacksmith |
| Meet the Shrine Handmaid |
| Meet Ludleth |
Visitors
| Visitor Name |
|---|
| The NPCs Sirris, Eygon, Anri, and Horace all visit the Shrine at various times if you pursue their questlines. |
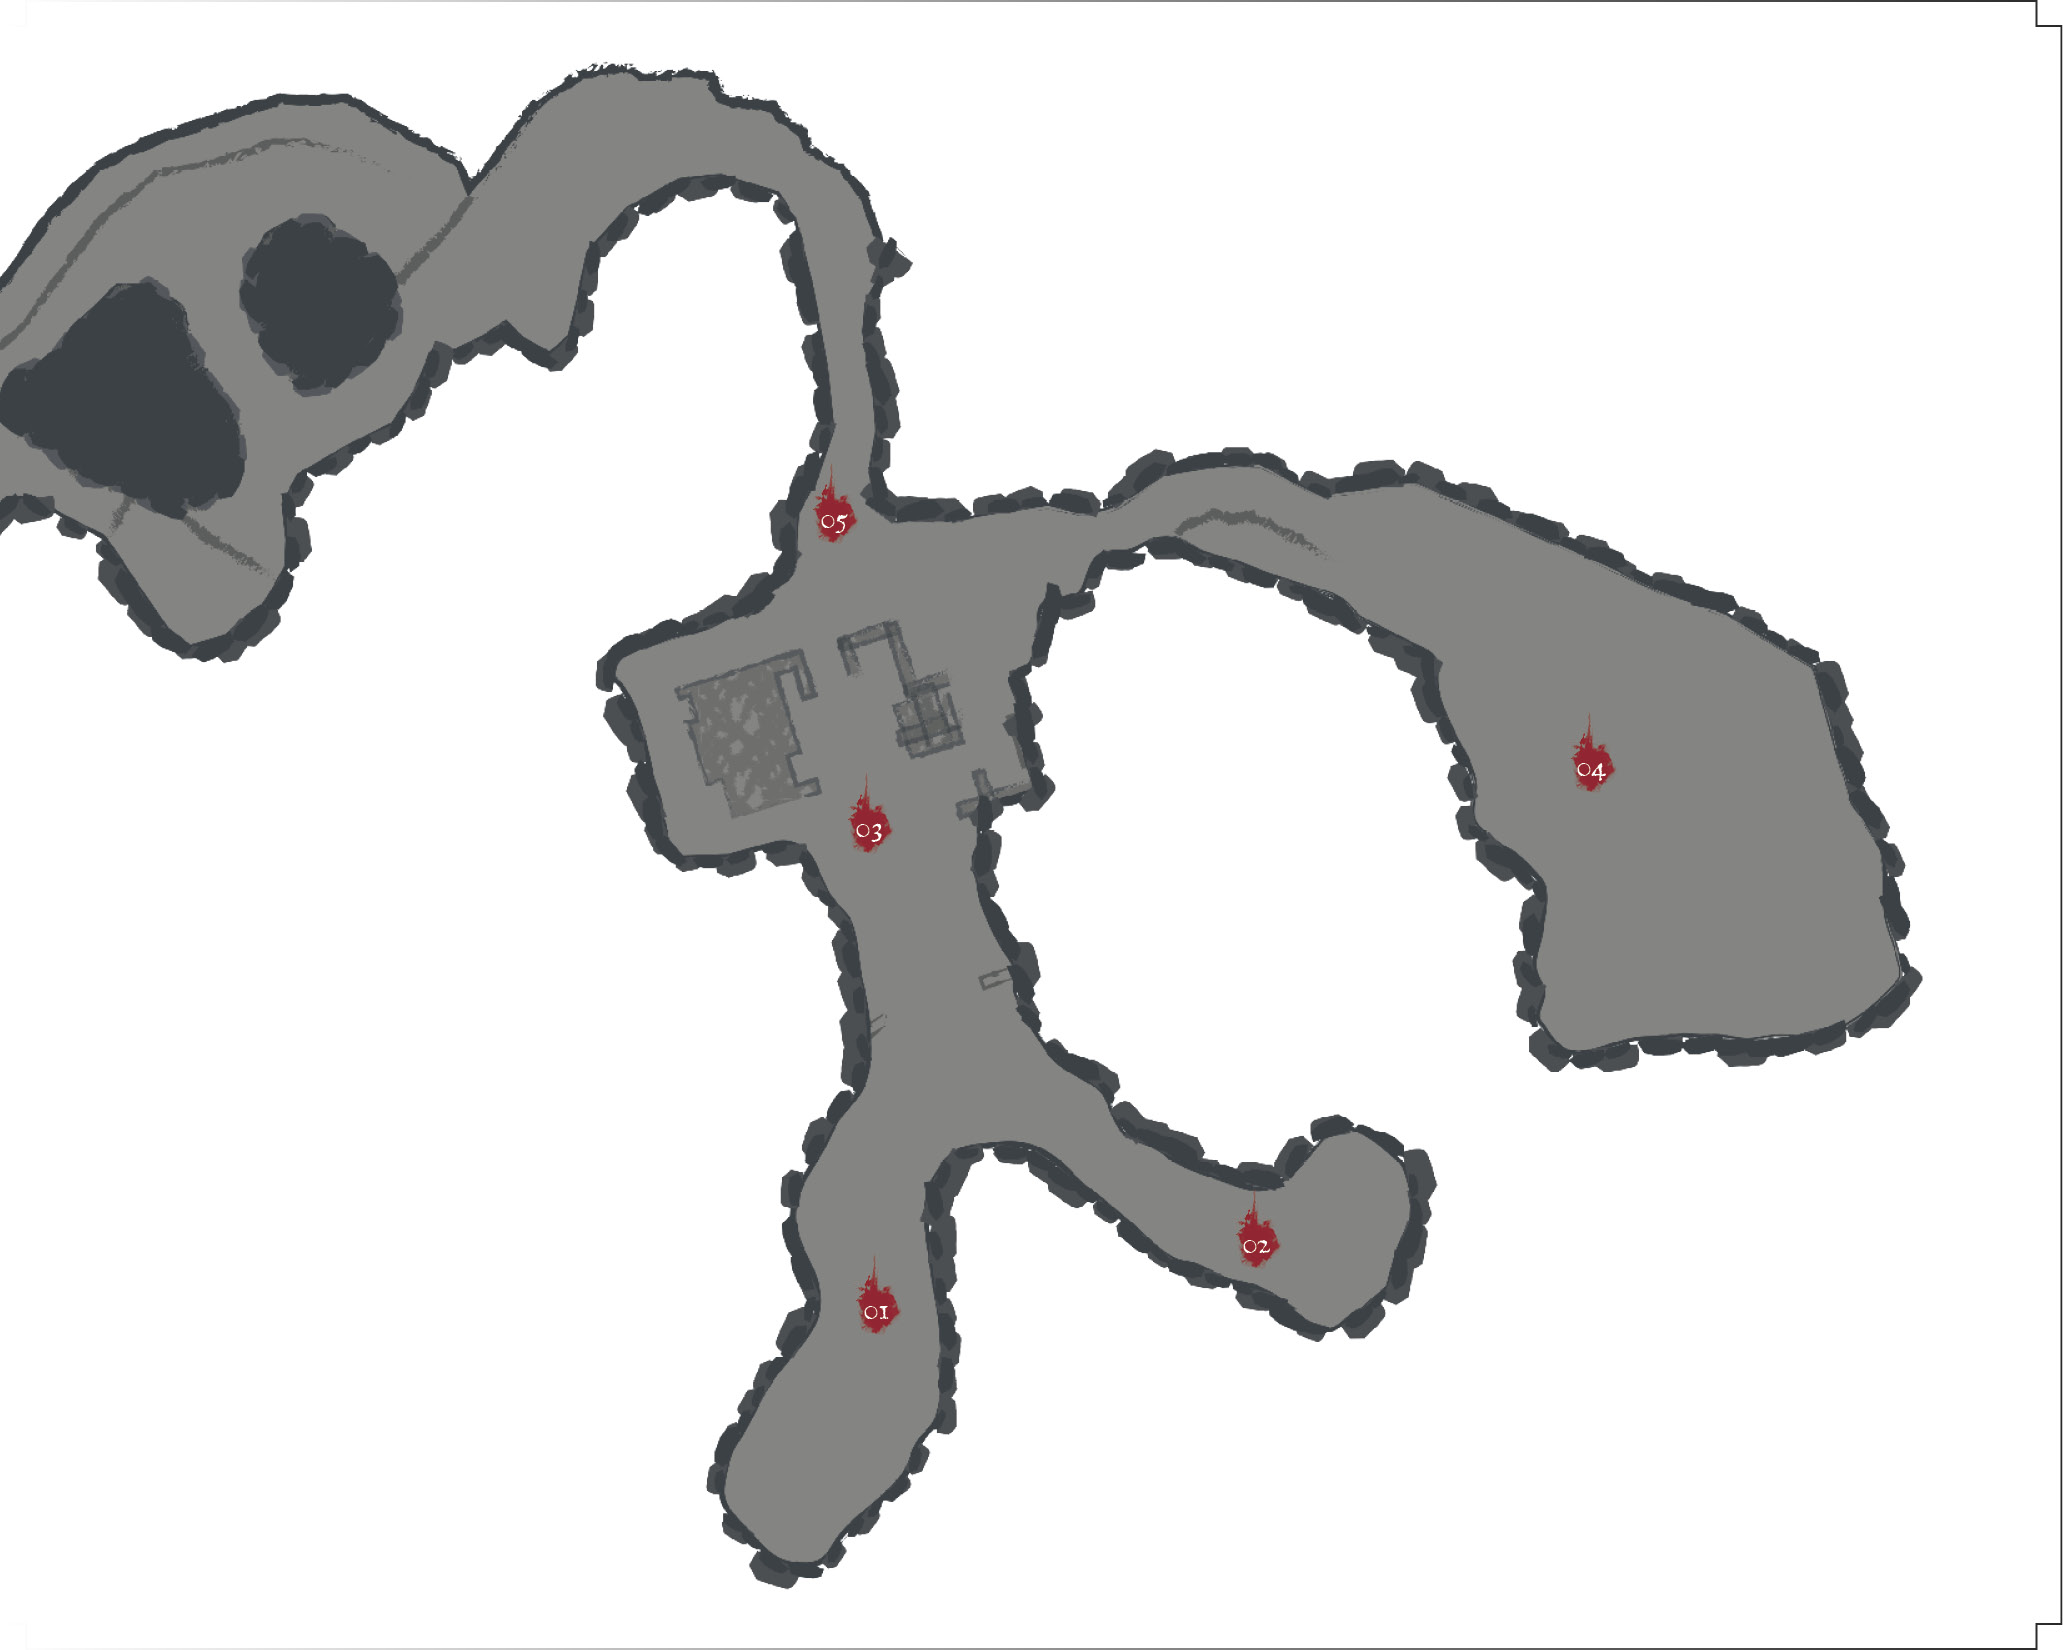
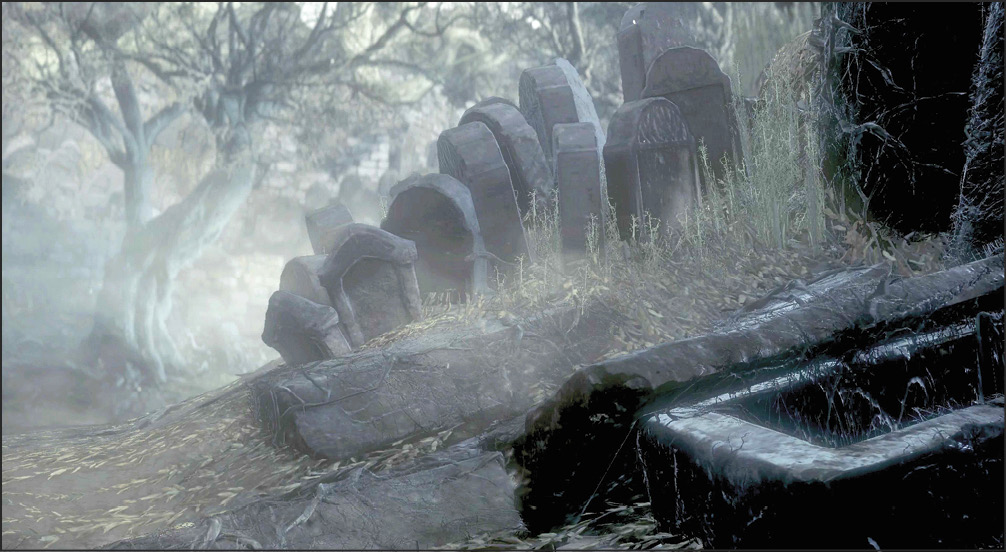
 You wake and arise from the cold ground with your weapon in hand. There are only a few difficult enemies nearby, and none of them has seen you yet. This is your chance to get used to the commands that control your character.
Walk forward along the main path and approach the first enemy of the game. This Grave Warden is an easily vanquished combatant. Worn away by time, it barely has enough intelligence to realize that you are a threat. Grave Wardens don't have many attacks, and their weapons are poor. Take the initiative and attack them before they have a chance to swing at you. They're only a threat if you stand there and let them swing at you.
Instead, approach it quickly and execute a single attack with your weapon, using a normal attack to deal lethal damage.
Steel yourself, and continue forward. Another Grave Warden is sitting nearby on the ground. Try using a strong attack against this foe. As before, this target is weak and won’t do much to defend itself unless you give it time.
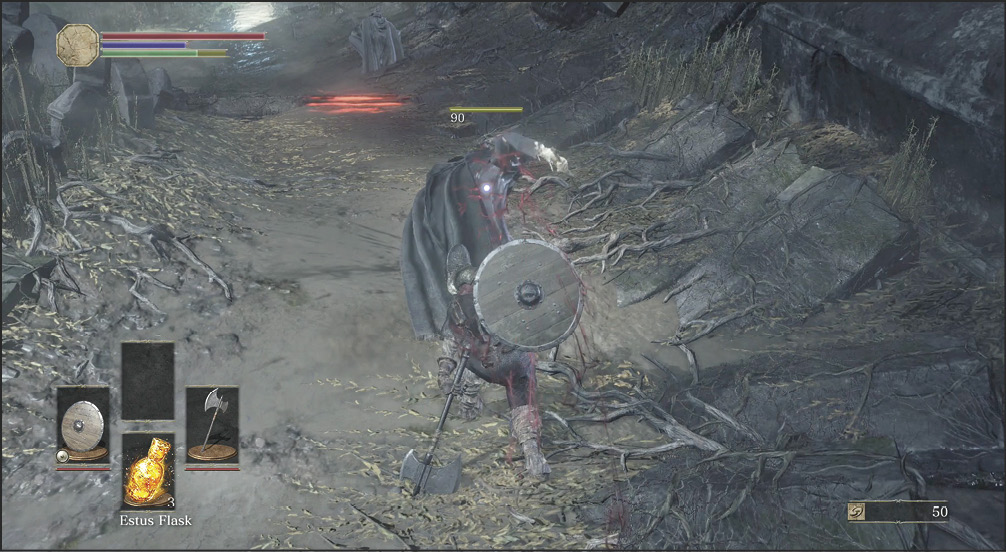
Practice moving your character and turning the camera to keep a good eye on the targets that you’re approaching. Also, use the lock on feature to target your enemies. This makes combat markedly easier because your movement and attacks all center on the adversary that you’ve selected. Likewise, dodging and attacking become much easier. Combine this practice with sprinting and dodging to make sure that these movements become second nature.
 Where the path splits, take the short route to your right. At the end of that corridor, a corpse lies in the water. Above it, a glowing white light shines, beckoning you to approach. Walk over to the light and interact with it to pick up an item. Searching for items this way gets you extra tools, items to break into free Souls, equipment, and a variety of upgrades (for your weapons, flasks, and so forth). The more thoroughly you search, the easier this game becomes.
Return to the main path and proceed onward. The next Grave Warden is more alert. Attack as quickly as you can to dispatch the enemy before it comes after you. Failing that, dodge backward to avoid its strike, or raise a shield (if you have one). All of these methods are useful throughout the game. Aggressive attacks give you the initiative and can dispatch some foes before they are able to fight back. Dodging works against almost anything, but it requires proper positioning and timing. You don’t want to roll into an enemy’s strike or place yourself so far away from your target that you don’t gain any advantage.
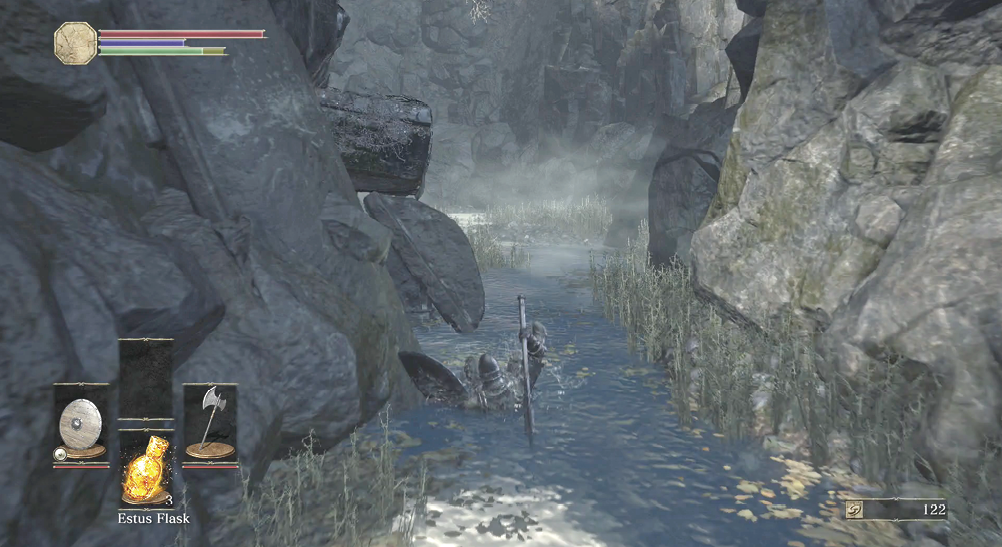
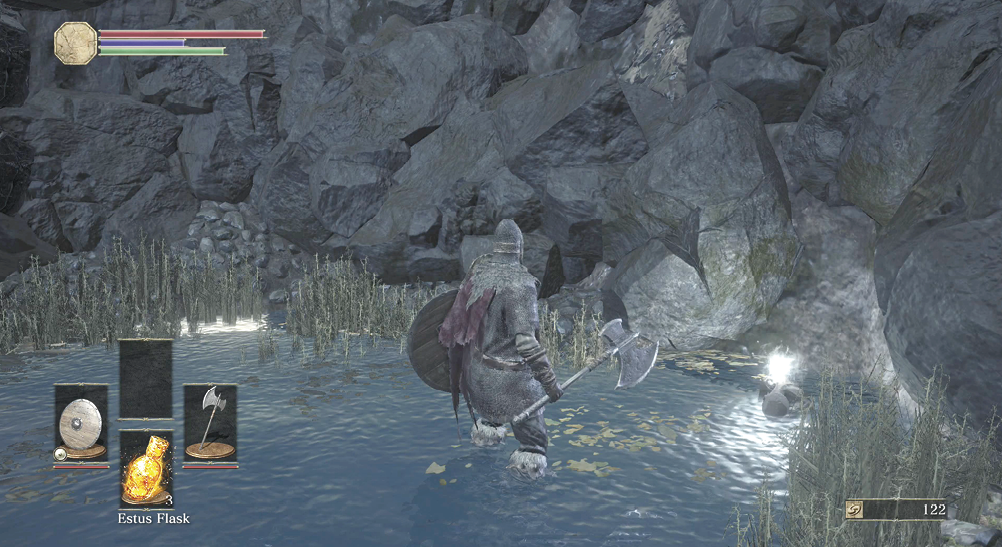
 After your quick battle, look for another item on the ground. You can find it ahead, by a dilapidated fountain. Search the body you see to pick up an Ashen Estus Flask.
The next Grave Warden has a shield and guards a junction in the path. Approach cautiously, and then unleash a flurry of blows to beat through this foe’s defenses. Enemies with more health, armor, or shields are able to take extra hits.
Take several attacks at once, and then roll backward to restore your Stamina. Repeat this as needed to dispatch your enemy without giving them a chance to counterattack. You can often kill foes with shields by whacking them until they are staggered. Once their shield is out of position, they take significantly more damage.
A few more Grave Wardens are located to the left or right of the central path. Kill them and explore briefly. The way ahead leads deeper into the region. A longer passage to the right takes you to an optional area that contains a tougher monster to beat. If you’re looking for a challenge, head that direction. If you’re worried, skip the fight and walk forward instead.
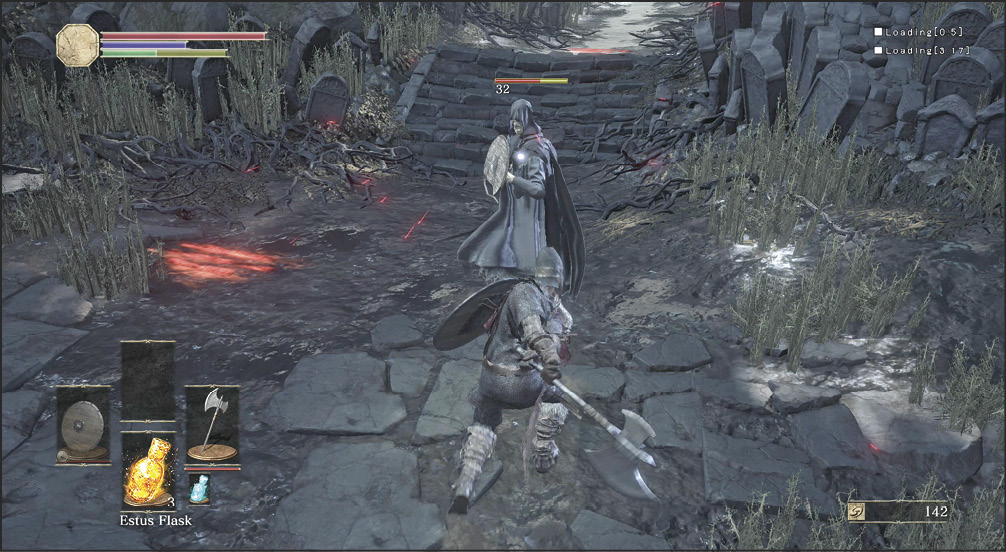
Ravenous Crystal Lizard
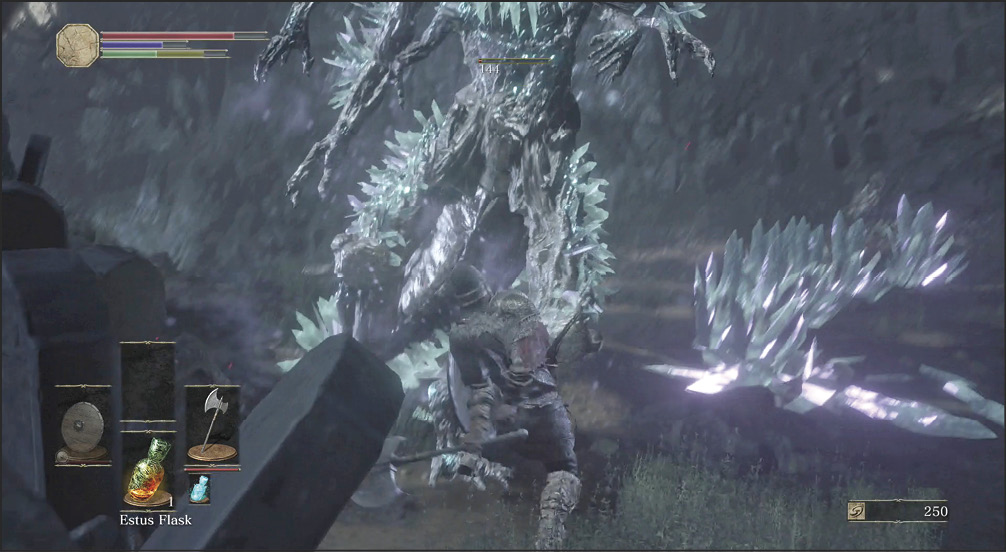
 Monsters made out of crystal are often wonderful targets because they drop upgrade items for your weaponry. The beast that you find at the end of the path is no exception! This enemy has substantial health and requires multiple hits from you to kill it. Although these adversaries aren’t that serious of a threat later on, they can be quite a dangerous to an inexperienced player without upgrades or gear.
Dodge out of the way whenever the creature rolls toward you or spins to knock you down. The Ravenous Crystal Lizard also has a breath weapon that freezes the area and deals damage if you are caught in it.
Roll around to the creature’s flank, and make two or three attacks to wound it badly each time you successfully dodge. Repeat this action to kill the monster, but understand that death will take you if you cannot win quickly. You don’t have many resources to fall back on.
 When you’re ready, return to the fork in the path and walk toward the break in the cliff walls. You can see open sky in that direction, which looks promising. A Bonfire is ahead, so continue on this pathway as you wind your way around the cliffs.
Bonfire—Cemetery of Ash
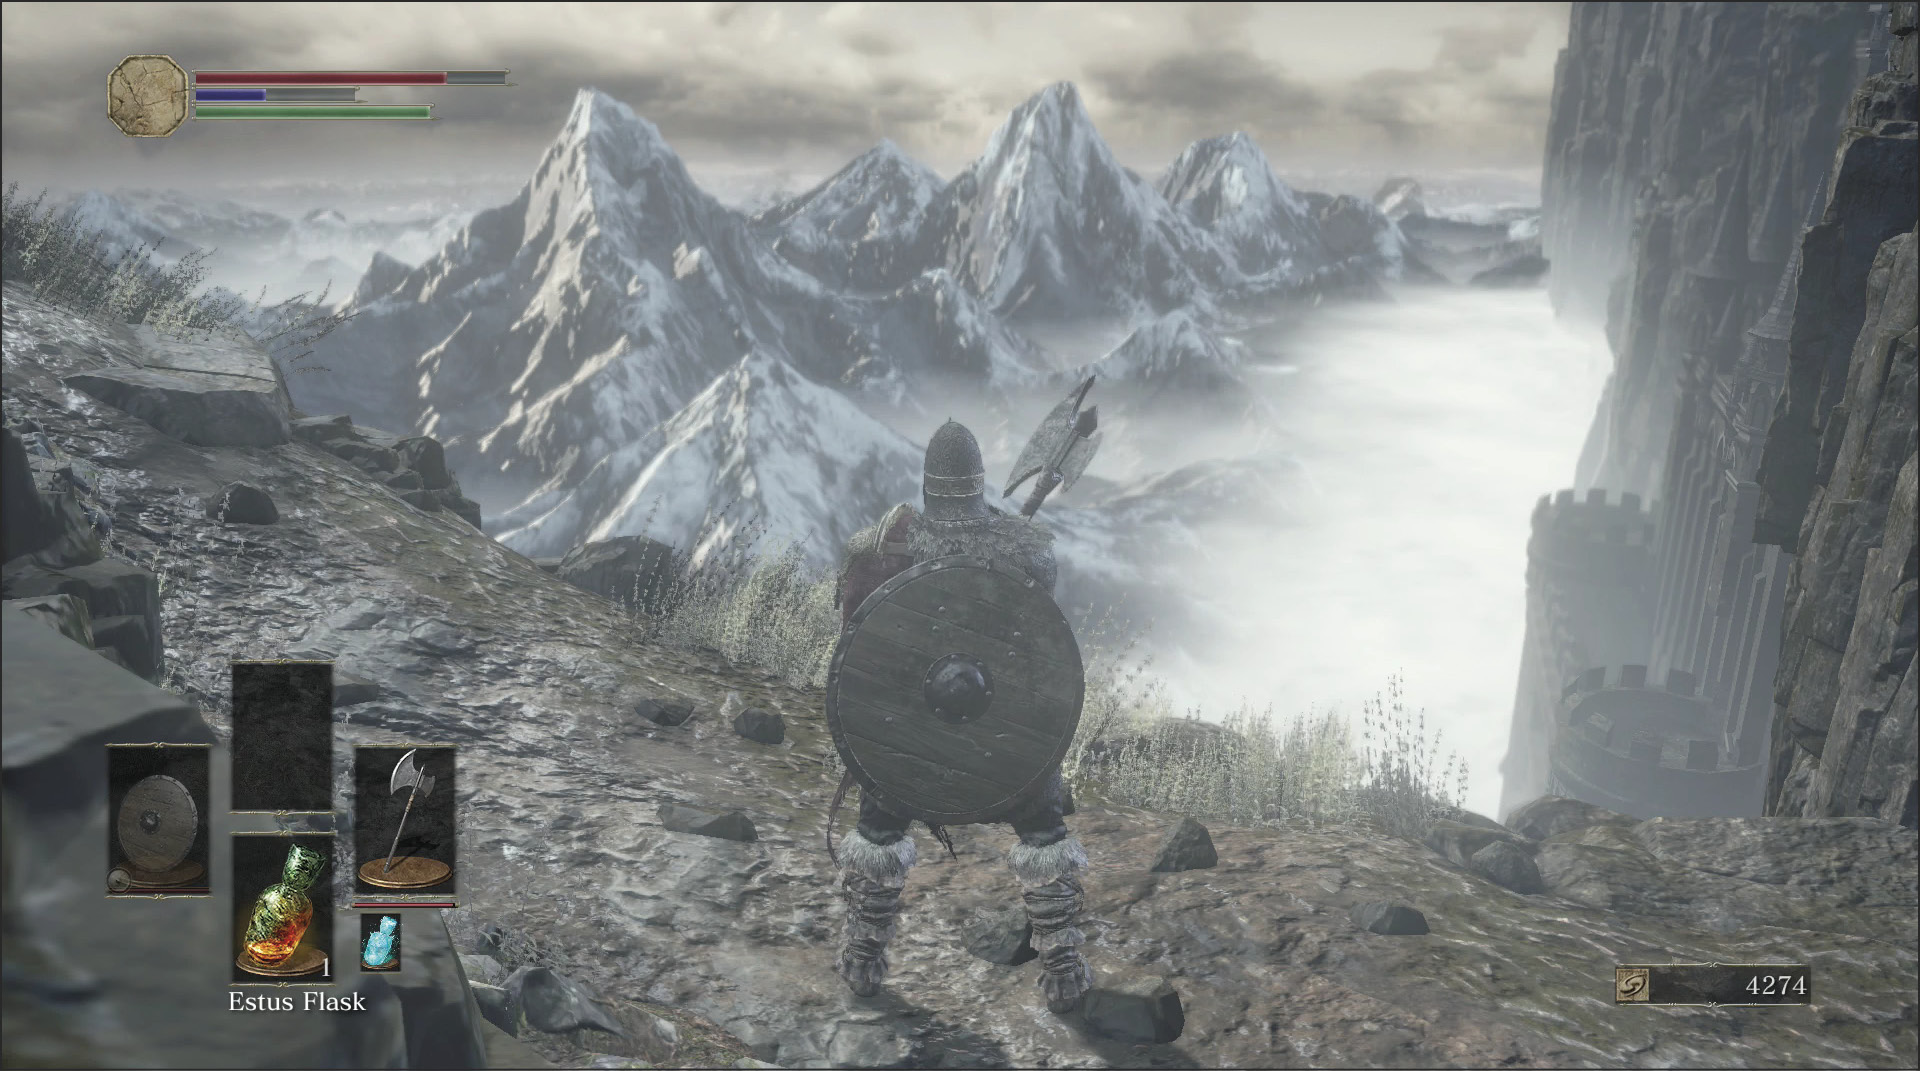
 Follow the winding path up the mountain and rest at a Bonfire. This teaches you a new gesture (Rest), and it restores your Estus Flasks.
This guide does not mention every single item that you might encounter; refer to the maps for at the beginning of each area for this information. There are usually several ways to proceed through an area, but the safest or fastest route is discussed in this walkthrough.
 Here, the best course of action is to take the path left as you pass the Bonfire. Kill a Grave Warden Swordsman on the way, and hug the wall on the left as you continue. Drop to a lower ledge, and then do so again to ambush a tougher enemy at the bottom of the route. This Grave Warden has more health, but a normal attack from above can put the target in bad shape before it even
knows you’re there. This is called a Plunging Attack, and it’s an excellent way to deal high damage when you’re falling.
Kill the monster, and sprint past two more enemies in the yard close by. You can fight them if you want, but a boss is ahead; it’s best to take a fast route to the enemy boss so you can return here easily in the future. Finding quick paths to the bosses allows you to save your Estus Flasks and return to the bosses without delay if they kill you.
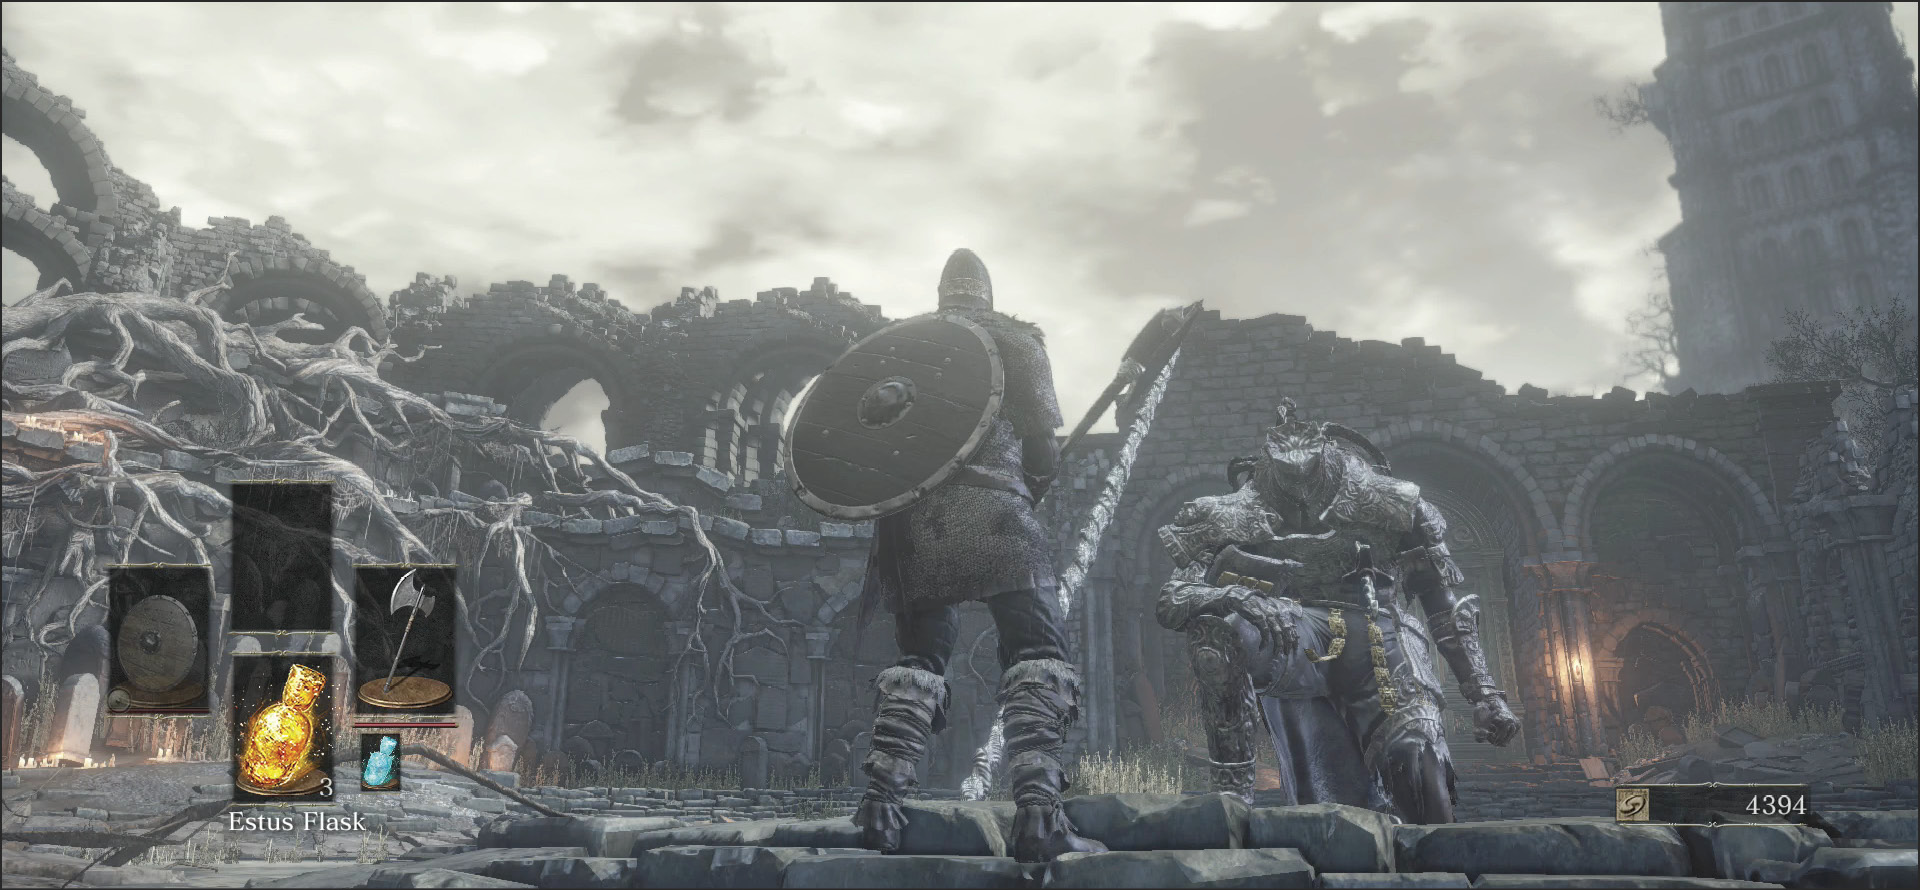
Once you get into the arena at the bottom of the path, any remaining enemies will stop chasing you. They know what’s waiting in there, and they fear it! But you are ready for this, and it’s time to face this guardian: Iudex Gundyr must be defeated.
Major Battle
 Start your first serious battle by interacting with the slumbering warrior. This lets you pull the sword out of the gigantic knight, waking him.