Dark Souls III Guide (Steam) Walkthrough
High Wall of Lothric
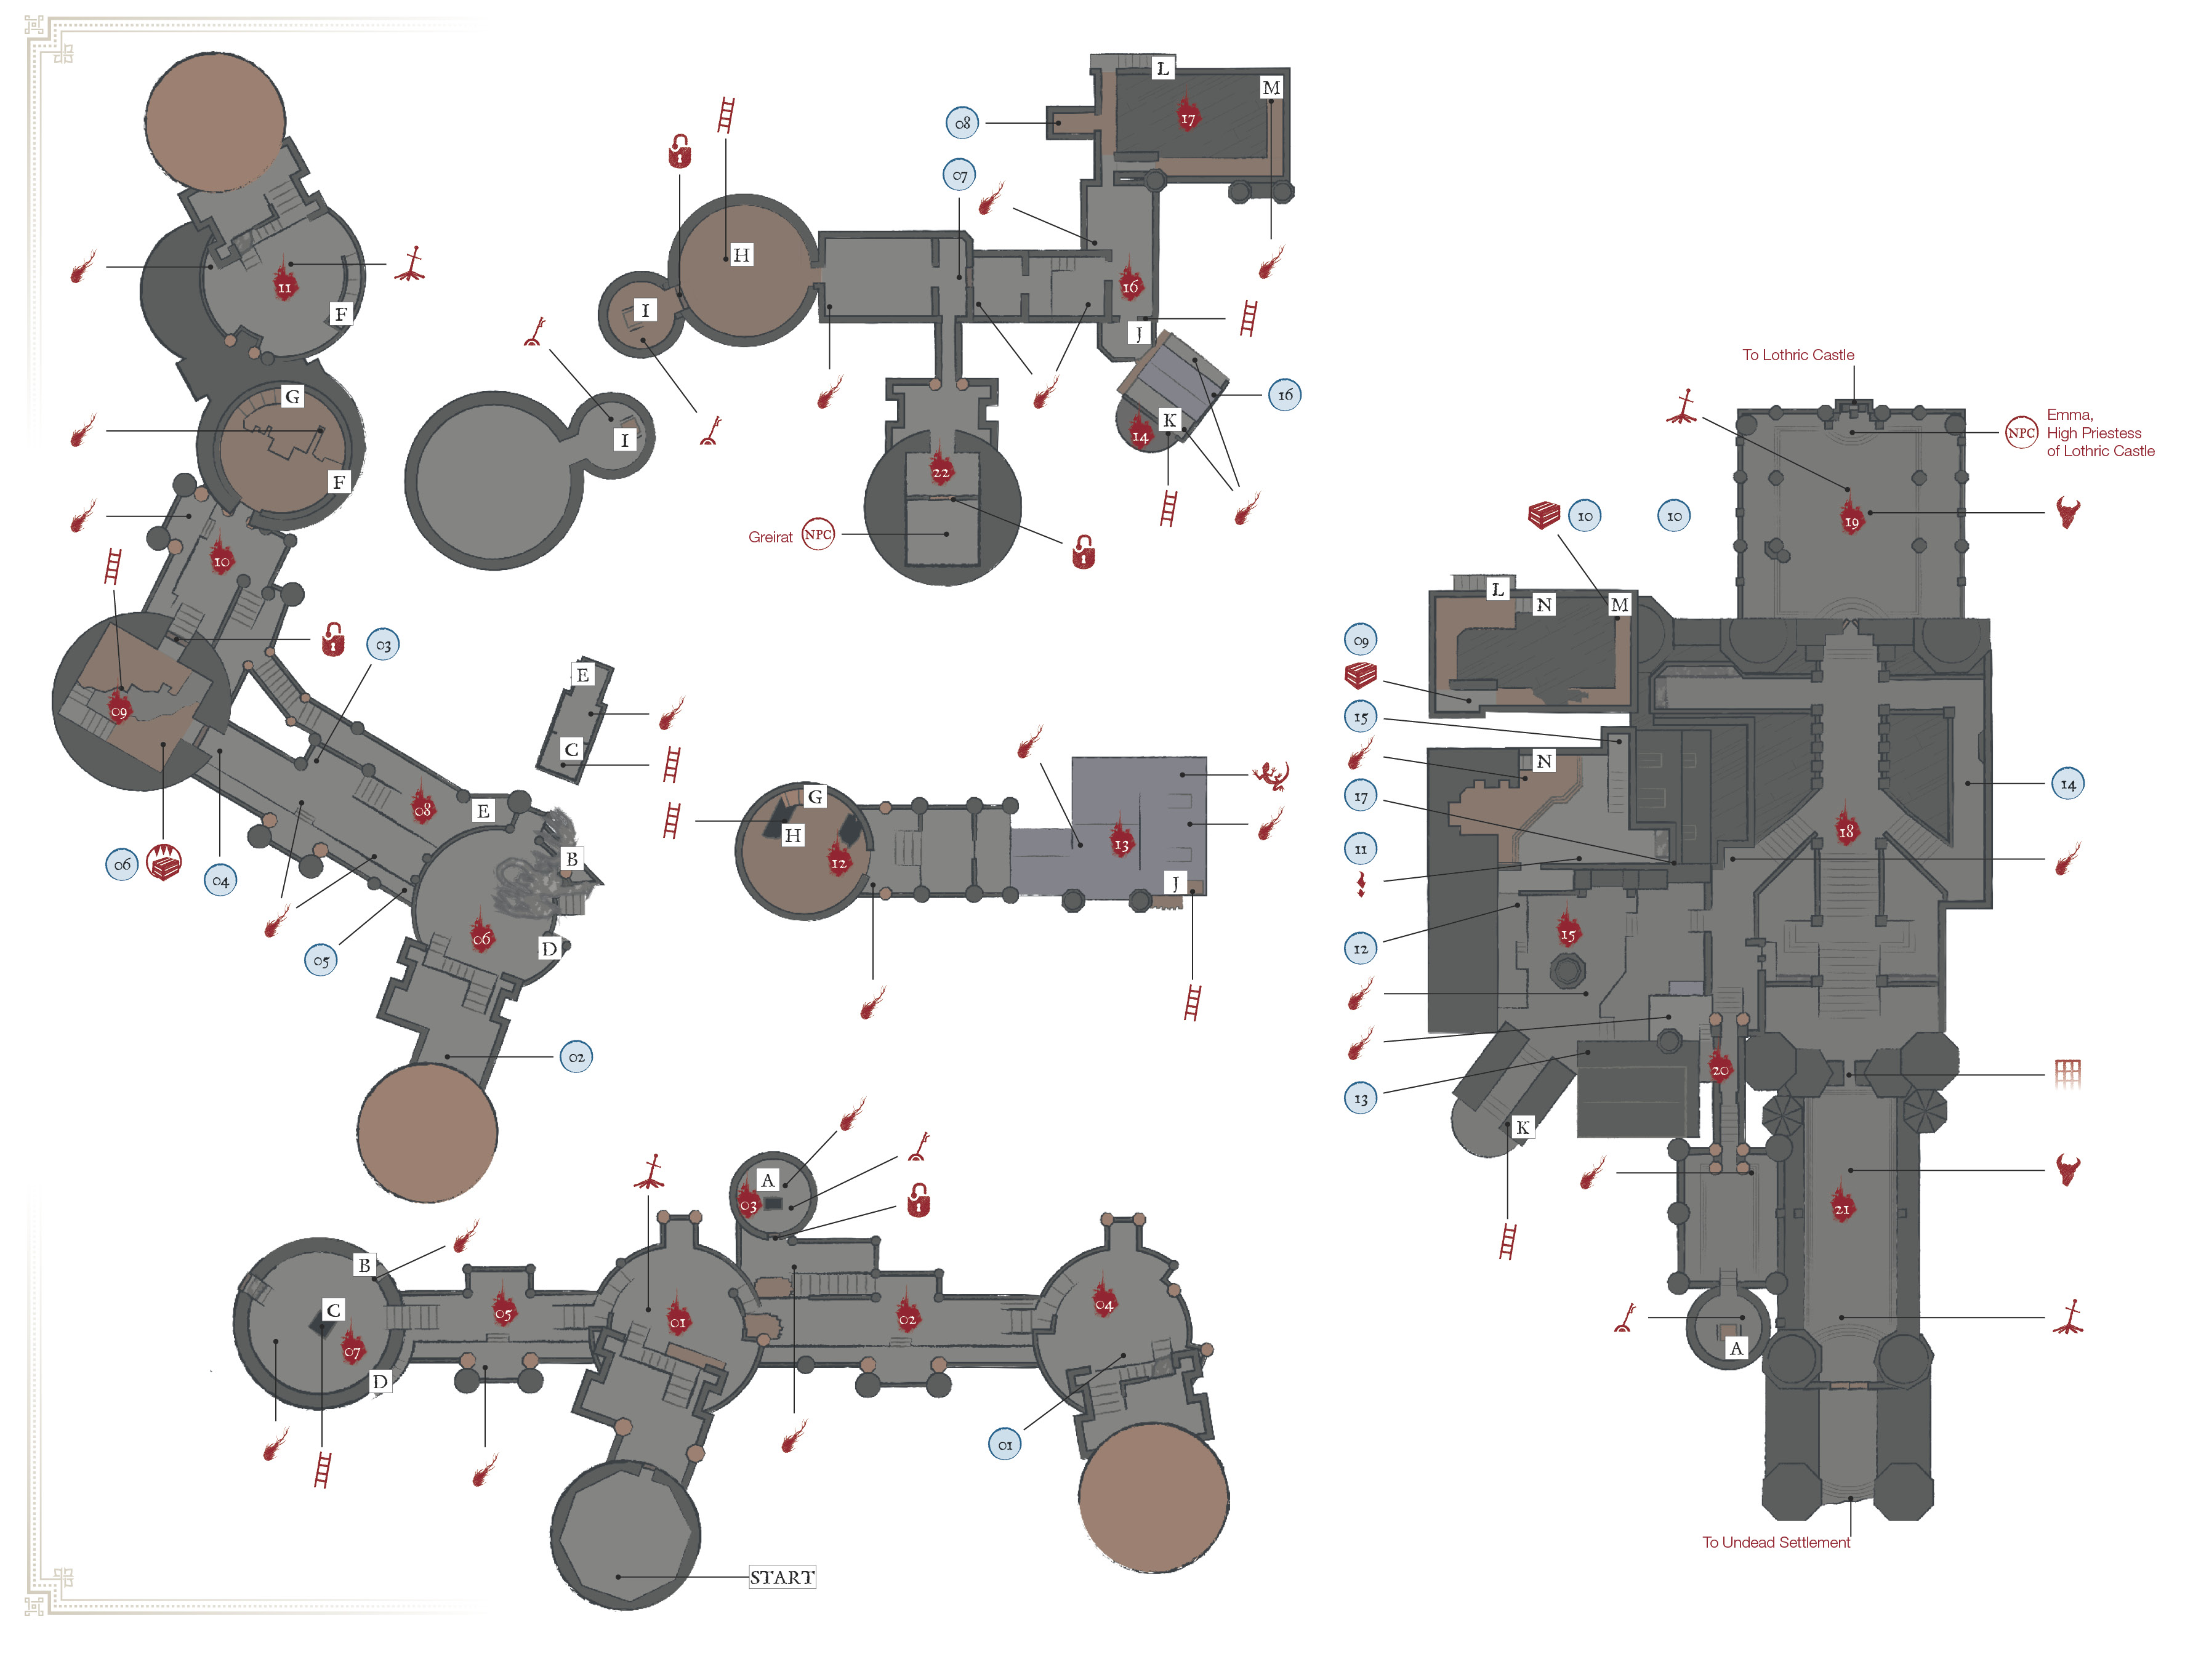
Major Items
 | Items |
|---|---|
| 1 | Longbow |
| 2 | Binoculars |
| 3 | Club |
| 4 | Steel Soldier Helm |
| 5 | Claymore |
| 6 | Deep Battle Axe |
| 7 | Mail Breaker |
| 8 | Broadsword |
| 9 | Silver Eagle Kite Shield |
| 10 | Astora Straight Sword |
| 11 | Estus Shard |
| 12 | Rapier |
| 13 | Ring of Sacrifice |
| 14 | Lucerne |
| 15 | Cell Key |
| 16 | Fleshbite Ring +1 (New Game +1) |
| 17 | Ring of the Evil Eye+2 (New Game +2) |
Bonfires Located Here
| Bonfire Name |
|---|
| High Wall of Lothric |
| Tower on the Wall |
| Vordt of the Boreal Valley |
| Dancer of the Boreal Valley |
| Oceiros, the Consumed King |
Enemies
| Enemy Name |
|---|
| Starved Hound |
| Large Hollow Soldier |
| Hollow Soldier |
| Praying Hollow Soldier |
| Lothric Knight |
| Hollow Assassin |
| Pus of Man |
| Winged Knight |
| Dragon |
| Crystal Lizard |
| Avaricious Being (Mimic) |
| Vordt of the Boreal Valley |
| Dancer of the Boreal Valley |
Key Discoveries
| Discovery |
|---|
| Free Greirat the Thief |
| Acquire Red Eye Orb from Darkwraith |
| Acquire Small Banner of Lothric |
Bonfire—High Wall of Lothric
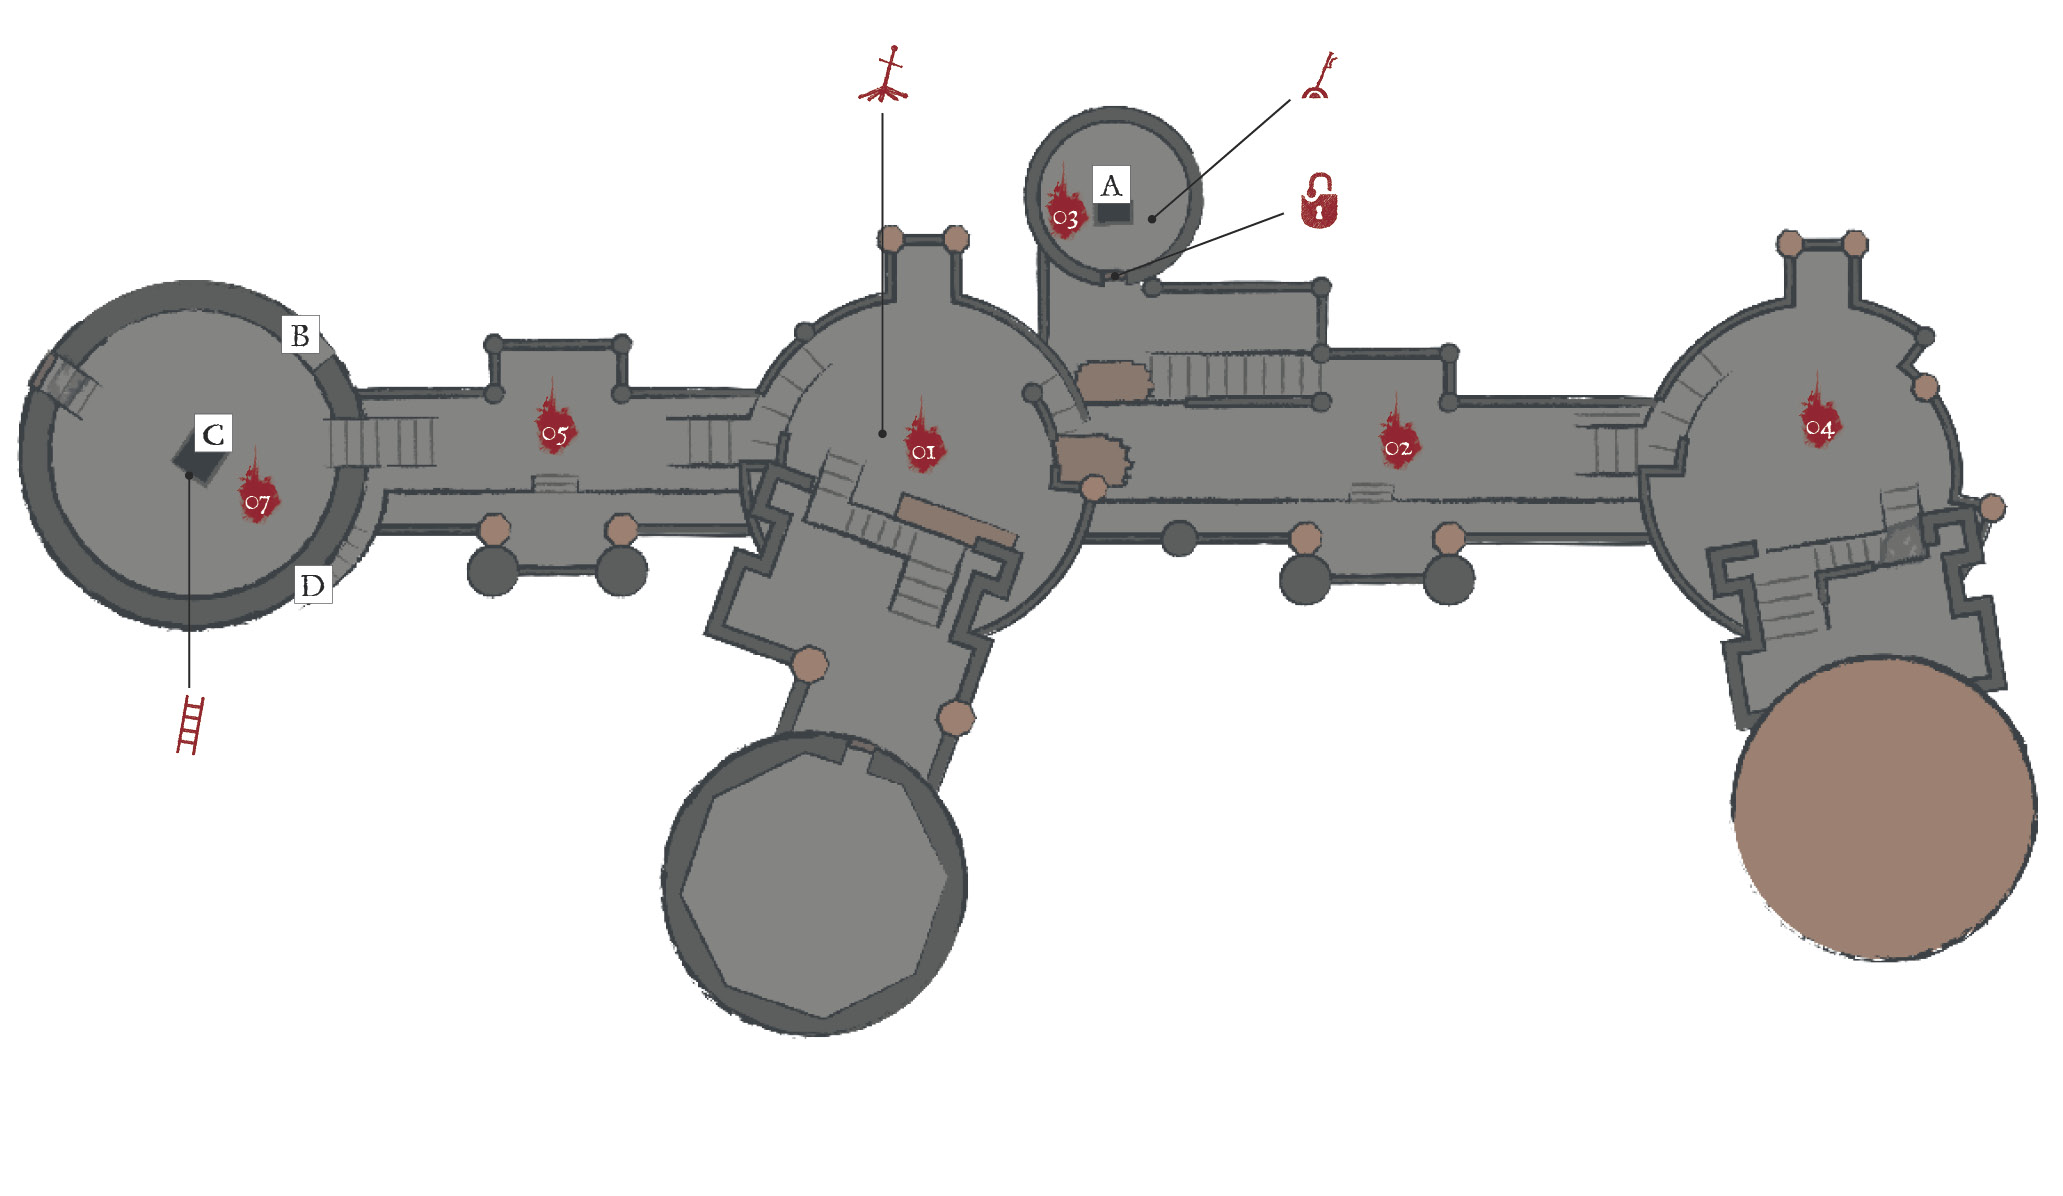
 Warping from the Firelink Shrine deposits you here, in a quiet chamber high on the walls above the Lothric Castle grounds.
Step forward and open the door onto the battlements to reach the High Wall of Lothric proper. Once outside, make your way down the steps and activate the Bonfire. This is your new home base as you tackle the next challenge on your quest to locate the Lords of Cinder.
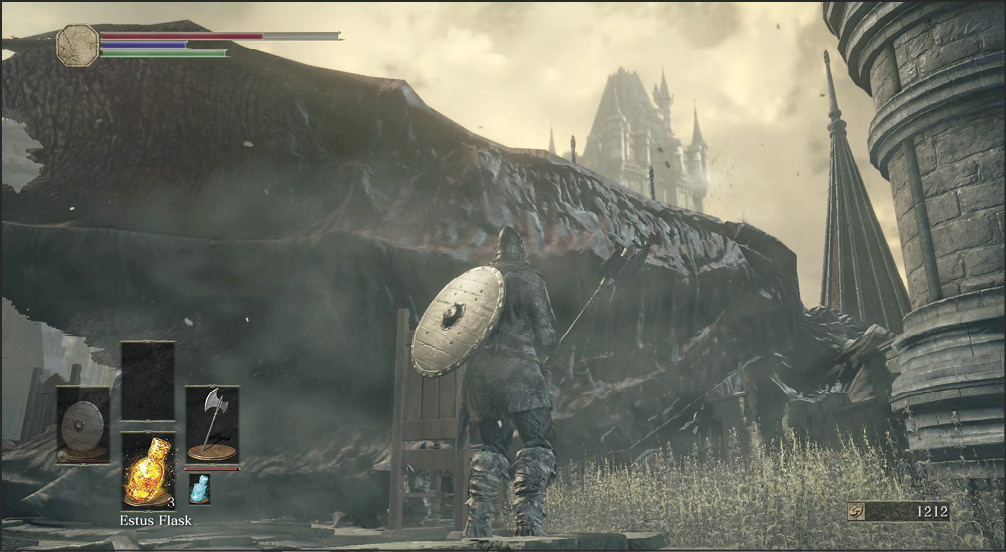
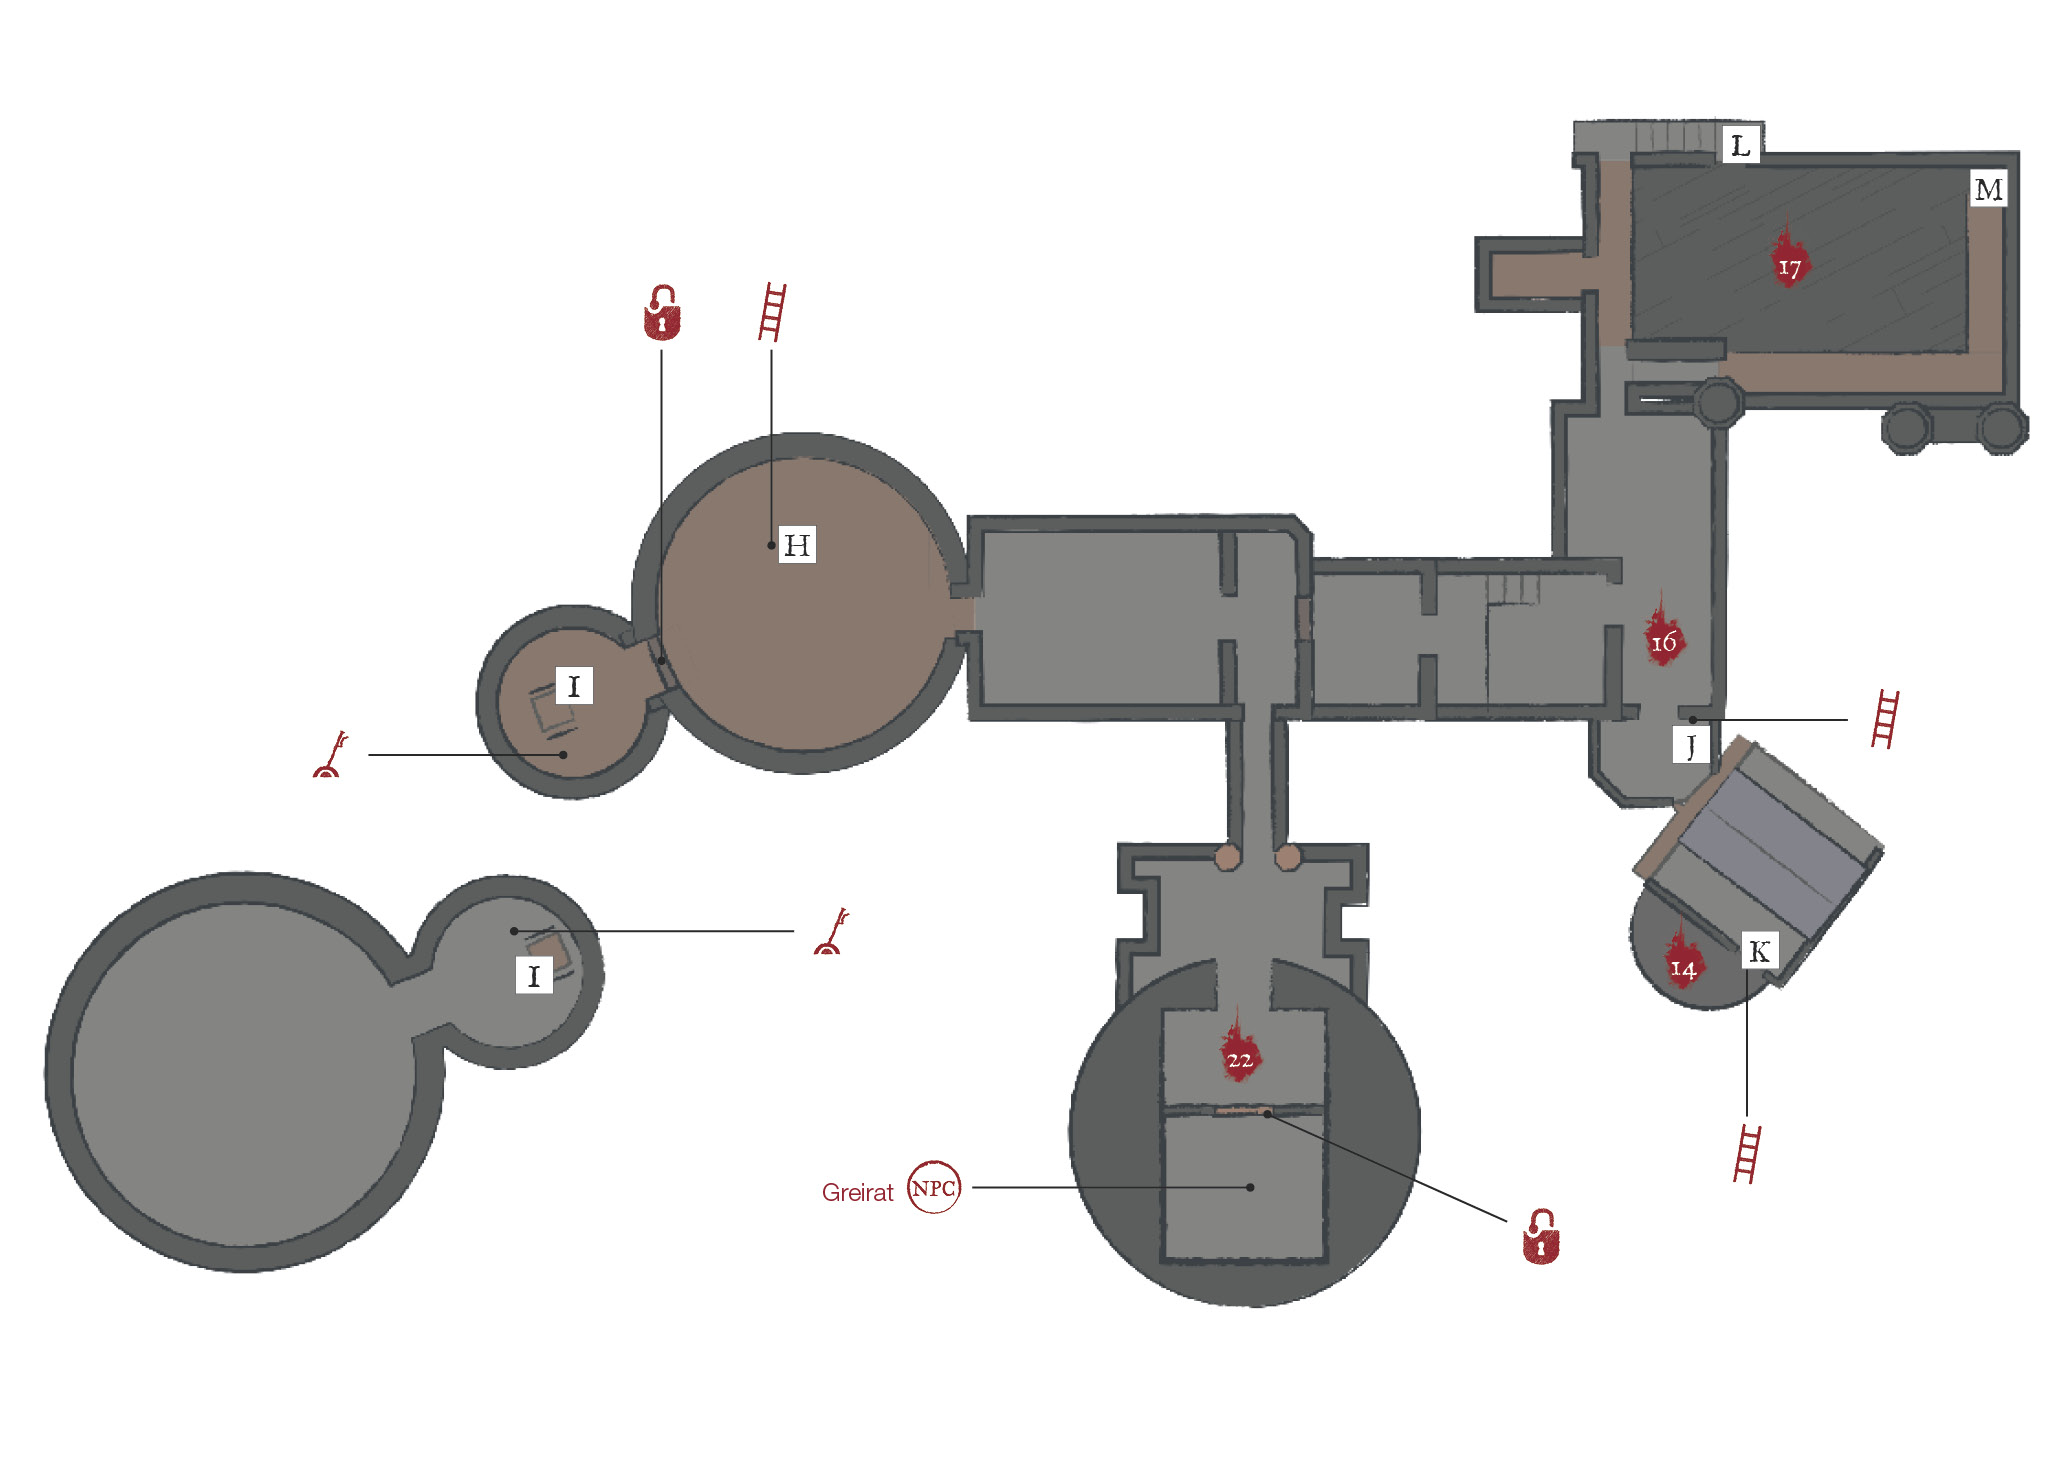
You are immediately faced with a choice of how to leave this small tower—you can go left toward the ominous dragon in the distance, or right toward an otherwise unremarkable tower. The left path (toward 5) is slightly easier. If you have trouble going right, just return later. The right path dead-ends for now, but you can find a few useful items along the way. If you’re up for it, that’s a good place to start.
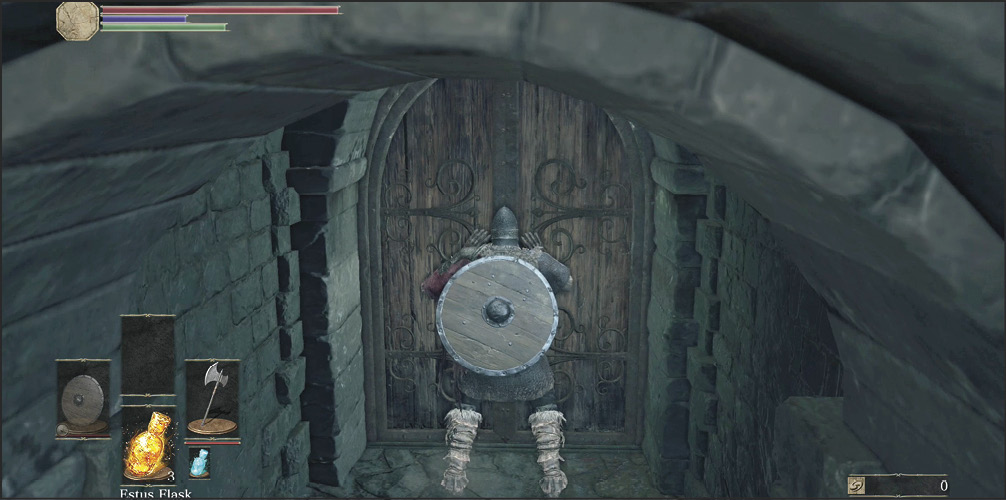
Now That You’re Getting the Hang of ItThis guide is easing up on the full tutorial-style walkthrough here slightly, but only slightly. This is your first “real” taste of what Dark Souls III is going to throw at you. Take these lessons to heart, because it’s only going to get harder from here. Almost every encounter in the High Wall area is designed to teach you something useful, including basic combat against multiple enemies, how non-humanoid opponents fight, the judicious application of ranged weaponry, using your tools wisely, or sometimes simply running away (or past!) enemies. Even this early in the game, you are going to find a few places that you can’t yet reach. That’s normal! You can and should backtrack frequently to revisit areas and reach previously inaccessible items or secrets. If you’re a veteran, you shouldn’t need much handholding here. Just cherry-pick the best items you need for your build, and move on to the boss! Once you have access to Greirat, stocking up on consumables and arrows is a good idea for the fights to come. |
 After you’ve completed most of the High Wall of Lothric area, the route becomes a shortcut. It takes you down toward a lift that goes most of the way toward a boss (Vordt). For now, this path doesn’t go very far into the level, but there is a bit of treasure on the way.
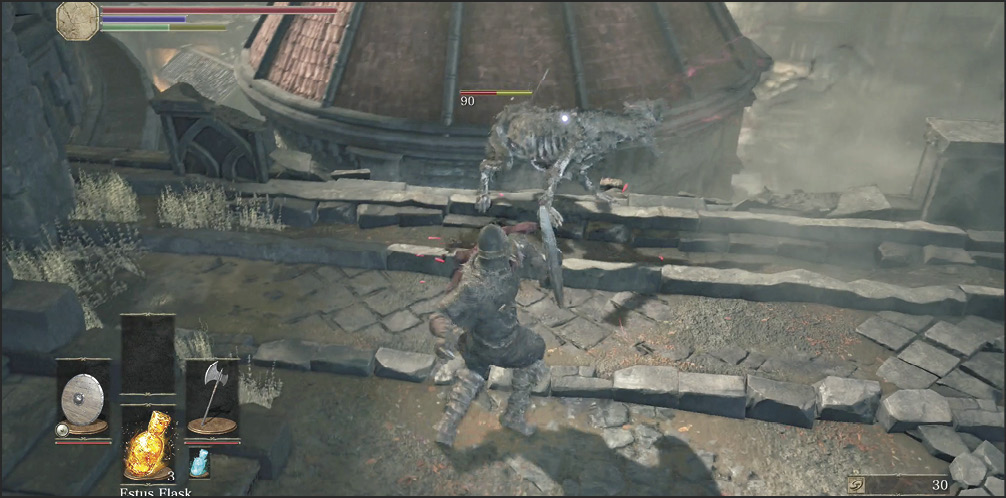
A few particularly unpleasant Starved Hounds protect this pathway. They’re identical to the one that you met outside of the Firelink Shrine. Expect them to be fast. They’ll cover distance quickly and often attack a couple of times in a row. Use a shield to block their light strikes, and then counterattack for your kills. There are also Praying Hollow Soldiers, but they aren’t a serious threat.
Below this initial stretch is the lift entrance, where a couple of Large Hollow Soldiers await. They have substantial health, so save your Stamina for bursts of attacks to kill them quickly.
 The stairs from (2) lead down toward the lift that was mentioned previously. You open the door to this lift by traveling all the way down toward the Winged Knight’s area, and then taking the small side stairways that lead back up to here.
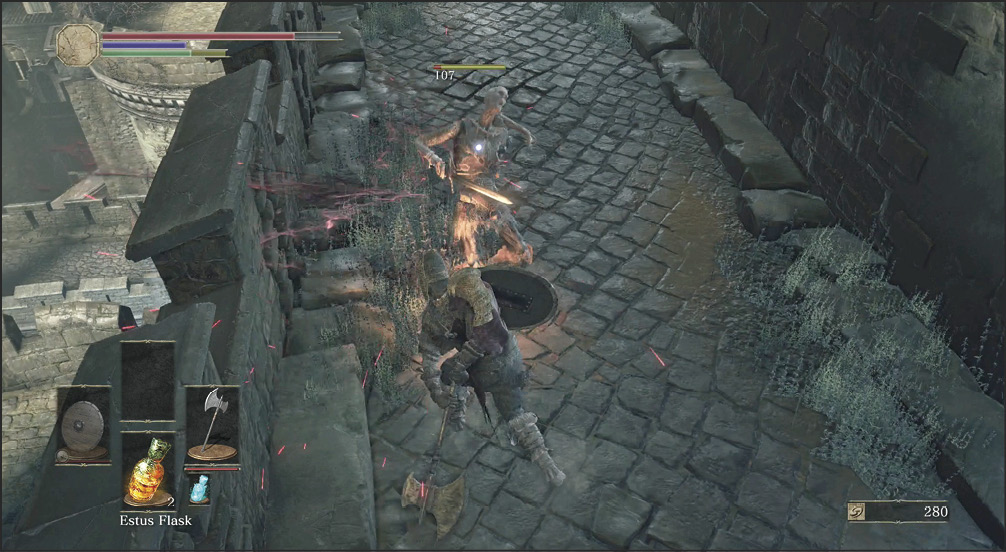
 This side area has multiple Hollow Soldiers, a Large Hollow Soldier, and a Praying Hollow Soldier. Most of them are somewhat distracted, so you don’t have to fight them all at once. Focus on the Large Hollow Soldier with the axe, since he is the nastiest opponent of the group.
Beware the Pus of Man guarding the Longbow here, the bow is a very useful find for most characters, but this is a challenging enemy if you face it as one of your first encounters. Firebombs work well on these foes! Another trick is to rush up to the Hollow man who is transforming. Kill him before he becomes a Pus of Man. This is fast and easy to accomplish once you know where he's standing. If you mess up, retreat to the Bonfire, rest, and then return to try again.
Because many don’t start out with a ranged weapon, the Longbow allows you to begin getting your attributes ready for both ranged and melee combat. Whether you’re a caster or a Strength-based fighter, it’s useful to have enough Dexterity to wield these basic weapons. Their ammunition is cheap and can be purchased from the Shrine Handmaid back in Firelink Shrine.
If you’re really determined to minimize Dexterity, then wait until you get a crossbow before working on ranged attacks. Crossbows don’t require much Dexterity at all, allowing you to keep it at 10 or so instead of pushing it up to 14 (which still isn’t that high). Some enemies are armed with Light Crossbows in this region, and those are even easier to use (requiring an 8 Dexterity). Hunt enemies until they drop one of these Light Crossbows if you're playing a low Dexterity character.
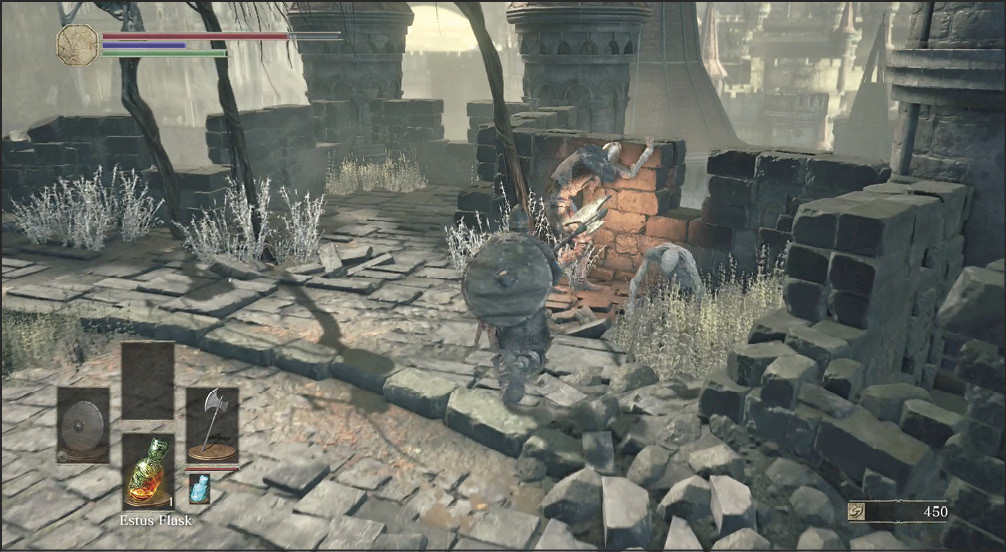
 Back at the first Bonfire, you head left to reach this parapet. There are many Hollow Soldiers and Praying Hollow Soldiers here. Most of the Praying Hollow Soldiers won’t attack you, except for specific, rare members of their kind. The majority of them just want to sit and pray to their dragonic gods.
The Hollow Soldiers are another story. Watch for the one on the right, and for a couple of patrollers, as well. If you wait until the patrollers are farther away, you can clear out most of the area without facing more than one hostile target at a time.
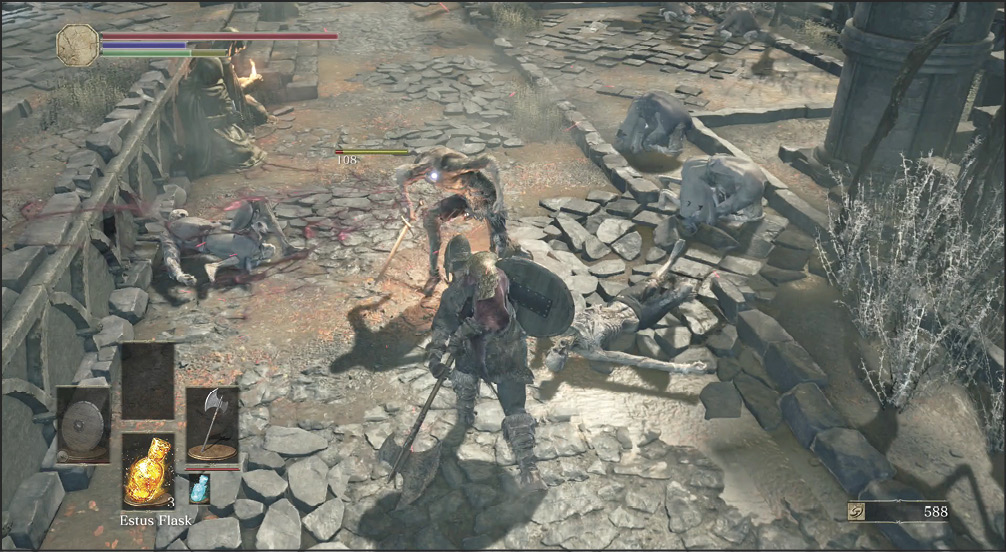
 From (5), there is a tiny stairway on the left. It’s very easy to miss because there are larger stairs leading down toward (7). Take these stairs up, and fight through a larger horde of Hollow Soldiers. One of the group has a lantern; remember that he’s a lookout and will call on the others to assist him.
Also, one of the enemies above and to your left is a Hollow Soldier with Fire Bombs. Thus, you must choose to pull these adversaries back down the stairs, endure an occasional shot in the side, or sprint up the stairs to kill the bomber as soon as possible. He has another melee foe with him, so the direct route is the most dangerous one.
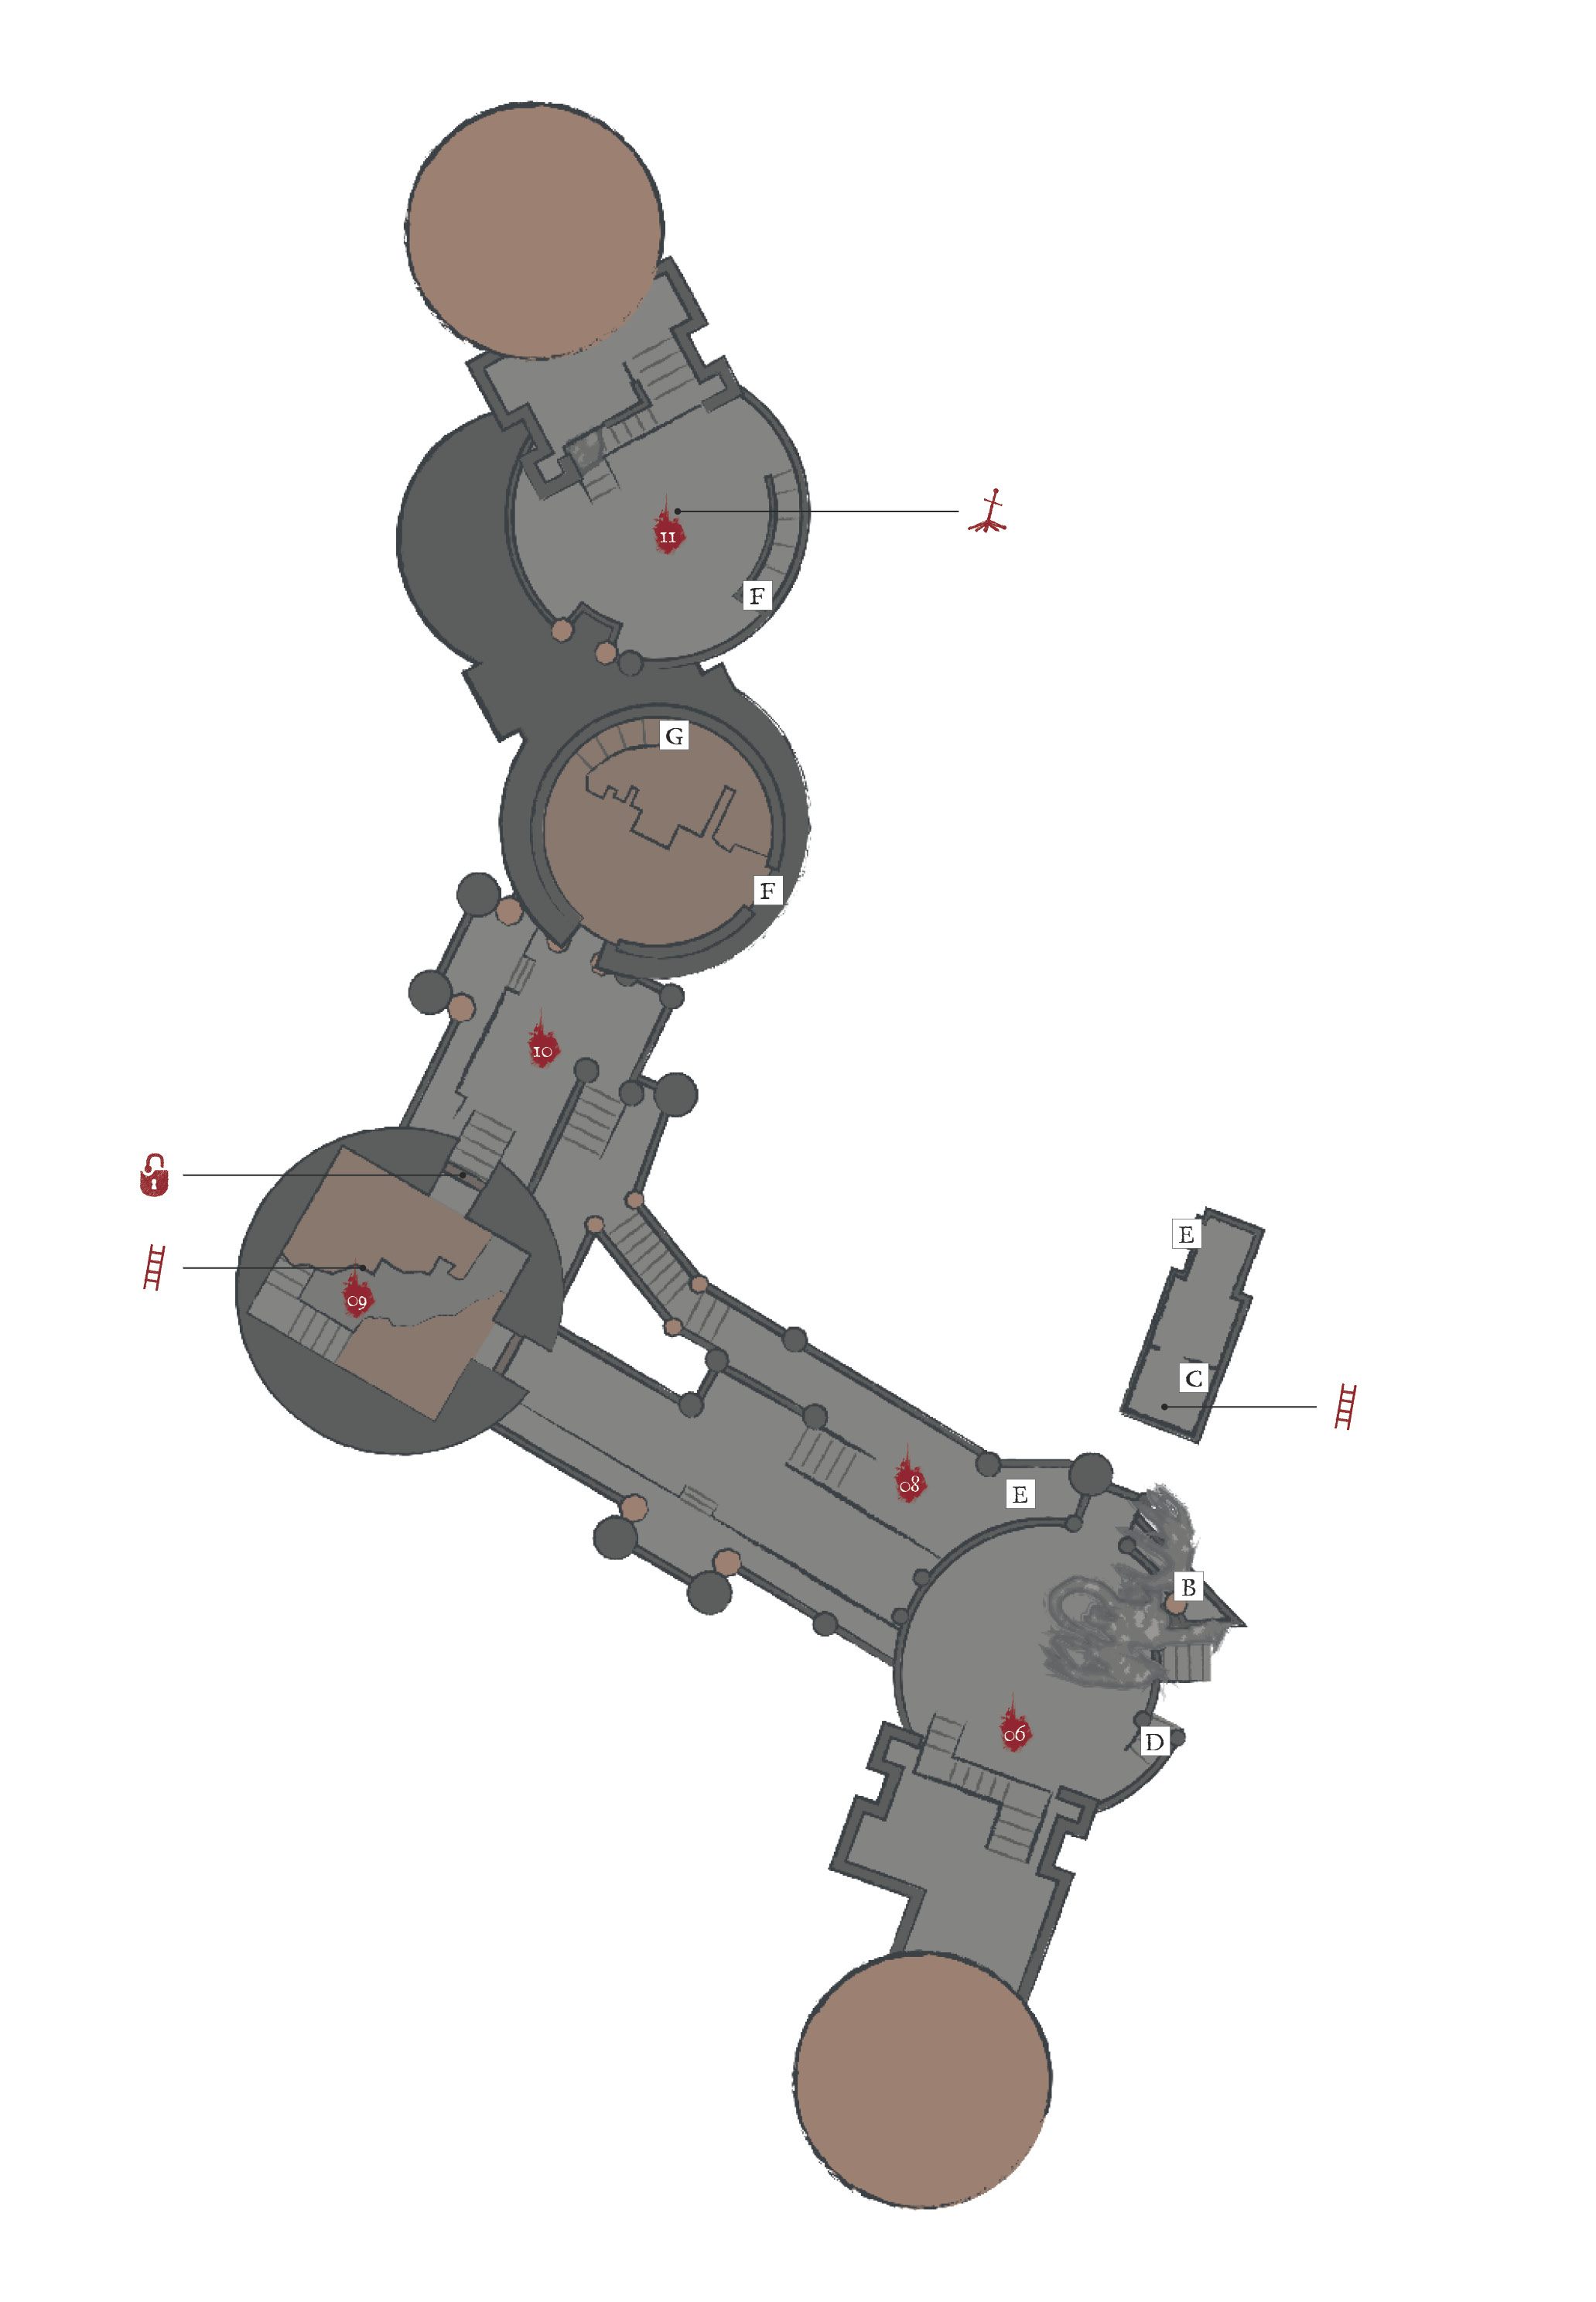
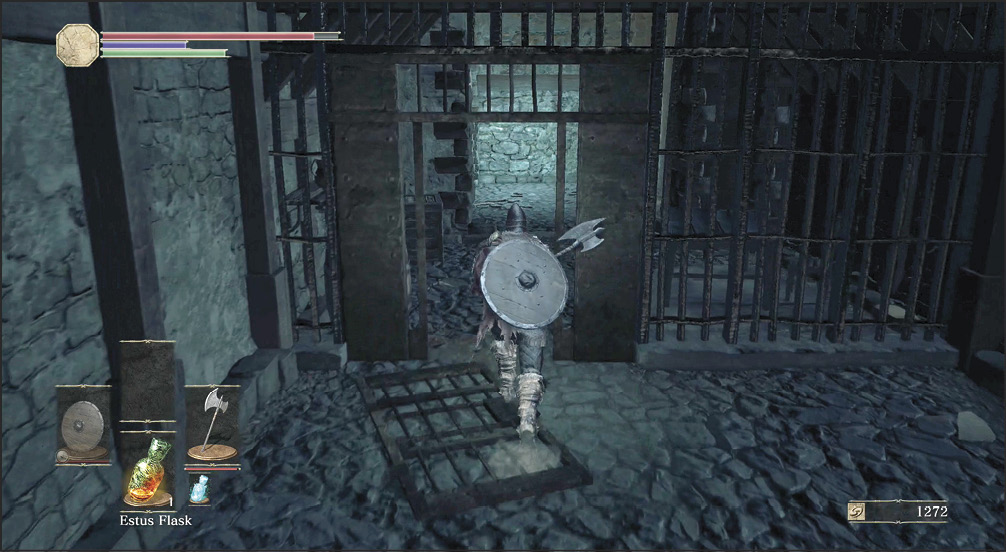
 Loot the Firebombs here, then use a ladder to descend to a lower section of the area. There are two Hollow Soldiers inside the tower, but both are unaware when you enter and can be dispatched without much difficulty. If you came from (6), you enter the room a bit awkwardly and are more likely to get attention from both enemies at once, so be careful!
Major Battle
 The tower takes you back out to a larger stone walkway. This place is well guarded. A Hollow Soldier with a spear and shield is up front, and another one has a crossbow. If you want to be really cautious, pull the spearman back with a ranged attack or thrown weapon, and fight it inside the tower. Kill the crossbowman afterward.
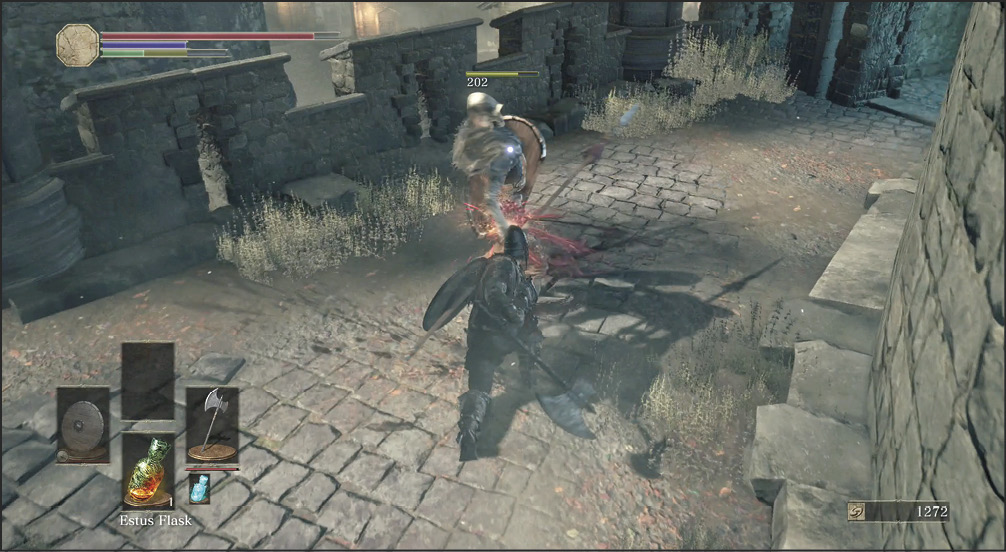
The Dragon that lands on the upper wall has quite a bit of health. If you buy plenty of arrows back at the Firelink Shrine and use the Souls that you’ve gained to grab a bit of Dexterity (as needed), you can wield the Longbow and kill the Dragon quite safely. You can also hunt the Hollow that are wielding Crossbows. Kill them until a Crossbow drops, and then buy Bolts from the Shrine Handmaid.
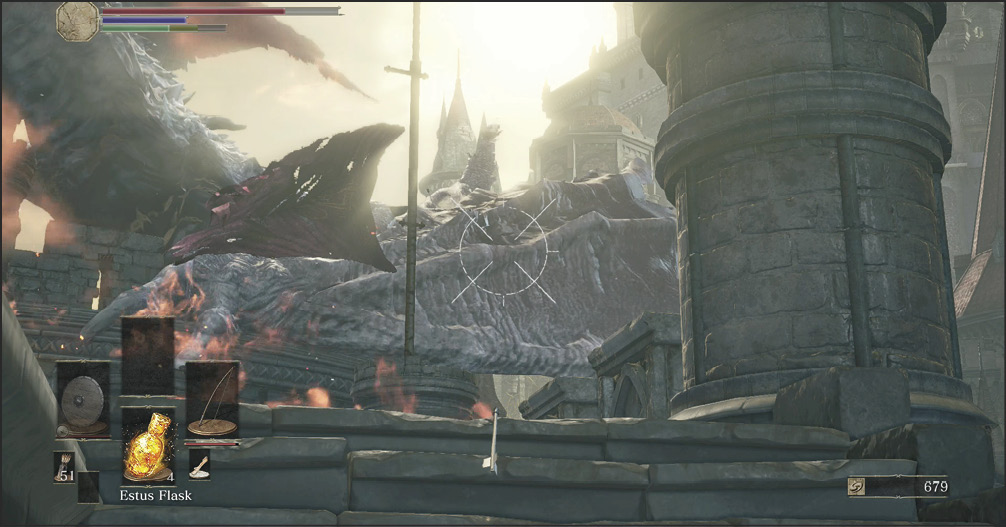
To do this, bring your Longbow and arrows, and get onto the stairs that lead up toward the Dragon’s area. Aim your Longbow (see the Controls chapter for details), and fire at long range to hit the creature’s wings. You can’t be hit by its breath from there, so the kill is purely a matter of time. It costs under 500 Souls to get more than enough Wood Arrows to do the job. You can get the farming completed for that in just a few moments, even this early in the game.
The Dragon’s wing on the right takes a bit more damage than its main body and can easily be hit while you’re hugging the left side of the stairs. This is safe, repeatable, and nets you a Large Titanite Shard. The area above has a large soul, an Ember, a Steel Soldier Helm, a Club, and a Claymore.
The Claymore is your first solid strong two handed weapon, with a good moveset for dealing heavy, cleaving blows in an area. The Club, though seemingly a simplistic weapon, is in fact an excellent starter weapon for a purely Strength focused character.
 This small room contains little other than a ladder leading to a door that connects to (10), but there is an innocuous chest in the corner… a chest that is actually a Mimic.
This is an extremely nasty foe this early in the game, but you can defeat it with some clever terrain usage—climb the ladder and drill it full of holes with arrows from a distance.
Your reward is a very useful Deep Battle Axe. You can’t make Deep weapons until much later in the game, and the Deep infusion gives this weapon inherent Dark damage. Deep weapons don’t scale with stats, but they also don’t require any significant stats to deal hefty damage. Deep weapons have the same power progression as Fire weapons, but with a different damage type. This is a great weapon for any character build where you aren’t planning on investing heavily in Str or Dex!
Unlock the door that the ladder leads to. This connects you to (10) directly, allowing you to bypass the enemies below the Dragon at (8).
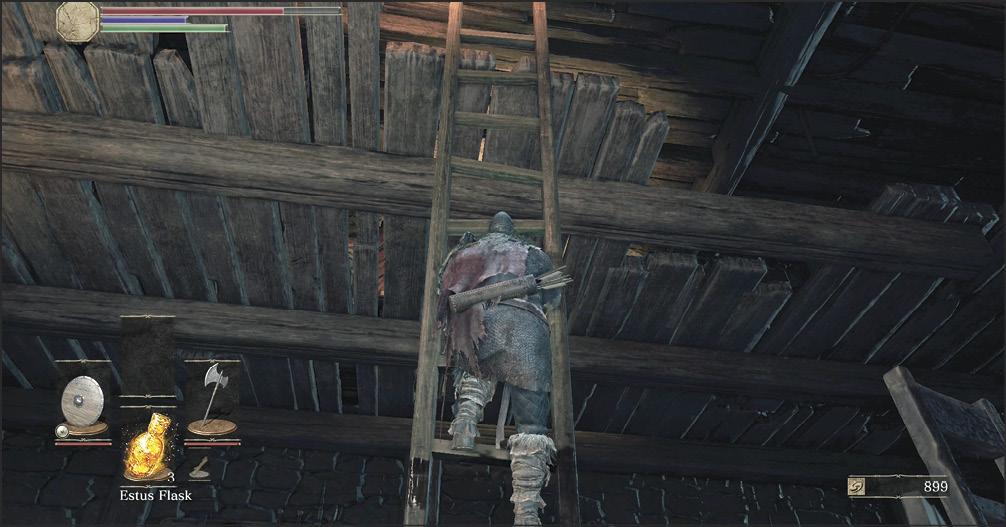
 This is a small ledge with two resting Hollow Soldiers and a Lothric Knight. Kill the resting foes before they rise and before the heavier threat realizes that you’re there. This way, you have more room to maneuver against the Lothric Knight. As suggested earlier in the tower section, you can exploit ranged advantages against these armored enemies because they don’t have anything to respond to that type of threat. If you’re really worried, shoot from inside the tower and flee. You can return to repeat this after the Lothric Knight returns to its original area.
Or, charge the Lothric Knight and practice baiting its attacks. Lure the tough foe to launch a few of its own attacks, and then respond aggressively as soon as it whiffs or is parried. There are knights throughout the game with similar tactics, but better stats. Mastering your anti-armor techniques now will pay for itself many times over. If you're low on Estus Flasks and just want to reach the next Bonfire safely, stay at long range until the Lothric Knight patrols away from the tower entrance. You can slip inside without getting the enemy's attention.
Bonfire—Tower on the Wall
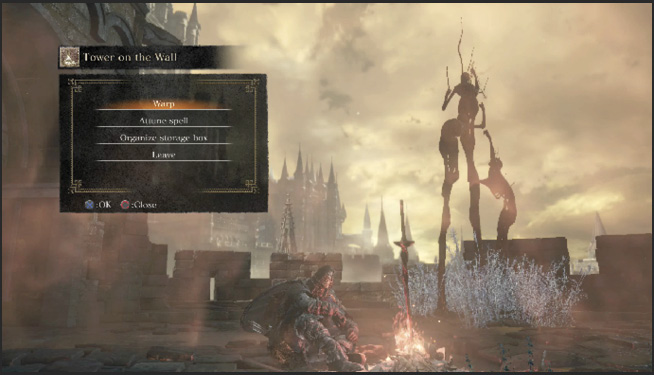
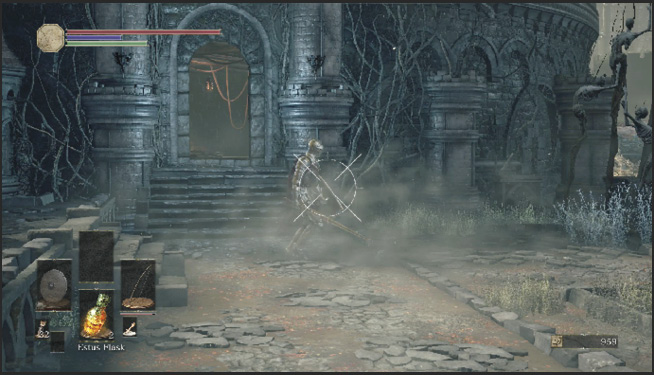
 The other side of that walkway leads into a larger tower with several floors. This is a very important area, so clear it carefully. A side stairway goes up the outside of the tower and takes you to the second Bonfire of the area. This is the Tower on the Wall Bonfire, which is very useful for extending your foothold in this area.
Hollow Assassins guard the two middle platforms inside the tower. They have daggers and only moderate health, so you can cut them down quickly before they’re able to attack you. Leap off of the stairs to make a Plunging Attack into an enemy below.
You can continue through the region from the next floor down by exiting the tower. Or, you can climb all the way to the bottom. This takes you down to the dungeon, which has an NPC that you’ll be able to unlock later. Avoid this for now, and go outside to (12).
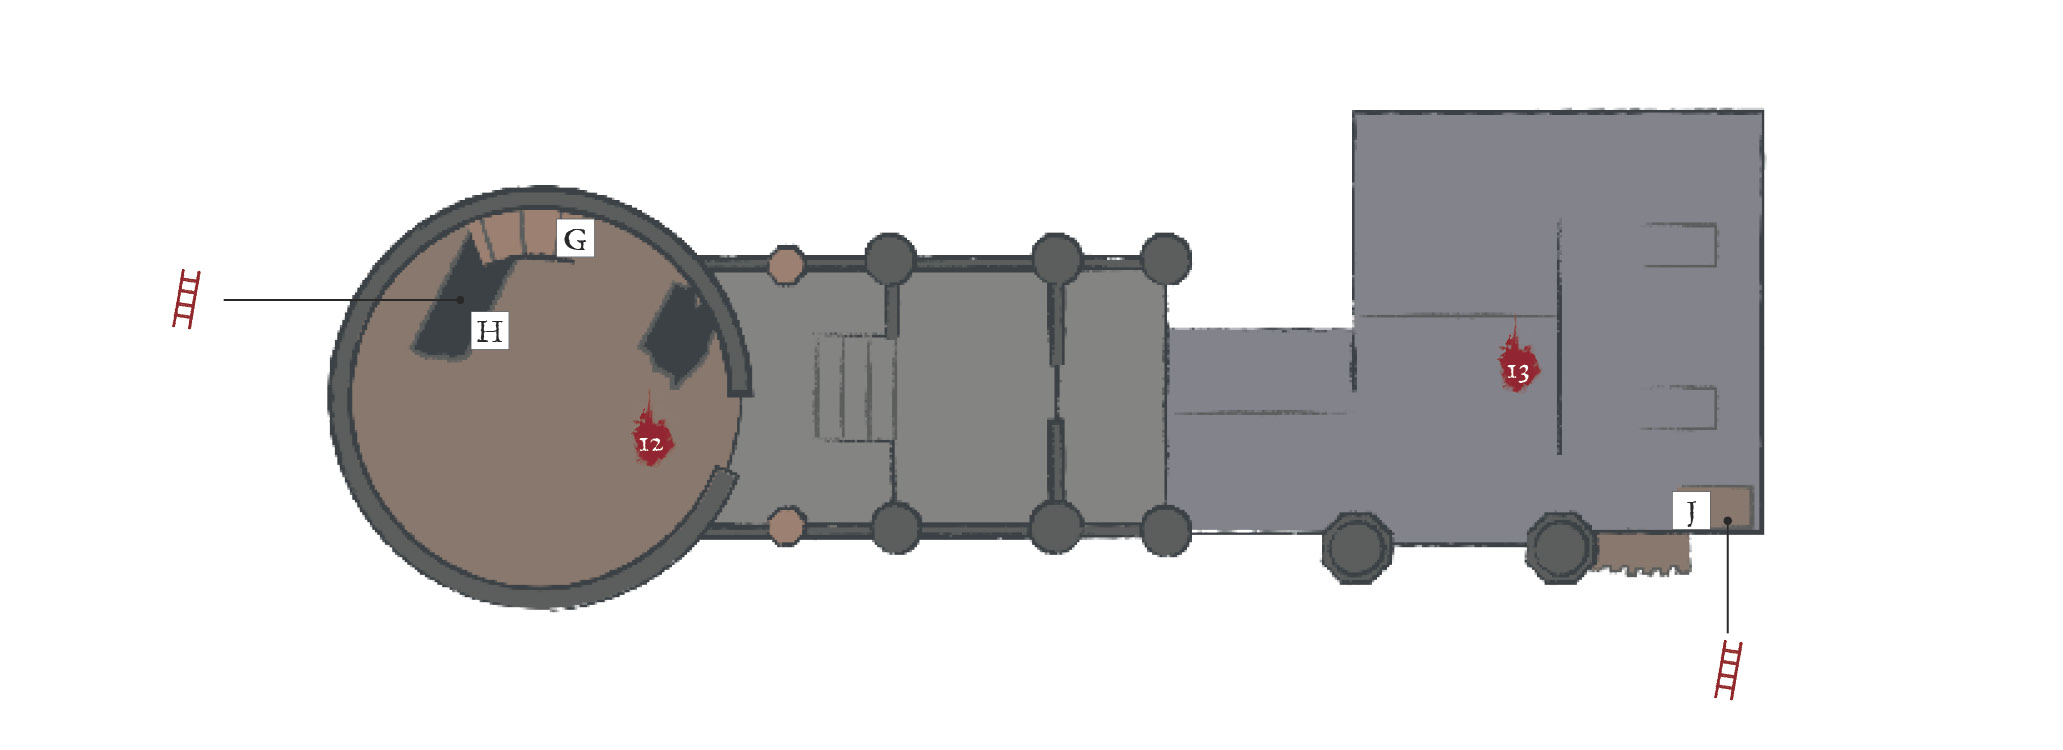
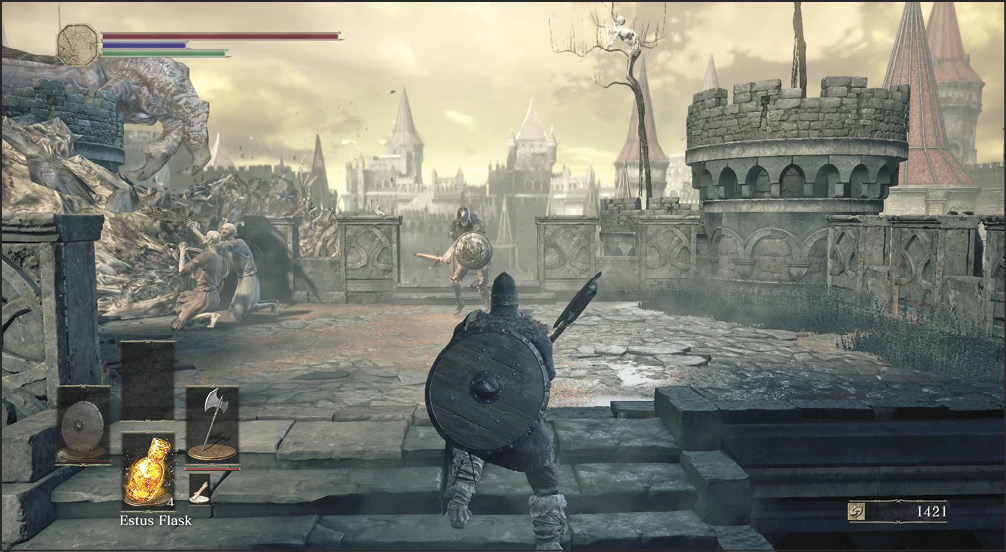
 The middle portion of the tower exits onto rooftops. Walk forward, and keep your weapons ready. Two weaker undead are praying on the ledge in front of you, but two Hollow Soldiers are also converging here. One climbs the ladder in front, and the other comes over the wall to your right. For an easier fight, hang back and pull the ladder climber. He’ll come alone if you do this; the one who comes over the wall won’t trigger until you actually get onto the platform.
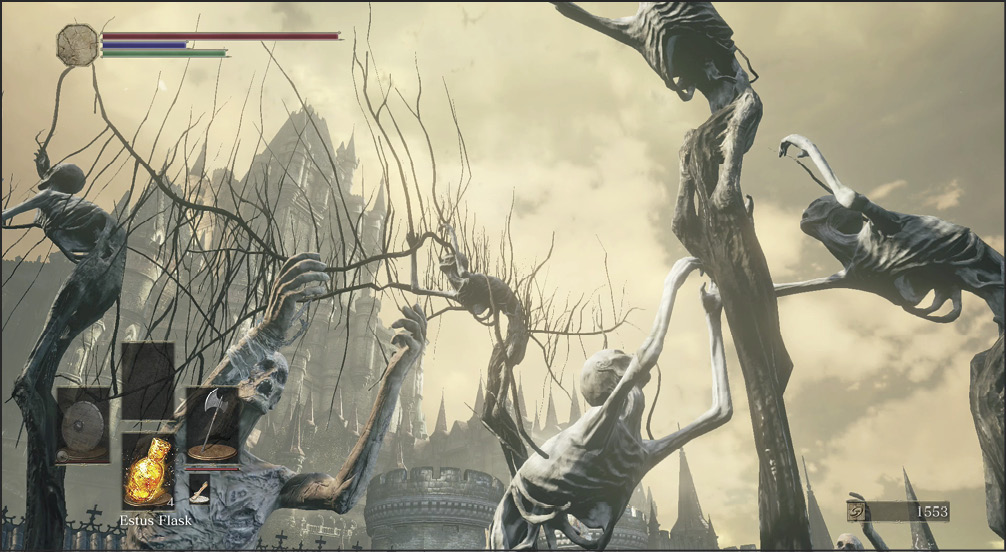
 Follow the rooftops, and observe a large party of praying undead. These enemies have been quite weak so far, but this group is much more dangerous than you might think.
Tucked away behind one of the windows that jut out from this rooftop is a hidden Crystal Lizard. As it is located near the edge, it can be tricky to dispatch before it flees. Sprint at it and strike it with any weapon that can aim down far enough to hit it reliably. Doing so allows you to stun it and keep it in place long enough to kill it, netting a Raw Gem.
Raw Gems let you create weapons with no stat scaling, and no element either (unlike Fire or Deep Gems). Like the Deep Battle Axe earlier, this is a potentially useful weapon upgrade for any character that won’t be investing heavily in Str or Dex, and because it deals pure Physical damage, you don’t have to worry about elementally resistant foes when using a Raw weapon. The tradeoff to all these benefits is less potential damage compared to a scaling weapon with good stats.
 Below the transforming cult are ledges that look out over the Winged Knight’s courtyard. You have a choice here, and both routes lead to the same place. It’s best to go through both routes eventually to ensure that you collect all of the loot in the region.
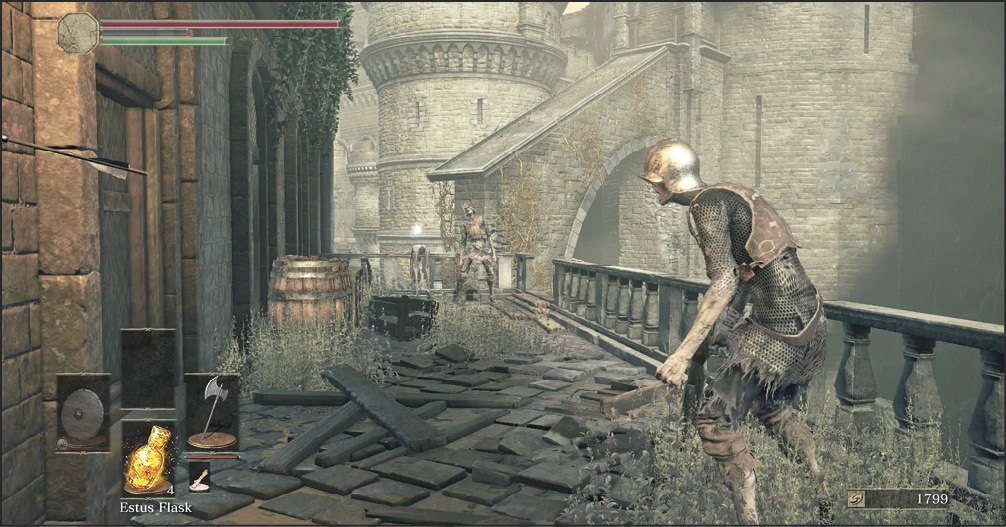
The path to the right (toward 15) is faster. It takes you through a few Grave Wardens and other weak monsters that climb over the railing. Keep a shield ready to handle the enemies with crossbows, but it’s still mostly an easy route toward the Winged Knight that you must pass one way or the other.
The path to the left (toward 16) is much more difficult, but it has a wealth of treasure.
If you check the rooftops nearby towards (15), you can find a small set of Black Firebombs. These more potent versions of the basic Firebomb are useful for dealing some ranged damage to enemies you don’t want to tangle with in melee, and very useful against enemies (and bosses!) vulnerable to fire. Likewise, heading towards the ladder scores you a set of regular Firebombs.
Major Battle
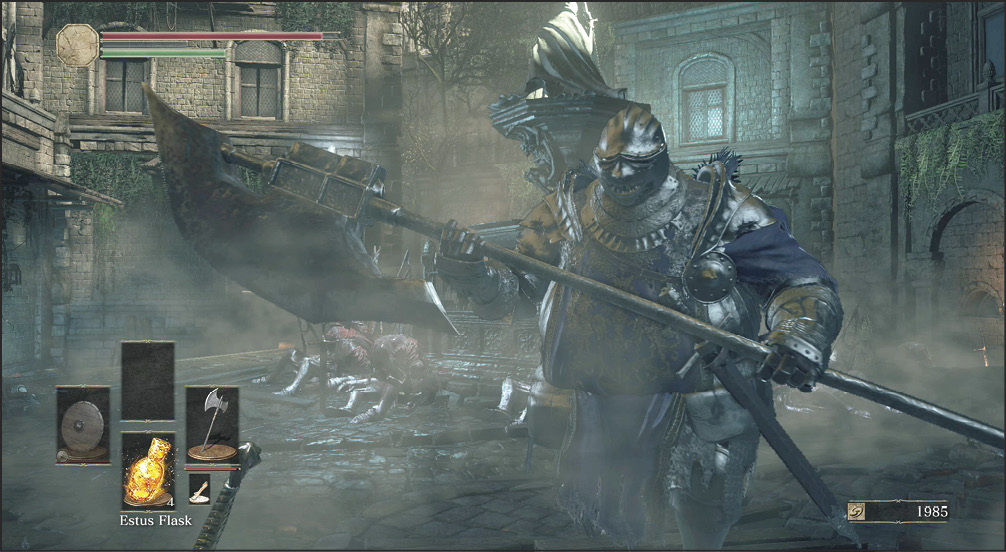
 A Winged Knight patrols through a large courtyard. Another foe is a resting Grave Warden in a corner of the yard, who won’t be a major problem unless you back into it while fighting the main target. Above, another enemy waits on a ledge. If it spots you fighting, it’ll jump down and help the Winged Knight. Try to keep the battle either in the middle of the yard or toward the tunnel that serves as a major entrance to the area.
The Winged Knight is kind of a beast. It can cover distance quickly, deal high damage, blow through Stamina if you block its attacks, and kill your character easily if you aren’t careful. Ranged attacks weaken it well if you’re willing to put in the time to attack, run, and return. For those who are less patient, walk behind the enemy while it patrols, and unleash an initial wave of attacks to weaken it before rolling away.
Watch out for the Winged Knight’s short-range burst of magic, and also for the combos of wide swings that it makes. Dodge more than you think you’ll need to, and treat this opponent like a mini-boss. If you put most of your efforts into avoiding its hits, the few quick counters that you score can dispatch it rather well. Don’t try to burst the Winged Knight down from 100 percent to 0 percent in a single combo unless you’re way overpowered.
Whether you choose to face the Winged Knight or not, there is a Rapier tucked away in the northwest corner of the yard by the Hollow Soldier. This is an excellent Thrusting Sword for any Dex focused character.
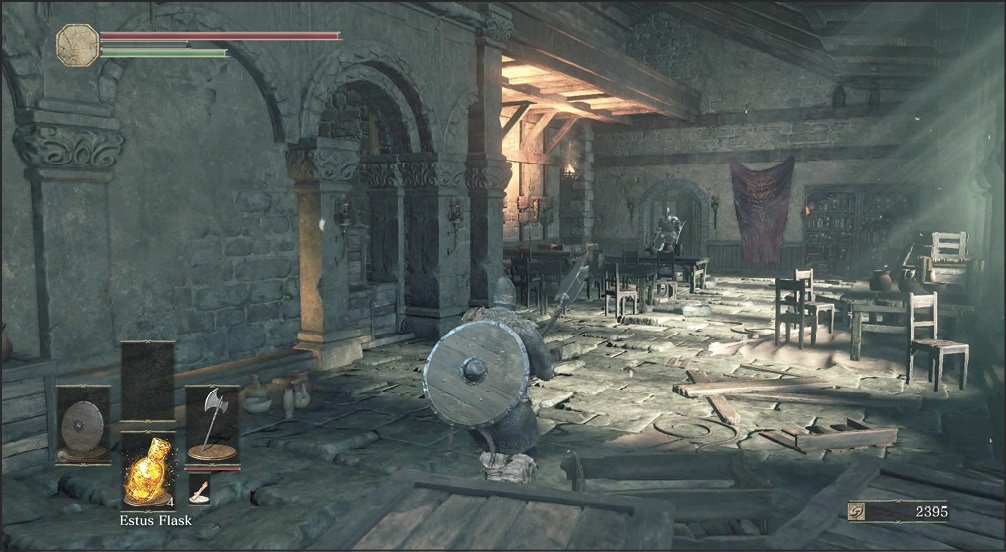
 This alternate treasure route takes you toward the Winged Knight by a circuitous path. Descend from (13), and go inside the building at the base of the ladder. You might want to stop and kill the foe wielding a crossbow outside, as he sometimes moves far enough to shoot at you while you’re indoors.
The main room there has a patrolling Lothric Knight armed with a spear and a greatshield, but you don’t need to fight that yet. Instead, explore the side room you see as you enter the building. There are four weaker enemies in there. None of them are a serious threat, but their positions make them a little tricky.
One is inside the room, whereas another has a crossbow with an elevated position. A third is behind some pots to your left, and a fourth is hiding in an adjoining chamber. Keep a shield ready to minimize damage from these weaker targets. Search everything to find some minor loot, some Undead Hunter Charms, a small soul and a Titanite Shard.
After you’re done, return to the main room and fight the Lothric Knight. It’s alone, but that won’t make it an easy battle. Bait the enemy’s attacks, let it finish a combo as you back away or dodge as needed, and then come forward with a short combo of your own. Don’t get greedy! Remember that Lothric Knights have high Poise and can attack you if you try for too many hits in your combos.
 The next room in the larger building is complicated. The upper ledges have a Broadsword and some Green Blossoms, so search slowly and well as you get everything. The main route along the upper ledges has a small ambush. A Hollow Soldier is waiting in a side room and will charge out after you. Either block it with a shield, or dodge away from its strike and kill it. Loot that side room and then backtrack a moment.
Break through some stacked barrels and crates to discover a somewhat hidden side passage. Go to the end of that, and drop down to a middle walkway. You find a chest below you, containing the Astora Straight Sword. This is a solid lightweight Straight Sword, but take note of the 12 Faith requirement, it can’t be used without a little stat investment on some characters.
If you go down by the main route, you find another chest there, containing the Silver Eagle Kite Shield.
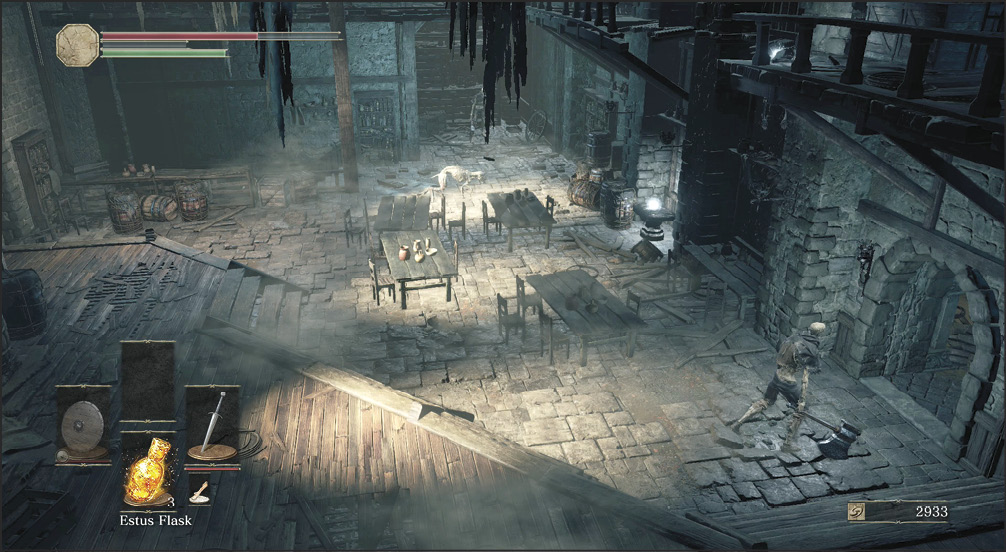
Make sure to kill a Hollow Soldier that has Fire Bombs on the mid level. Otherwise, the creep bombs you constantly when you’re trying to clear the lower area.
The bottom of the room has all the serious fighting, and this is a great place to practice pulling individuals to fight. If you hop down and start fighting, the two Starved Hounds, one Hollow Soldier, and two Large Hollow Soldiers are likely to overwhelm you. You’re much better off pulling at least the first two or three enemies up to the staircase. Alternately, you can be evil and shoot them from the middle walkway, as there isn’t a way for them to reach that area. That technique requires more arrows, but that’s better than dying!
Clear the lower floor and search everything. Down a tiny ramp, you get the Cell Key. This unlocks Greirat, an NPC in the dungeon that you passed earlier, at (22).
Don’t miss the Estus Shard in this room, located on a small Altar! It can be used to increase the number of charges your Estus Flask carries, an extremely useful upgrade. Acquiring these as you explore every part of Lothric is very important for increasing your ability to stay out in the field away from a Bonfire.
You can now return to your Bonfire, or jump off of a balcony outside to get down to (15).
 The street that adjoins the Winged Knight’s courtyard is well protected. If you descend to the main thoroughfare, you must worry about patrolling Lothric Knights. There are more on the side paths that split off from the road, so no matter where you go, your destination is going to be risky.
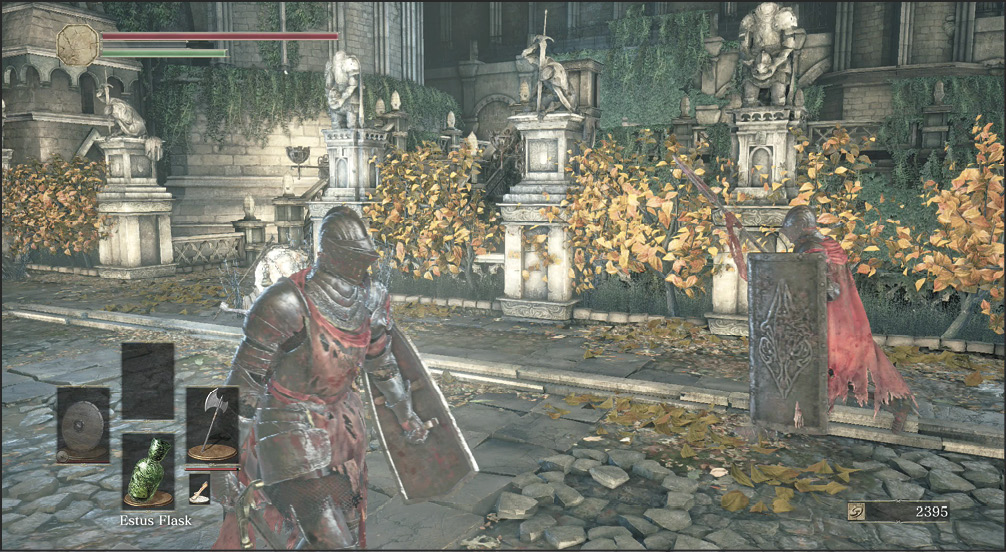
One particular side path goes up instead of down. You should explore this area first because it unlocks a major shortcut through this region. Proceed to (20) to learn more.
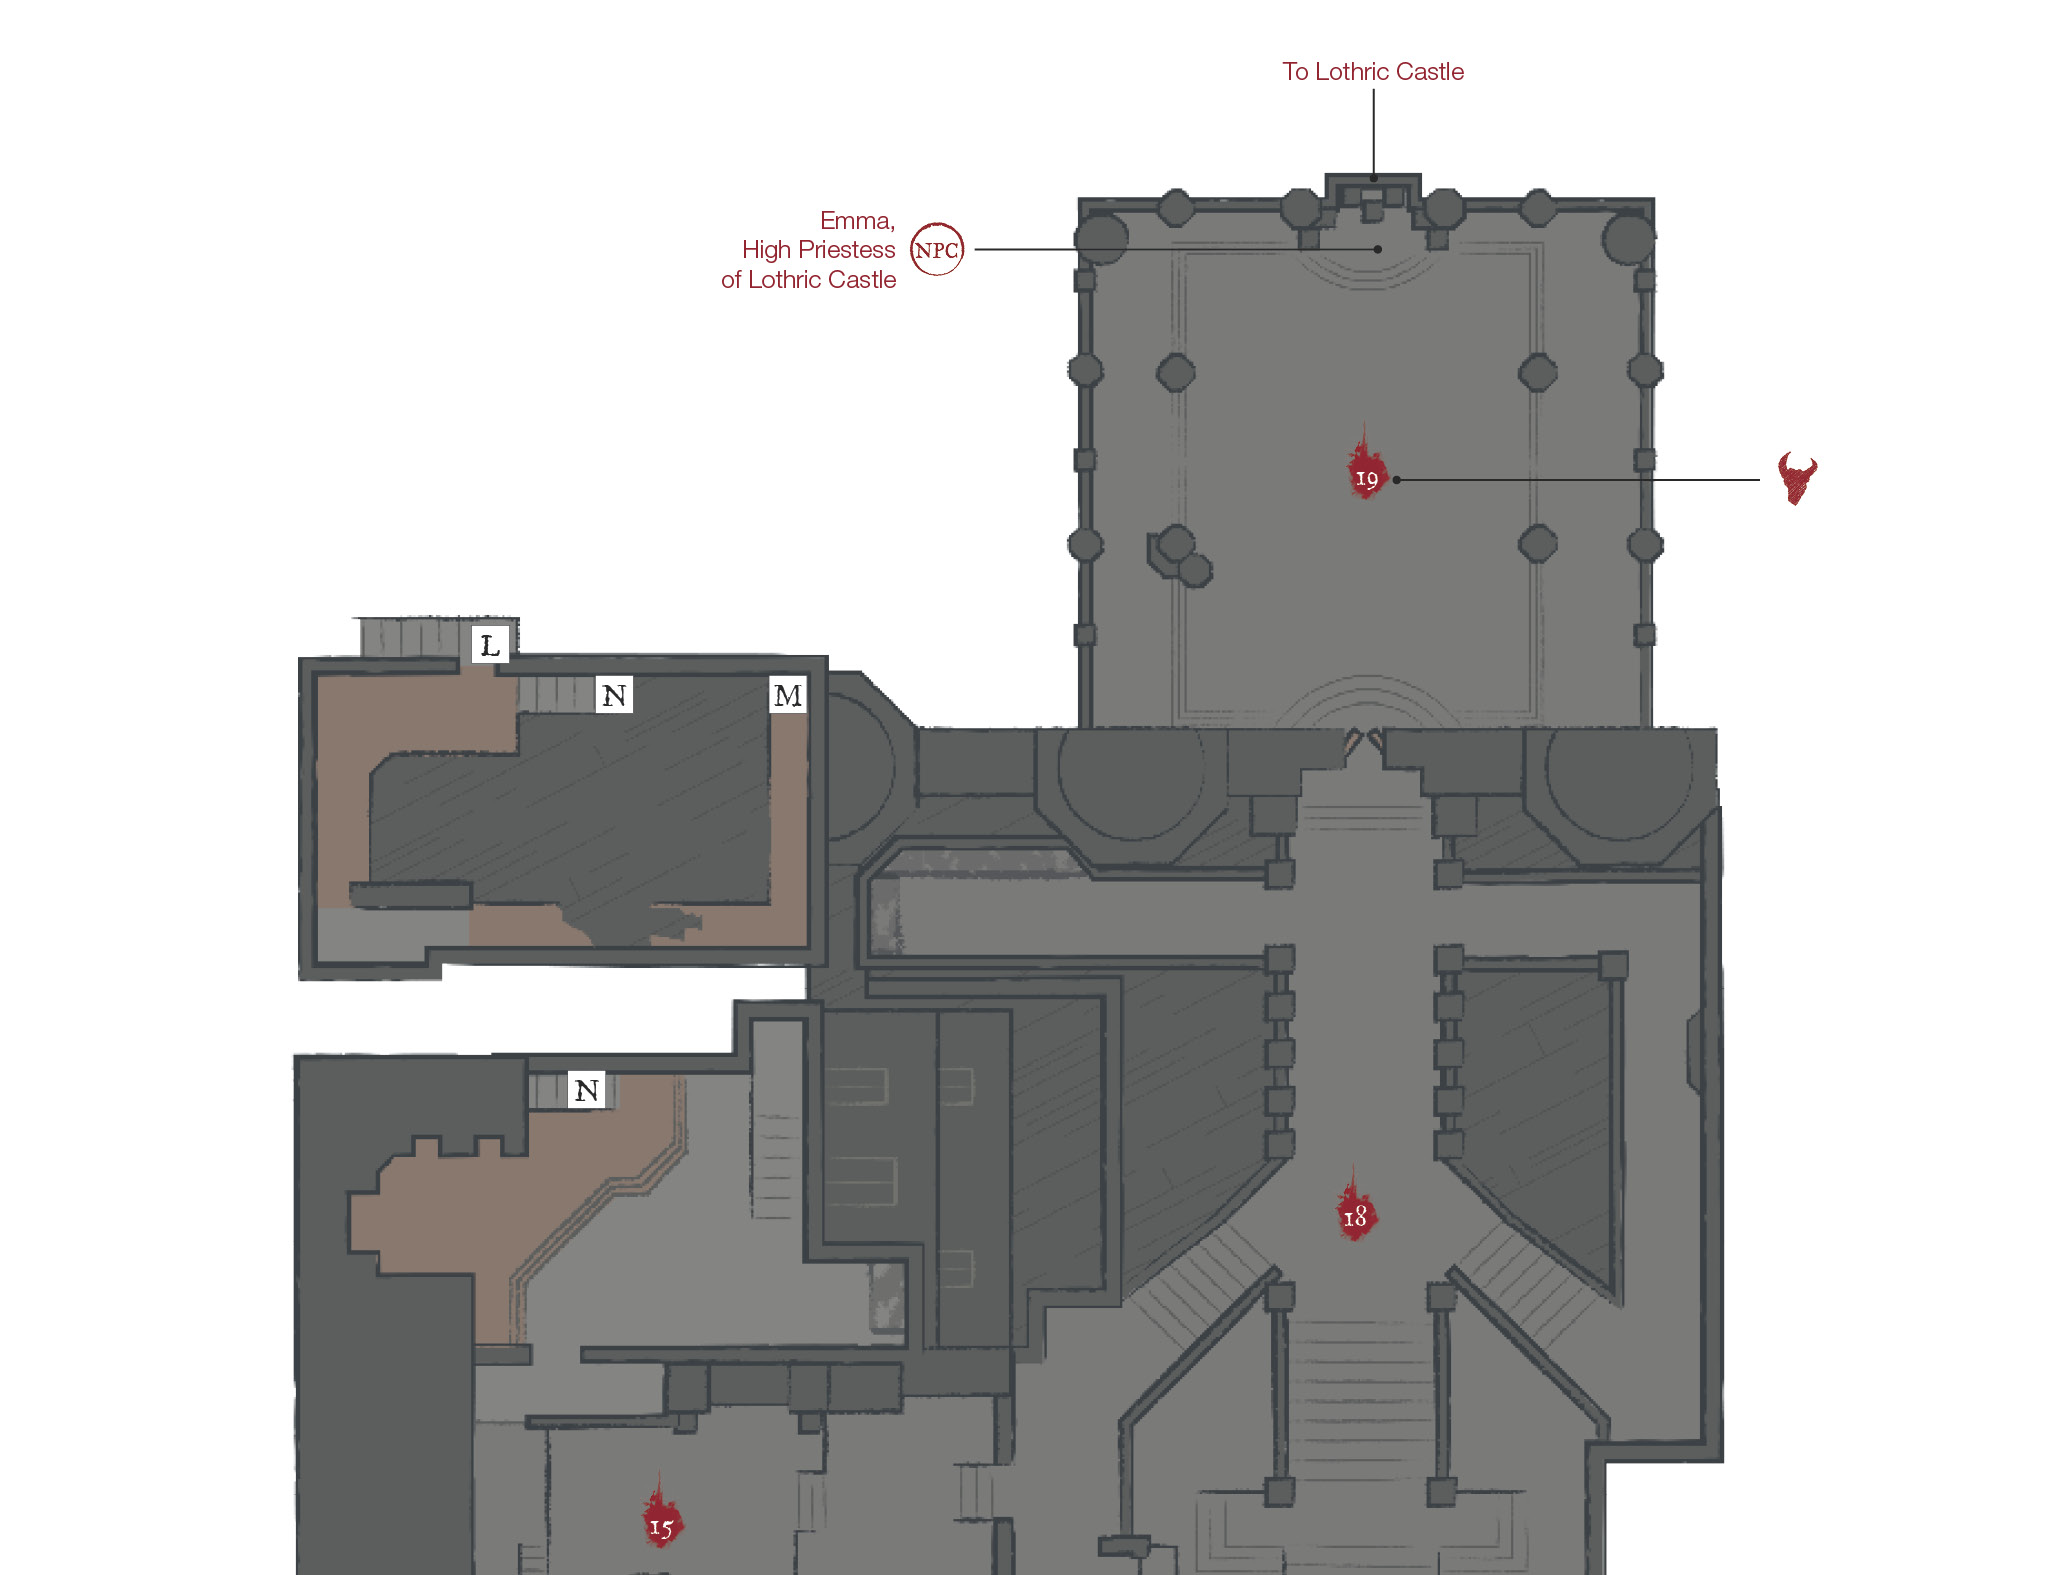
Otherwise, pull the two patrolling Lothric Knights up to your area and kill them individually. The other ones won’t patrol into your path, so they’re optional. Go up the road to (19), and look inside the church.
Major Battle
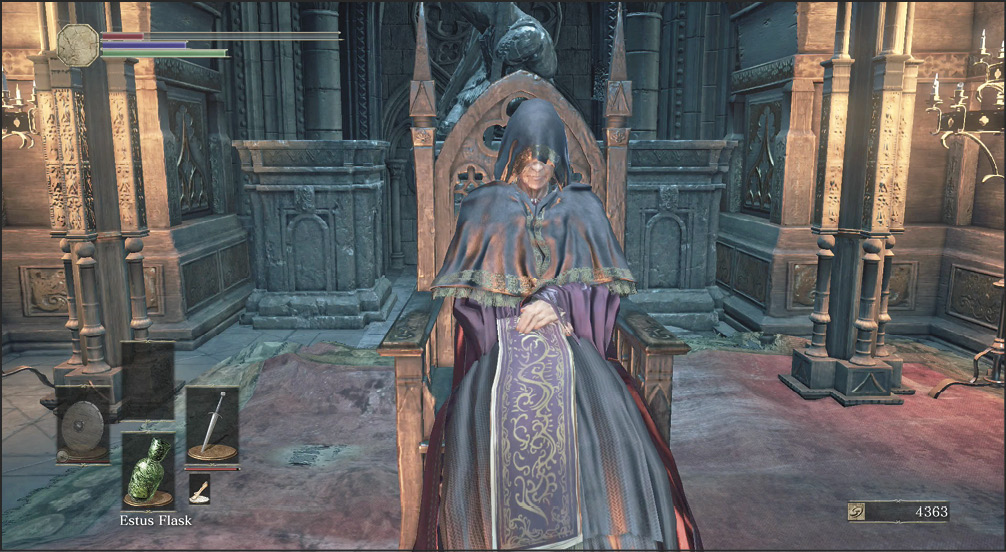
 This nearly empty church has one remaining congregant. Talk to Emma, High Priestess of Lothric Castle several times. She’ll give you the Small Lothric Banner, and give you the Way of Blue Covenant item and explain what you need to do next. Take the banner down to the boss’ lair at (21), and defeat it. You can then place the banner nearby, opening the way to the Undead Settlement.
Much later in the game, you need to return to this church. This is also a route to get to Lothric Castle and to the Consumed King’s Garden. To access this area, you must return much later, having acquired the Souls of the great lords. You’ll learn more about when to do this later.
However, if you’re bold and cruel, you can trigger access to these areas at any time by killing this woman. When she dies, it triggers a boss fight that you would have faced later on anyway. The Chalice of Vows is yours if you succeed, and you’ll be able to unlock the ladder that leads up to Lothric Castle.