Dark Souls III Guide (Steam) Gameplay
Deaths, Souls, and Leveling
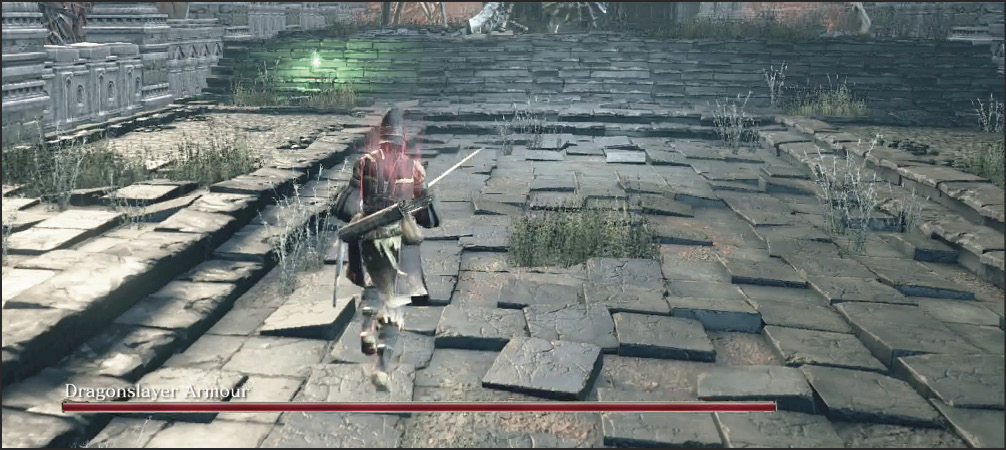
Death is a constant threat throughout this game. Dangerous falls, poison, monster attacks, and traps are happily waiting to end you. Bosses are the worst threats of all, but it’s entirely possible to die (often) when fighting against even the regular inhabitants of the world. This is especially true when you’re getting used to the game since it does not play like most action RPGs.
If you lose all of your health, you’ll immediately perish unless you’re using a very finite and select type of accessory. When you die, you lose all of your Souls and then respawn at the last Bonfire that you used. This has two major consequences. First, there’s the loss of time as you retrace your steps to return to where you were. Second, you will lose all of the Souls that you drop forever if you die again before making it back to the place where you initially fell.
Respawning
When you respawn at a Bonfire, your Estus Flasks are restored. This means that you can heal yourself again as you travel back to your bloodstain and are brought back to almost your maximum health. The problem for fallen characters is that they lose some of the spark that makes them human. Because of this, your maximum health diminishes if you die, making survival even harder in the future. This sounds scary, and it is a major problem, but there is a way to combat it.
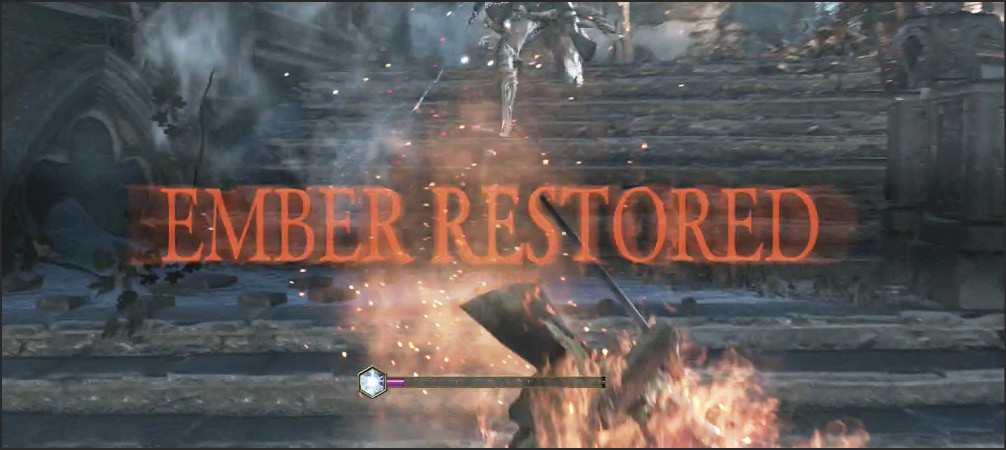
Embers are items that you find from time to time, and they allow you to restore yourself to your ideal health total. You don’t need to use these each time you die, as that would be very wasteful. Instead, it’s best to wait until you’re at a particularly difficult boss area before using an Ember. A solid technique is to explore each new region, dealing with whatever losses you take. Then, find any bosses that are nearby, fight them a few times to learn their mechanics, and then use an Ember when you feel like you’re ready to beat the encounter. If you win during your practice sessions, then you obviously didn’t need to use the Ember anyway!
Another aspect of respawning is that all of the normal monsters in the area return, as well. Special NPCs or bosses that are slain remain dead, but everything else will be waiting to stop you. This lets you farm regular monsters for extra Souls. It also forces you to learn efficient routes through most areas so that you don’t get into too much fighting if you’re trying to pass by or get to a boss. This way, you don’t use your Estus Flasks too often before the important fights.
Retrieving Your Souls
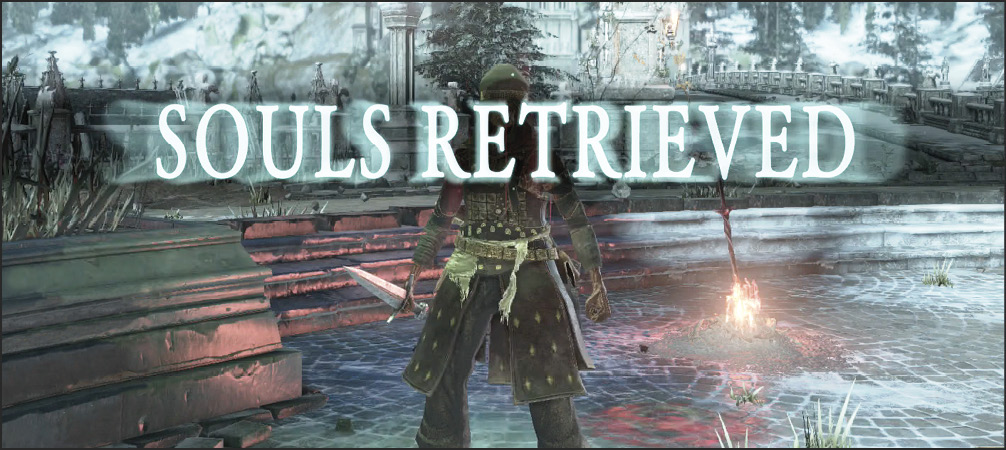
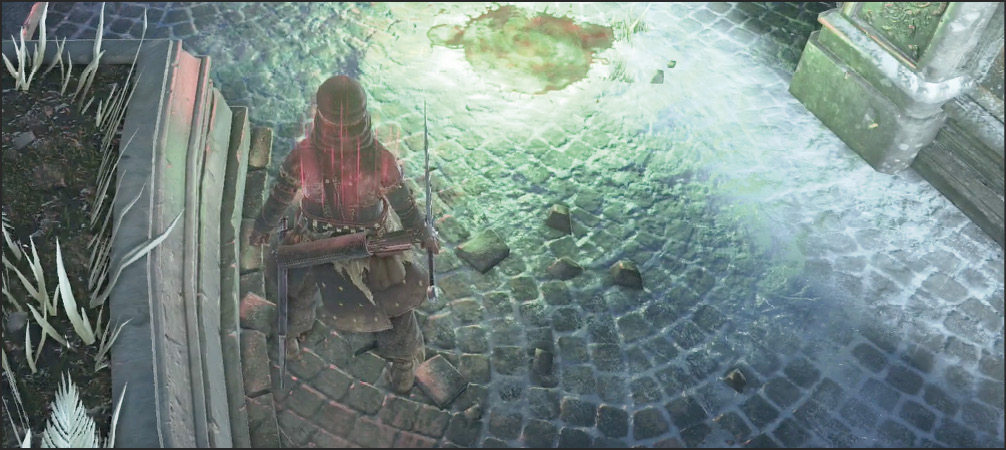
If you make it back to the area where you fell, you will see a bloodstain and a glowing green light above it. This is the game’s way of saying, “Get this!” It’s very easy to see, even from a distance, which is a godsend in dark areas.
Even if you’re under attack, it is usually wise to sprint over to the pool of Souls and collect them before risking your life. This comes up most often in boss areas, where you might die repeatedly and have to pick up your Souls a few times before you master the encounter.
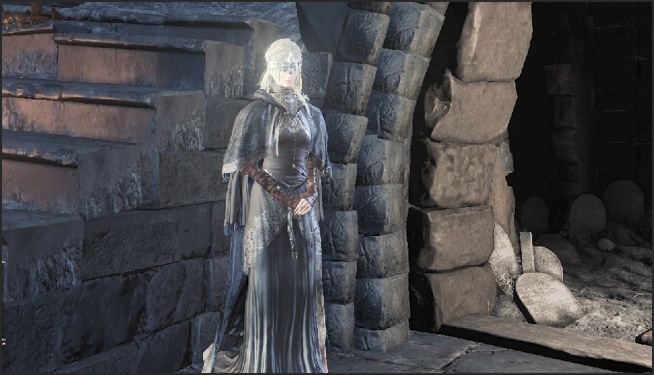
The best way to minimize the risk of Soul loss is to spend your Souls as soon as possible. Very early in the game, after defeating the first boss, you find a shrine with the Fire Keeper. This NPC lets you spend Souls to increase your stats. These changes are permanent, so you’ve effectively gotten rid of your Souls and gained power improvements in return.
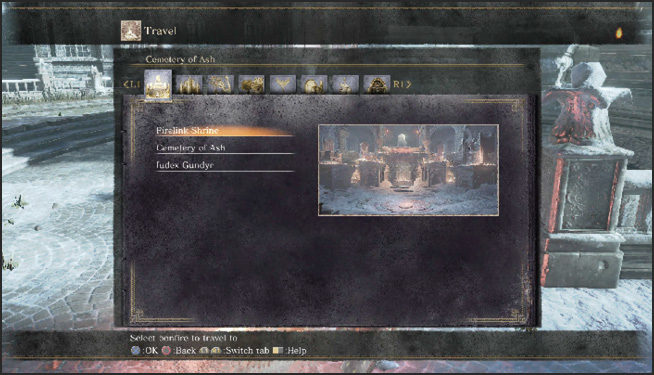
Never walk around with more Souls than you’re willing to lose. If dying would cause you to lose tons of time and work, don’t risk it! Return to a Bonfire, warp to the Firelink Shrine, and spend those Souls. Even though it takes a few minutes to do this, you will be much better off than you would with even occasional deaths that don’t let you retrieve your Souls.
You might have a few questions about Soul retrieval. If you die from a fall, do your Souls get lost forever? No—they’ll appear very close to the spot where you fell. They should always be retrievable.
If you die in a boss’ lair, the bloodstain will indeed be inside of that room. You can’t get your Souls back without approaching the boss and starting the fight again. However, this does not mean that you have to defeat the boss to safely get your Souls back to a Bonfire. Homeward Bones return you to the last Bonfire that you used. Though risky to use when a boss is nearby, it is possible to escape from a boss fight. If you’ve built up many thousands of Souls, it can be worth the risk and the use of a Homeward Bone to get back to a Bonfire.
If you die twice without getting back to your bloodstain, the Souls from the first death are gone forever. Period. Instead, the new bloodstain will have only the Souls that you were carrying during your attempt to reach your first bloodstain. Be very, very careful when retrieving bloodstains with a large number of Souls.
Another trick for reducing risk is to hold on to items that generate Souls. You find these special Soul items throughout the game, and they don’t slow you down or take up excess space. As such, you should hoard them until you’re standing right next to the Fire Keeper. That way, you don’t risk them at all! They’ll be generated and spent in a safe place.
Also, keep at least one Homeward Bone on your character at all times. Although you shouldn’t use them willy-nilly (because they do cost a modest amount of Souls each), they’ll save you massive amounts of time and Souls later in the game. Once you start getting tens of thousands of Souls per run, you should use Homeward Bones exclusively. When you earn more Souls per minute than it takes just to run back to a Bonfire, it’s time to start buying Homeward Bones in bulk!
Gaining Levels
Levels are not the be-all and end-all in Dark Souls games. Sure, it’s always nice to have more Hit Points, better damage, and so forth. But sloppy techniques get you killed even with superior leveling. By contrast, tight, well-executed mechanics allow you to survive fights even with mediocre gear and leveling.
That said, most players are going to enjoy leveling and will appreciate the benefits that this provides. Certain PvPers may limit their growth at a specific level, and there are also players who set personal challenges for themselves. These games can be (and have been) beaten by people who avoided leveling. Have respect for those scary, scary players.
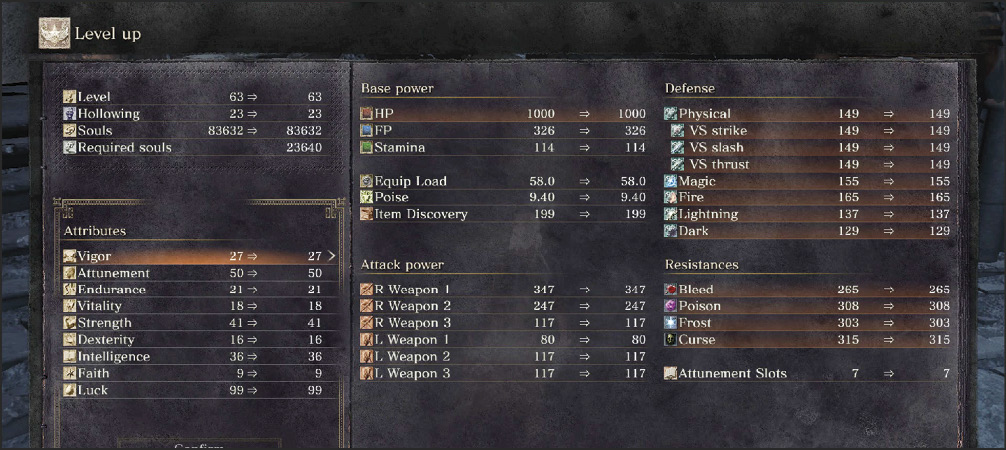
Assuming that you’re not someone in one of those camps, then your goal is to accrue Souls and level as often as possible. The stronger you get, the easier most challenges become. However, it is still extremely important to plan out your leveling. Each time you invest enough Souls to gain a level, you do so by adding one point to your character’s attributes. Never be casual with your choice here. Going after the “wrong” attributes for your intended playstyle can be detrimental.
For example, a good melee character might be made with Strength, but how much do you need? Just put all of your points in there? No. In fact, you might not need much at all, depending on the weapons that you prefer. Strength and Dexterity are both required for many advanced weapons, and investing too heavily in one might leave you deficient in the other (and thus, unable to wield some of the items that you want).
To further complicate matters, most attributes have diminishing returns. Overinvesting in any single attribute is foolish unless you have a strong reason to push hard in that area. This gets confusing quickly until you’re very comfortable with the game.
All of this combines to reward players the most when they specialize but still boost a few supporting attributes for their build. A pure melee character who blows levels on Intelligence, Faith, and Attunement just for the sake of having them is not helping himself/herself. The same character with tons of raw Strength but no Vitality, Vigor, or any Dexterity will also have problems.
Focus on your most important attribute, and then make sure that you have enough in your peripheral attributes to get by.