
Dark Souls III Guide (Steam) Gameplay
Understanding Your Stats and Attributes
Character attributes are very important in Dark Souls III. You use Souls to improve your attributes throughout the game, and that is how you are able to deal more damage, survive stronger enemy attacks, use better equipment, and wield the best spells. Read on to learn what all of these attributes do so that you can start planning what you want to do with your character.
The sections ahead talk about scaling, which is the amount of value that you get out of your attribute improvements. Most of the attributes have sweet spots that you really want to get to. Afterward, they’ll be useful but not as powerful to improve.
As a general rule, attributes often get a huge amount of improvement up to 20. Between 20 and 40, the scaling improvement is still worthwhile, especially when they’re a major focus of your character. After 40, many attributes taper off badly and give you only a little bonus for your hard won Souls.
Level
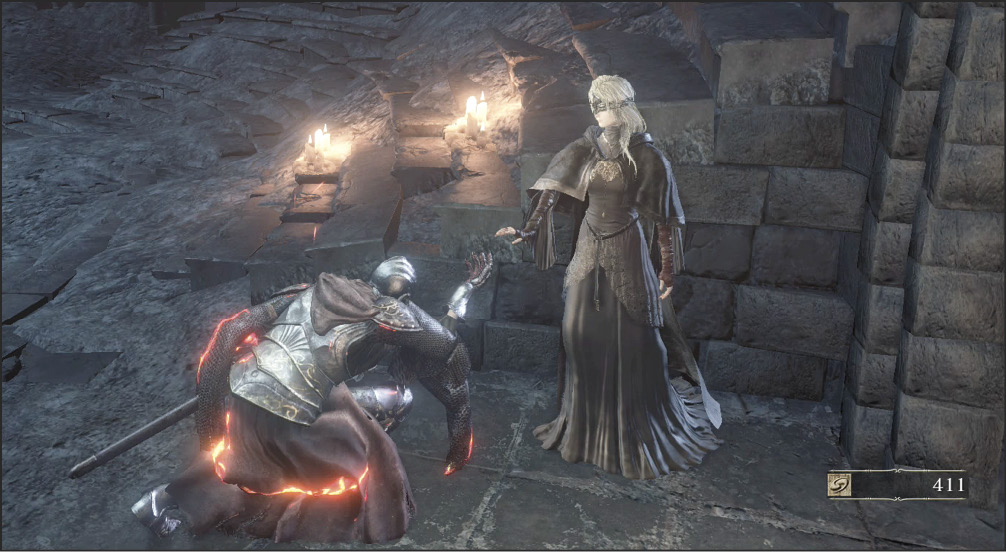
Your character level is a reflection of the amount of power you’ve gained. Unlike many roleplaying games, you do NOT get experience or power automatically when you defeat enemies. Instead, you gain Souls. These act as a hybrid of currency and experience. You use them to buy goods, repair items, raise your level, etc. And they can be lost, too! Dying causes you to drop all of your Souls, which means that there is a serious risk of losing all of your current money/experience if you play recklessly.
Your level only rises when you visit the Fire Keeper at Ashen Shrine and invest Souls in your character. This gives you permanent bonuses and prevents those invested Souls from being lost if you die.
The higher your level gets, the easier it is to play the game because you have better and better stats. However, each level costs more and more Souls to purchase, so you can’t stay in a weaker area and build up your character without investing a massive amount of time.
Souls
As stated earlier, Souls are a resource that you gain throughout the game. Killing enemies and using special items generate Souls for your character. Do your best to avoid death and to spend your Souls as often as possible. You do not lose items or levels when you die, so these are both safe ways to invest your resources.
Required Souls
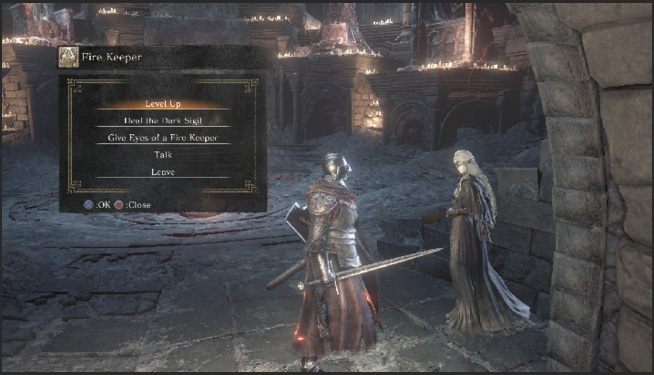
Required Souls lets you know how many Souls need to be invested for you to gain a level. You cannot partially gain a level, so it’s impossible to invest your Souls in an attribute until you reach this threshold.
Hollowing
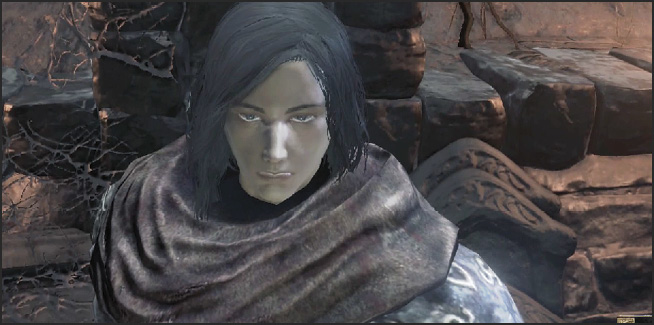
Hollowing is only acquired by dying while you have a Dark Sigil in your possession. The more Sigils you have when you die, the more Hollowing you gain. Hollowing accrues from your deaths and investigation of the world. Your character looks more and more like a corpse as this stat rises, and there are some events that can only be triggered if you have a certain amount of Hollowing.
The NPCs chapter (“A Few May Help You on Your Path”), discusses the quests that interact with this stat. To remove all Hollowing (but not any carried Dark Sigils), you can use a Purging Stone.
 Vigor
Vigor
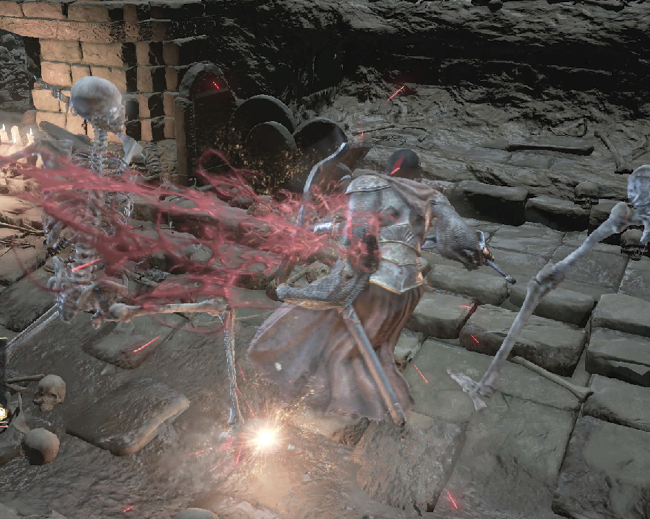
Vigor Scaling
| Vigor | 10 | 15 | 20 | 25 | 30 | 35 | 40 | 50 | 99 |
|---|---|---|---|---|---|---|---|---|---|
| HP | 523 | 715 | 993 | 1231 | 1372 | 1483 | 1576 | 1689 | 1819 |
HPs and Frost Resistance are controlled by your character’s Vigor. Thus, this attribute is a major aspect of your survivability. It’s very good for almost all characters to have some investment in Vigor so that you don’t die in one or two hits.
That said, you should carefully avoid the temptation to overinvest in Vigor. Longer fights are never going to be in your favor; you want to be able to kill your foes, and Vigor is not going to help you deal more damage, cast better spells, or help you on offense. The goal with this attribute is to have “just enough” to get by. Your skill level and comfort with the game determine that margin, so newer players are probably going to need more Vigor than returning veterans.
It’s best if you stop putting Souls into Vigor from 20-27, depending on your comfort with defensive techniques. After this, diminishing returns really hit Vigor hard. Highly skilled players won’t need to even push up to 20 Vigor, but you aren’t hurting yourself by reaching this moderate range.
For reference, above are a few sample Vigor values to give you an ideal of the scaling. Look how great everything is until you hit the point between 25 and 30. It slows considerably at that time, but it still gives you decent increases for a little bit longer.
 Endurance
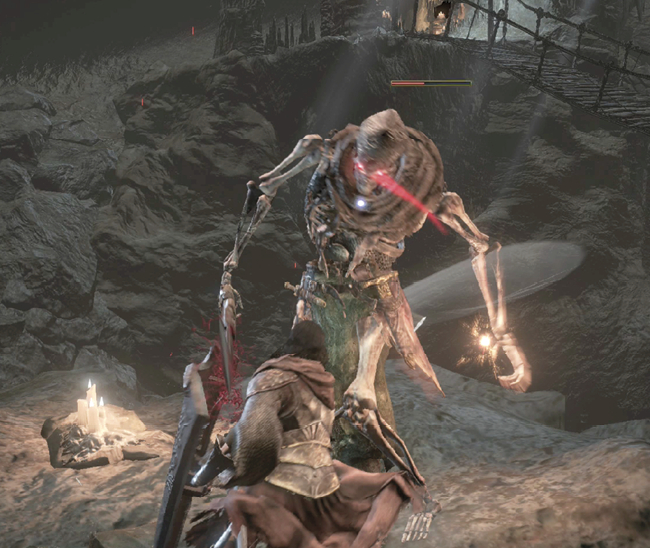
Endurance Scaling
| Endurance | 10 | 15 | 20 | 25 | 30 | 35 | 40 | 50 | 99 |
|---|---|---|---|---|---|---|---|---|---|
| Stamina | 94 | 102 | 112 | 122 | 134 | 146 | 160 | 161 | 170 |
Endurance controls your Stamina and Resistance to lightning and bleeding. Stamina is a very powerful offensive and defensive attribute. Without high Stamina, you cannot block, dodge, or attack as effectively. All of these actions drain your Stamina, and when it’s gone, you are a sitting duck for several seconds while you recover.
Once you gain more skill with this game, Endurance becomes just as important for surviving fights as your Vigor. If you have tons of Stamina, it’s so much easier to avoid attacks outright by raising your shield or leaping out of the way. No matter how many HPs you have, it’s better to avoid damage in the first place.
All characters need Endurance and, over time, you want to have more and more of it. Characters with weapons that have fast melee combos are going to get a great deal out of Endurance because they can stick to an enemy and slice continually whenever the enemy is caught off guard.
Endurance has interesting scaling. Unlike many attributes, it’s somewhat slower early on, hits a peak in growth after 30, and then hits a brick wall after 40. This attribute is very useful in New Game Plus and during the late game on any playthrough.
 Attunement
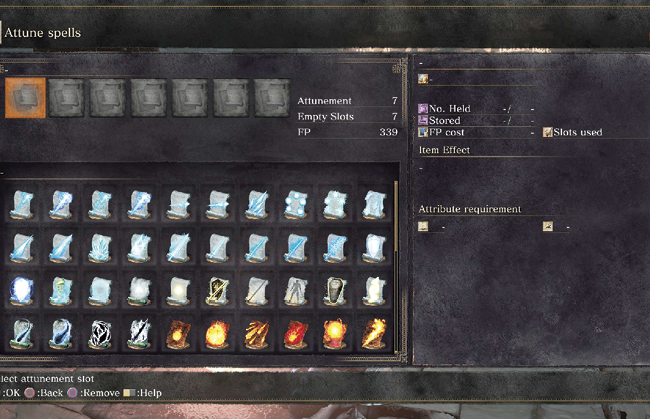
Attunement Scaling and Slots
| Attunement | 1-9 | 10 | 14 | 18 | 24 | 30 | 40 | 50 | 99 |
|---|---|---|---|---|---|---|---|---|---|
| Spell Slots | None | 1 | 2 | 3 | 4 | 5 | 6 | 7 | 10 |
| FP | 67 | 93 | 120 | 150 | 189 | 233 | 296 | 326 | 450 |
Attunement raises your FPs and the number of Attunement slots that you receive. This is an attribute for spellcasters. The more you want to push in that direction for your character, the more of this you need. Heavy physical damage dealers can skip Attunement entirely, while hybrid casters and full casters need to get a very solid amount of it.
Though FPs are always useful, the number of slots that you need should heavily determine the Attunement value that you shoot for with your build. Figure out the exact number of spells that you need to prepare, and only get the Attunement that you require. If you aren’t going to work with magic at all, remember to create a character with the lowest possible Attunement and never put a single Soul into it.
 Vitality
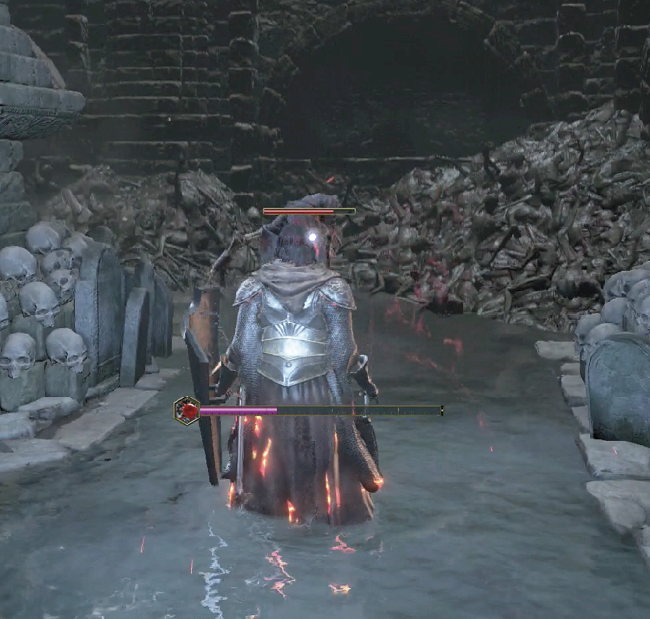
Vitality Scaling
| Vitality | 10 | 15 | 20 | 25 | 30 | 35 | 40 | 45 | 50 | 99 |
|---|---|---|---|---|---|---|---|---|---|---|
| Equip Load | 50 | 55 | 60 | 65 | 70 | 75 | 80 | 85 | 90 | 139 |
This attribute controls your Equip Load and Resistance to Poison, and it helps your defense, as well. The heavier your equipment, the more of this you need. This is a very defensive attribute because heavier equipment is essential for your survival against high-damage enemies. If you can’t equip that gear, you’re not going to benefit from it.
Vitality is another attribute where you’re shooting to have just enough of it. Look at your Equip Load and see if it’s getting dangerously high. Raise Vitality so that you have your best equipment on and still have a fair bit of headroom.
Do not estimate your necessary Equip Load based on having close to 100% of your total value. Equip Load is trickier than that. At higher percentages, you can still walk, dodge, and sprint. However, your dodge speed and distance become horrible. This affects jumping, as well, so remember to take off your armor if you’re having trouble with a given jump.
The lower your Equip Load percentage, the better. If you want to wear really heavy armor, there is only so much you can do. It takes a huge amount of Vitality to compensate for a suit of Winged Knight armor.
Make sure that you have enough Vitality to wear at least a decent lighter suit of armor and have a melee weapon, a shield, and a ranged weapon without topping 50% of your Equip Load. That’s a good balance. Stack more Vitality as needed or wanted.
Vitality has a straight line of growth; it never gets any better or worse as it rises. Get what you need, and don’t worry about the scaling.
 Luck
Luck
Luck Scaling
| Luck | 10 | 15 | 20 | 25 | 30 | 35 | 40 | 45 | 50 | 99 |
|---|---|---|---|---|---|---|---|---|---|---|
| Item Discovery | 110 | 115 | 120 | 125 | 130 | 135 | 140 | 145 | 150 | 199 |
Luck has a very small impact on the Bleed and Poison ‘damage’ of your weapons, but the effect is fairly weak.
One other slight benefit is that Luck increases the damage of Hollow Gem infused weapons, and there are a few weapons that gain some damage scaling from Luck.
In general Luck is a luxury stat, it’s nice to have, but other attributes are more important for most first time players and fir
 Strength
Strength raises your Resistance to fire. It is also the primary attribute that determines which heavier weapons you can wield and how much Attack Power you gain when using them. Strength is a major attribute for melee characters. It is either taken in conjunction with Dexterity, or it is more exclusively focused if your build is dedicated toward specific heavy weaponry.
For the easiest melee build, get enough Dexterity to wield the weapons that you find yourself enjoying, and then stop investing in Dexterity after that. Put the rest of your Souls into Strength, and look for weapons that have strong scaling based off of Strength.
If you have high Strength and good weapon scaling, your bonus damage is sometimes much higher than the base damage of the weapon itself!
Regardless of these things, all Strength suffers from diminishing returns after a certain point. Even heavy Strength builds need to support their raw damage with other attributes; otherwise, they can’t wear better armor, swing as many times, etc. After getting to 40 in Strength, even weapons with very high Strength scaling start to get tepid results. Make sure that your supporting attributes are up to par before you go much further.
 Dexterity
Dexterity also adds Attack Power to many weapons. It improves your spellcasting times, reduces falling damage, and is required for wielding a number of items. Several high-speed weapons are based on Dexterity more than Strength, so this can still be the primary damage attribute for quite a few character builds. Dexterity helps with some of the speedier weapons and with your ranged weaponry.
Dexterity builds are often trickier to master compared to pure Strength melee characters. If you are a newcomer to the series, feel free to dabble here, but recognize that this is usually a more challenging path until you’ve gotten the game mechanics down to a science.
As with all damage attributes, you need to make sure that your Dexterity balances with your other attributes. Once you start to see the damage improvements weakening, put a number of levels into other attributes.
 Intelligence
Intelligence improves spell effects and is required for using Sorcery and some Pyromancy spells (one Blessing requires Intelligence, too). This is a totally disposable attribute for physical damage dealers, but it’s the mainstay for dedicated Sorcery casters. Pyromancers need Intelligence, too, but they can afford to treat it as a secondary attribute along with Faith and something for melee damage.
Get enough Attunement and Intelligence to wield the spells that you need the most. Pair this with rings that increase the power of your Sorceries or Pyromancy, and you’re going to be in good shape. Modify your melee weapons with Crystal and Simpleton Gems so that they gain Intelligence scaling. This way, you still have some viable damage in melee to complement your spells.
 Faith
Faith
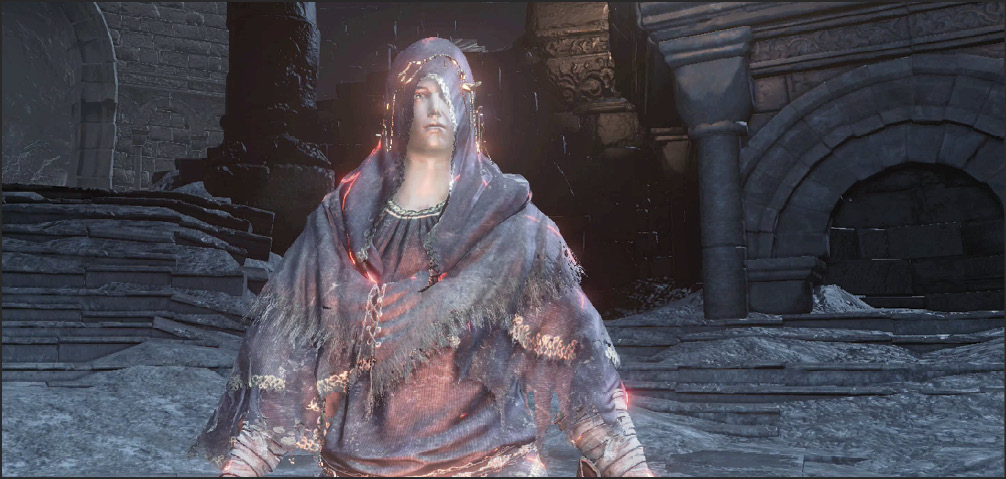
Faith is similar to Intelligence in that it is required for certain spells. In this case, Miracles and Pyromancy benefit from Faith (but Sorceries do not). Faith also influences your Resistance to magic and dark-based attacks.
Even if you aren’t going for a massive Miracle-based build, it’s possible to have a very minor amount of Attunement and Faith and still receive some good benefits from it. There are lower-tier Miracles that heal your character, remove ailments, and buff your weapons. It’s very doable to create a character that primarily focuses on physical damage while still benefiting from a minor push into Faith.
An Attunement of 10 gets you a single spell slot, and a Faith of 8 lets you heal and remove ailments. That’s almost no Souls invested for a very useful utility bump to your character.
 Stamina
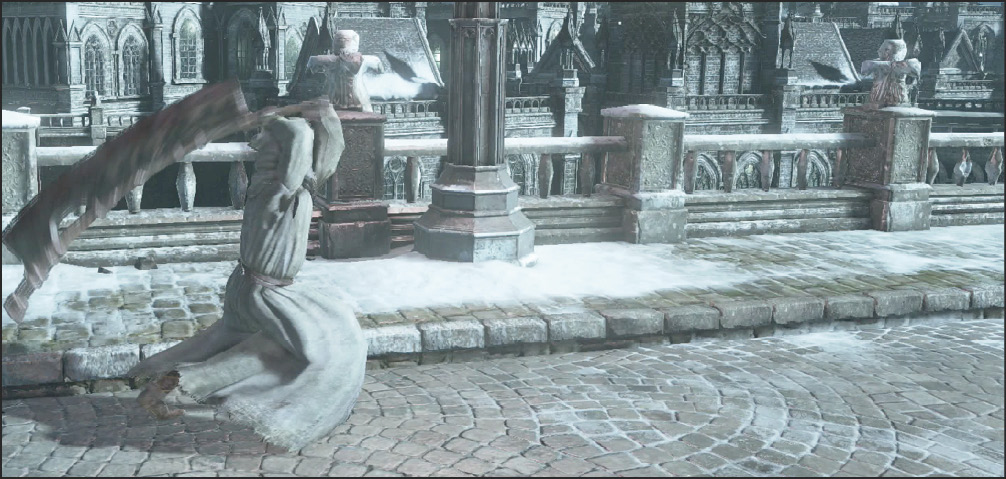
Stamina is like your energy level. It falls when you block, dodge, or launch various attacks. It replenishes quickly as long as you stop blocking and attacking. You can still move around while restoring your Stamina, so back away from your enemies and let your Stamina return while they try to pursue you.
The green bar at the top of your screen shows your Stamina. Pay close attention to it because running out of Stamina can get you killed very quickly.
You still regenerate Stamina while blocking, but at a reduced rate. Move or roll away and drop your guard to refill your Stamina faster. Several Rings, some armor, and a few spells and consumables can enhance your Stamina regen rate, useful for tough fights.
 HP
HP
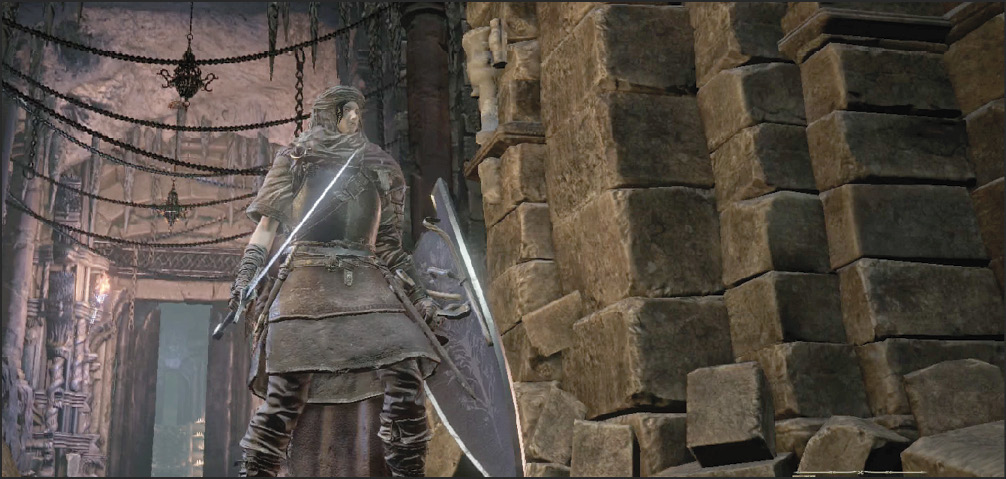
HPs are your life force. If they’re totally depleted, you die, drop your Souls, and return to the last Bonfire that you visited. All of those are troublesome, so you never want to lose your HPs.
The red bar at the top of your screen is a reflection of your current and maximum HPs. Use your Estus Flask to restore lost health, and return to a Bonfire if you start running low on your Estus Flask uses. Some rings can provide limited healing. Miracles are also used to restore health, and a Pyromancy spell can heal you over time. In some areas, there are cauldrons of Estus Soup that you can also drink to restore yourself.
Equipping a Blessed Gem infused weapon or shield grants slight HP regen over time. Should you perish, you lose your Ember and a portion of your maximum health. Using an Ember consumable item, defeating a boss, or successfully participating in multiplayer (co-op or PvP) all restore your Ember and return you to full health.
 FP
FP
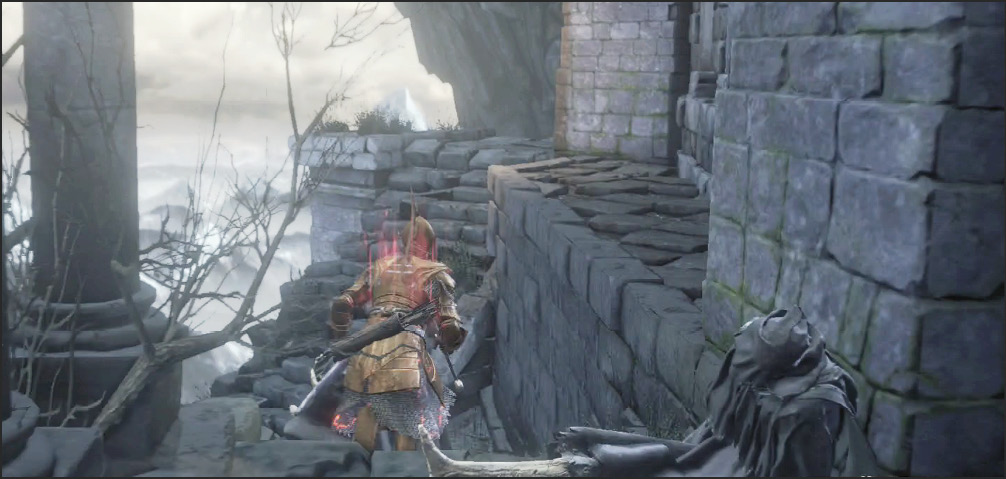
FPs control your ability to cast spells and use skills. In Dark Souls III, even physical damage dealers have need of FP because some of their abilities draw off of it, too.
The blue bar at the top of your screen shows your current and maximum FPs. It’s possible to divide your Estus Flask uses so that you have uses that replenish FPs instead of HPs. The more you become a caster, the higher this ratio needs to be so that you can keep your spells going throughout longer and harder engagements.
 Equip Load
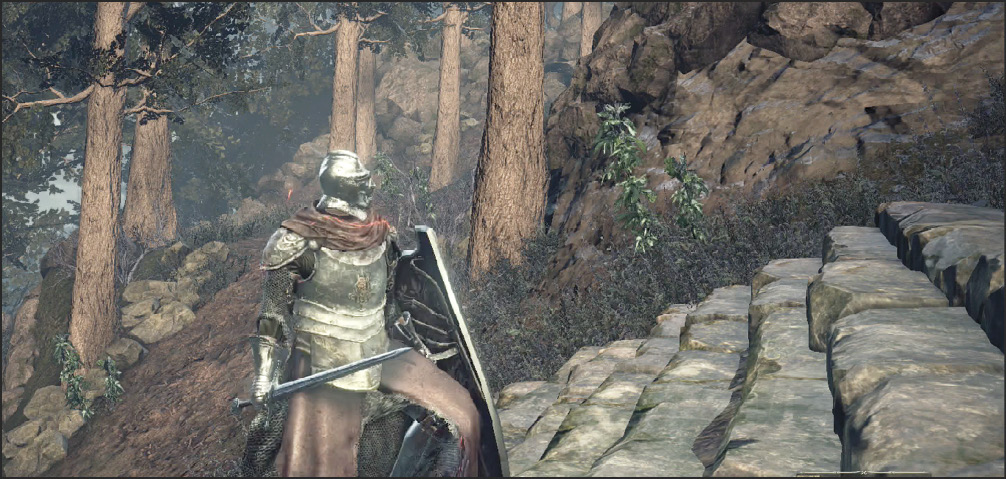
Equip Load is your capacity for carrying and using your equipped weapons and armor. The more you have, the heavier your gear can be without messing up your movements.
To judge whether your Equip Load is in good shape, go into the Equipment screen. On the right side, you find two numbers under your Equip Load: your current value and the maximum value. You want to have your current Equip Load be well under 100% of your maximum. Your character’s movements, such as dodging, are influenced by your ratio of weight to maximum Equip Load. If you’re over 100%, you can’t even try to dodge. That’s very, very bad. In the higher percentages of 70-100, you still face some serious penalties. You can dodge, but the movements are sluggish. Instead of gaining a defensive advantage, you might very well end up just as bad off as if you didn’t dodge at all.
Your character feels much more mobile when dodging below 50% Equip Load, and the benefits continue to improve as you get lighter and lighter. Rather than looking for a specific value, you always have to wrestle between superior gear and having enough dodge speed and distance to stay safe.
If forced to choose, take the best weapons you need to survive. Don’t compromise on that choice.
Then, figure out the Equip Load percentage that feels right to you for dodging. Once you’re happy with that percentage, find the armor that gets you the most protection for that percentage, and upgrade to heavier gear whenever you get to raise your Equip Load.
In short: weapons > dodge > heavy armor.
 Poise
Poise
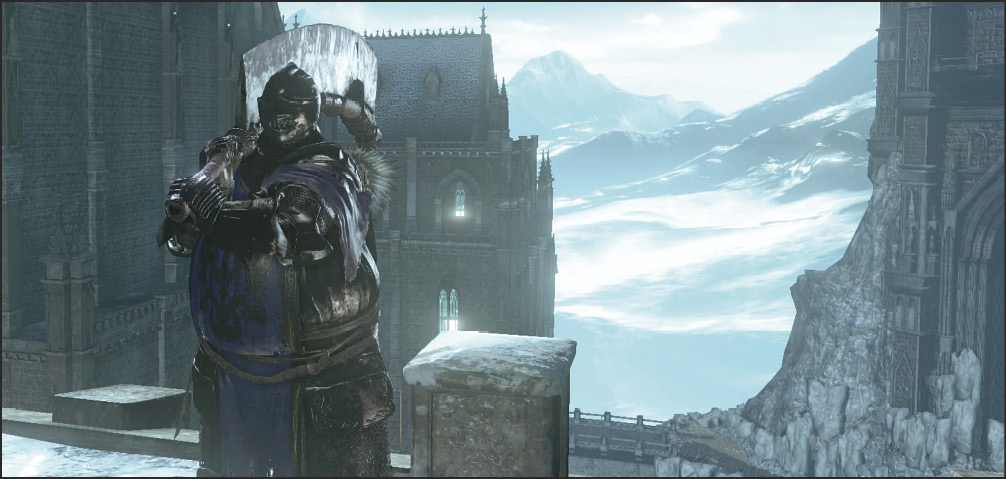
Poise determines how much damage you can take without having your actions interrupted. Too little of this makes your character quite vulnerable to interruption. If you have fast weapons and great reflexes, this isn’t quite as important (though it’s always good to have). For weapons with longer animation times, it’s vital. Being interrupted in the middle of your slow attacks puts you at a massive disadvantage.
Heavier, high-end armor helps you get your Poise up. If you’re going to use extremely heavy weapons and armor, make sure that you have plenty of Vigor and high Poise, and load up on regular Estus Flasks. Your fights won’t be pretty, but they’ll splatter enemies that dare to stab you.
 Item Discovery
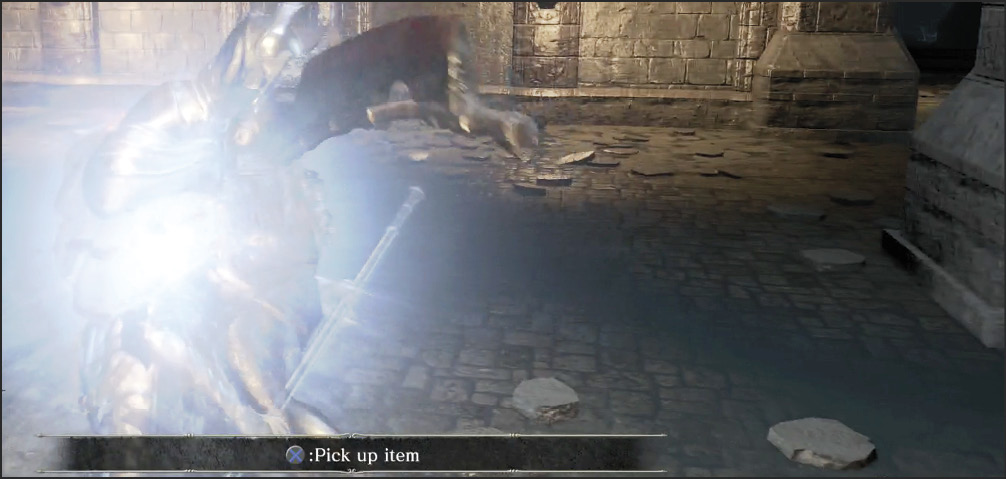
Item Discovery controls the chance that an item will appear after you defeat a monster. Due to more frequent drops, higher Item Discovery gets you access to more materials for upgrading equipment (among other things), so your character’s progression is aided by very high Luck.
The Covetous Gold Serpent Ring raises this value when it’s equipped, and using Rusted Coins or Rusted Gold Coins temporarily improves this value by a large amount.
 Attack Power
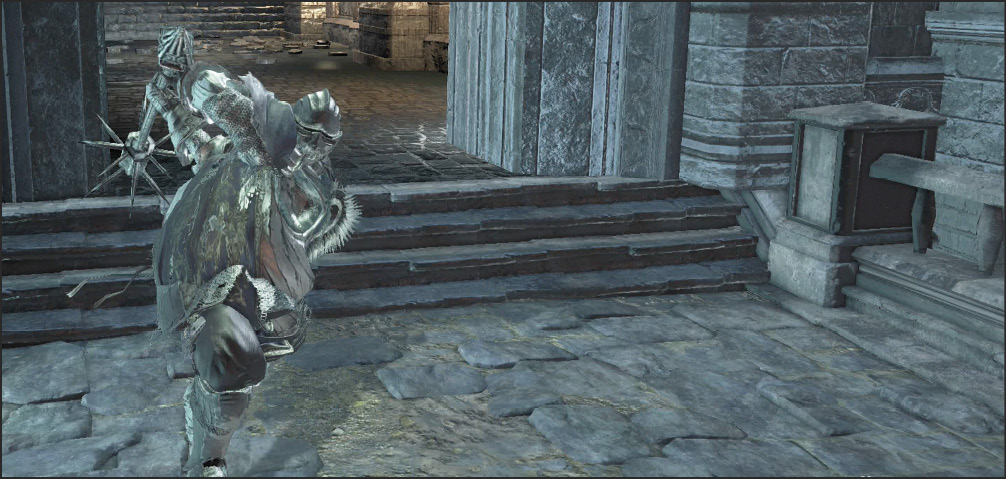
Attack Power shows the total damage inflicted by your various weapons if they strike a target without any Reduction. This value is a combination of all damage types that the weapon inflicts (physical, magical, etc.). A higher value here is always a good thing. To raise the value, have the Blacksmith upgrade the item and increase any attributes that contribute to the weapon’s damage output.
Total Attack Power for a weapon might involve quite a few things. The base value is simply a matter of the weapon itself and the number of times it has been reinforced. Then, you add in a scaled amount of damage based on any pertinent attributes (this can include any or all of the following: Strength, Dexterity, Intelligence, Faith, and Luck).
Even with this information, you still don’t know all the factors about a weapon’s damage output. Unlisted are a weapon’s swing time and Stamina cost per swing. These heavily impact your damage totals, as well. A weapon that deals 500 damage per swing might pale in comparison to another weapon that deals 350 a swing but takes half the time and Stamina to finish its attack.
Never judge your weaponry just by the numbers. In Dark Souls games, the movelist of a weapon is everything. You don’t know a thing about each weapon until you’ve tried it out. You’ll probably read that statement a number of times, but it’s one of the most important pieces of advice that can be given.
 Resistances and Armor
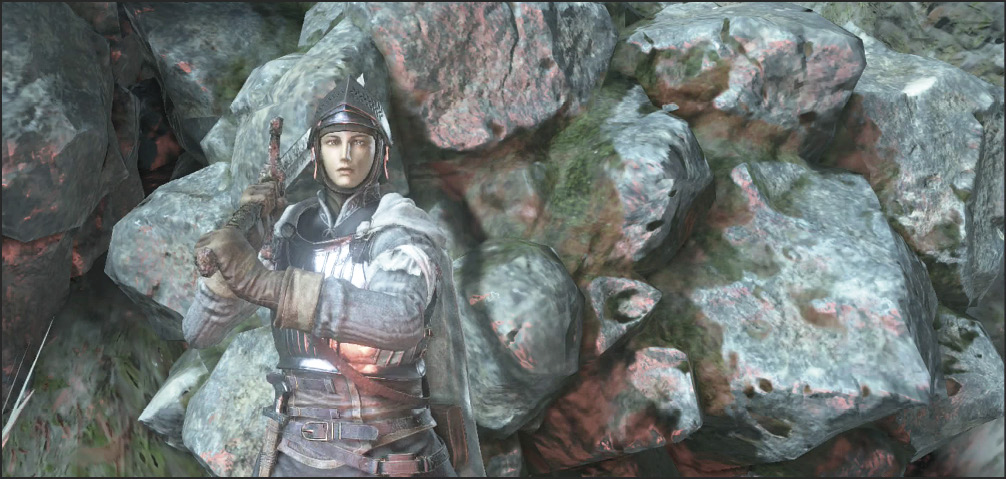
Resistances and armor determine how affected your character is by bleeding, poison, frost, and curses. Resistances are controlled by your attributes, and your armor value is equipment-based. The more you have of each, the better. All of these are situational because not all enemies inflict these status effects. When dealing with adversaries that have them, prioritize equipment with the highest possible armor values against the effect in question.
Bleeding causes sudden sharp spikes of HP loss. Poison and Toxic effects deal damage over time, though Toxic nastier and harder to cure.
Frost slows your character, and dampens Stamina regen, making it very hard to avoid enemy attacks and respond in kind. This indirectly gets you killed because you can’t get out of the way when foes attack you.
Curse effects are quite rare, but they’re also frightening. If your curse bar fills all the way up, your character dies immediately.
 Defense and Reduction
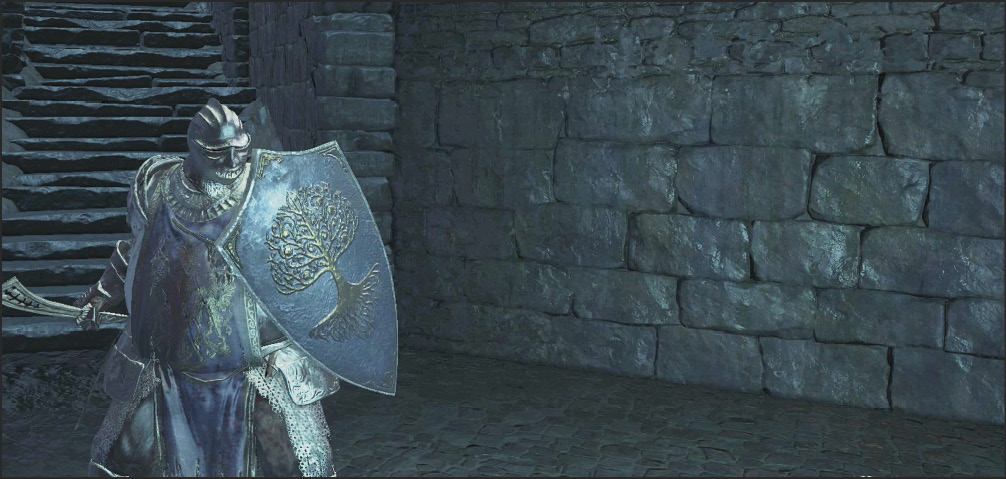
These defensive stats show you how strong your character is against specific types of attacks (strike, slash, thrust, magical, etc.). Your defense against each is determined by your character’s attributes, whereas your equipment controls your Reduction. In both cases, higher is better, and you want to get as much as you can of each.
 Attunement Slots
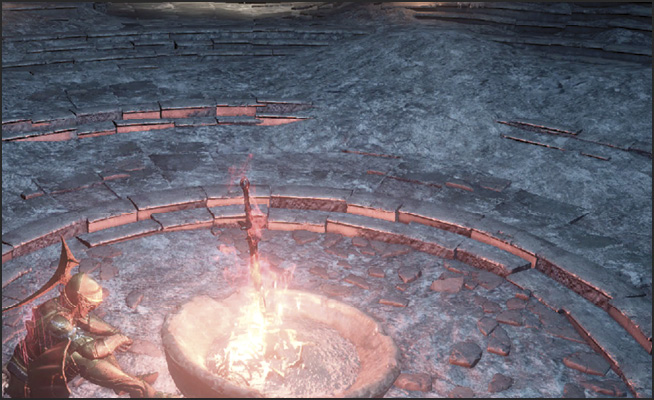
This determines the number of spells that your character can have prepared simultaneously. Note that more powerful spells take up multiple slots. Therefore, it’s useful to have a little bit more than you think you need in case you find something especially good and don’t want to drop anything else in your arsenal.
Covenant
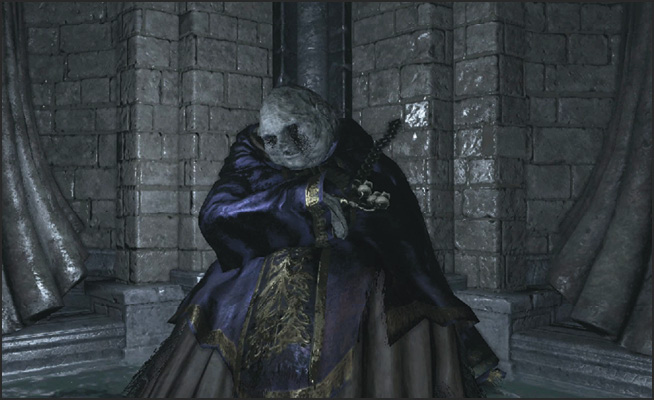

The Covenants in Dark Souls III each have useful rewards, and you improve your relations with the factions by earning items their masters approve of. You deliver these items to the shrines or NPCs of that faction, earning rewards when you deliver 10 and 30 of their favored items.
The Covenant line on your status page simply shows which Covenant you’re currently serving. This is determined by the Covenant item that you equip in the appropriate slot on your character page.