
Dark Souls III Guide (Steam) Walkthrough
Profaned Capital
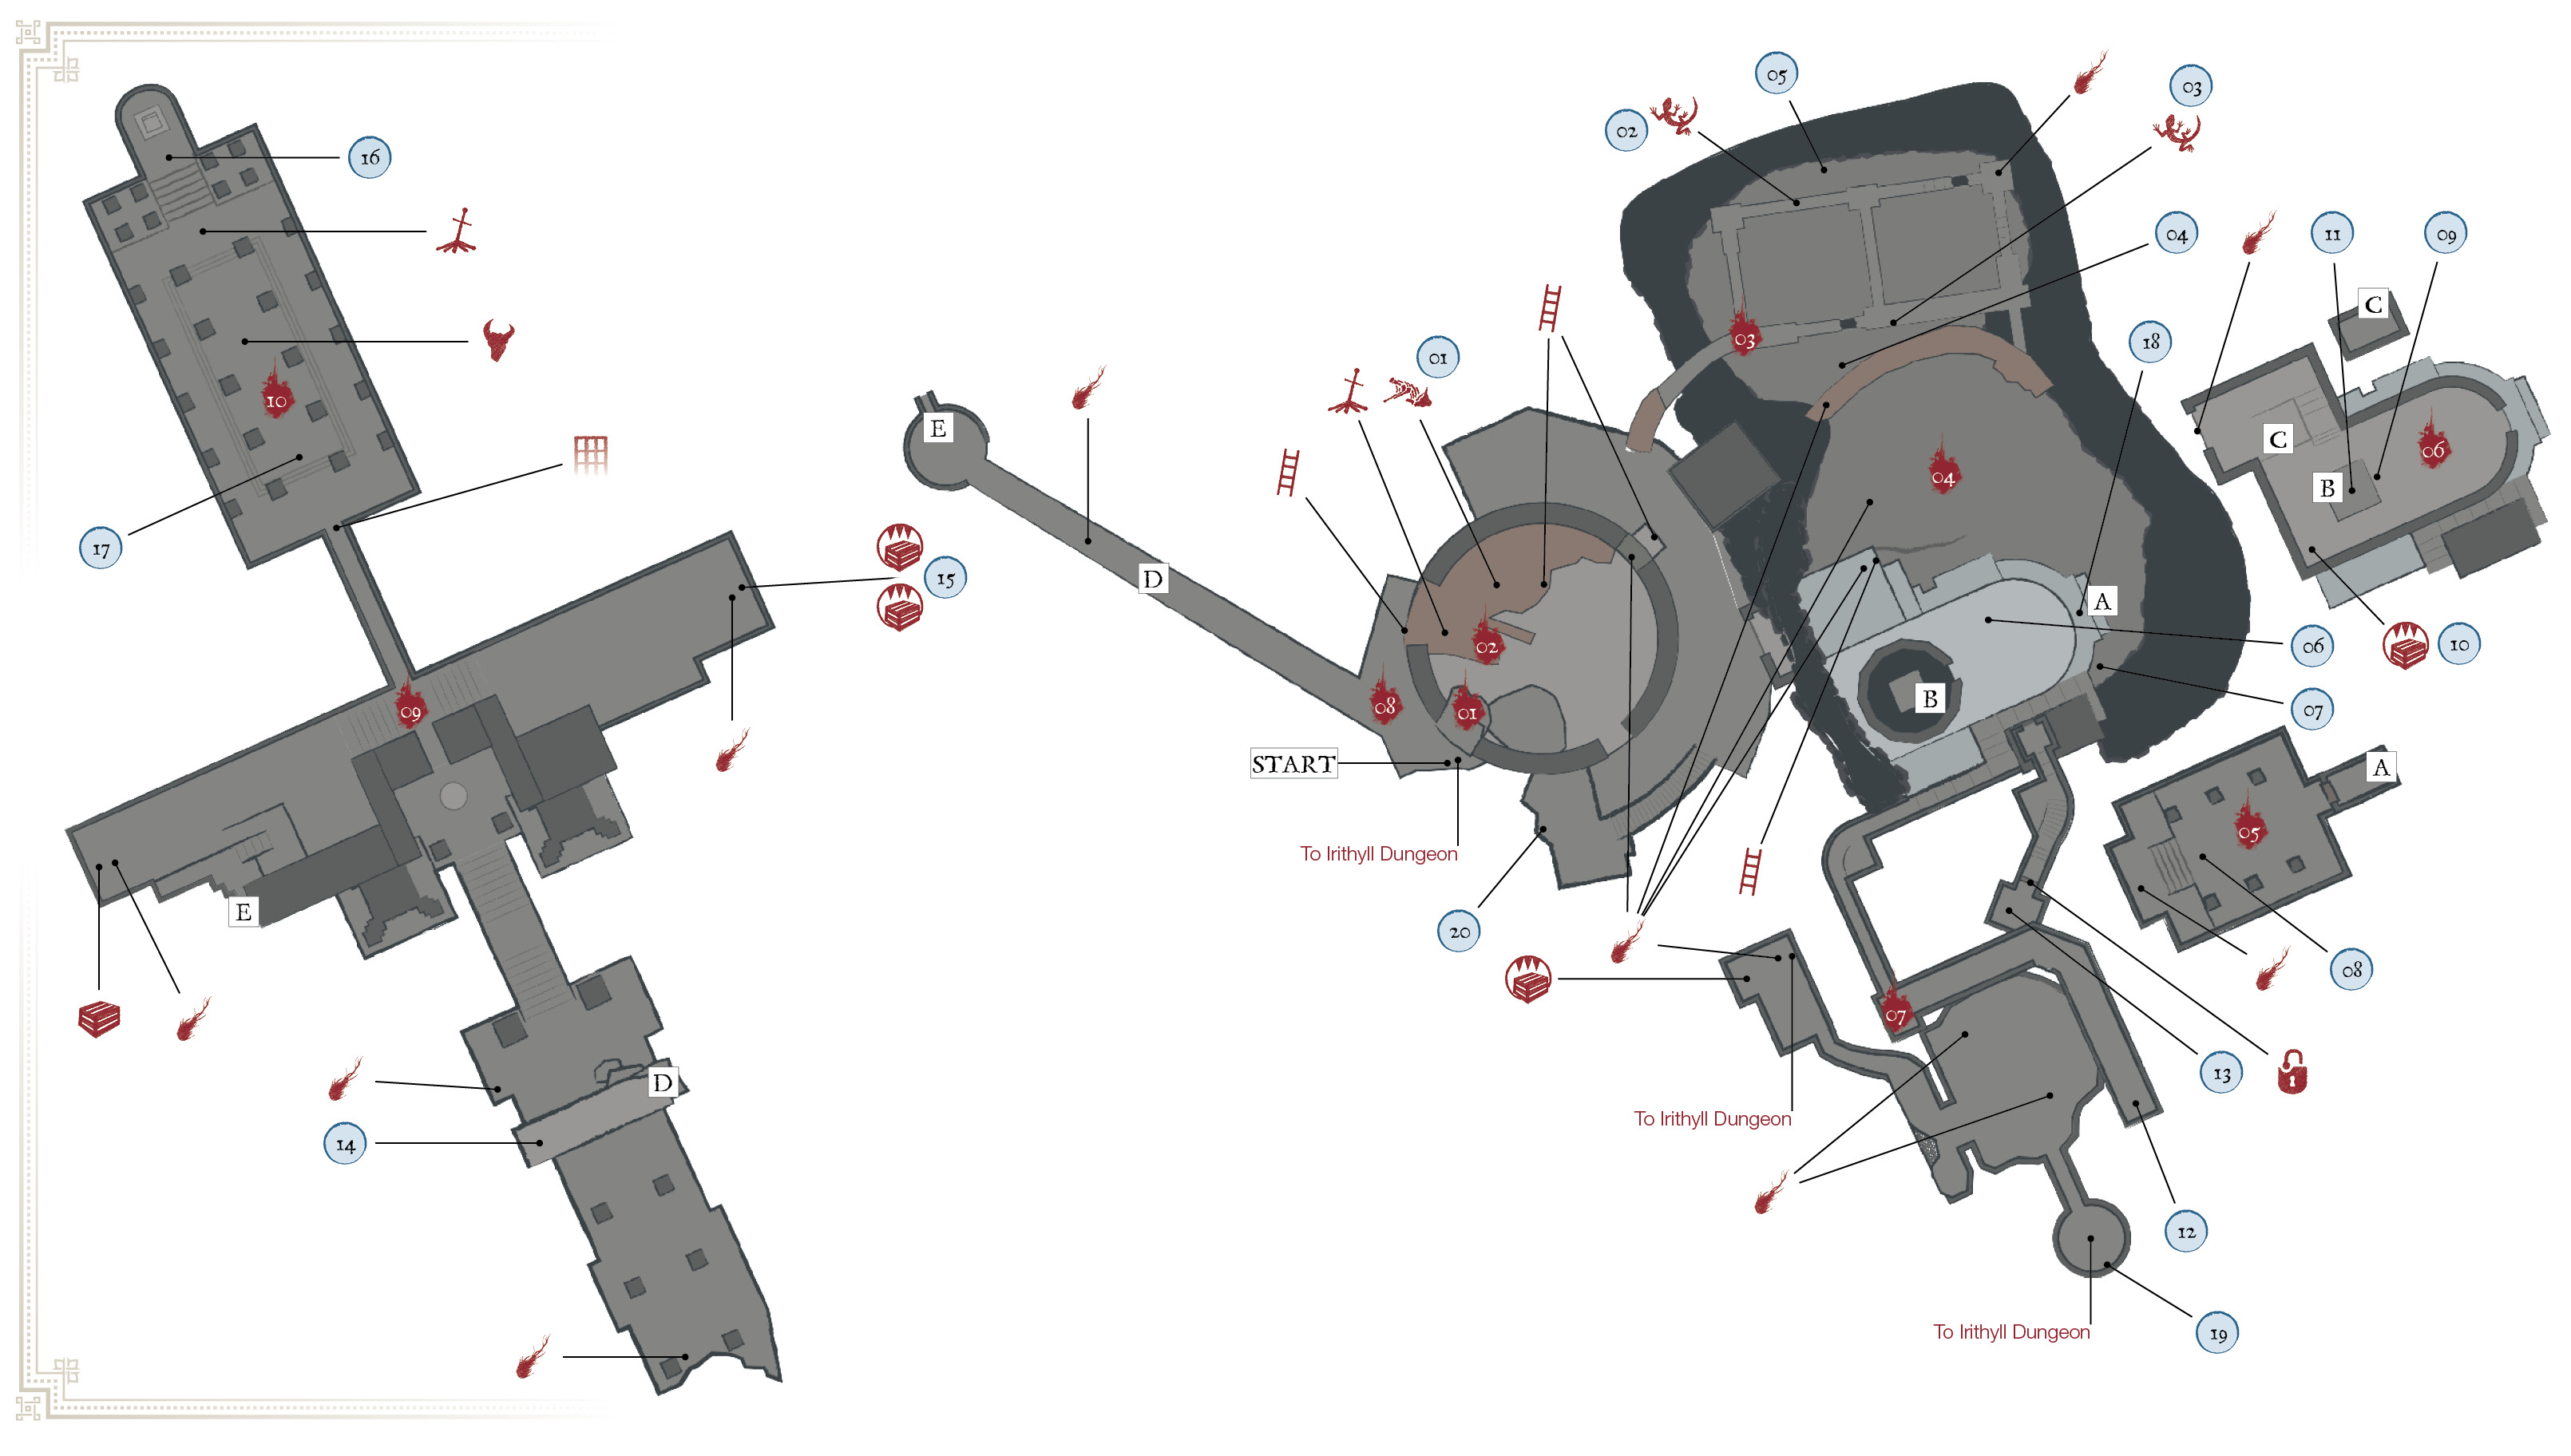
Major Items
 | Items |
|---|---|
| 1 | Undead Bone Shard |
| 2 | Twinkling Titanite |
| 3 | Twinkling Titanite |
| 4 | Poison Gem |
| 5 | Cursebite Ring |
| 6 | Logan’s Scroll (from Unkindled) |
| 7 | Shriving Stone |
| 8 | Eleonora |
| 9 | Court Sorcerer Armor (full set) |
| 10 | Court Sorcerer’s Staff (on Mimic) |
| 11 | Wrath of the Gods |
| 12 | Jailer’s Key Ring |
| 13 | Covetous Gold Serpent Ring |
| 14 | Onislayer Greatbow |
| 15 | Greatshield of Glory (on Mimic) |
| 16 | Storm Ruler |
| 17 | Storm Ruler, Pierce Shield, Catarina Armor (full set, all only if Siegward aided against Yhorm) |
| 18 | Flame Stoneplate Ring+1 (New Game +1) |
| 19 | Covetous Silver Serpent Ring+1 (New Game +1, on ledge off elevator) |
| 20 | Magic Stoneplate Ring+2 |
Bonfires Located Here
| Bonfire Name |
|---|
| Profaned Capital |
| Yhorm the Giant |
Enemies
| Enemy Name |
|---|
| Headless Gargoyle |
| Sewer Centipede |
| Monstrosity of Sin |
| Unkindled |
| Jailer Handmaid |
| Yhorm the Giant |
Key Doscoveries
| Discovery |
|---|
| Siegward Helps Fight Yhorm (Requires Questline) |
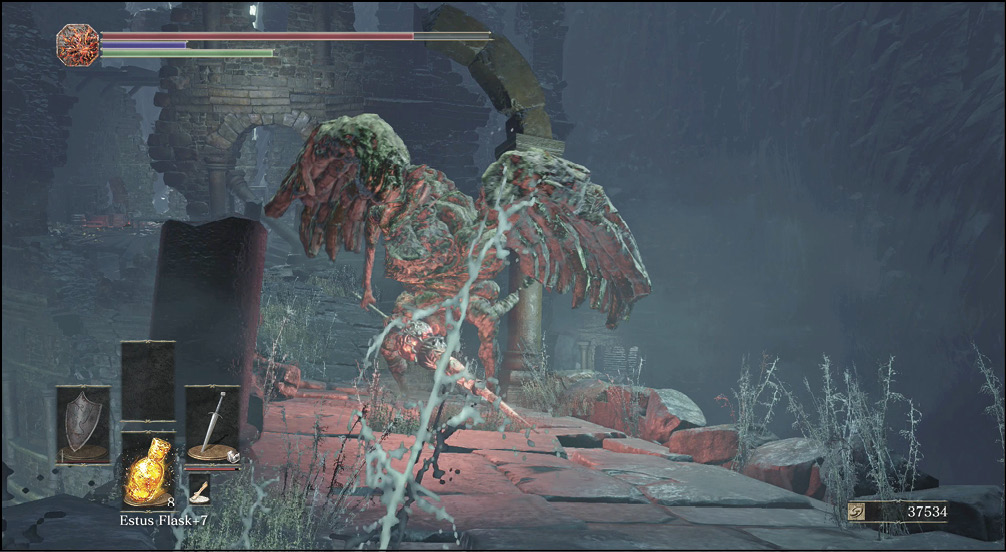
 A damaged bridge connects Irithyll Dungeon and the Profaned Capital. As you try to cross it, a Headless Gargoyle attacks you. If you’re confident in your footing, fight it while you’re still on the bridge. Just be careful of the edges, and don’t dodge unless you know where you’re rolling. It’s better to take a hit than fall to your death. Or you can simply dash beyond it and fight it once you reach stable footing.
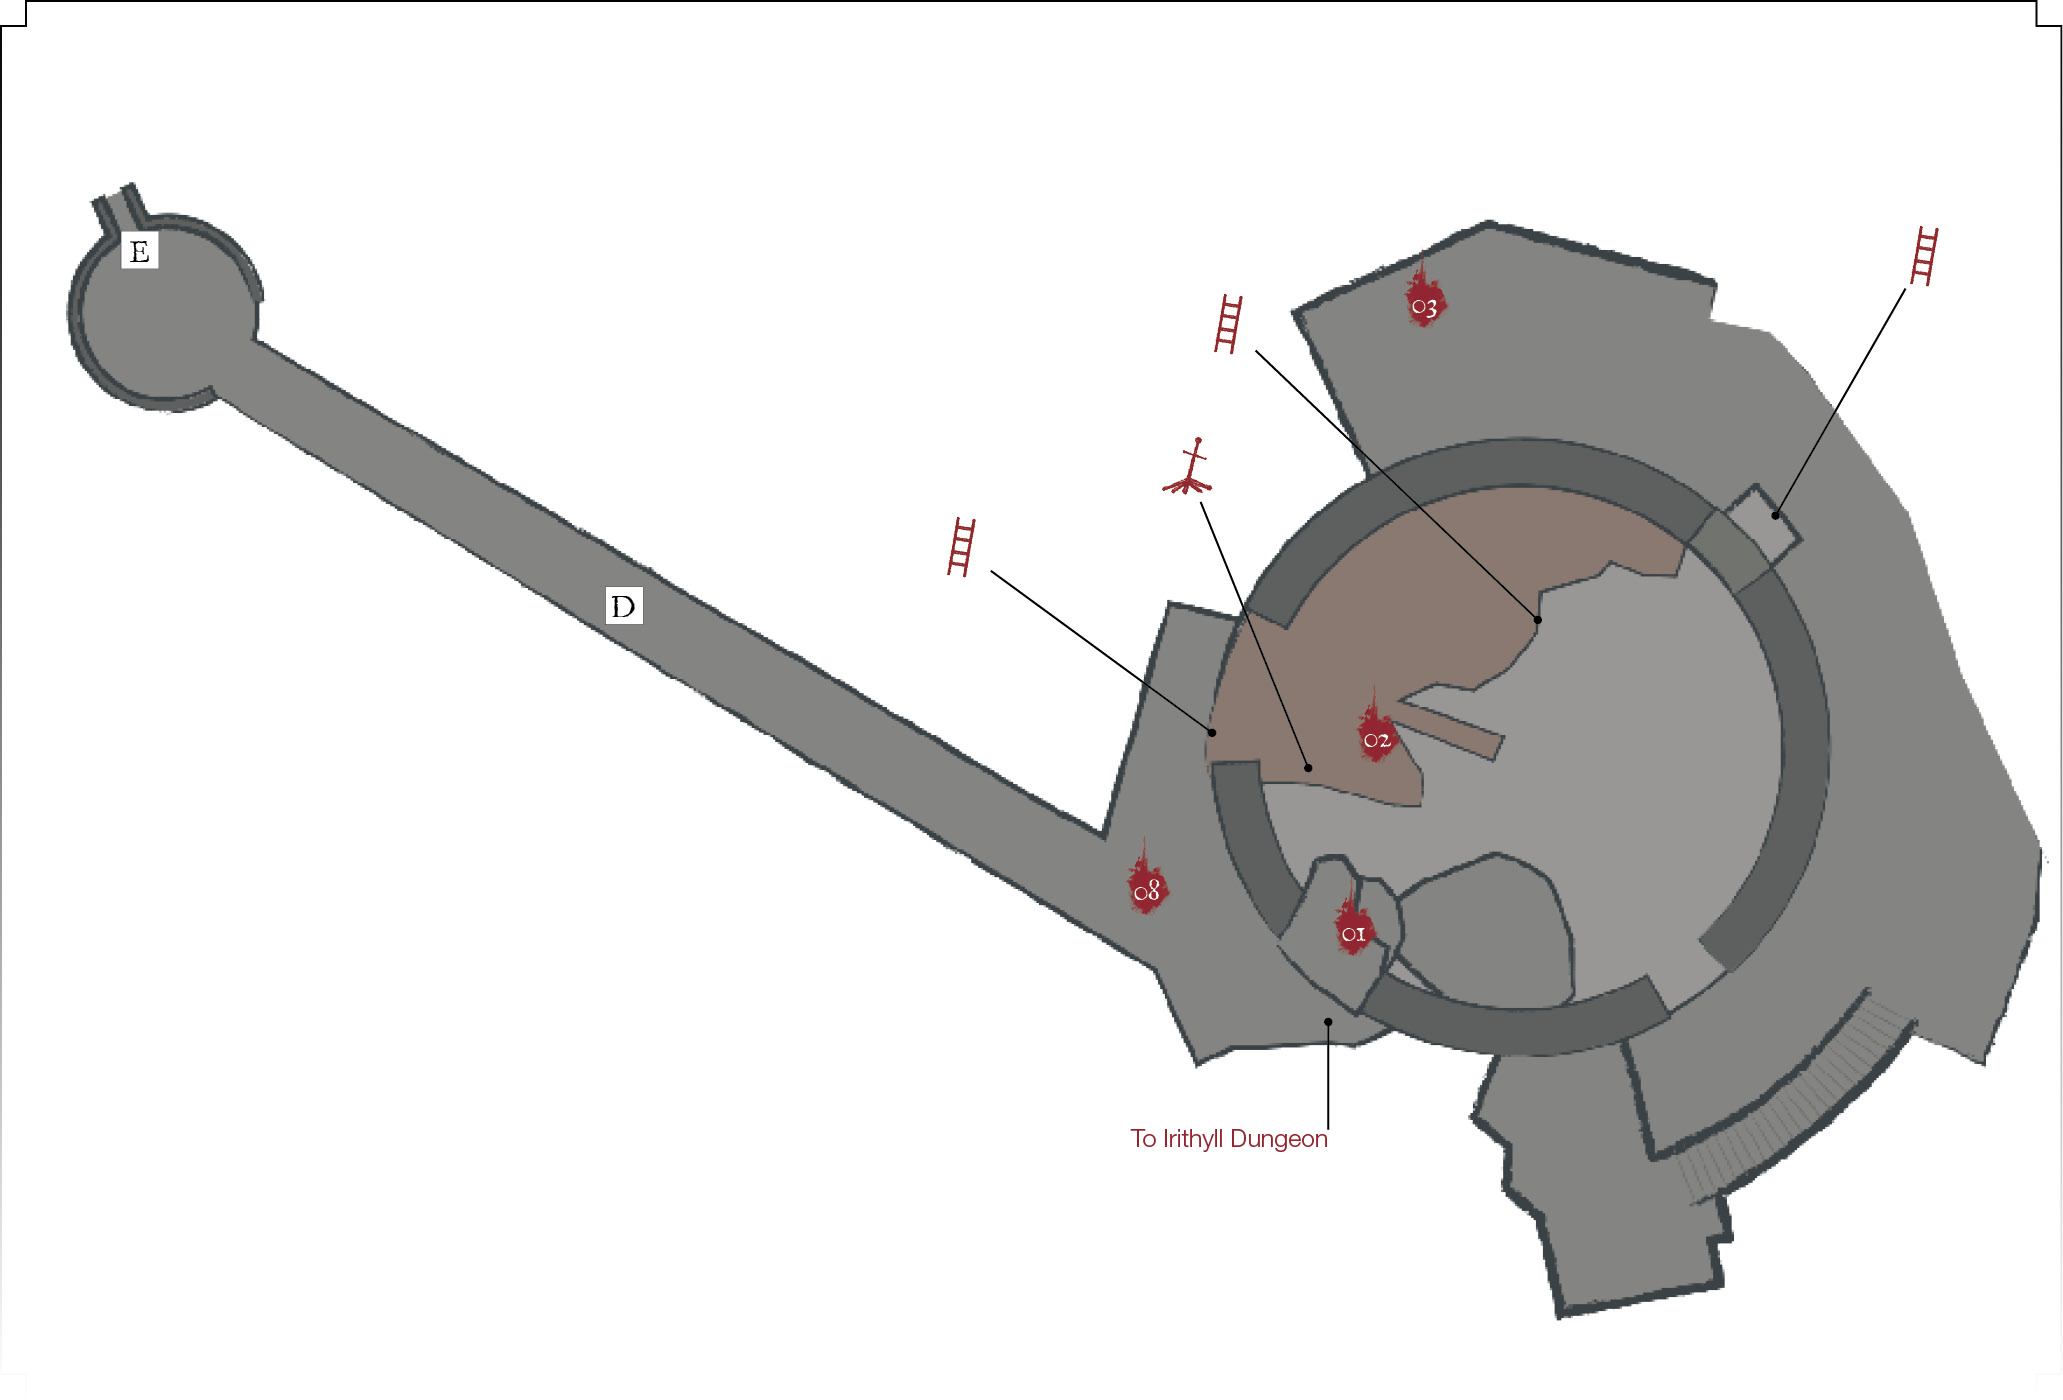
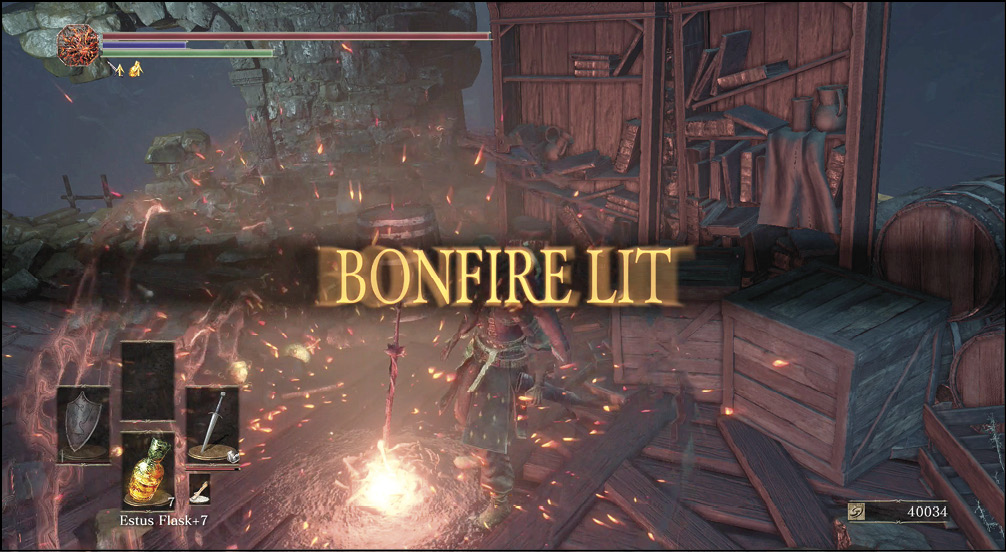
Bonfire—Profaned Capital
 Go into the Profaned Capital, and climb onto a broken floor in the tower. Light a Bonfire (Profaned Capital), and then look around for an Undead Bone Shard. You also learn the Stretch Out gesture up here as you pick up items.
Don’t try to fall down to the treasure in one of the windows. You actually get it from outside the tower, where a ladder leads up to it. On the southern side of the big circle, you get a Magic Stoneplate Ring+2 (but only if you're searching on New Game +2).
 Walk out of the tower’s broken wall to explore the eastern side of the capital. Though optional, there is more loot to be had over there, and some of it is quite important. You should cover that before getting everything to the west.
A small entrance to the northeast takes you into a building with narrow corridors. Though Crystal Lizards wait inside, you need to watch the floor carefully. There are gaps in the stonework, and falling causes you to drop into the mire below. If you take the path immediately to your left upon entering, you can kill both of the Crystal Lizards without plummeting into the goo.
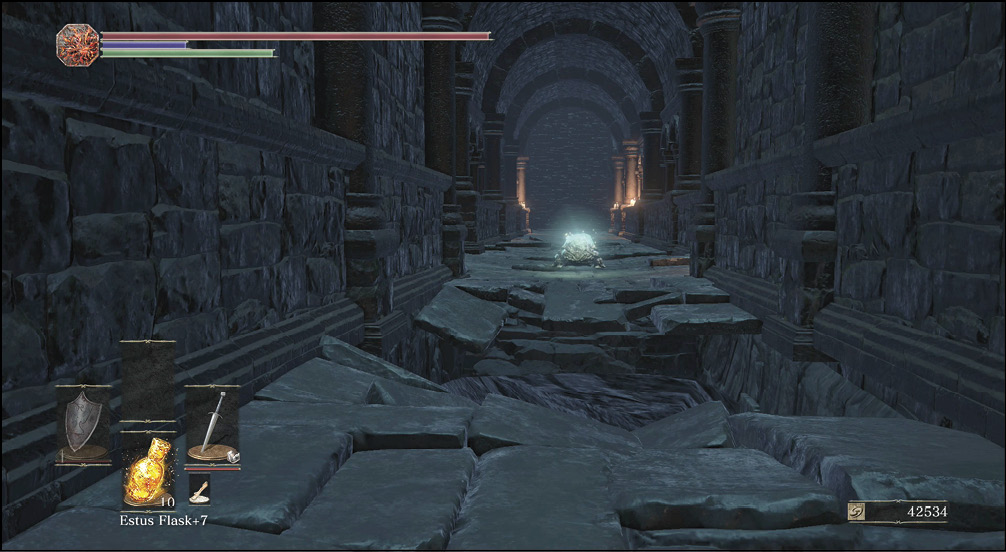
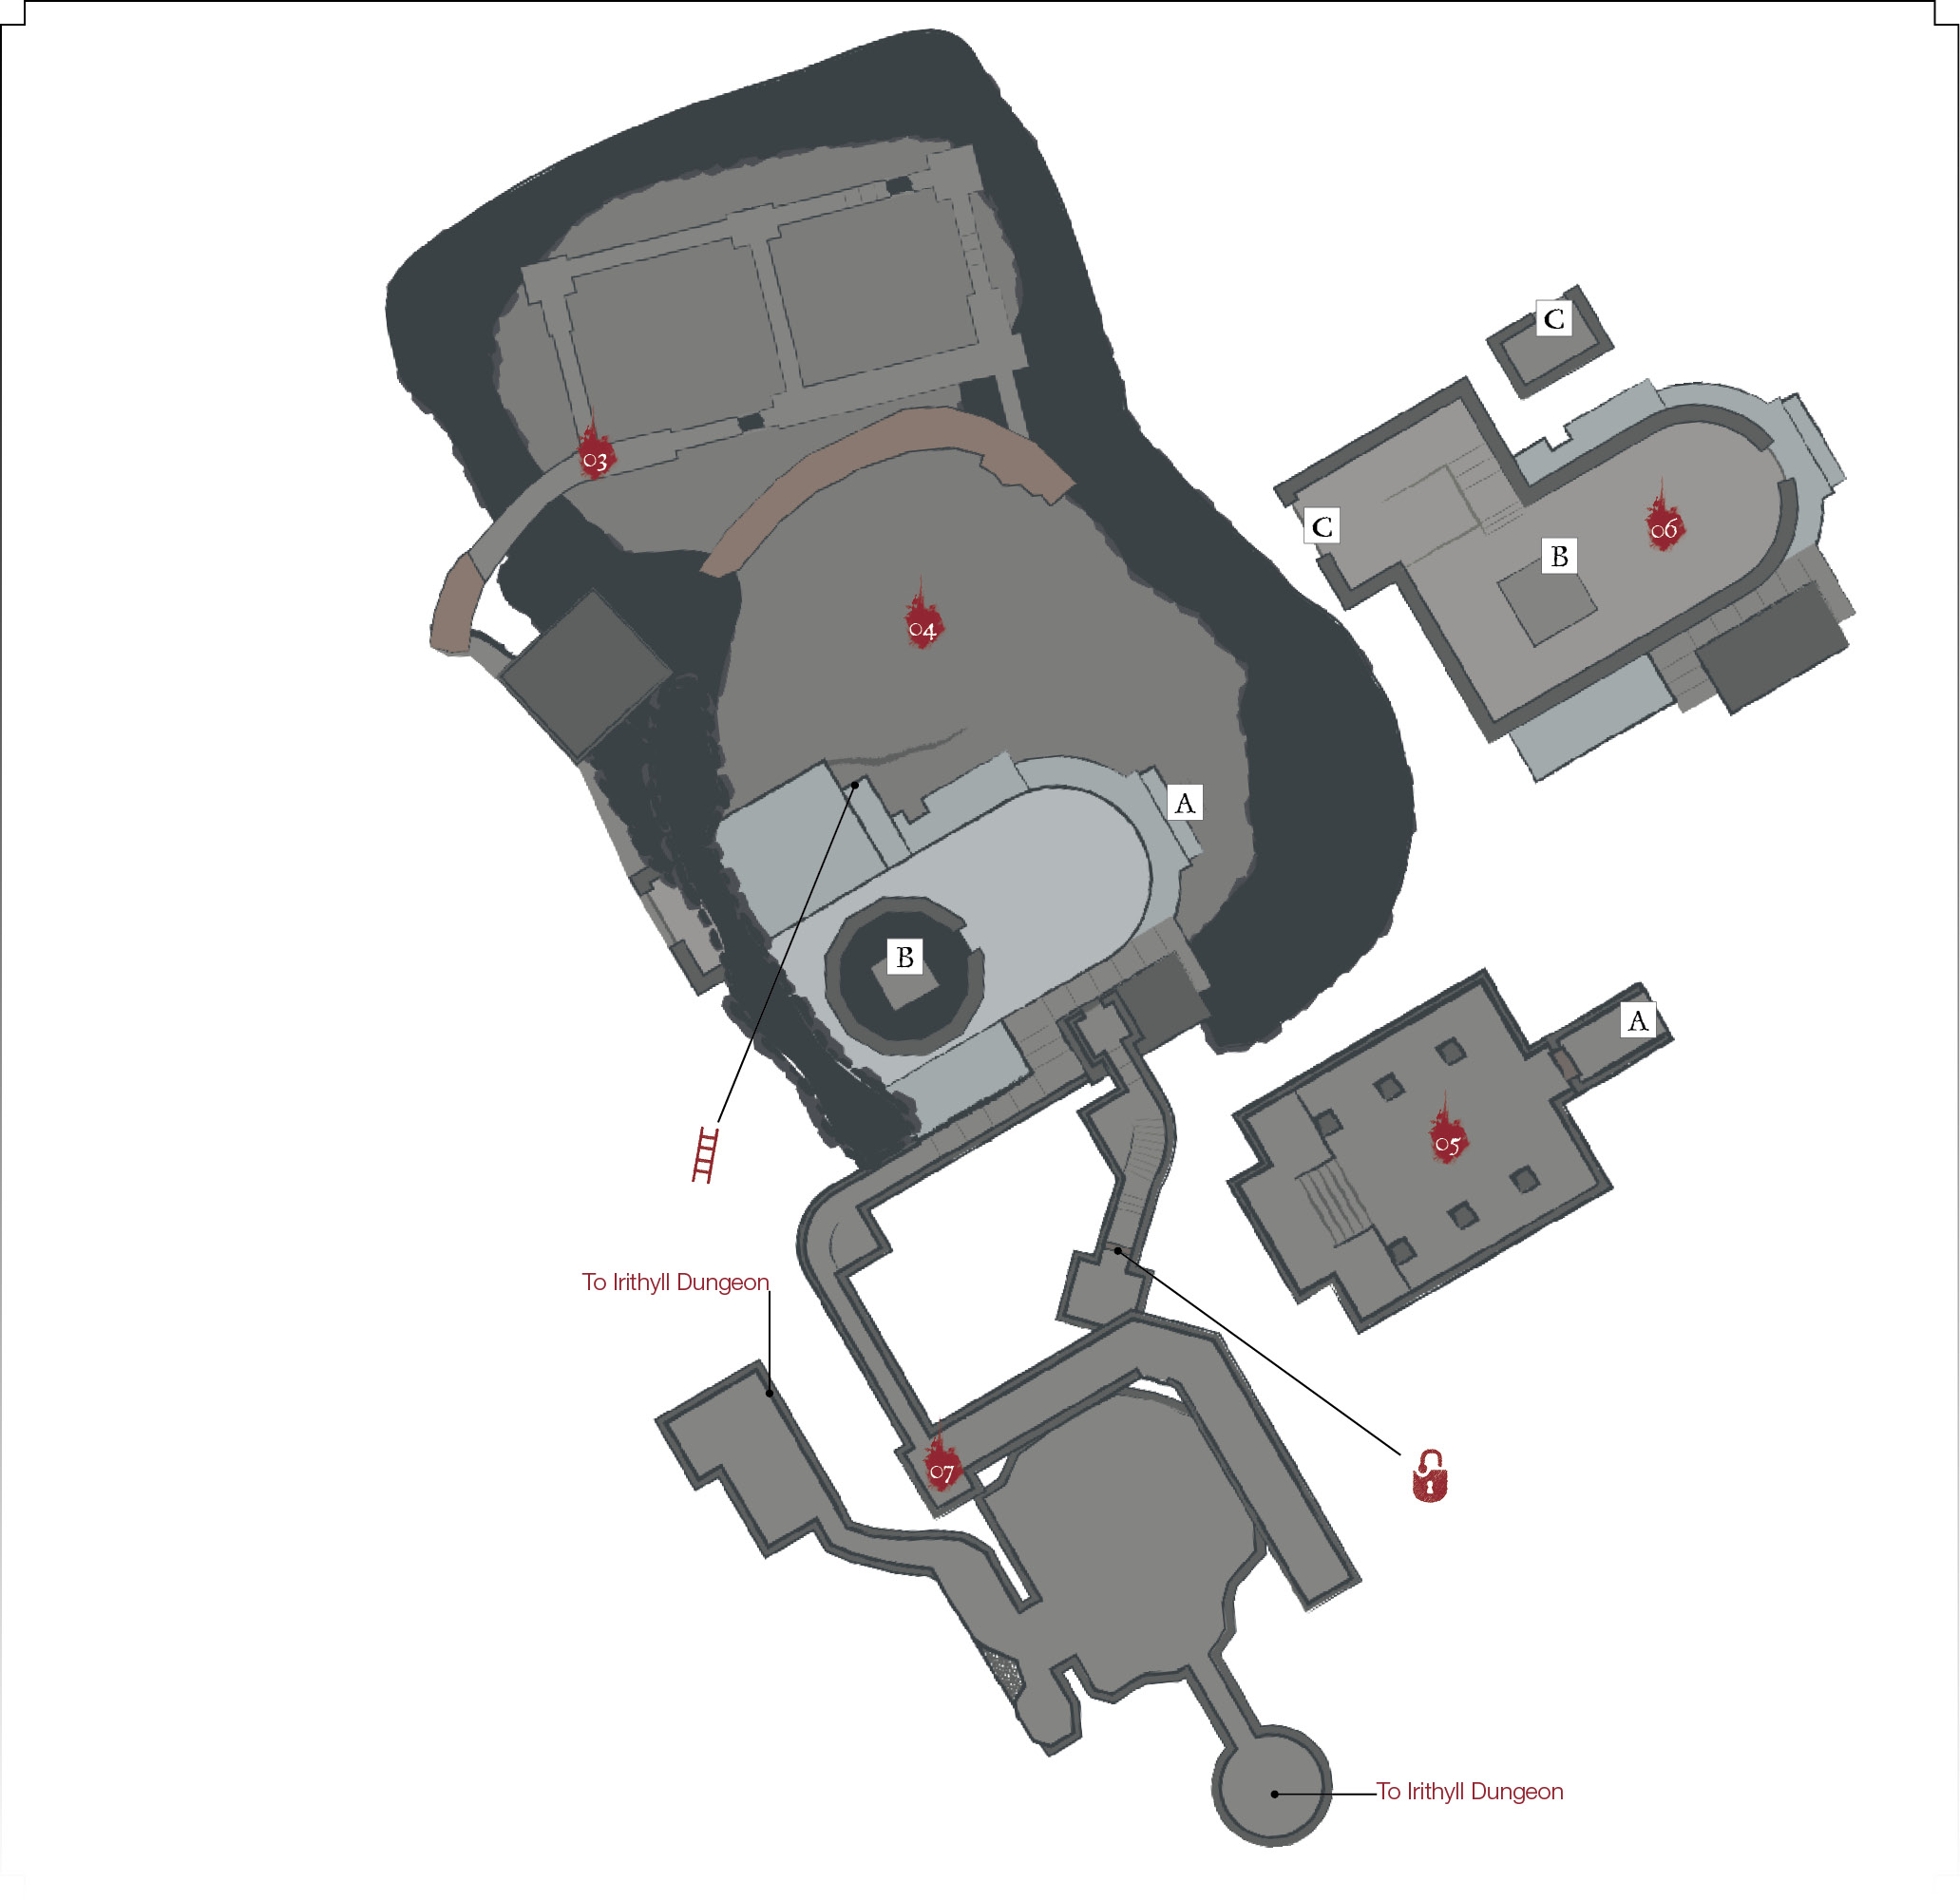
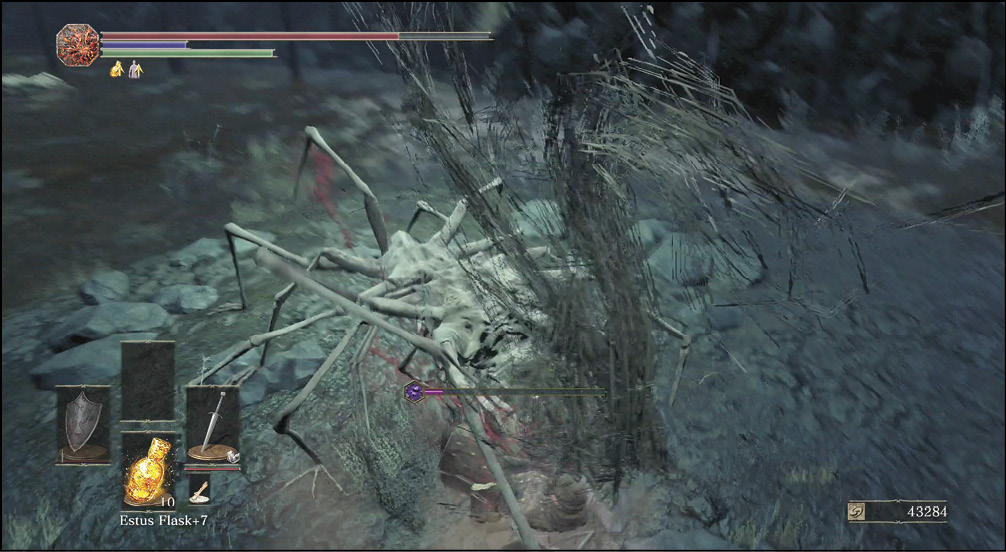
 The mire has Sewer Centipedes all over the place. Even worse, the water is fetid and toxic. You are going to take massive damage if you let your character suffer from its effects. Look for the small islands of dry land, and make those your refuge while you fight and explore.
Because this is toxic sludge, Purple Moss Clumps won’t help you when things go too far. To explore the far edges of the mire, you’re likely to take a fair amount of damage from the toxic effect, but it’s still worthwhile.
The small northern cave has a Cursebite Ring inside of it. On New Game +1, you can find a Flame Stoneplate Ring+1 to the south of the waypoint as well.
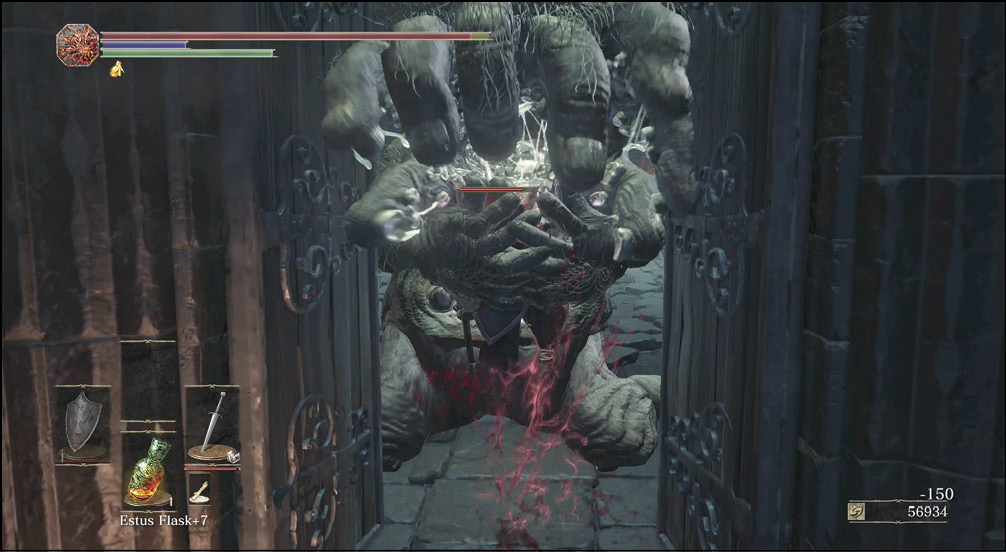
 The lower part of the mire temple has three Monstrosity of Sins inside of it. These thick creatures move slowly, but they can grab you or body slam you without difficulty. Let them attack first. Draw each one over, dodge its heavy slams, and then execute several hits in reprisal. Don’t be greedy; back off after those hits, and repeat your run. It takes two or even three combos like this to kill each Monstrosity of Sin. However, this nets you Eleonora, an impressive weapon.
 You access the upper section of the temple from the roof. You can use a breach in the wall, or you can drop through the ceiling from the very top of the building. There aren’t many more defenders left. One more Monstrosity of Sin is inside, and a solo Unkindled is on the roof. You find Logan's Scroll on this enemy.
Dropping into the building is better because you get to pick up a Profaned Coal on the way, which you can take to the Blacksmith. Get the Court Sorcerer Armor Set in this room, and the Court Sorcerer Staff as well (from a Mimic). There is also a spot to hop down into the lower temple. You get Wrath of the Gods by doing this.
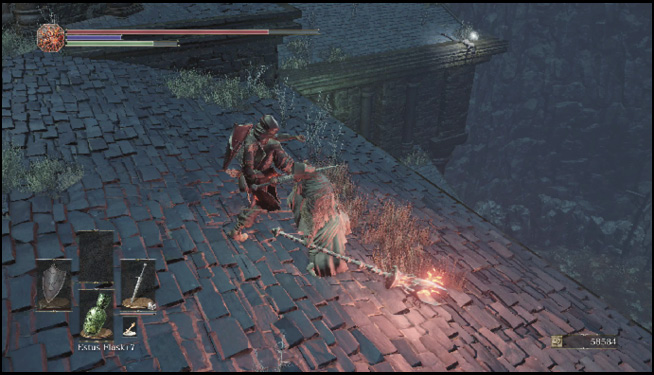
 A broken wall lets you jump back into the central area of the Profaned Capital. Otherwise, take the stairs that lead up and out of the capital. This returns you to Irithyll Dungeon, by the Giant Slave. You find the Jailer's Key Ring there. Two Jailers can patrol into that location, so hurry in and out, or fight them when they arrive. That’s what you use to unlock Karla’s cell door.The elevator that leads up has a Covetous Silver Serpent Ring+1 if you search it during New Game +1.
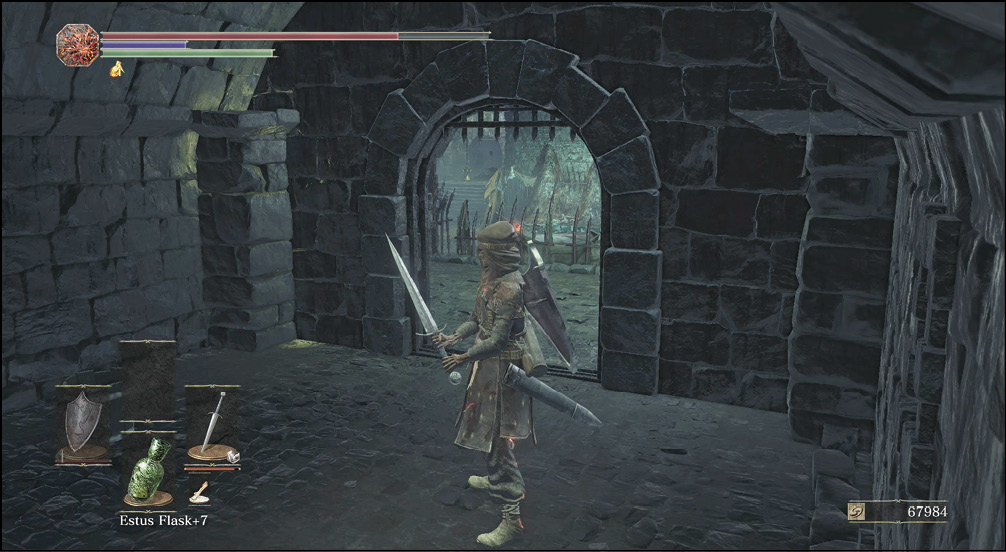
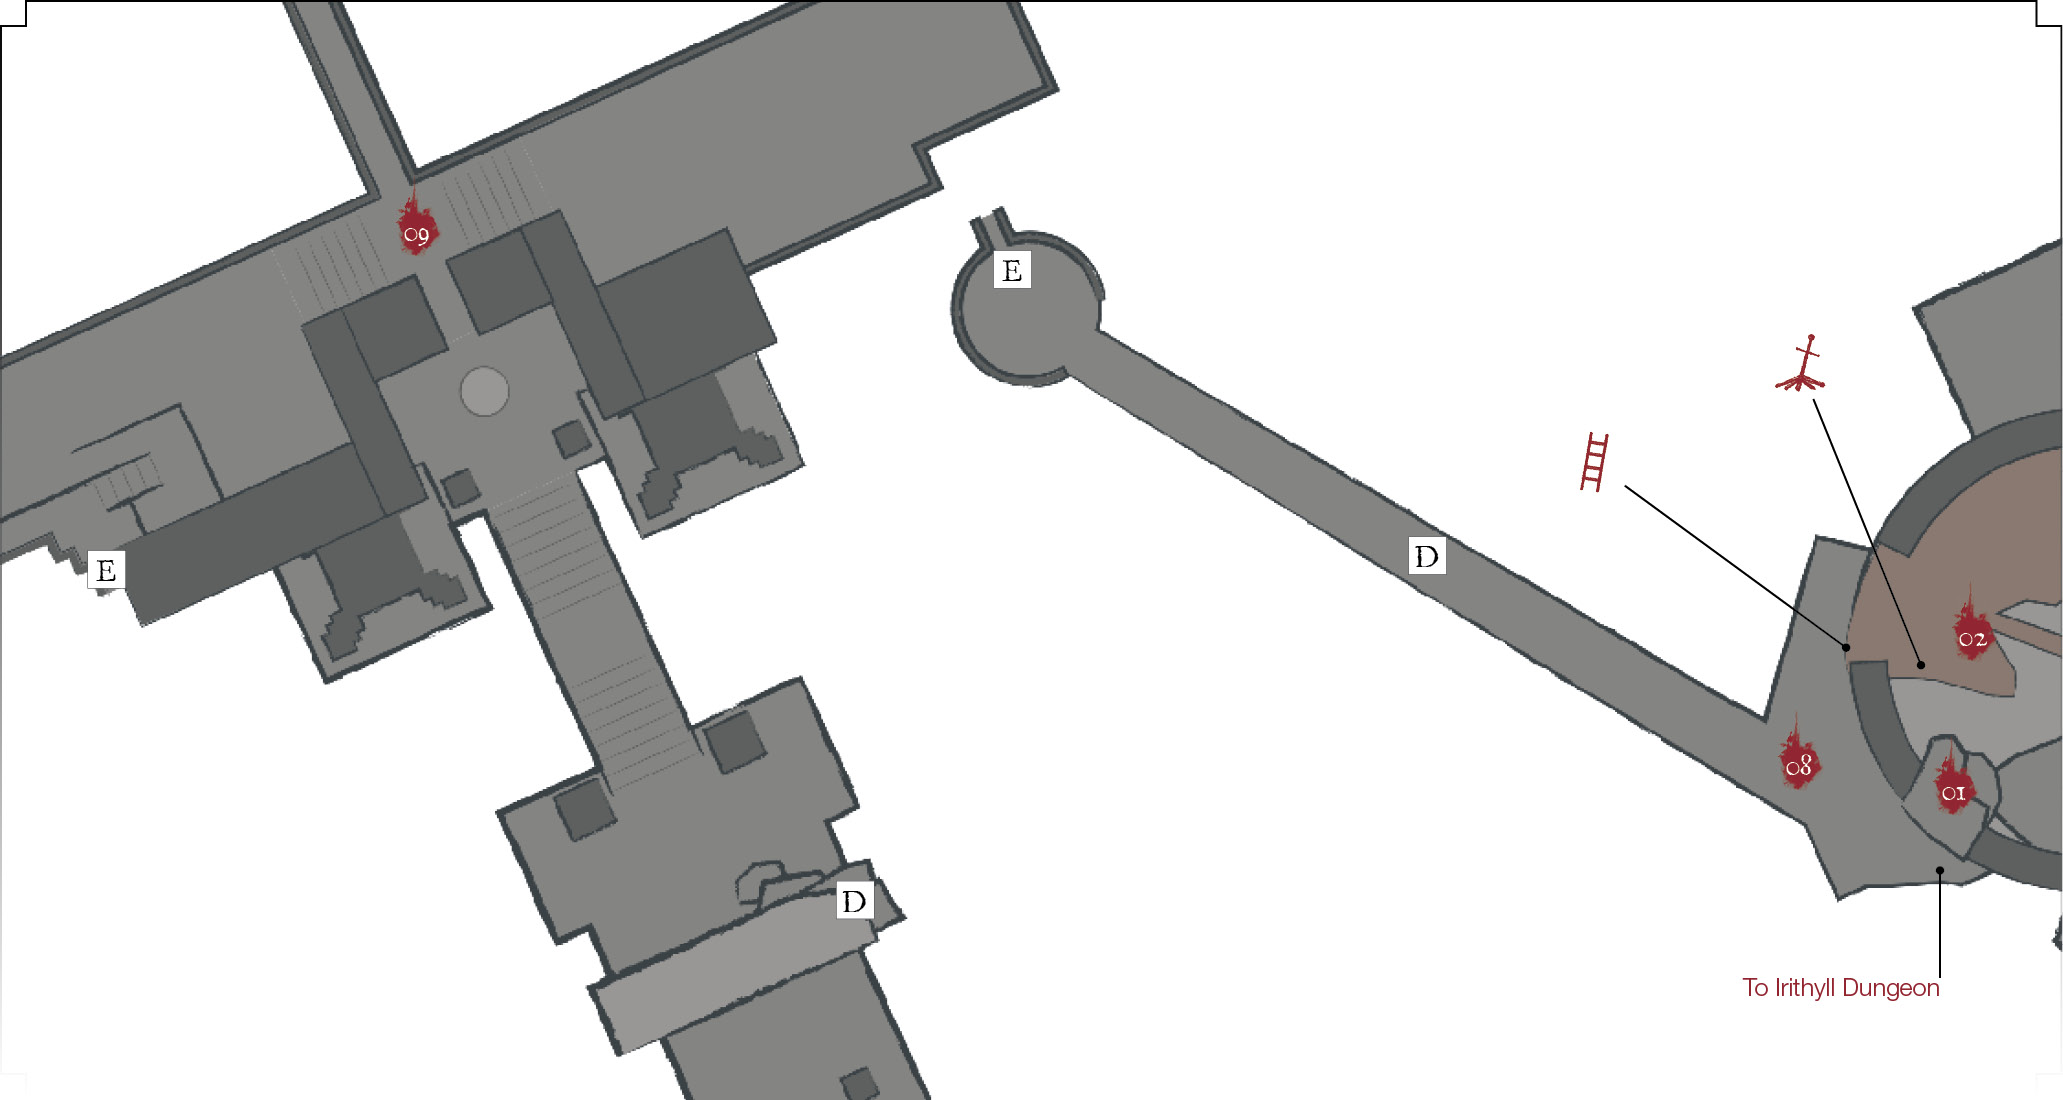
 To clear the western side of the Profaned Capital, leave the Bonfire by climbing down a ladder; it’s on the upper floor where the Bonfire is lit. A bridge down below takes you toward the boss’ area, but you encounter a number of enemies along the way.
Several Jailer Handmaids are using a burning brazier below the bridge to throw fire at you. Stay in motion at all times to avoid taking damage here. While you’re running, look over the right edge of the bridge. There’s a pillar below you with the Onislayer Greatbow; dropping off of the bridge is the only way to get to it.
If you choose to stay on the bridge, you face a short fight against a Headless Gargoyle. It’s much like the fight on your way into the region because you don’t have much room to dodge. Kill it as quickly as possible so that you don’t take too many hits from the fire while you’re engaged. Once you triumph, sprint the rest of the way across.
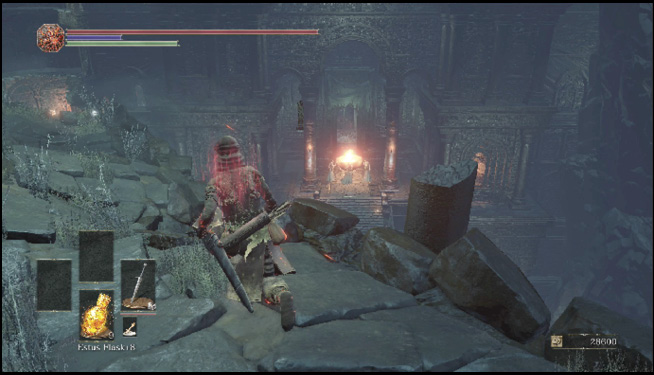
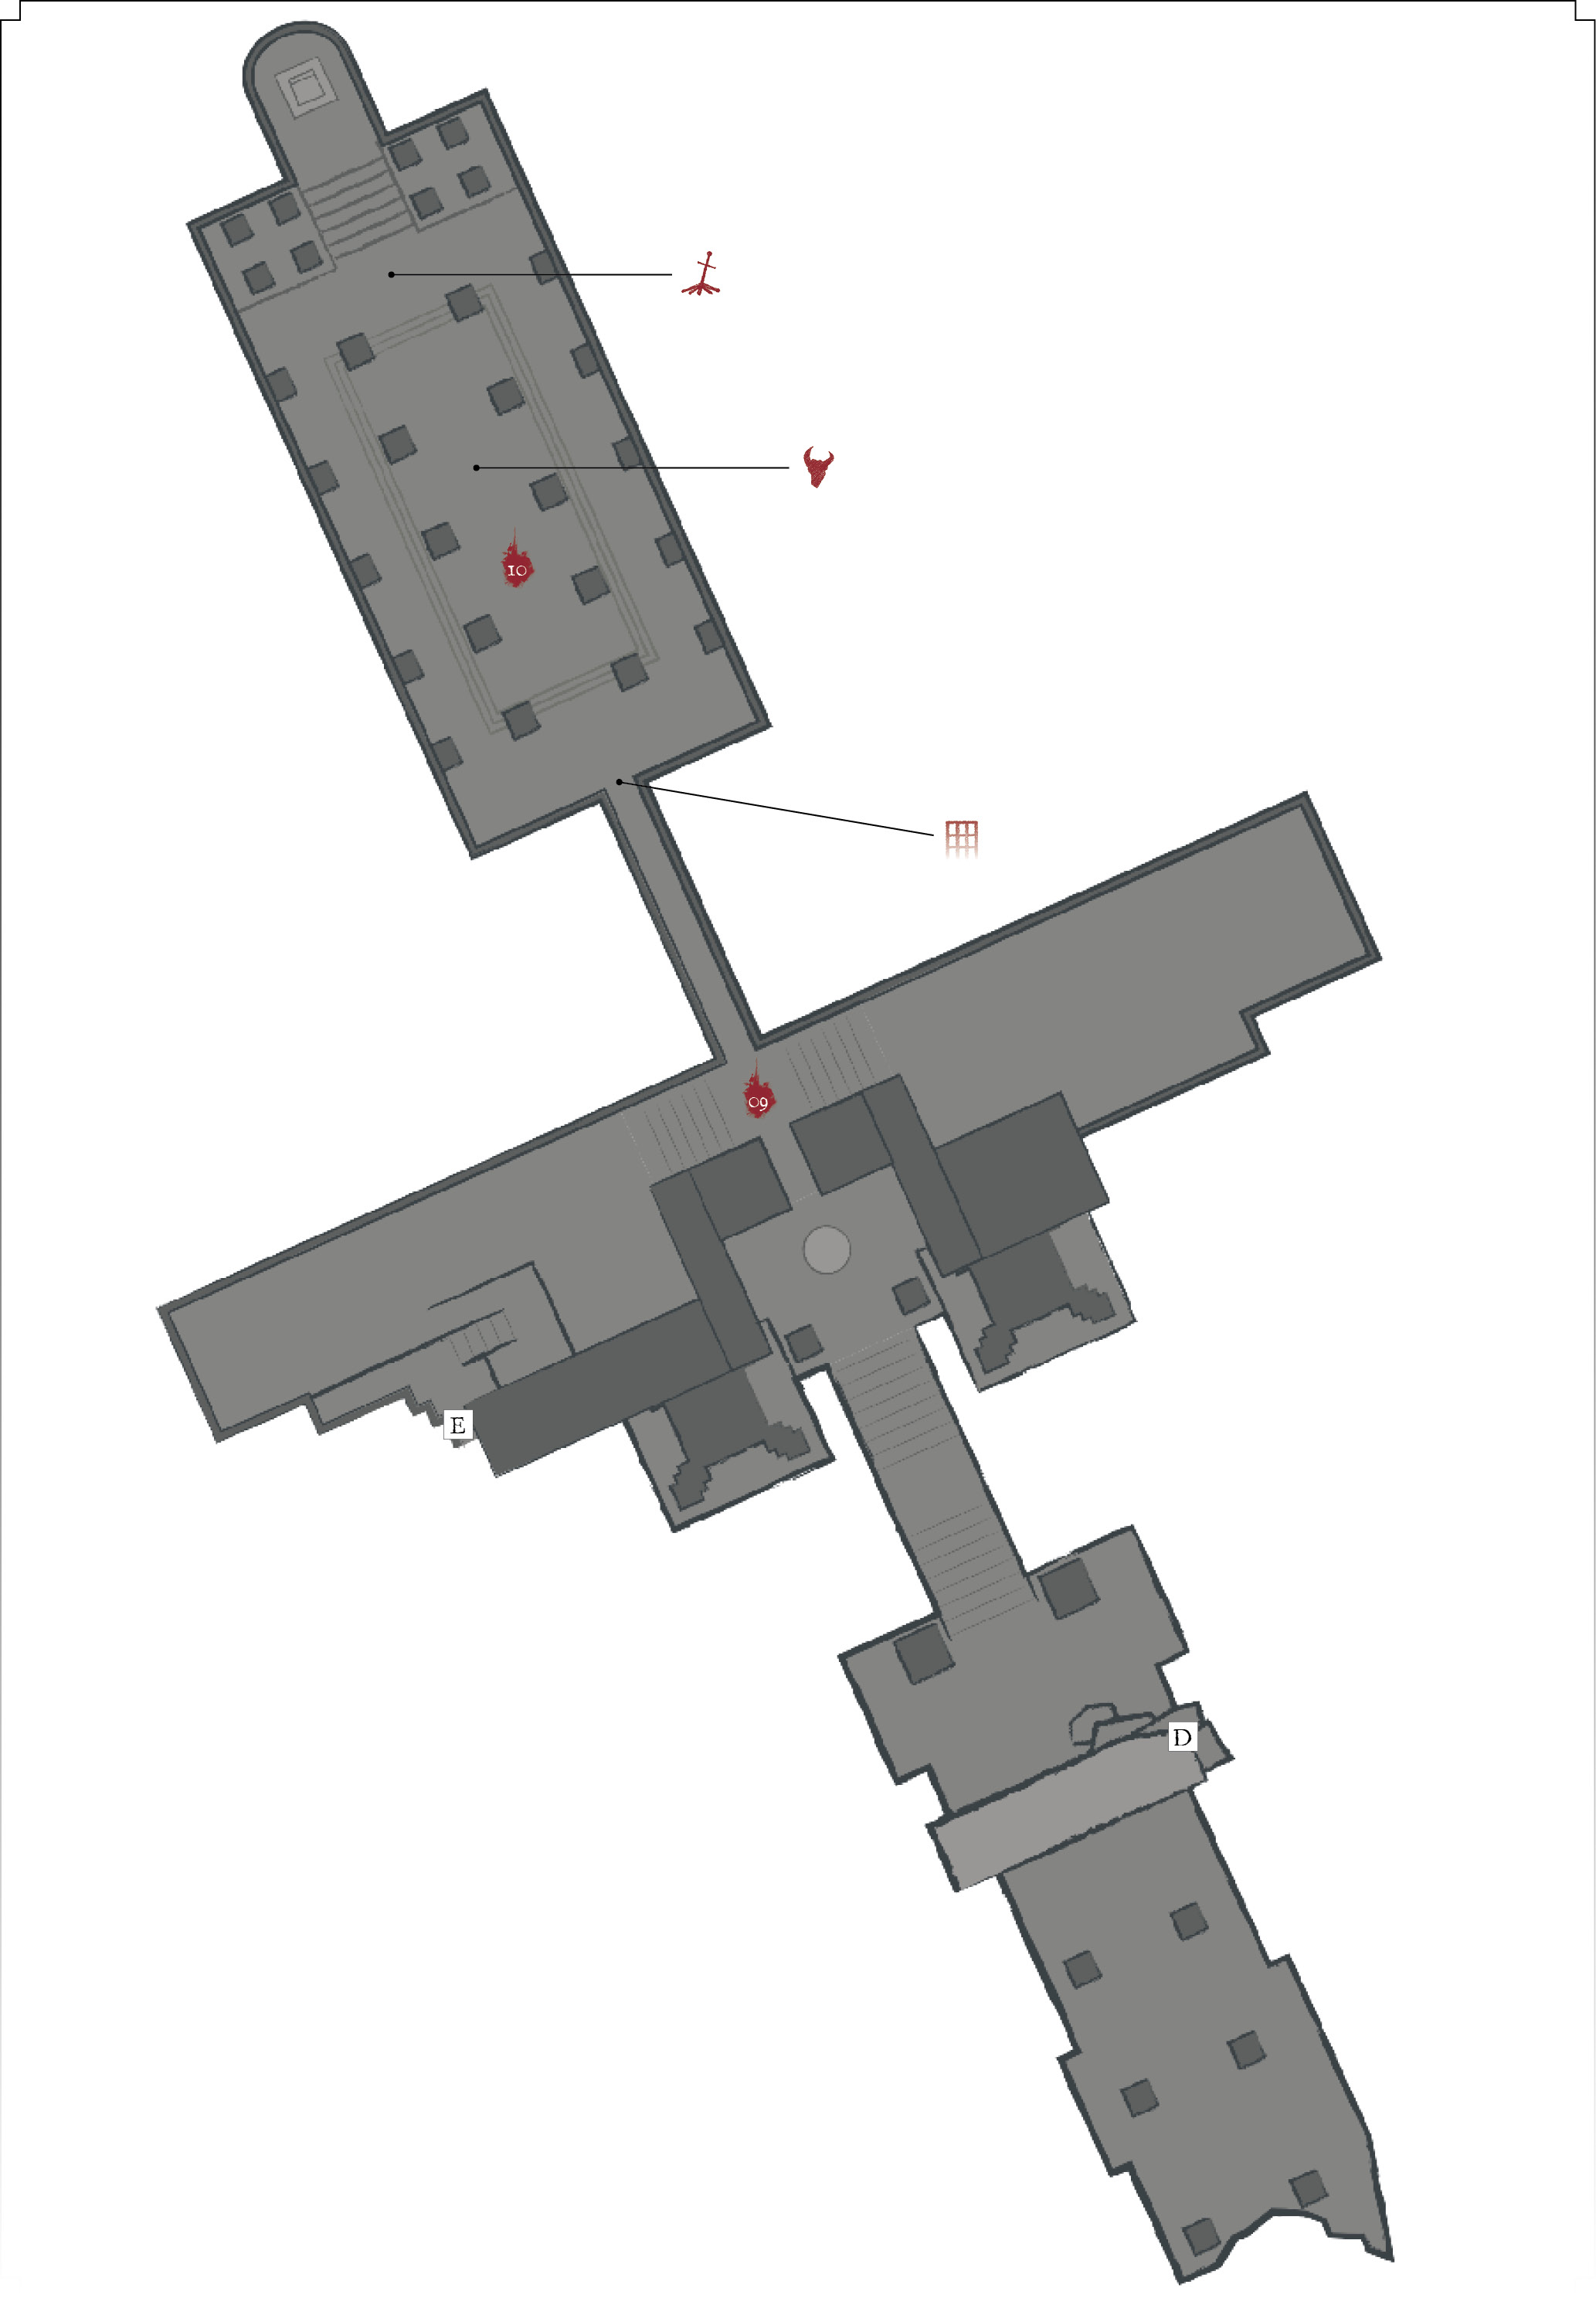
 Two Headless Gargoyles and a legion of Jailer Handmaids are in the hallway that adjoins the boss’ room. The fighting here is extremely tough at first, especially if you grab many targets at once.
Jailer Handmaids have slow ranged attacks. Dodge underneath their fireballs, and slice the casters apart. They are still lethal at close range if you take too long to kill each one, so roll and flee if you experience any problems. Don’t bait them, and don’t hesitate.
Plink away at foes from the upper doorway if you can. Or, draw the group closer to the stairs, use Plunging Attacks to burn them down, and then retreat your ambush if necessary.
If you’re having trouble with the Jailer Handmaids’ curse attacks, put on a Cursebite Ring to give yourself a bit more time to escape from their gas attacks. They don’t use these as often as Jailers, but they are still a threat.
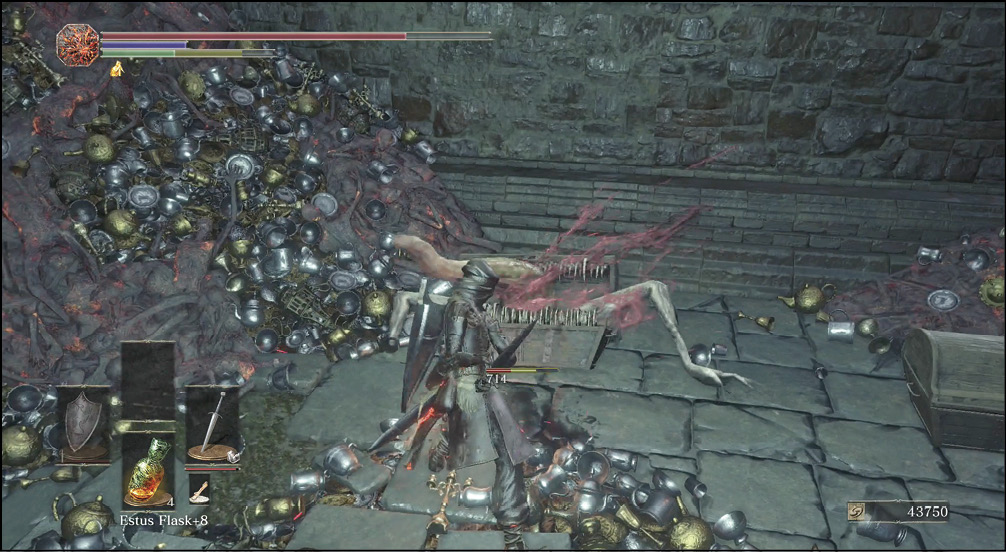
Don’t trust the chests in this hallway—there are two Mimics directly next to each other. You find a Greatshield of Glory inside one of the chests.
 Once you’re prepared, go into the boss’ side chamber. You can’t really defeat Yhorm the Giant without using a special weapon. There is a blade called Storm Ruler that is meant to take this guy down. Luckily, you can find the weapon near the throne at the far side of the room. Sprint around the huge warrior to retrieve that sword as soon as possible.
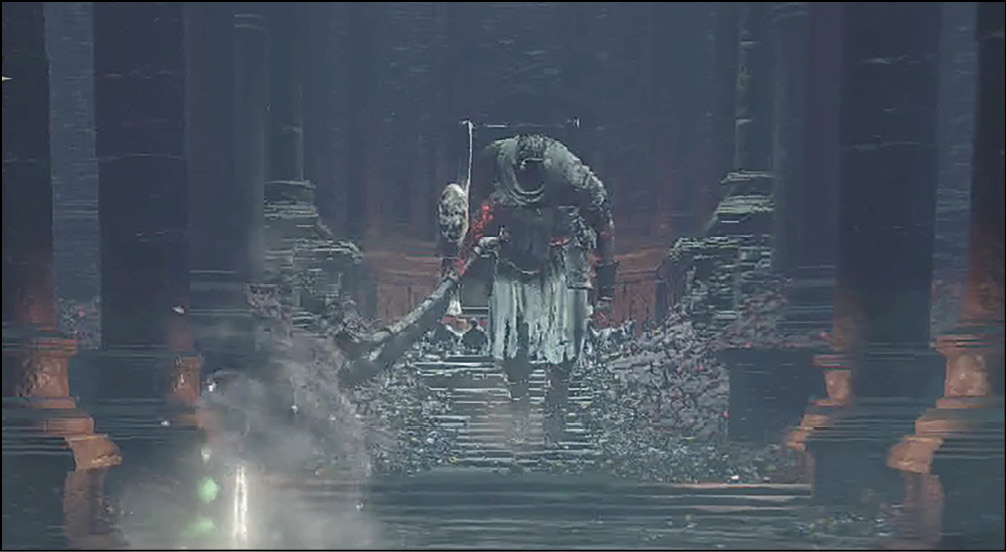
If you’re sane, use a Homeward Bone to port back to your Bonfire and equip the weapon while you’re safe. Or, take a chance and slot that sword in during the fight. It is possible to do this without taking a hit, and even if you do get slammed, you can often recover, heal, and get back in the fight. That said, you’re taking a risk, the giant can easily crush you while you’re playing around in your equipment screen.