Dark Souls III Guide (Steam) Walkthrough
Boss: Curse-rotted Greatwood
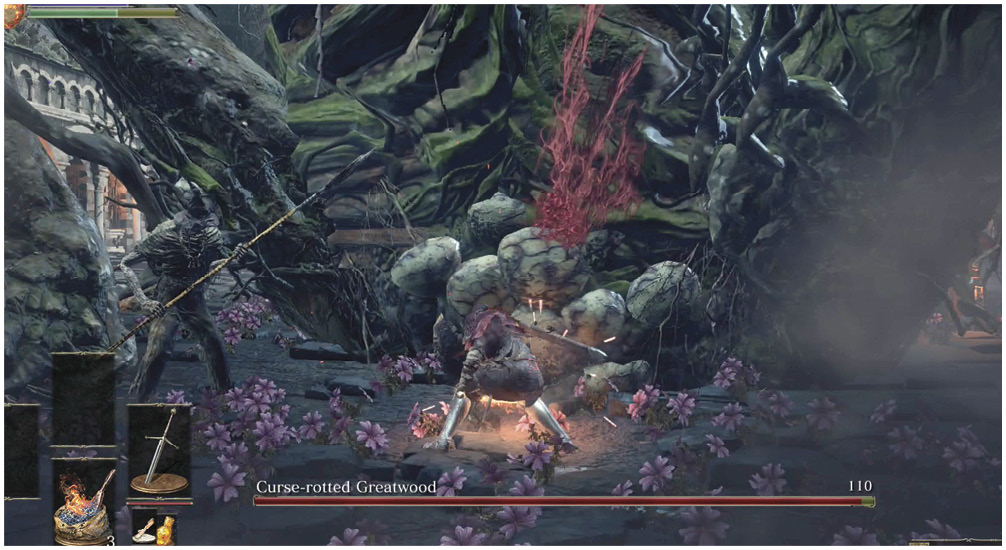
Stage I
Initially, you must worry about a huge number of targets. This stage of the fight ends as soon as you do any serious damage to the tree, so it’s sensible to get that done quickly and avoid a lengthy battle against the congregating Peasant Hollows. The boss spawns more of them throughout this portion of the fight, so you can’t even eliminate these targets completely; you can only thin their ranks.
Basically, kill any Peasant Hollows that you must eliminate when they approach you, but put your focus on the tree.
The Curse-rotted Greatwood does not take any damage from your standard attacks. Instead, you have to kill it by destroying the tumors that have grown on various parts of its body. Having a superior weapon makes each tumor burst more quickly, but you only inflict a set amount of damage when the tumor explodes. As such, you must kill a set number of these tumors to win the fight.
Because this stage can go bad so easily, you should go after the easiest possible tumor immediately. That would be the belly tumor. A few swipes destroy it, and then the boss breaks through the floor and sends everyone tumbling down to a lower chamber. This aspect of the fight gets rid of your Peasant Hollow problem very quickly.
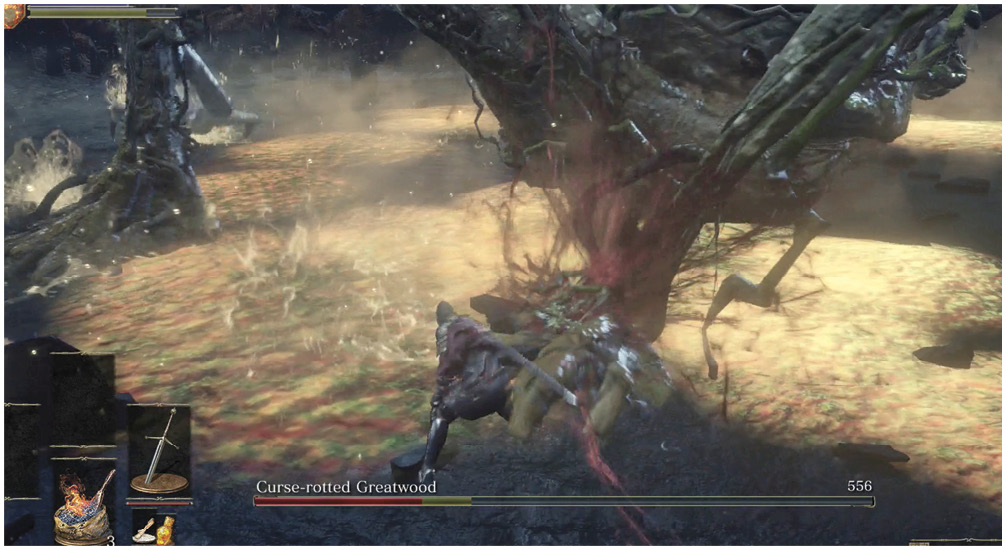
Stage II
The Curse-rotted Greatwood is fairly easy to dodge. At short range, it’ll swipe at you, try to grab you, hop up, and try to slam you. If you get to long range, it’ll walk toward you or roll in your direction.
It’s better to stick close to it, since these attacks are easier to avoid. Also, it’s very hard to hit the tumors at range because you need to stay mobile.
Go after all of the tumors that you can hit. Here are their locations (all are melee-accessible, in one way or another):
-Belly
-Back
-Its left side
-Its right side
-Its right ankle
-Its left hand
-Its right elbow
-High up on its right thigh
-Higher up on its body
Get all of the easier targets first. It doesn’t take long if you focus on the tumors and move quickly. Once you’re used to it, this becomes an easy boss fight. However, spotting the tumors and executing your attacks properly is tricky at first.
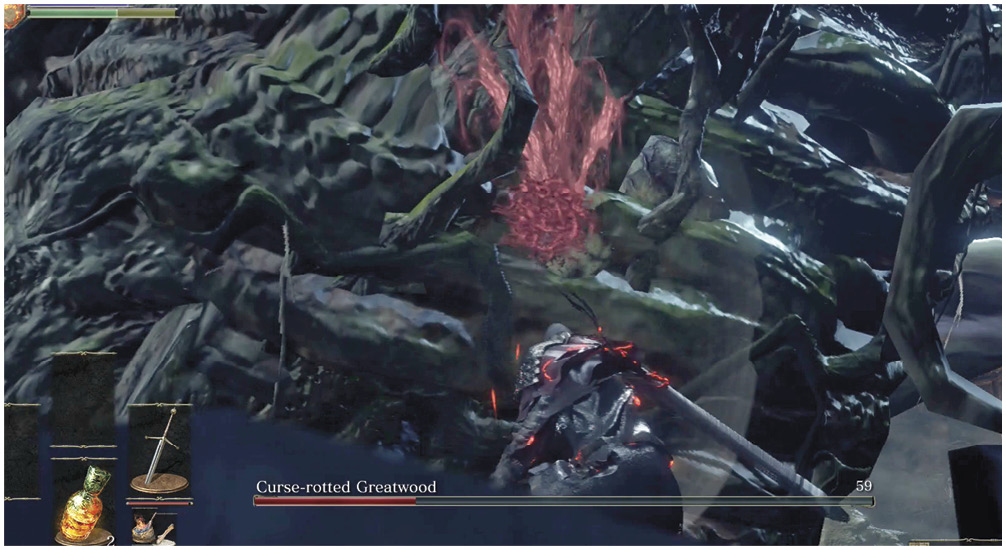
As rewards, you receive a Transposition Kiln and the Soul of the Rotted Greatwood. Take the kiln back to the Firelink Shrine and give it to Ludleth. He’ll then be able to transform various boss’ Souls into powerful equipment for you!
A Bonfire is down here (Pit of Hollows). Before you leave, worship at the shrine of bones near the bonfire to acquire the Mound-Makers Covenant item. The Mound-Makers are a dueling PvP Covenant, allowing you to place your sign anywhere and be summoned to fight, similar to the Red Soapstone, but winning fights earns you Vertebrae that you can turn in for rewards at this Covenant shrine.
You can grab some Homeward Bones and a Wargod Wooden Shield on the ground just in front of the shrine.
To get the most experience, practice, and treasure for this region, return to the Undead Settlement Bonfire. You should take the bridge as you continue, because there are very nice items along that path.
 This bridge splits off from the Evangelist’s fire. Take that to a building with more Peasant Hollows and Hollow Slaves. Don’t trust your back, though—the Hollow Slaves climb up the cliffs and drop from the rafters to try to get an advantage over you. Walk slowly, be paranoid, and turn around often. Though these opponents are not very lethal, the fighting here easily saps the uses of your Estus Flasks and makes it difficult to progress if you let them drain your health.
On the outer edges to the west, you can find more Hollow Slaves, some lurking on rooftops picking away at you with their blowdarts. If you go over the rooftops there, and past a Hollow Manservant, you can find a corpse hanging out over the village floor far below. Knock it down to acquire the Flame Stoneplate Ring, a ring that boosts your defense against Fire damage. Tucked behind one of the houses is the somewhat less exciting Plank Shield.
Once you make your way through the barn filled with Peasant Hollows and Hollow Slaves here, you can open a door leading out to (12), and pick up a Caduceus Round Shield just outside the door to the right.
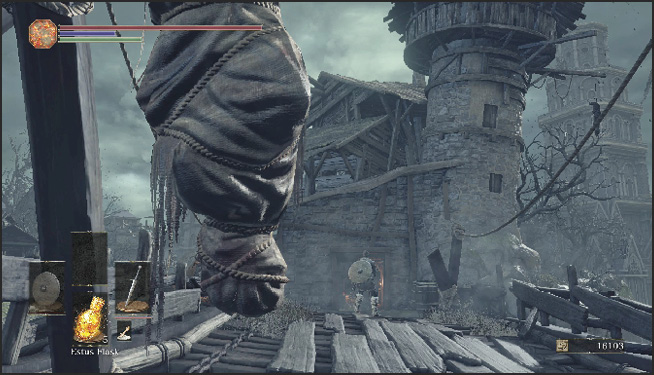
Bonfire—Cliff Underside
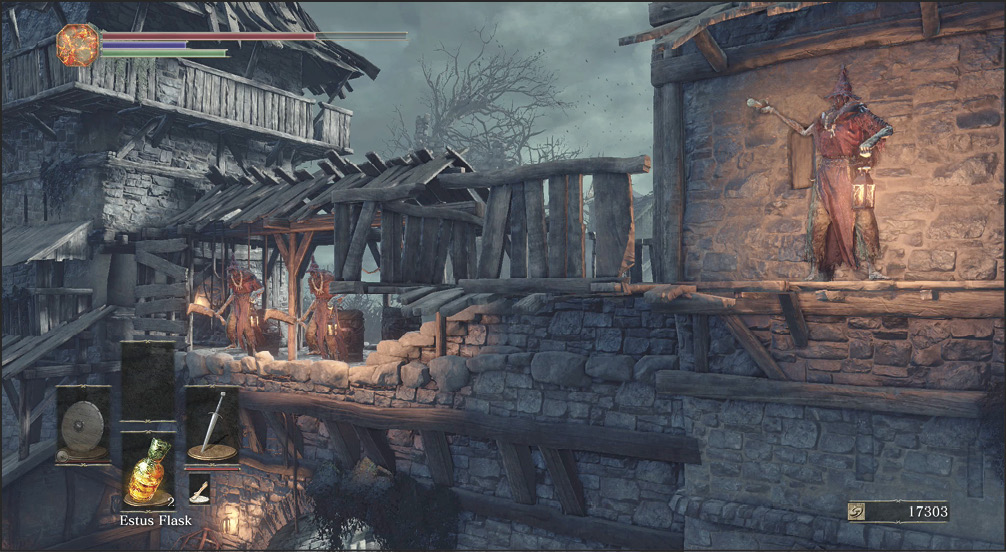
 The Peasant Hollows have set up a good killzone. They have height over anyone who comes close, and it’s fairly hard to get up to them. Either sprint through this part of town, or back off and take potshots to eliminate the ranged enemies. Be particularly careful near the barrels. They’re explosive, and the firebombs tossed by the Peasant Hollows can detonate them.
There is a soul under the gallows, and a wooden dock behind this location provides the area-appropriate Fire Clutch Ring, a potent ring that boosts Fire attack at the cost of taking increased physical damage. A useful tool for budding Pyromancers. Either sprint over to get these items, or explore that spot after you’ve killed the Peasant Hollows.
Also, you can find a hidden Bonfire nearby. Stand on the stone bridge that takes you into this section of town, and look over the right edge after you kill the Peasant Hollows that are throwing Fire Bombs at you. The drop to the small ledge below is quite survivable. It’s worth it to go for this Bonfire before tackling the Hollow Manservant here, as well as the other Peasant Hollows.
Jump down, and kill a couple of more enemies. Then, follow the path into the next building and rest at the Cliff Underside Bonfire. This is a very nice discovery, but you’re not done. The other side of the building gets you onto the rooftops. Climb them all the way up to the ranged enemies’ walkway. Explore that to locate Cornyx, the Pyromancer. Talk to him to learn this new art, and he’ll travel to the Firelink Shrine, where you can buy things from him in the future.
Grab the Hand Axe on the ground near Cornyx. A common starting weapon for Pyromancers, this is a lightweight and wieldy weapon that provides the Warcry skill, giving you a damage boost for a short time after activation.
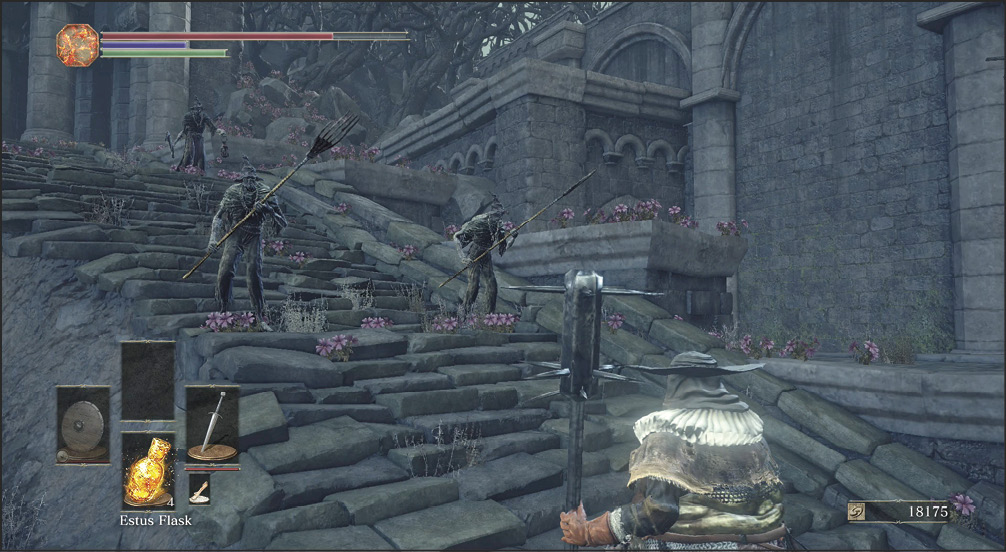
 This is another road that leads toward the Curse-rotted Greatwood, and it also goes deeper into the village. As you descend the stairs, you can walk left to reach the boss (if you haven’t already killed it), or you can turn right to keep moving through the Undead Settlement.
There are Starved Hounds by the tree ahead. Pull them with a ranged weapon for extra safety, or sprint over there and kill them before the patrolling Evangelist arrives with her Peasant Hollow buddies.
If you’re patient and want to avoid combat, wait for the Evangelist to pass with her group in tow, and simply slip down the road when they’re not looking.
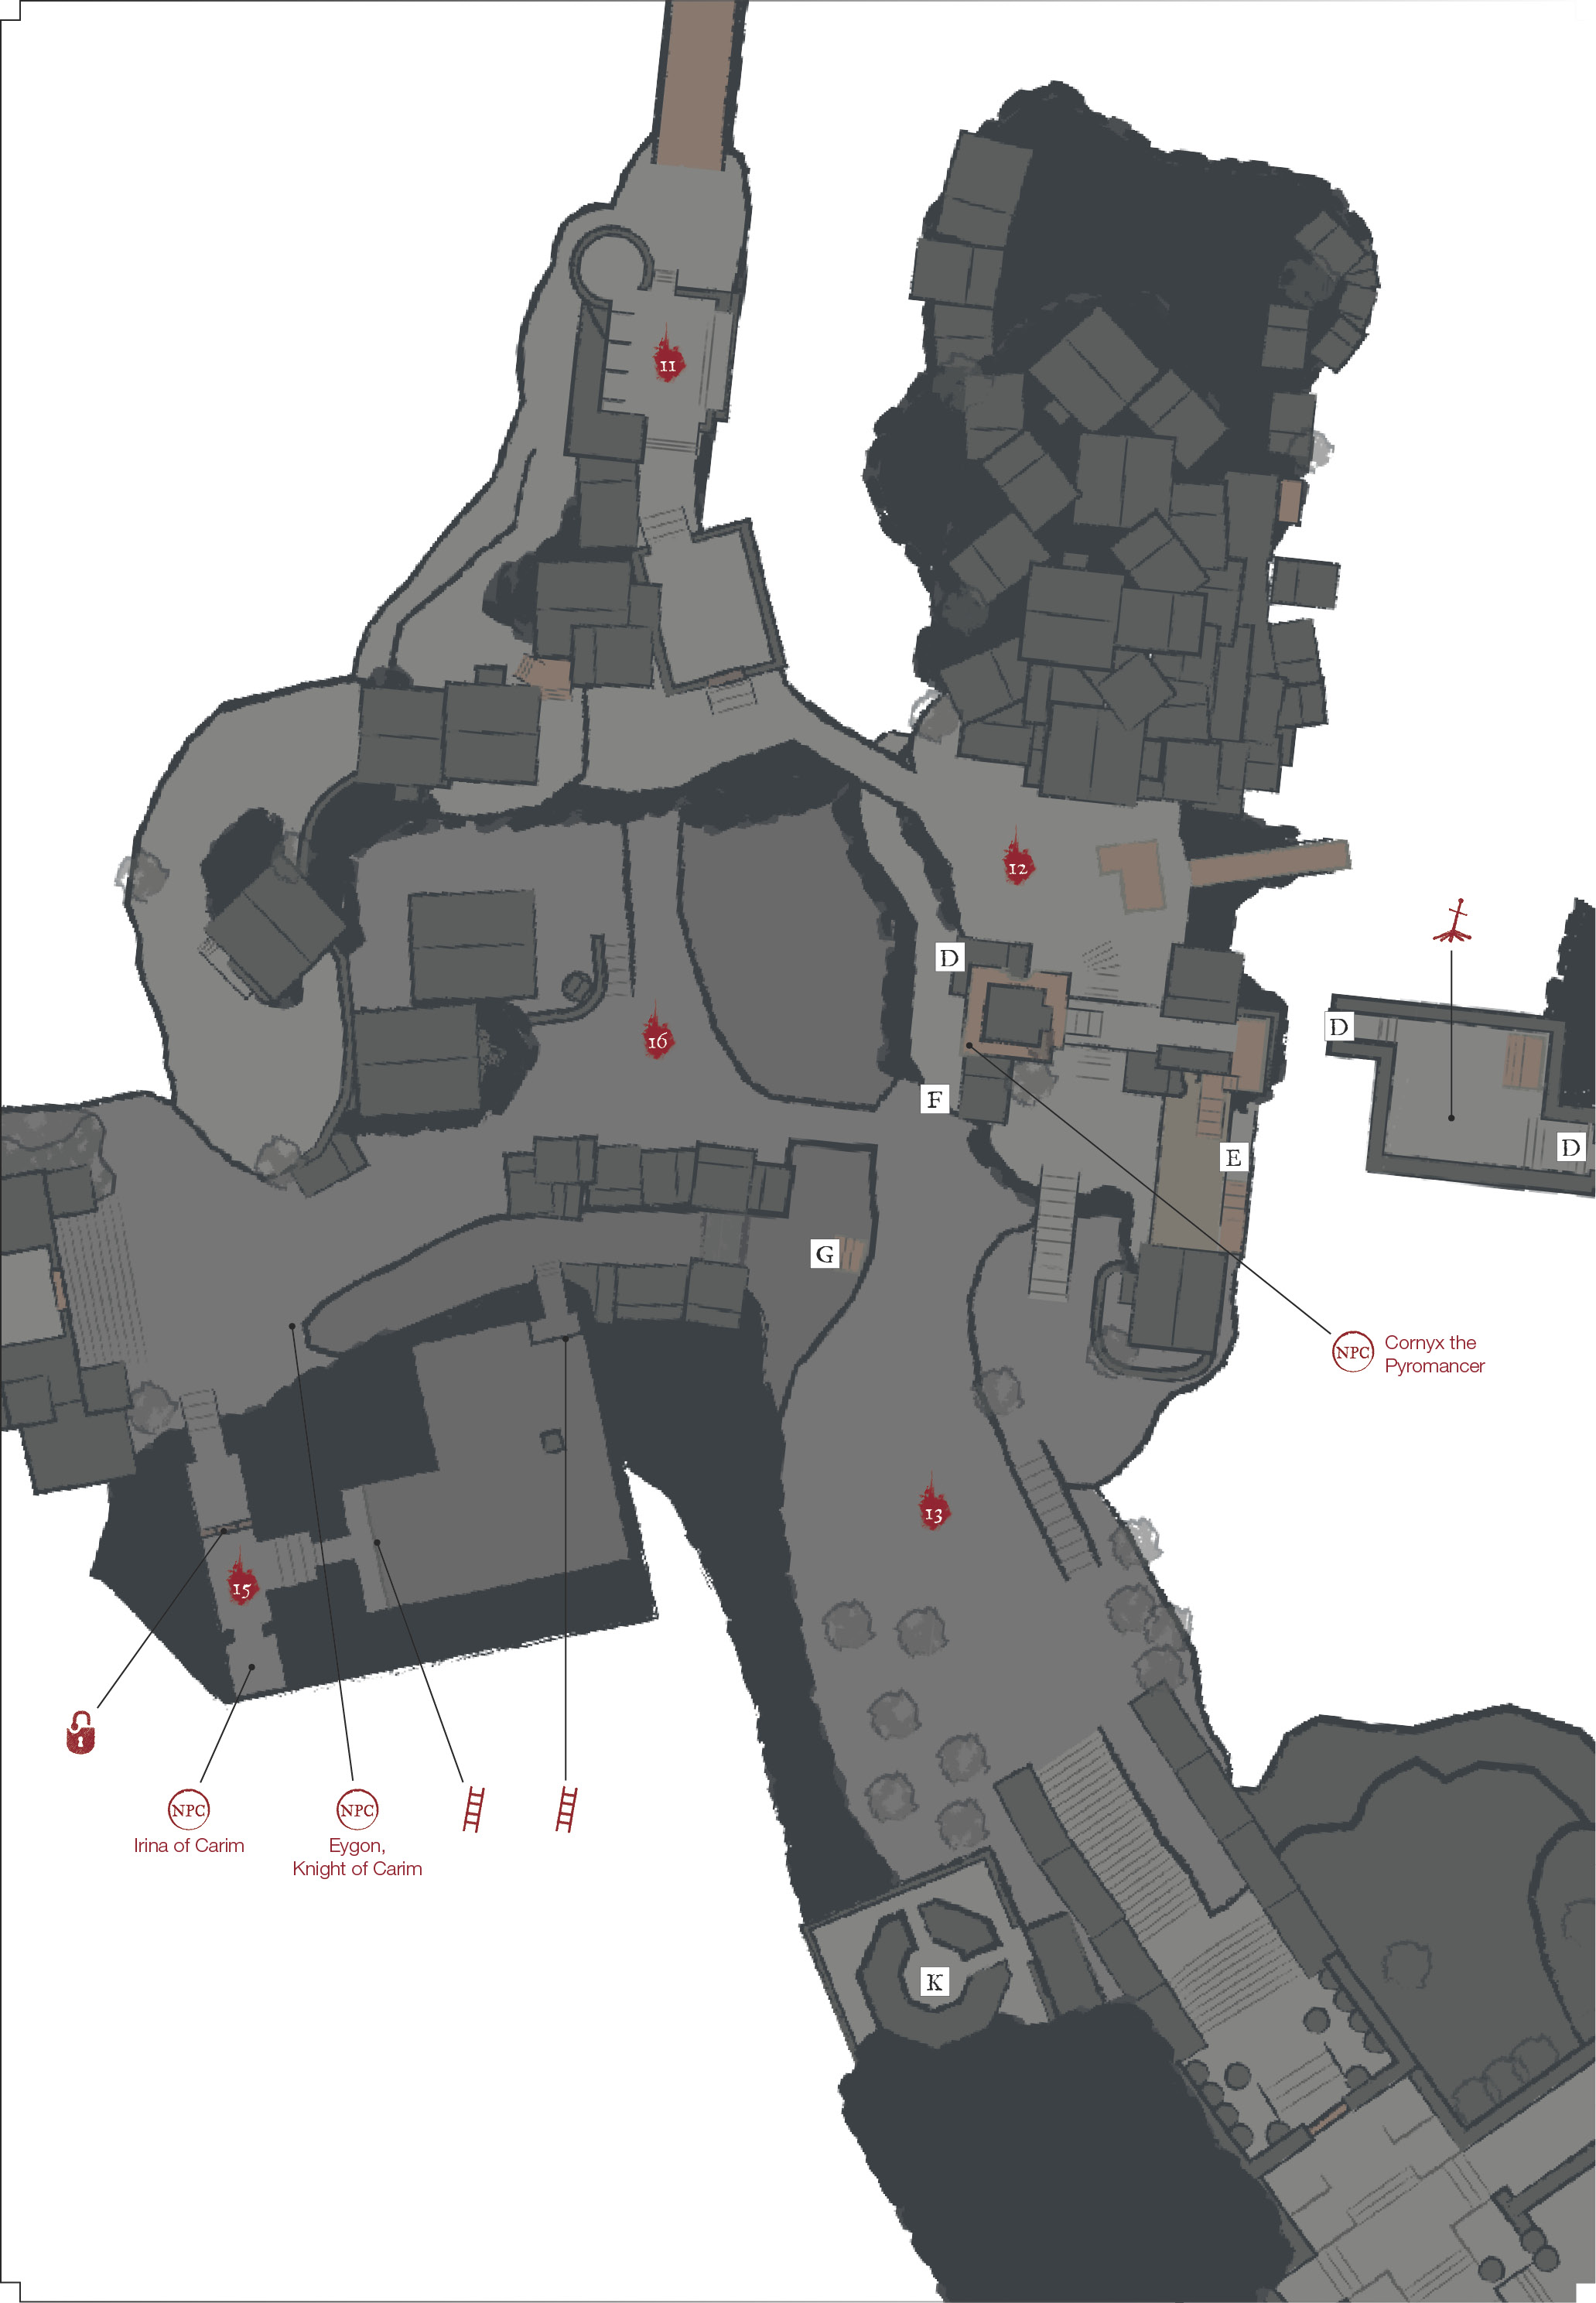
 The sewers connect the Dilapidated Bridge Bonfire with the far side of the map, saving you time in future traversals. It’s locked from the Bonfire side, but it can be unlocked as you explore the sewers.
You can pick up a pair of Caestus in the sewer channel when you first enter from the west. These melee weapons are one of the first weapons you find that are inherently dual-wieldable. Tap the two-hand button to equip a Caestus on each hand to deliver a close range melee beatdown.
The sewers have Hound-rats and a Large Hound-rat. Keep a shield up to deal with these fast foes, and dispatch them. The Large Hound-rat has a Bloodbite Ring that makes it easier to deal with enemies that make you bleed.
If you have the Vault Key, there is another passage that splits off from the sewers. You can obtain the Vault Key by taking Mortician’s Ashes from the graveyard (where the giant arrows strike) back to the Firelink Shrine. Give them to the Shrine Handmaid, and she’ll sell you the Grave Key. Use it to unlock the deeper passage under the sewers.
Go through there to find a Statue of Velka, the Goddess of Sin, and a Loincloth. Praying here lets you request Absolution if you have sinned. Attacking and killing the characters in the Ashen Shrine is a common cause for this. If your Blacksmith won’t offer you his services anymore, this is where you need to go.
Make your way down the passage to the south to find a Red Hilted Halberd. Unlike the Lucerne Halberd found in the High Wall, this Halberd has a straight thrusting attack as its basic swing, leaning more towards the spear side of the Halberd family than the hammer/axe side. It shares the Perseverence skill with the Caestus you found earlier, both boosting your Poise and slightly lowering damage output while active.
Fight some Skeletons, and then walk through a few short tunnels to get back outside. You’re in a gully far beneath the main passage through the Undead Settlement. There is a Crystal Lizardto your right (it drops a Heavy Gem) and a pair of Titanite Shards on corpses ahead, but be careful, picking up the items is likely to cause a Hollow Manservant to fall on you from above!
Irina of Carim
 After the gully, you reach an area with a few more Hound-rats. Kill them, and grab the Saint’s Talisman here, then climb a ladder to get back toward the surface and reconnect with the main path. If you’re not playing a character that began with a Talisman, this is your first chance to make use of a Miracle Catalyst, though this one has a bit higher Faith requirement than the regular Talisman.
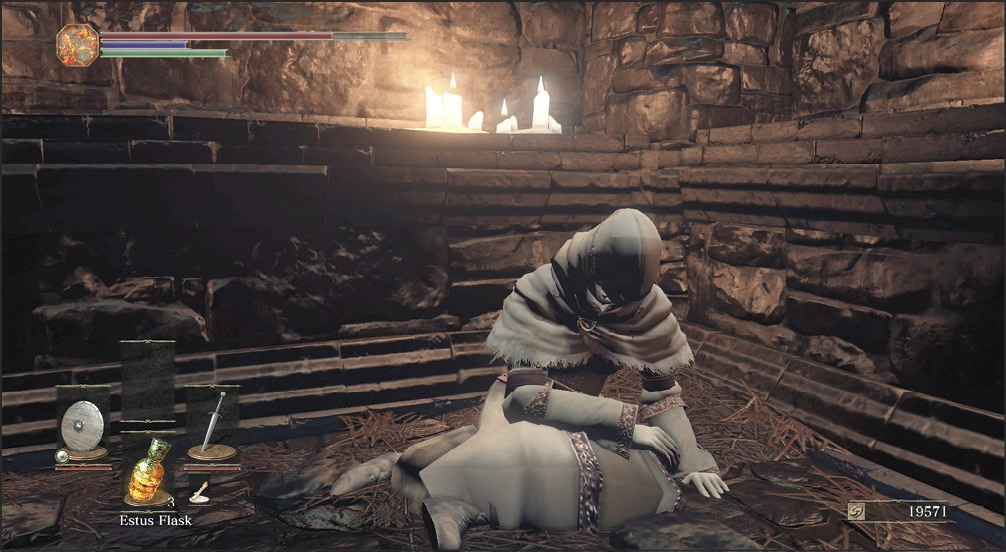
On the way out, you meet two NPCs, a woman in a cell and her apparent guardian, a knight standing outside. The more important one is a woman who wanted to come here and be a Fire Keeper. She has failed, but that doesn’t mean that she can’t help others. Show her some warmth, and she’ll teach you the Prayer gesture.
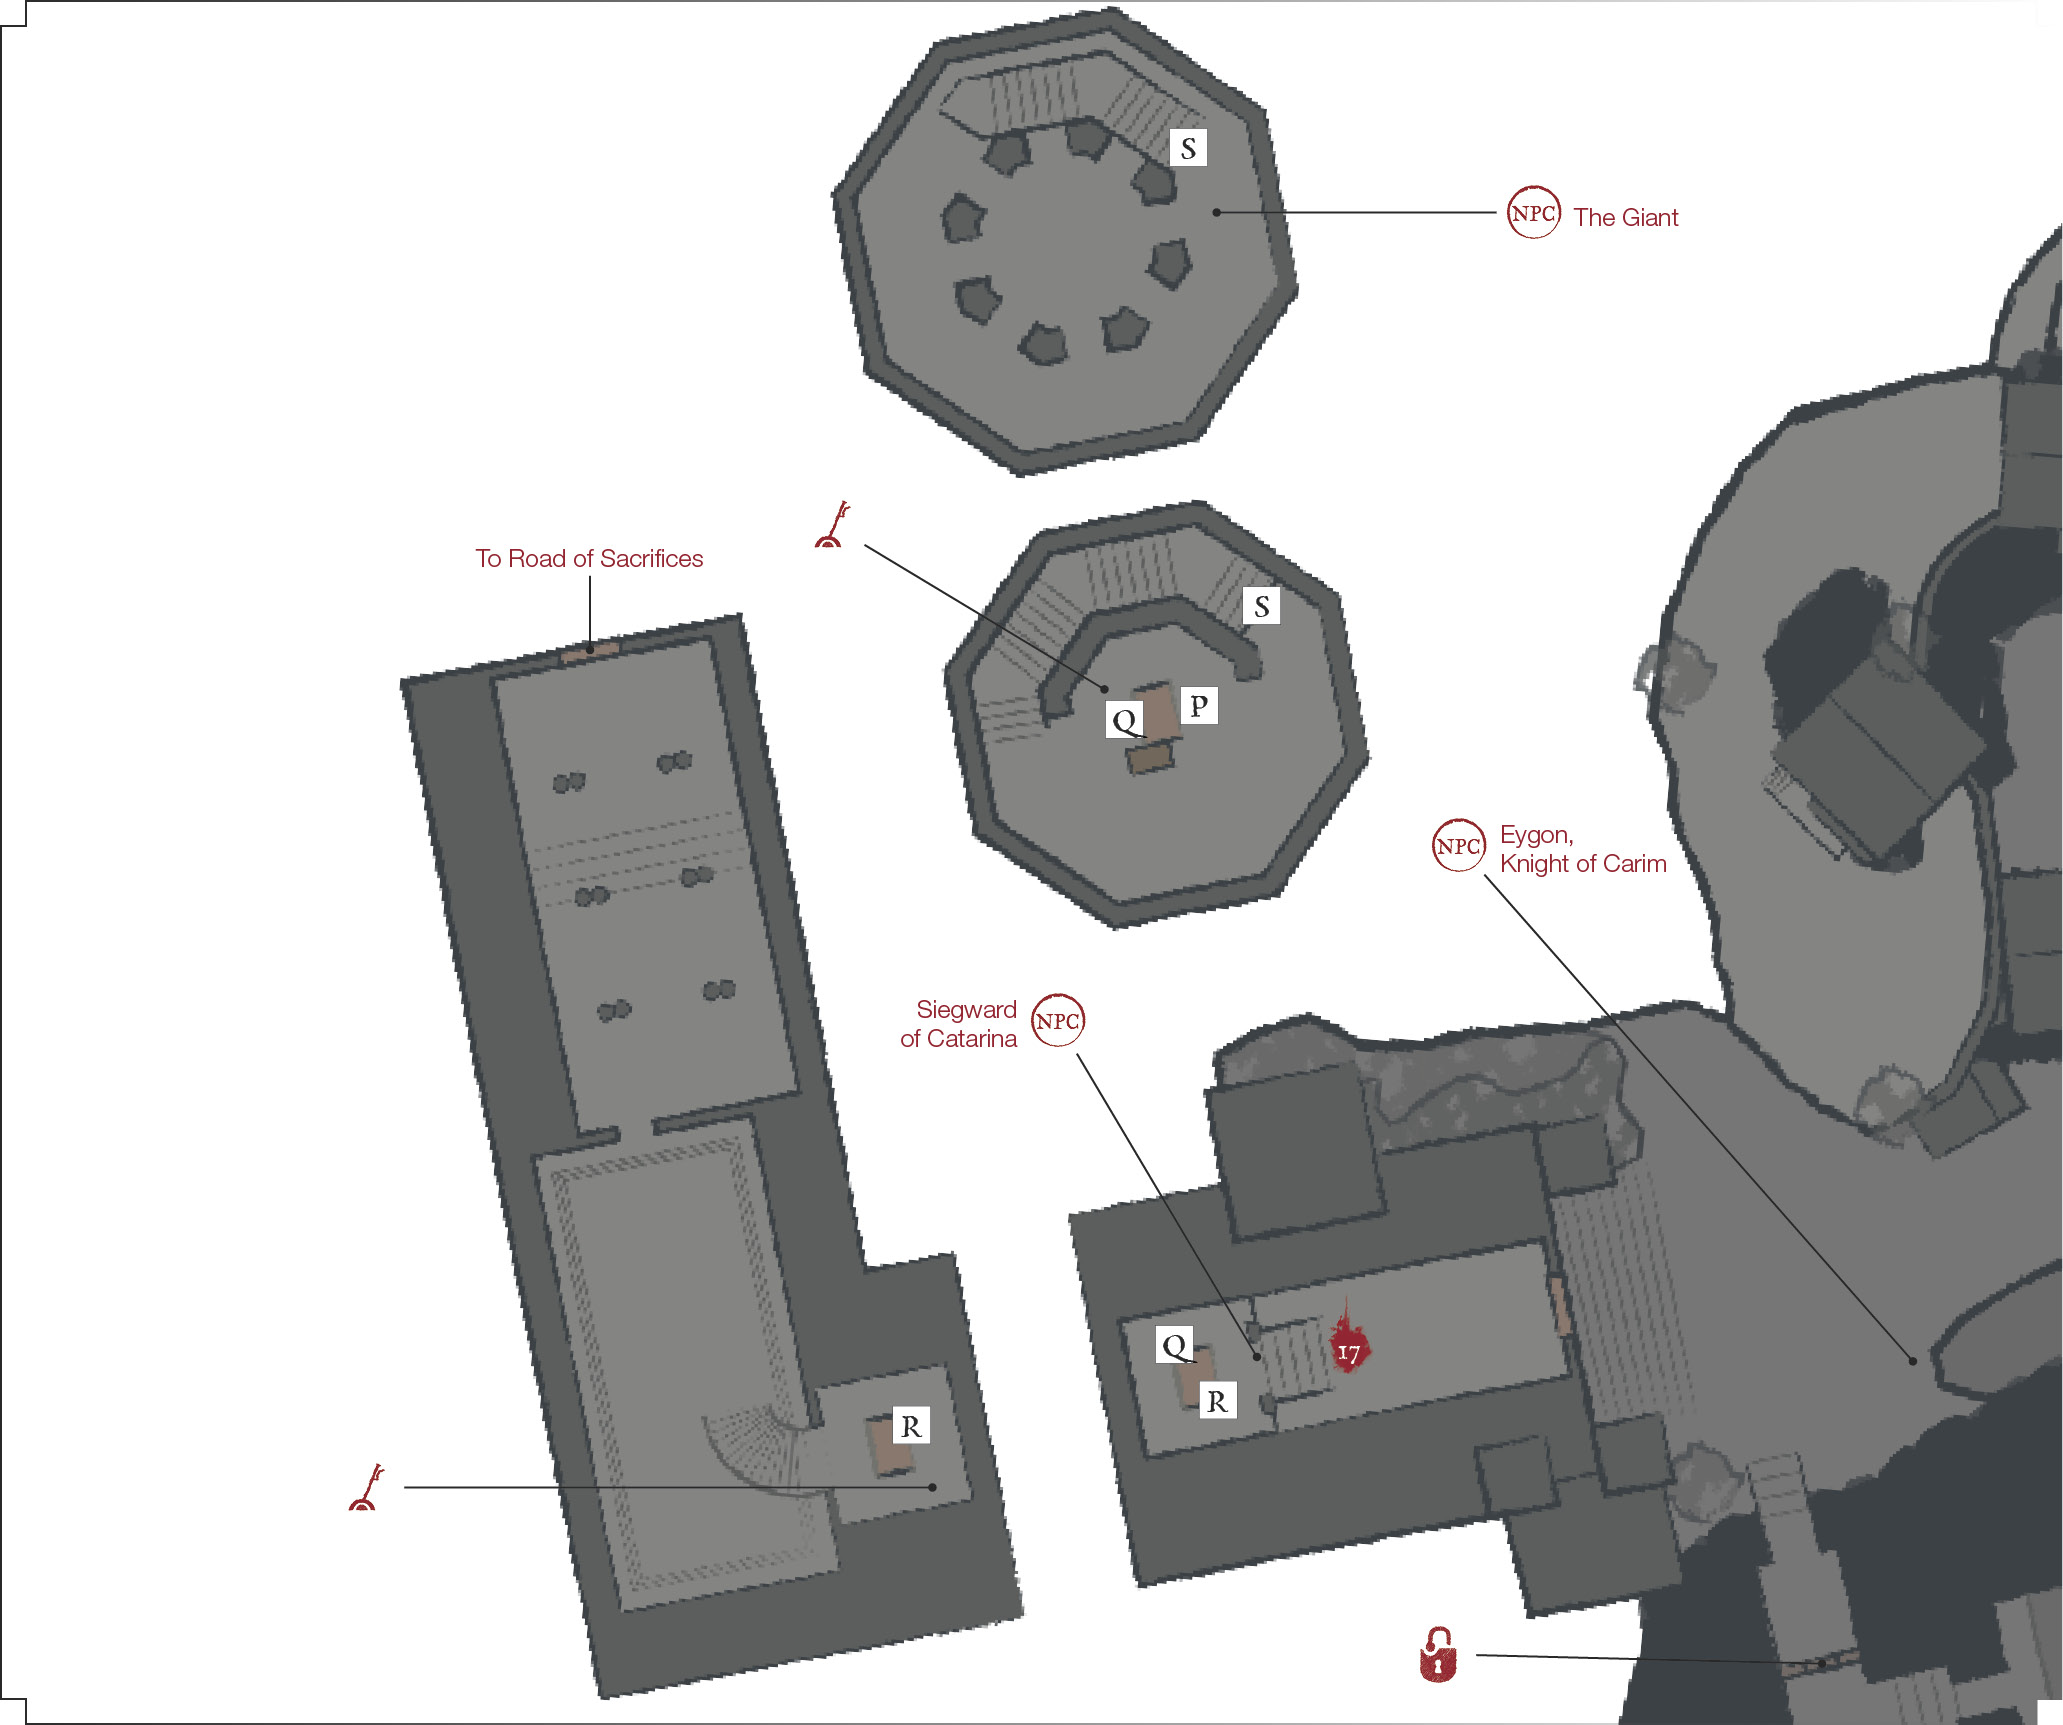
Talk to her again and agree to accept her as a follower, and she’ll travel to the Firelink Shrine. There, she teaches miracles. You soon find out that she is named Irina. Unlock the door to escape from this makeshift prison, and then talk to the guard outside. He’ll also come along, but he’s not quite as pleasant of a person. His name is Eygon, Knight of Carim. As long as you don’t harm Irina, he’ll be fine. Should you decide to kill her, you can expect this knight to come calling.
The door outside of her cell only opens from this side, so you need to make the trip through the sewers to free Irina and open the door.
This is the lower route to (17), and you’re now at your destination. The top route is covered at (16).
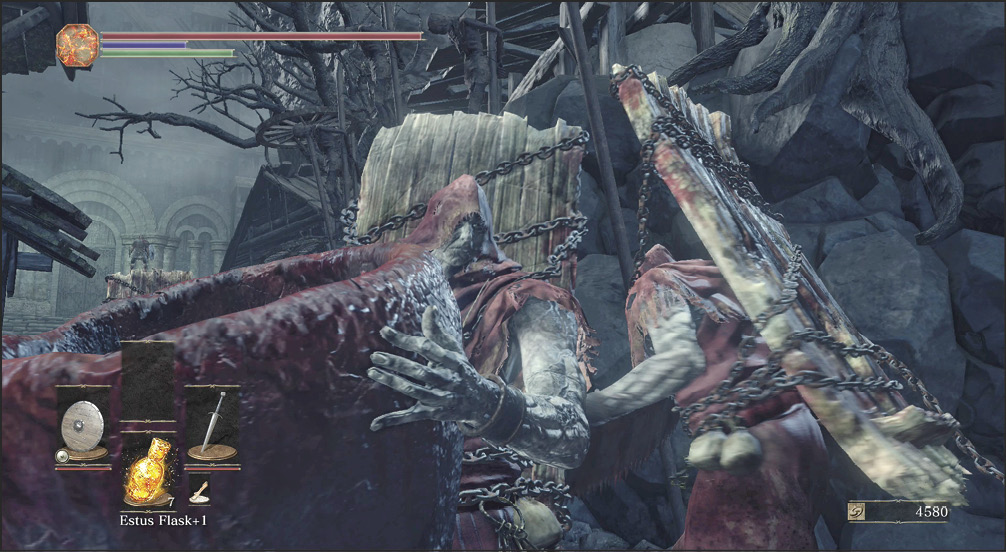
 To leave the Undead Settlement, you need to either go through the sewers or take a small bridge and fight through a tough community of Hollow Manservants. There are Starved Hounds here, too, giving you a frightening mix of both fast and slow attackers.
Use a ranged weapon to pull the Starved Hounds and fight them far away from the larger enemies. Once they’re dead, shoot one Hollow Manservant from across the bridge, and kill it while it’s isolated. Do this for all of the enemies unless you’re very well geared and want the challenge of a dangerous battle.
There’s some minor loot up on the hill, a Soul and some Alluring Skulls.
Siegward of Catarina
 Open the large doors to a fort at the top of a hill. A lift is inside, which can take you up or down. If you trigger the lift and quickly get off of it, you switch which direction it will take you on your next trip. There are a few things to note here.
For one, you meet an NPC as he rides up on the lift the first time you arrive. This is Siegward of Catarina. He’s a nifty fellow. Talk to him twice to find out what he’s doing here.
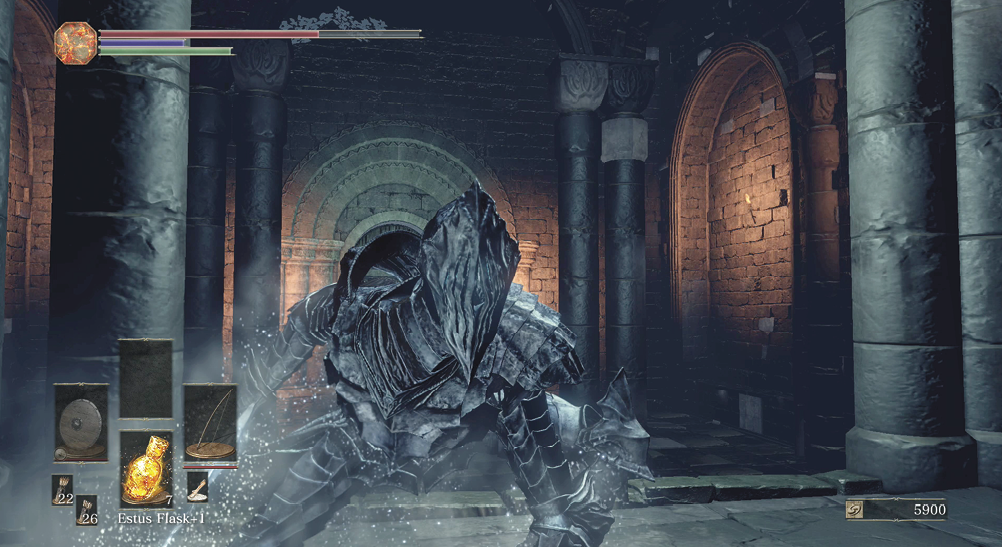
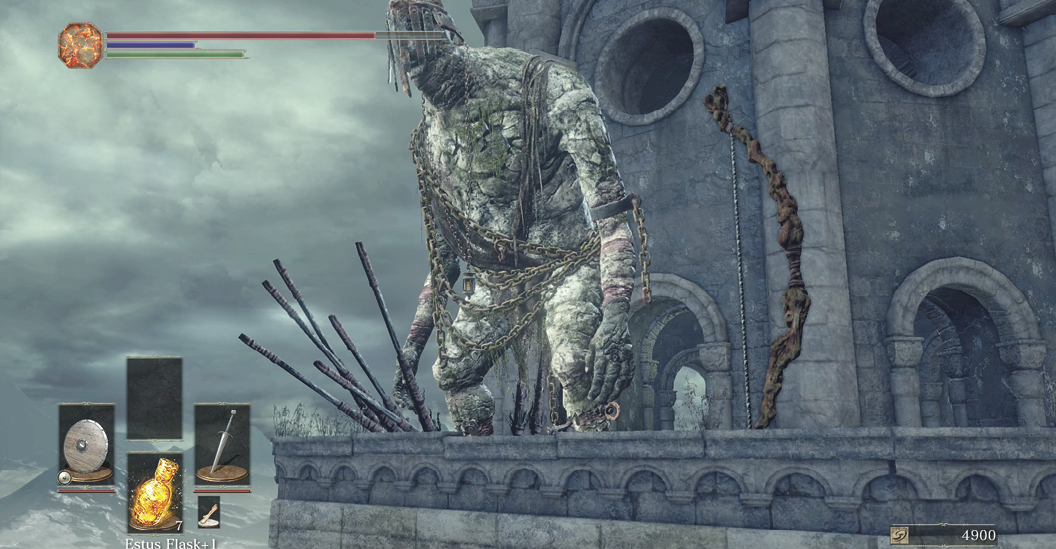
The lift also takes you to the bottom of the fort, where a Boreal Outrider Knight is waiting. This particular opponent has almost boss-like difficulty because of its strong frost effect and high damage. You must get the most that you can out of ranged attacks, thrown weapons, and evasive maneuvers.
Defeating the Boreal Outrider Knight rewards you with an Irithyll Straight Sword. This unusual weapon is one of the few weapons in the game that deals Frost damage, causing the frostbite status effect. Unfortunately, being a unique weapon, it requires Twinkling Titanite to upgrade, and cannot be infused with Gems.
Why Fight Fair?Though it’s mean-spirited, you can use your Longbow (or another ranged weapon) to get a perfect kill here. Hit the Boreal Outrider Knight from range, and back off once it starts getting close to you. Retreat to the previous chamber and get onto the stairs where you came in. Repeat your attacks. This can put the enemy well below half health during its approach. Dodge aside when it charges, and run to the other side of the room. Keep sniping this vicious enemy until it is dead. Melee attacks are tough to use in this match, so why not be underhanded instead. |
After you win, open the doors that lead outside. You’ve reached the Road of Sacrifices, and a Bonfire is only a few feet away (on the right as you exit).
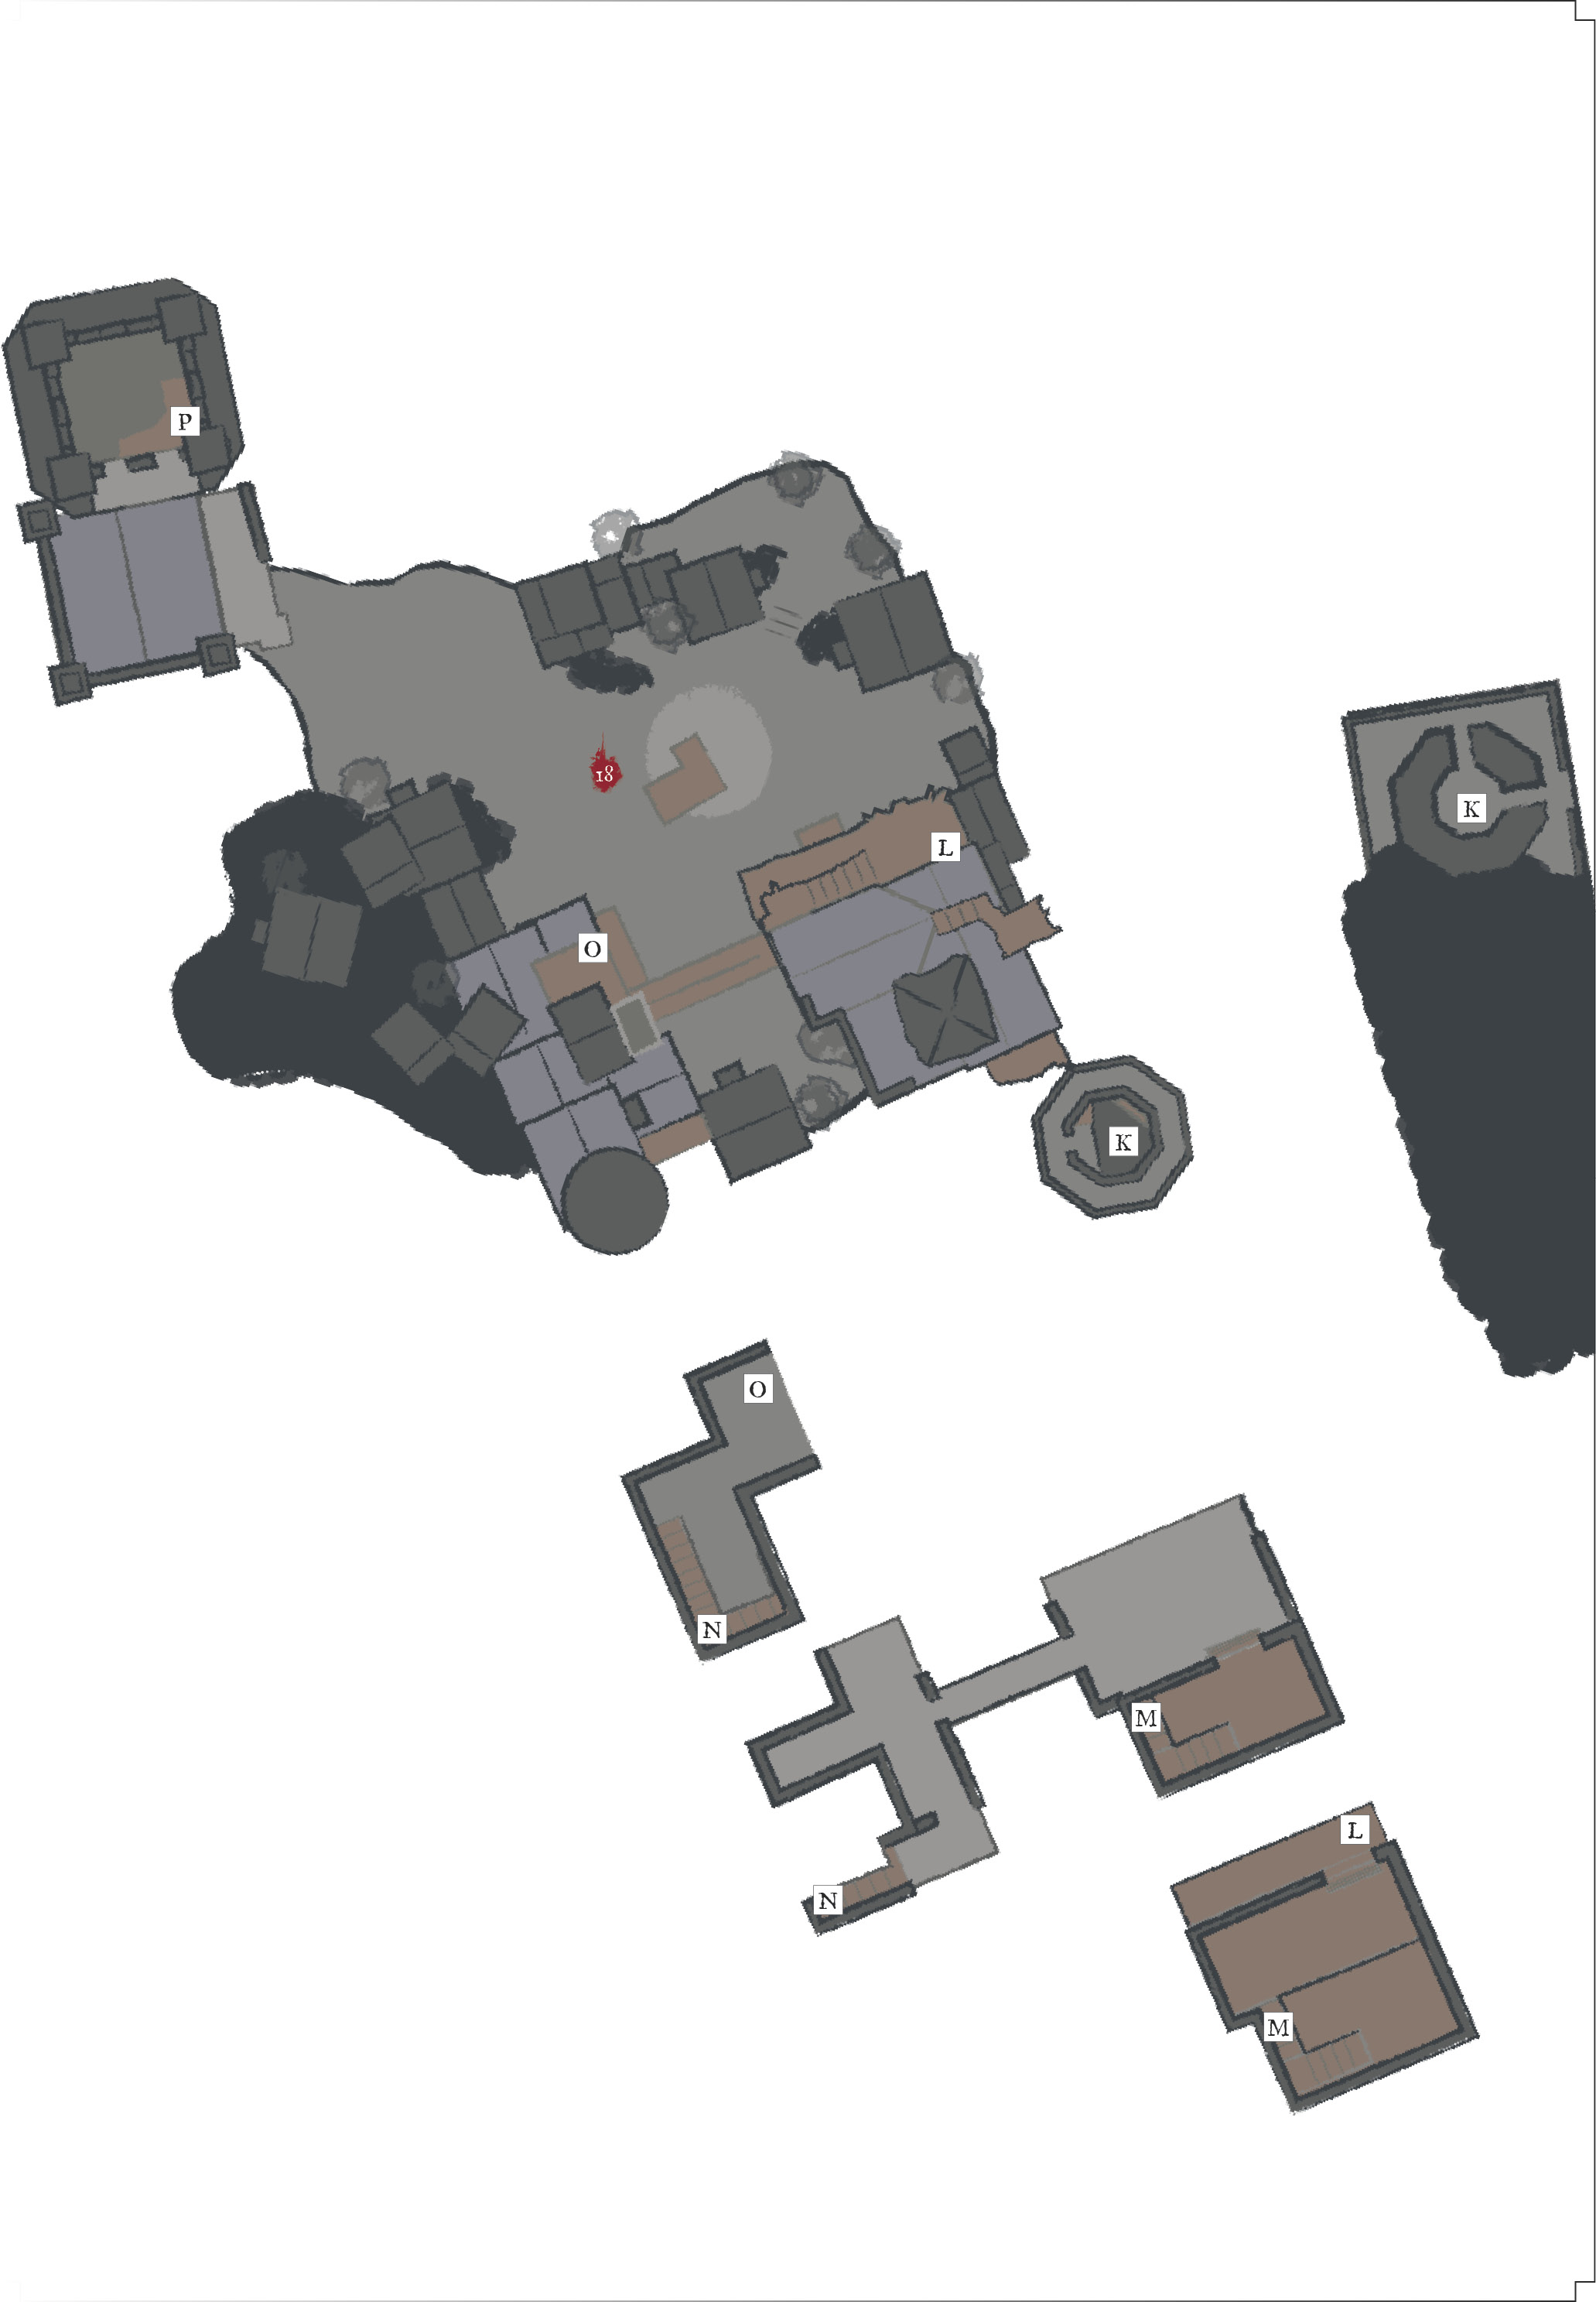
 There’s a village that’s close to the keep, but you won’t easily see it until you get there. When taking the lift at (17), roll off of it during your ascent to get onto a ledge. You meet Siegward here again, but there’s much more to it than that.
Go outside, jump onto a rooftop, and then descend into a town that a massive demon is patrolling. As you attack, Siegward comes to your aid (if he is still alive). He’ll assist in the battle, making it much safer. Play defensively and dodge the Demon’s slower axe swipes. If the demon looks like it’s about to breathe, sprint away—its fire attack has a decent area of effect and is easier to avoid by strafing than dodging.
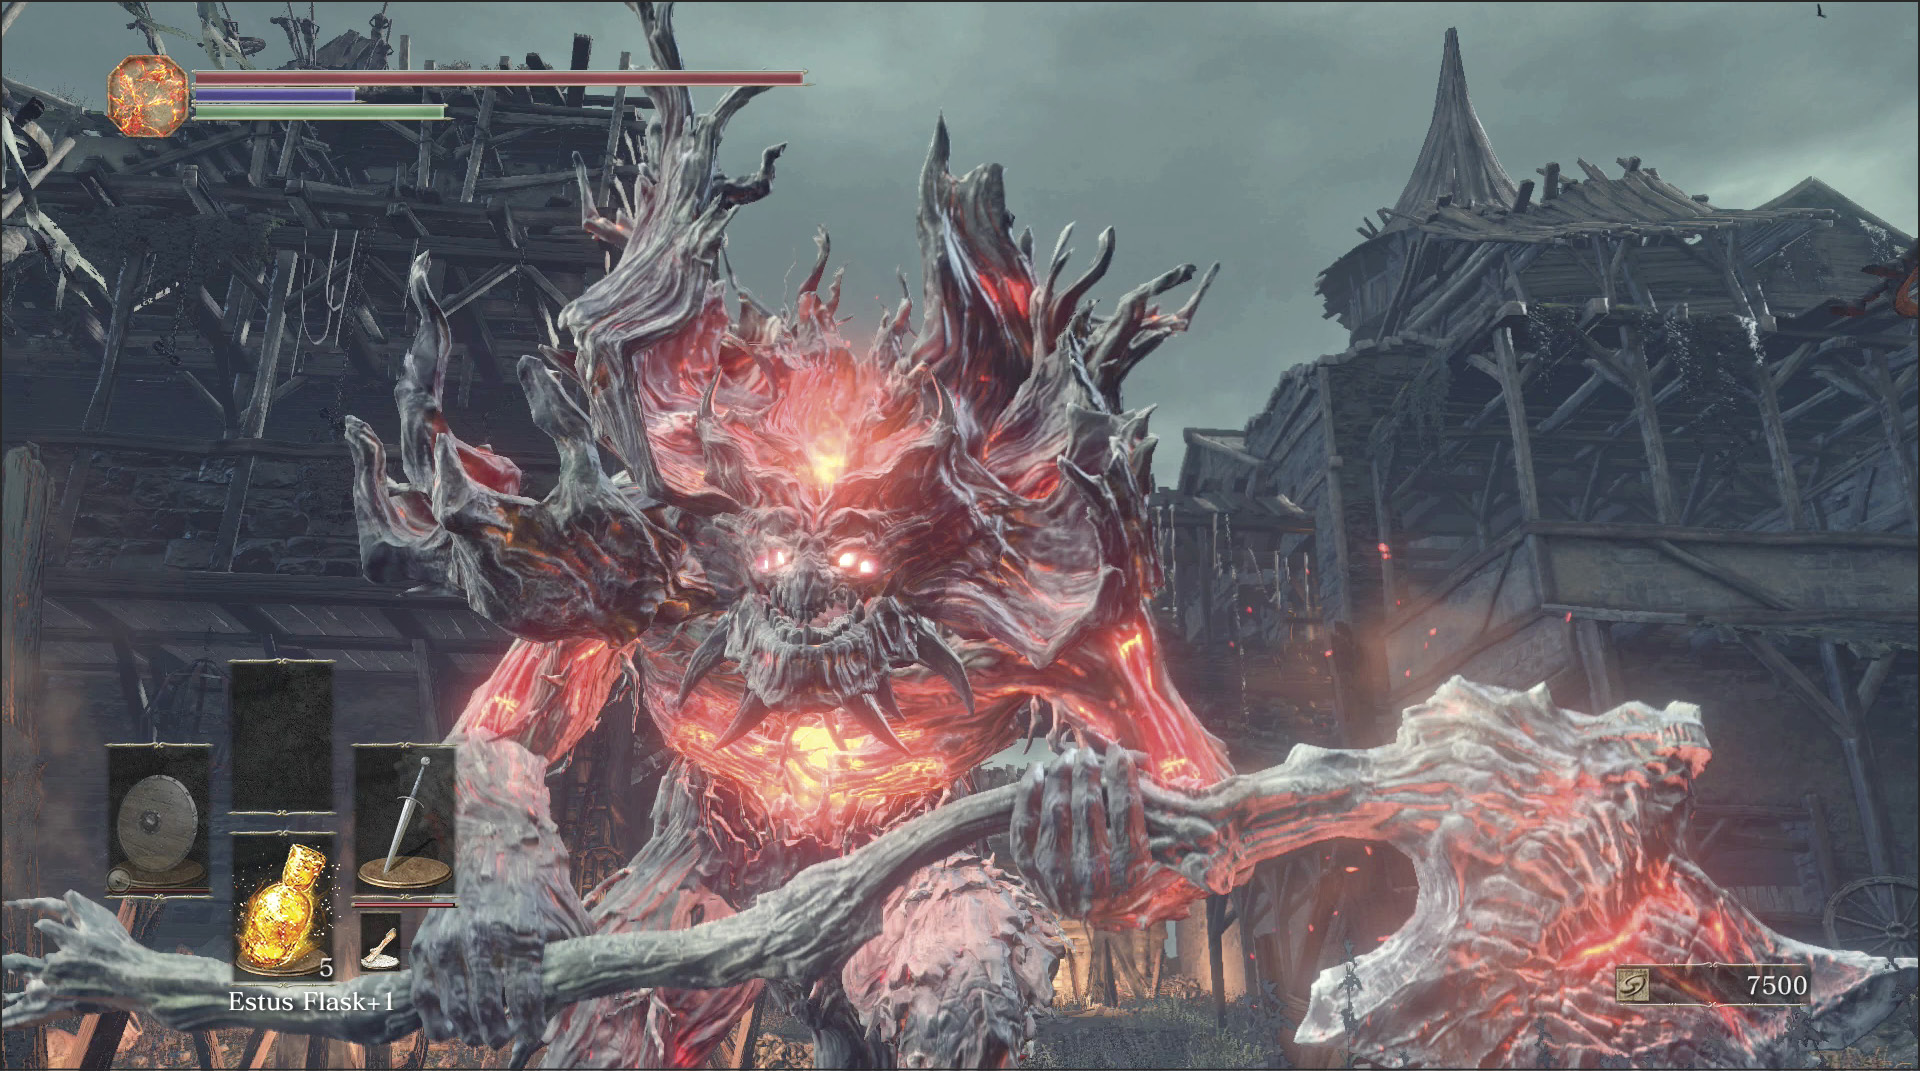
Long combos are very effective because the Demon has a considerable recovery time after his attacks. You can afford to get three or even four blows with a faster weapon. Though somewhat risky, this reduces the length of the fight and makes you expend fewer resources in the long run. Also, this enemy is a special encounter, so you only have to defeat it once.
Defeating the Demon earns you a Fire Gem. Once you have defeated the boss of the Undead Settlement, you can make use of the Demon Soul back at the Firelink Shrine—talk to Ludleth up on his throne, he’ll know what to do with it.
The Fire Gem on the other hand, can be used to infuse a weapon into a very useful Fire weapon. If you didn’t take the Fire Gem as your burial gift, this is your chance to craft a weapon now. Fire weapons are very useful for characters not investing heavily in Str or Dex, but are also useful in general just due to the number of enemies weak to Fire damage.
Talk to Siegward a few times after the battle. He’ll give you Siegbrau and teach you the Toast gesture. Then, he’ll teach you the Sleep gesture, as well.
Check near where you fought the demon to find a Large Club. This brutish weapon is a powerful two handed weapon for pure Str focused characters. Cut down a corpse hanging from the building nearby to find a full set of Northern Armor. A sturdy set of gear for any mid weight character.
There are a pair of Evangelists, quite a few Cage Spider and a few Starved Hounds in the buildings nearby, take your time to clear them out and loot the area. You can find some Red Bug Pellets, a consumable that boosts Fire resistance, and more Alluring Skulls upstairs from those.
Across the walkway from where you found the skulls, a pair of Starved Hounds guard a chest containing Human Pine Resin, and an ambush from two more Cage Spider that drop and attack when you open the chest.
The stables have stairs that lead up and through the insides of the village structures. There are several nice items along the way here, but Flynn’s Ring is the best of the lot, boosting your attack based on how light your equipment load is. Good for most characters, excellent for light Dex or caster focused characters. Find it on the highest roof when you leave the building.
Before returning home, look around the back side of the roof for a gray tower. You can jump over to it and then fall down the open hole in the center of that tower. Jump carefully to reach a ledge just before the bottom to avoid taking too much fall damage.
At the bottom you can find most of the LucatielMirrah armor set, and hidden in a box nearby that you can smash, the exceptionally useful Chloranthy Ring, a ring that speeds your Stamina regeneration rate!