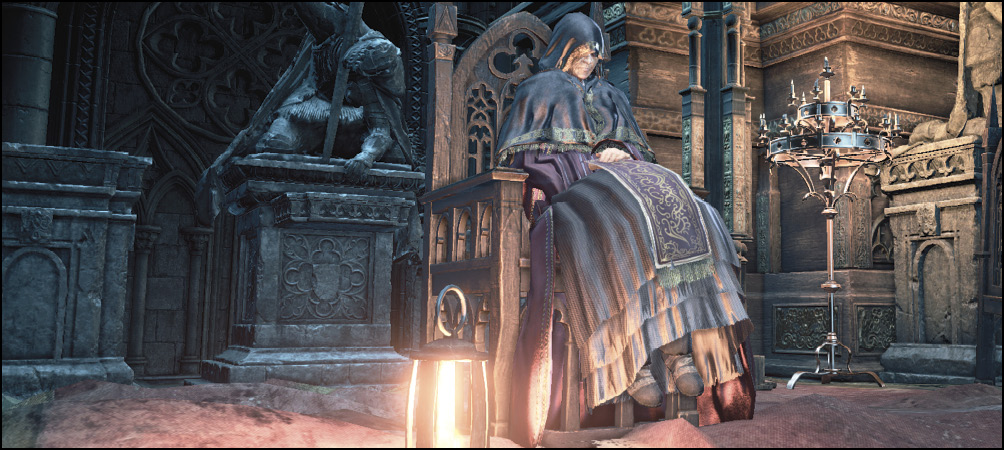
Dark Souls III Guide (Steam) Multiplayer and Covenants
Covenants! Who Will You Serve?
Part of Dark Soul III’s unusual multiplayer experience, Covenants allow you to pledge your allegiance to a faction within the game.
Covenants are largely focused on actual multiplayer gameplay, whether co-op or PvP (aggressively or defensively). If you greatly enjoy the multiplayer aspect of Dark Souls, Covenants offer rewards for your services—defending new players from invaders, aiding other players with tough boss fights, or ruthlessly hunting down others to steal their Embers for your own.
What Are Covenants?
You acquire Covenants simply by finding the “master” of that particular Covenant, located somewhere out in the world. The earliest accessible Covenants are focused on co-operative play and defensive PvP, while the later Covenants give you a means of joining a “defensive” PvP group that fights over specific zones in the game. Two of the Covenants offer rewards for pure offensive PvP, hunting other players for proof of victory to claim your rewards.
Remember, you can freely join and leave Covenants, so don’t hesitate to pick up each Covenant as you travel through the game. Simply changing your equipped Covenant item is enough to change your allegiance.
Earning Covenant Rewards
Each Covenant has a different reward item, earned in multiplayer play by performing actions that align with that Covenant’s philosophy.
Generally, this means defending another player in PvP, hunting another player, or assisting in defeating bosses in co-op.
Turning in these reward items to the Covenant master grants actual rewards in the form of equipment for your character.
The Blade of the Darkmoon and Rosaria’s Fingers Covenants can both earn a special reward item that counts as two for the purposes of earning gear: the Blades by slaying Aldrich Faithful and Rosaria’s Fingers by hunting helpful blue spirits.
Aldrich Faithful
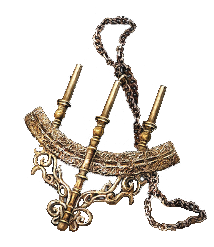
You can join the Aldrich Faithful by finding a secret waterway beneath the Irithyll Cathedral (near Pontiff Sulyvahn’s area). After defeating the boss of the cathedral, search behind it for a small tower that two dual-wielding warriors guard. Smack the walls inside to reveal an illusory wall, and then climb down a long ladder to find the Covenant and a hidden Bonfire.
Once unlocked, you can join their cult to defend the cathedral from interlopers.
While you have their Covenant equipped, you are automatically summoned to attack any non-Faithful that trespass on forbidden ground in Irithyll.
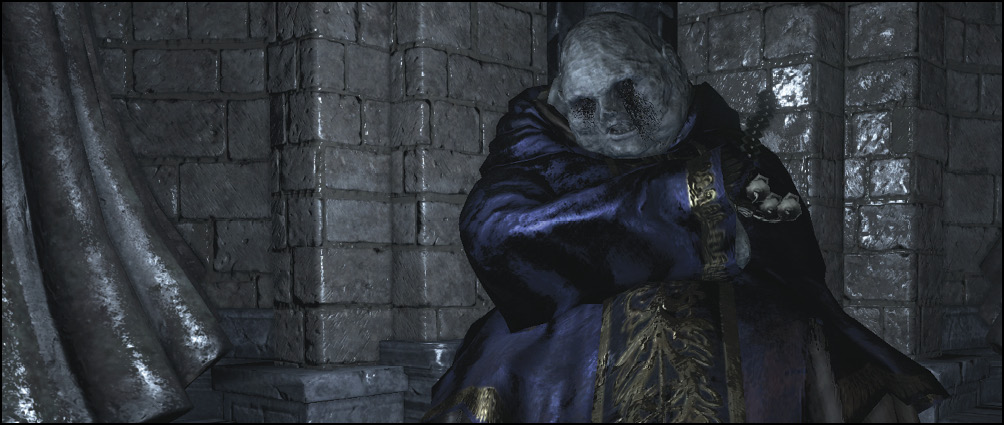
Success earns you Human Dregs that you can exchange for rewards from the Covenant master.
Aldrich Faithful Rewards
| Dregs Offered | Reward |
|---|---|
| 10 | Great Deep Soul |
| 30 | Archdeacon’s Great Staff |
Human Dreg NPC Drops: Deacon of the Deep
Blade of the Darkmoon

The Blade of the Darkmoon act as righteous enforcers, hunting red spirits that have transgressed repeatedly by invading and slaying other players. Like the Blue Sentinels, you are automatically summoned to defend those in the Way of Blue Covenant if they are invaded by hostile Red Phantoms.
The Blade of the Darkmoon is essentially an ‘upgrade’ to the Blue Sentinels Covenant, with the same reward item and same leader. The only key difference is defeating hated Aldrich Faithful rewards Proof of a Concord Well Kept, a double reward item. You still earn Proof of a Concord Kept by defeating red spirit invaders.
You can find Yorshka, the Covenant leader, by taking a leap of faith off a high tower in Anor Londo. An invisible bridge leads to her isolated tower, located above the small church in Irithyll.

Darkmoon Rewards
| Proof of Concords Kept Offered | Reward |
|---|---|
| 10 | Darkmoon Ring |
| 30 | Darkmoon Blade |
Proof of a Concord Kept NPC Drops: Silver Knight
Blue Sentinels
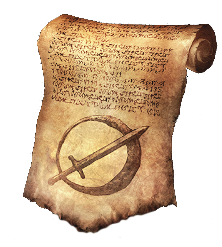
The Blue Sentinels are a defensive Covenant formed to protect members of the Way of Blue Covenant—in practice, this means almost every new player in the game.
You unlock the Blue Sentinels by speaking with Anri and Horace once you reach the Road of Sacrifices area, not too far into the game.
If you choose to take up their cause, you will be summoned automatically into a Way of Blue member’s game if a hostile player is attacking them. Defeating hostile Red Phantoms earns you the Proof of a Concord Kept, which can be turned in later in the game at the Darkmoon Covenant leader for rewards. You can also earn these by successfully escorting the host to a boss battle.
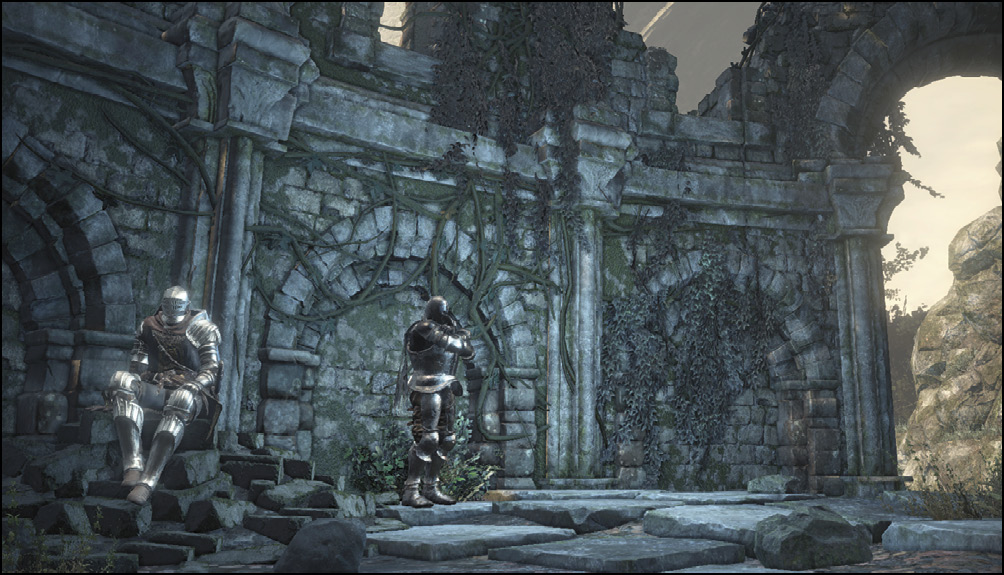
Mound-Makers
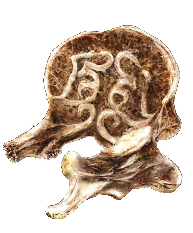
Crazed mad spirits, Mound-Makers appear as purple signs and phantoms to other players. Whether their sign is red or white, they can freely attack any phantom in the Host players game, allowing Mound-Makers to engage in voluntary PvP duels with a white sign, or to invade with a red sign, but turn against other red spirits instead of the Host…
The Mound-Maker defeating the Host or enough other phantoms or the player defeating the Mound-Maker earns a Vertebra Shackle, the Mound-Makers reward item. When invading, Mound-Makers automatically prioritize games with many players in them, the better to sow chaos.
The shrine of the Mound-Makers can be found in the Pit of Hollows, beneath the Rotted-greatwood boss in the Undead Settlement. It is possible to reach it without killing the boss in a very roundabout manner, see the NPCs chapter if you don’t mind spoiling the route.

Mound-Makers Rewards
| Vertebra Shackles Offered | Reward |
|---|---|
| 10 | Bloodlust |
| 30 | Warmth |
Vertebra Shackle NPC Drops: Skeleton Swordsman
Rosaria’s Fingers
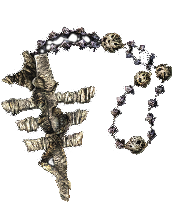
Rosaria’s Fingers is a hostile PvP faction, dedicated entirely to hunting and killing other players for their Embers. Defeat hosts to earn Pale Tongues, or defeat blue spirit defenders to earn Forked Pale Tongues, a double reward item.
You access the Rosaria’s Fingers Covenant within the Cathedral of the Deep. Tucked away high in the cathedral, you can find Rosaria and pledge allegiance.
Rosaria has the special ability to change your attributes or your appearance, each up to five times per playthrough. Either change costs one Pale Tongue.

Rosaria’s Rewards
| Pale Tongues Offered | Reward |
|---|---|
| 10 | Obscuring Ring |
| 30 | Man-Grub’s Staff |
Pale Tongue NPC Drops: Darkwraith
Warrior of Sunlight

Focused on jolly co-operation, the Warriors of Sunlight appear as gleaming golden spirits, beacons of light and a welcome sign for players who need aid against tough bosses.
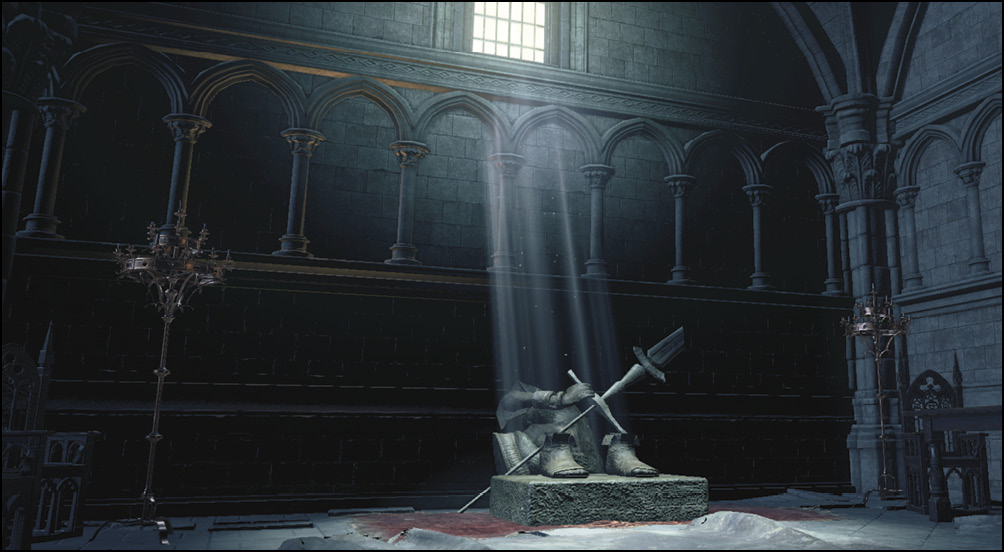
Placing your summon sign as a Warrior of Sunlight causes the sign to show up in bright gold, and players are often keen to summon Warriors of Sunlight to aid them in co-operative battle. Defeat bosses as a White-Gold Phantom or defeat hosts as a Red-Gold Phantom to earn Sunlight Medals. You can join the Warriors of Sunlight by locating their emblem early in the game, not too far into the Undead Settlement. Their shrine is not found until much later in the game in Lothric Castle.
Warrior of Sunlight Rewards
| Sunlight Medals Offered | Reward |
|---|---|
| 10 | Sacred Oath |
| 30 | Great Lightning Spear |
Sunlight Medal NPC Drops: Lothric Knight
Watchdogs of Farron

The Watchdogs of Farron are similar to the Aldrich Faithful in that they exist to defend a specific area in the game, located around Farron Keep.
Defeating interlopers in this region in PvP battles earns Wolf’s Blood Swordgrass.
To join the Watchdogs, speak with the Old Wolf, located high in the tower above the swamp near Farron Keep.

Watchdogs of Farron Rewards
| Wolf’s Blood Swordgrass Offered | Reward |
|---|---|
| 10 | Old Wolf Curved Sword |
| 30 | Wolf Knight’s Greatshield |
| 30 | Wolf Ring |
Wolf’s Blood Swordgrass NPC Drops: Ghru
Way of Blue

The earliest Covenant in the game, the Way of Blue is a special Covenant designed for new players. As long as you are in this Covenant, members of the Blue Sentinels and Darkmoon Blades (the “blue cops”) will join and aid you should a hostile red spirit invade you.
This is basically your “default” Covenant if you aren’t especially interested in the other PvP or co-op factions, and it provides you with a bit of help against hostile players.
Don’t assume that being in the Way of Blue will always save you from an invader, though. You still need to defend yourself, but this Covenant can give you an edge in battle. More friends are always better, especially if you aren’t confident in your PvP skills.
You join the Way of Blue early in the game by speaking to Emma, the Priestess in the High Wall of Lothric chapel.