Dark Souls III Guide (Steam) Walkthrough
Farron Keep
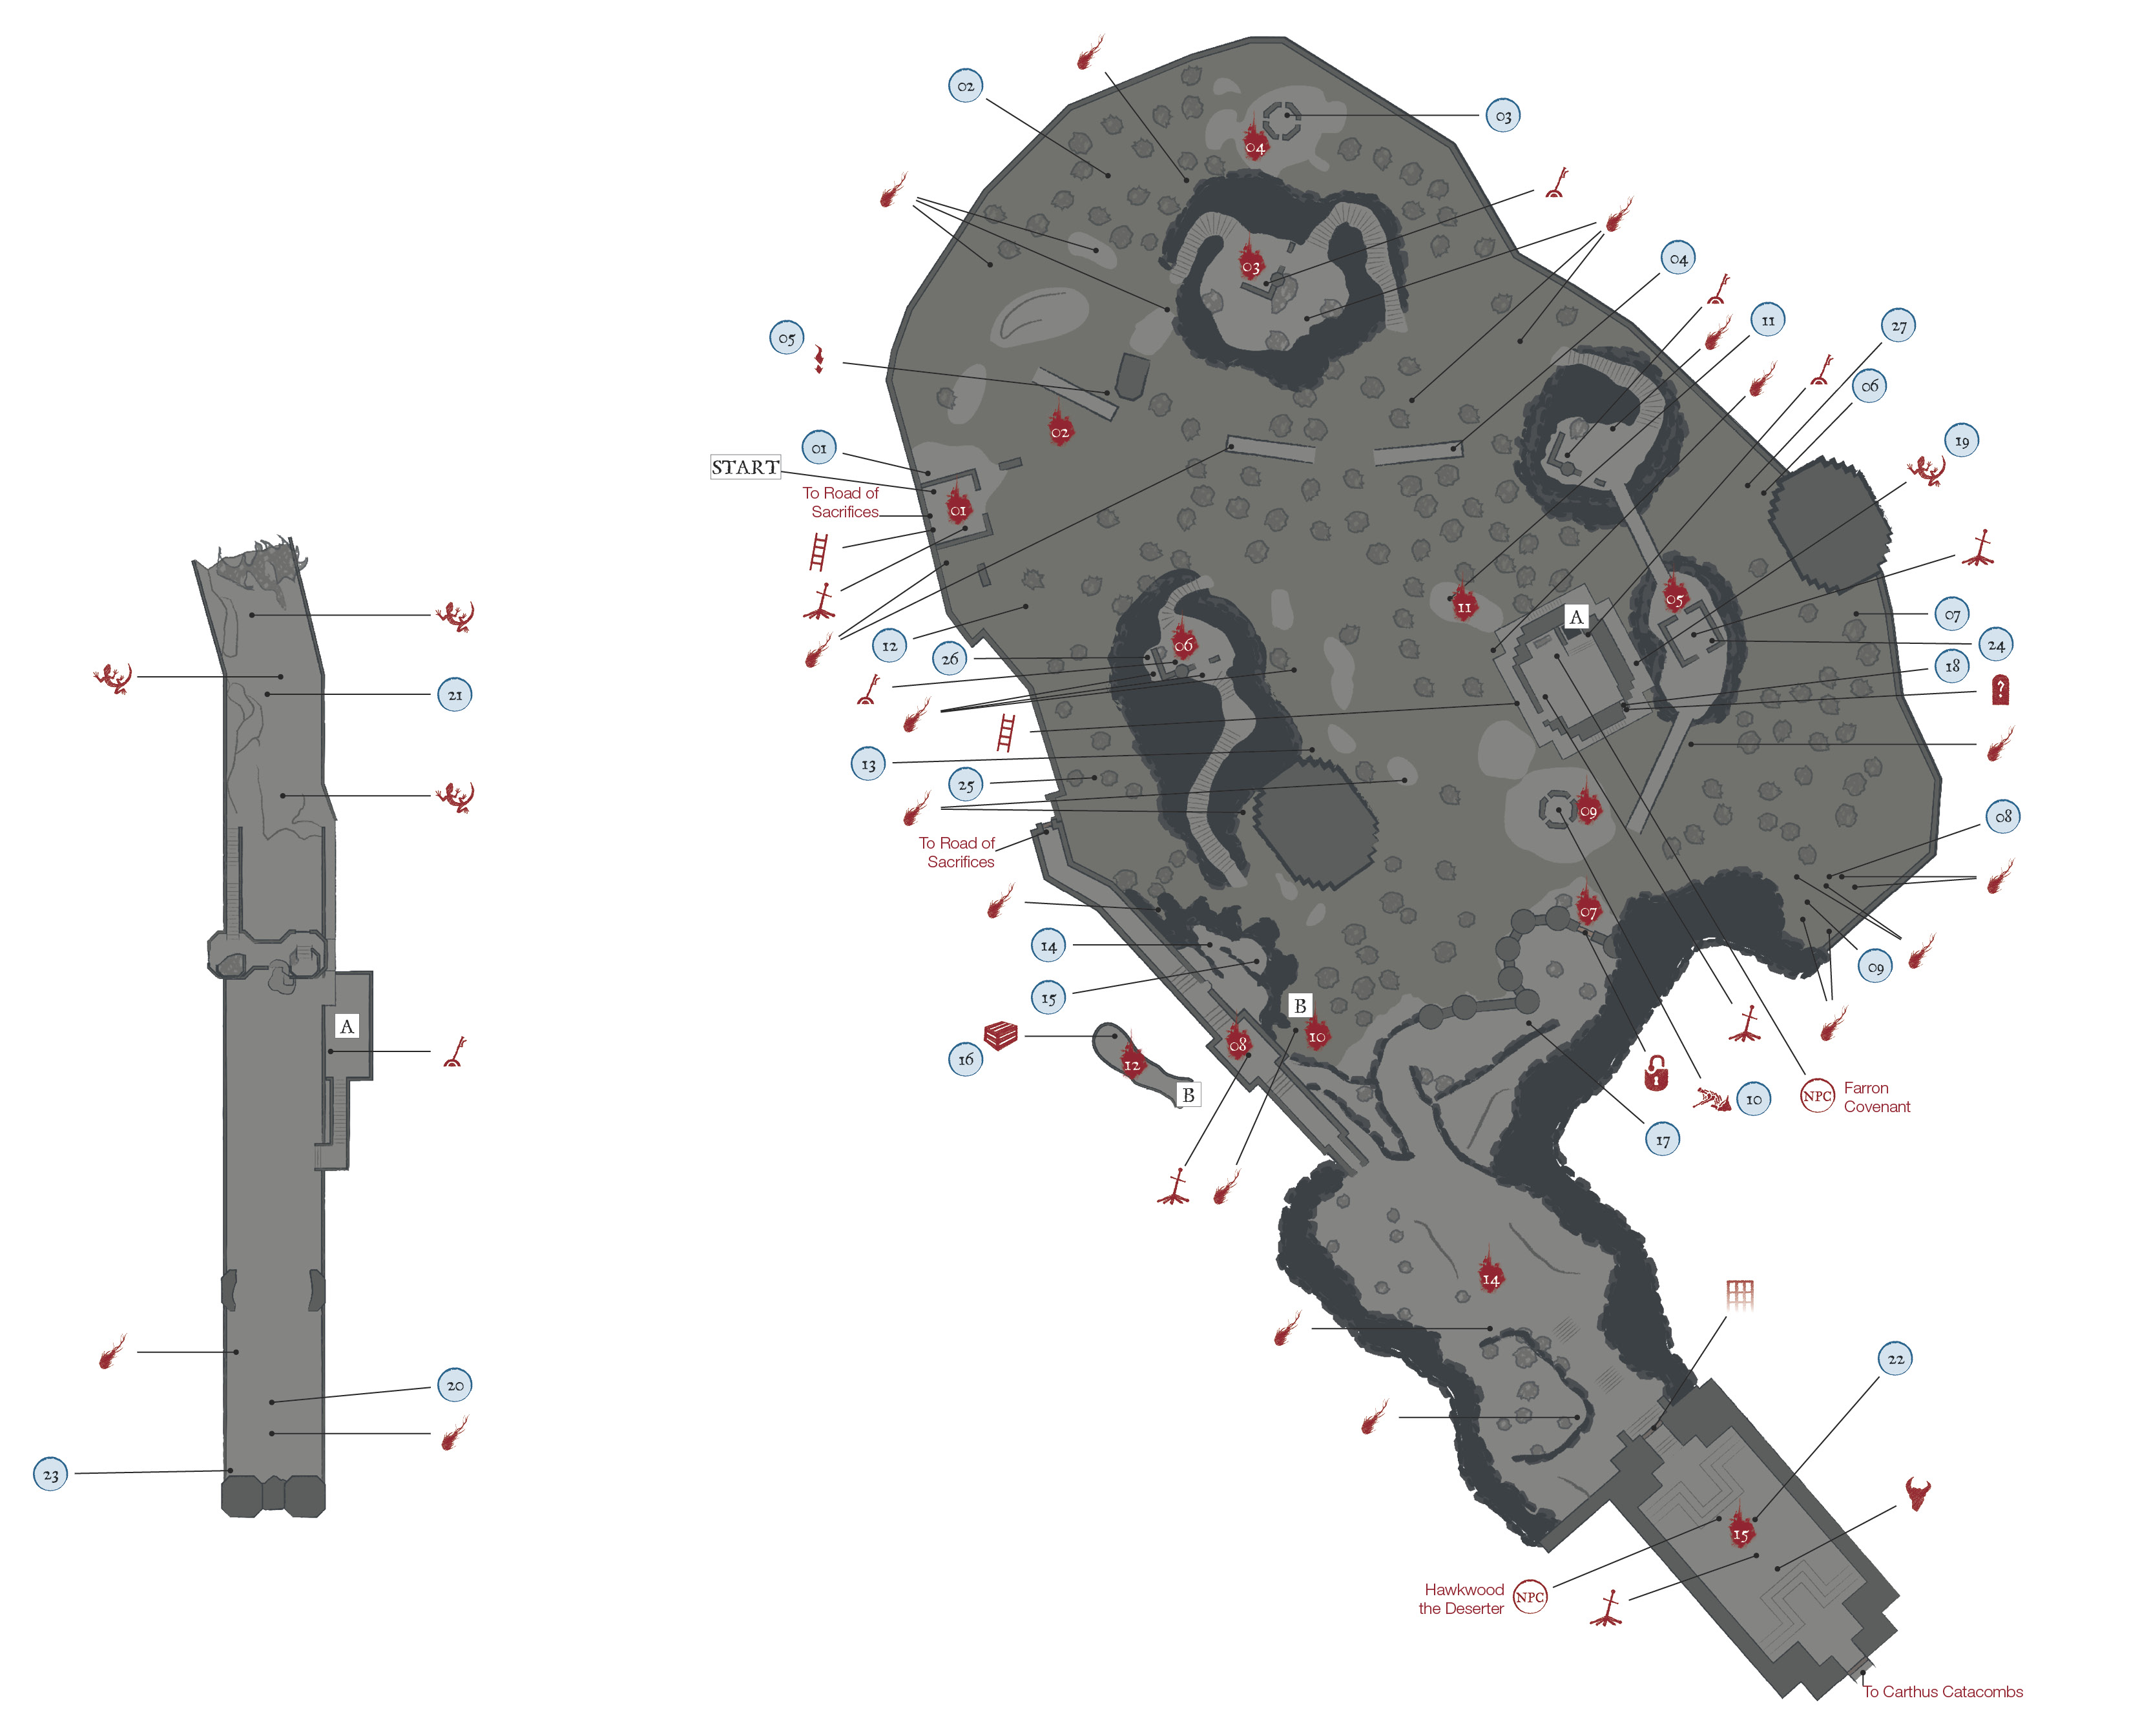
Major Items
 | Items |
|---|---|
| 1 | Ragged Mask |
| 2 | Stone Parma |
| 3 | Sage’s Coal |
| 4 | Greatsword |
| 5 | Estus Shard |
| 6 | Poison Gem |
| 7 | Sage’s Scroll |
| 8 | Crown of Dusk |
| 9 | Lingering Dragoncrest Ring (on Great Crab) |
| 10 | Undead Bone Shard |
| 11 | Sunlight Talisman |
| 12 | Iron Flesh |
| 13 | Nameless Knight Armor (full set) |
| 14 | Atonement |
| 15 | Hollow Gem |
| 16 | Golden Scroll, Antiquated Armor (full set, in chest) |
| 17 | Shriving Stone |
| 18 | Dreamchaser’s Ashes |
| 19 | Twinkling Titanite |
| 20 | Greataxe, Soul of a Stray Demon (on Demon) |
| 21 | Dragon Crest Shield, Lightning Spear |
| 22 | Twinkling Dragon Head Stone |
| 23 | Havel’s Armor (full set, after defeating Havel in Archdragon Peak) |
| 24 | Wolf Ring+1 (New Game +1) |
| 25 | Magic Stoneplate Ring+1 (New Game +1) |
| 26 | Dark Stoneplate Ring +2 (New Game +2) |
| 27 | Pharis’ Hat and Black Bow of Pharis (after defeating Elder Ghru trio) |
Bonfires Located Here
| Bonfire Name |
|---|
| Farron Keep |
| Keep Ruins |
| Abyss Watchers (Boss) |
| Old Wolf of Farron |
Enemies
| Enemy Name |
|---|
| Ghru |
| Basilisk |
| Rotten Slug |
| Elder Ghru |
| Great Crab |
| Corvian |
| Corvian Storyteller |
| Ravenous Crystal Lizard |
| Crystal Lizard |
Key Discoveries
| Discovery |
|---|
| Old Wolf of Farron (Covenant) |
Bonfire—Farron Keep
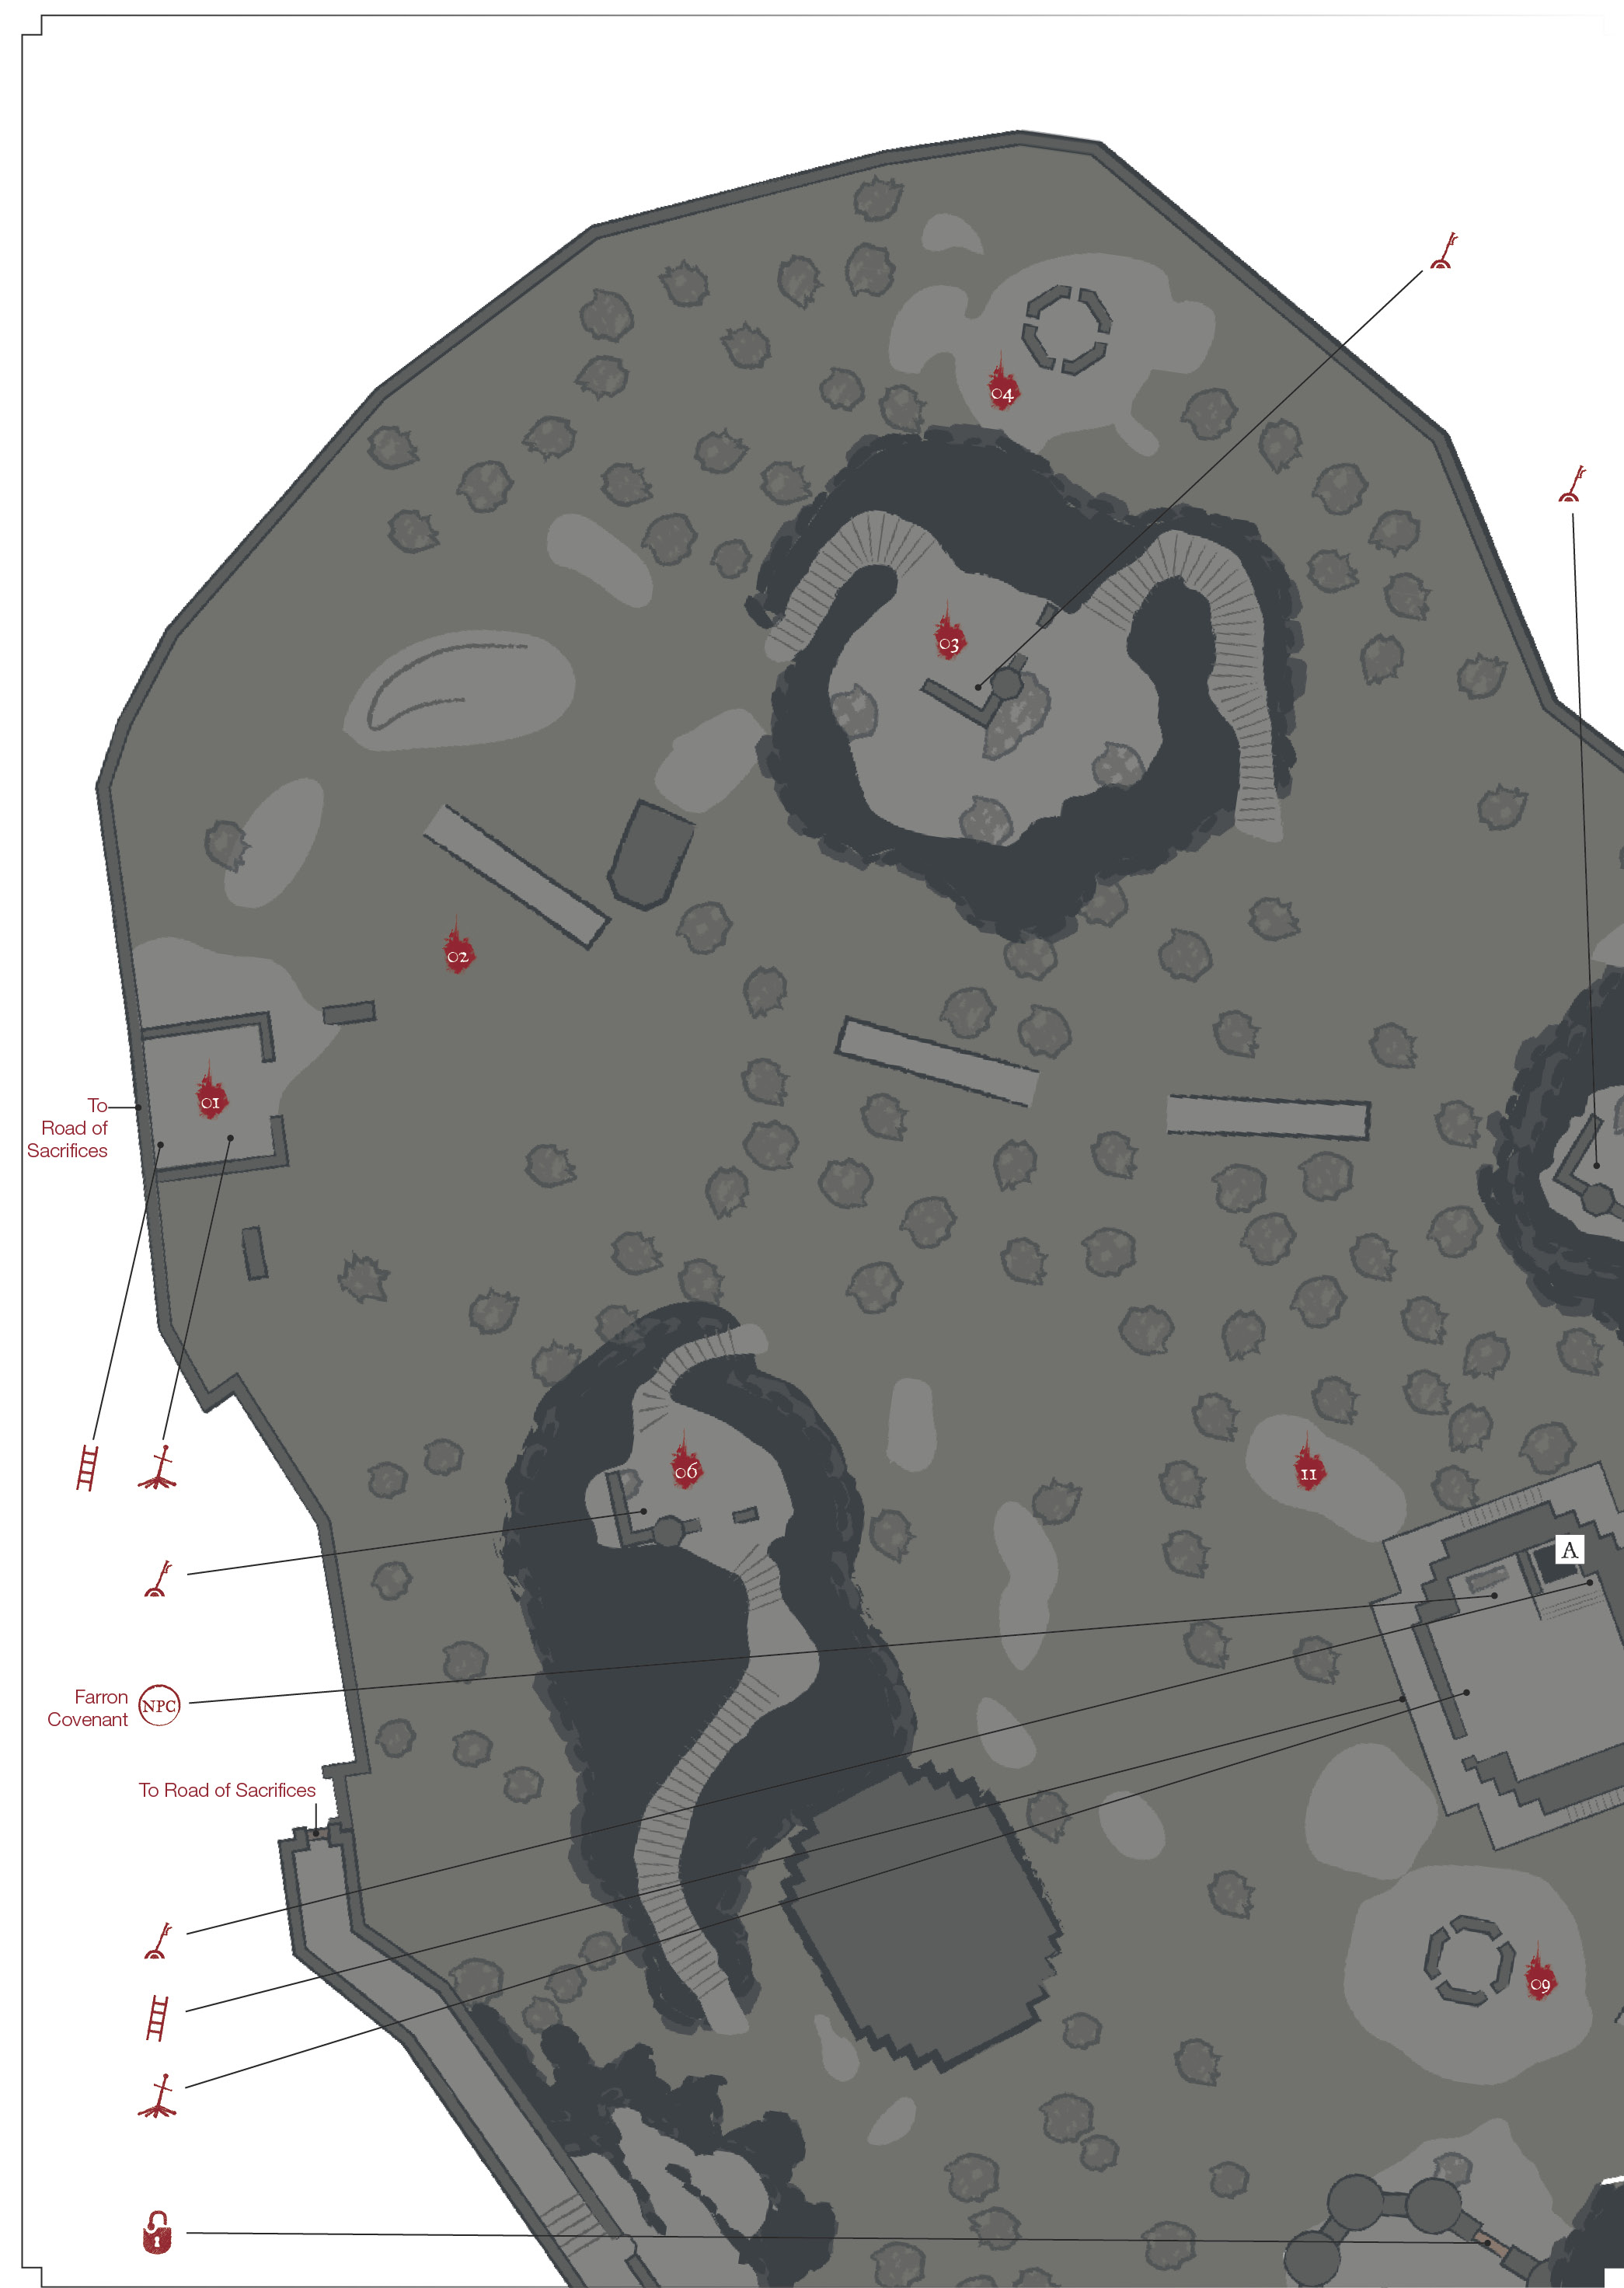
 This is the beginning of Farron Keep, the area beneath the Road of Sacrifices. The ladder down from that previous area takes you here. This Bonfire is on the western side of the map. Stop to examine the map for a few minutes before moving out. This is one of the easiest places to get lost or confused in the game. The lighting is dim, and the swamp is hard to move around in.
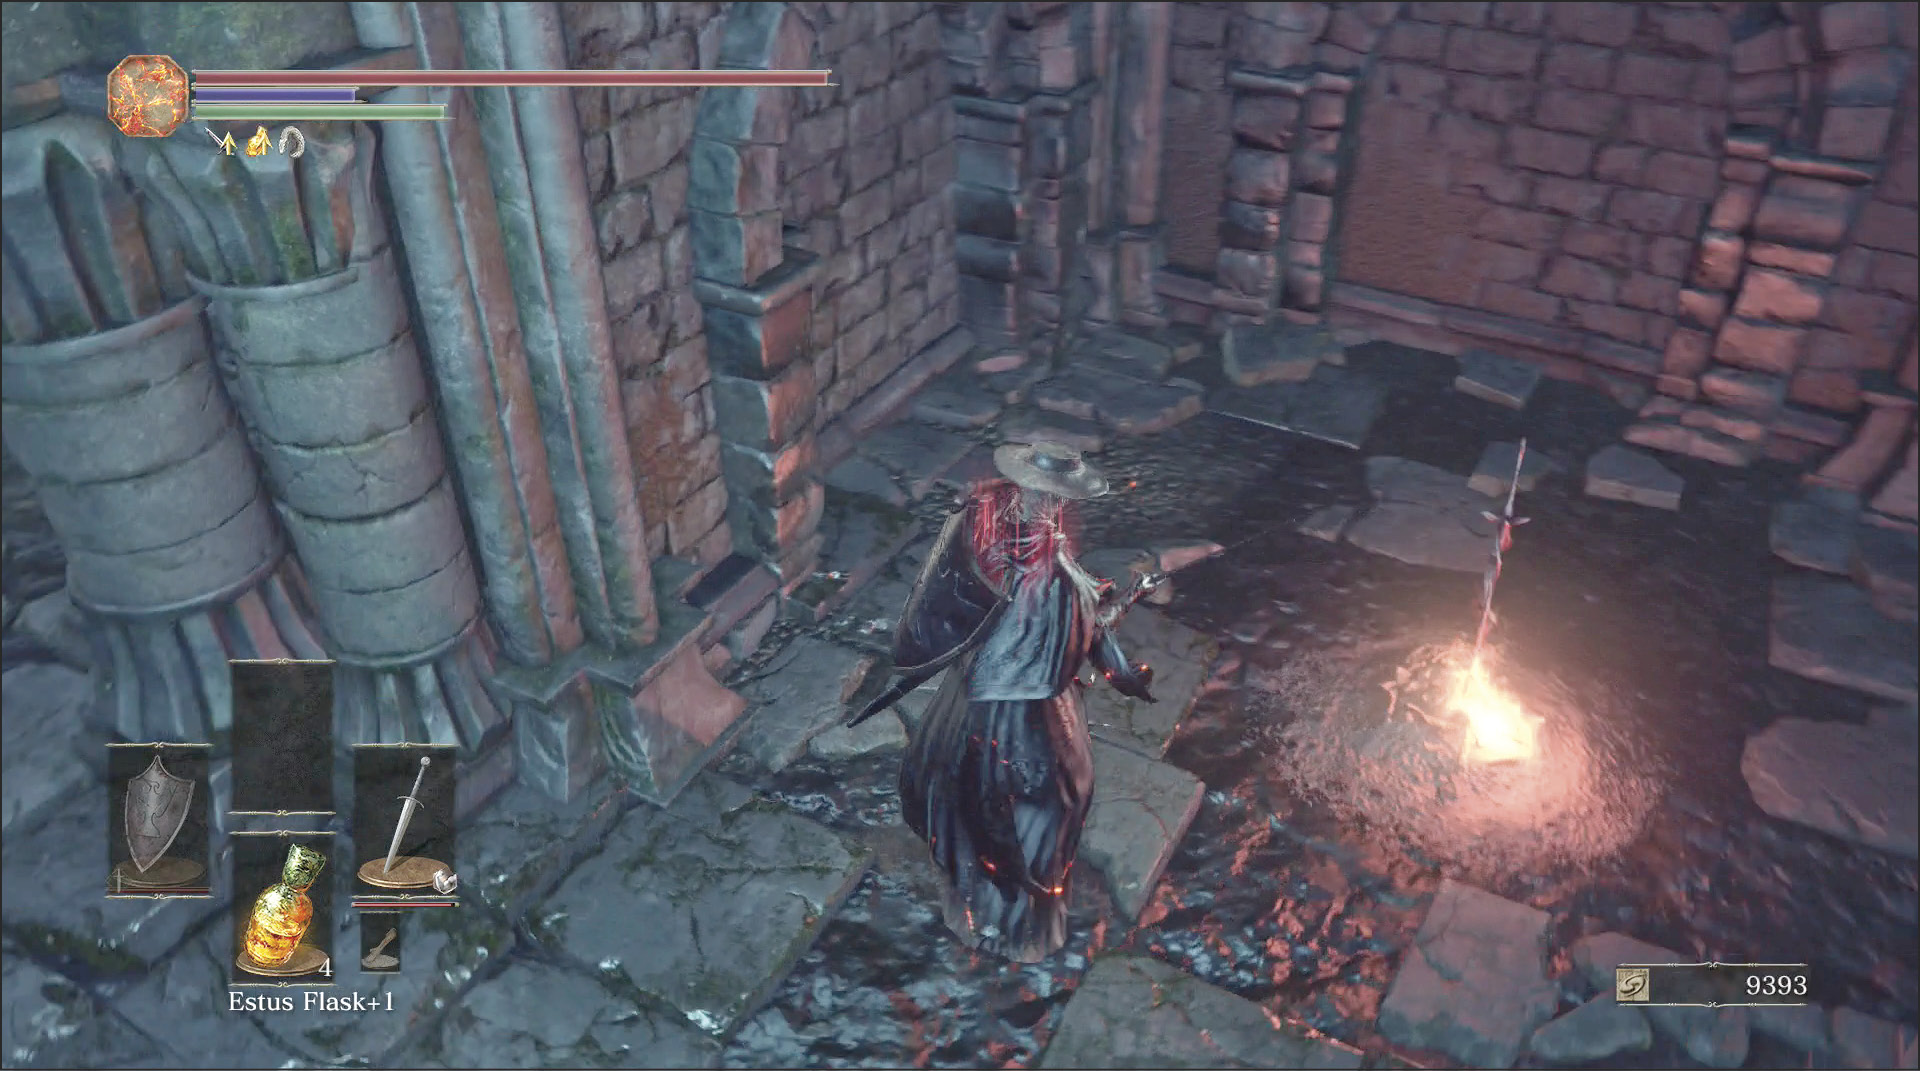
 The Rotten Slugs in the area are some of the weakest enemies in this region. They’re easy to pull and dispatch. Get them onto dry land so that you don’t have to build up even more poison while you’re fighting, or pick them off with a ranged weapon. By now you should have access to several additional types of ammo, so even a basic ranged weapon can deal enough damage to eliminate them easily.
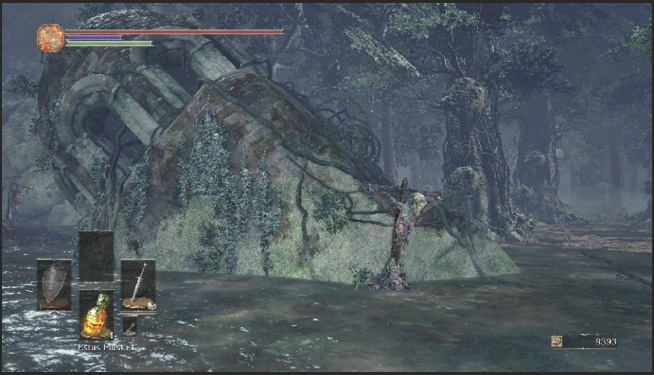
 The northern fire is on a hill, with two staircases leading up to it. There aren’t any monsters to stop you, so climb the steps and extinguish the flame at your leisure.
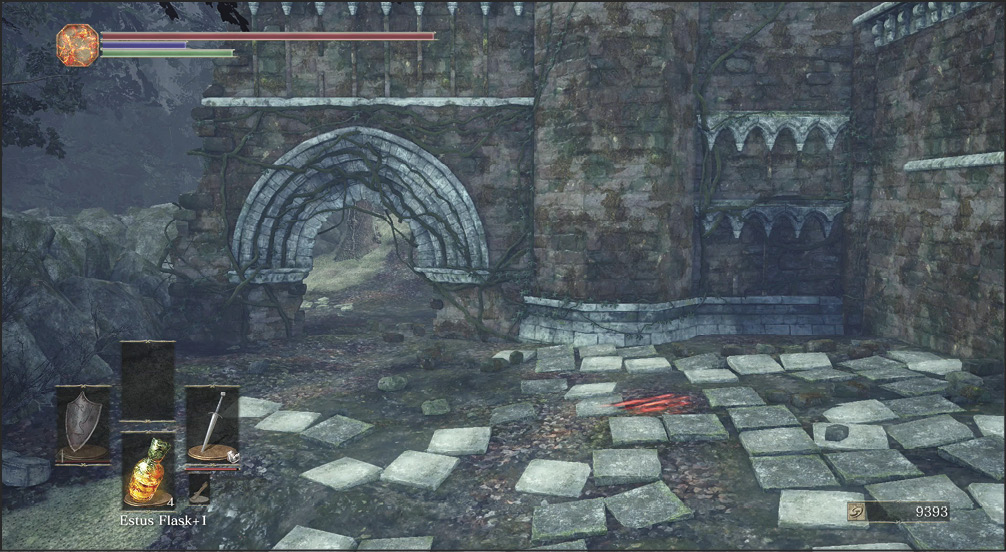
 A tower sits alone along the northern edge of the swamp. It’s guarded by a Darkwraith. Fight this vicious foe on solid ground, you don’t want to deal with slowing or poison while facing it.
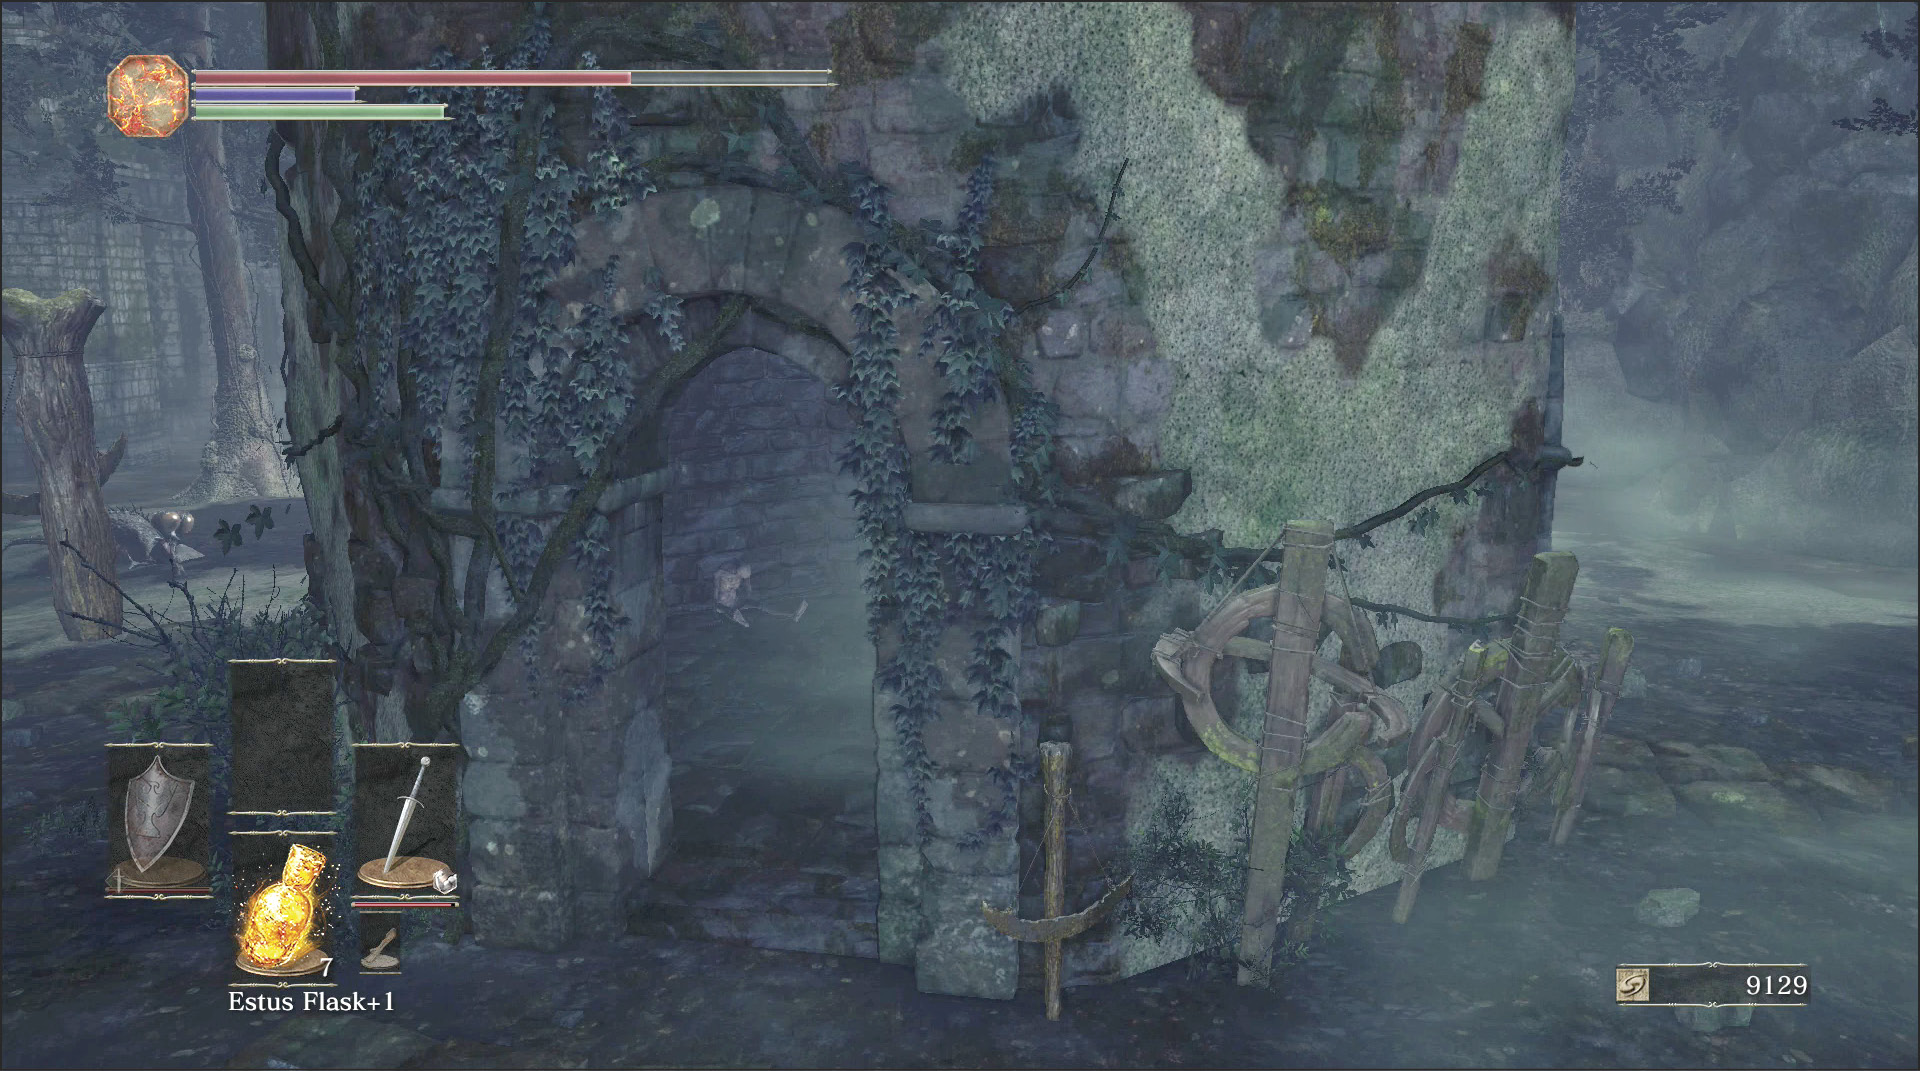
Inside the northern tower is the Elder Coal. Take that back to the Blacksmith as soon as you can!
Bonfire—Keep Ruins
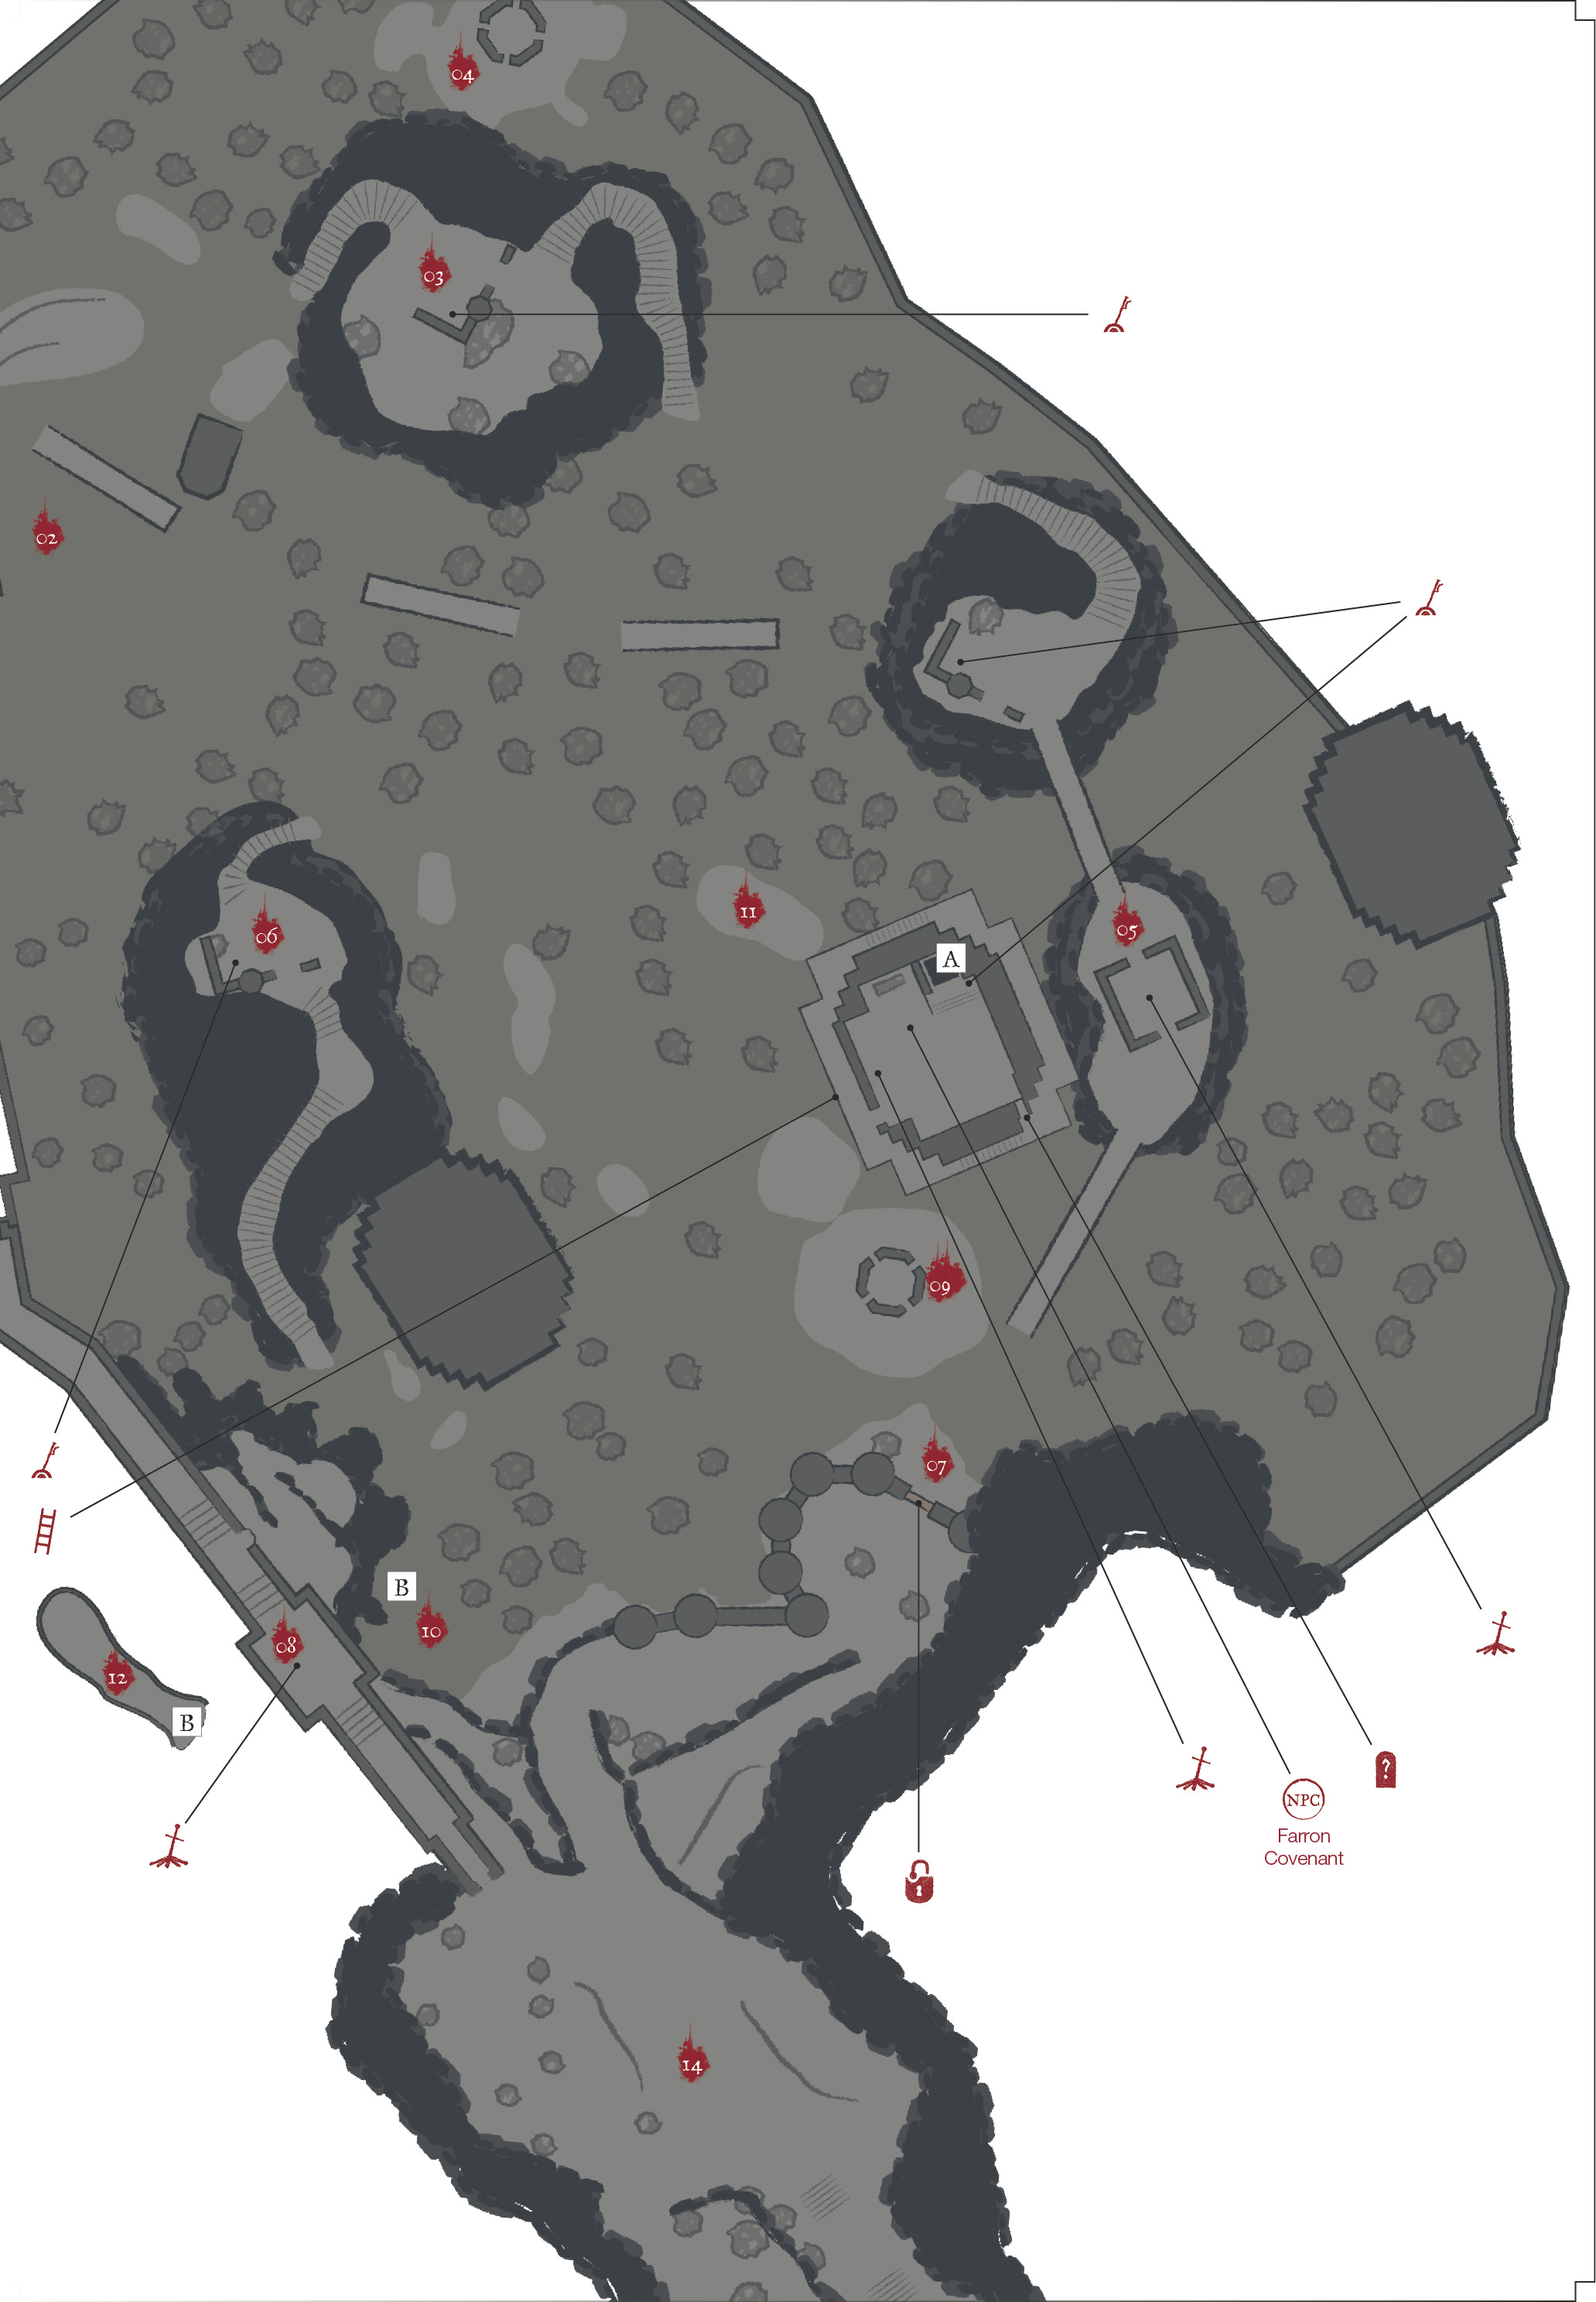
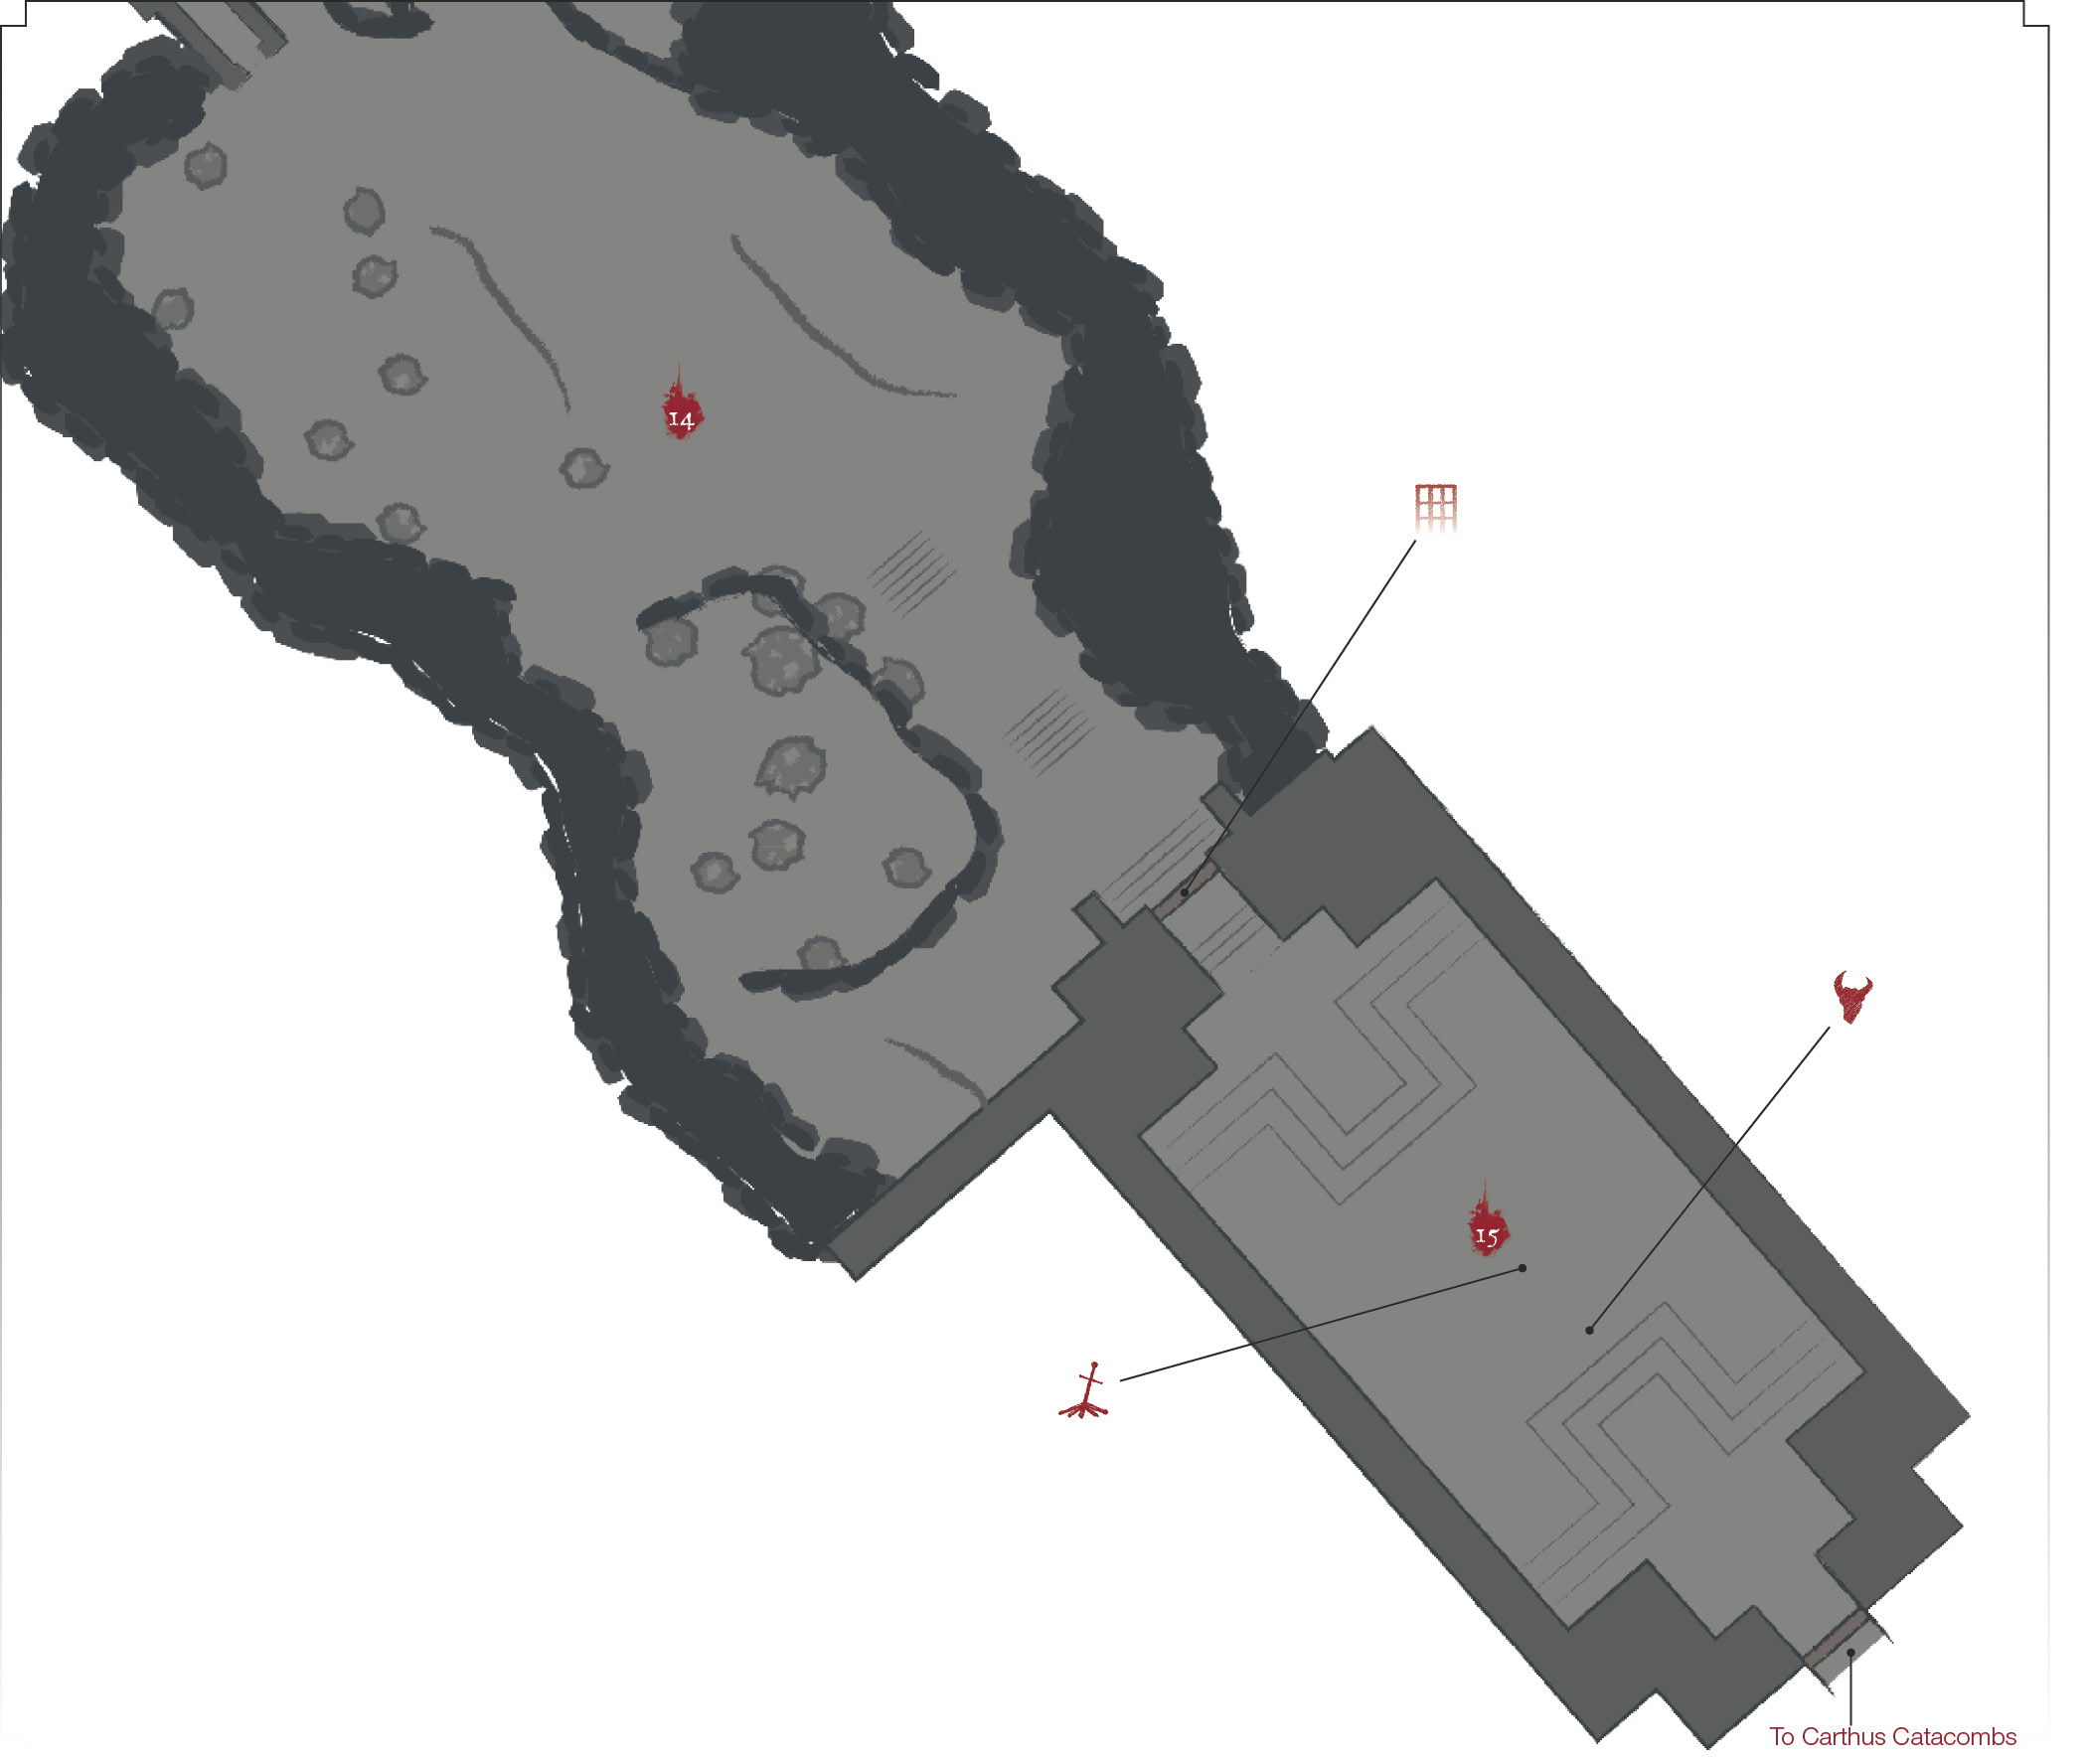
 Two tall hills are connected on the eastern side of the map. This is one of the most important areas to examine as early on as you can. Not only do you find another one of the fires to extinguish there. You also discover another Bonfire (Keep Ruins)! A small group of Ghru guard the central bridge, so exercise caution if you approach the Bonfire from the north.
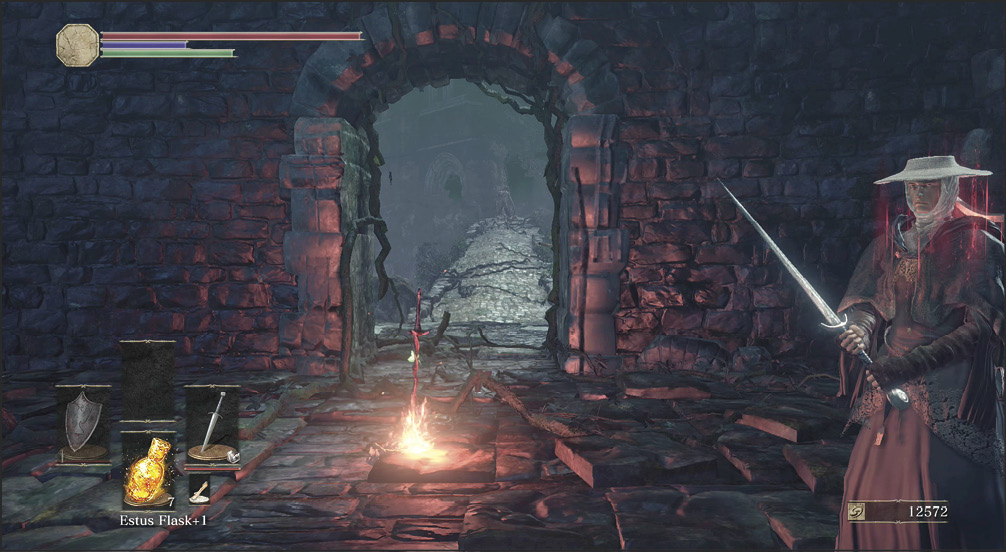
 Once you put out the third fire, the southern doors unlock. You can reach the next boss as soon as you’re done exploring the swamp. You may face the Dark Spirit Yellowfinger Heysel here for a second time. Defeating him rewards the Heysel Pick and the Xanthous Crown. Yellowfinger’s moniker alludes to his allegiance to Rosaria’s Fingers, a Covenant you encounter later in the game. Not a friendly Covenant…
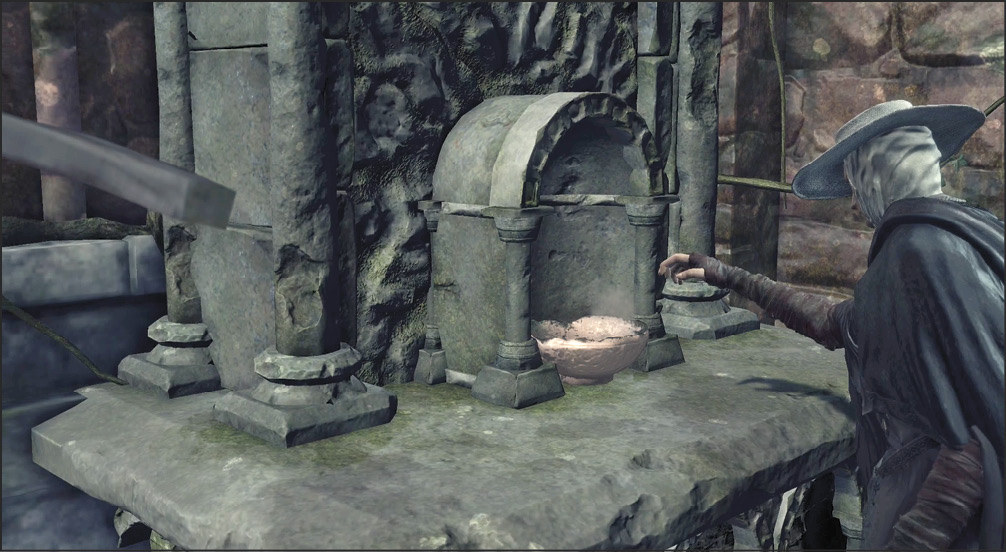
 Nothing special protects the southern doors. They’ll open once your work with the fires is done, and after that point you can travel freely back and forth between the swamp and the keep. However, beyond the door, a pair of Darkwraiths await. You can attempt to lure them down, or, if you choose, bypass them for now to sprint for the Bonfire ahead.
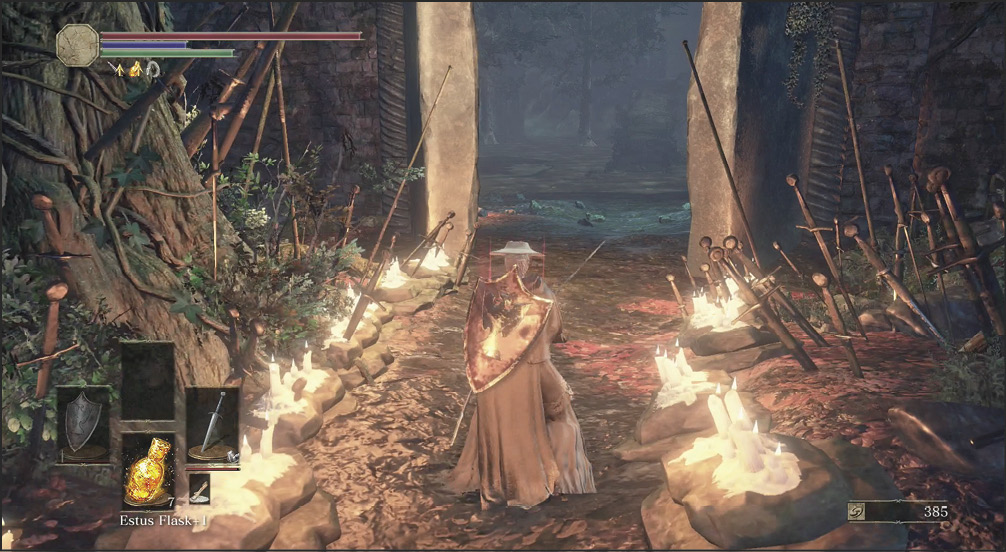
The path leads up, out of the swamp. The southern portion of it sends you toward the next boss. A small western diversion takes you toward another Bonfire and a shortcut that connects Farron Keep and the Road of Sacrifices with much more convenience.
Bonfire—Farron Keep Perimeter
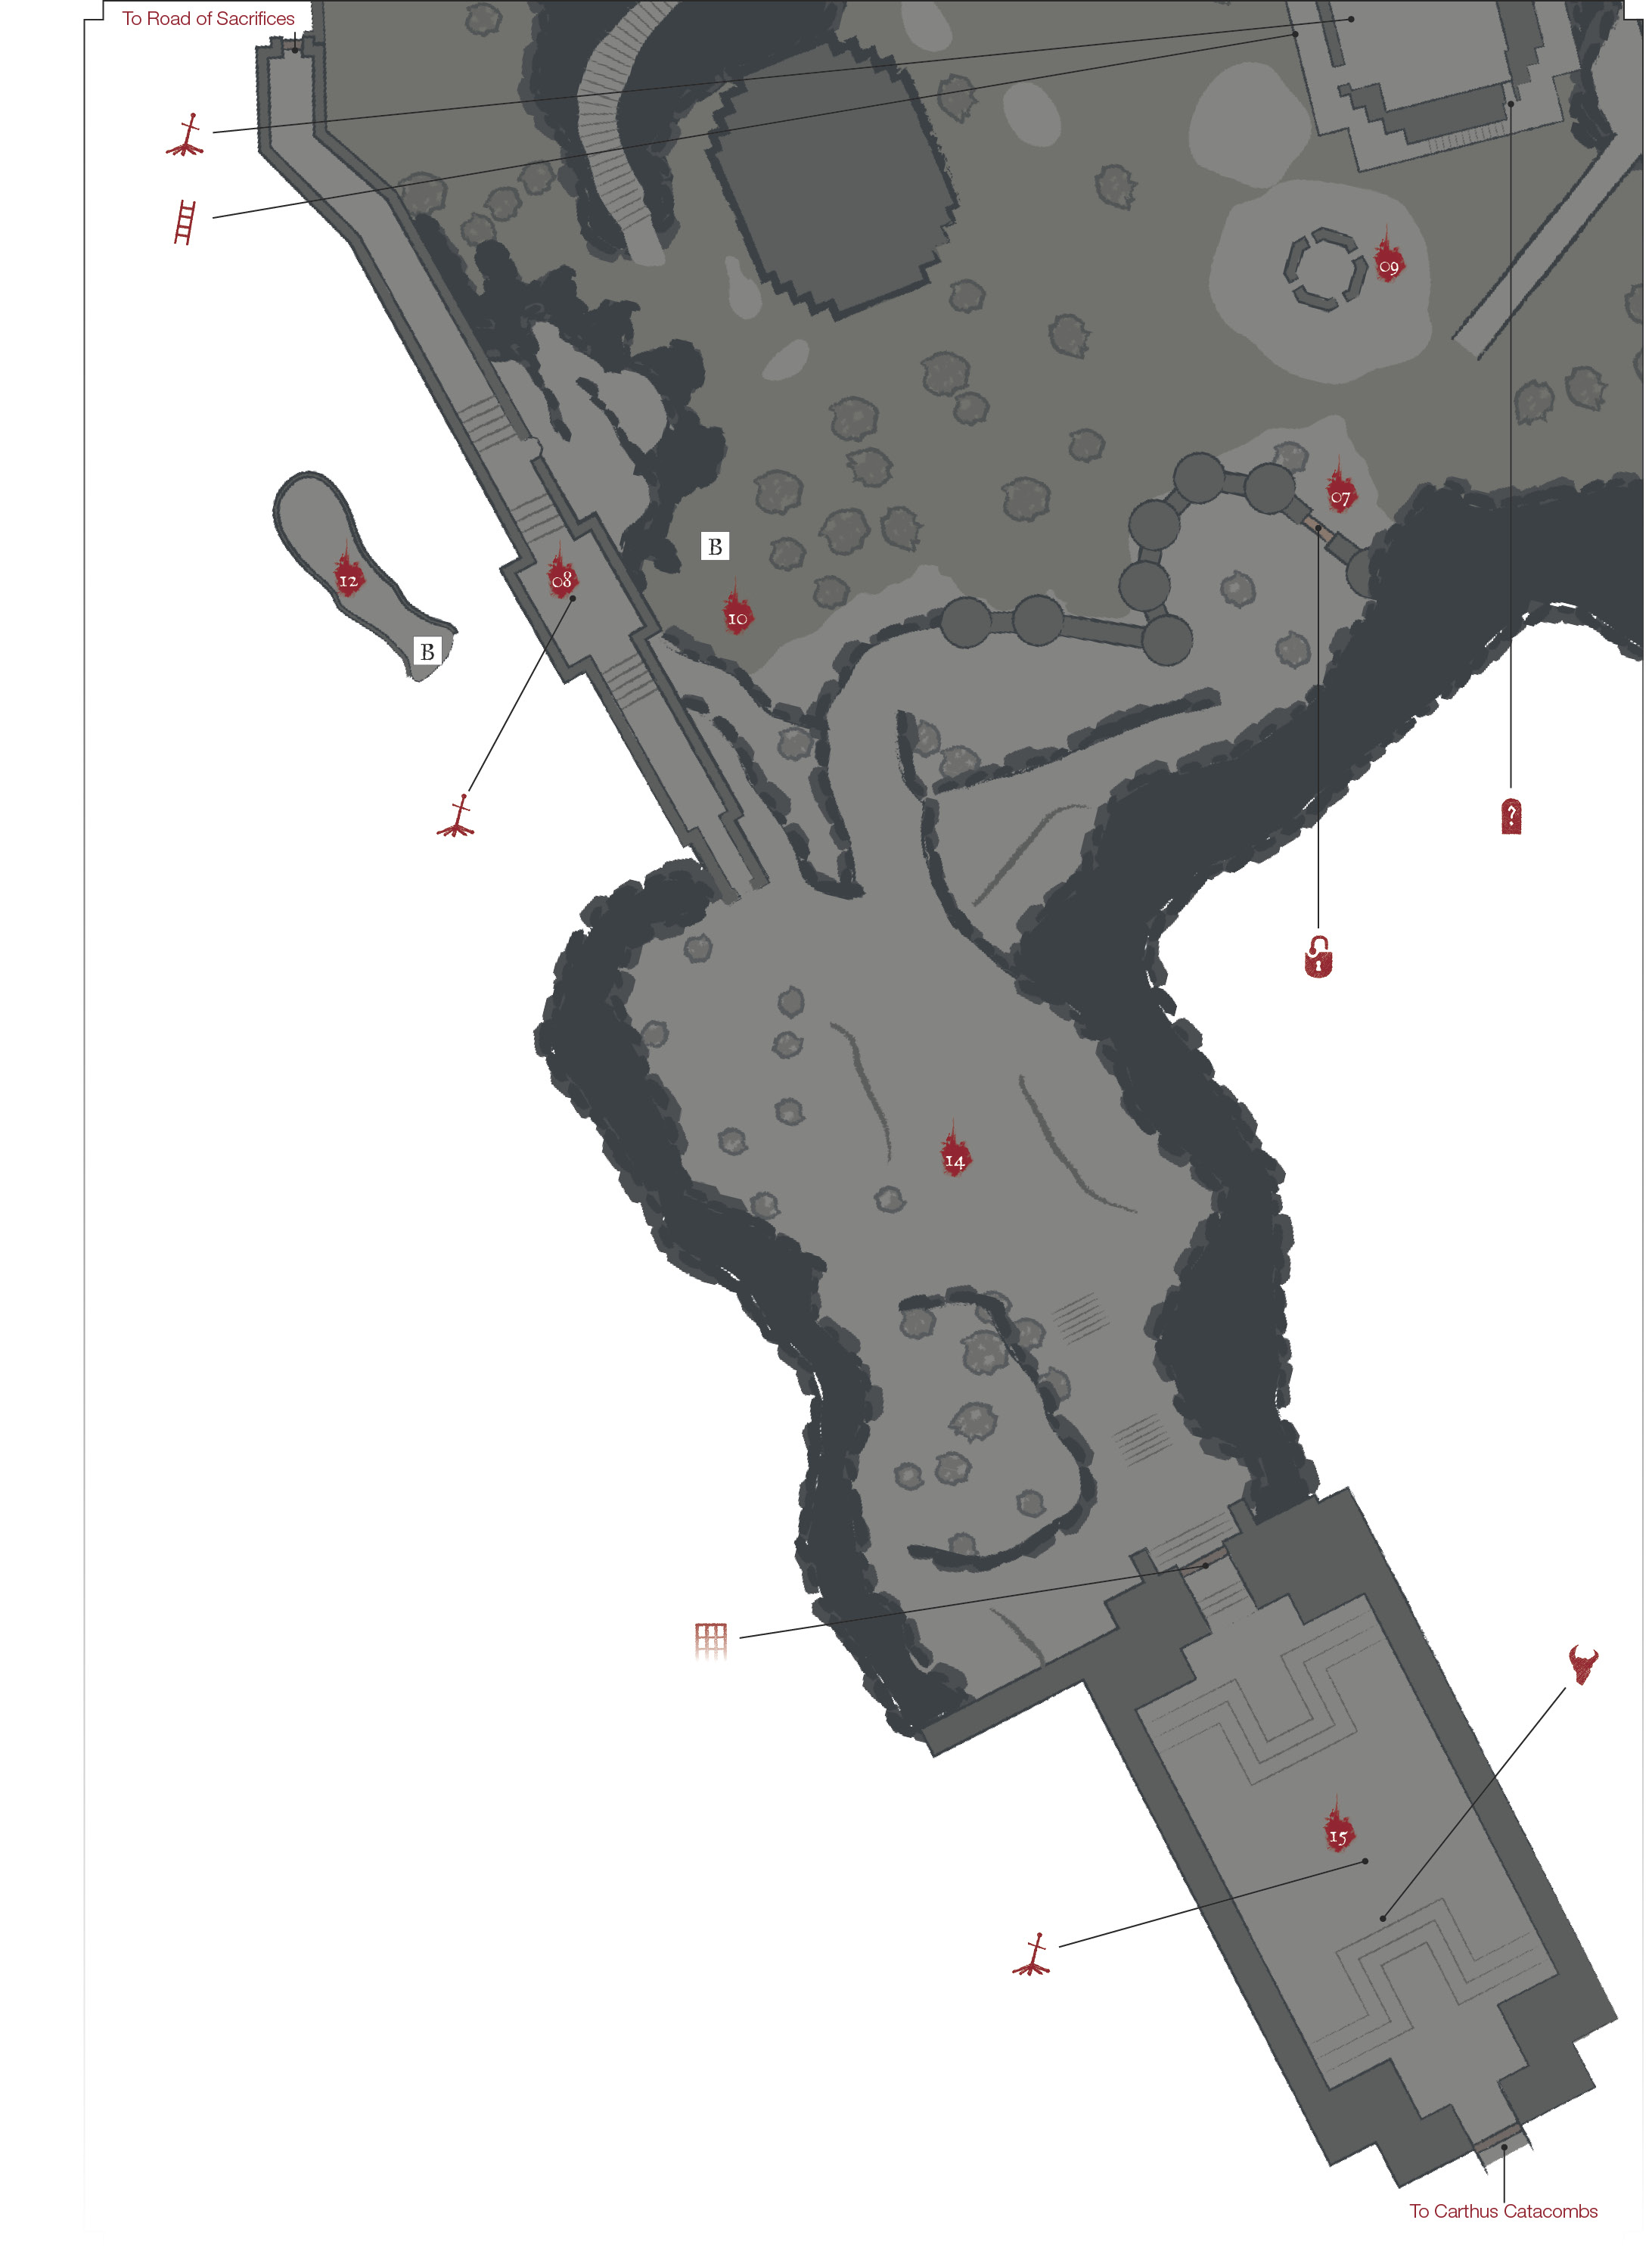
 The Farron Keep Perimeter has a few interesting features. From this side of it, you can unlock the door that goes back to the Road of Sacrifices. Travel between the two areas is going to be faster and safer in the future.
Corvian guard the corridor here, but they’re spread out, and you can dispatch them quite easily. A Ravenous Crystal Lizard waits in that hallway. Make sure to get this one-time creature for its Titanite Scale before leaving.
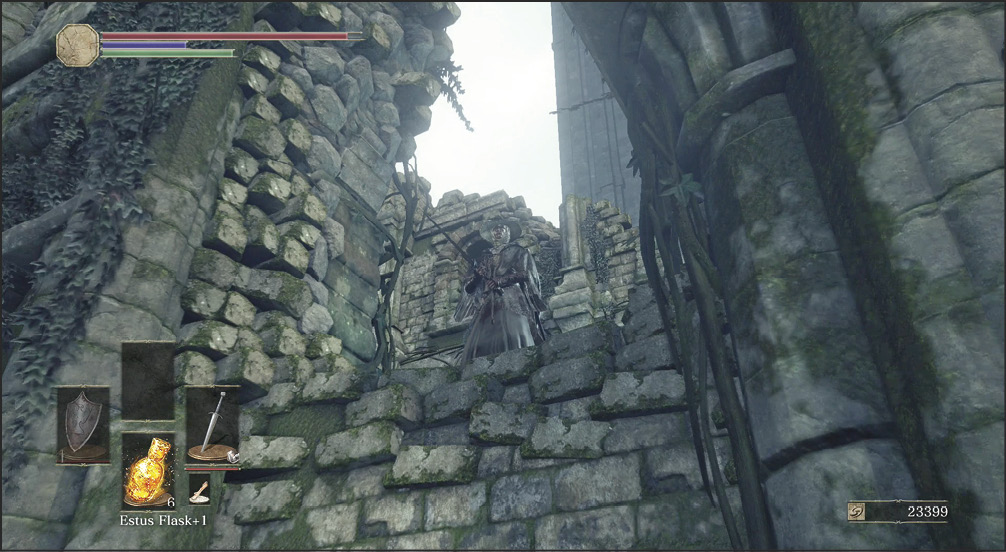
If you look on the eastern side of the hallway, you should spot a break in the walls. After you’ve opened the shortcut, jump down from there to collect a few more items off of a hill that can’t be accessed from the swamp.
 The tower near the southern doors is filled with Rotten Slugs. Go in there carefully, but roll back out of the archway when the enemies start falling from the ceiling. Don’t let yourself get surrounded by them; fight outside of the small building to avoid trouble. Duck in and out to get easy kills, and then loot the area. A valuable Undead Bone Shard is there, and it's probably the most important piece of treasure in the swamp.
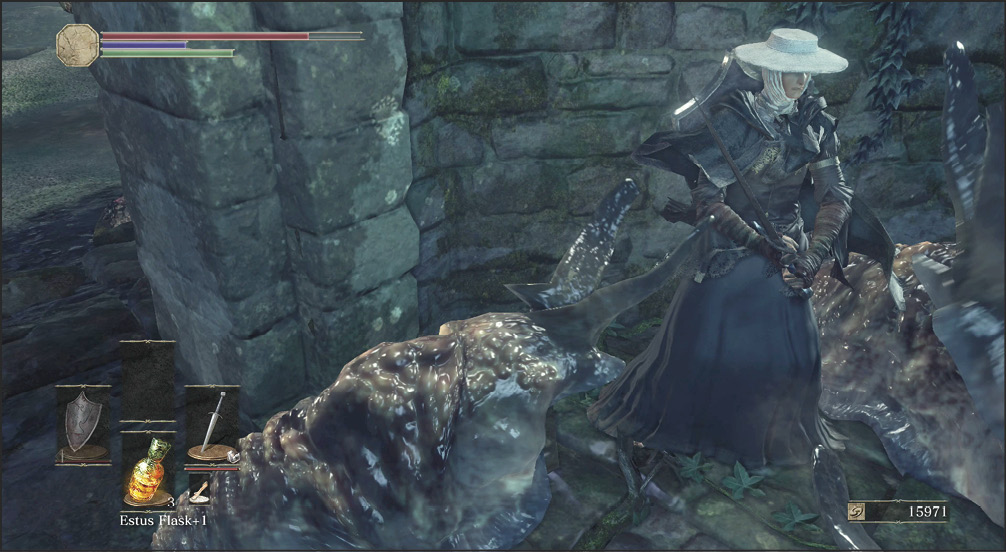
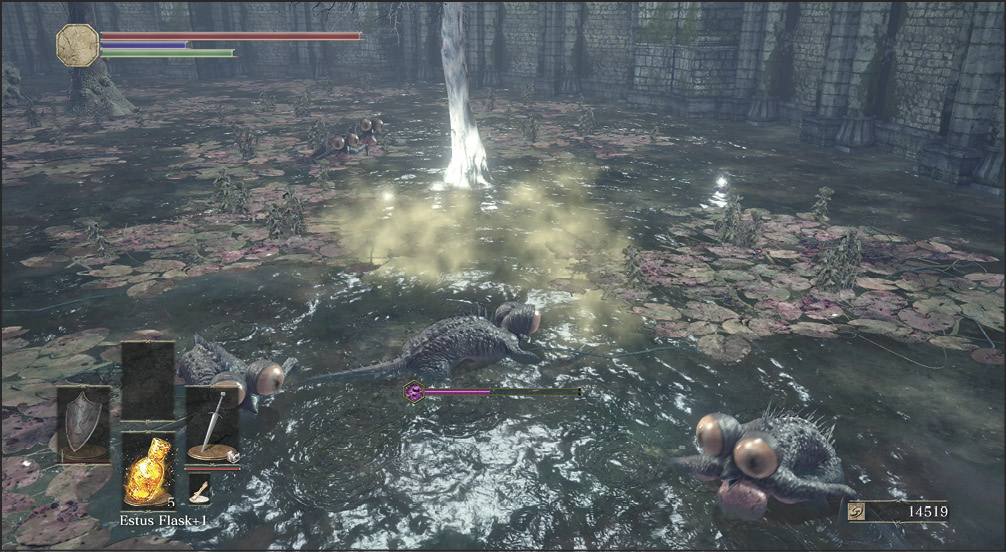
 The southwestern swamp has piles of treasure, but it’s guarded by Basilisks. These enemies have a Curse effect that spreads whenever they breathe their foul gas. There aren’t many safe places nearby to fight them. Accept the poisoning that’s going to happen, and stay mobile despite the deeper water here. It makes movement slow, but you can still roll to get distance when the Basilisks try to breathe on you.
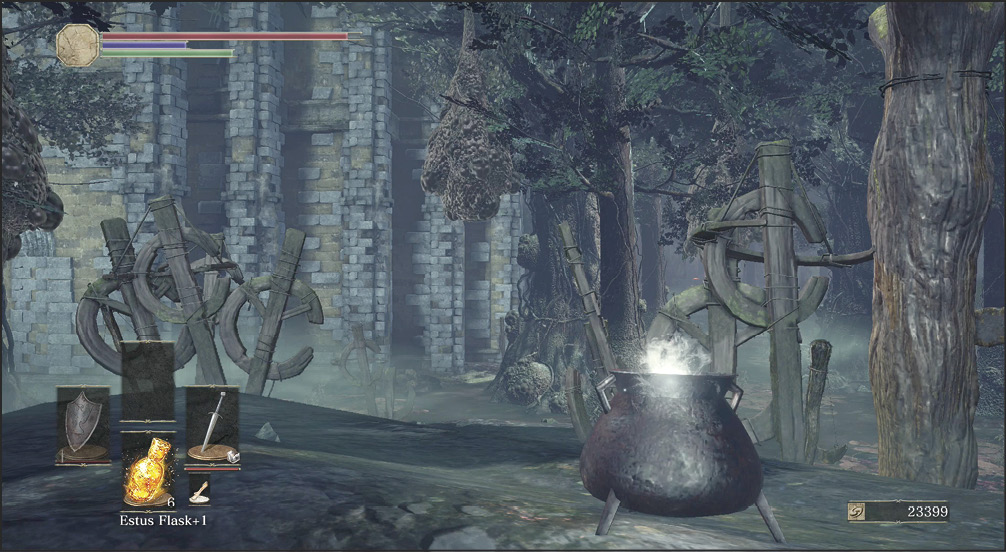
 A small rise has a pot of Estus Soup, and you find a Sunlight Talisman there, as well. Both of them are a welcome discovery in this troubled place.
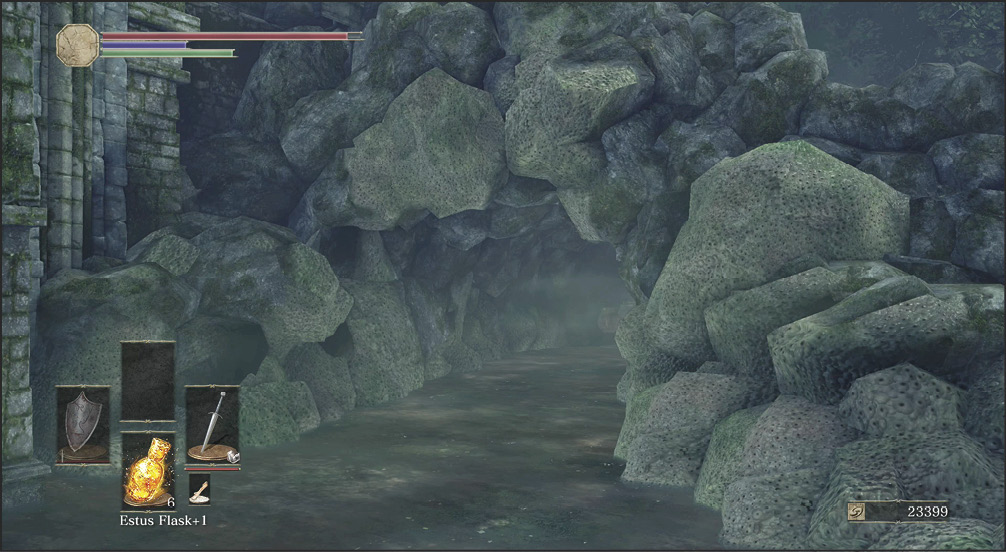
 A tiny western cave has several pieces of equipment inside of it. Look out for the Rotten Slugs outside the entrance; they’ll help you to know that you’re in the right area!
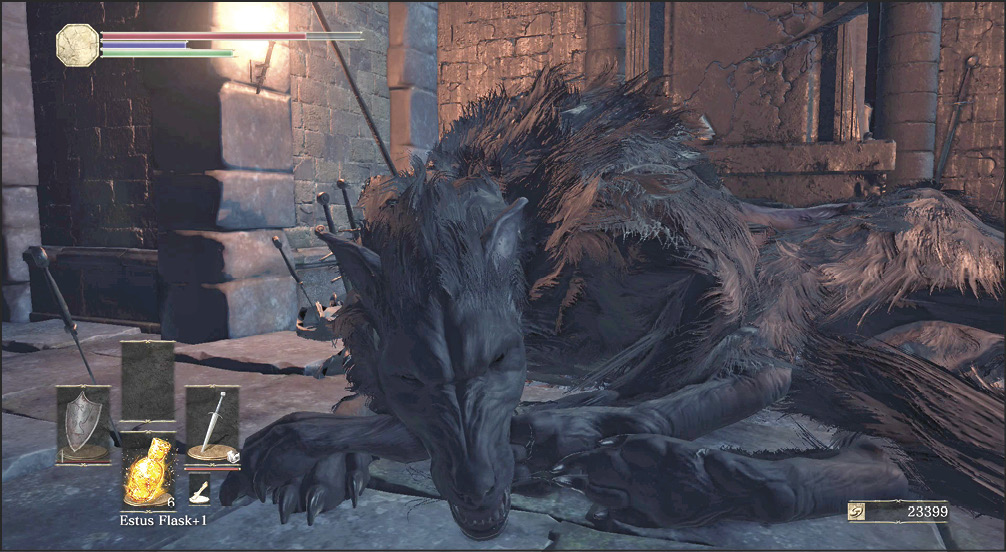
Old Wolf of Farron
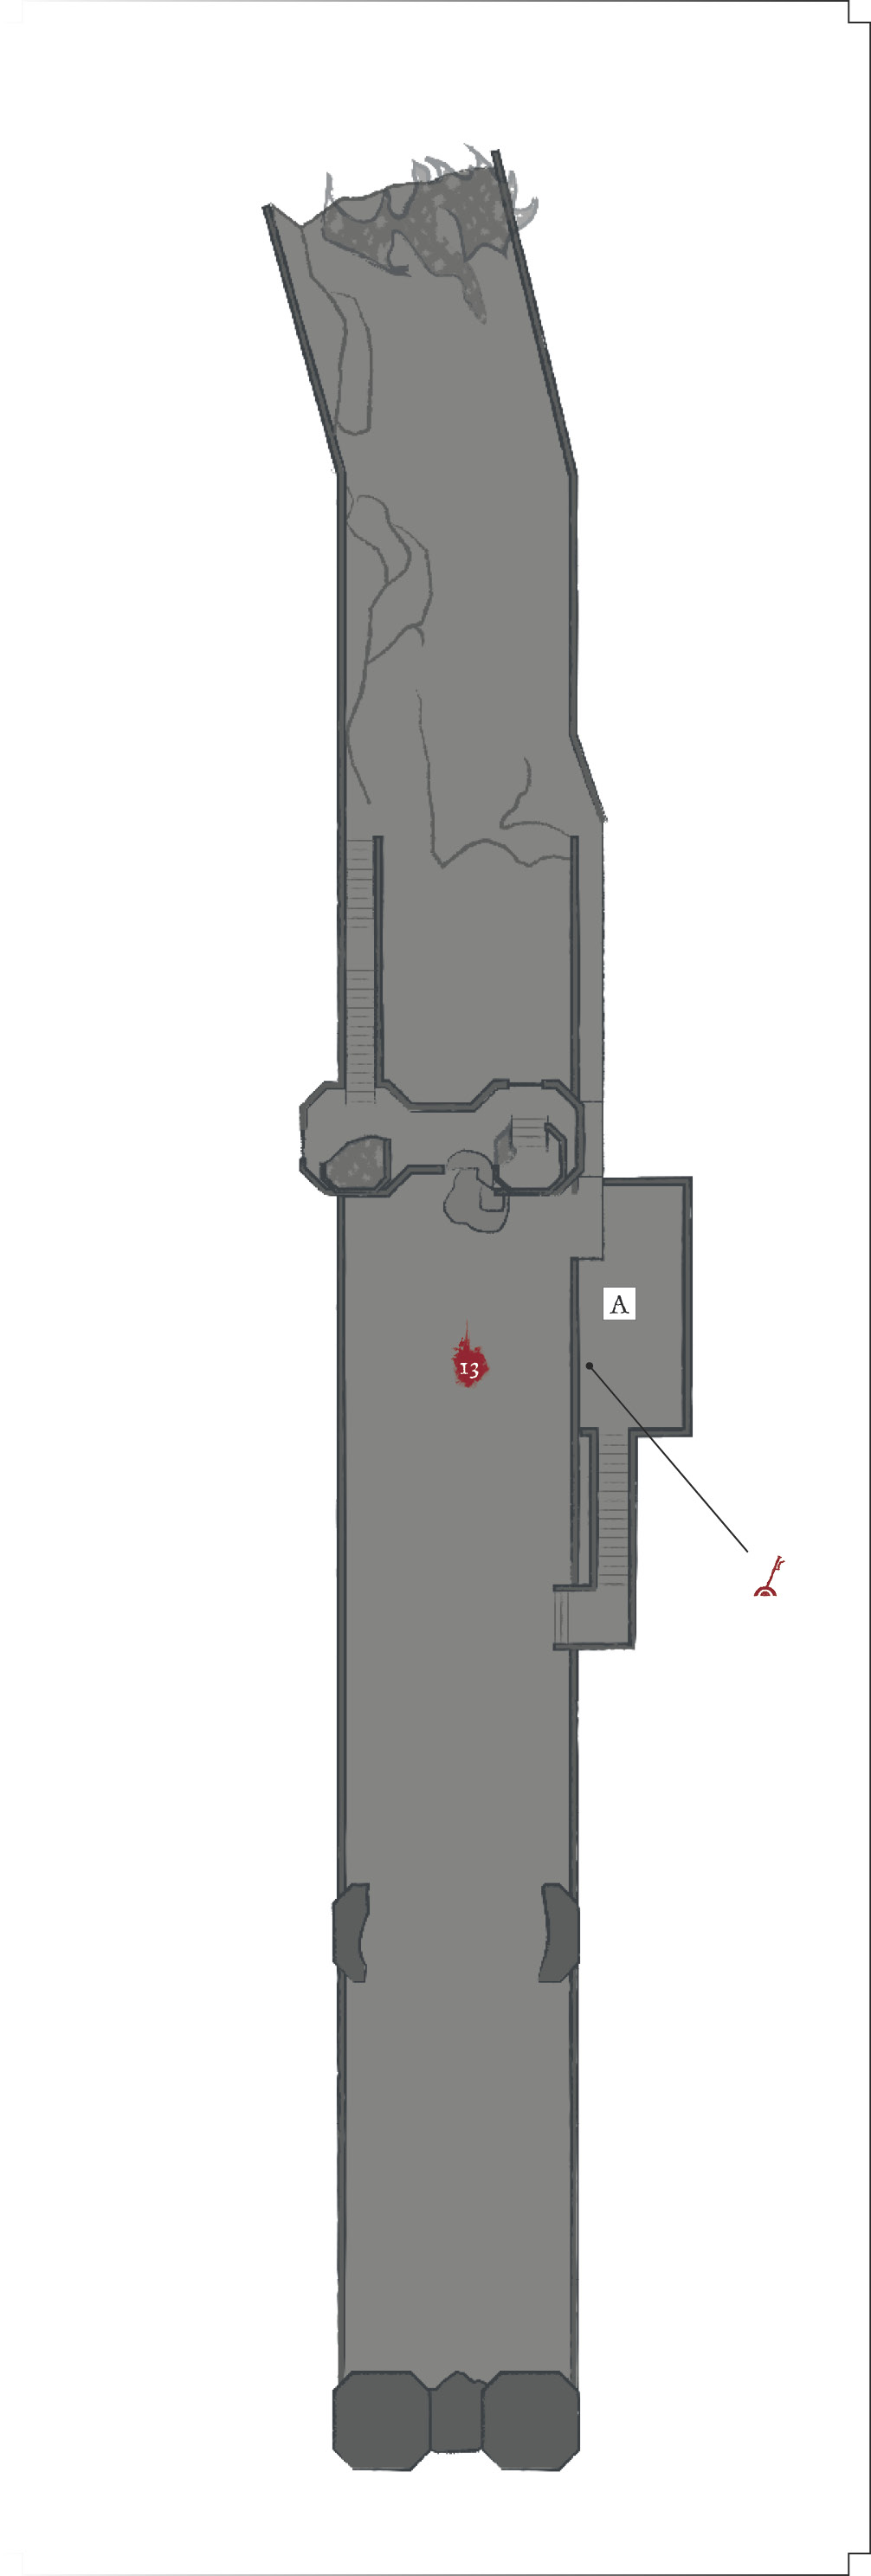
 A Covenant leader lives here, but you wouldn’t know it unless you have very good eyes. Start from the southern doors, and look for a massive tower to the north. Its walls are almost featureless, so you might not think much about it. However, there is a ladder on the wall of that tower. A lantern attached to the ladder makes it much easier to see once you’re in the correct area. Climb that ladder all the way to the top.
Walk around the parapets to find a Crystal Lizard, and go inside the upper tower to meet the Old Wolf of Farron. Talk to it to learn Legion Etiquette. If you want, you can also join its Covenant and get the Watchdogs of Farron item.
The outer walls have a secret door. Strike when you’re close to one of the tower’s corners that looks a bit off, and find the way to a small alcove. This spot has the Ashes of a Dreamchaser inside it. Take that to the Shrine Handmaid for a major improvement to her selection. Among other things, Titanite Shards are now available for sale, so getting your secondary weapons up to speed is a piece of cake.
A lift inside that tower takes you way up to the walls around Lothric. Remember finding Yoel back in the beginning of Undead Settlement, where there was a dragon’s body and a long wall off in the distance? Well, this is it! An optional boss fight is here. You face off against another huge demon, like the one near the end of Undead Settlement.
This is a Demon. You can only kill it here once per playthrough. Dodge inside its attacks and swing at the creature from point-blank range using extended combos. The monster’s time between attacks is very high, so switch to two-handed attacks for maximum damage and let loose. Avoid getting close to the edges: this monster can grab and throw you, and it’s a very, very long way down.
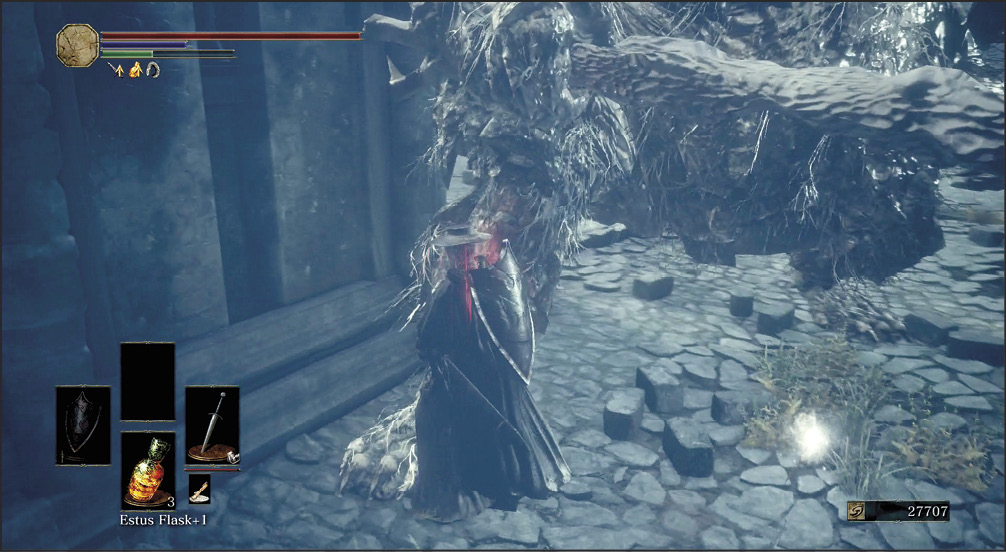
Loot the minor items from the Demon’s lair. However, you’re not done yet. Go to the opposite gate, and look over the edge of the wall to locate a small walkway below you. Hop down and go to the end of that walkway. This gets you to a much better field of loot, by the dead dragon. Multiple Crystal Lizards are there.
 A line of torches and enemies leads you to the next boss. Stay along the sides of the path to avoid most of the fighting, or rush up the center if you’re farming extra Souls or love the combat.
The Corvians and Corvian Storytellers that are here are familiar enemies, though they appear in substantial numbers if you try to take them all on at once. Weapons with sweeping attacks are superior for battling against this large group.
There are two Darkwraith-styled enemies that patrol this hill. They're quite dangerous, and it's hard to separate them. Fighting them together is a major drain on your resources, and there is a boss ahead. It's safer to sprint around the enemies to get to the door at the top of the hill.
Should you decide to fight the Darkwraiths, lure them to the bottom of the hill so that the Corvians don't interfere while you're fighting.
Major Battle
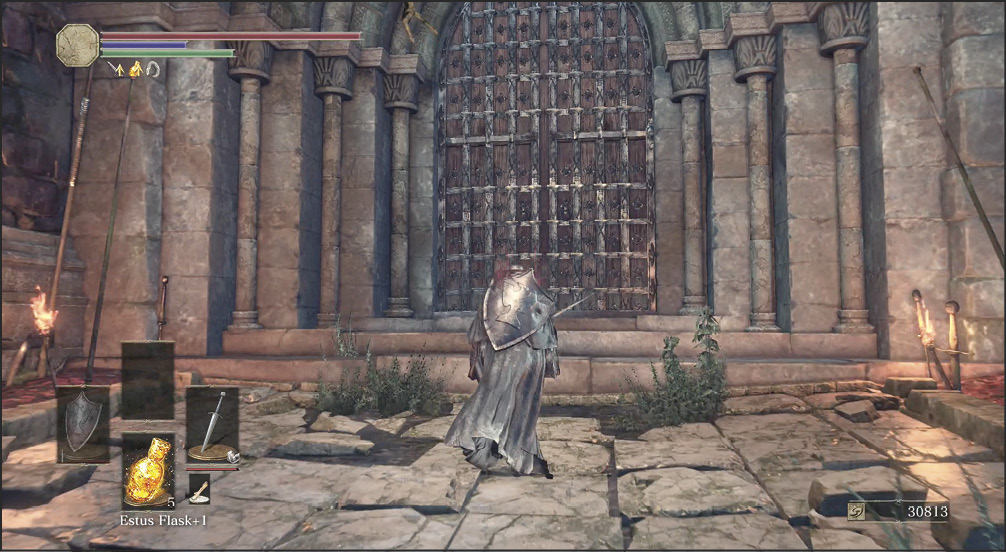
 At the end of the southern road, open the doors and go into the next boss’ arena. This fight is an interesting one because it has beautiful moves, multiple targets, and the usual amount of pressing danger.
This is the realm of the Abyss Watchers.