Dark Souls III Guide (Steam) Walkthrough
Boss: Iudex Gundyr
Stage I
Attack quickly before Iudex Gundyr has time to steady himself. It’s quite possible to deal almost half of the boss’ health in damage before the fight really gets going. Swing until you’re almost out of Stamina, and then dodge to get away before his reprisal slams you into the ground.
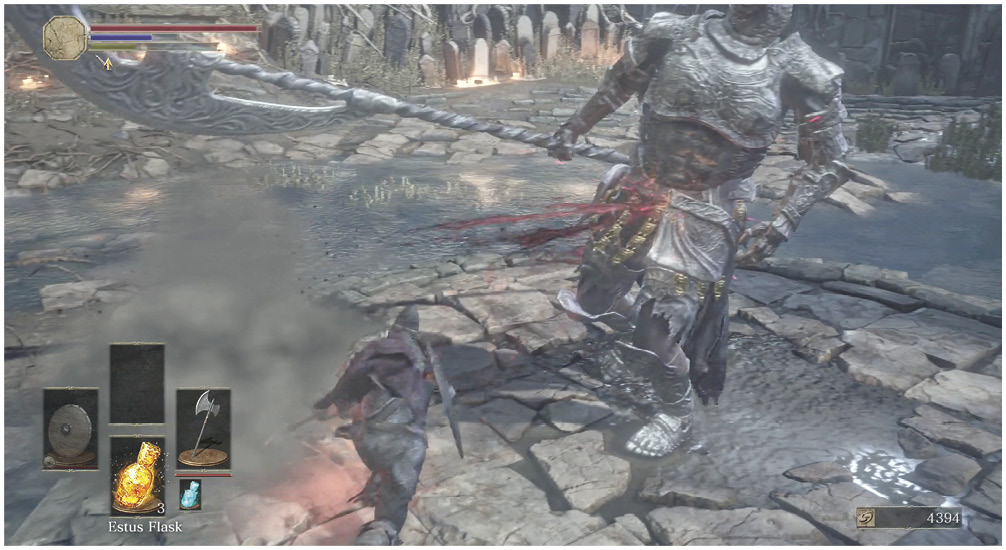
Always Buff if You Have TimeAs a Warrior, you start with a Battle Axe. The special skill for that weapon buffs Attack Power. It’s very effective to use this buff immediately after pulling the sword out of Iudex. Buff yourself for bonus damage, attack quickly, and laugh as the boss gets nearly sent into Stage II right off the bat. |
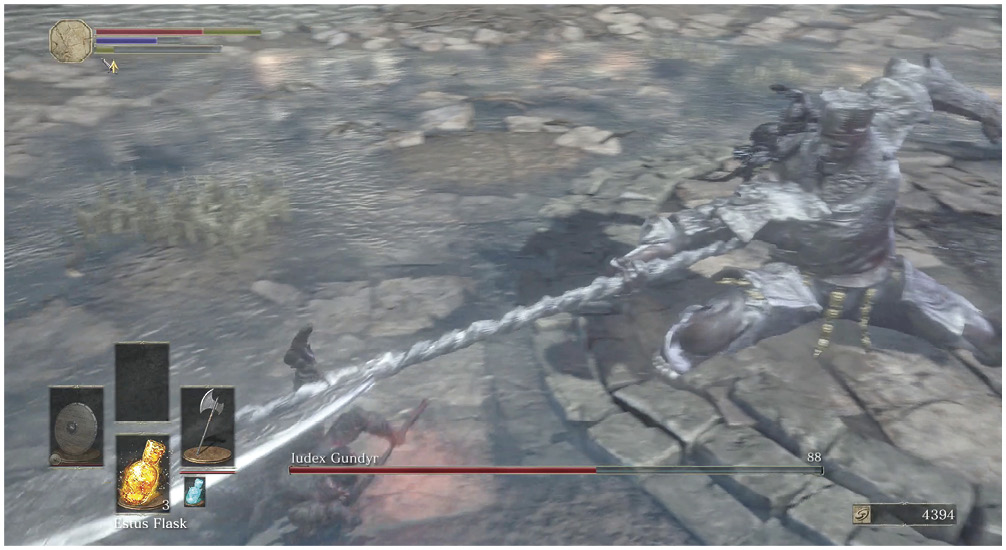
Iudex Gundyr has massive, sweeping attacks. Blocking costs you too much Stamina here, so work on your dodging. Dodge later than you think you’ll need to, and feel free to dodge multiple times if you misjudge the attacks and still have time to keep rolling.
For extra damage, it’s useful to switch from one-handed use of your weapon to two-handed use. This is particularly important for shield users because you won’t be able to rely on your shield much in this fight anyway. The boss’ hits deplete your Stamina pool and then cut you in half. It’s better to dodge, counterattack, and deal as much damage as possible before escaping.
For a few extra tips, try to roll back from the boss’ leaping attacks. Going underneath sometimes gets you hit. Also, it’s better to wait for a real opening and perform multiple attacks rather than get a plink here and there between every swing that Iudex Gundyr does. Pick your moments well, and make them count. Sometimes, you need to simply get Stamina back; in that case, ease away from the boss and ensure that your gauge is full before you make any additional attacks.
If you’re rolling toward the boss and avoiding his strikes, use a normal attack to come up swinging. Don’t waste any time. Always stay a step ahead of your character’s animations so that your actions remain tight and efficient.
Stage II
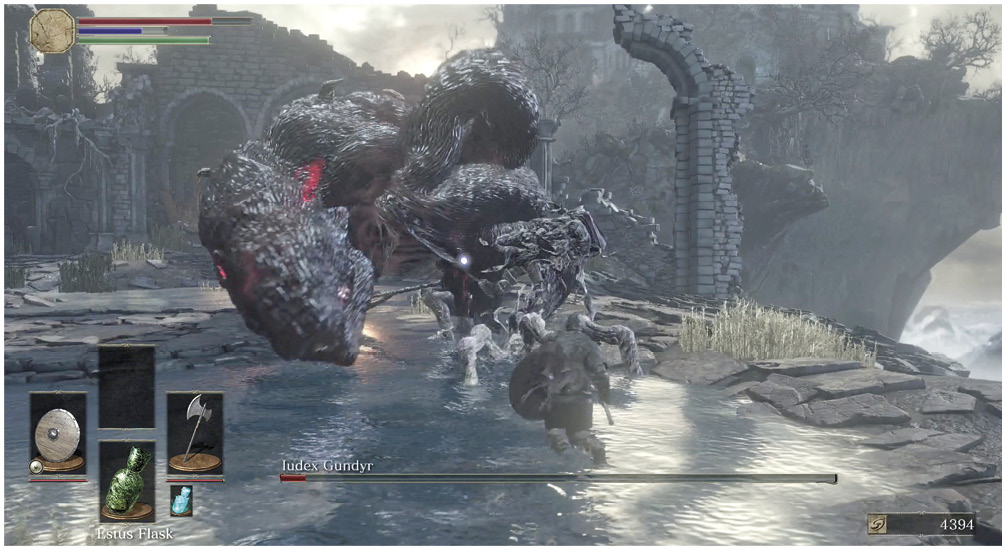
Between half- and one-third-health, Iudex Gundyr stops in place and begins to change. Attack relentlessly when he does this, as he becomes much nastier after the transition. Try to kill him before he’s able to react.
If he’s still up and fighting, back off to get your Stamina and ready your shield. In this stage, the boss can hit suddenly and at long range, but he doesn’t hit as hard with each strike. It’s worth losing Stamina to absorb his early shots, which gives you time to move closer, strike, and get away. It won’t take much longer to win this fight!
Roll or sprint far away if/when you need to use your Estus Flask. Never stop to heal when your enemy can simply smash you and take off all of the health that you’re getting back (or more).
When Iudex Gundyr falls, you’re rewarded with quite a few Souls and a Coiled Sword. Use the Coiled Sword to light the Bonfire there, and then rest. You’ve already done some great work, but this is only your first big fight. With many more battles ahead, along with thousands of smaller skirmishes, it’s not going to get easier.
 Open the double doors at the far side of the arena. They’ll take you out to a hill that rises toward a very special location. There are more Grave Wardens on the way, but there aren’t too many other obstacles for now.
Climb the hill and attack the monsters as you meet them. You encounter two along a small strip of land to your left, and more are waiting on the main path. The only change from what you’ve already seen is that the enemies are now grouped. Make sure that you rush into the packs and attack quickly to kill one or two targets before they get up and become organized. Prompt action makes the fights much easier.
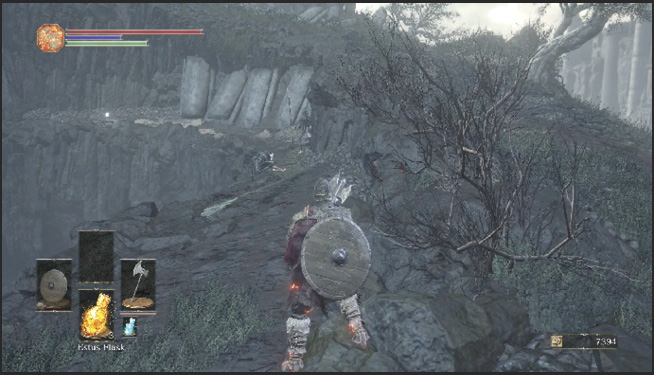
 A Starved Hound is at the top of the hill, on the right. This is a new enemy, and they’re worth taking a moment to observe. Starved Hounds are very fast. They leap at their targets to knock them around, and they can get free hits by hitting you and dashing away as you recover. Use shields to block their leaping attacks, and then come back for a deadly counter when a Starved Hound is exposed. There isn’t much time to do this, but you can always back off, get your Stamina back, and try again.
There’s an entrance into the Firelink Shrine at the top of the hill. Don’t explore the route to your left; there is a tougher fight over there, and it’s better to unlock the Bonfire inside the shrine before you attempt anything tricky.
Bonfire—Firelink Shrine
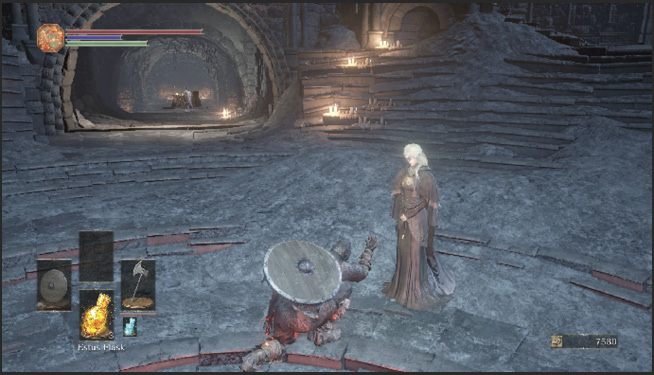
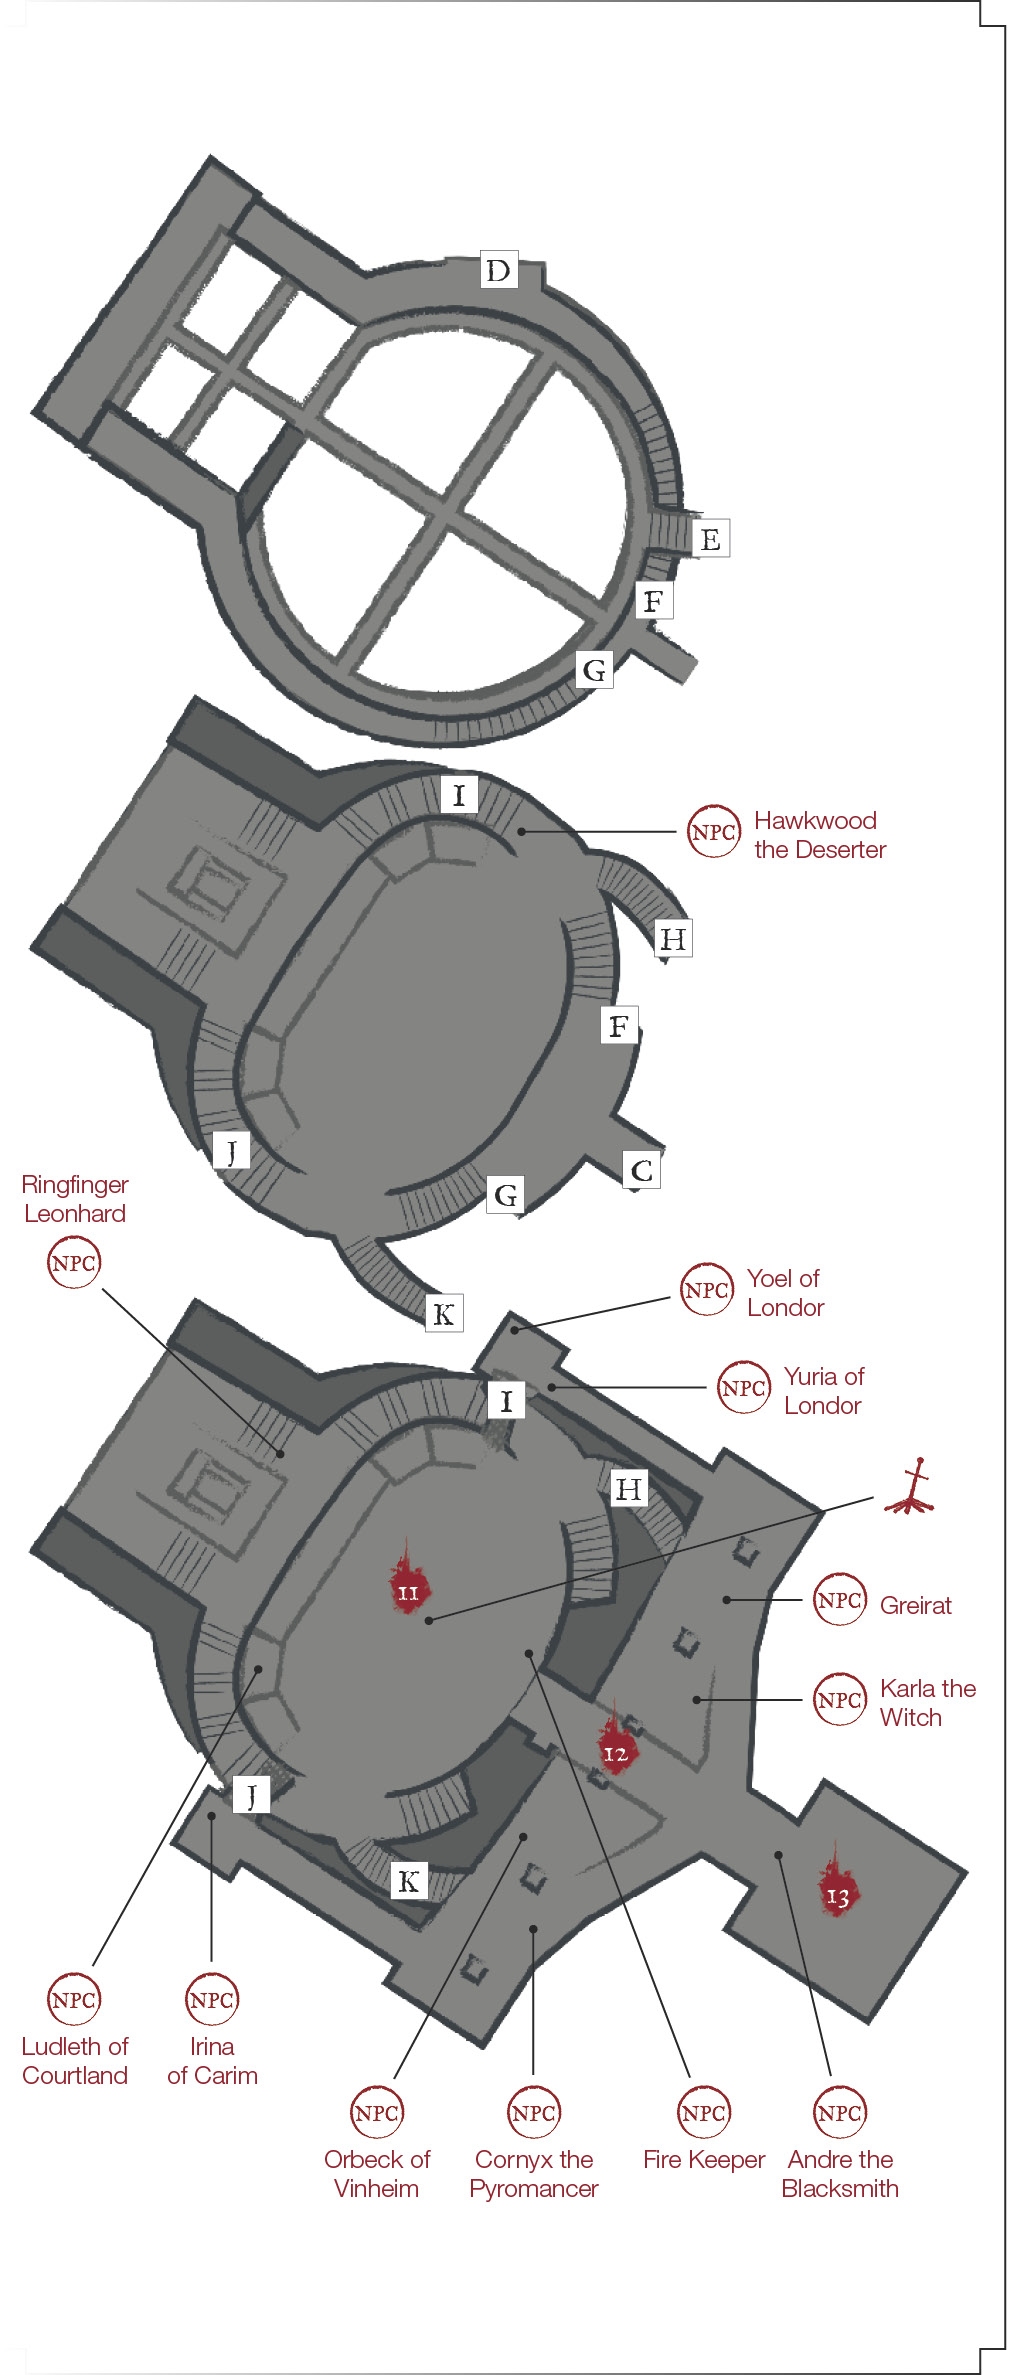
 Go into the building and talk to the NPCs inside. Then, use the Coiled Sword to light the Bonfire. You can now use the Storage Box here to store or retrieve items. You also use this Bonfire to Attune Spells and add bonuses to your Estus Flasks by burning Undead Bone Shards, which are only found in specific areas of the game.
Get your bearings here, because there is a lot to take in. The Fire Keeper is the most important person in the game. She’ll allow you to invest Souls into your character. Every level gets you another attribute point, so you can customize your character however you see fit. This guide mentioned earlier that your starting class doesn’t matter for long, and that’s true. You can start as a Warrior and build toward Dexterity, Faith, or even Intelligence. Your stats and equipment determine everything about your character going forward. “Class” is only a starting point.
Of course, you are in better shape if you stick to the path that you begin with; your starting attributes give you a decent leg up on that style of play.
Shrine Handmaid
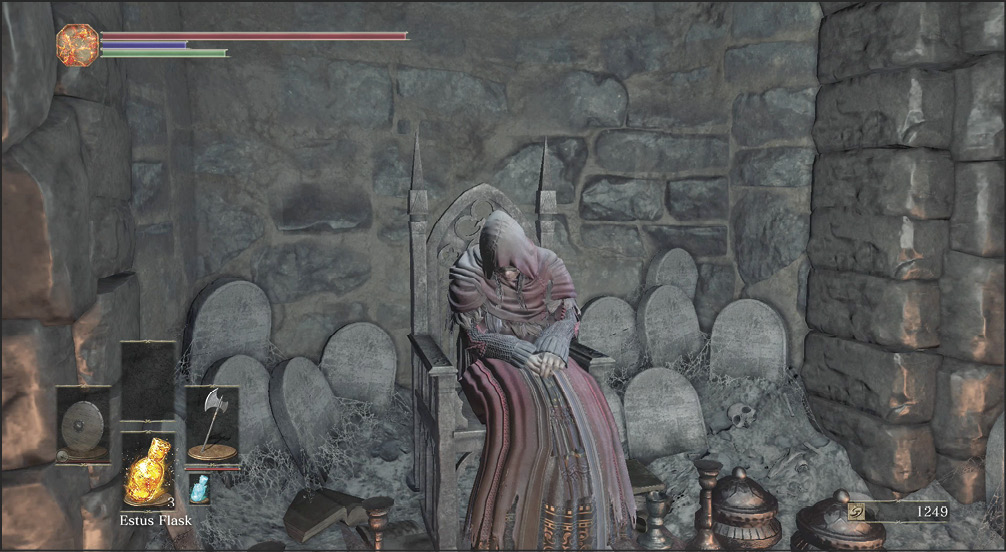
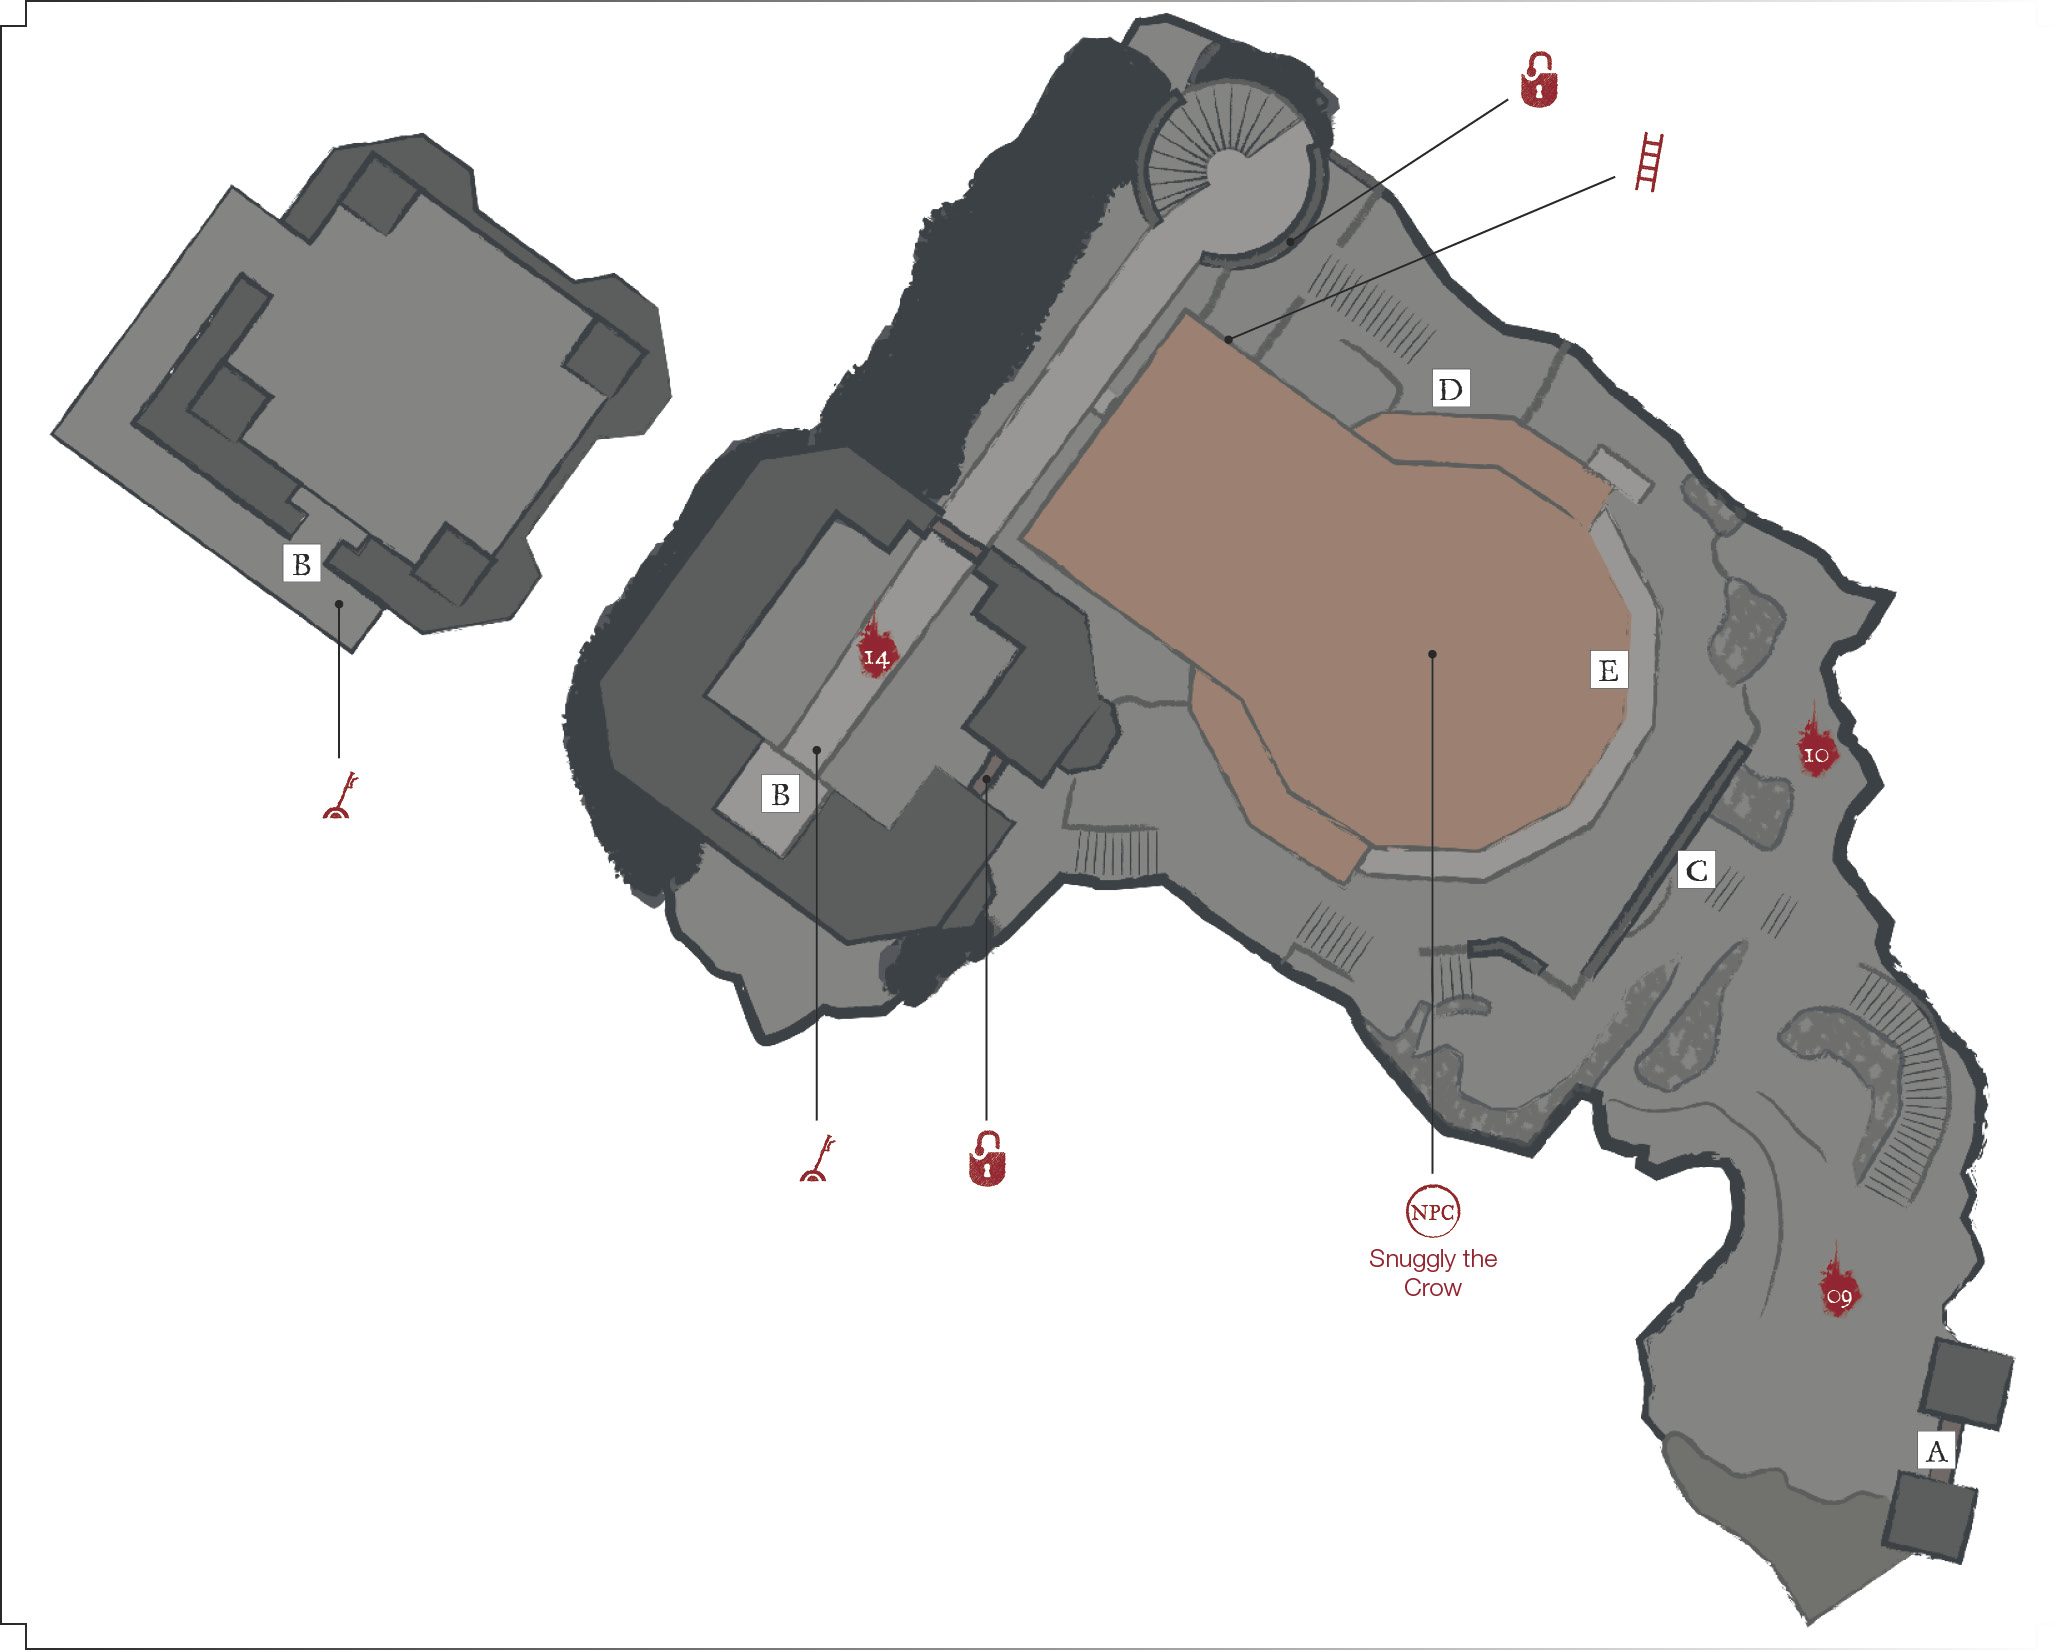
 Another important woman is the Shrine Handmaid, who buys and sells items. She’s located down a side corridor, on the way toward the Blacksmith. Her starting inventory is only decent, but she’ll accept Ashes that you find throughout the game. Each time she gets new Ashes, she’ll improve her wares! Sadly, everything still costs Souls, so you can’t buy everything all at once. Pick and choose what you need the most. For now, note that she sells Wood Arrows for a trivial sum. You’ll return to buy these very soon. Toward the end of the game, once you've placed the ashes of four major bosses on their thrones, the Handmaid sells a single Titanite Slab here. These are required for getting weapons to their final upgrade level, so each Slab is sacred.
Andre the Blacksmith
 Blacksmith Andre has myriad functions. If you find the correct upgrade items, he’ll reinforce your weapons and shields. For basic gear, Titanite Shards will do. As soon as you have two of these, come back to the Blacksmith and improve your favorite weapon. This is worth multiple levels of investment because weapon upgrading is a major part of your advancement. In fact, you may notice more benefits from good weapon upgrades than most of your leveling!
Andre also infuses equipment so that it scales in different ways. After you find special Coals, he can eventually turn weapons into much better, focused implements. You can make your items deal more damage based on Strength, Dexterity, Intelligence, or Faith. The more you focus, the better the results, as long as your character is focusing on the same attribute. This process can also add special effects to weaponry.
If you find Estus Shards, bring them to Andre to increase the number of Estus Flask uses. He’ll also help you Assign Estus Flask uses between HPs and FPs. If you’re not much of a caster, do that now so that you have a full complement of regular Estus Flask uses. Some melee characters need more FPs than others. Experiment to find the best combination for your playstyle, regardless of the archetype that you are playing.
Later, you can bring many more NPCs here, and others will come of their own volition. Not all of them will be friends, but most can help you on your way. All of these characters are covered in the NPC chapter at the end of this book.
Now that you have a base of power, you should explore new regions. The Bonfire here in the shrine has unlocked a new location. Go to the Bonfire and select Warp. The High Wall of Lothric is one of the places where you can travel, and it leads to treasure, monsters, and new mysteries.
 After you’ve explored the area fully, read the following note to find some tricky treasure. These items are very powerful, and they can be easy to miss.