
Dark Souls III Guide (Steam) Gameplay
Combat
Combat is at the core of all Dark Souls games. Timing, positioning, building the best weapons, and selecting the ideal build is your only way to survive. It’s time to go through these concepts, one by one.
Shield/Parry
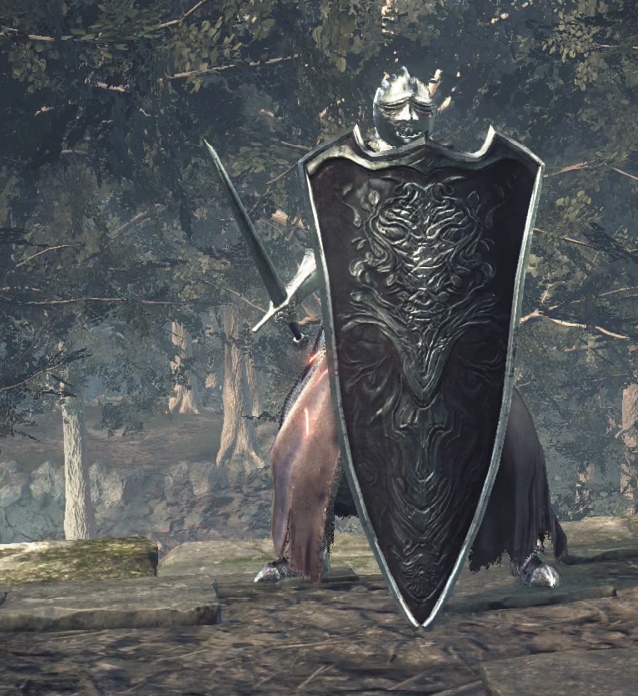
Not all shields are able to parry. Instead, some shields give you access to your equipped weapon’s Weapon Skill. Other shields can knock aside light and moderate blows if you master the timing of your parry window. So, you get to experiment with your shields to figure out whether you like the versatility of being able to block and still have your Weapon Skill, or whether parrying is really the be-all and end-all for your combat style.
Some heavier and specialty shields have the Shield Bash skill, allowing you to use your shield a weapon!
Weapon skill
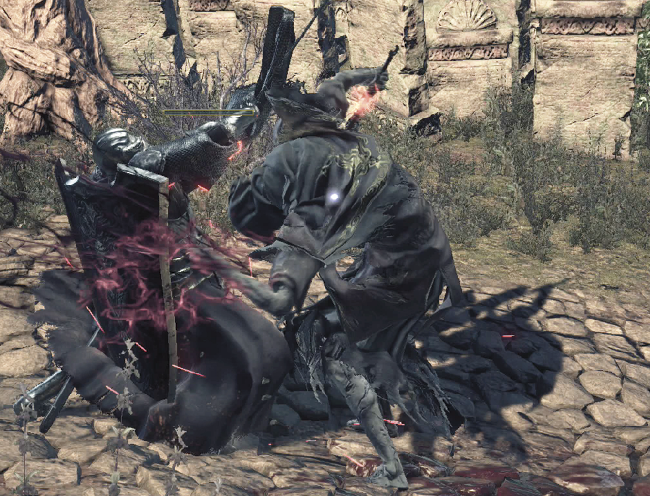
Weapons have special moves that require FPs and are very powerful. These attacks usually have superior damage, cover ground more capably, or have other advantages that help you win a variety of encounters.
Weapon Skills cost FPs to use, and if you are a caster, you have to juggle your FPs between your equipped skills and spells. Skills can be activated without FP, unlike spells, but drain more Stamina and often execute slower or only partially without FP.
Because even melee characters use FPs, you need to balance your Estus Flasks. The more FPs you use, the more Ashen Estus Flasks you need. This means that you won’t be able to carry as many swigs from your regular Estus Flask. This balancing act is very tricky, especially for magic-heavy characters.
Baiting and Trading
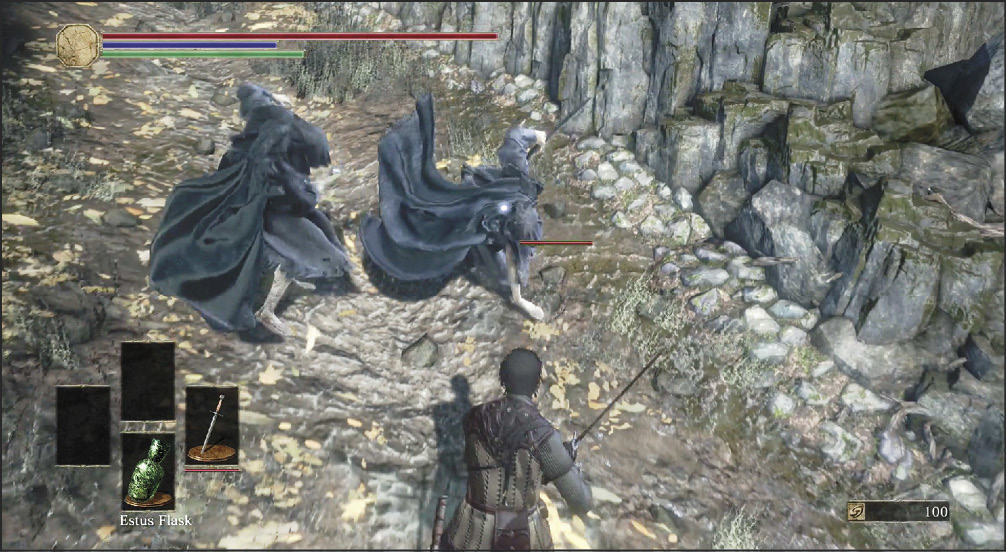
Baiting is a potent combat tactic. You don’t always want to be the first person to launch an attack in Dark Souls games. Just like your character, enemies aren’t able to constantly spam their attacks. They have movesets and end up vulnerable if they miss, are parried, or even if they’re blocked. Because of this, you sometimes want to bait an adversary into attacking you.
Bait a target that has long cooldowns between their attacks. If you know their range, you can frequently back off and launch your own attack a fraction of a second after their blow whiffs. Another classic is to dodge forward and attack from their flank while they’re still engaged in their own swing; just don’t try this when the target has a wide enough arc to hit you!
Once you know an enemy well enough, it’s even possible to lock on to the target and walk around some of their attacks. Though this feels risky, you can keep your Stamina full, walk comfortably around your foe, and lay into them with everything you have.
Baiting a predictable attack is a core aspect of Dark Souls combat, and it’s a vital skill whether you plan on dodging, parrying, or simply moving aside.
Trading is a crude form of baiting. Enemies with weaker attacks won’t stagger you with their hits. Because of this, you’re able to take their blows and respond with even more damage against them before and after their attacks land (as well as during the attack). Characters with high HPs, Poise, and Stamina can trade very effectively. This isn’t a subtle or sustainable solution, but it works in a pinch.
Watching Enemy Animations
You should treat every single enemy in Dark Souls games with respect. Basic monsters, bosses, invaders: they’re all more than capable of killing you if you make any mistakes. Don’t try to rush, especially when you’re entering new areas. Instead, treat each foe with care. Block, observe their attacks, and learn their movements. Being able to predict their motions and capabilities allows you to dodge, parry, and block with much greater skill. You won’t need to have perfect reflexes once you know what’s coming.
It’s worth your time to master every type of enemy that you encounter. Not only does this raise your chance of survival against that target, but it also reduces the number of Estus Flask hits that you need to get through each area. That helps tremendously when you reach the boss because you have more resources to bring against them.
Boss Mechanics
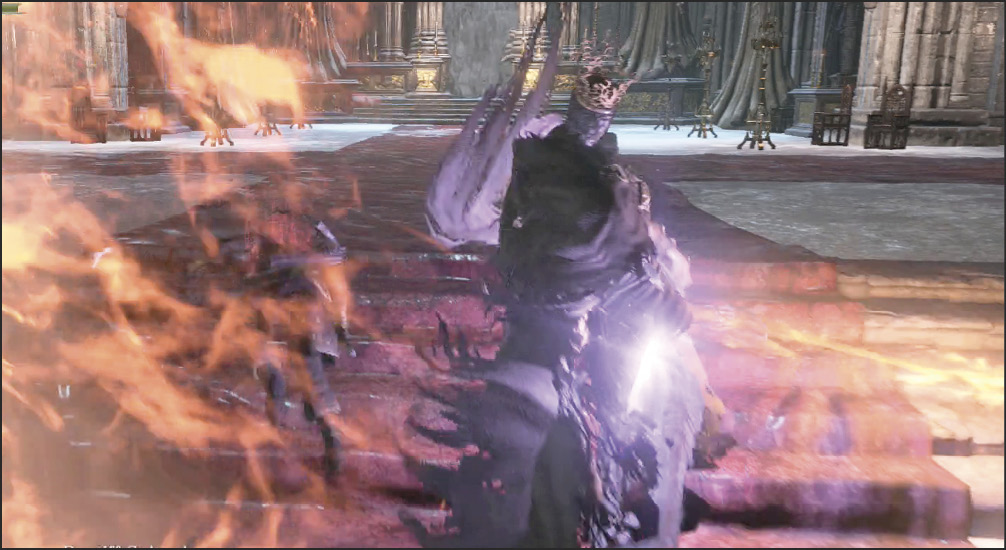
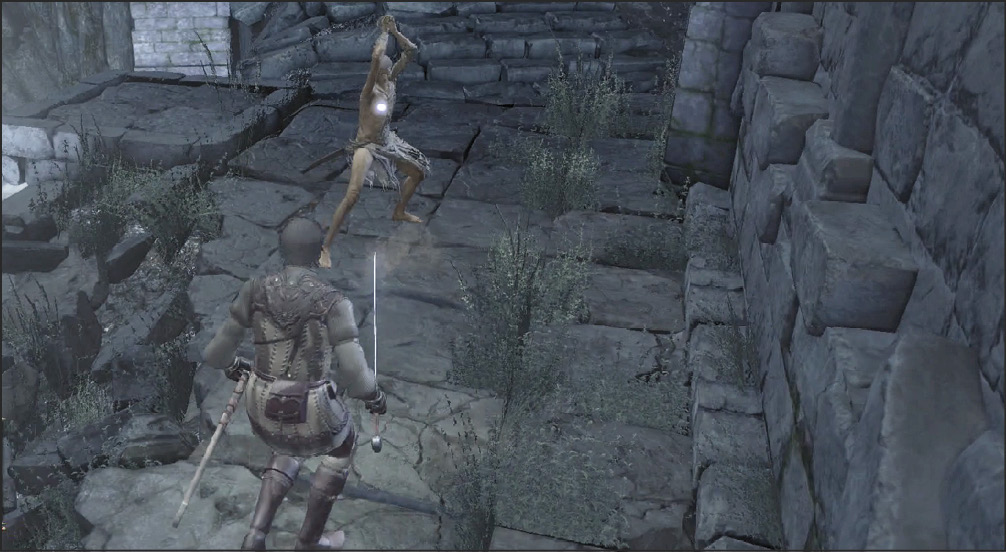
Bosses usually have a couple of stages during your encounters with them. They’ll get harder to beat, typically around the halfway point in the battle. The moves you learn to avoid and counter in the early fight will be outshined by even scarier abilities once your target realizes that it’s either them or you.
As you practice against each boss, look for the animation that triggers this change. You can sometimes exploit this brief period with a rush of attacks while your foe is distracted. Just remember not to get too greedy!
Healing in Battle
Healing when you’re in melee range is risky, but sometimes, you are going to die if you don’t heal. For your best chance of survival, bait an enemy attack, and then dodge backward or to the side. If you have low Equip Load, this lets you put considerable distance between your character and the foe. Use the remainder of their animation time to drink from your flask or cast healing Miracles. Repeat the technique as needed.
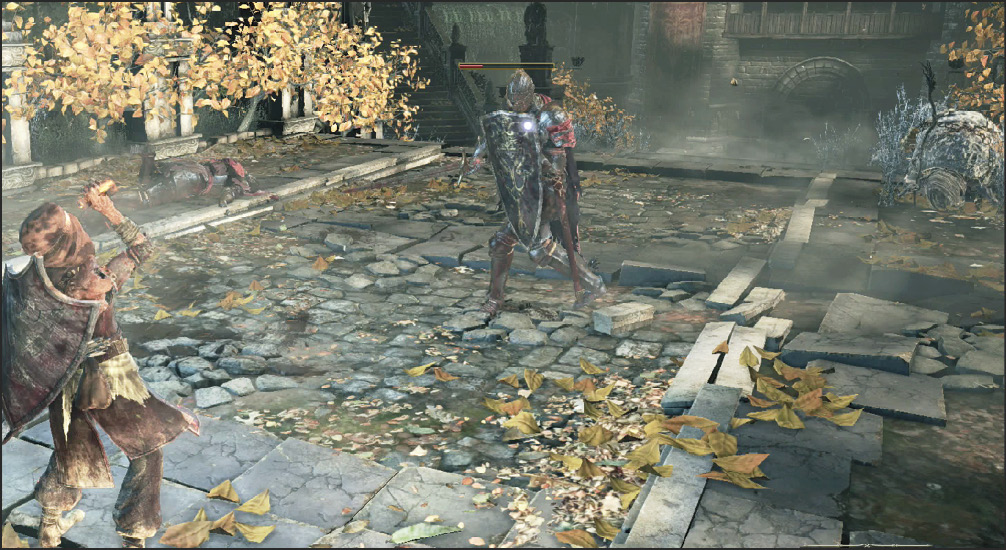
An easier but less powerful way to heal in battle is to sprint away from your adversary. Drop your lock-on if that is engaged, and run away. Turn around a corner, heal, and wait for the opponent to come back to you. Breaking line of sight prevents most of their ranged attacks from threatening you, and that is especially important if there are additional ranged enemies helping their melee allies kill you.
Pulling
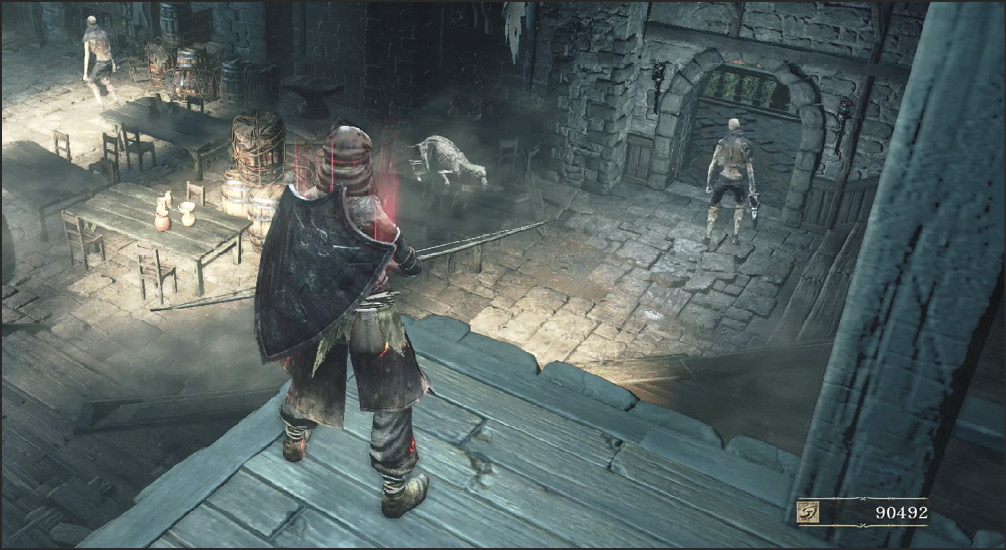
Pulling is the act of getting enemy attention and drawing them back to a safer spot. This is most important in rooms with multiple opponents and wandering monsters, though it’s also nice when you’re trying to avoid fighting in rough terrain or near cliffs.
Pull enemies by shooting them at long range. Or, if you have to, slowly approach the first foe of a group. Wait until it sees you, and then back off to your safer battle spot. Fight it there, return, and then kill off anything else. Repeat your pulls as necessary.
Regardless of your build, pulling is a major technique. Going into a room that’s filled with monsters is a great way to die. If you have any concerns about the fight ahead, pull each enemy back to a cleared room. This takes longer, but it’s the best way to ensure your survival in new or tough areas.
Mastering Dodge
Dodging is amazingly powerful. It costs way less Stamina to dodge an attack than it usually does to block it with a shield. You also get to roll into a new position, which often gives you an advantage over your enemy. Roll beside or behind your foe to get even more opportunities to attack before they recover. Or, dodge away to gain distance and time to react and heal, or to escape from a bad situation.
During the early portion of your roll, you become immune to most damage. This allows you to avoid attacks that would otherwise be guaranteed to rip you apart or drain all of your Stamina if you block. Wait until the last possible moment, dodge through the enemy attack, and come up tapping your Attack button to start hacking as soon as possible.
Shield Blocks
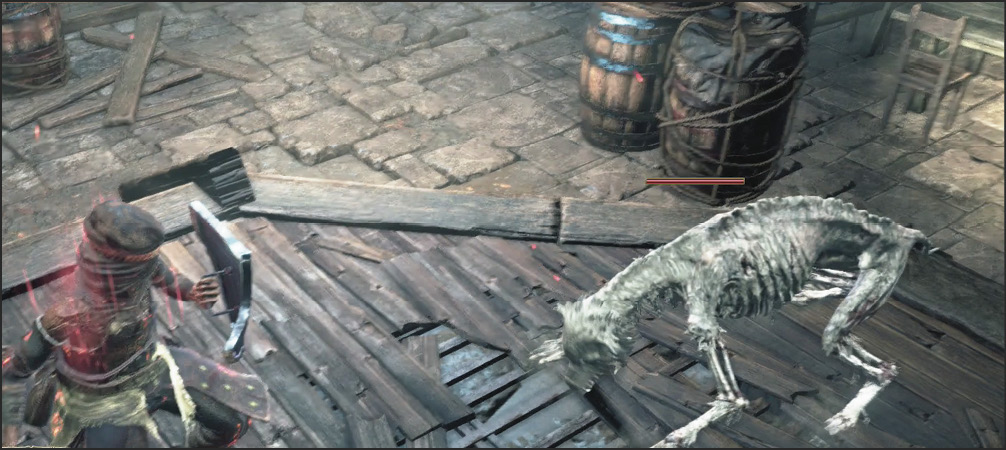
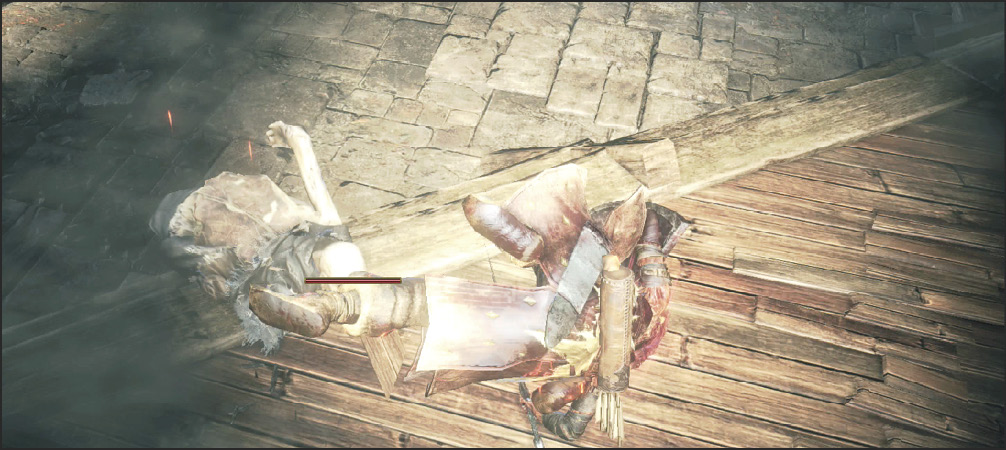
Shields are easy to use. Hold them high to defend against ranged and melee attacks, and make sure that you get time to recover your Stamina before the next wave of attacks comes your way. The upside to blocking is that it absorbs most or all damage from the enemy attack. Blocking works as long as you’re facing your attacker.
The downsides of blocking are that it takes time, prevents Stamina regeneration while you’re holding the shield up, and drains additional Stamina when you get hit. Light, fast attacks are the best ones to block; they don’t drain much Stamina or delay you. Heavy attacks from larger creatures are the worst to block; they’ll leave you staggered and winded. Without Stamina, you can’t fight back, deal any damage, or continue blocking.
Ranged attacks are usually very easy and safe to block, provided they aren’t dealing heavy damage of a type that the shield doesn’t absorb. Even players who like two-handed weapons sometimes carry a shield and swap it in while approaching ranged targets.
The Stability value on your shield affects how hard of a hit you can absorb without having your guard blown out. You can enhance this slightly by upgrading it at the Blacksmith, though in general Greatshields always have more Stability than lightweight Small Shields.
Parrying
Parrying requires a shield that is parry-friendly, or a weapon that is made for parrying (like a Parrying Dagger). You use the alternate Attack button for these items to parry, but you need to wait until the last moment. Parrying early is often ineffective and causes you to take damage.
A proper parry requires you to face your opponent. Lock on to ensure that you stay in the proper position. Keep yourself close to the target so that you are in range for the parry and the counterattack. Then, hit the button when the enemy is just about to strike you. Once completed successfully, use the normal attack button to counterattack and deal heavy damage against your target.
Practice parrying against weaker monsters that aren’t likely to kill you even if you make mistakes. Creatures around the Ashen Shrine and High Wall of Lothric are good candidates. The more comfortable you are with the parrying system, the easier it becomes to do this during clutch battles when a single mistake can end your life.
Parrying is way more aggressive than blocking. You aren’t trying to simply avoid some damage. Blocking is already good for that and is way easier to pull off.
Not all enemy attacks can be parried, so with each major attacker, you must engage in some experimentation. However, most attacks can be parried and countered.
Backstabs
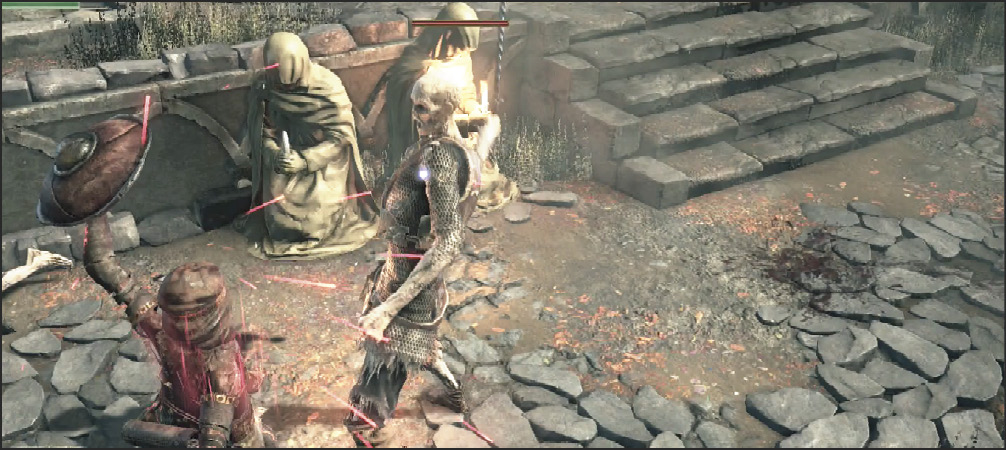
If you get into position behind a humanoid enemy and attack, you perform a backstab. This lethal attack deals increased damage and locks you into a fixed animation that leaves you invulnerable to basic attacks from nearby enemies.
Perform backstabs on unaware adversaries by sneaking up on them. You can also use backstabs in combat if you can strafe behind your foes or stun them from the front and then strafe behind them.
Some weapons (typically dagger-class weaponry) deal increased damage when used for backstabs. This also applies to parry counterattacks.
Backstabs are great when you can land them, but be wary about trying to strafe around every humanoid you encounter. It’s time-consuming to fish for backstabs, and that can get you in trouble when you’re fighting multiple enemies.
One other warning: certain martially trained foes can perform special attacks designed specifically to punish strafing behind them.
Ranged Combat
Bows, crossbows, and many tools give you the ability to deal damage at range. Quite a few of your enemies lack that, which means that you often get a huge advantage when you mix ranged techniques into your repertoire.
Once you have a ranged weapon selected, make sure that you wield it two-handed, and then use the normal attack button to zoom in on your foes. This is needed for pulling and for sniping distant targets that would otherwise be very hard to hit. There are a couple of dragons in the game that you can kill without any trouble if you shoot from long range and never get close enough for their deadly breath to harm you.
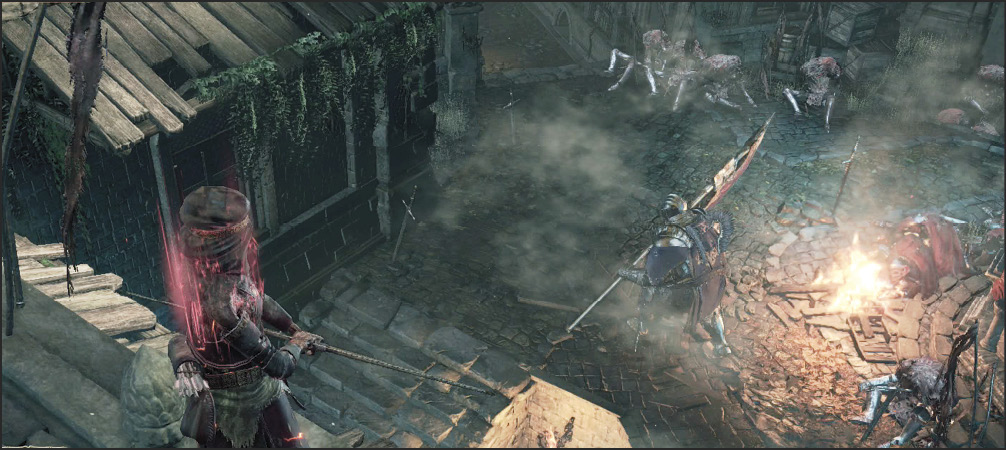
It is very intuitive for Dexterity-based characters to rely on some ranged damage to soften their targets or to kill them outright, but don’t make the mistake of ignoring ranged damage as a Strength-based character. Free damage is free damage, and ranged attacks are best used when they’re safe and free.
Keep a ranged weapon in your second weapon slot so that you don’t need to fiddle with menus to get one ready. Keep a healthy supply of arrows or bolts, and make sure to save your best ones for heavy targets. Use the cheap stuff when you’re farming items, clearing levels, and generally fighting enemies that don’t worry you too much.
Combine these ranged attacks with thrown weapons and bombs so that you can ravage heavy opponents during their approach. Also, remember to pull enemies away from their allies so that you’re fighting one-on-one the majority of the time.
Using Magic
Magic takes more time than physical attacks, so treasure your positioning and stay away from monsters until you’re ready to unleash spells safely. Make sure that you set up your Attunement so that spells have an intuitive progression on your bar. Have a primary attack spell next to any follow-up attacks. Leave support spells and general healing toward the end of your list so that you don’t have to jump over them when switching from your mainline attacks to any follow-ups.
Don’t be afraid to attune different spells when going into a new region. Sometimes, there are spells that are amazing in one place but almost useless in the very next area. Being able to cast Miracles that remove ailments can save your life constantly when you’re dealing with poisonous monsters and environments, but why even have it on your bar when you’re in High Wall of Lothric?
Customize your spells for the battles at hand. This takes a little more time, but it prevents you from needing as high of an Attunement. Those spare points can go into Intelligence or Faith and secure you even better spells.
Don’t Relax. Ever.
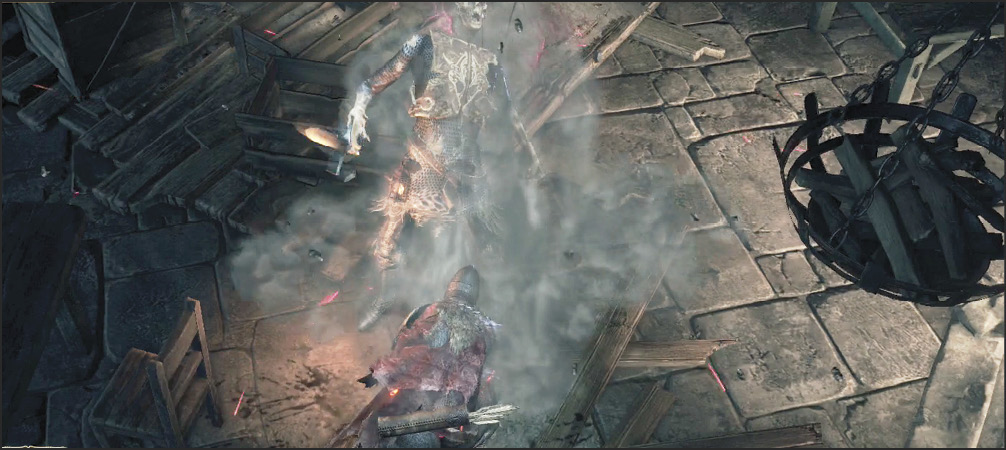
Even if you’ve cleared a few rooms and have tons of space to relax, you might not be safe. The threat of invasion from another player demands that you pay attention at all times. Do not leave your game unattended. There is no pause; there is no respite. Unless you’re playing offline, you need to keep the possibility of invasion in the back of your mind at all times.
If You Get Frustrated
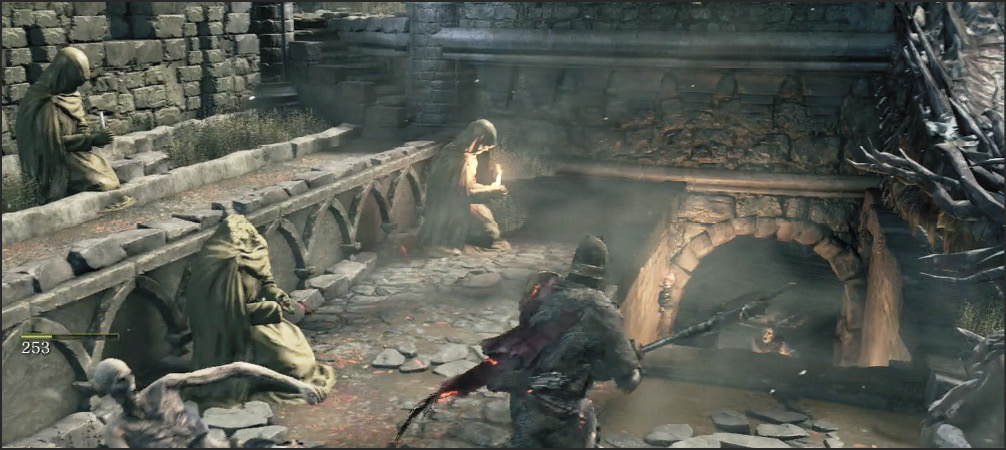
This game is going to be hard, especially if you’re new to Dark Souls. Don’t get upset with yourself. Dying is very, very normal. Even extremely skilled players make mistakes here and there, and they’ve been playing these games for years. The rest of us are going to mess up more—much more. That’s fine; it’s built into the game, and you’re not going to totally wreck yourself with your deaths, even if you end up dropping some Souls from time to time.
If you are getting past that comfortable point of frustration, try a few things:
Take Breaks
A clear head makes every fight that much easier. A good night’s rest does, too, as goofy as that sounds. How many times have you come back to a game and blown through something that was giving you impossible trouble the night before?
Farm Souls
Level building is not as crucial to these games as in most action RPGs, but that doesn’t mean that it won’t help a little. Gathering Souls for a few extra levels makes it easier to survive, and it also gives you time to relax instead of taking on new encounters.
Check Out Another Player’s Stream
You can take on Dark Souls III by yourself, and that’s super cool. But it’s also okay to watch other people play through areas and fight bosses. If you’re just getting annoyed and want to push through to a new section of the game, few things help more than seeing another player’s successful tactics in the fights that are messing you up.
Use All Your Options
It’s easy to overlook your toolkit, but don’t! Use your consumable items, or farm up some Souls and buy a big fat stock of them—temporary elemental buffs for your weapons, arrows, firebombs, curative items, etc.
Use your spells. Even if you aren’t focusing on Sorcery, Pyromancy, or Miracles, a few points of Int or Faith are often enough to cast some very useful support spells.
Experiment with your equipment loadout. If you were light, try heavy. If you were one-handing, try two. If you were dodging frequently, try blocking, or vice versa.
Examine your ring options, as there are many useful rings that can give you a bit of an edge. Most won’t provide huge power shifts, but taken together, a good set of ring bonuses can be very useful.