Dark Souls III Guide (Steam) Walkthrough
Grand Archives
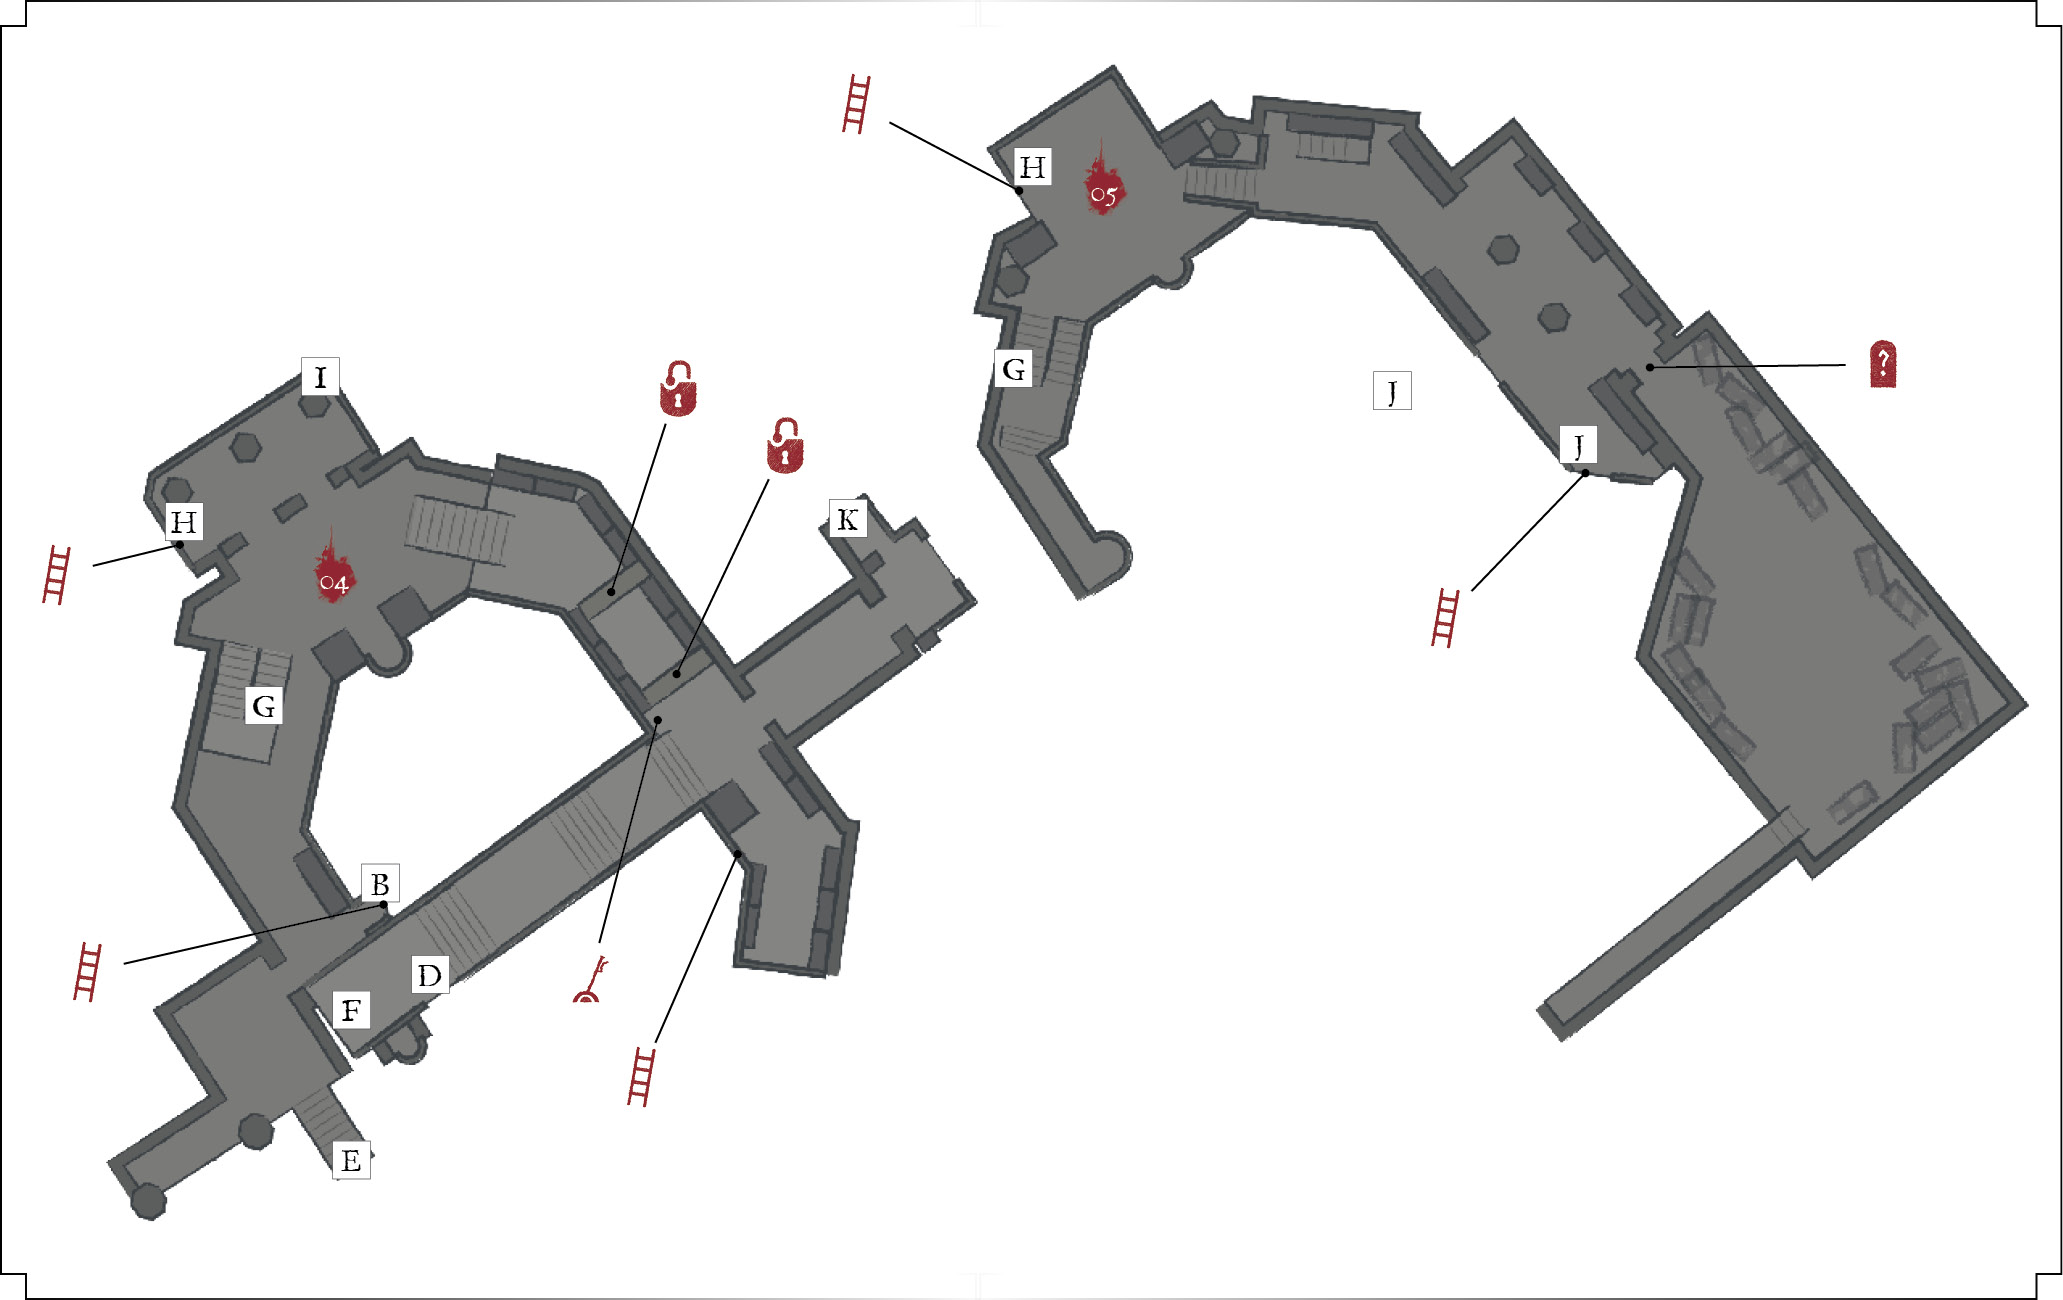
Major Items
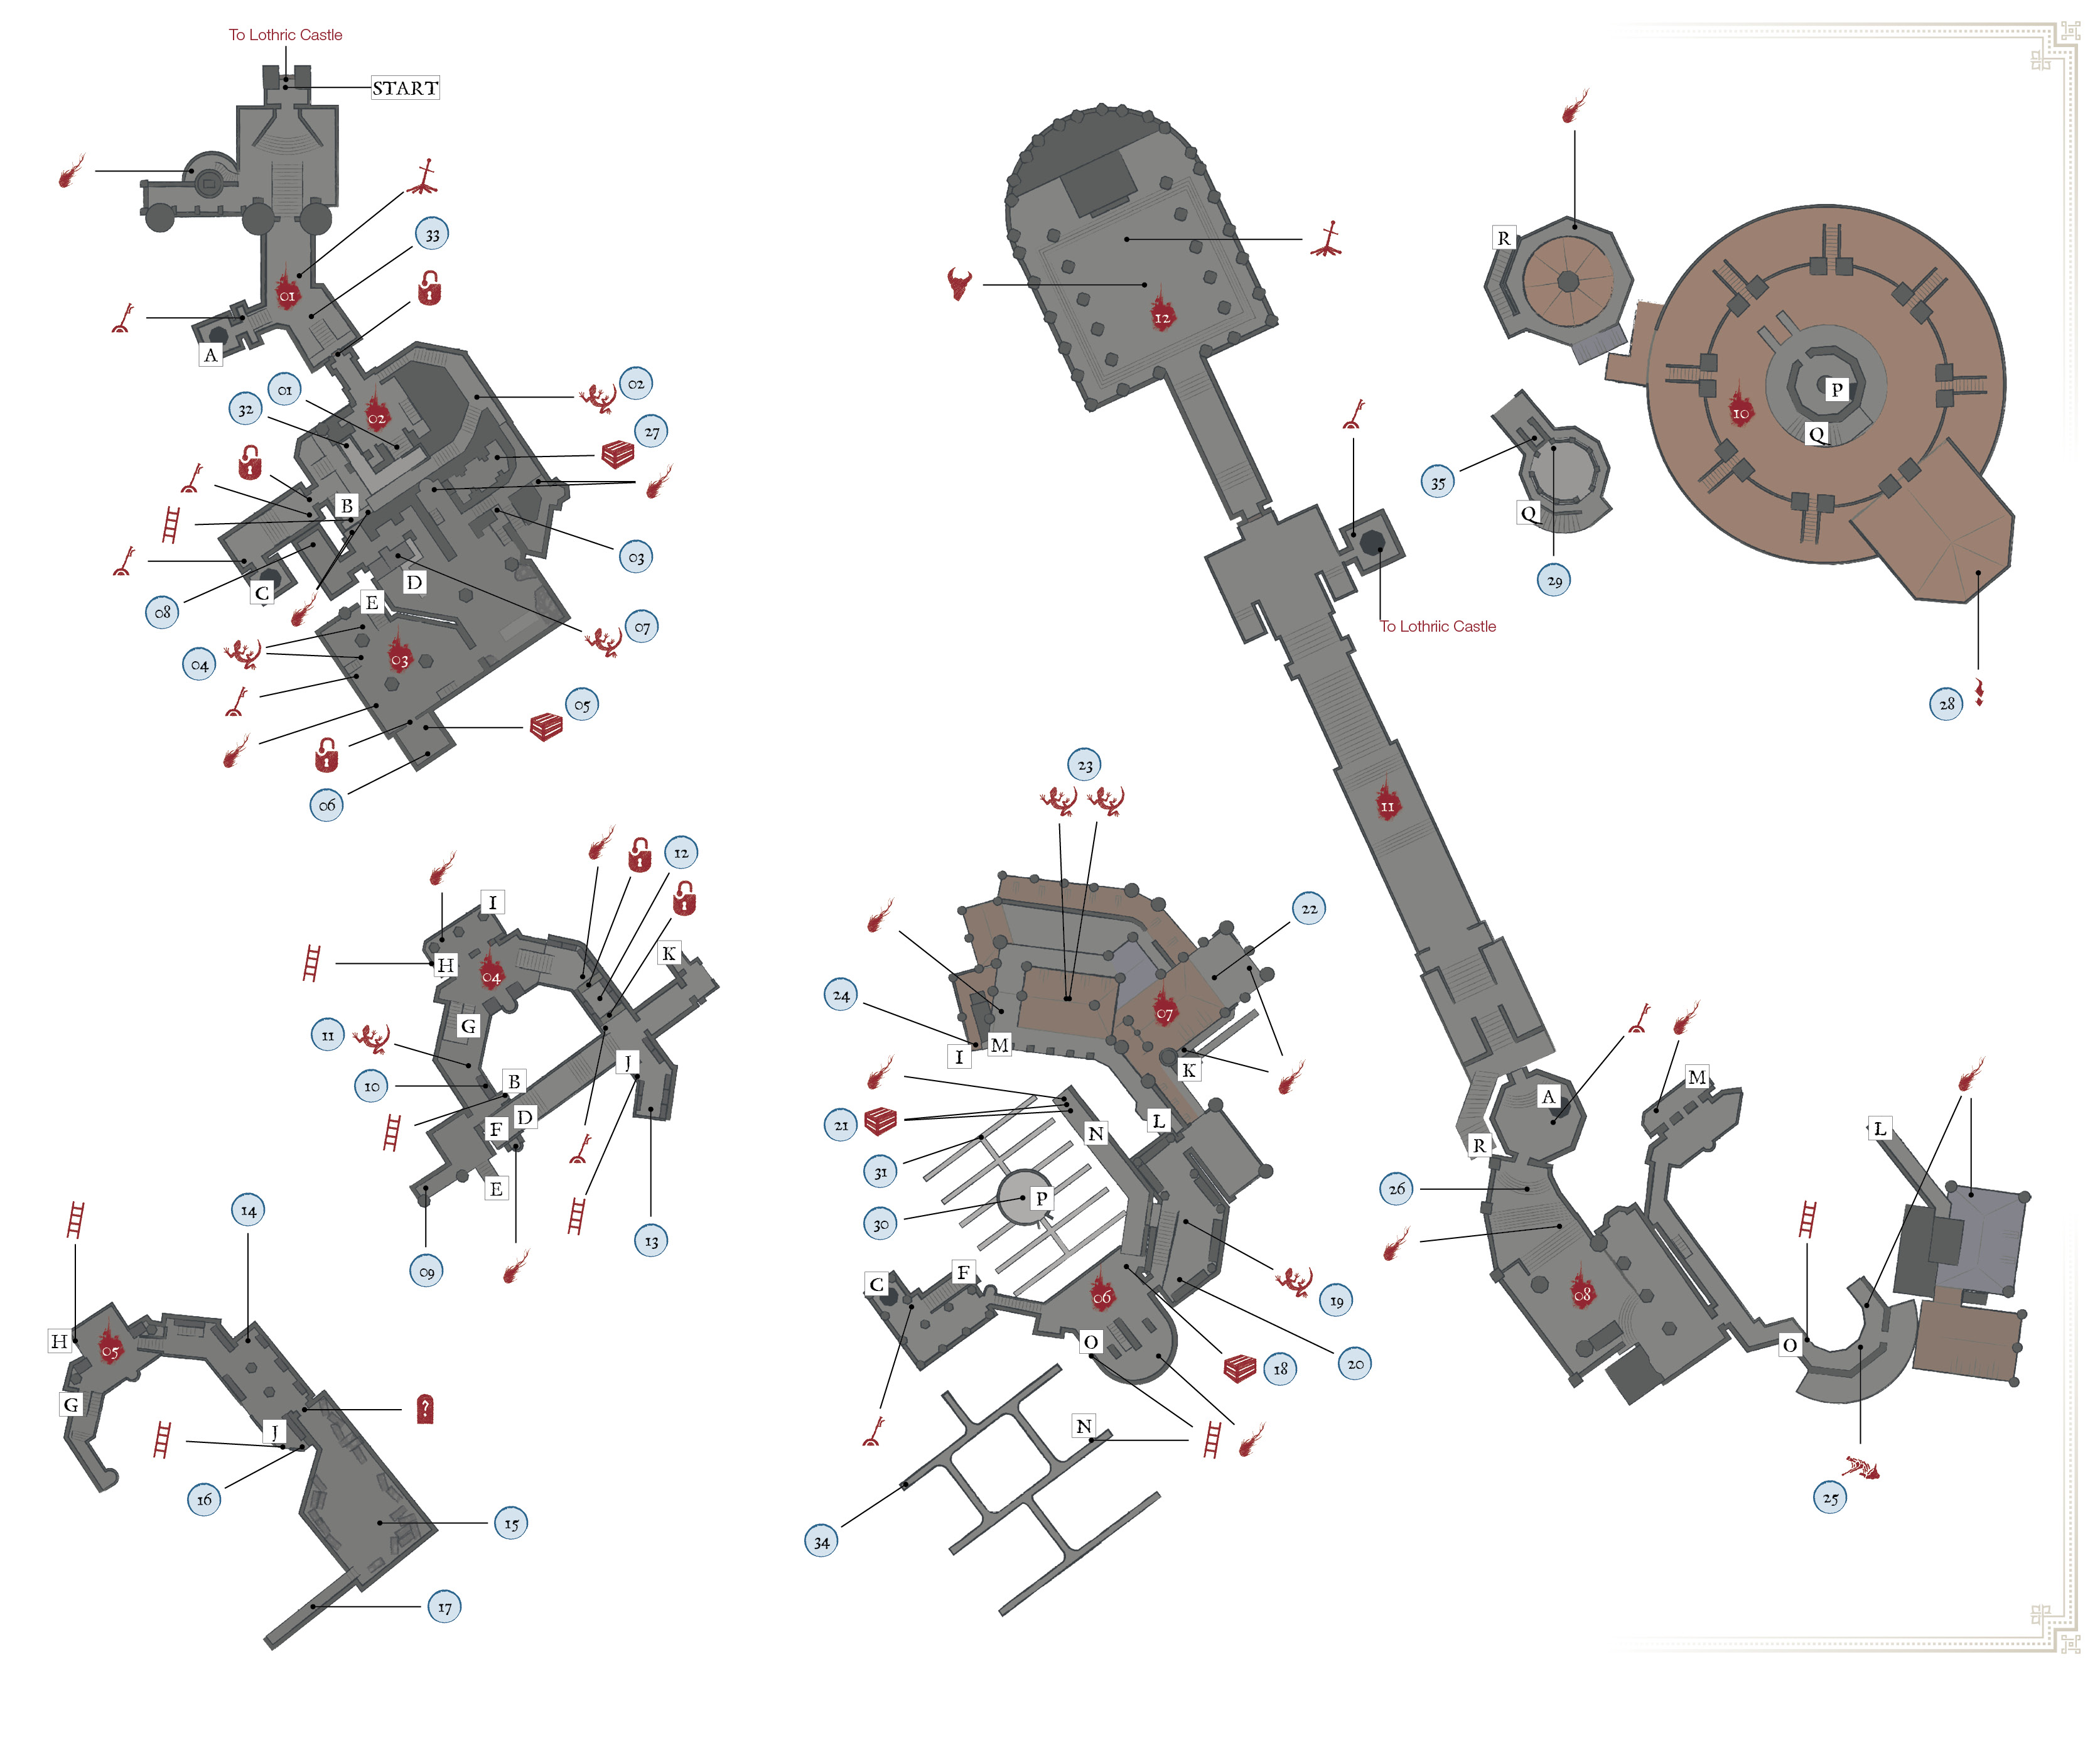
 | Items |
|---|---|
| 1 | Crystal Scroll (on Crystal Sage) |
| 2 | Crystal Gem, Twinkling Titanite |
| 3 | Titanite Scale |
| 4 | Chaos Gem, Twinkling Titanite x3 (on Crystal Lizards) |
| 5 | Witch’s Locks |
| 6 | Power Within |
| 7 | Titanite Scale x2 |
| 8 | Crystal Chime |
| 9 | Titanite Scale |
| 10 | Titanite Scale |
| 11 | Twinkling Titanite x2 |
| 12 | Scholar Ring |
| 13 | Shriving Stone |
| 14 | Titanite Scale |
| 15 | Outrider Armor (full set, on Boreal Outrider Knight) |
| 16 | Titanite Scale |
| 17 | Soul Stream |
| 18 | Titanite Scale x3 |
| 19 | Twinkling Titanite, Refined Gem |
| 20 | Fleshbite Ring |
| 21 | Twinkling Titanite x3 |
| 22 | Hollow Gem (hallway underneath ledge) |
| 23 | Twinkling Titanite x2, Sharp Gem, Heavy Gem |
| 24 | Titanite Scale x3 |
| 25 | Undead Bone Shard |
| 26 | Onikiri and Obadachi, Golden Wing Crest Shield, Sage’s Crystal Staff (all on Unkindled) |
| 27 | Titanite Slab |
| 28 | Estus Shard |
| 29 | Hunter’s Ring |
| 30 | Divine Pillars of Light |
| 31 | Blessed Gem |
| 32 | Avelyn |
| 33 | Grand Archive Key, Gotthard Twinswords |
| 34 | Sage Ring+1 (New Game +1) |
| 35 | Lingering Dragoncrest Ring+2 (New Game +2) |
Bonfires
| Bonfire Name |
|---|
| Grand Archives |
| Twin Princes |
Enemies
| Enemy Name |
|---|
| Hollow Slave |
| Lothric Knight |
| Crystal Sage |
| Grand Archives Scholar |
| Crystal Lizard |
| Boreal Outrider Knight |
| Headless Gargoyle |
| Corvian |
| Black Knight |
Key Discoveries
| Discovery |
|---|
| N/A |
Bonfire—Grand Archives
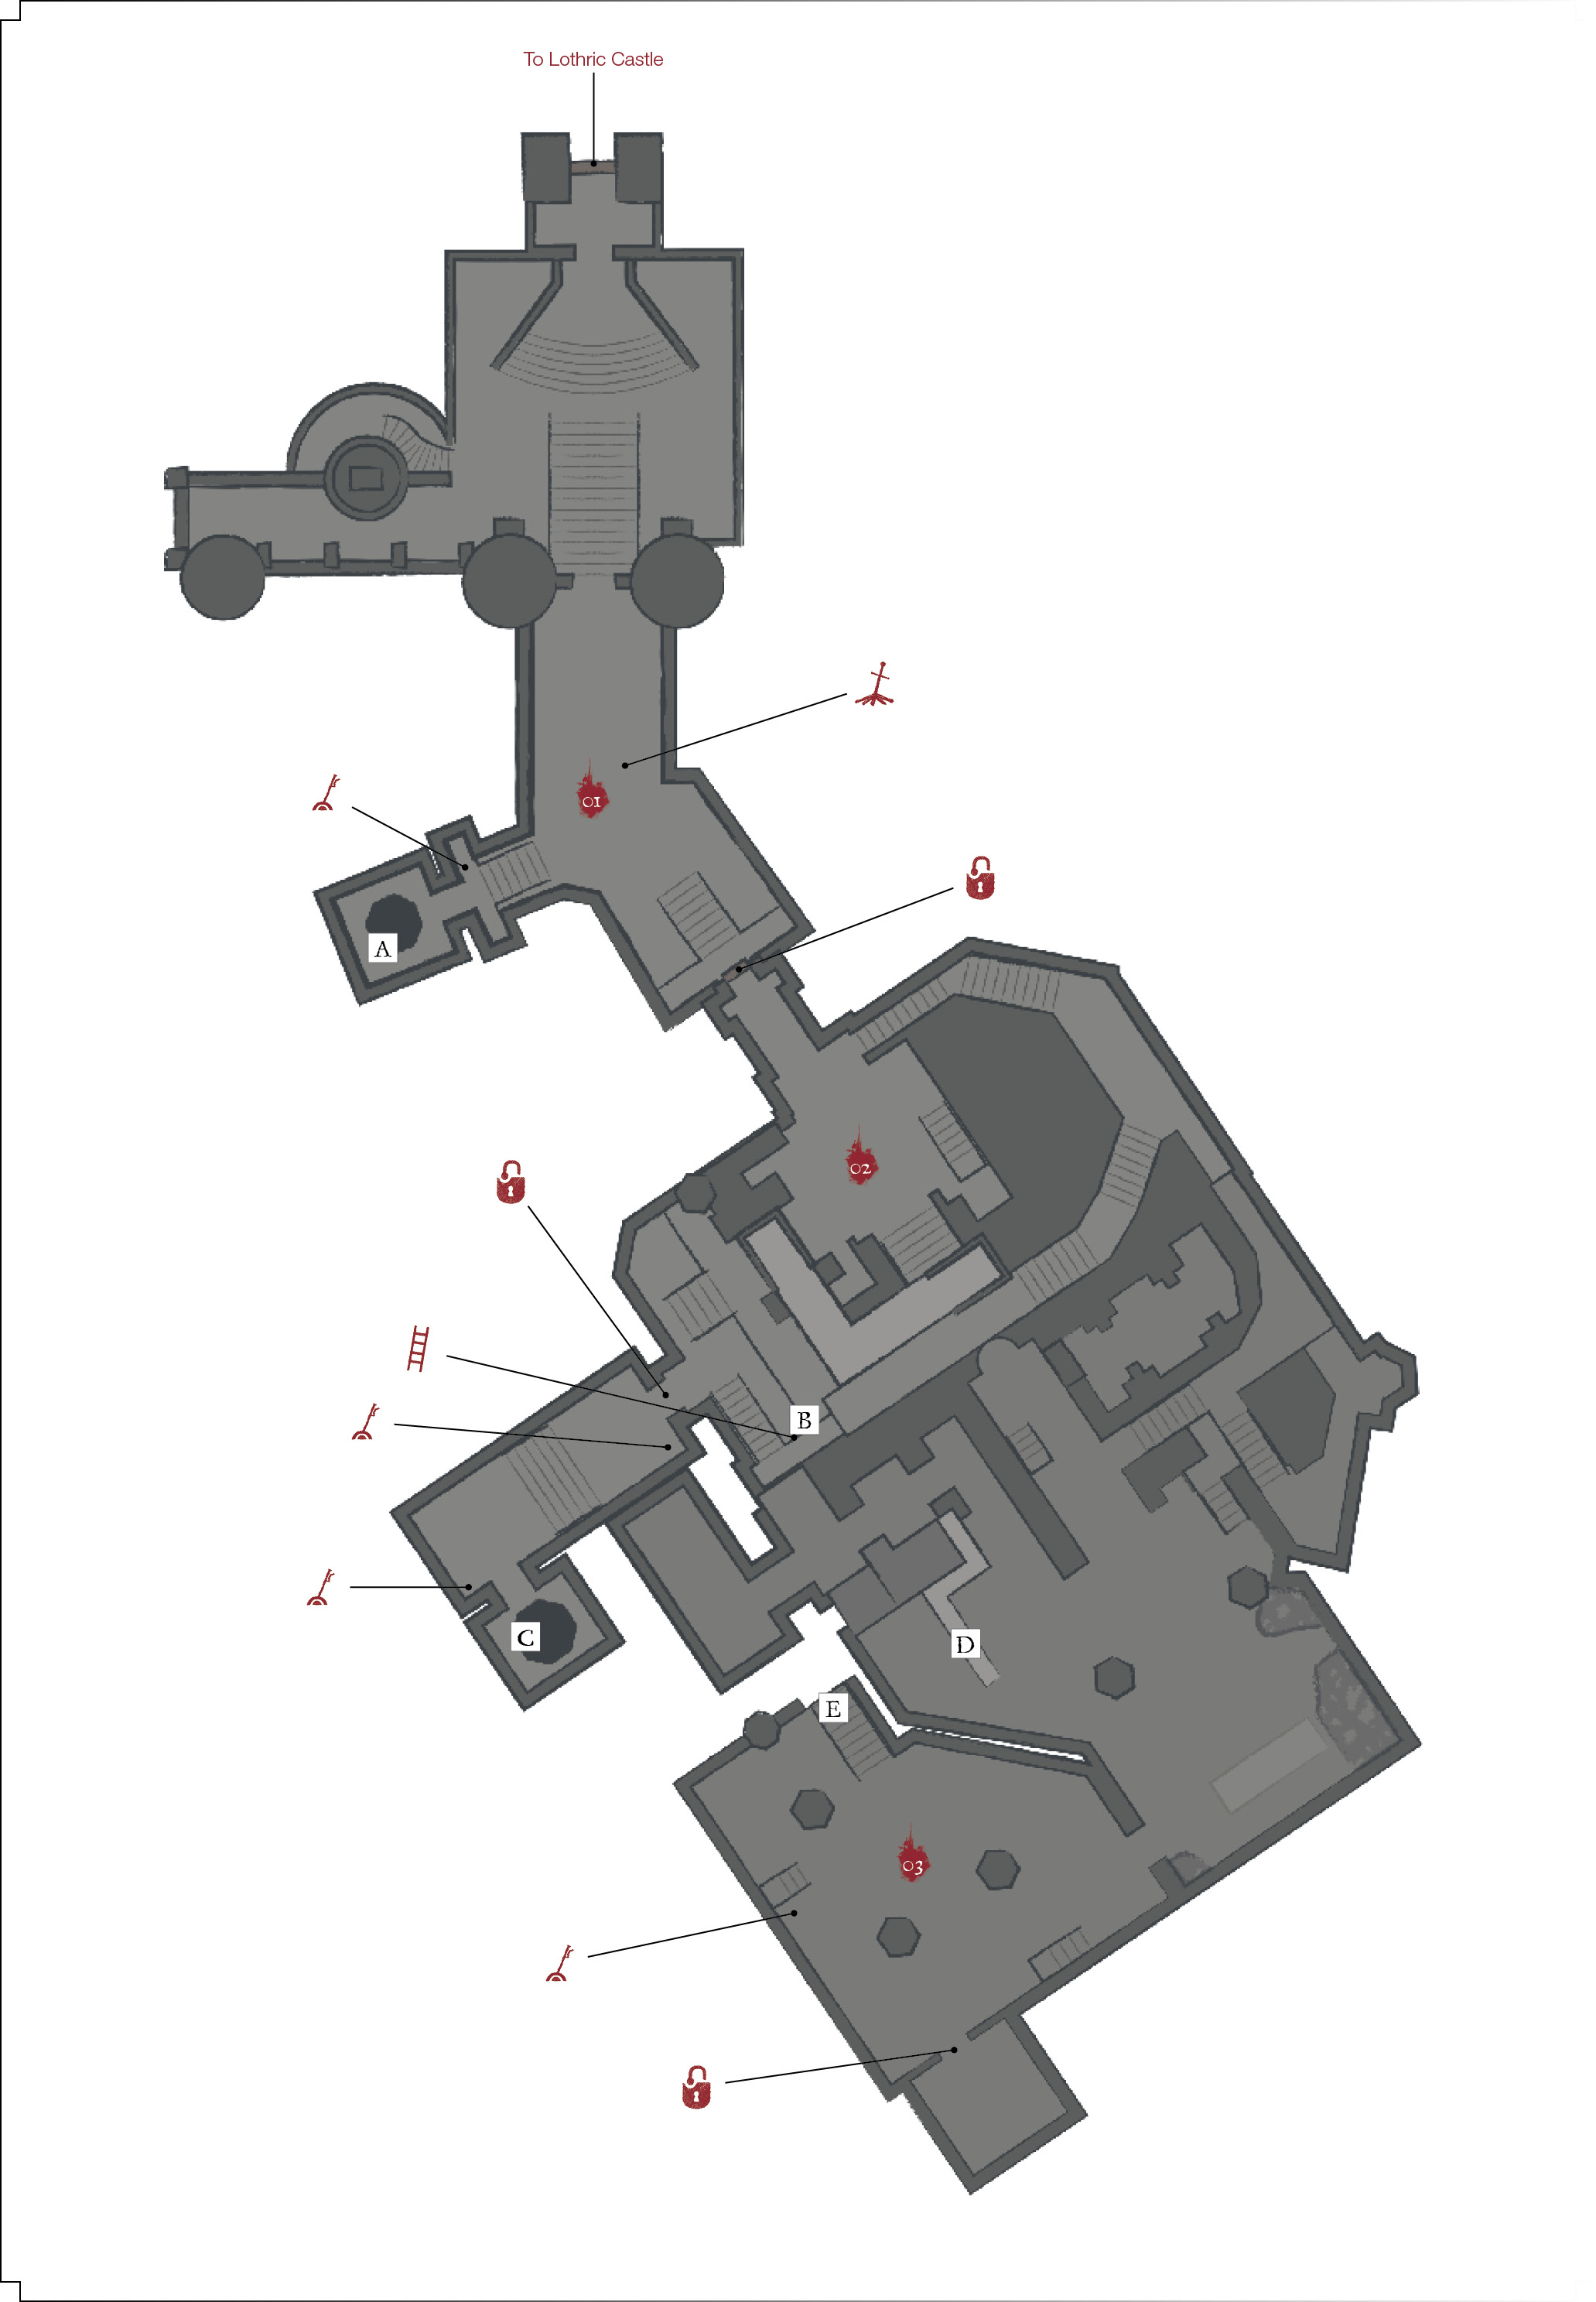
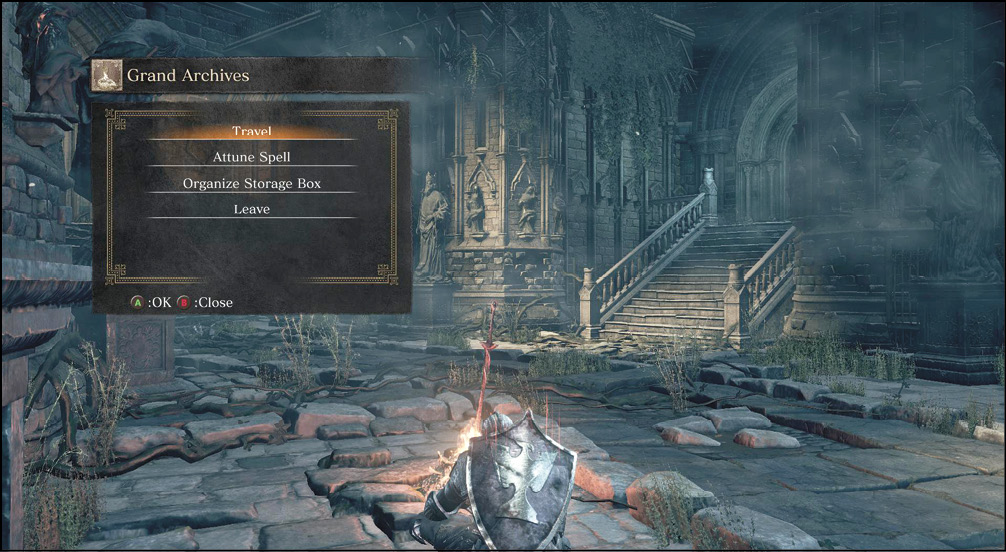
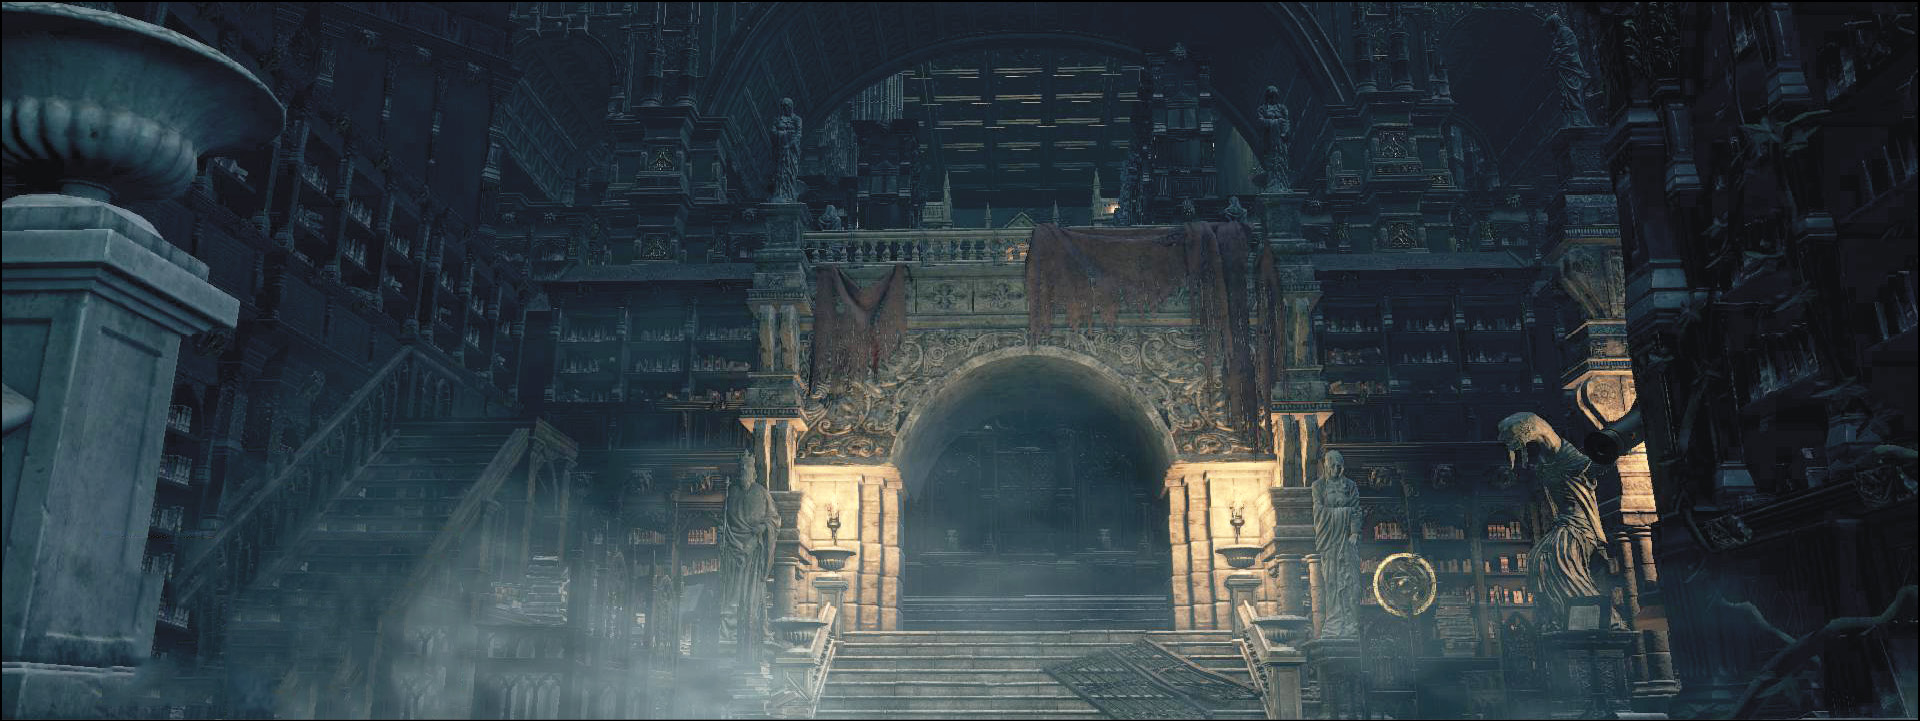
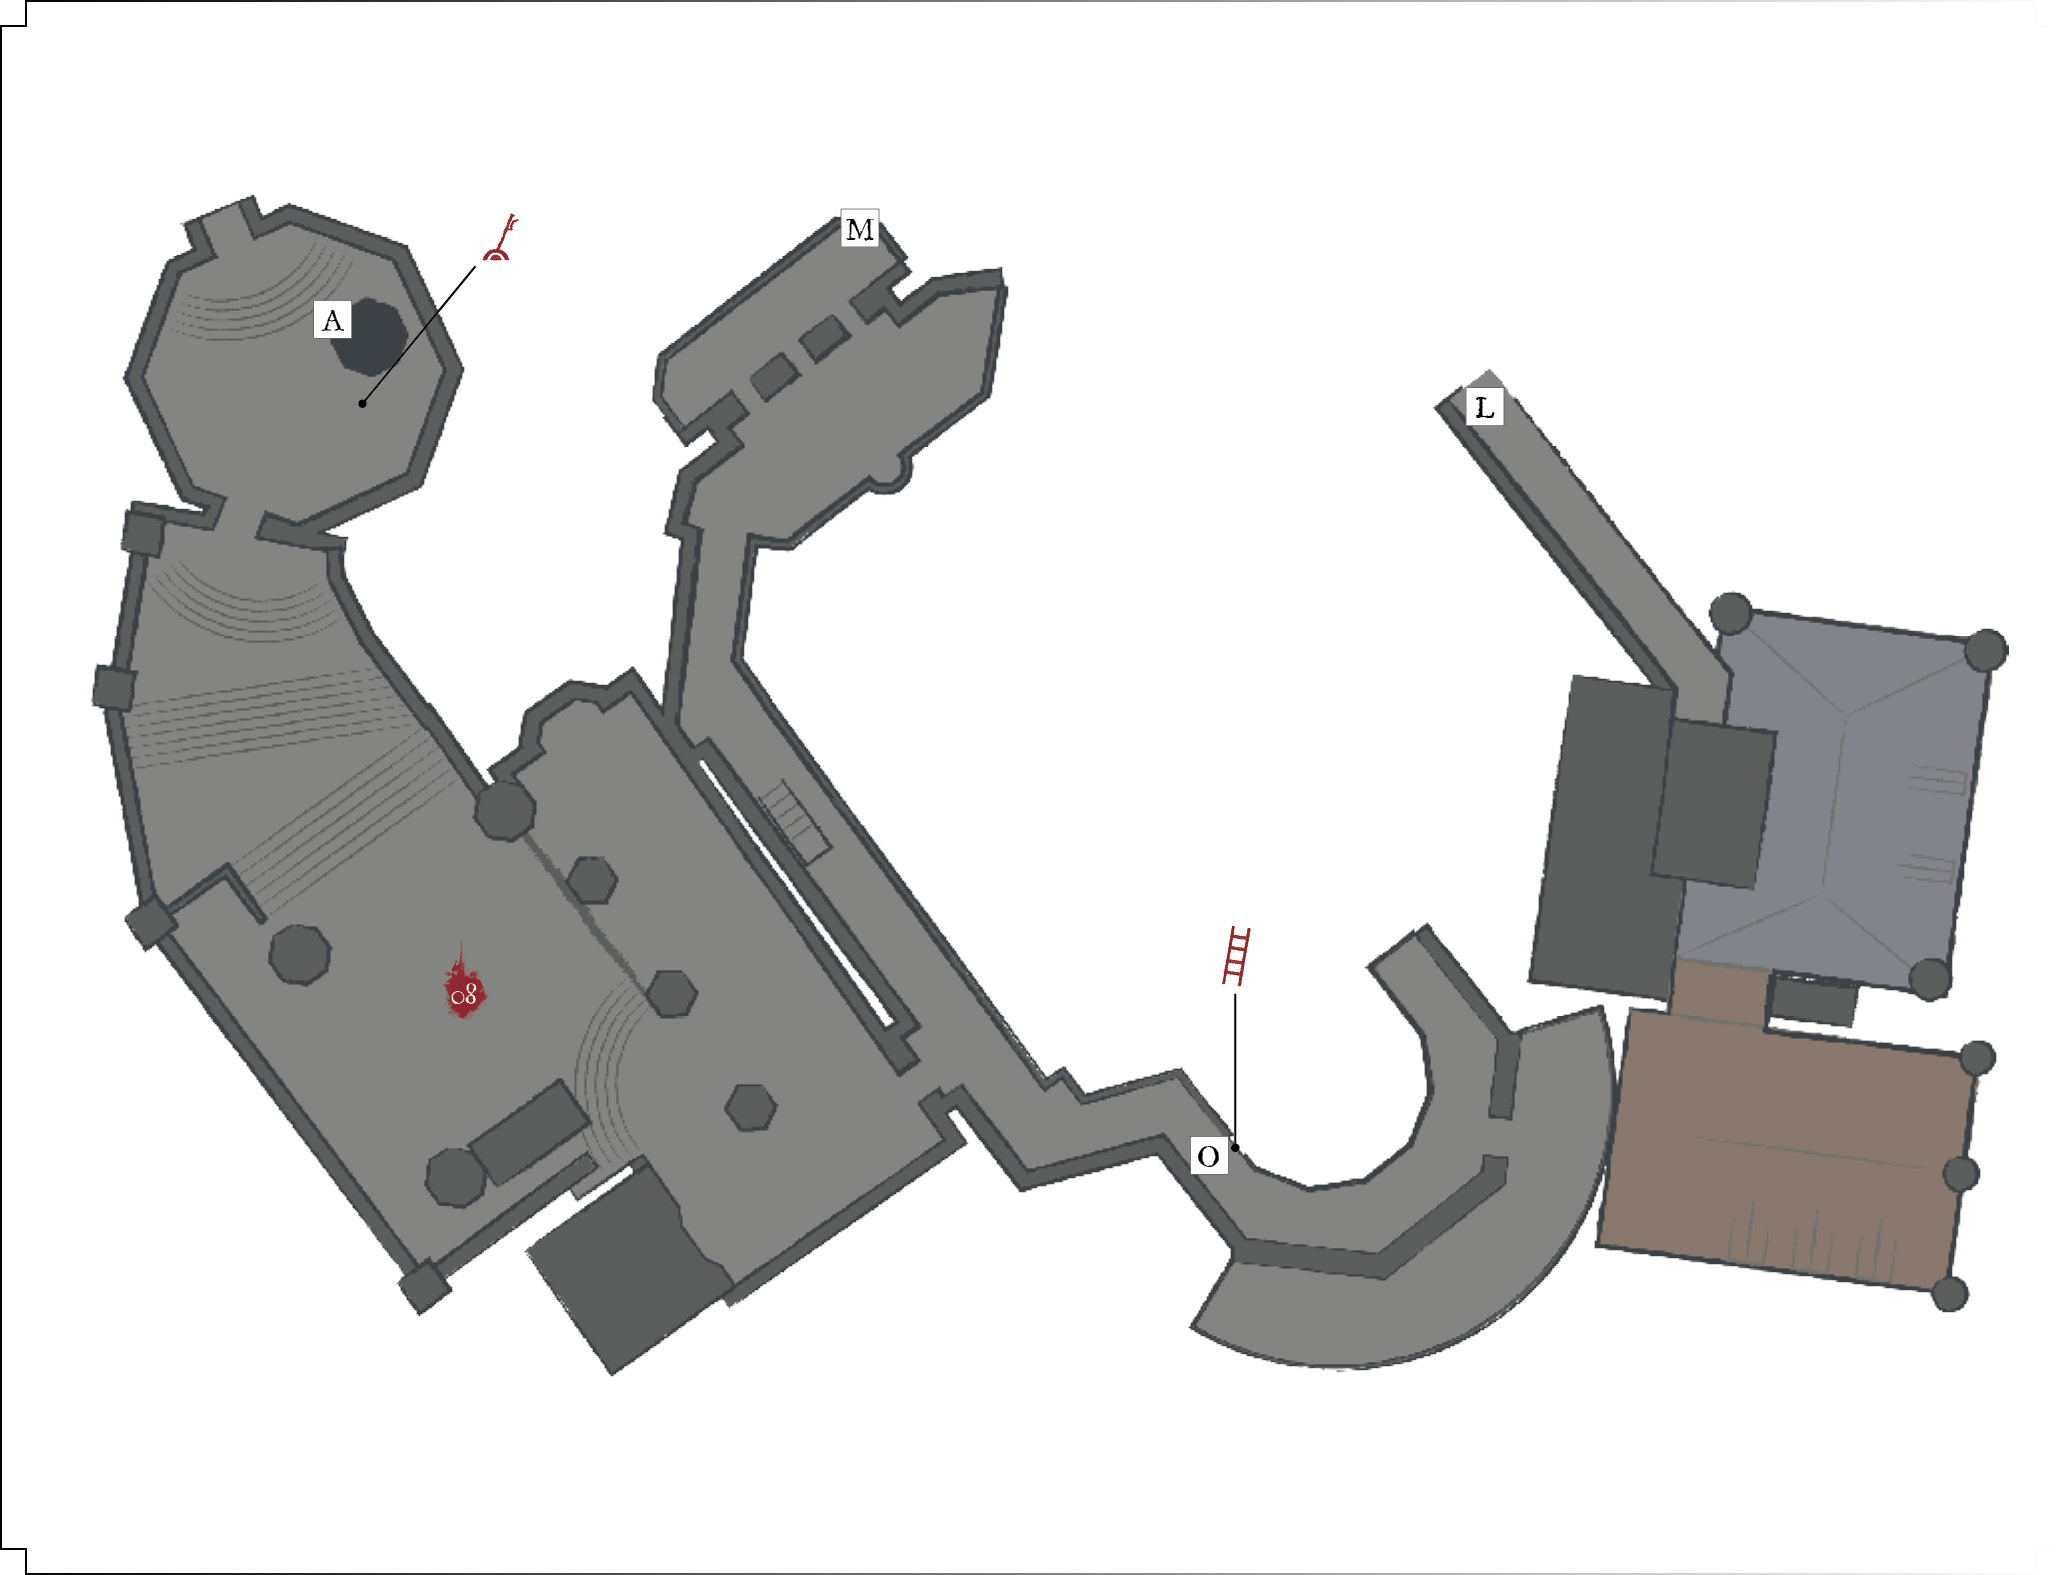
 You get another Bonfire (Grand Archives) when coming into this area from the end of Lothric Castle. A body nearby has the key to the front doors of the area. A lift nearby isn’t currently functional, but it will later allow you to transport yourself up toward the boss. In addition to the Grand Archives Key, you find the Gotthard Twinswords in this entryway.
You’re in the northwestern part of this map. It’s a tough area to parse because so much of it is vertical. There is no way to make it really digestible until you’ve explored and gotten a feel for the layout.
 The first major room of the archives is a doozy. There is a Crystal Sage that bombards you from range. Attack it at close range to force the powerful caster away. However, you must seek it out and do this several times throughout the chamber to finish the job. When you eventually kill the Crystal Sage (again), you get the Crystal Scroll.
There are also multiple Hollow Slaves, Grand Archives Scholars, and rare Lothric Knights. Treasure is everywhere, and by now, you should be able to have a +9 weapon. Titanite Chunks are becoming commonplace, so make sure that your favorite gear is at its best.
Even though the path splits immediately, all of the separate branches combine as you rise to the middle tier of the room.
A pool of hot wax is on the side of the room. After killing the Grand Archives Scholars near it, you can dunk your head in the wax. Grand Archives Scholars are very low on health, so fast weapons cut them apart in very little time.
Coating your head in wax protects you from the Curse effect of the spectral arms that reach from the books around the library. If you need to explore near any of the bookshelves, be sure to get coated first!
Later, there is a lift that comes down along the western edge of this room. You get to use that to slide open a bookcase and gain a shortcut to the upper reaches of the chamber. That’s a godsend because there aren’t any other Bonfires until you find and kill the boss.
 The dark room near the wax pool has dangerous bookcases. Avoid getting too close to them: the arms that come out can cause Curse. Instead, race after the Crystal Lizards in the room to get what you can out of them.
Search for a lever, and then pull it to reveal a secret treasure area on the side of the room. Get everything inside of it. In addition to the Grand Archives Key, you find the Gotthard Twinswords in this entryway.
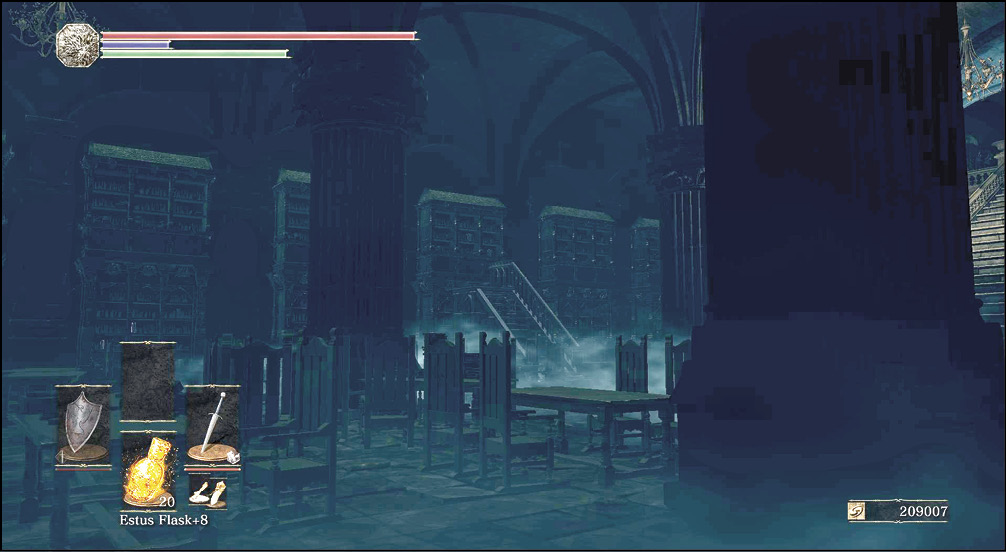
Stairs lead up to the third tier of the room.
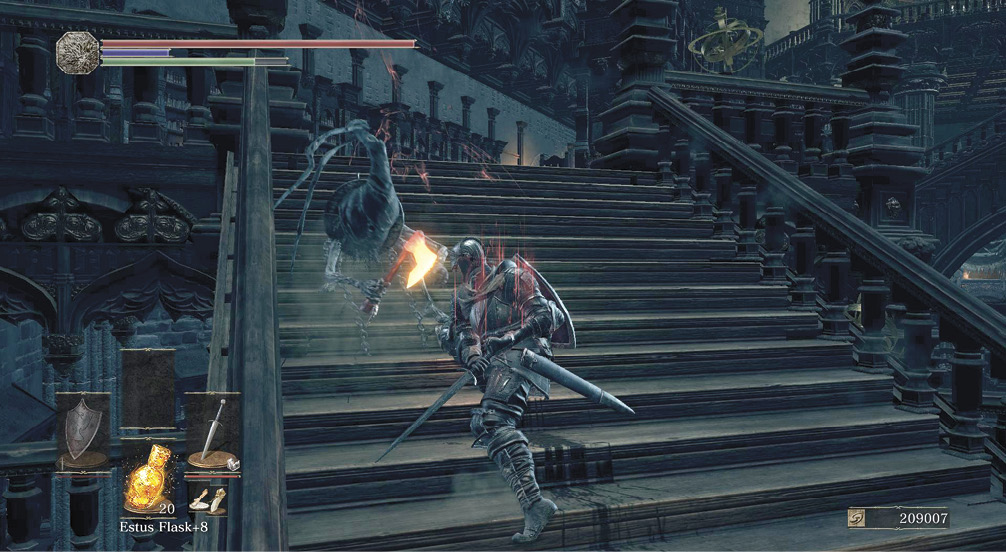
 Throughout most of this short section, you’re very exposed. The Crystal Sage is firing from above, and there are a few targets around the hallway, as well. Try to move quickly, and watch your back for any Hollow Slaves that are in pursuit.
Pull the lever opposite the outer balcony to open a path to the Titanite Slab chest back on the first floor. Then, look outside. Climb a ladder on that balcony and get behind the Crystal Sage. Use this surprise to deal fast damage and push the cursed caster even higher into the archives. A Scholar Ring is east of this waypoint.
 Whether you reach the next Crystal Sage tier by climbing the ladder or taking the stairs, you must contend with plenty of problems. Hollow Slaves are everywhere, and the Crystal Sage continues firing from above once you chase him up there. It’s ruthless. Even though Hollow Slaves are not normally a major threat, they’re very difficult to deal with here. Due to enhanced weaponry, they deal enough damage to almost combo you to death. Add ranged attacks, and death is very likely if you let them get any purchase.
Keep a shield out to block the Hollow Slaves’ attacks, and kill them while they’re staggered.
There is a secret door on the eastern side of this floor with a Boreal Outrider Knight inside it. You should probably hold off on fighting this one until you’ve unlocked a shortcut that isn’t too far away. When you’re ready, ambush the Boreal Outrider Knight from behind. Get a huge charged attack to start the encounter. After that, use the same techniques that have worked before. Dodge, counter with one strike (two at most), and stay defensive.
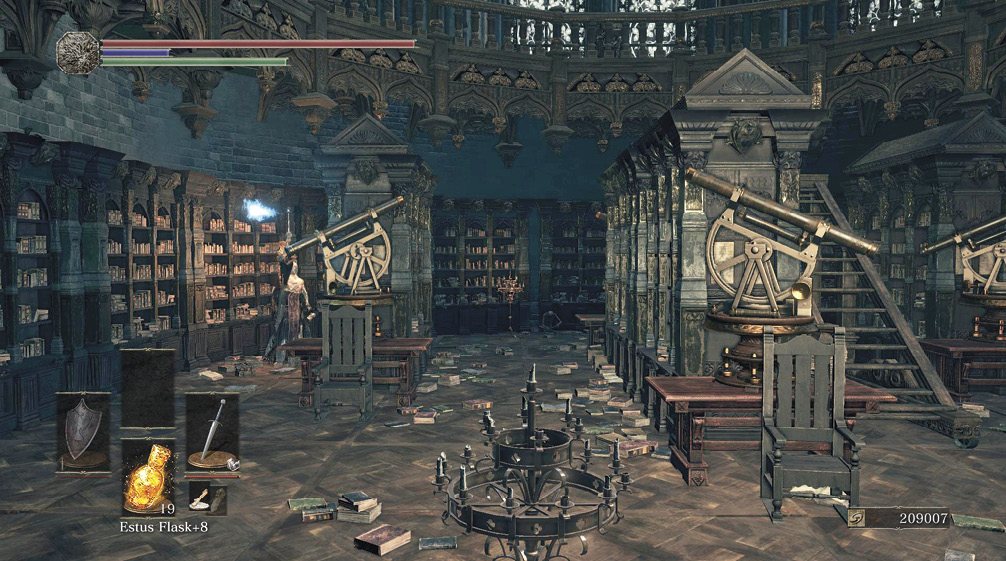
To get that shortcut, climb down a ladder near the secret door. Cross the bridge that’s nearby, and look for a lift in the rooms ahead. Go down that lift, and open the secret bookcase that leads into the first room. This is a major timesaver for future efforts. Go after the Boreal Outrider Knight now that you aren’t risking as much. The enemy drops Outrider Armor upon its death, and the small side room behind it has Soul Stream.
Another minor shortcut is by the ladder that was previously mentioned. When you climb down, look for a lever. This opens another bookcase.
After you get control of the bridge, deal with the Crystal Sage. You have access to all of the places where the mage can teleport, so it’s a matter of time, patience, and healing in between each encounter.
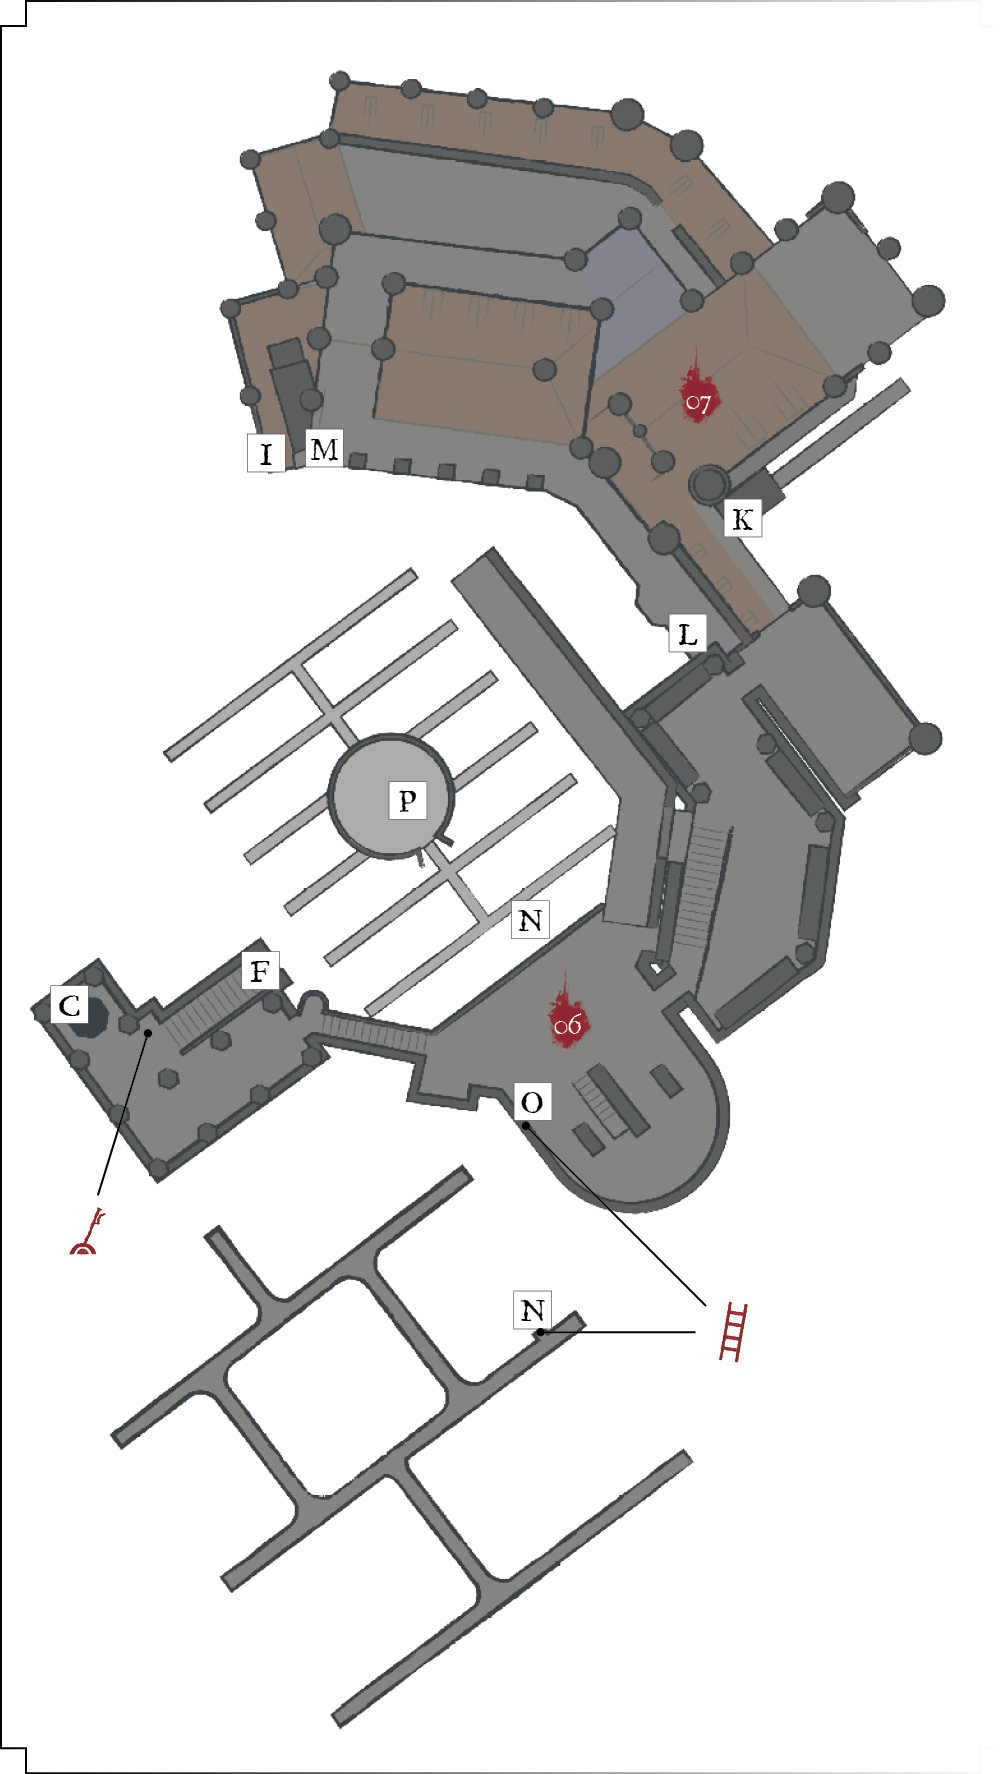
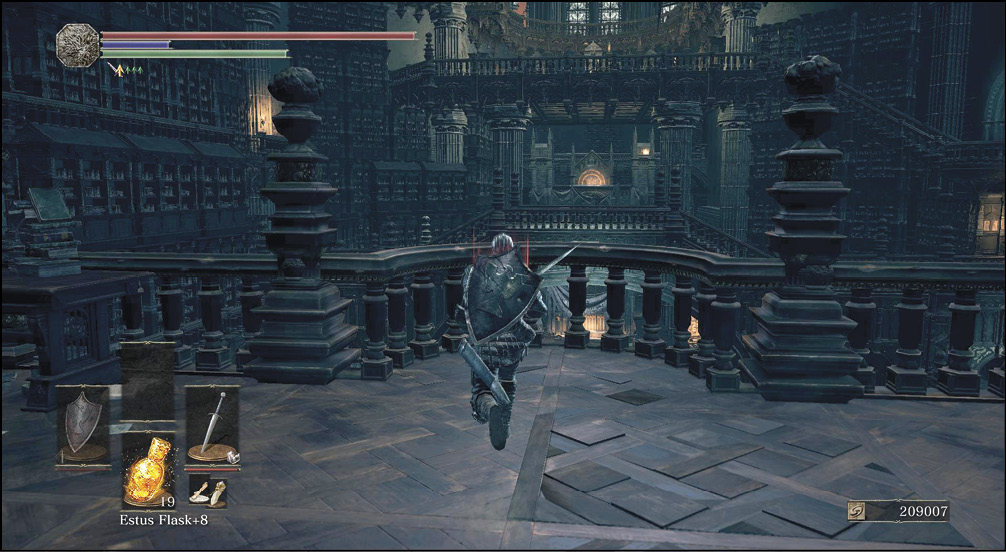
 Another stairway leads up and away from the major shortcut lift. Take that to go even higher in the archives. You enter a room with too many bookcases to be comfortable. You can’t go anywhere near the southern side of the room without the arms harassing you.
Several Grand Archive Scholars are here. Shoot them from range so that the arms don’t hurt you while you’re fighting. Get a chest in the northeast corner of the room before leaving. Also, a Fleshbite Ring is to the east.
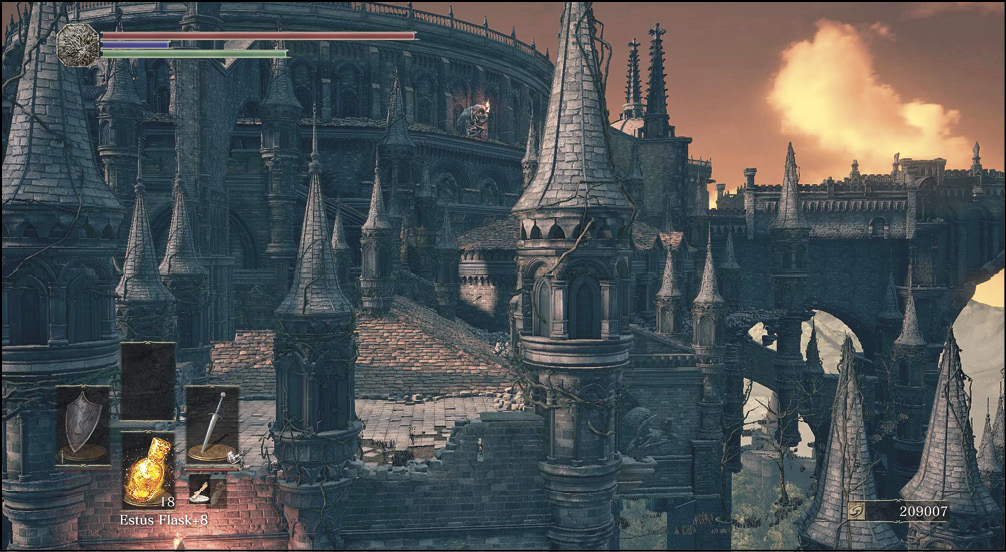
 For a time, you end up outside. Climb down a short ladder and explore the rooftops. Several Headless Gargoyles are out there, but you have a great deal of room to fight. Stay away from the edge of the roof to avoid falling off, but otherwise, you should be completely fine. Go treasure hunting as long as you like. There are a few items below you that are from earlier parts of the level but couldn’t be reached. Dropping to those doesn’t help you proceed.
To get out of here, take the roof all the way north, then west, and then wrap back around the other side to the south. At the end, you drop off the ledge onto an outer balcony. Go inside, kill a lone knight, and be happy to get back on solid ground.
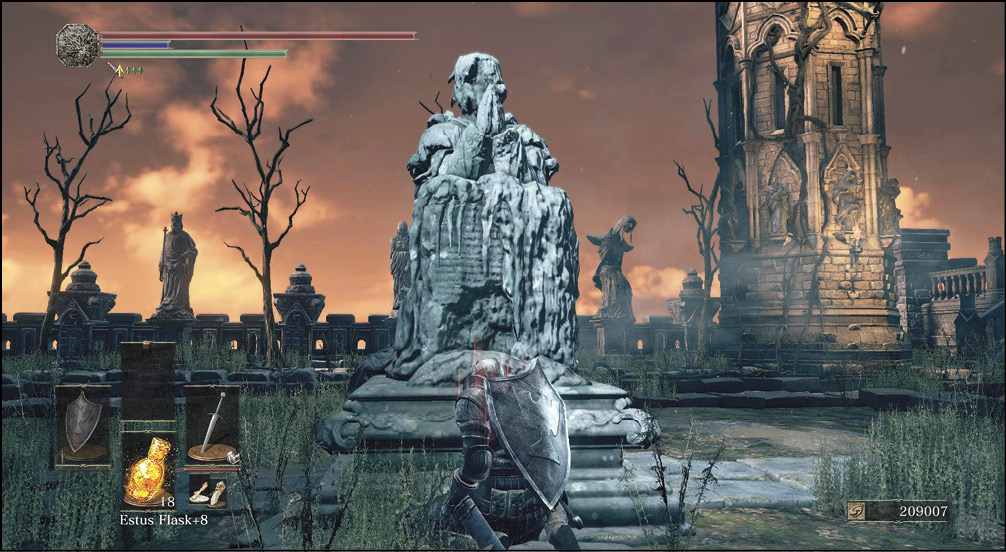
 You’re entering a large path that leads up to the boss. Three Unkindled attempt to stop you as you walk toward some impressive steps that lead north out of the room. Stop as soon as you see them. The first two usually come together, but the third one is farther back and can be fought later. For this reason, it’s best if you lead the melee attacker back while you kill him. Then, charge the caster second. Their heavier buddy isn’t a threat if he’s alone, so this makes the fight extremely safe.
Watch the caster while you’re engaged. Make sure to dodge aside when his spells are reaching completion. Otherwise, he’ll nail you and give his ally an easy opening for free damage. Killing this group gets you Onikiri and Obadachi, the Golden Wing Crest Shield, and a Sage's Crystal Staff. Before proceeding, make sure that you get the Undead Bone Shard to the east. It's inside the building, past the ladder over there.
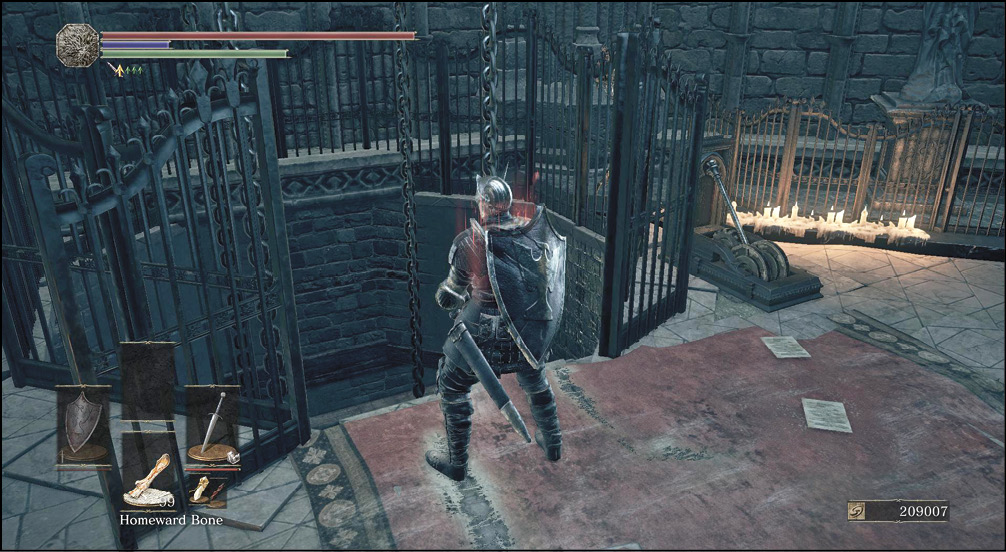
 Thankfully, you find a lift after beating the trio. Take this down for a much easier route between here and the lower levels.
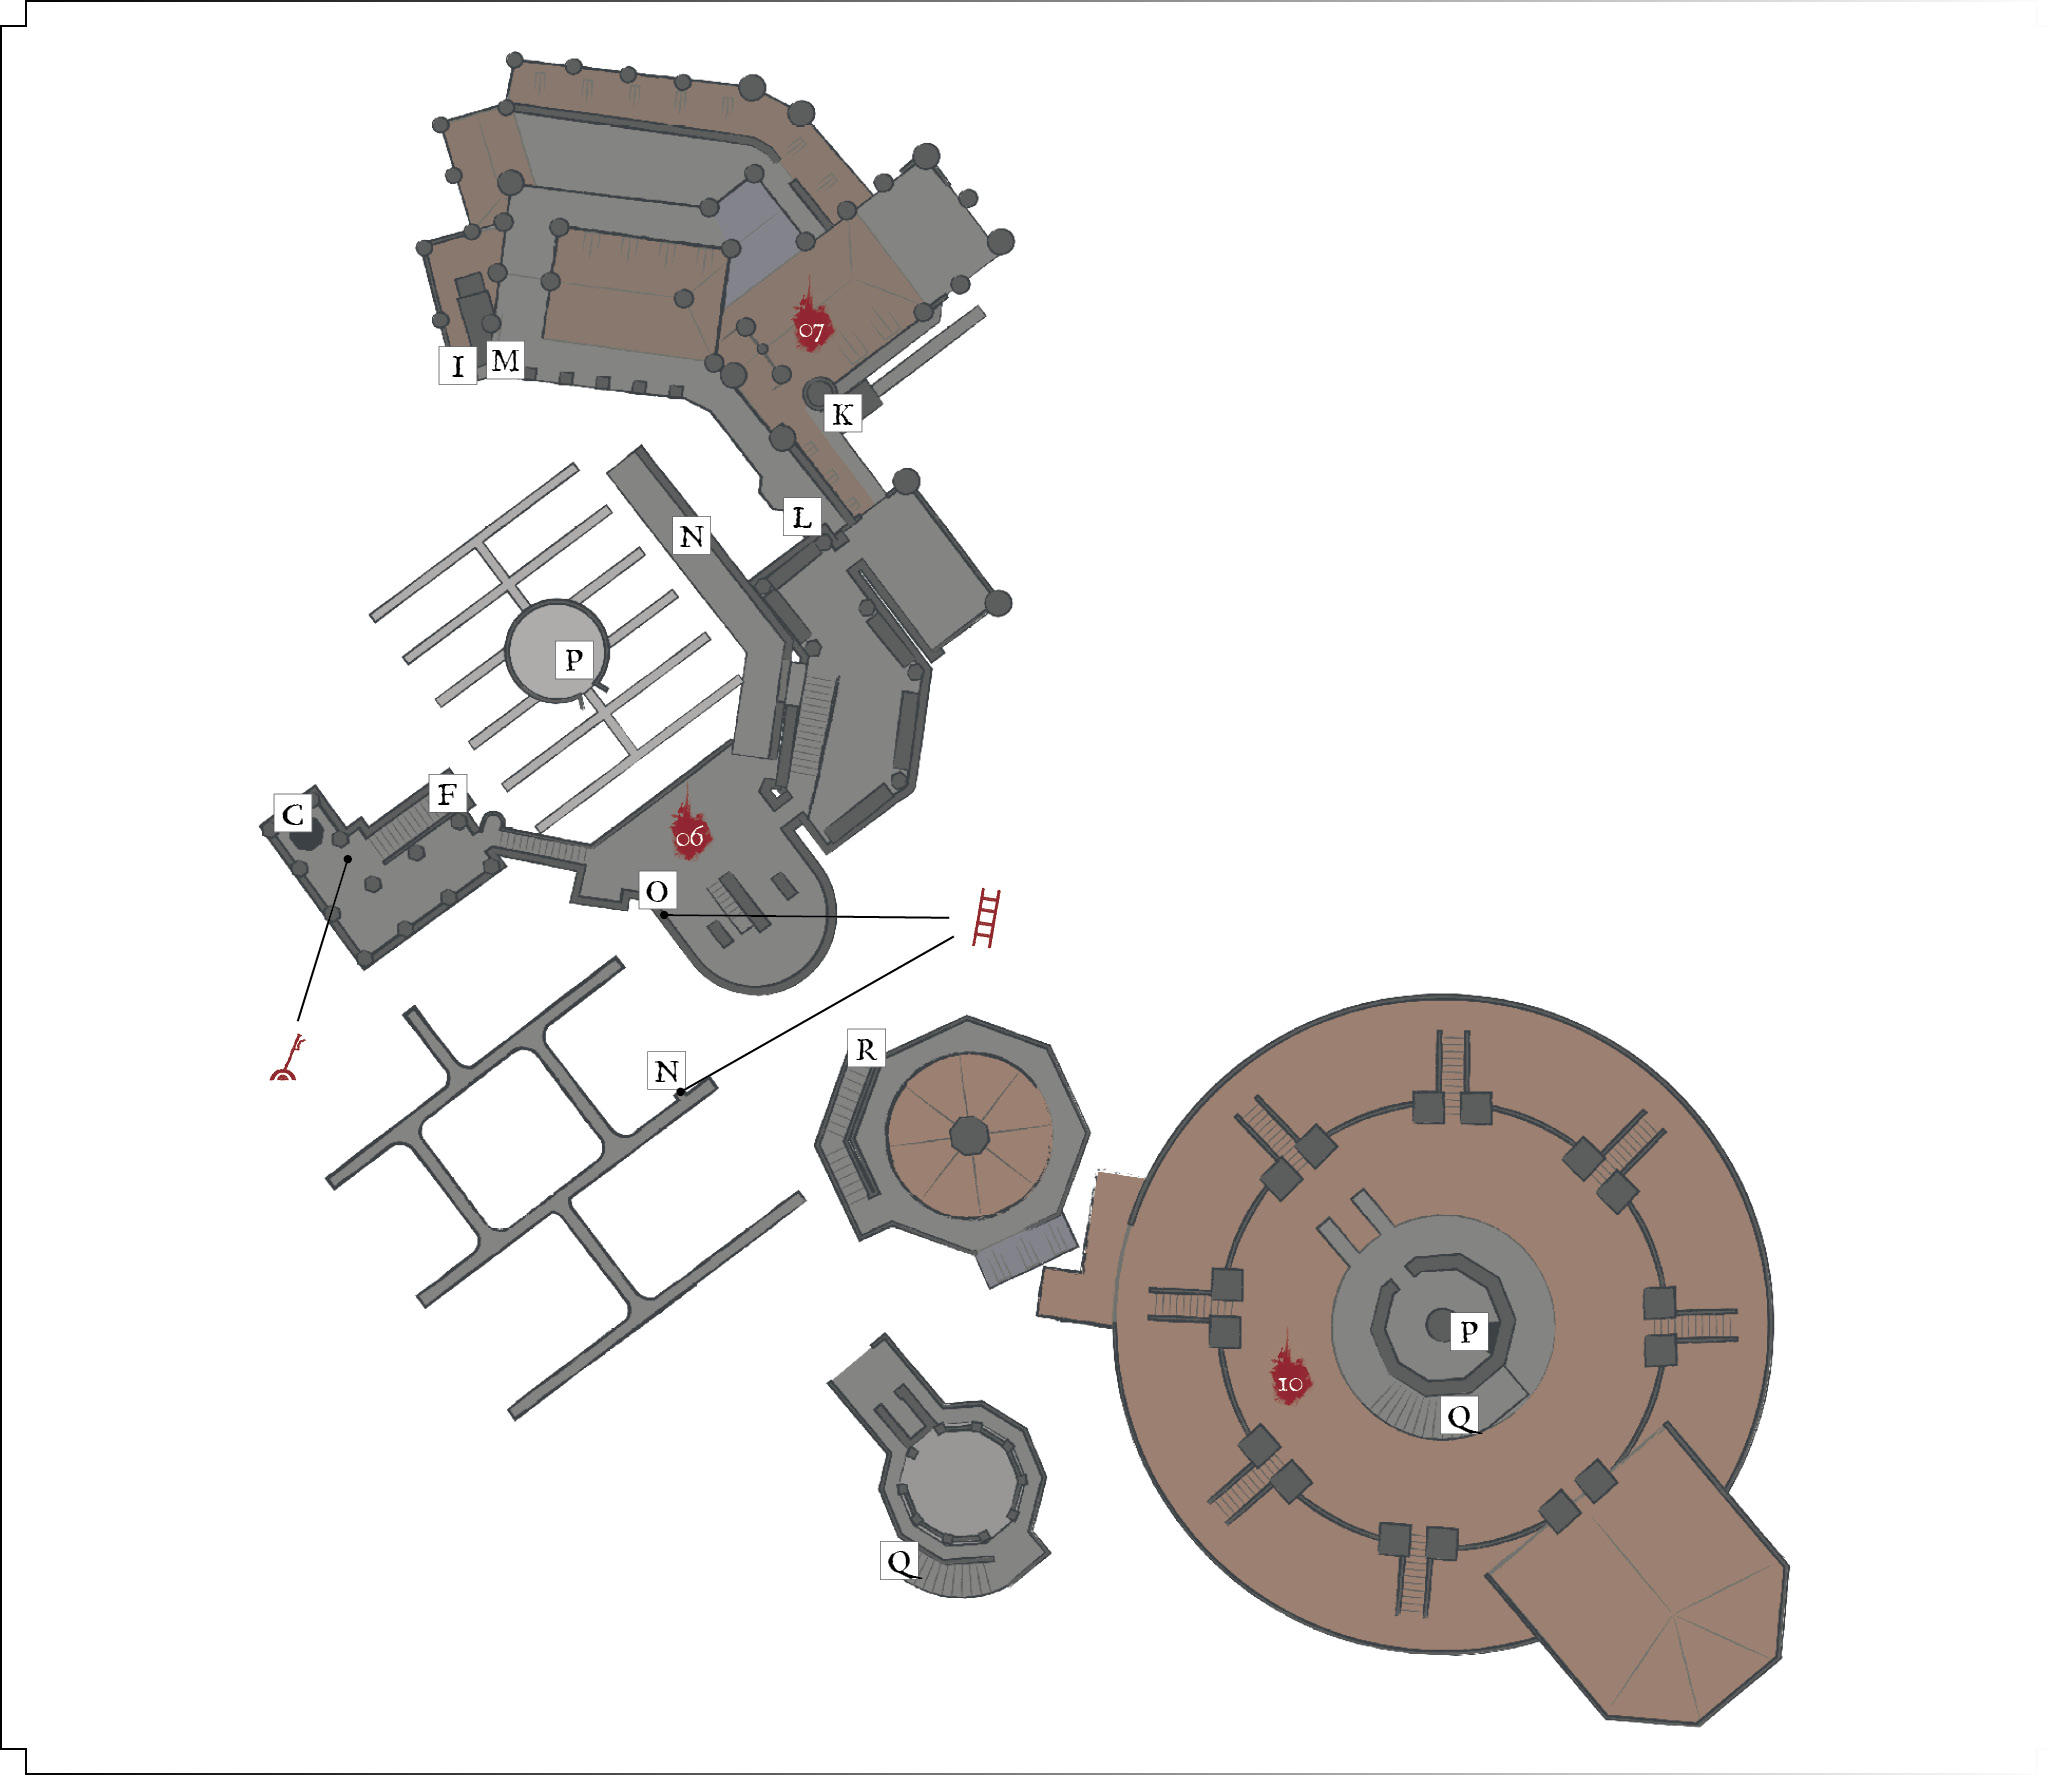
 A staircase to the west is something you might miss. Take it to get onto these higher rooftops. Though it takes a lot of exploration to find everything, the rooftops lead to a central building that can’t be reached any other way. You get very nice treasure on the roof over there, as well as inside the building.
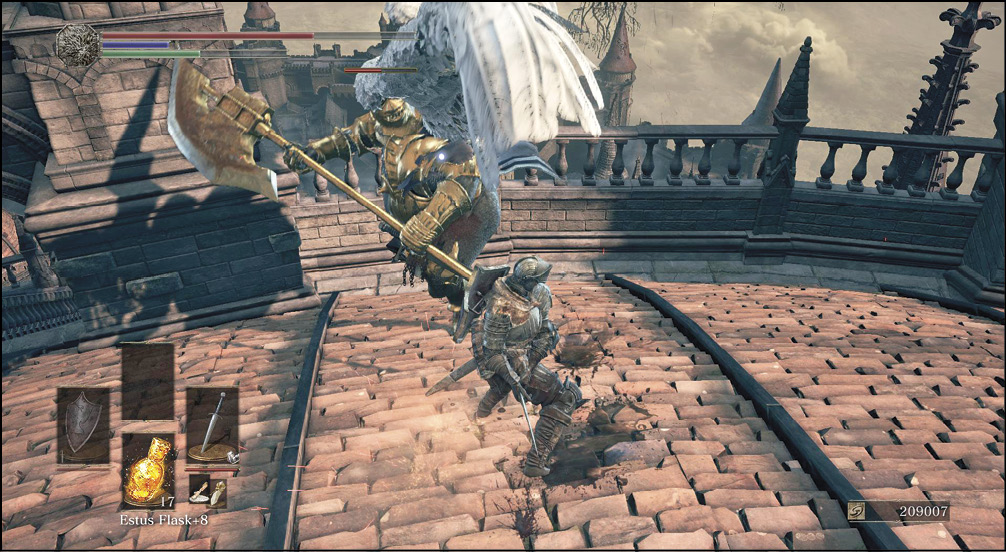
You can get these items by running through, but you get even more out of the area if you beat the three Gertrude’s Knights that guard the tower. This won’t be as easy as you would think, though. All three are like Winged Knights with superior combo abilities. They can fly, leading to improved mobility. And one of the three patrols around the tower instead of loitering around. That gives him a substantial chance to attack while you’re still engaged with one of his brothers.
For your best chance, pull the twin-axe Gertrude’s Knight toward the back of the building. With him dead, the patrol isn’t an issue.
All three require very skilled dodge timing. There isn’t an easy trick to beating them; it’s just skill and patience. But you get a Titanite Slab for finishing them off, and that’s one heck of a prize. Afterward, look for an Estus Shard to the southeast, outside the building. Inside the structure, you get a Hunter's Ring. If you're on New Game +2, you also get a Lingering Dragoncrest Ring+2.
Dropping down through a hole in that building, you get onto the rafters inside the archives. Divine Pillars of Light is a spell inside a cage up there. On the western end of the rafters, you get a Sage Ring+1, but only on New Game+1.
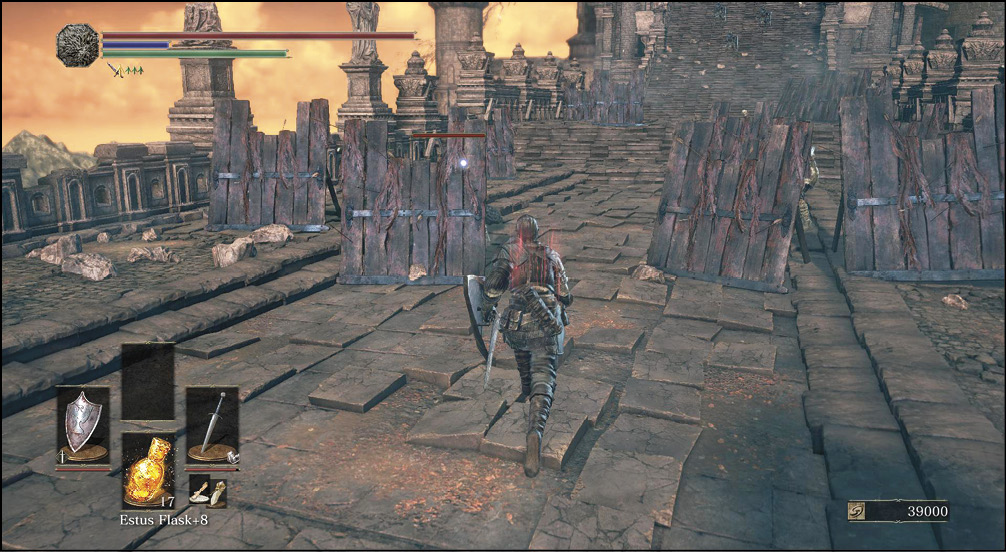
 The long walkway toward the boss’ room is amazing. Barricades are in place like the whole area is preparing for a siege. And, well, they should be: you’re here to destroy them.
Cut through the Hollow Soldiers like chaff. Make sure to look around each barricade so that you don’t leave any crossbowmen at your back. They’re pests, but their damage adds up if you ignore them.
The real fight begins toward the end, where there is a series of Gertrude’s Knights. They don’t have any new attacks or weaponry to show off, but you can end up fighting them with multiple targets running around. Use ranged weapons to isolate and pull your most worrisome enemies, and run back as far down the walkway as you need to so that nothing overwhelms you.
On the right, you get to a lift that descends into Lothric Castle (near the Dragonslayer Armour Bonfire). You should definitely get this before you take on the boss.
Major Battle
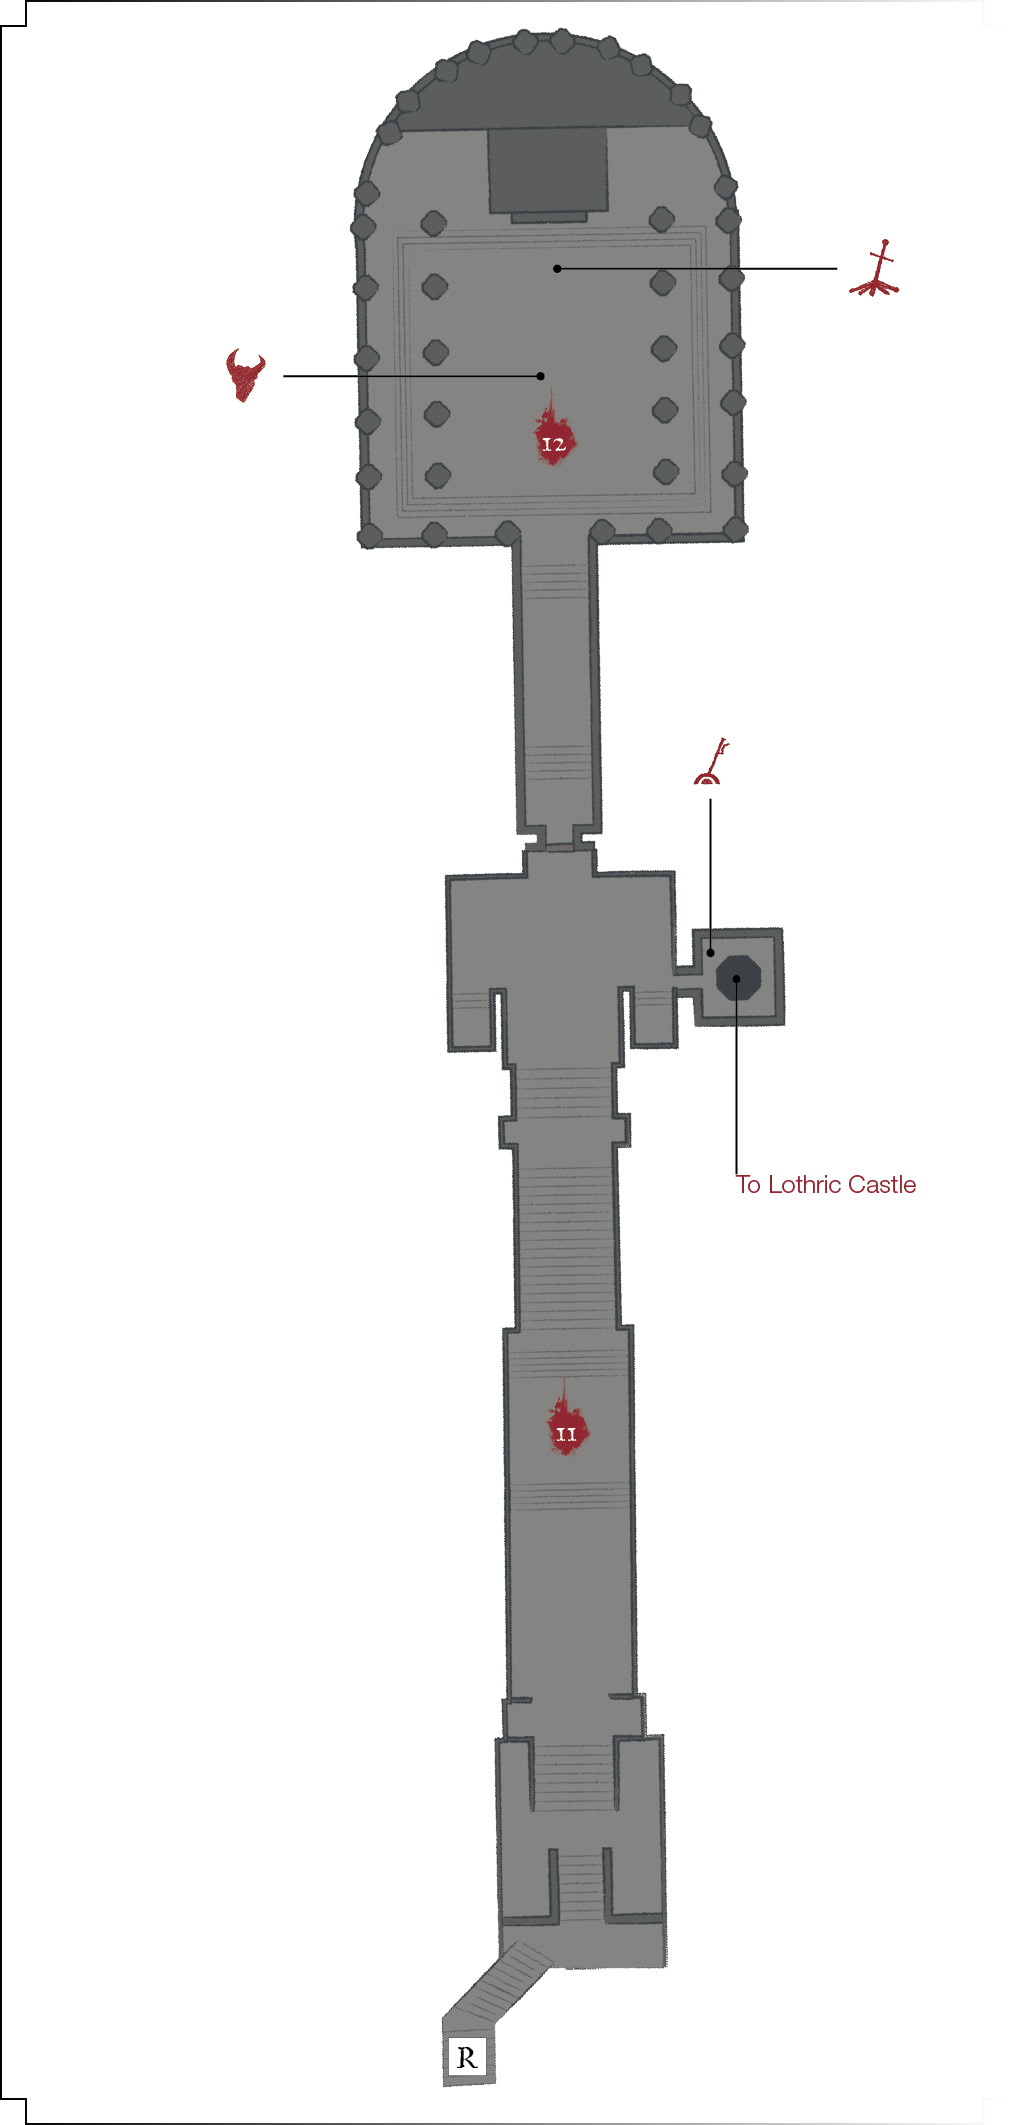
 Run up to the fog gate, and enter the throne room. A short scene plays as you’re introduced to the two princes. And then, the battle commences.