Dark Souls III Guide (Steam) Walkthrough
Cathedral of the Deep
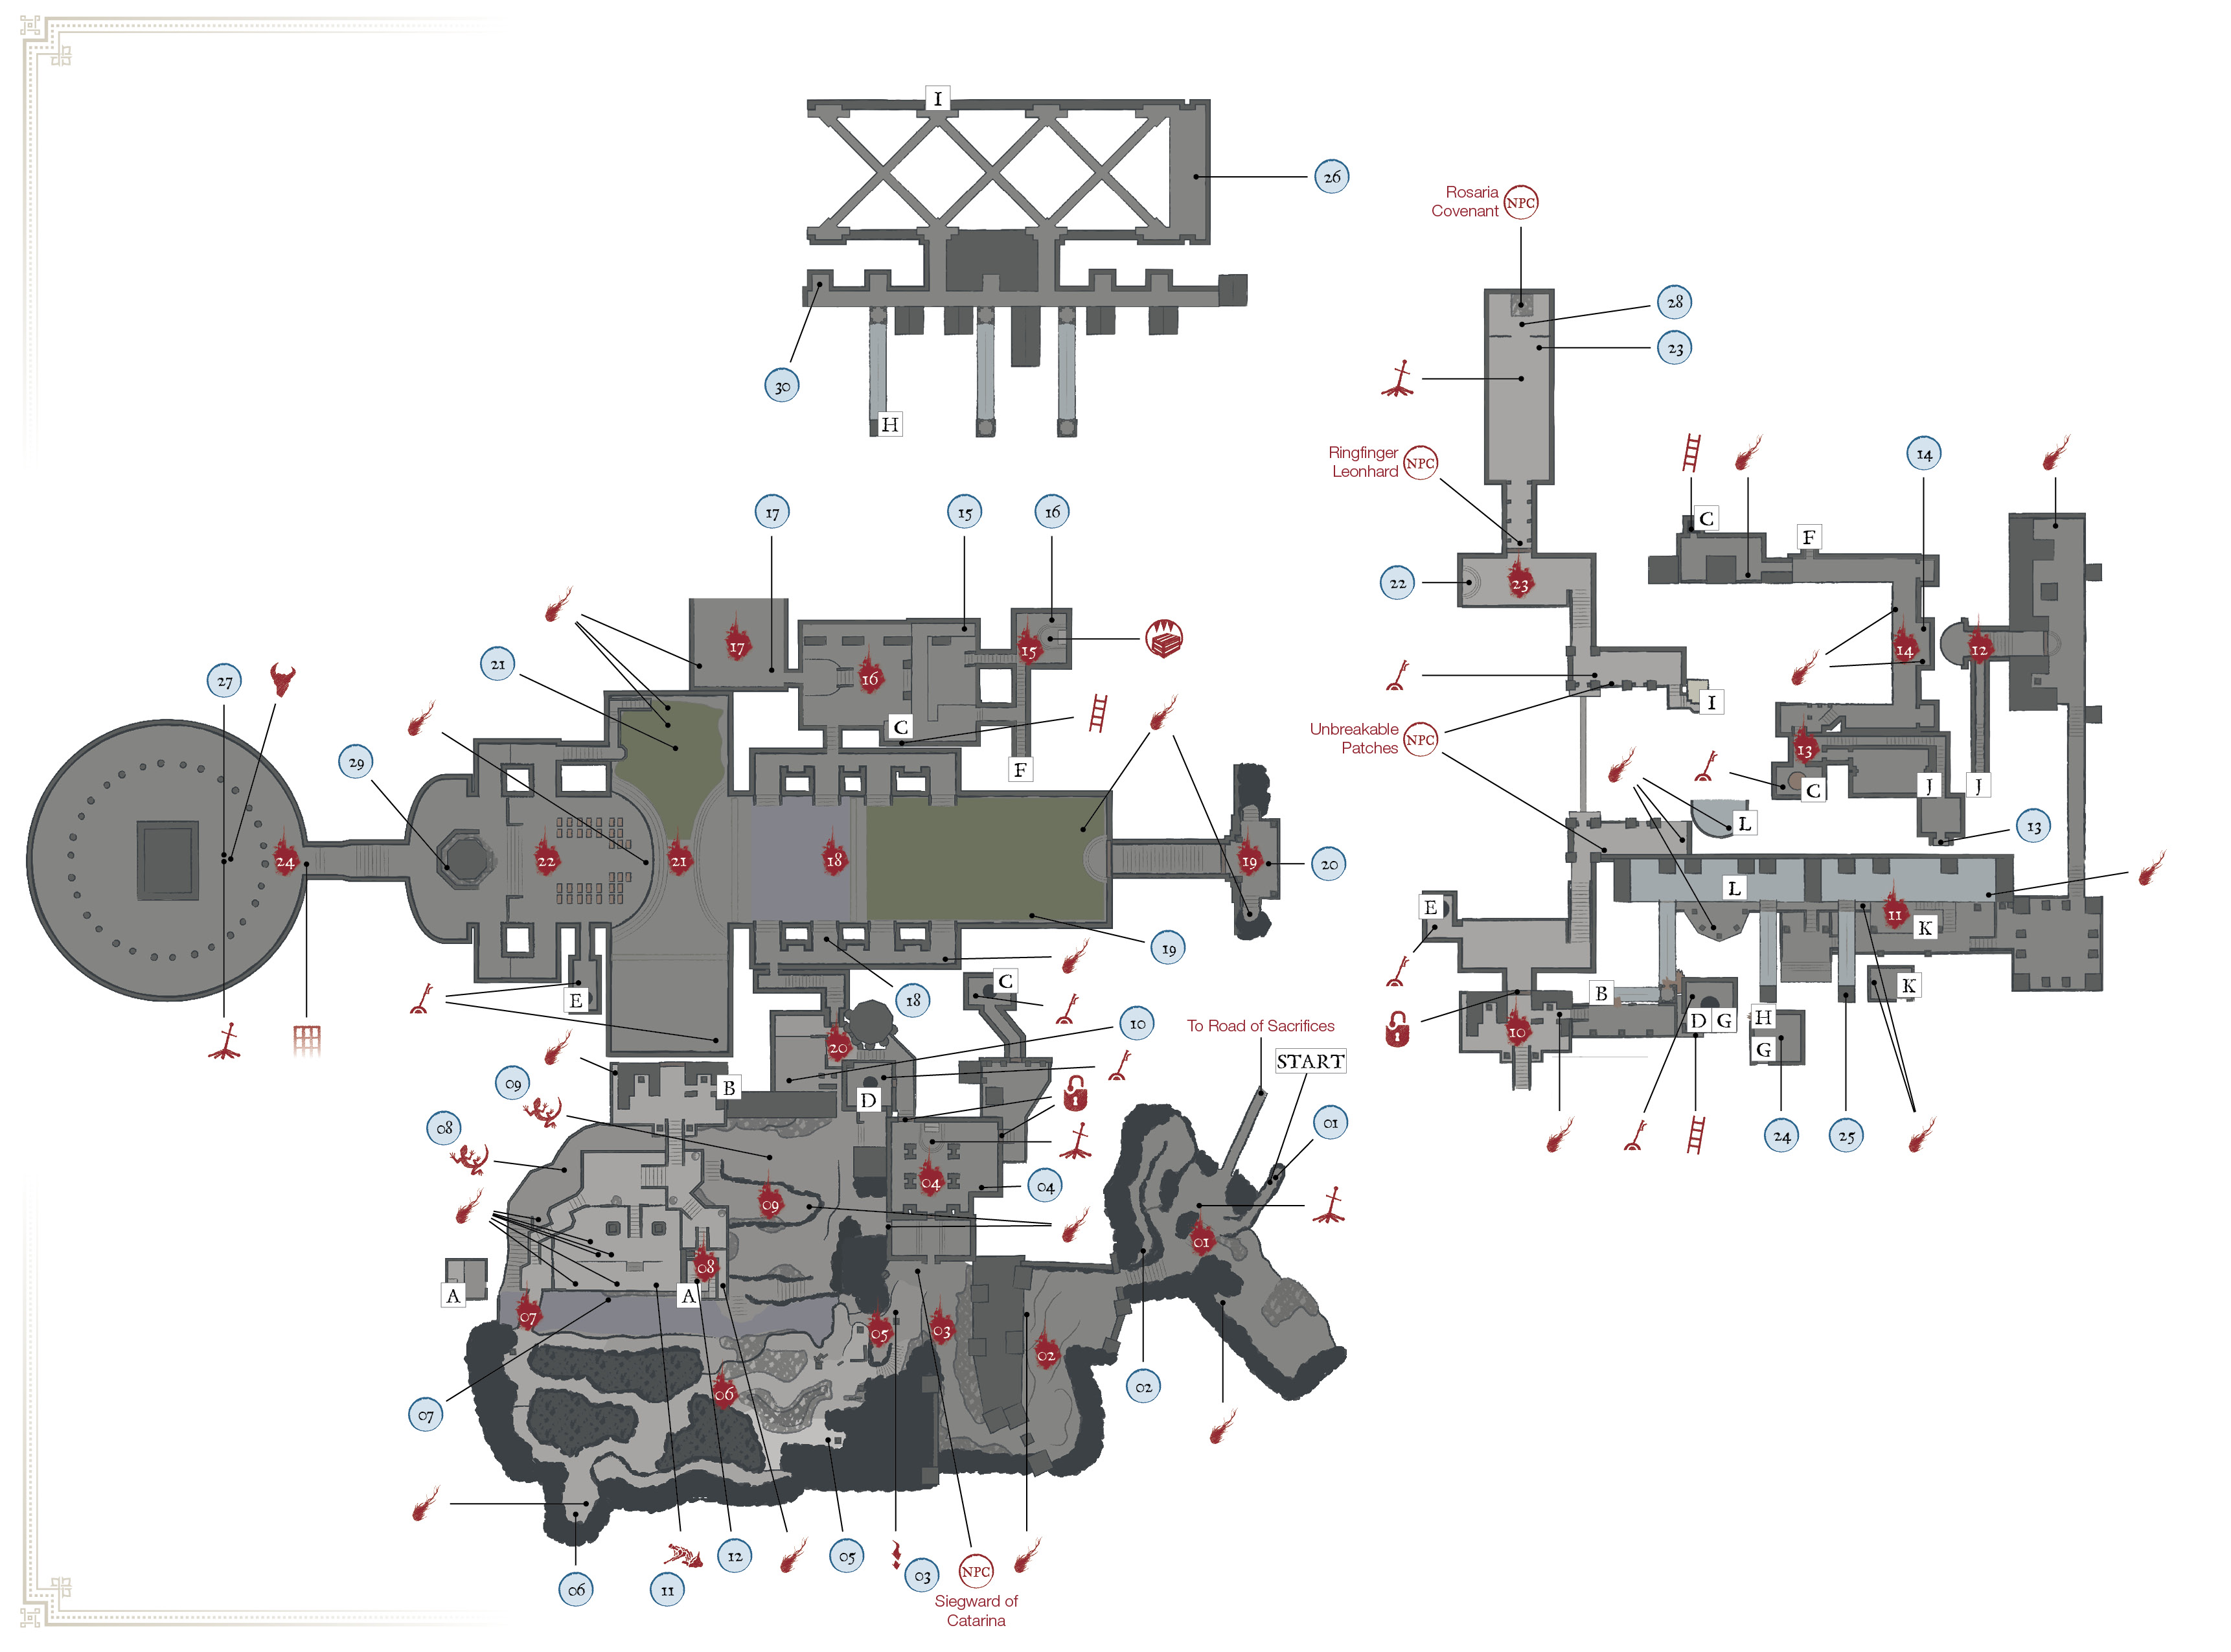
Major Items
 | Major Items |
|---|---|
| 1 | Paladin’s Ashes |
| 2 | Crest Shield |
| 3 | Estus Shard |
| 4 | Notched Whip |
| 5 | Astora Greatsword |
| 6 | Executioner’s Greatsword |
| 7 | Saint-tree Bellvine |
| 8 | Twinkling Titanite |
| 9 | Twinkling Titanite |
| 10 | Poisonbite Ring |
| 11 | Undead Bone Shard |
| 12 | Curse Ward Greatshield |
| 13 | Deep Gem |
| 14 | Lloyd’s Sword Ring |
| 15 | Seek Guidance |
| 16 | Deep Braille Divine Tome |
| 17 | Aldrich’s Sapphire (on Deep Accursed) |
| 18 | Barbed Straight Sword, Spiked Shield (Dark Spirit Longfinger Kirk) |
| 19 | Maiden Armor (full set) |
| 20 | Saint Bident |
| 21 | Drang Shoes, Drang Gauntlets, Drang Armor (under Giant Slaves feet), Drang Hammers (under stairs) |
| 22 | Red Sign Soapstone (on Man-grub) |
| 23 | Armor of Thorns (full set) |
| 24 | Deep Ring (on Deacon of the Deep) |
| 25 | Arbalest |
| 26 | Blessed Gem |
| 27 | Small Doll (from Deacons of the Deep), Archdeacon Armor (full set, from Archdeacon) |
| 28 | Black Eye Orb |
| 29 | Ring of the Evil Eye+1 (New Game +1) |
| 30 | Ring of Favor+2 (New Game +2) |
Bonfires Located Here
| Bonfire Name |
|---|
| Cathedral of the Deep |
| Cleansing Chapel |
| Deacons of the Deep (Boss) |
| Rosaria’s Bed Chamber |
Enemies
| Enemy Name |
|---|
| Starved Hound |
| Devout of the Deep |
| Devout Bombers |
| Reanimated Corpse |
| Infested Corpse |
| Corpse-grub |
| Cathedral Grave Warden |
| Ravenous Crystal Lizard |
| Writhing Rotten Flesh |
| Knight of the Deep |
| Deep Accursed |
| Giant Slave |
| Deacon of the Deep |
| Cathedral Evangelist |
| Mimic |
| Man-grub |
| Deacons of the Deep |
Key Discoveries
| Discovery |
|---|
| Rosaria (Covenant NPC) |
| Unbreakable Patches |
Bonfire—Cathedral of the Deep
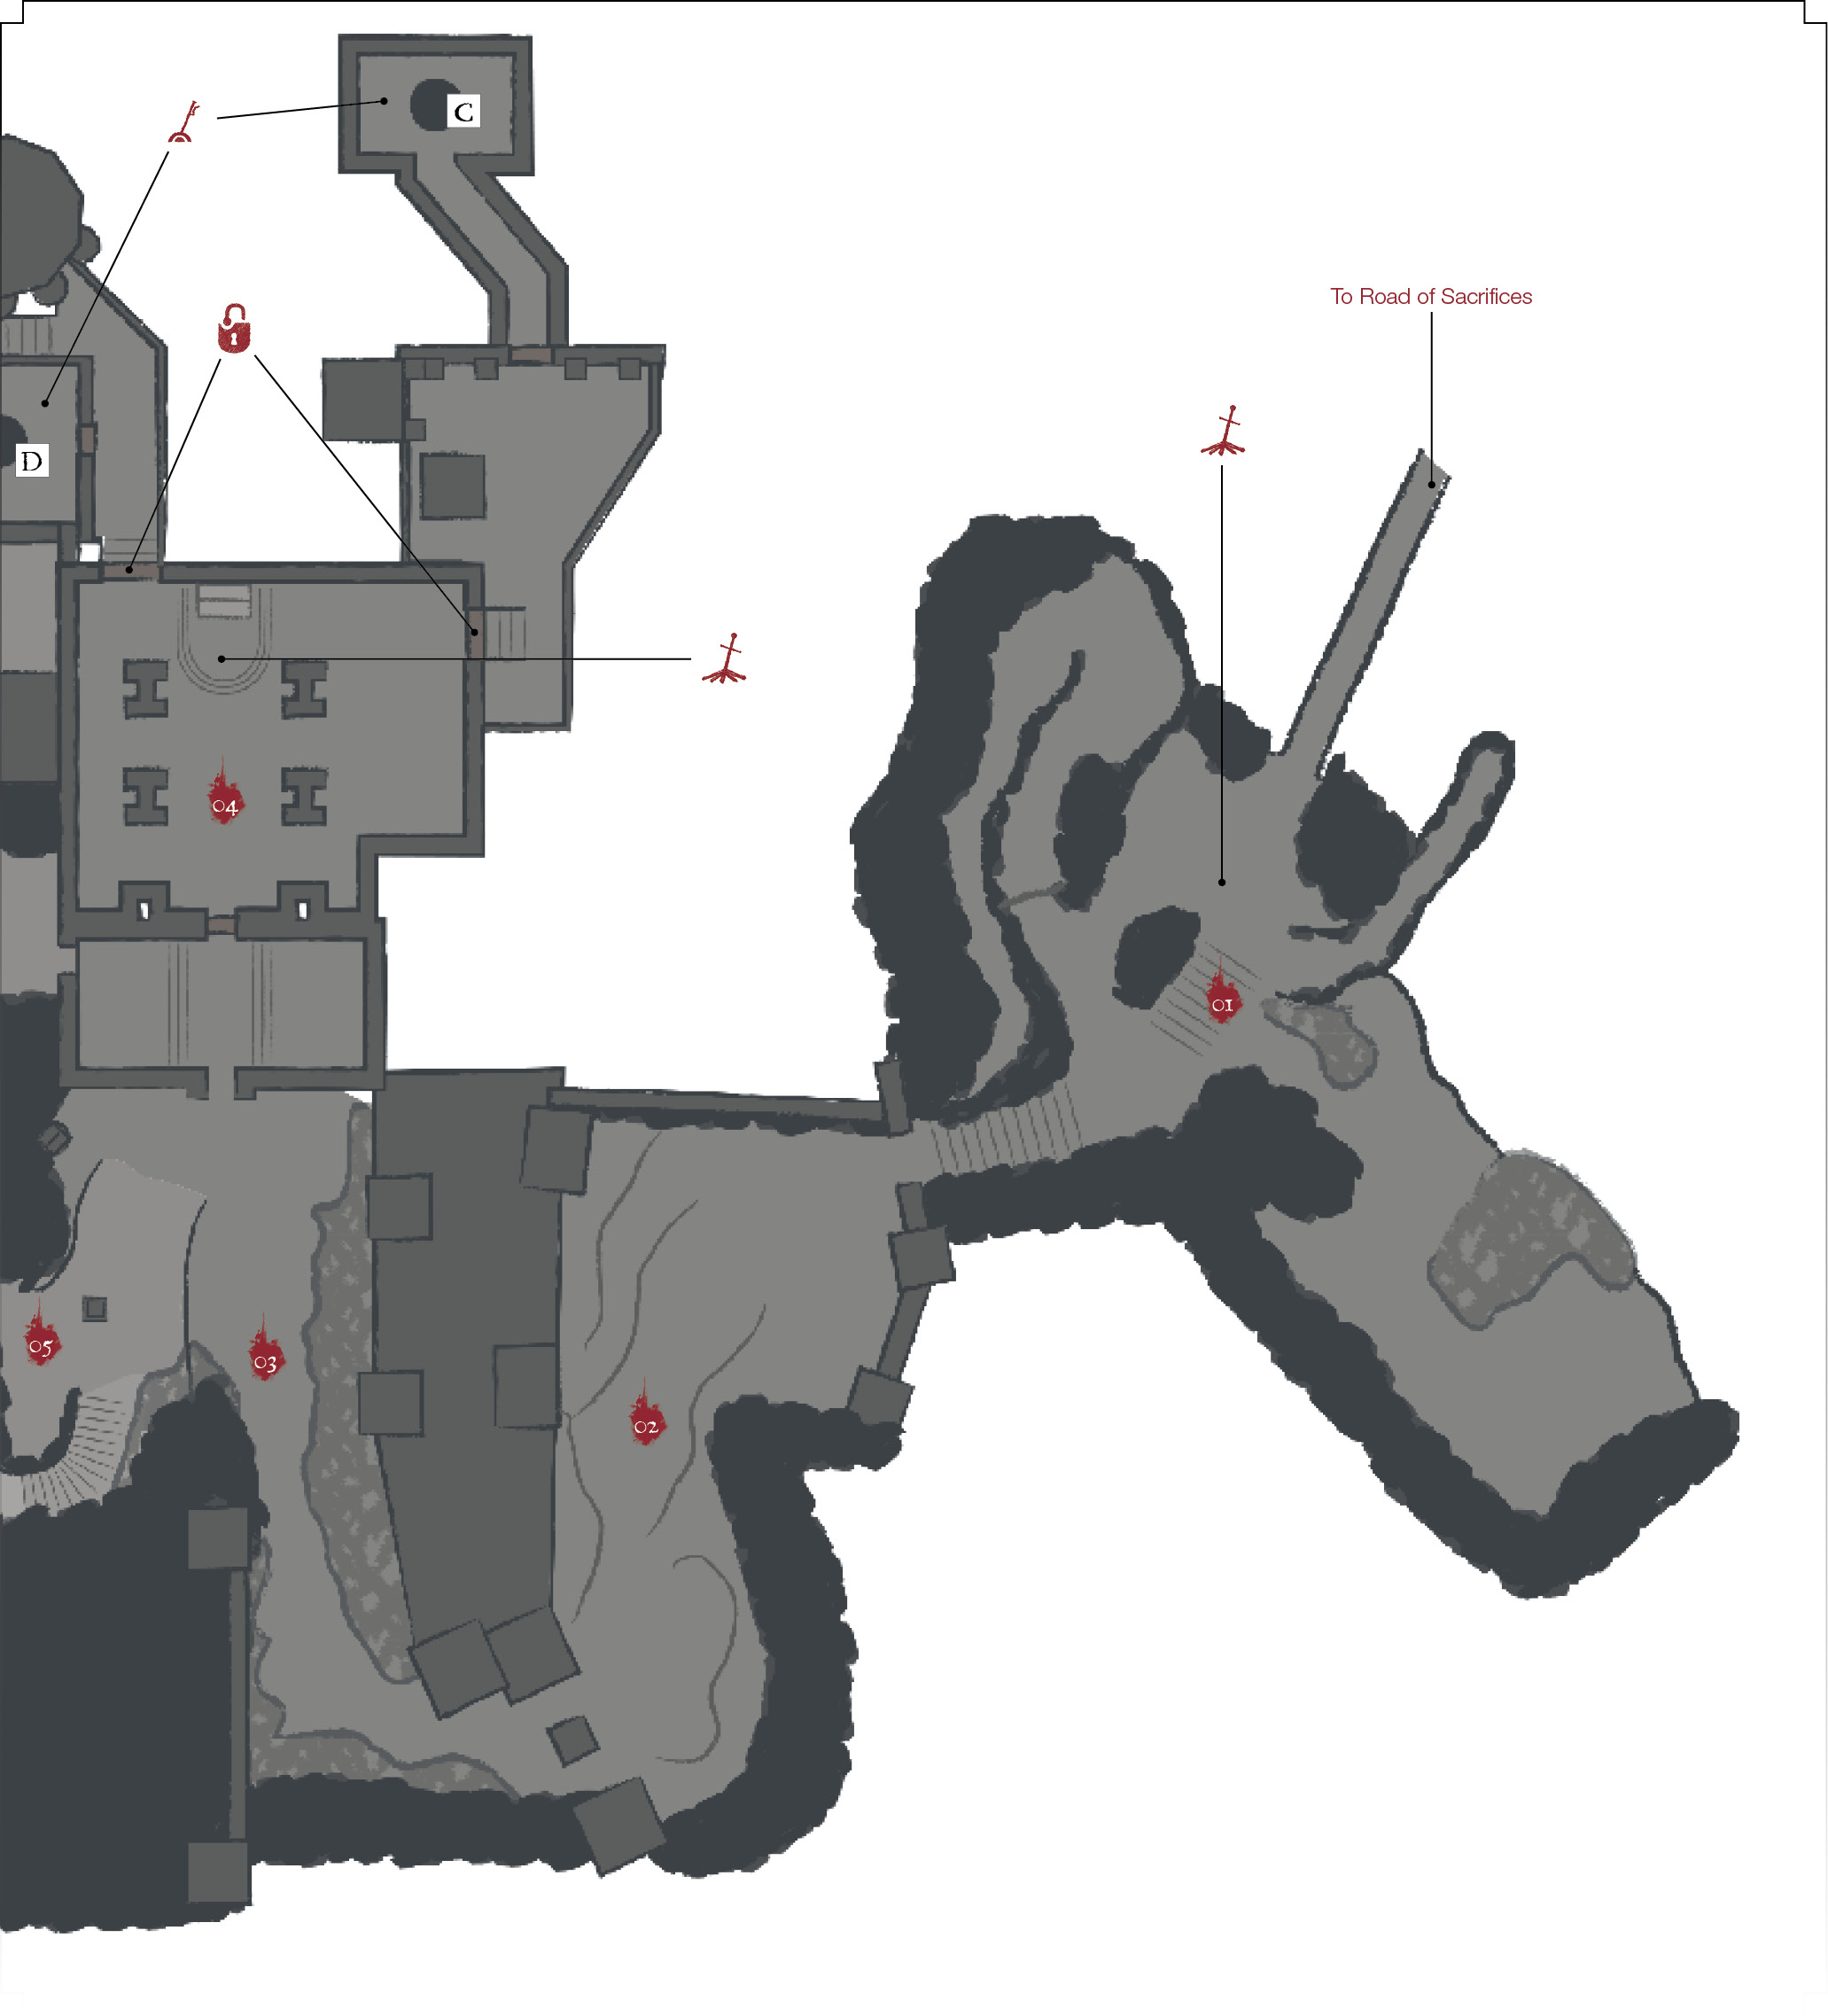
 The Cathedral of the Deep Bonfire starts at the base of several major staircases that are cut onto the side of a hill. You’re in the southeastern portion of the map, and there aren’t many enemies nearby.
A single powerful opponent waits for you at the top of the second set of stairs. This foe has a distinct shield and quite a bit of health. Once you engage this Unkindled, another one sneaks out of the shadows and comes at you from behind. Be ready to roll back down the stairs so that you get both of them on one side of yourself. After that, retreat, attack gently, and keep giving ground so that you aren’t outflanked again.
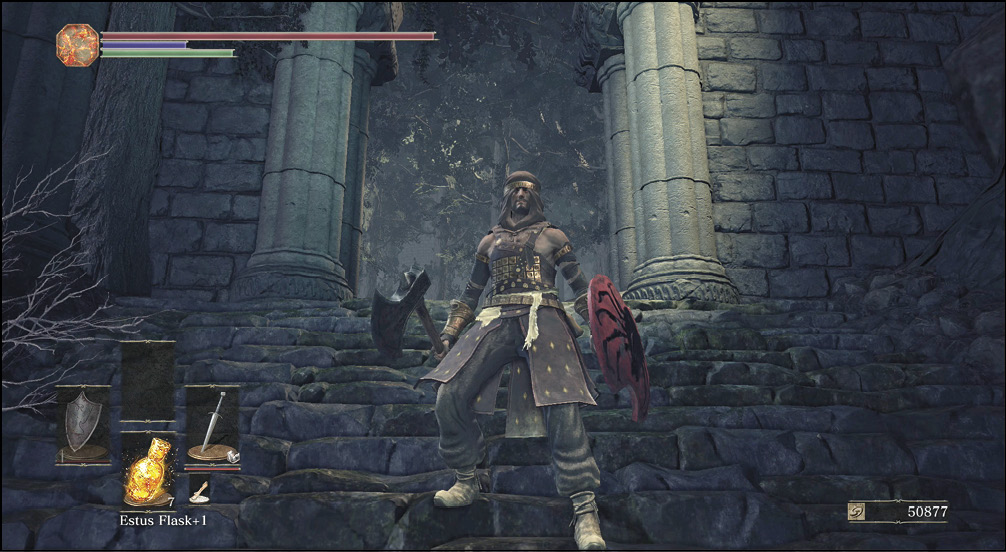
You only have to defeat them once, so use all of your resources if you have any problems. Then, hit the Bonfire to restore yourself afterward. Paladin's Ashes are close to this enemy's area. Also, there is a Crest Shield on a ledge to the northwest from this waypoint.
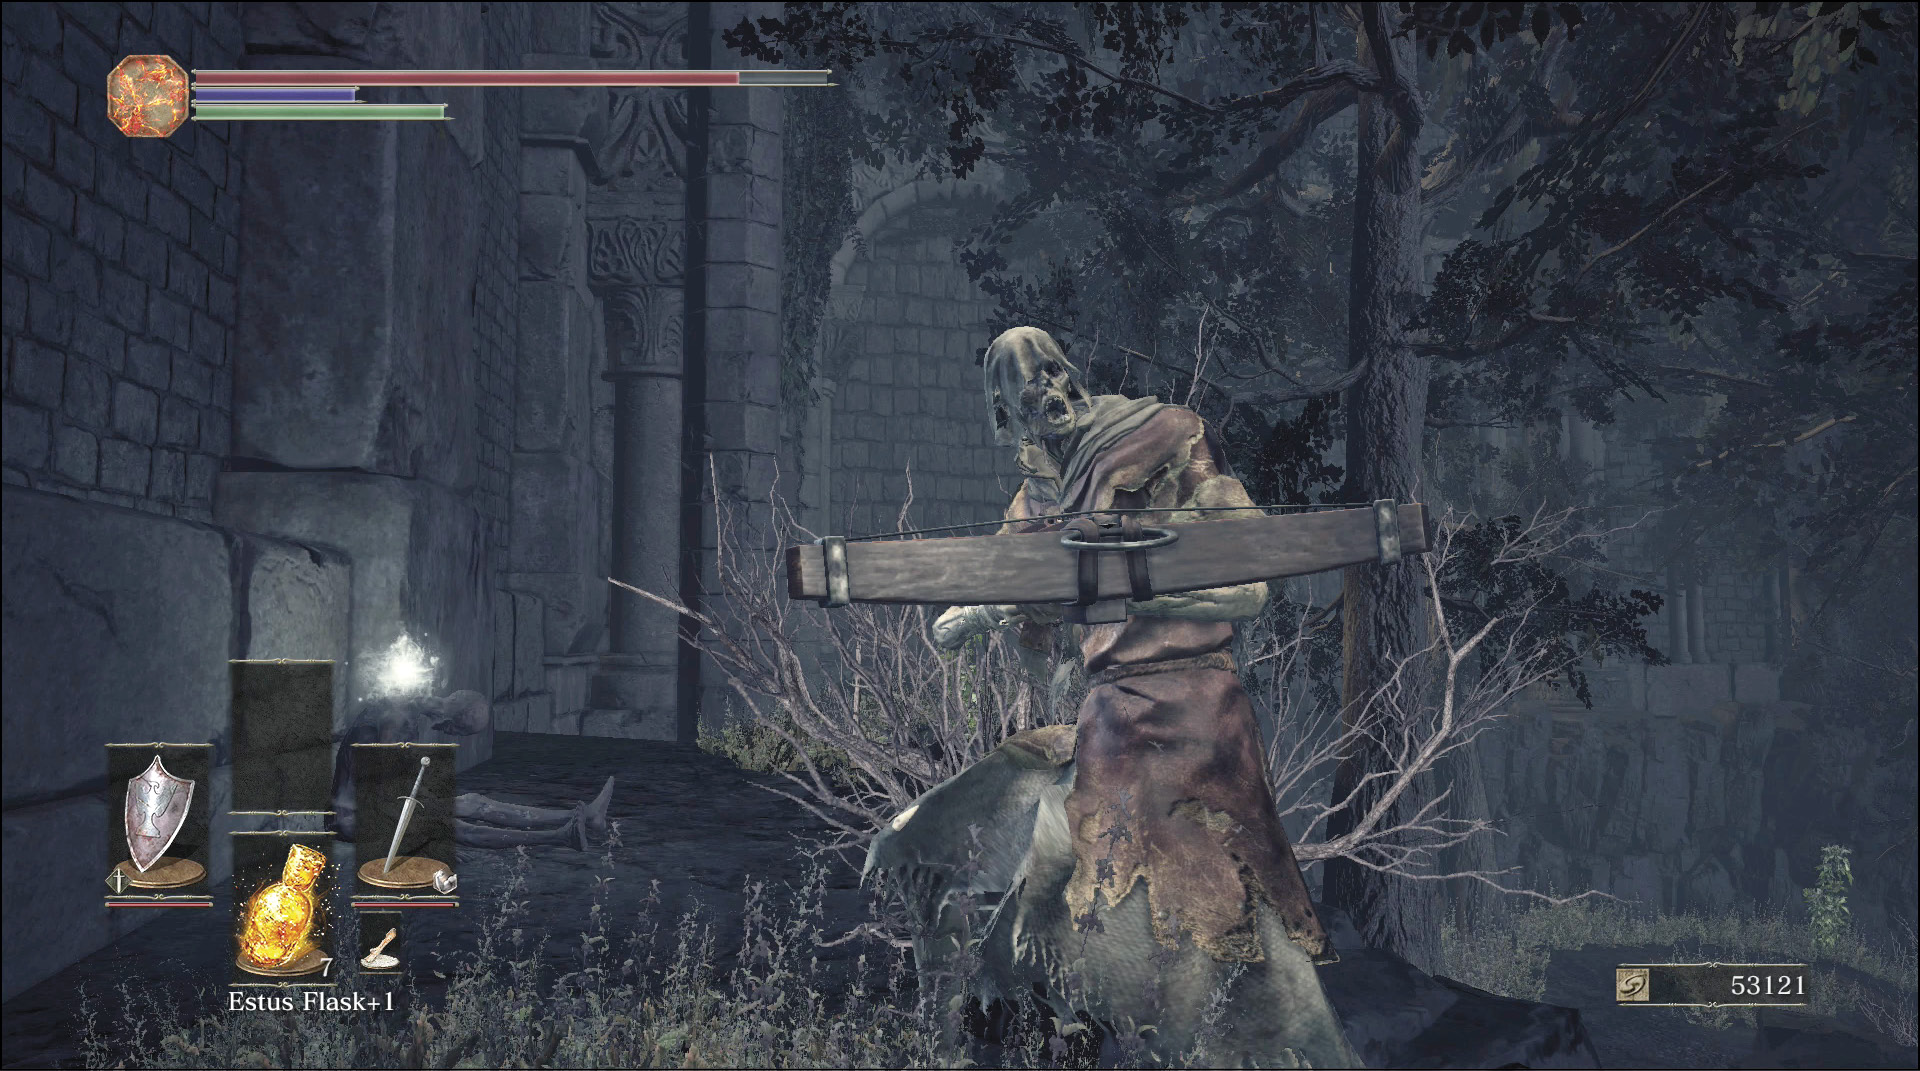
 The next yard has Devout of the Deep and Starved Hounds all over the place. The undead have crossbows and harass you at range, while the Starved Hounds rush in for melee. This is an area where your shield can help a great deal. All of the attacks are low damage, but they’re somewhat hard to avoid.
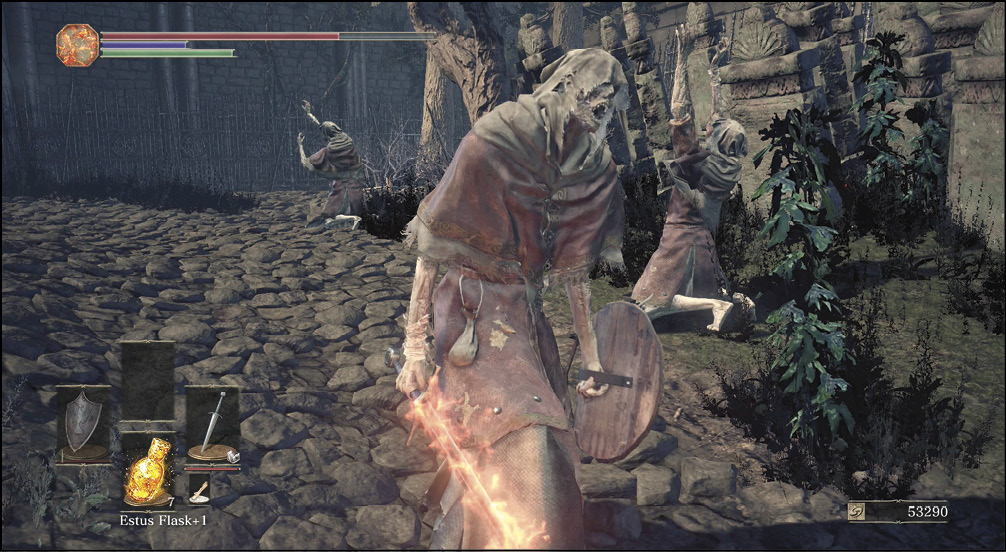
 There are many more undead in the following area, as you approach the first cathedral building. The undead with flaming swords are Devout Bombers. They’ll immolate themselves and rush forward to leap on top of you; don’t let them do that. Sprint away to avoid their suicidal attacks, or kill them quickly to eliminate this threat.
Bonfire—Cleansing Chapel
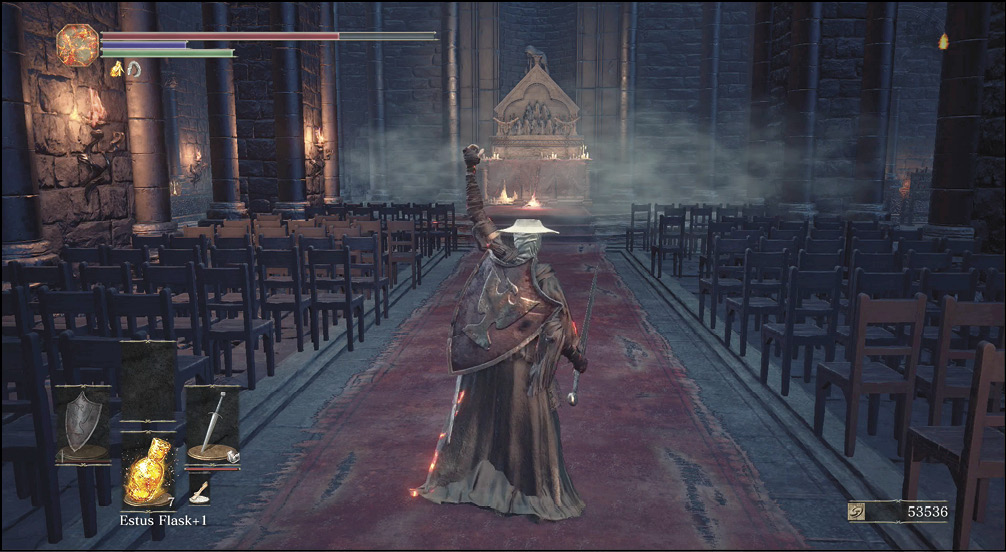
 The small building here is a hub that you return to frequently. Not only does the small chapel have a Bonfire (Cleansing Chapel), but it’s also a place that connects you to three different parts of the map. Once you unlock two shortcuts, this chapel can take you very deep into the cathedral without wasting any time.
For now, search the chapel, use the Bonfire, and take a breather.
 As you leave the chapel, the path splits. A small break in the cliffs lets you drop into a creek to the west. The more obvious path trends upward. For treasure, take the southern route first and clear it completely. In the future, take the break in the hill west to get into the cathedral area a bit faster. There is an Estus Shard near the praying enemies by the waypoint. Farther along on the southern route, you find the Astora Greatsword and the Executioner's Greatsword.
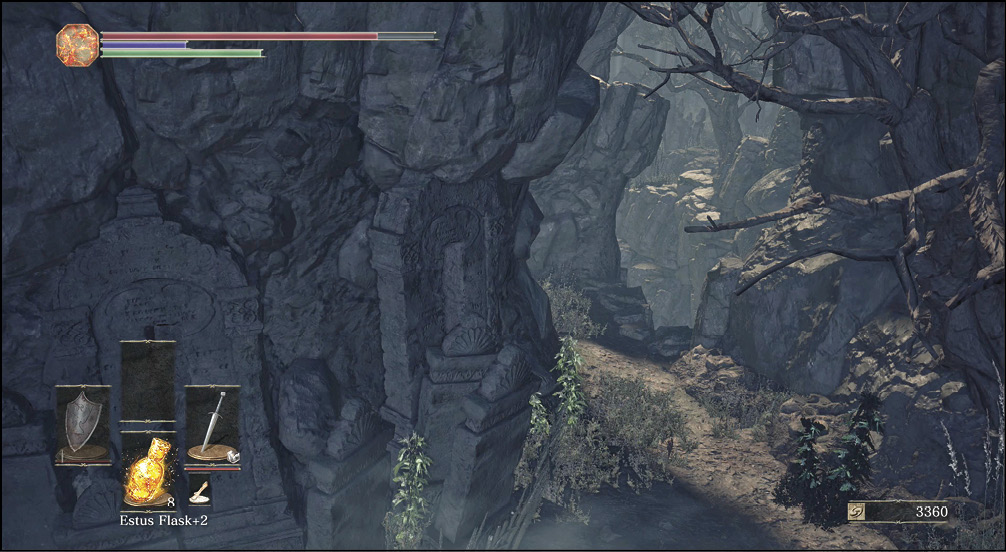
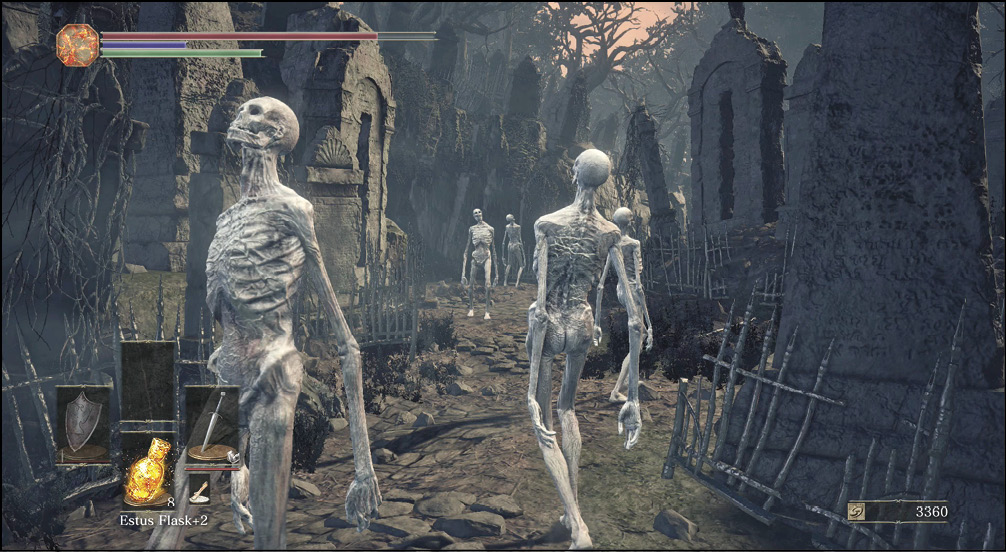
 The graveyard along the southern edge of the map is filled with Reanimated Corpses. These undead are easy to kill, but they’ll come back again and again if you wait for them to rise. Sprint past them, or slay them and move on before they return.
On the western edge of the graveyard, you start to encounter Infested Corpses mixed in with their weaker cousins. These foes look like Reanimated Corpses at first, but they’ll have extra limbs burst out of them when you get close. Infested Corpses have more health, better attacks, and a vicious ability to make you bleed. This does horrible damage over time, so anything that raises your Bleed Resistance or cures Bleed is useful here.
Infested Corpses can land their bleeding attacks against you even if you have your shield out. To kill them safely, bait their heavier attacks. They have a substantial recovery time on their double-handed swings, and you can dispatch them easily during that time.
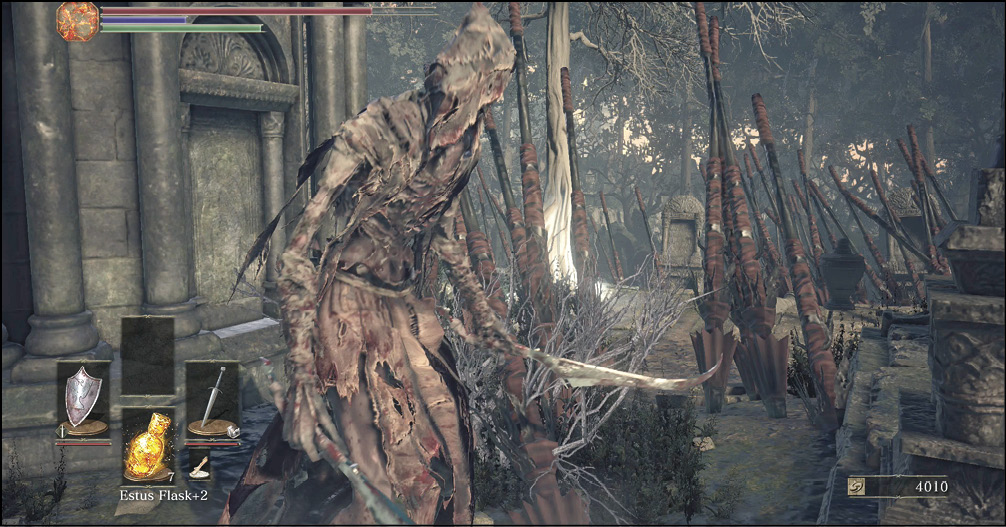
 A bridge on the western edge of the map takes you toward the cathedral proper. There are more of the graveyard’s enemies here, and they’ll be bolstered by Cathedral Grave Wardens, as well. Use a shield to block these dual-wielders, and punish them for their aggressive attacks.
There is an Undead Bone Shard on the northern side of this area. It's on a grave that is hanging over the edge of the cliffs. If the Giant from the Undead Settlement is still alive, he'll attack things in that area. Hopefully you've befriended him, because he'll avoid attacking you if that is the case.
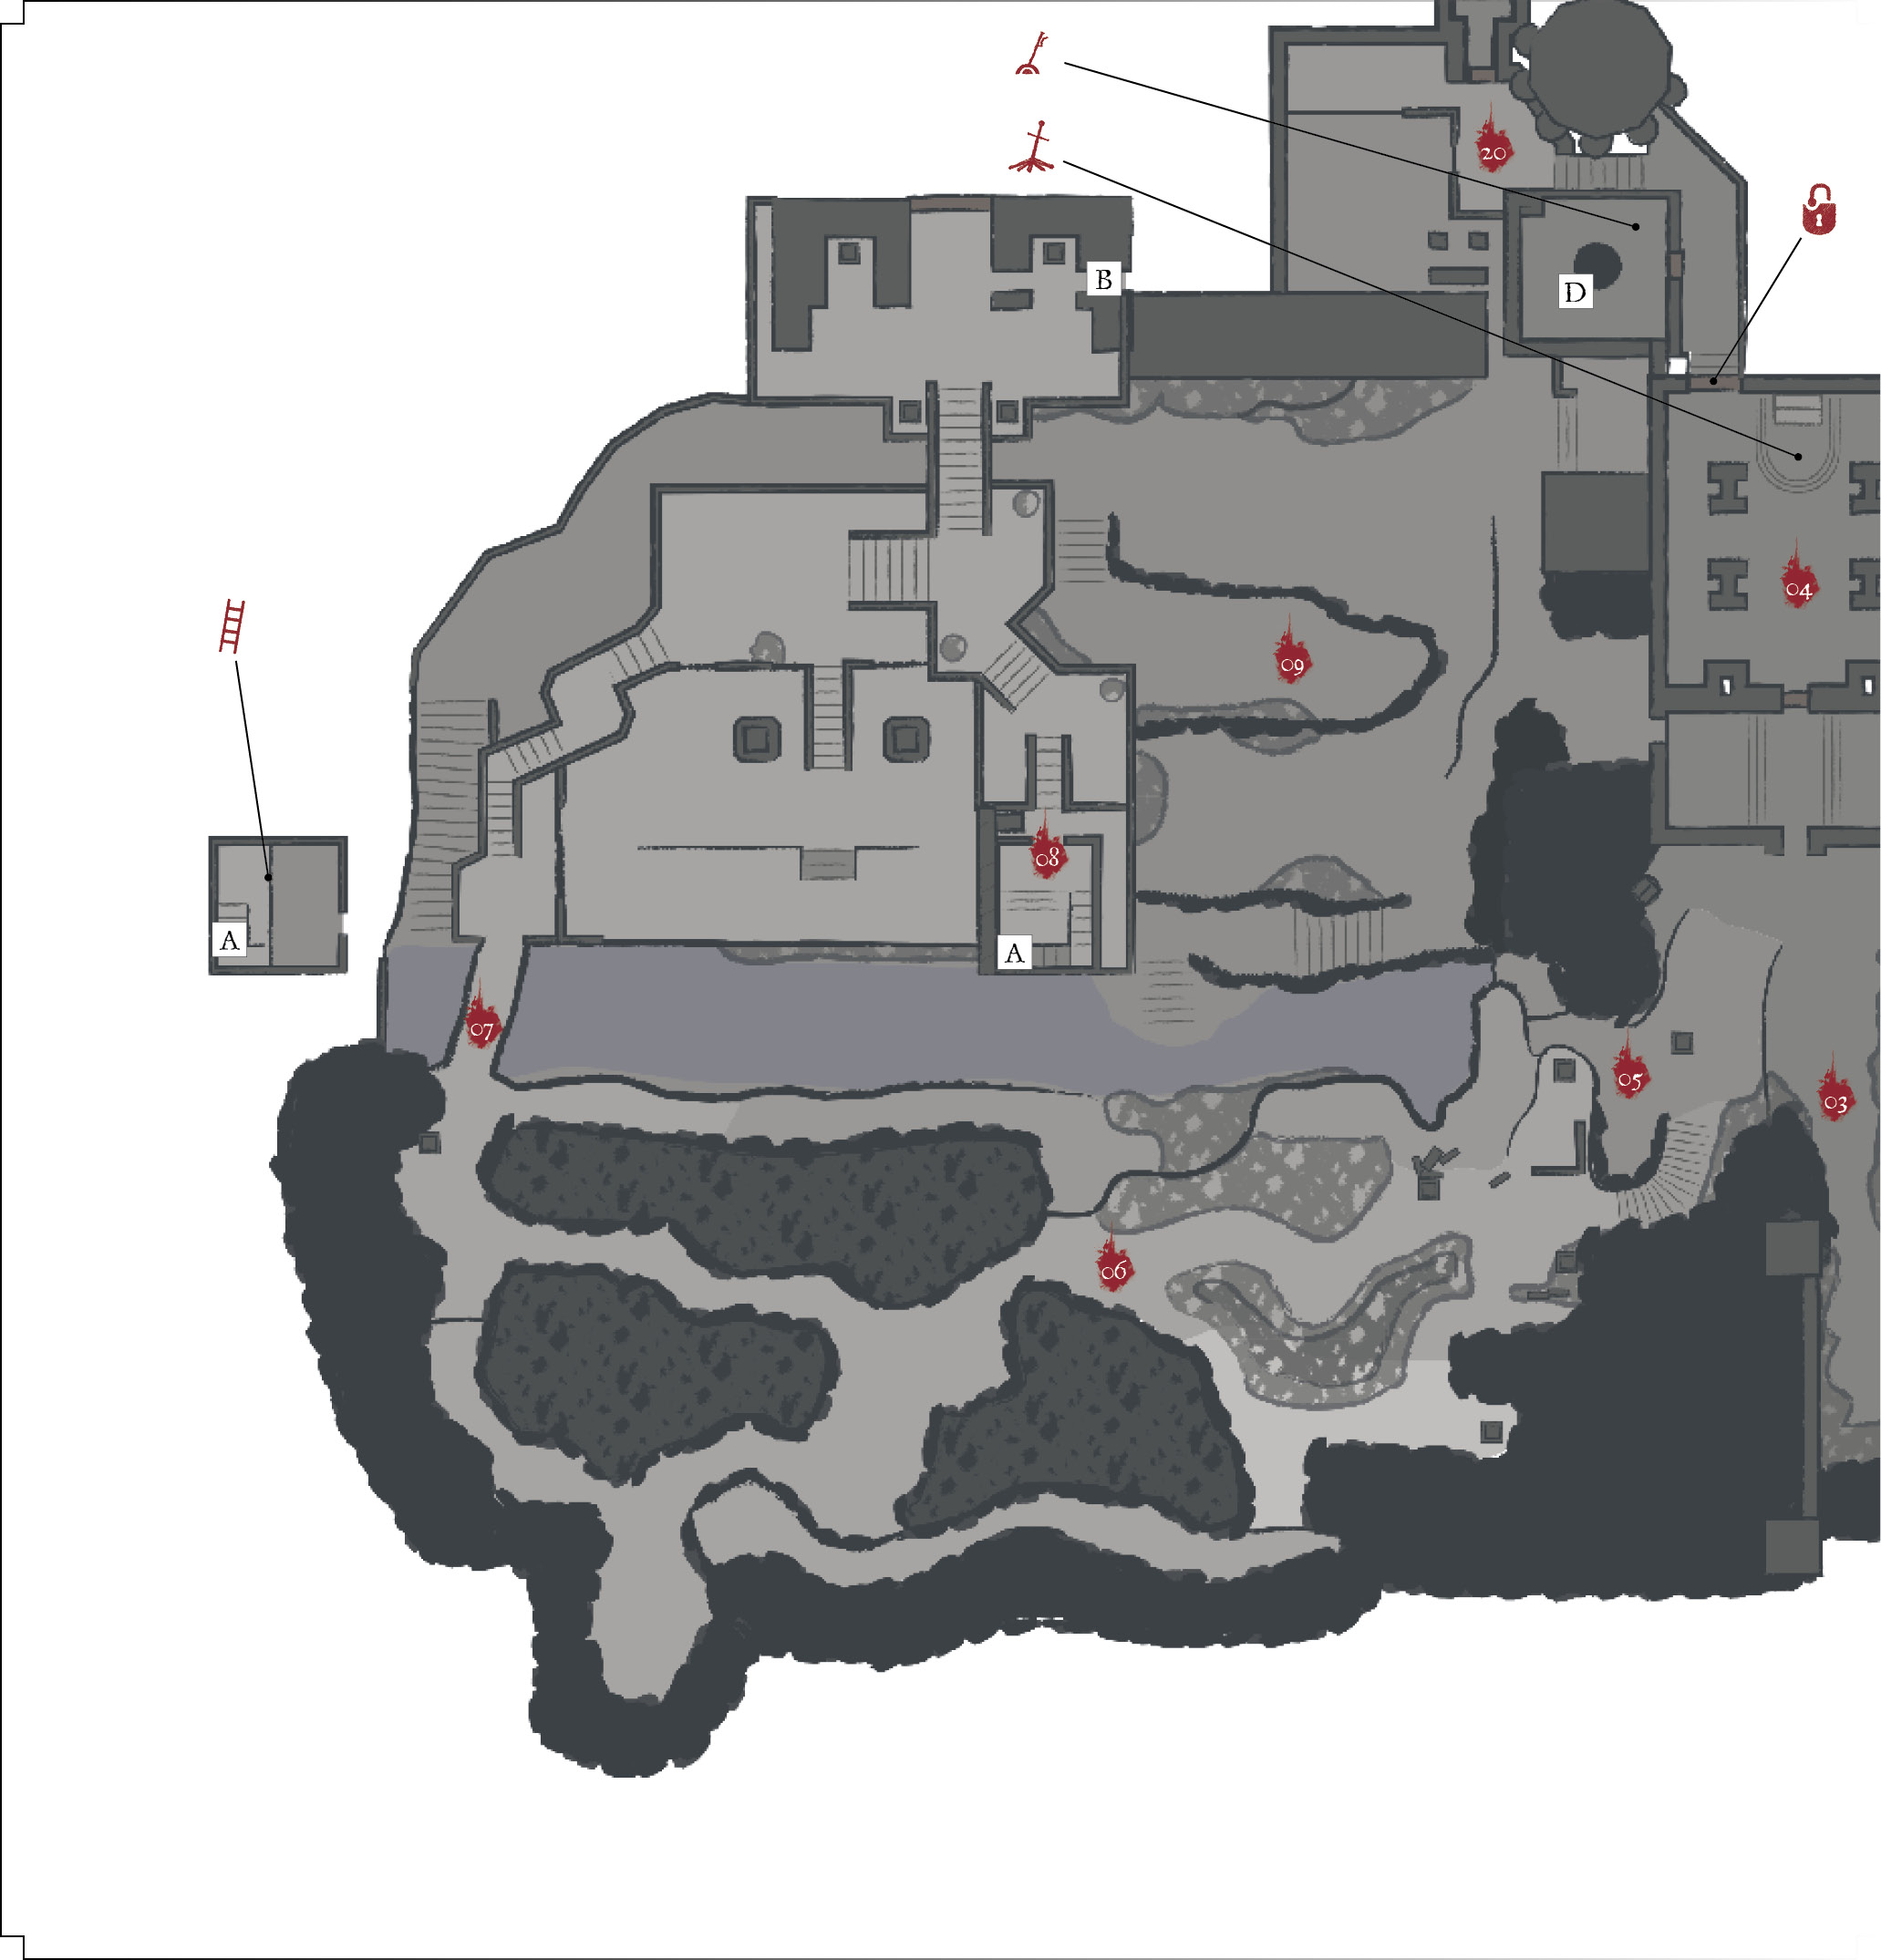
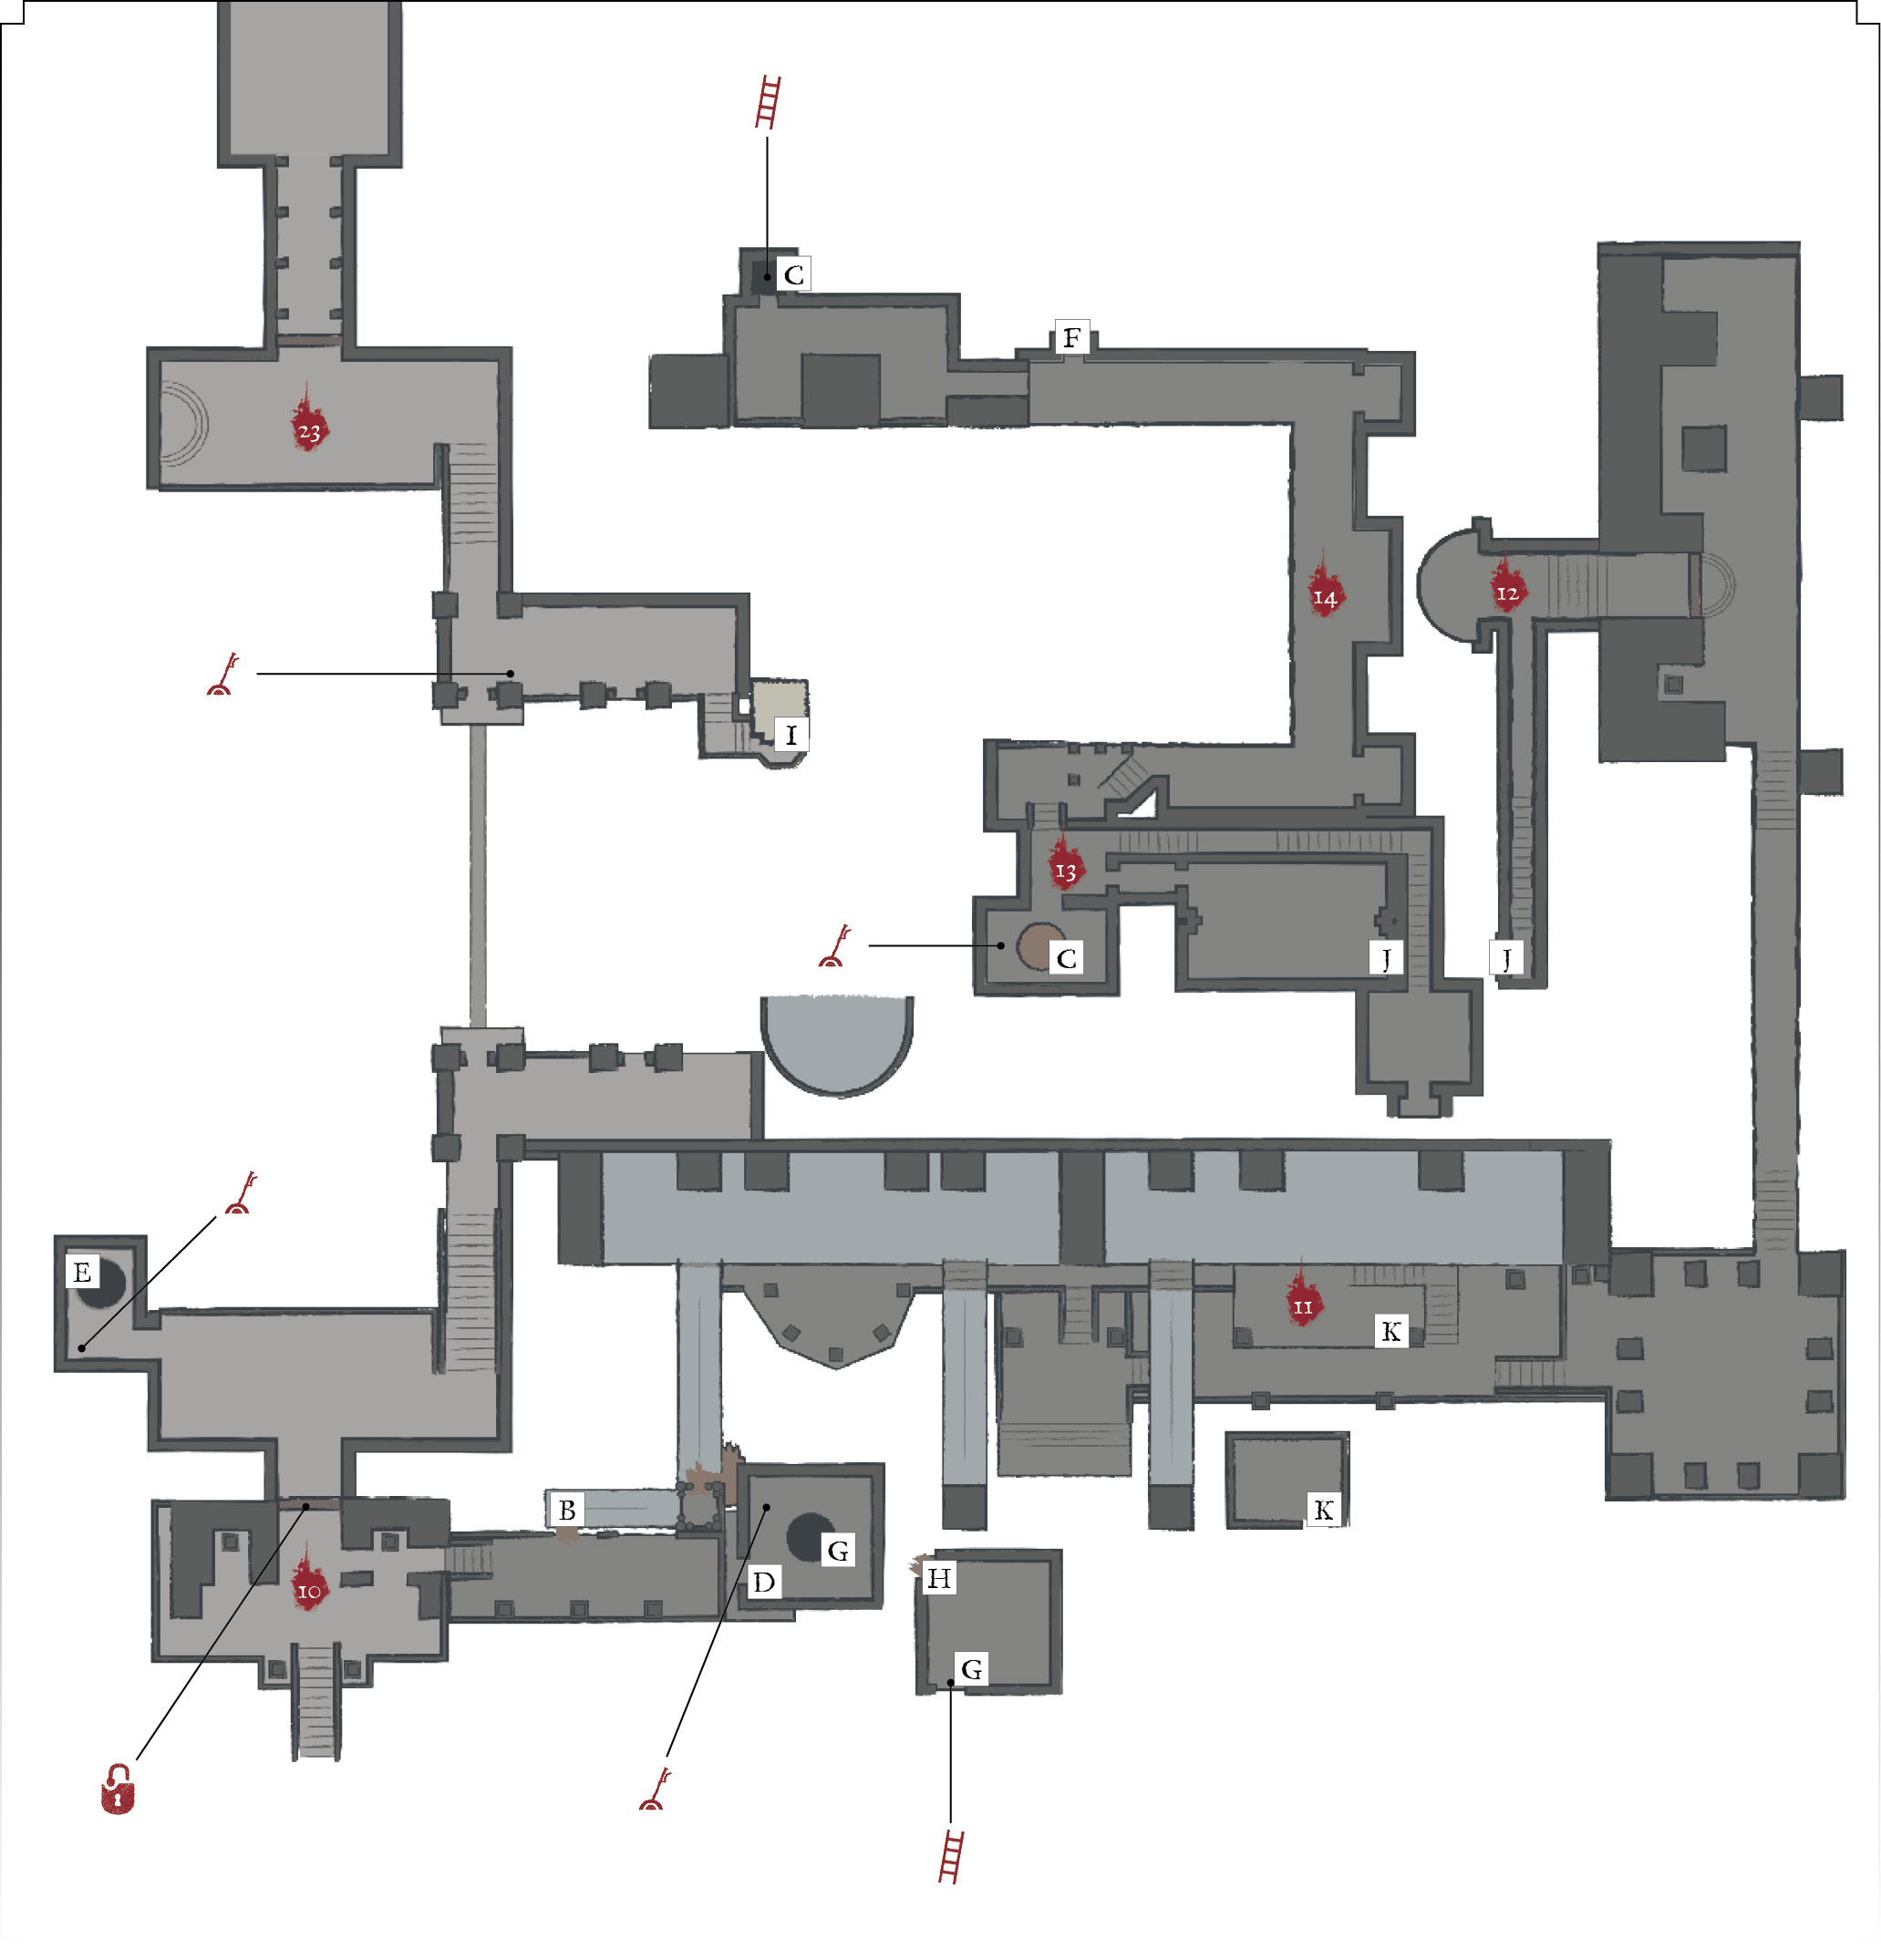
Clear out the northern stairways so that you can search for treasure. But don’t take the northern stairs up to the main cathedral the first time you arrive. Instead, look for a smaller building at (8). Go inside and kick down a ladder. This is now a modest shortcut, and you can take the western split from (5) and climb up here without facing more than a couple of enemies.
 A small tower connects the creek in the valley with the stairways near the cathedral entrance. Once you examine the ladder at the top of this tower, it is possible to travel freely up or down through it. This makes the route between the Cleansing Chapel and the north much faster. Close to this waypoint, you find a Curse Ward Greatshield.
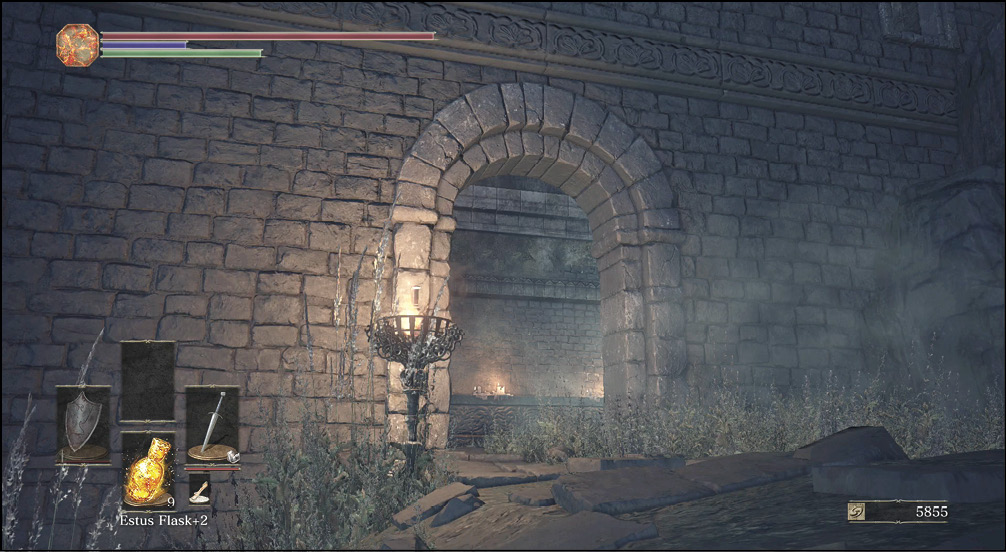
 The creek has three Corpse-grubs guarding it. Bait their heavy attacks, and whittle them down in between these strikes. Be patient—these enemies combo for a bit longer than you’d expect, and it’s easy to be drawn in after their third swing, only to take the fourth shot directly in the face.
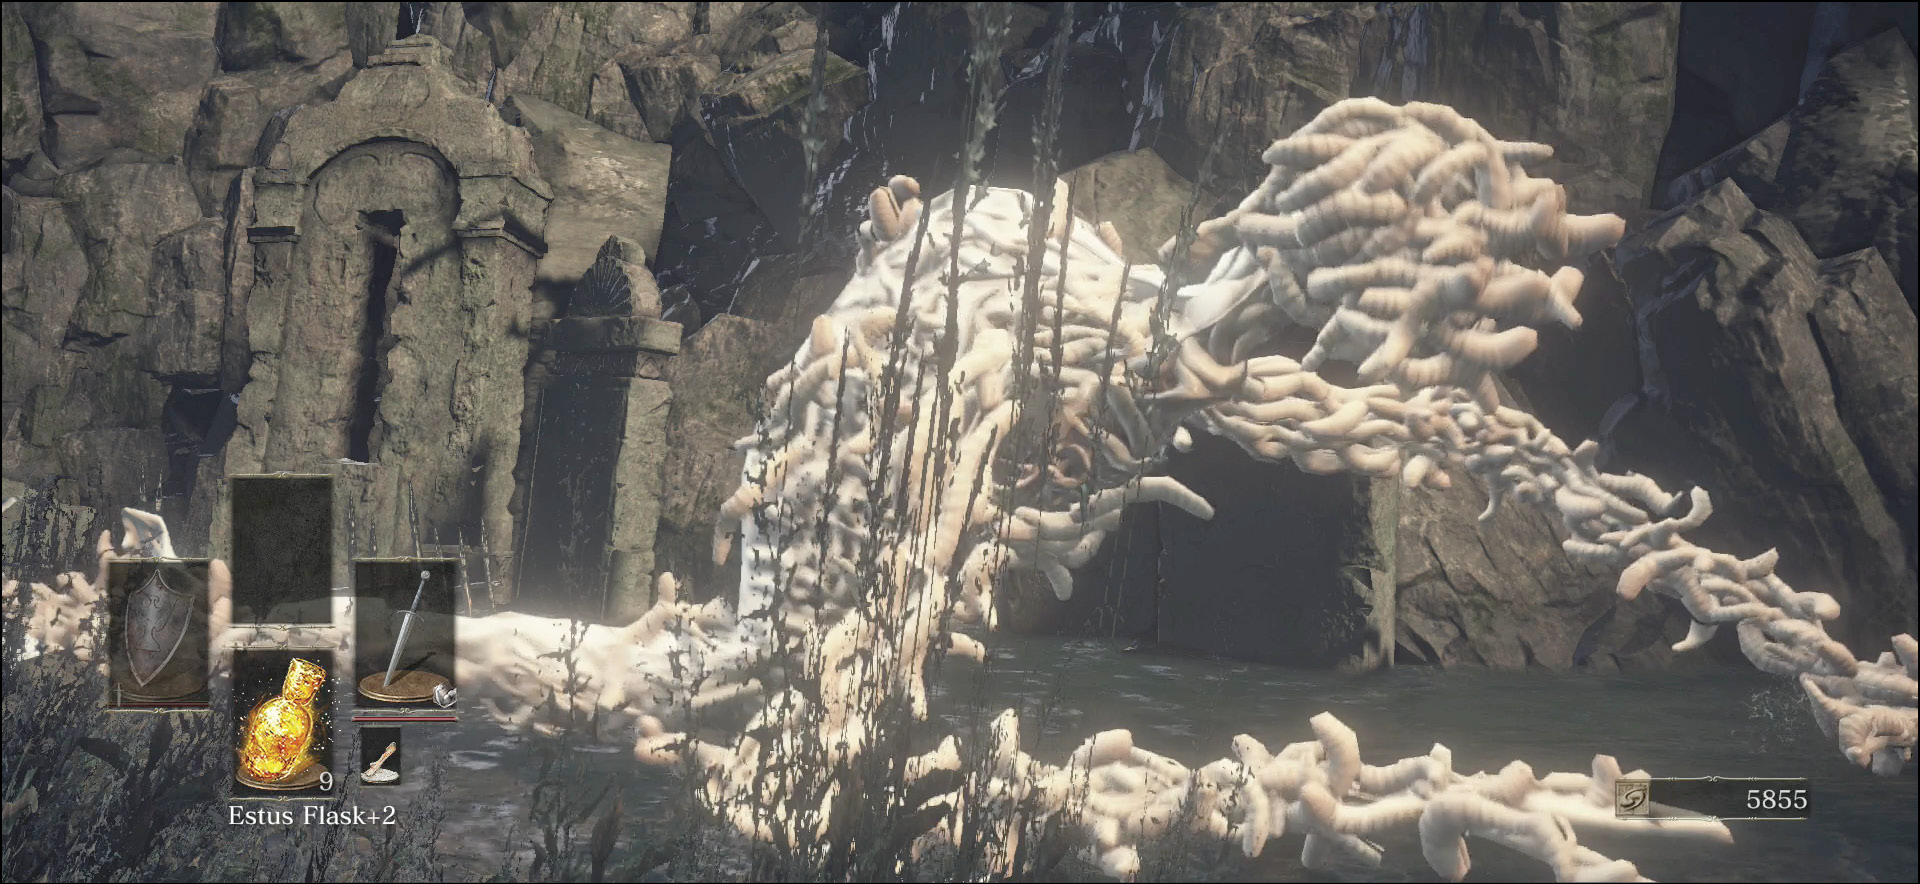
You never want to fight a few of these enemies at the same time, as they interrupt you very easily and have solid damage potential. Use ranged weapons to pull them away from each other, and slaughter them individually if you must. Because they’re not directly in your path, it’s possible to avoid the entire group. Killing them is only necessary a single time to get the treasure along the creek bed.
The area here in the valley is filled with upgrade materials. A Ravenous Crystal Lizard is on the northern side of the tower at (7). There are also a couple of Crystal Lizards to be found. A Saint-tree Bellvine is in the wet ravine.
 The front door of the cathedral is locked, and you cannot open it until you’ve cleared most of the region. To get inside, travel east along the rooftops of the cathedral’s walkways. There are many enemies, but none of them is new. The problem is that you have to worry about ranged attackers, Hollow Slaves that climb up or drop behind you, and the sheer number of foes in this place.
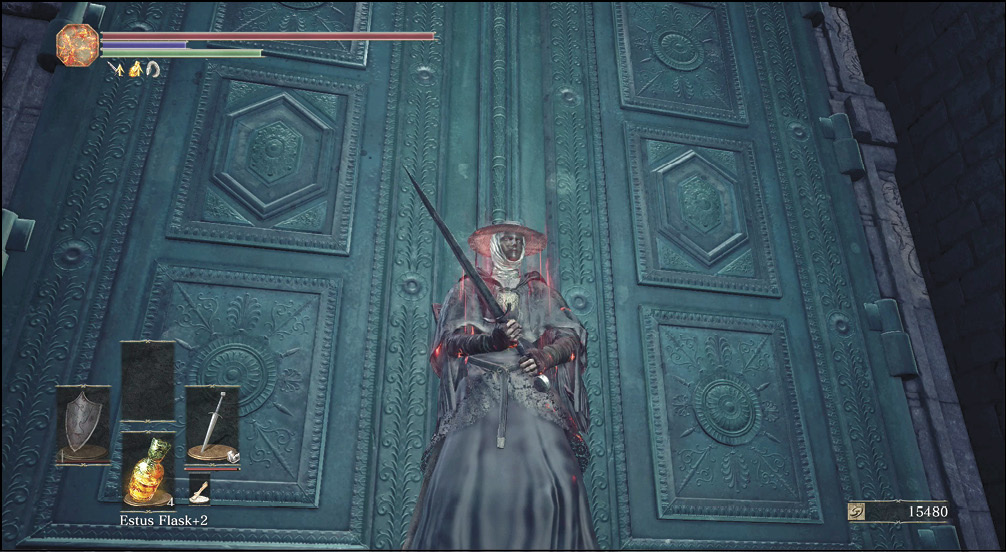
Advance slowly, use ranged attacks to kill adversaries that you spot ahead of time, and retreat as needed. It’s easy to die if you haven’t been here before and gotten used to the rather complex enemy placement.
The worst fight in this stretch is halfway along the roof. There are undead with crossbows on a lower ledge. Kill them at range. Approaching them puts you into a fight with melee attackers, as well (in an area where you can’t dodge as comfortably).
 The eastern edge of the roof isn’t quite as bad. You have better footing and a clean view of your opponents, and there aren’t many ranged attackers. Clear your way to the large door on the right side of the map and open it; it’s your way inside the cathedral.
A couple of Grave Wardens are in the corner as you turn toward the eastern door, and they’re the worst of the lot. Keep a shield ready to block their fast attacks, and roll out of any combos that start to find purchase against you.
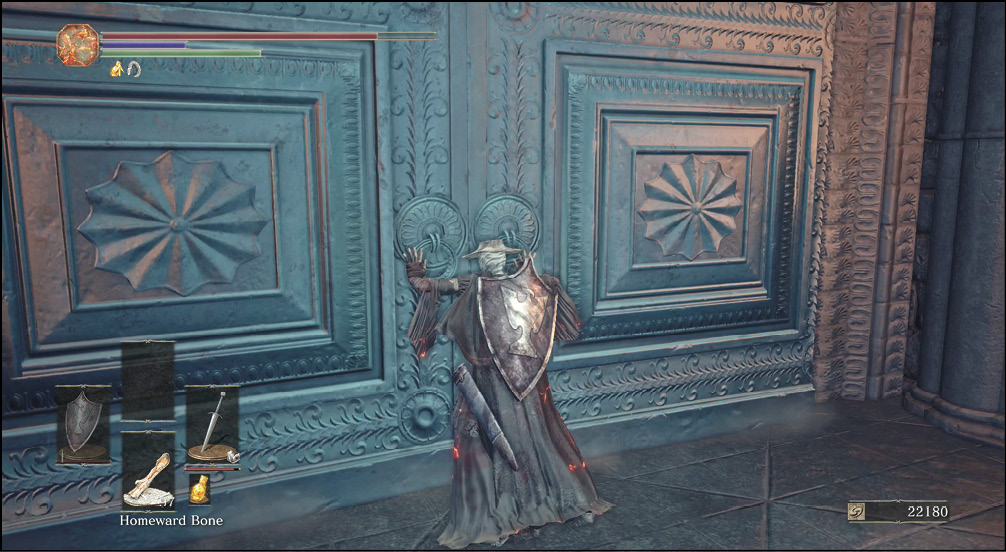
 A small hallway takes you from the eastern vault entrance down into the upper level of the cathedral. Watch the ceilings for Writhing Rotten Flesh. They have massive Physical Resistance, so it takes quite a few hits to kill them. However, they’re easy to interrupt and can’t hurt you much as long as you don’t let any of them fall on top of you. Use ranged weapons to knock them down as needed, or sprint underneath them to avoid the fights.
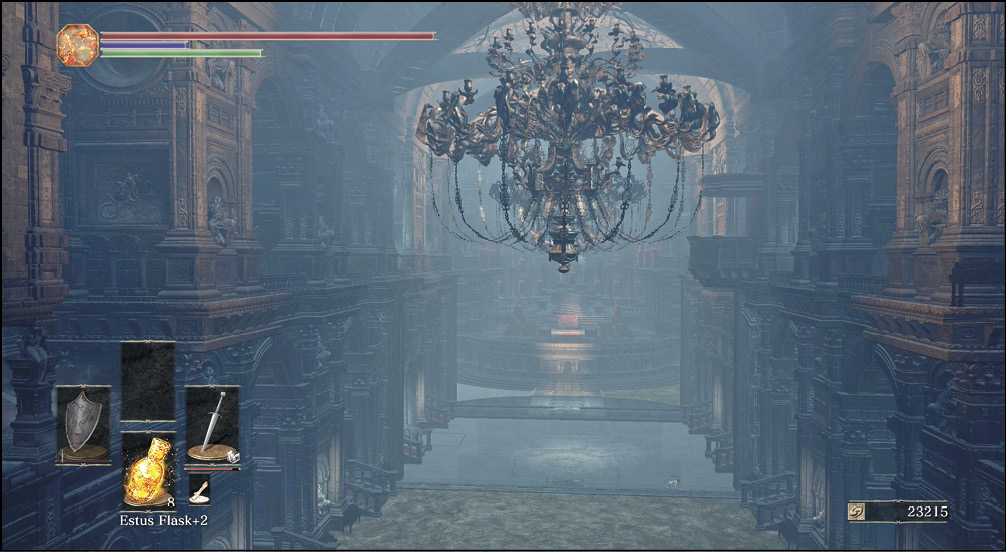
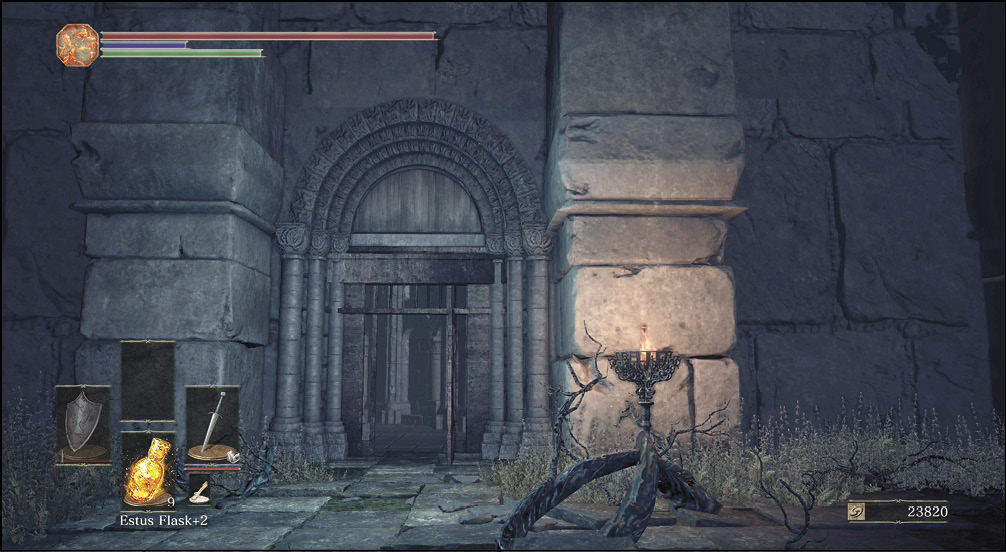
 Do not miss the shortcut that is unlocked from the upper hallway. As you go into the cathedral, you pass through a room with a couple of Deacons of the Deep. On the other side, there is a lift on the left. Descend, and then open a gate at the bottom. This takes you quickly to a door that leads into the Cleansing Chapel. You now have a very useful shortcut between your Bonfire and the cathedral.
 A Giant Slave is on the eastern side of the cathedral, and it can attack anyone on the ledges who might try to pass by. As soon as you see this massive foe, back into a hallway and use ranged attacks against the Giant Slave’s head to kill it. The Giant Slave ducks to try to avoid this, and you might not want to waste the time it takes to slay it safely. If not, simply sprint along the upper walkway. Roll to avoid the Giant Slave’s hits, and make it into the archway on the far side of the cathedral.
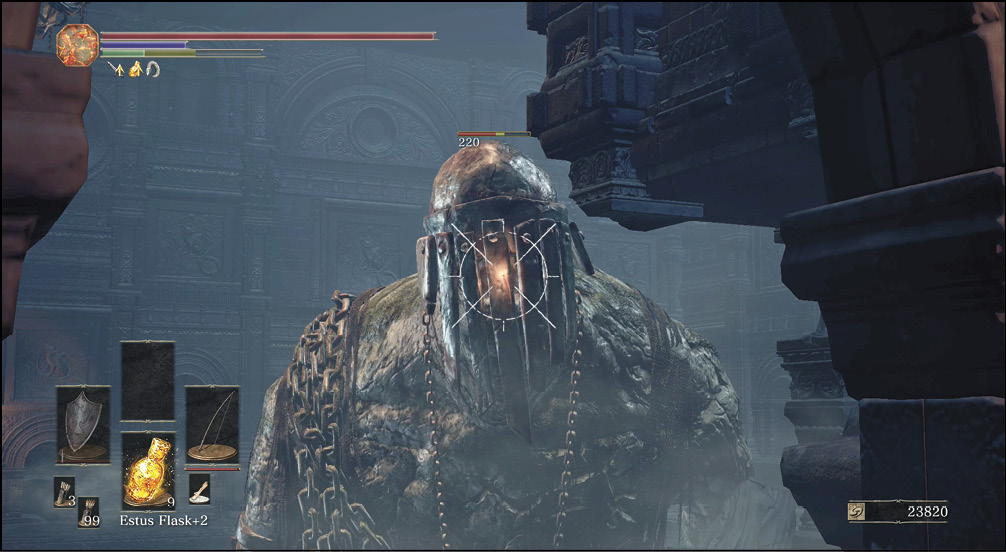
Once it’s dead, though, you have a much easier time getting around. You can come back here later to search more if you end up killing the Giant Slave from the ground floor (which is much easier). Lloyd's Sword Ring is here.
 There aren't many enemies to stop you if you decide to sprint past the Giant Slave. A guy with a crossbow can shoot from an elevated position, an there are some weaker targets along the way. But, it's not too hard to bypass these enemies as you race for the safety of a ramp to the north.
Going into the archway, the path descends. A side branch opens, and this takes you through the rafters of the lower level. Search the rafters, and use a ladder to climb back to the upper vault. Another Evangelist is there.
The lower part of the ramp takes you into a couple more rooms. The first looks unguarded; there is only a chest in that room. However, it’s not the type of chest that you should open normally. You receive a Deep Braille Divine Tome from the Mimic's room, and there is also a Seek Guidance spell in the chapel to the west.
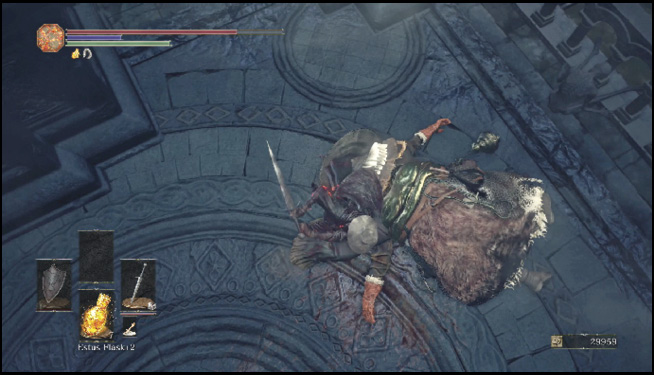
 A Knight of the Deep is in a modest room here. Shoot the knight to draw him over to your location. For an easier time, fight him on his own. These knights have great stats, so you need to master some standoff tactics. These enemies try to use miracles to buff themselves if you back off. Bait this by retreating, and then charge the Knight of the Deep to gain the advantage while he’s still casting.
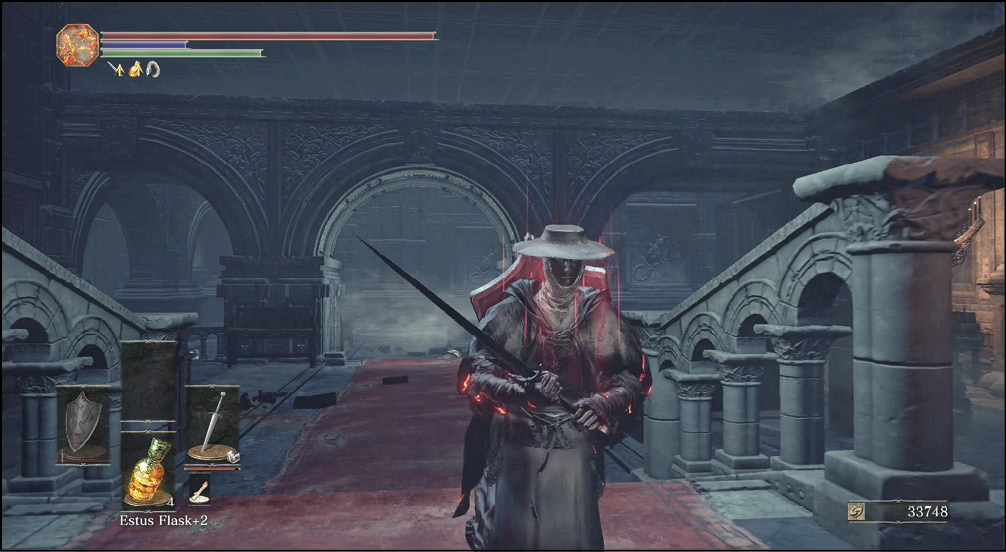
 The last of the northern rooms has an Ember sitting out in the open. Take this, but be ready for a deadly encounter after you do so. A brutal monster falls from the ceiling, blocking your retreat.
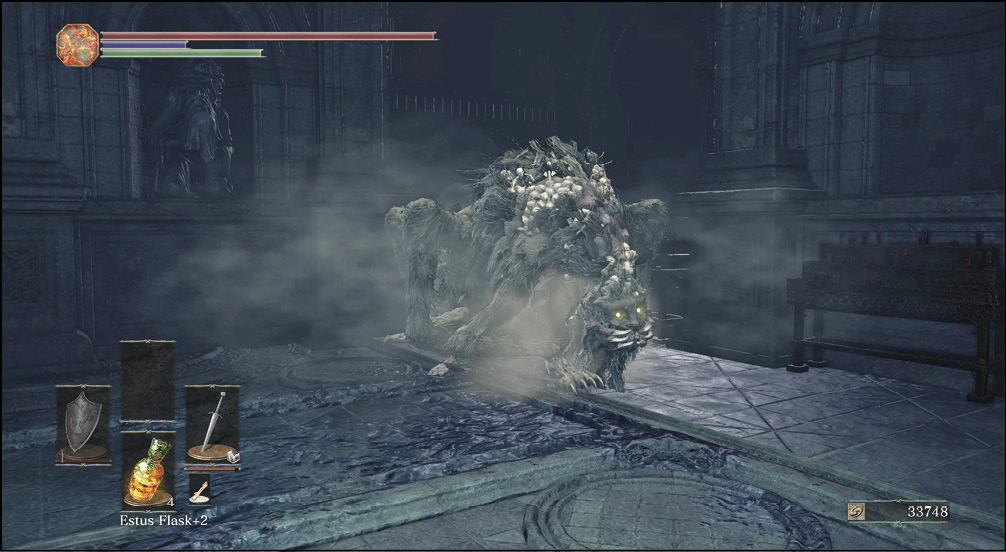
The Deep Accursed can only take a few hits, but it’s mobile and inflicts high damage. Switch to two-handed attacks, bait the monster’s first strike, and roll underneath its arms. Attack from almost inside the monster to kill it as quickly as possible.
If you're worried, lead the Deep Accursed away from the doorway and flee. It's too large a monster to follow you. Turn around and use missile weapons to kill the monster safely, from the next room. Either way, you get Aldrich's Sapphire when you kill this enemy.
 The cathedral’s main floor is littered with Hollow Slaves. Kill the Giant Slave to the east, if you haven’t done so already. Do the same with the western Giant Slave as soon as you can. Both guard plentiful treasure and are simple to dispatch. Get under their feet, attack violently, and only dodge if you’re about to get stepped on. The Giant Slaves don’t have anywhere they can move, so they’re practically sitting ducks. The Drang set of equipment is by the western Giant. The eastern Giant is near the Maiden Armor set.
The hallways to the side of the main vault have poison traps and many enemies. Watch yourself there, and pull back to the northern rooms if you start to get overwhelmed by Hollow Slave attacks. You may be invaded as you explore here. Longfinger Kirk is heavily-armored and poses a real threat. Avoid drawing him into the slime, because that makes him much harder to fight.
If you kill Kirk, you receive a Barbed Straight Sword and a Spiked Shield.
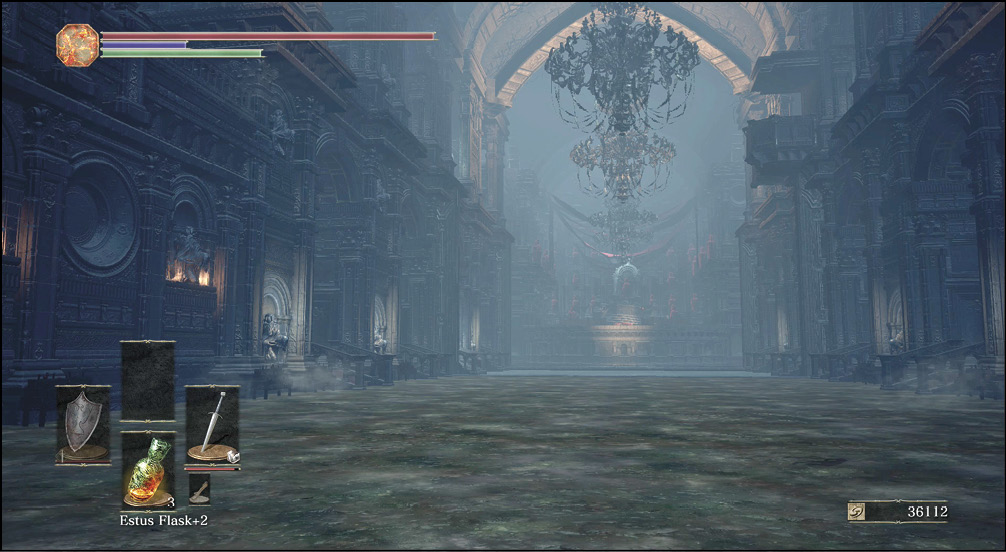
 The doors to the east on the lower floor lead outside. There are a couple of items out there, but otherwise, it’s a dead end. Get the Saint Bident out there and then come back inside.
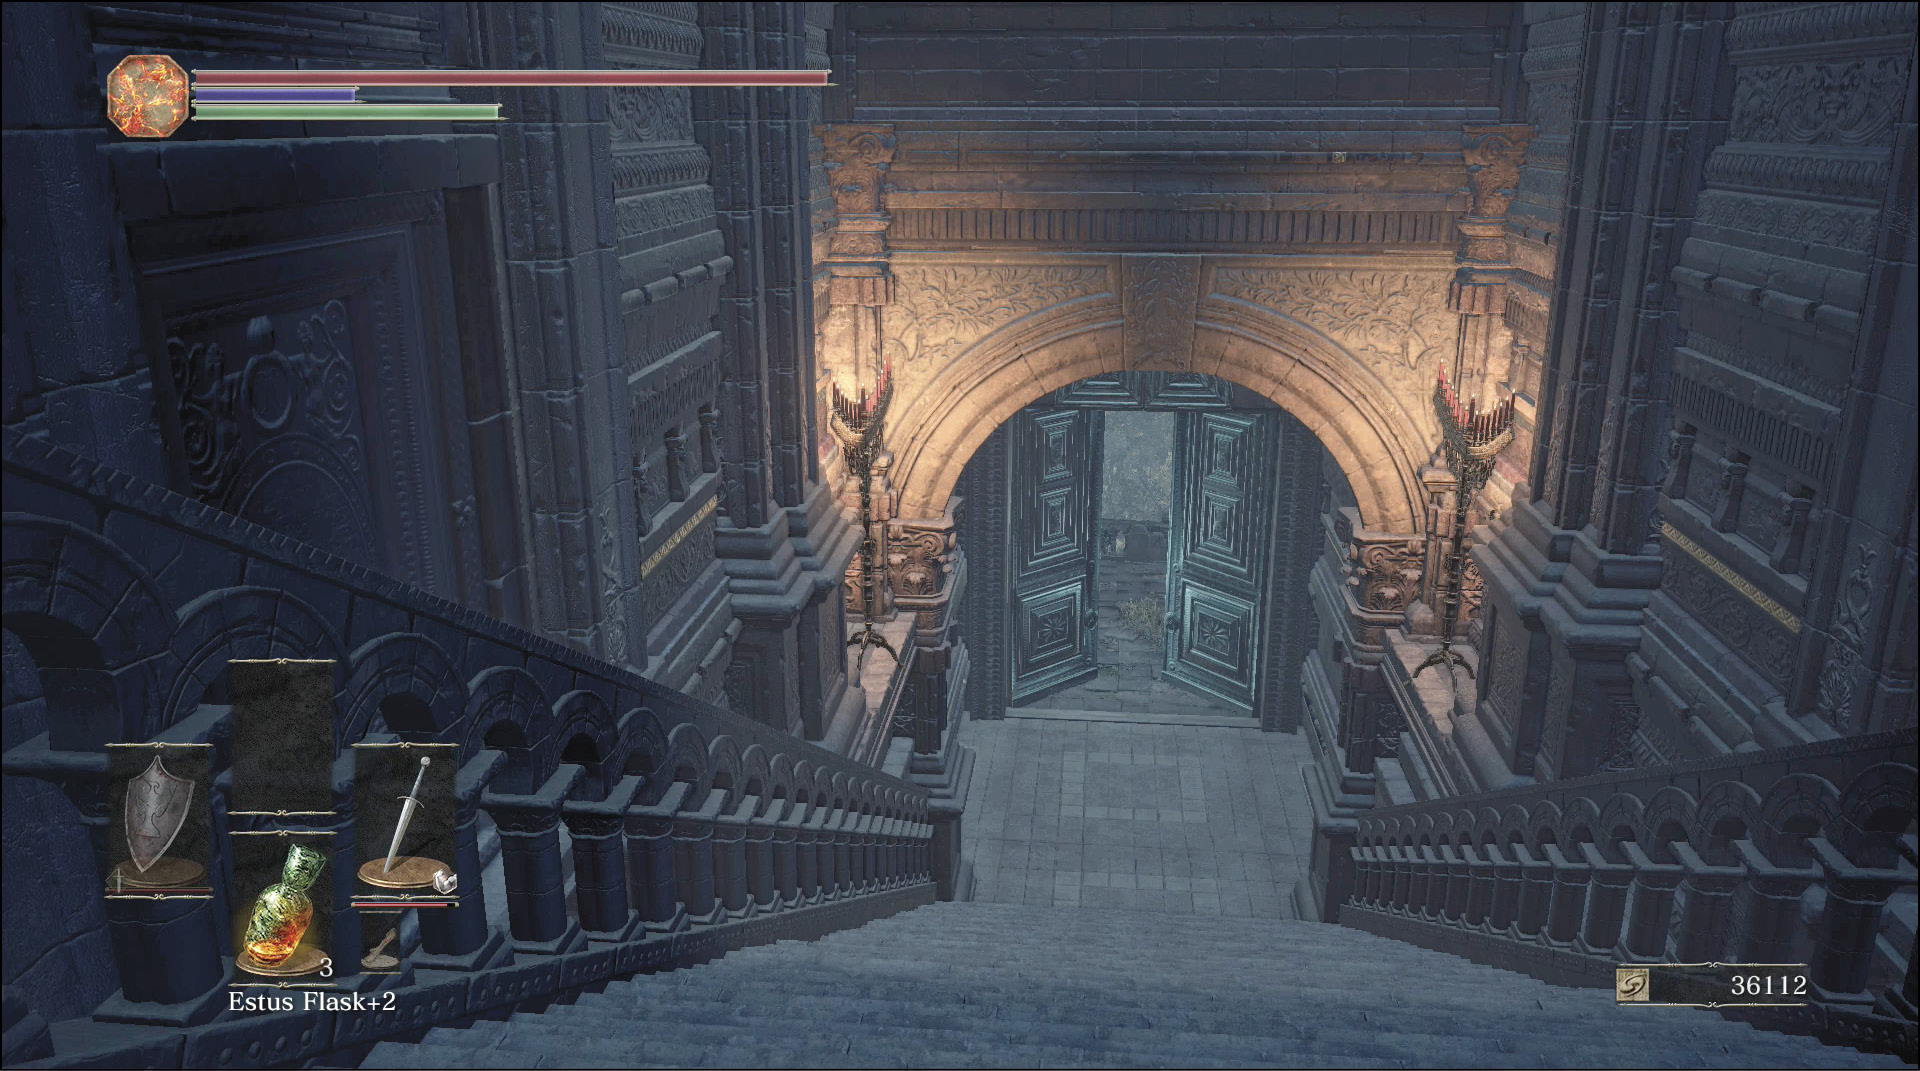
 As soon as you get your footing on the bottom of the cathedral, look for a passage on the southwestern end of the vault. This takes you to a door that you should unlock. A bit farther, you find a door that leads into the Cleansing Chapel again. It’s now a snap to move back and forth anywhere in this region.
This passage also has a lift that leads up to a tower. Search the top of the tower for a way out, and use the ladder on the outer ledge to climb even higher. A Deacon of the Deep is on the next floor; kill him to get a couple items.A Poisonbite Ring is near this area. Search southwest of the waypoint, on the lower floors.
The Deacon in the tower has a Deep Ring. Then, you get an Arbalest on the rooftops outside. On New Game +2, you also find a Ring of Favor+2 on the upper walkways, to the left of the entrance.
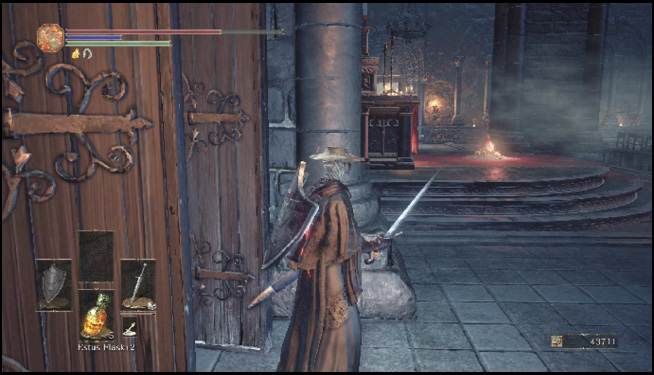
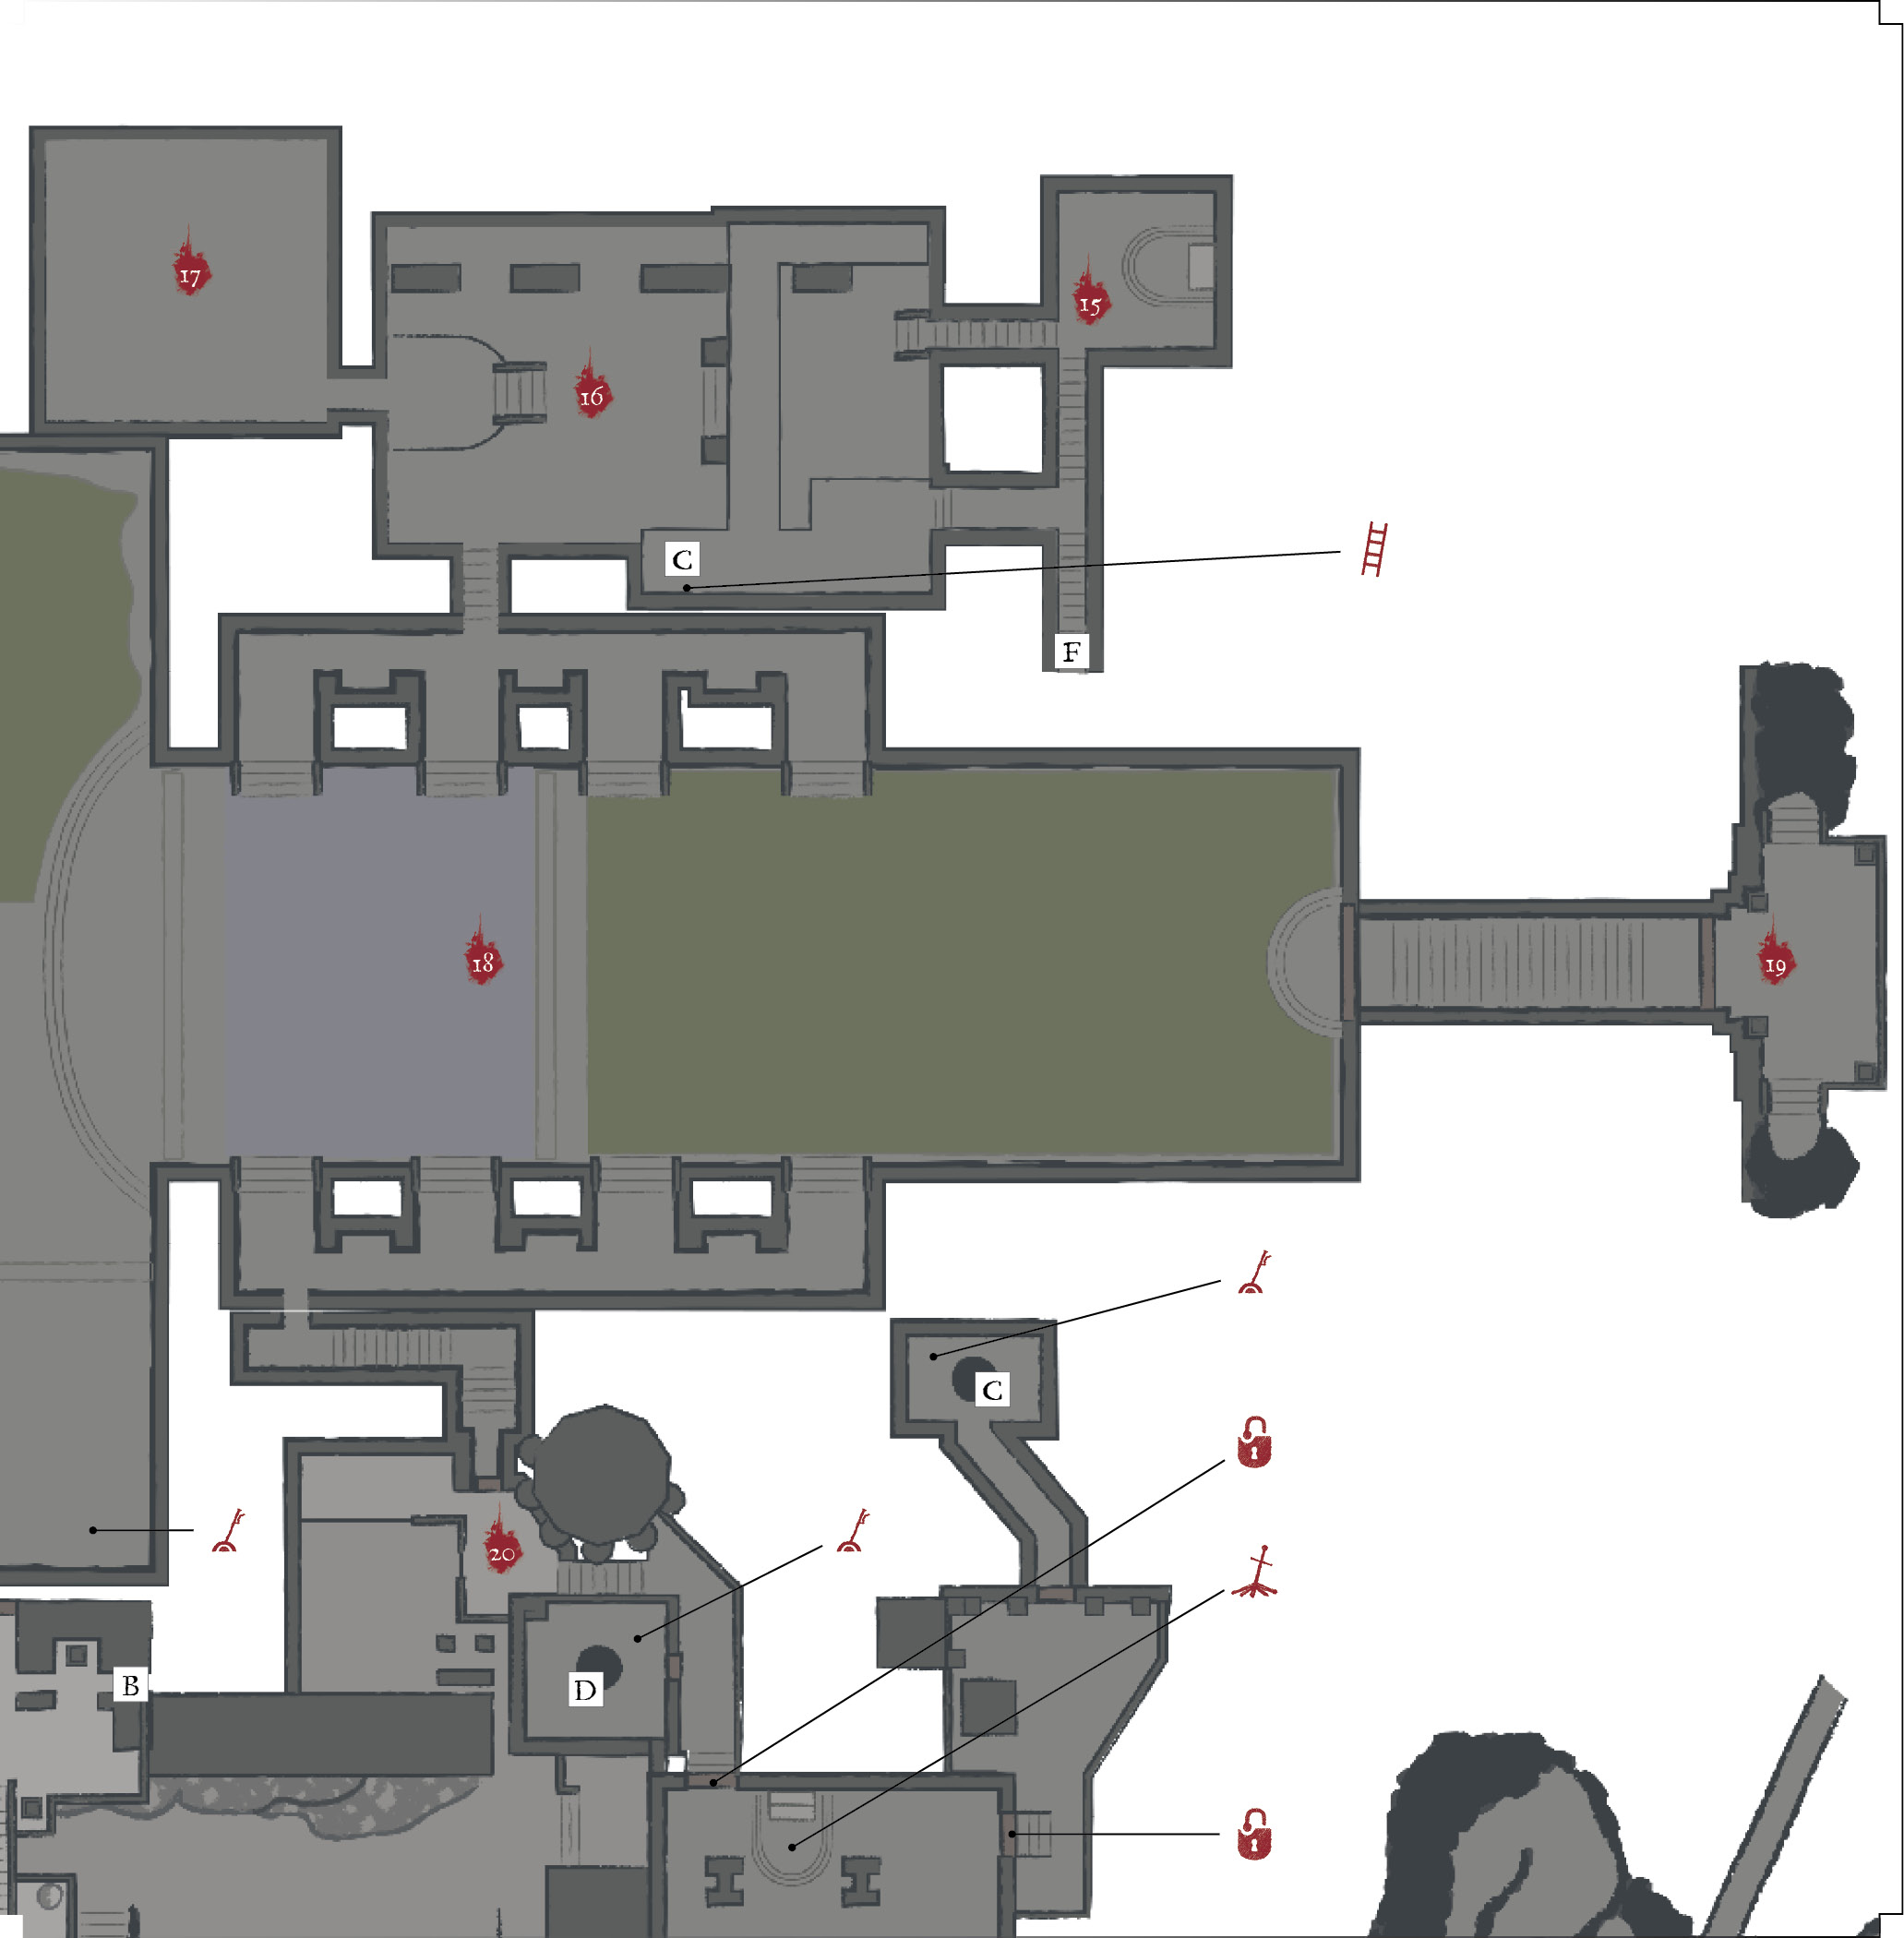
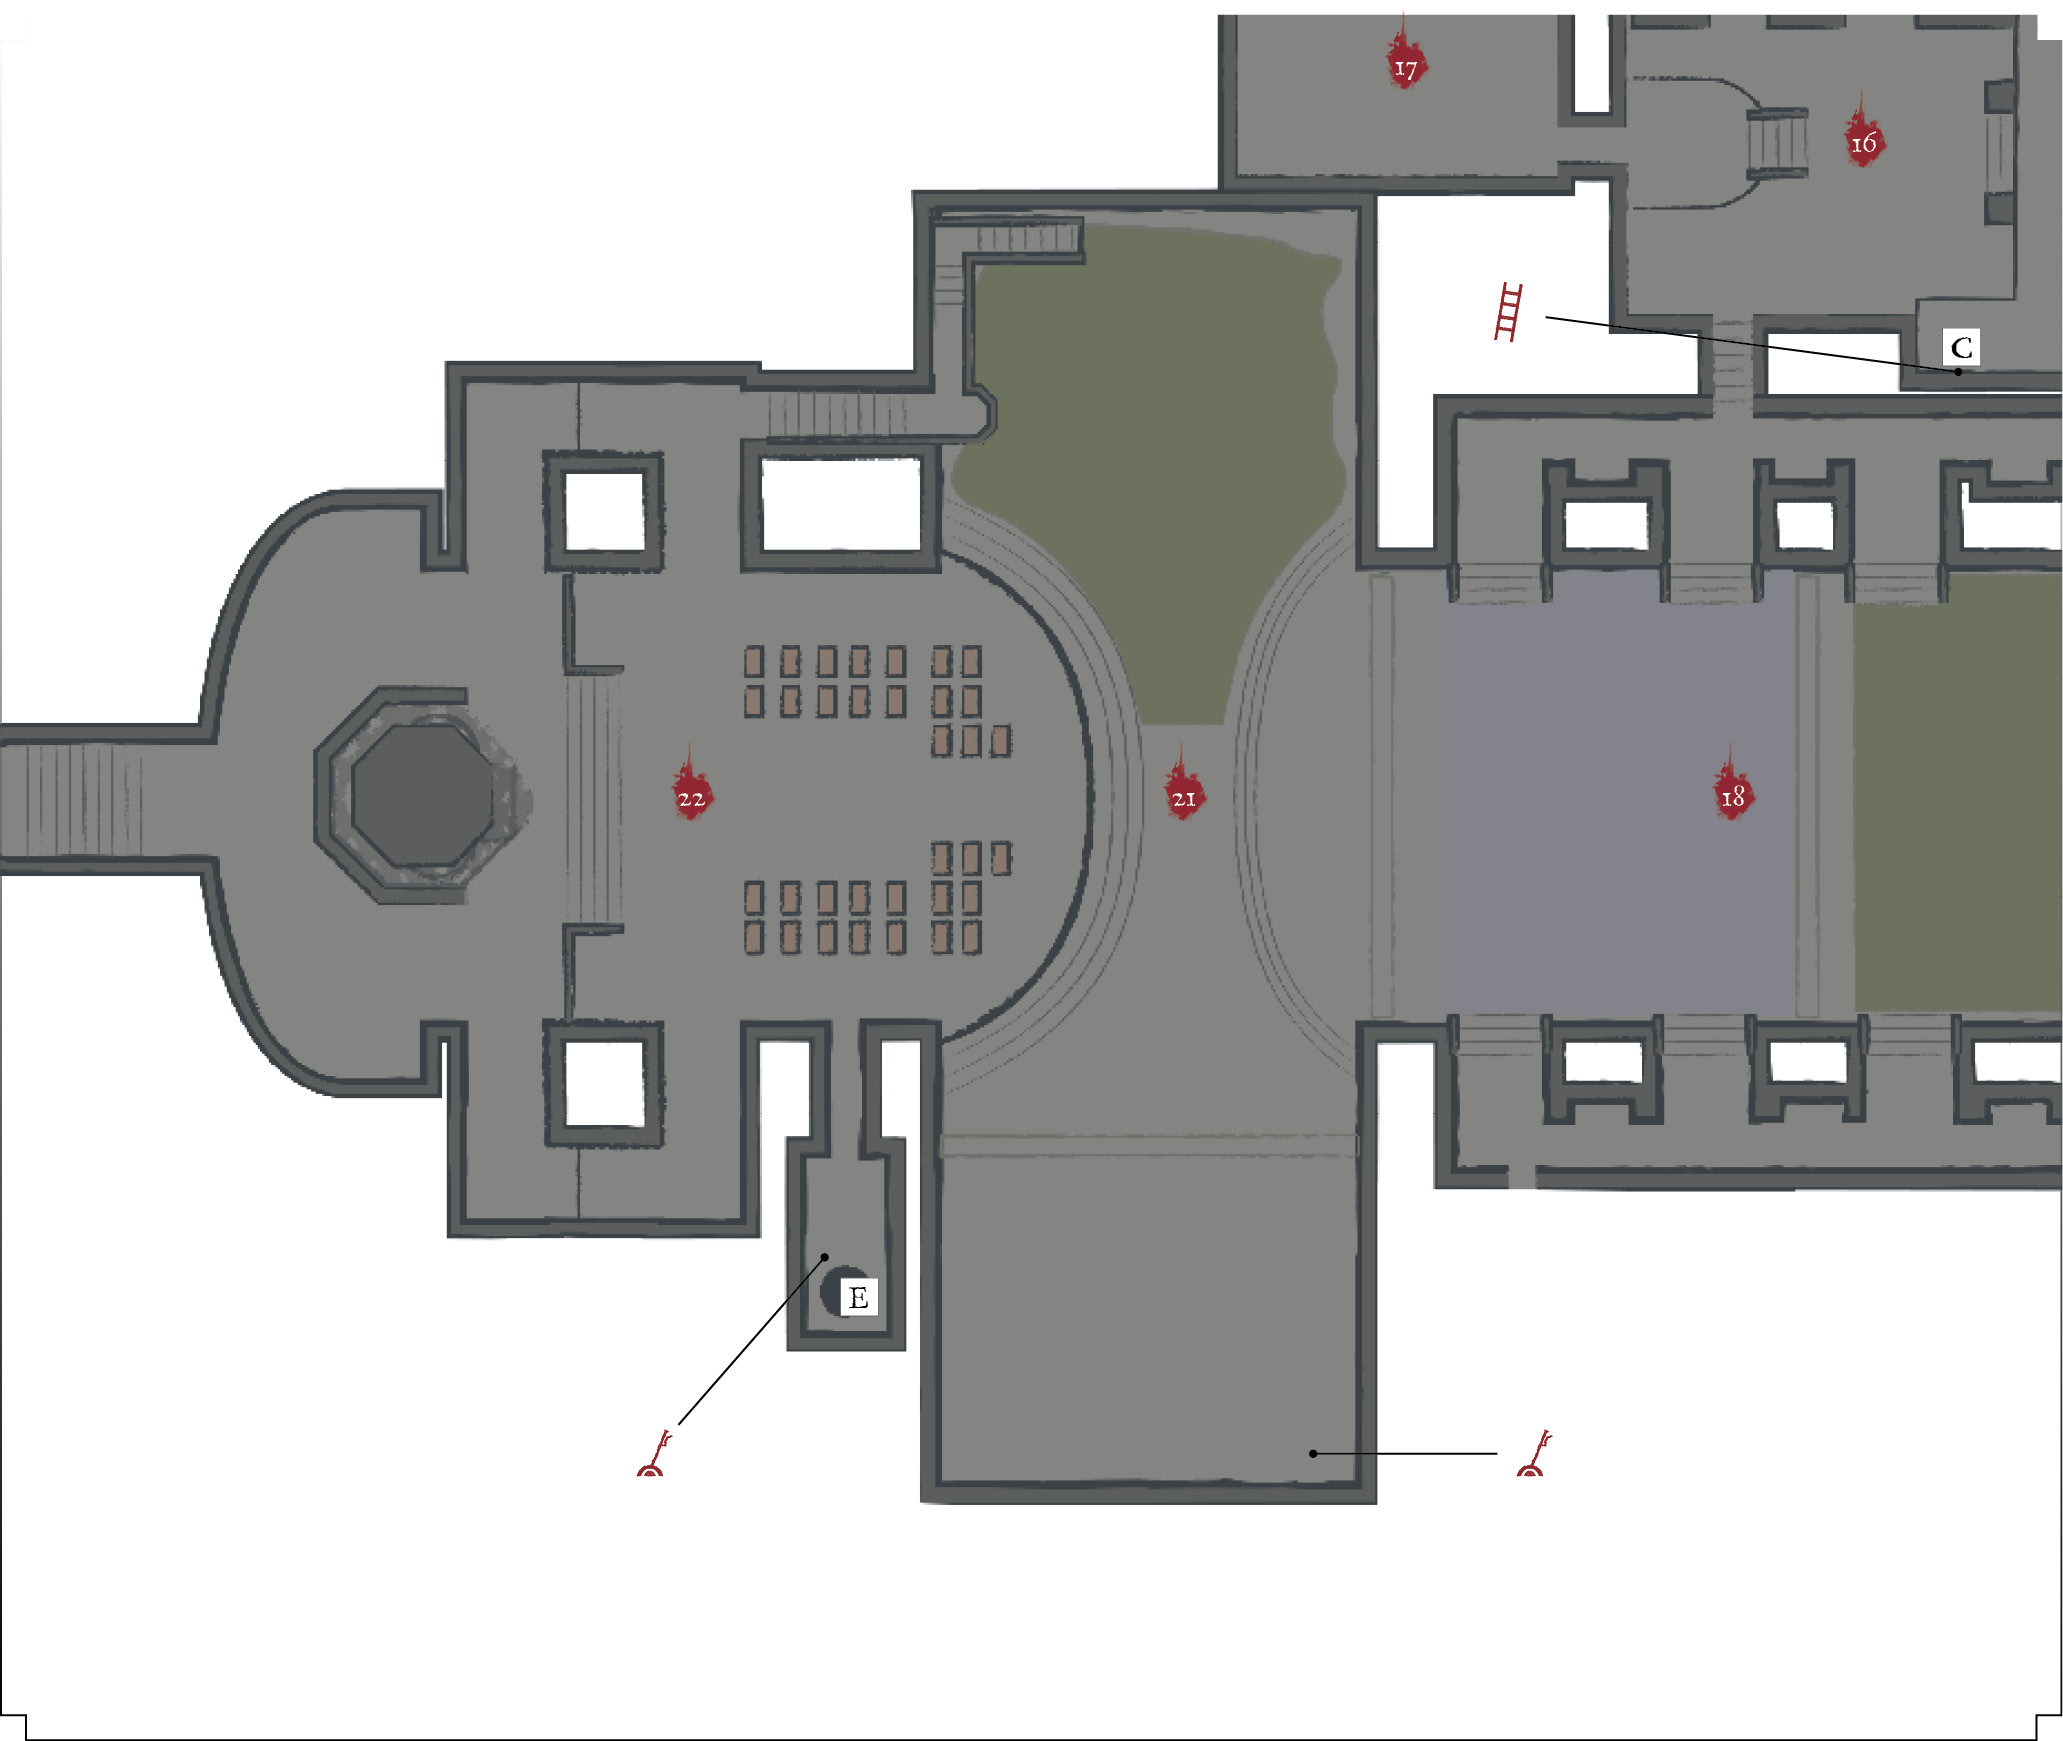
 The levers on the floor of the cathedral raise huge gates. One of the levers is near the first Giant Slave’s area, where one of the Knight of the Deep patrols. The other lever is located farther west in an open area that’s south of the second Giant Slave.
Make sure to raise both of the gates. They act as walkways when you’re on the upper ledges of the cathedral.
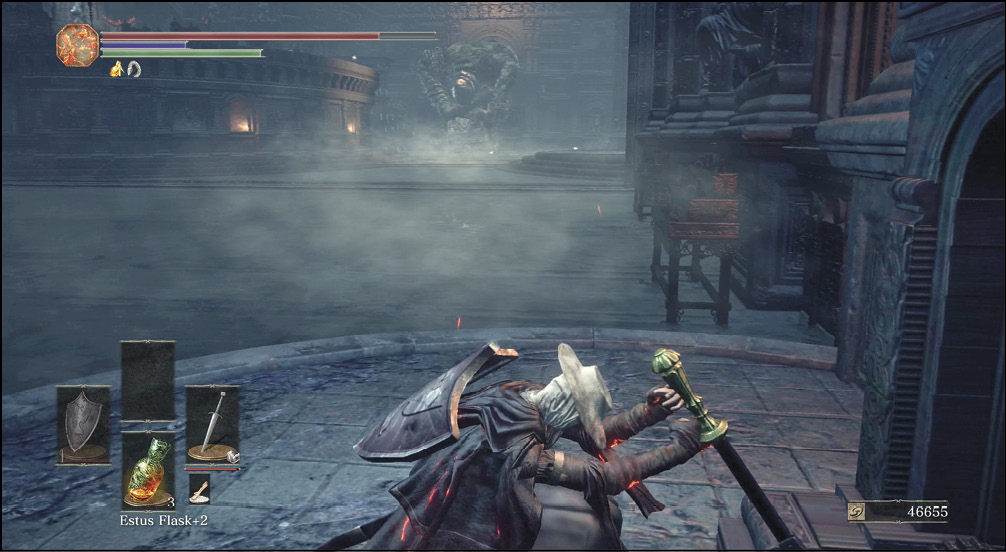
 Many more enemies are paying respects on the western edge of the cathedral. The Deacons of the Deep have fire magic, but it’s slow to track you. Stay mobile to avoid their strikes. Assassinate the praying foes, and then deal with the Deacons of the Deep.
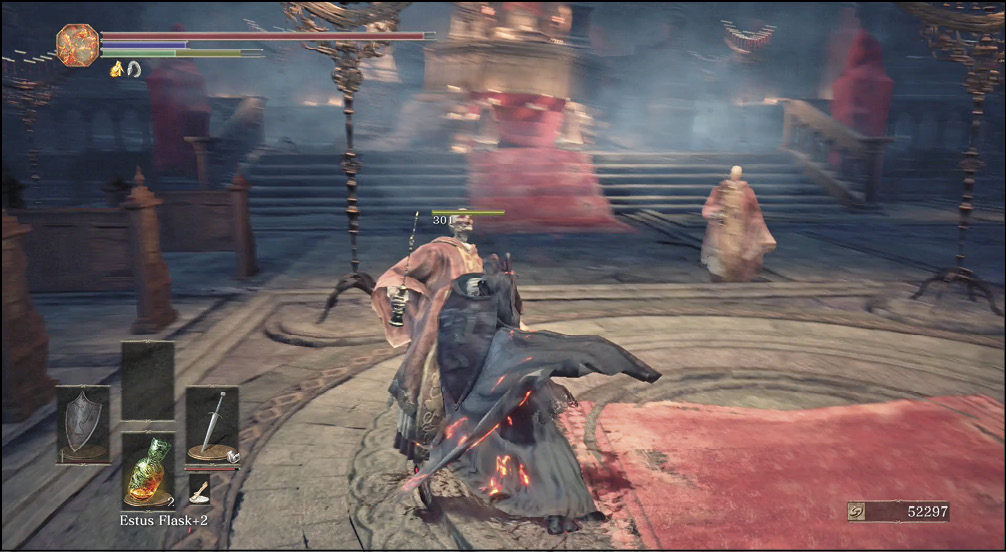
If you need to retreat, jump off of the middle ledge. Do not retreat to the stairs that go back to the Giant Slave’s area, as that location is filled with sludge and Writhing Rotten Flesh. You don’t want to get bogged down while heavier enemies are chasing you.
A side passage leads to a lift that gets you up toward the front door of the cathedral. It isn’t important to open it, but you can if you like.
The western route takes you to the boss.
Bonfire—Rosaria’s Bed Chamber
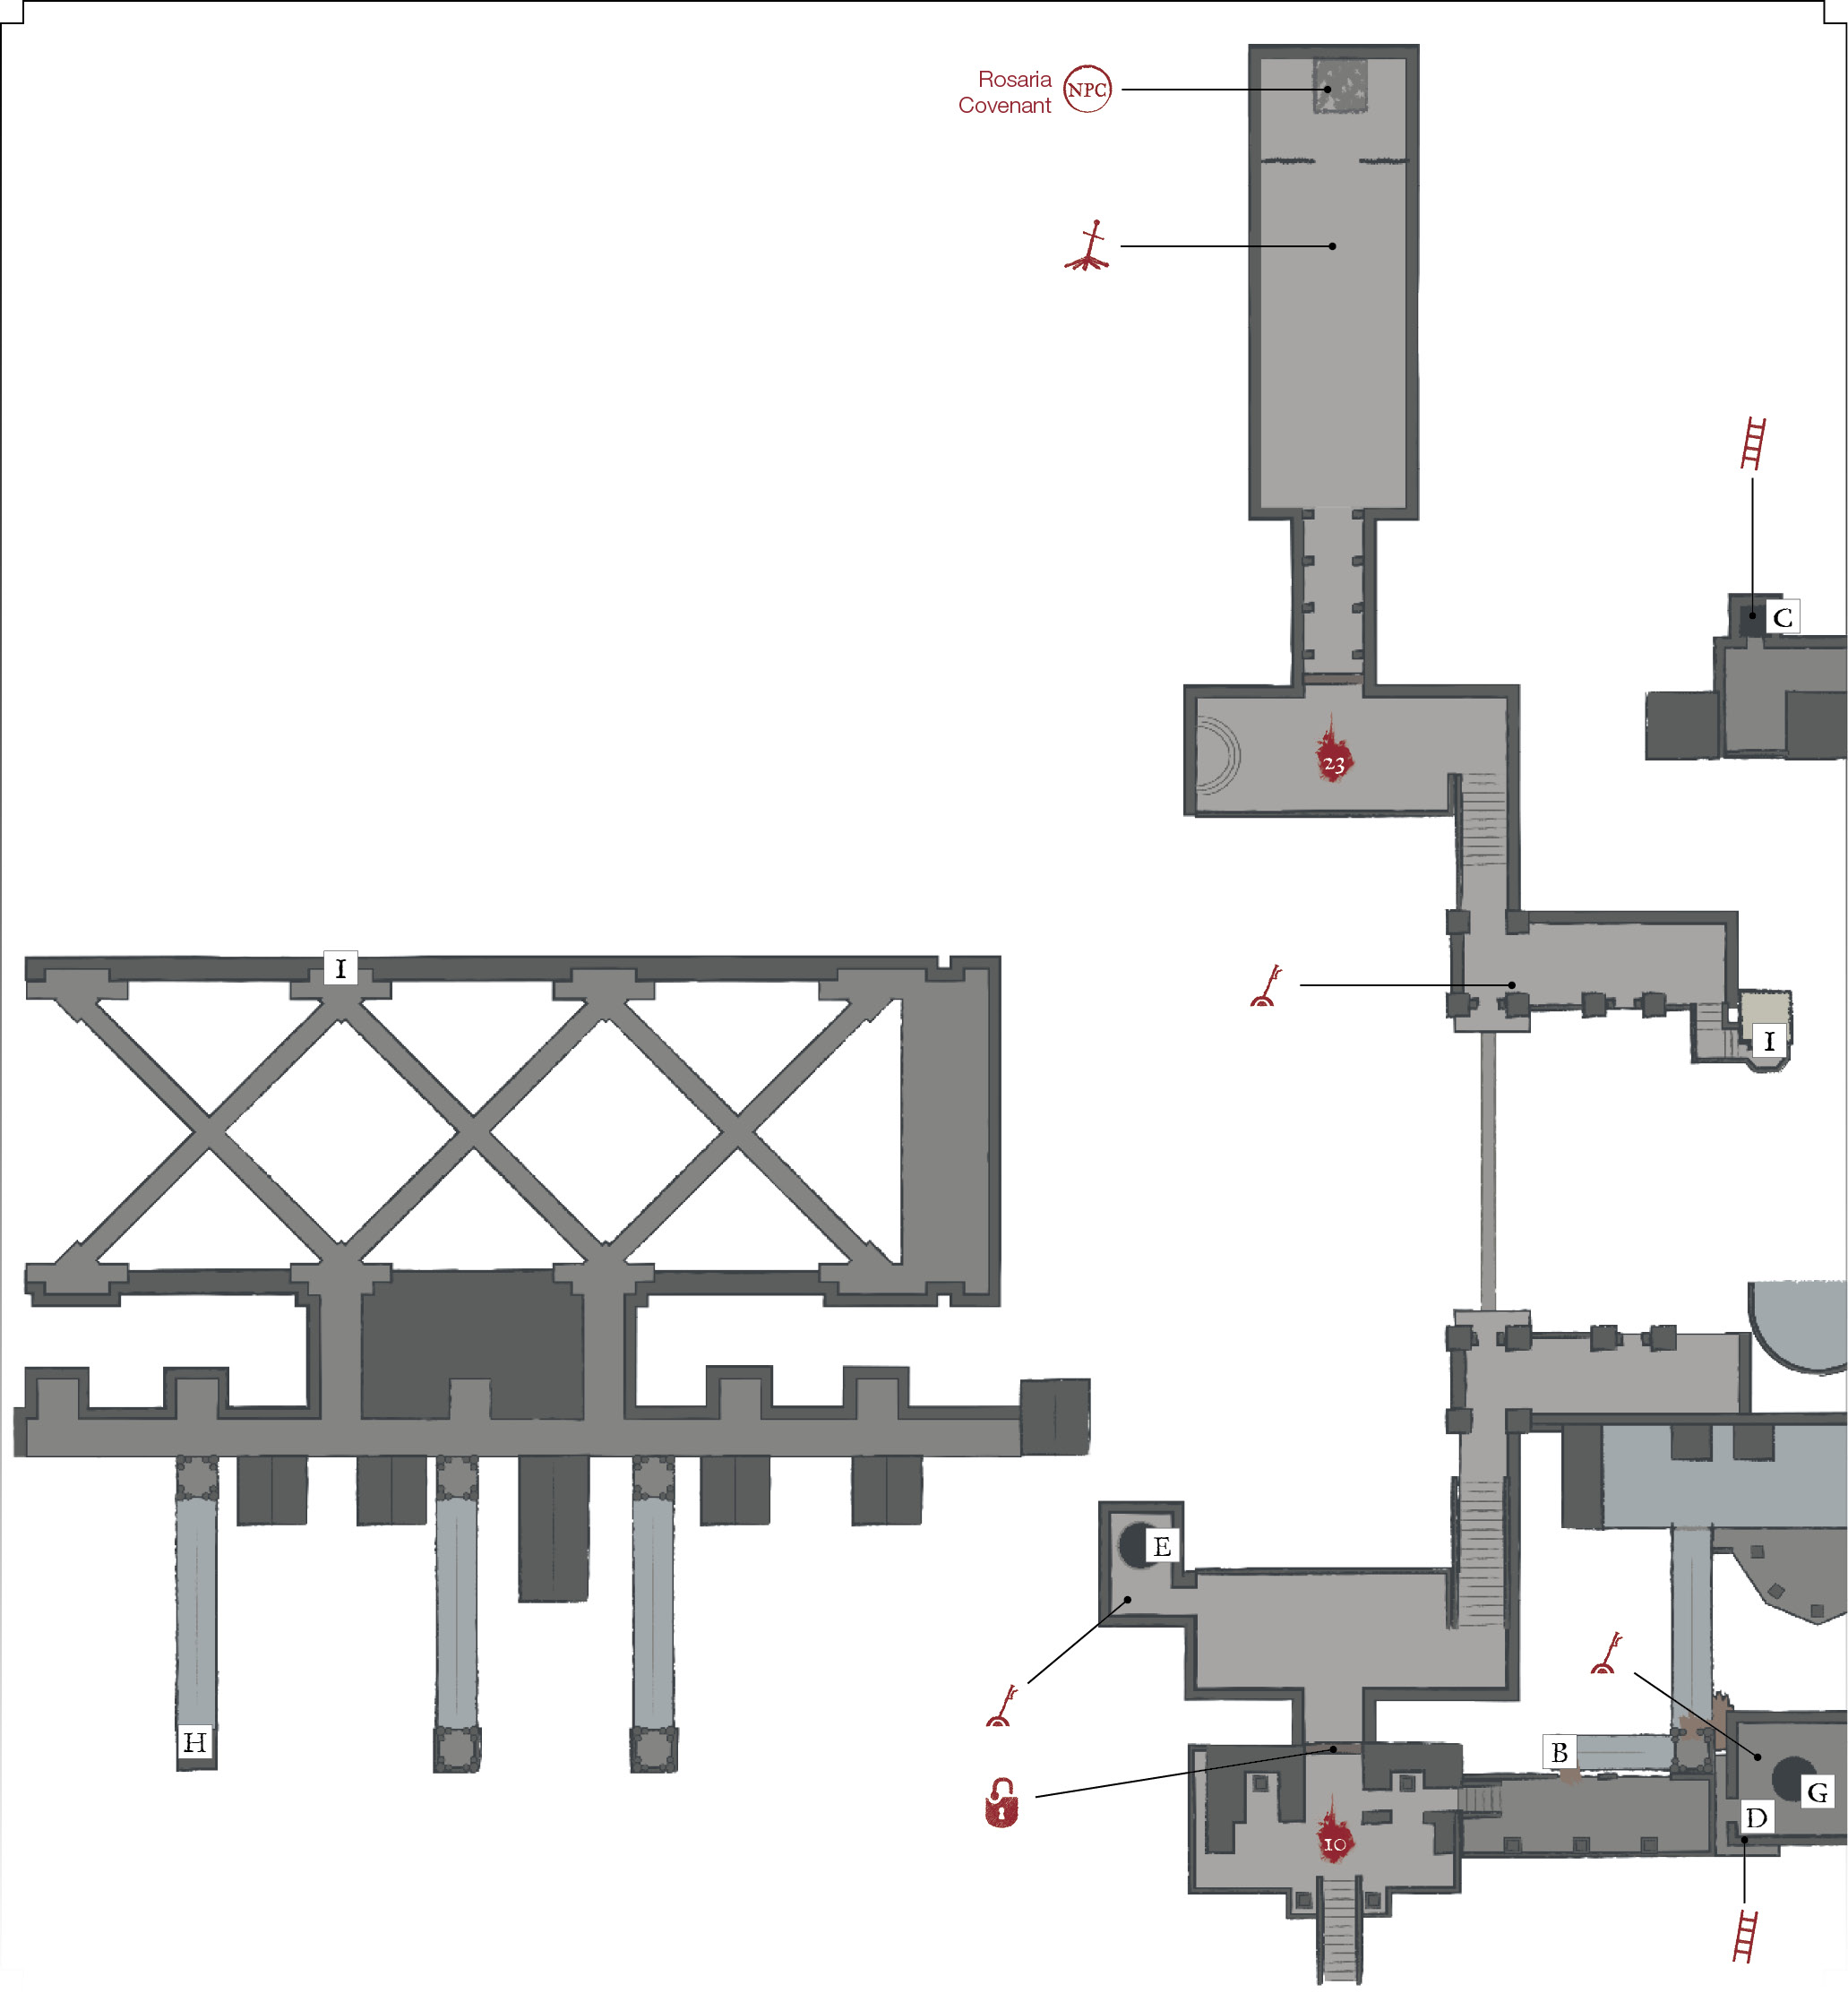
 One section of the cathedral is extremely difficult to reach. However, you really should get there to find a Bonfire and to meet an important NPC, as well. Get onto the upper rafters, as described in the details for area (20). From the northern rafters, you’re able to delicately drop onto the ceiling of a small area below. Wiggle off of that, and explore the northwestern portion of this area.
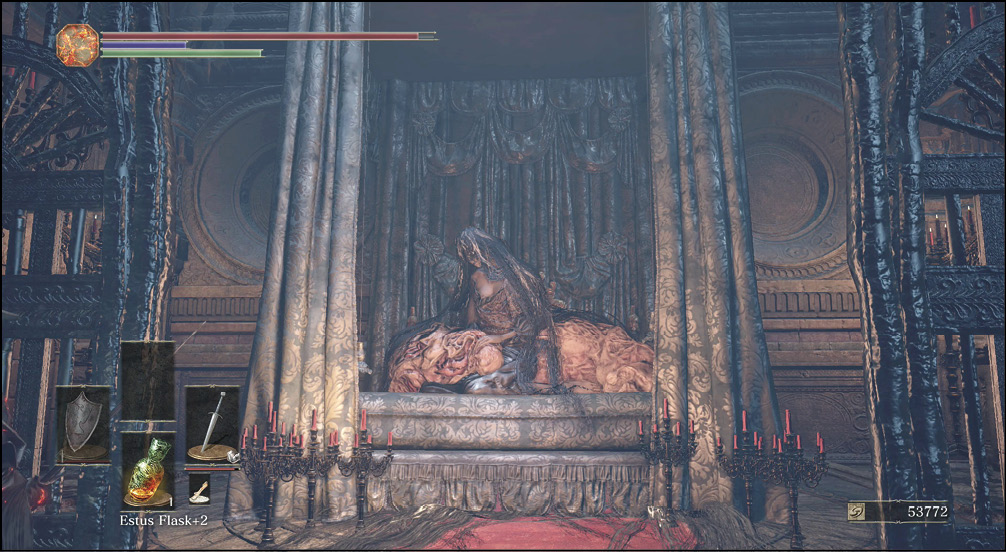
Kill the Man-grubs you find, and look for the doors to Rosaria’s chambers. Go inside and interact with her to join her Covenant, if you want. Use the Bonfire there so that you can quickly come and go as you please in the future.
The last Man-grub outside of those chambers won’t normally attack you. However, you can kill it to obtain the Red Sign Soapstone, which is a very nice PvP item. Inside the chamber is Rosaria, and the Armor of Thorns Set. If Rosaria is attacked during Leonhard's quest line, you also find the Black Eye Orb here.
Major Battle
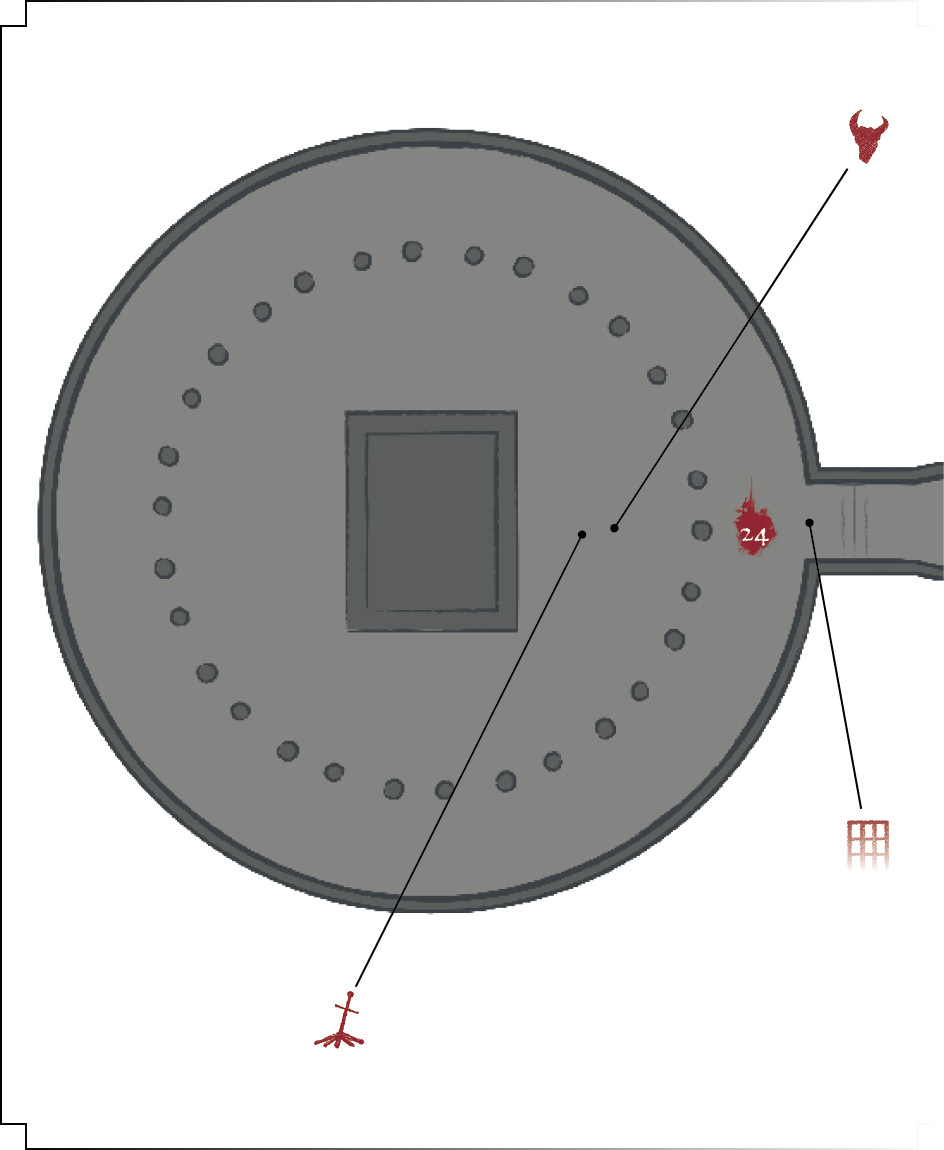
 If you’re following Anri’s questline, you can summon Anri and Horace before going into the boss’ room. Otherwise, keep heading west until you get to the end of the cathedral. This triggers the boss fight.