
Dark Souls III Guide (Steam) Walkthrough
Boss: Old Demon King
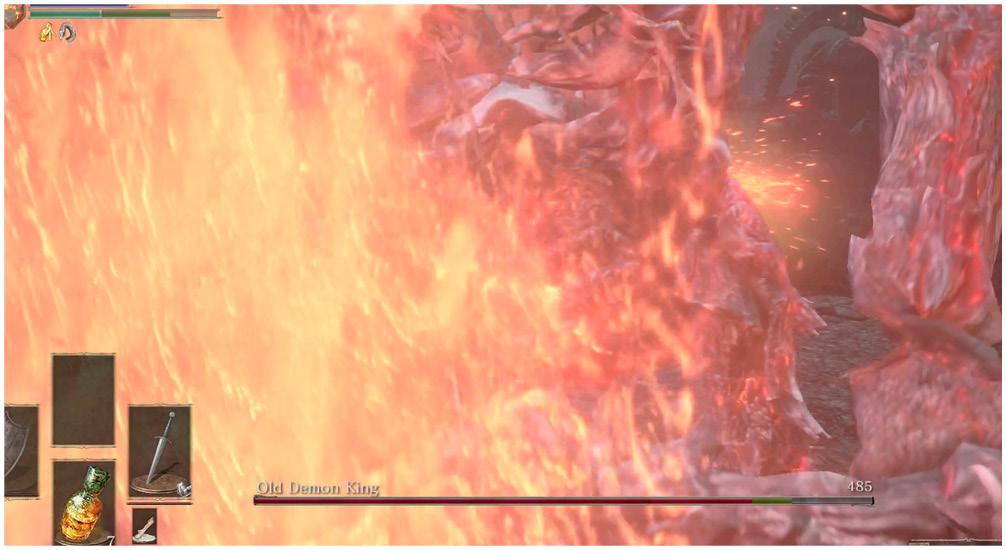
Stage I
The Old Demon King is another fire-based enemy. Pump up your Physical and Fire Resistance as much as you can before the encounter. Use a two-handed weapon because your shield won’t be of any great use; this boss employs burning attacks and heavy swings, and neither is usually safe to block.
Stay away from the creature’s mouth. Its fire attacks generate there, and you can often roll under the boss or to its side to get out of the way when you see it rear back to begin a breath attack. Sometimes it's useful to back away and then bait out the Old Demon King's slower spells and breath weapons because you can dodge closer and get free hits for a short time.
Hits are easy to score against the slow fiend. Its tail is quite vulnerable if you get around to the rear, but always save some of your Stamina for rolling away when it turns. Your mobility is a massive aid in this battle. The Old Demon King doesn’t adjust for dodging targets as well as most bosses, so you can avoid a fair amount of damage by dodging multiple times to get some quick distance.
Make sure to keep your Equip Load as low as you can afford to. Speed is a better survival boost than raw armor here.
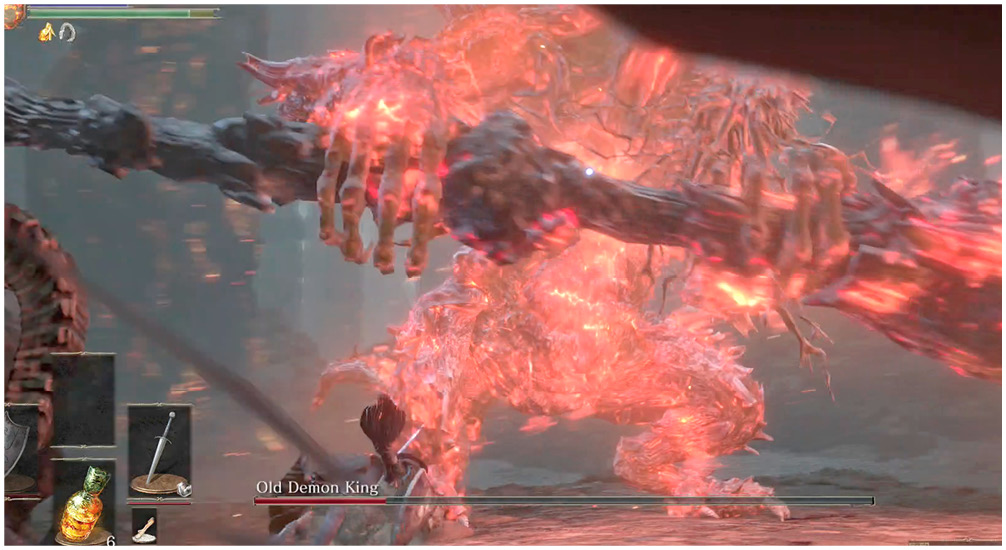
Stage II
In the second half, the Old Demon King decides to use way more magic. Pyromancy spells of legendary fury and power explode around you. The damage is survivable, but you must dodge and heal often because it’s very hard to totally avoid getting hit. Be especially careful of the circle of fire. This expands and contracts around the boss periodically, and you can easily kill yourself by dodging with the circle's movement instead of going through it.
The careful fighting and good combos of the early fight become a frantic damage festival between the two of you. Trade blows when you can just to burn down the boss before it exhausts your supplies. As before though, the tail is a weak spot and makes a very sensible target when you get around the boss. Don't stay in front of him for any reason.
Kill the boss, and then light its Bonfire.
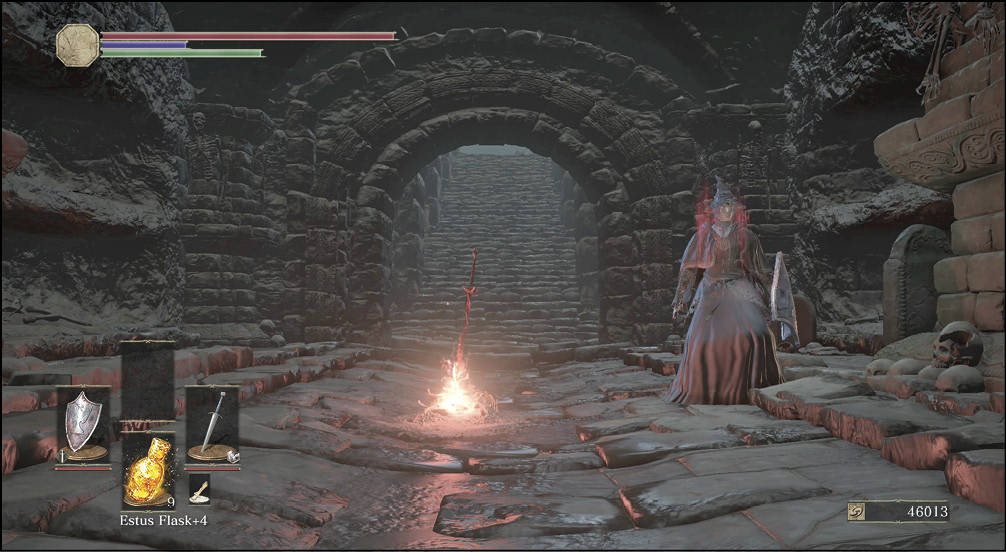
Bonfire—Old King’s Antechamber
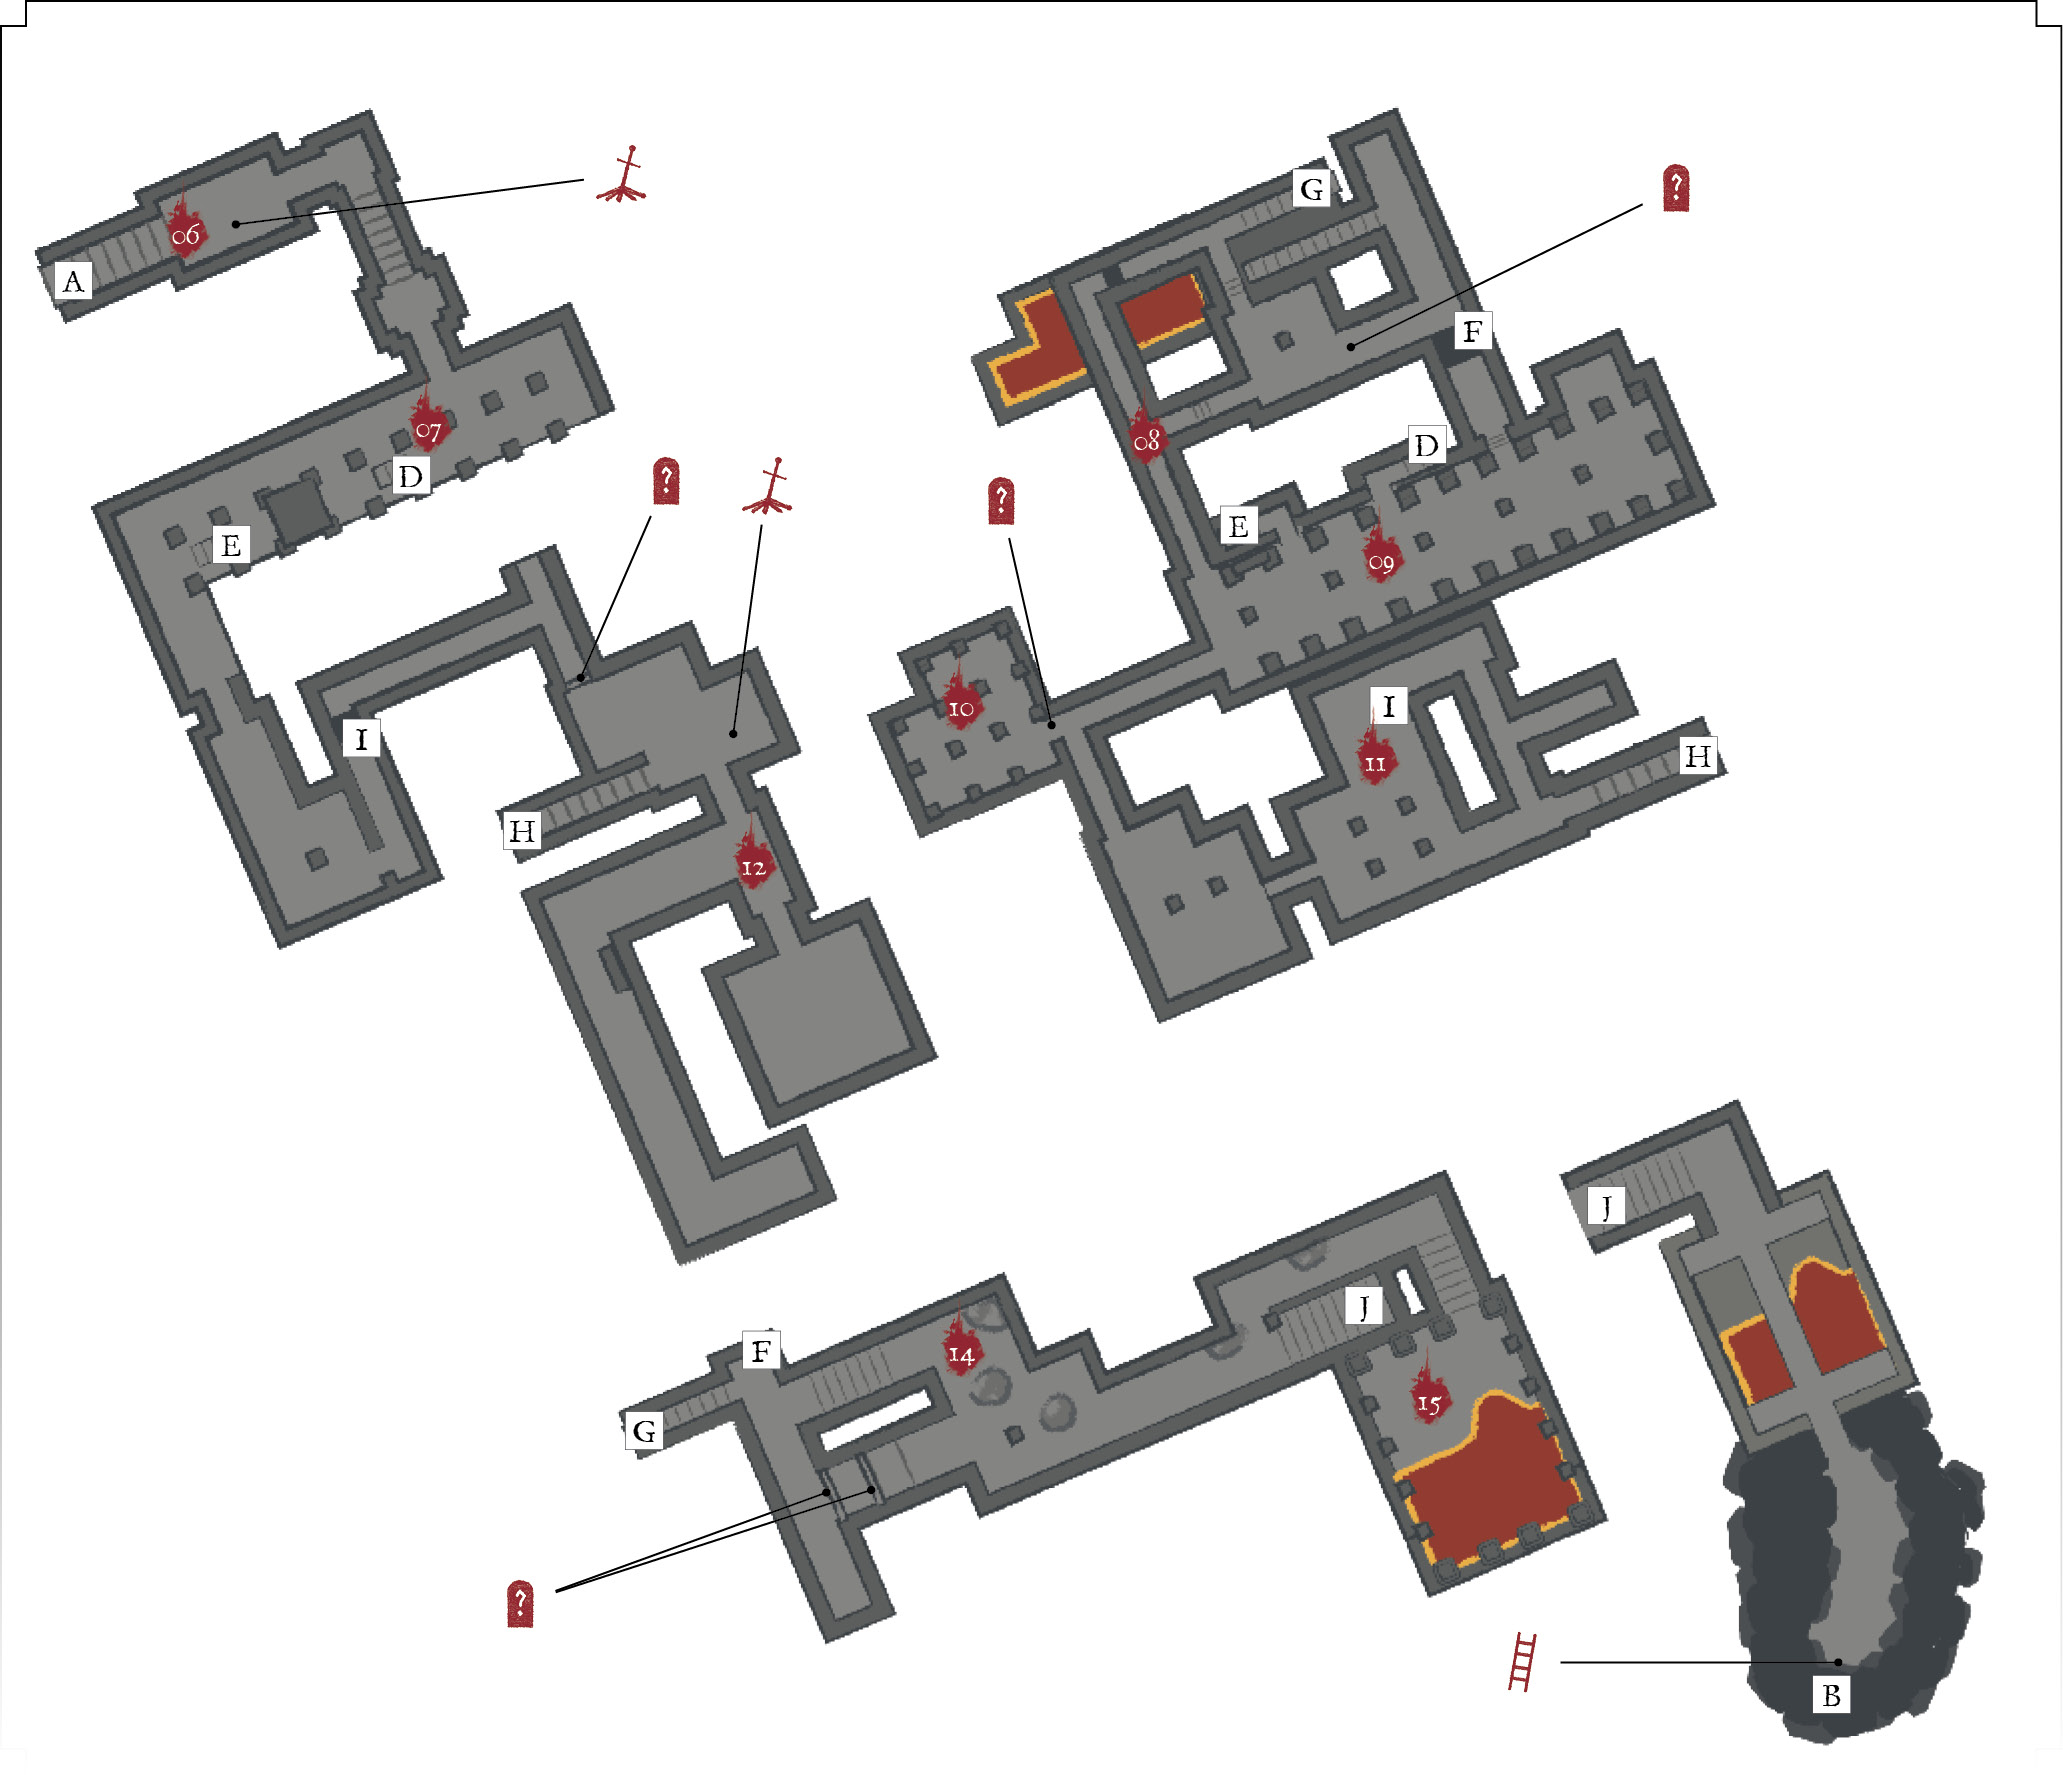
 Another Bonfire is inside the cave at the north end of the lake. Get this when you’re prepping for the Old Demon King fight, or if you’re worried about taking on the Carthus Sandworm.
 As you get into the northeastern dungeon, you start to encounter Demon Clerics and Smoldering Ghrus. Smoldering Ghrus have lower health and can be dispatched with a solid combo. Target them first, and lure them into side tunnels so that the Demon Clerics can’t assist as well with their ranged fire attacks. Smoldering Ghrus have both toxic and poison effects, which is their real claim to fame. Run away from their clouds, even if it means giving up serious ground.
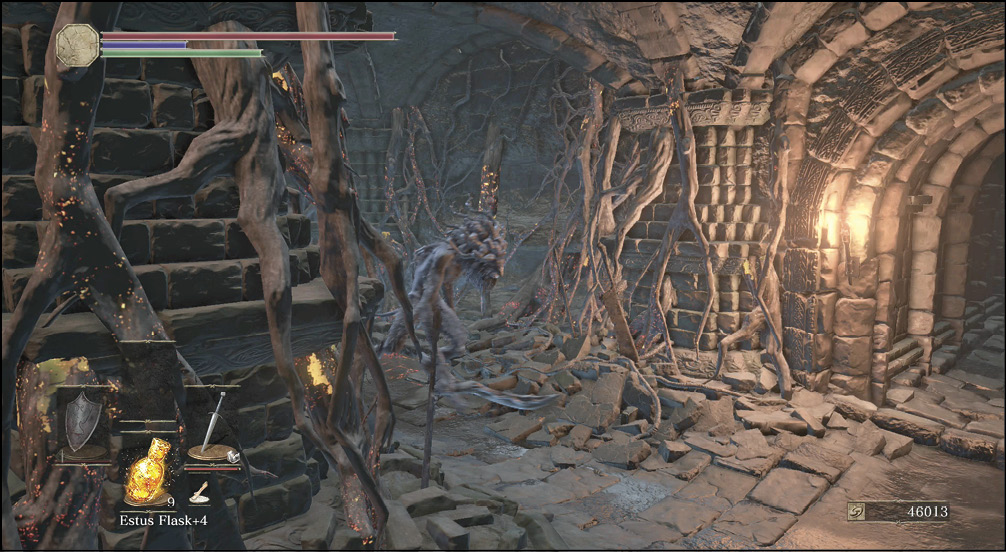
Writhing Rotten Flesh and Basilisks are on the western side of the room. Neither foe is a big threat because you’ve dealt with these enemies before. If you come back toward this area from the southern side, you can score an Estus Shard from this section; however, that requires a long and twisting route.
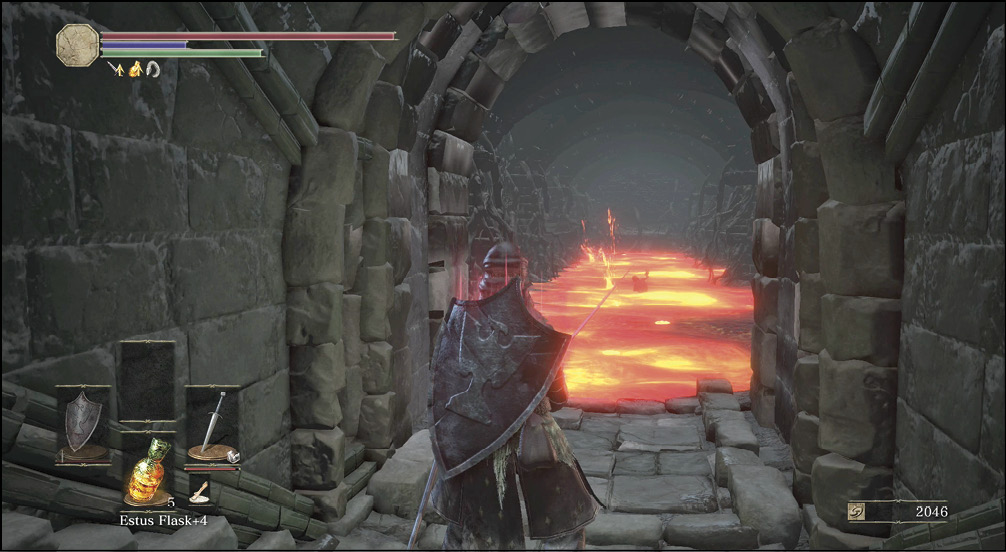
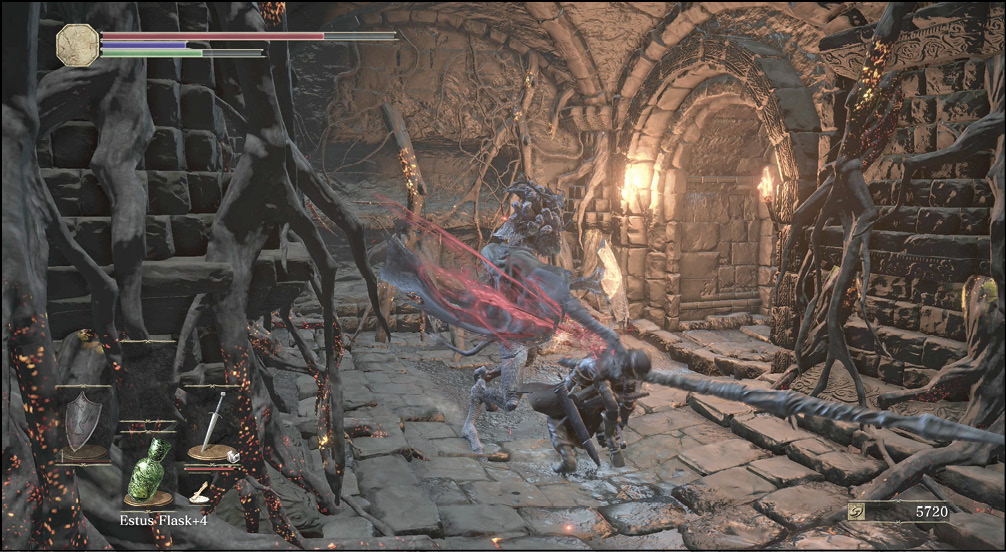
 This room has a secret door. Push aside some Hound-rats, and search for the door in their small chamber; it’s on the eastern wall. This gets you into a hallway with the Quelana Pyromancy Tome. It also helps to connect the middle tier and the lower tier, where there are large pits of flame. You can’t get the items from there without a massive amount of Fire Resistance. Alternately, you can always use your Estus Flask constantly, sprint, and accept that you might die on the lava anyway. If you’re doing that, be sure to spend all of your Souls at the shrine before going there. Retrieving Souls from a lava run is sometimes a futile experience, even though the Souls are often closer to the entrance compared to where you died. You get Toxic Mist and a White Hair Talisman for your efforts on the lava.
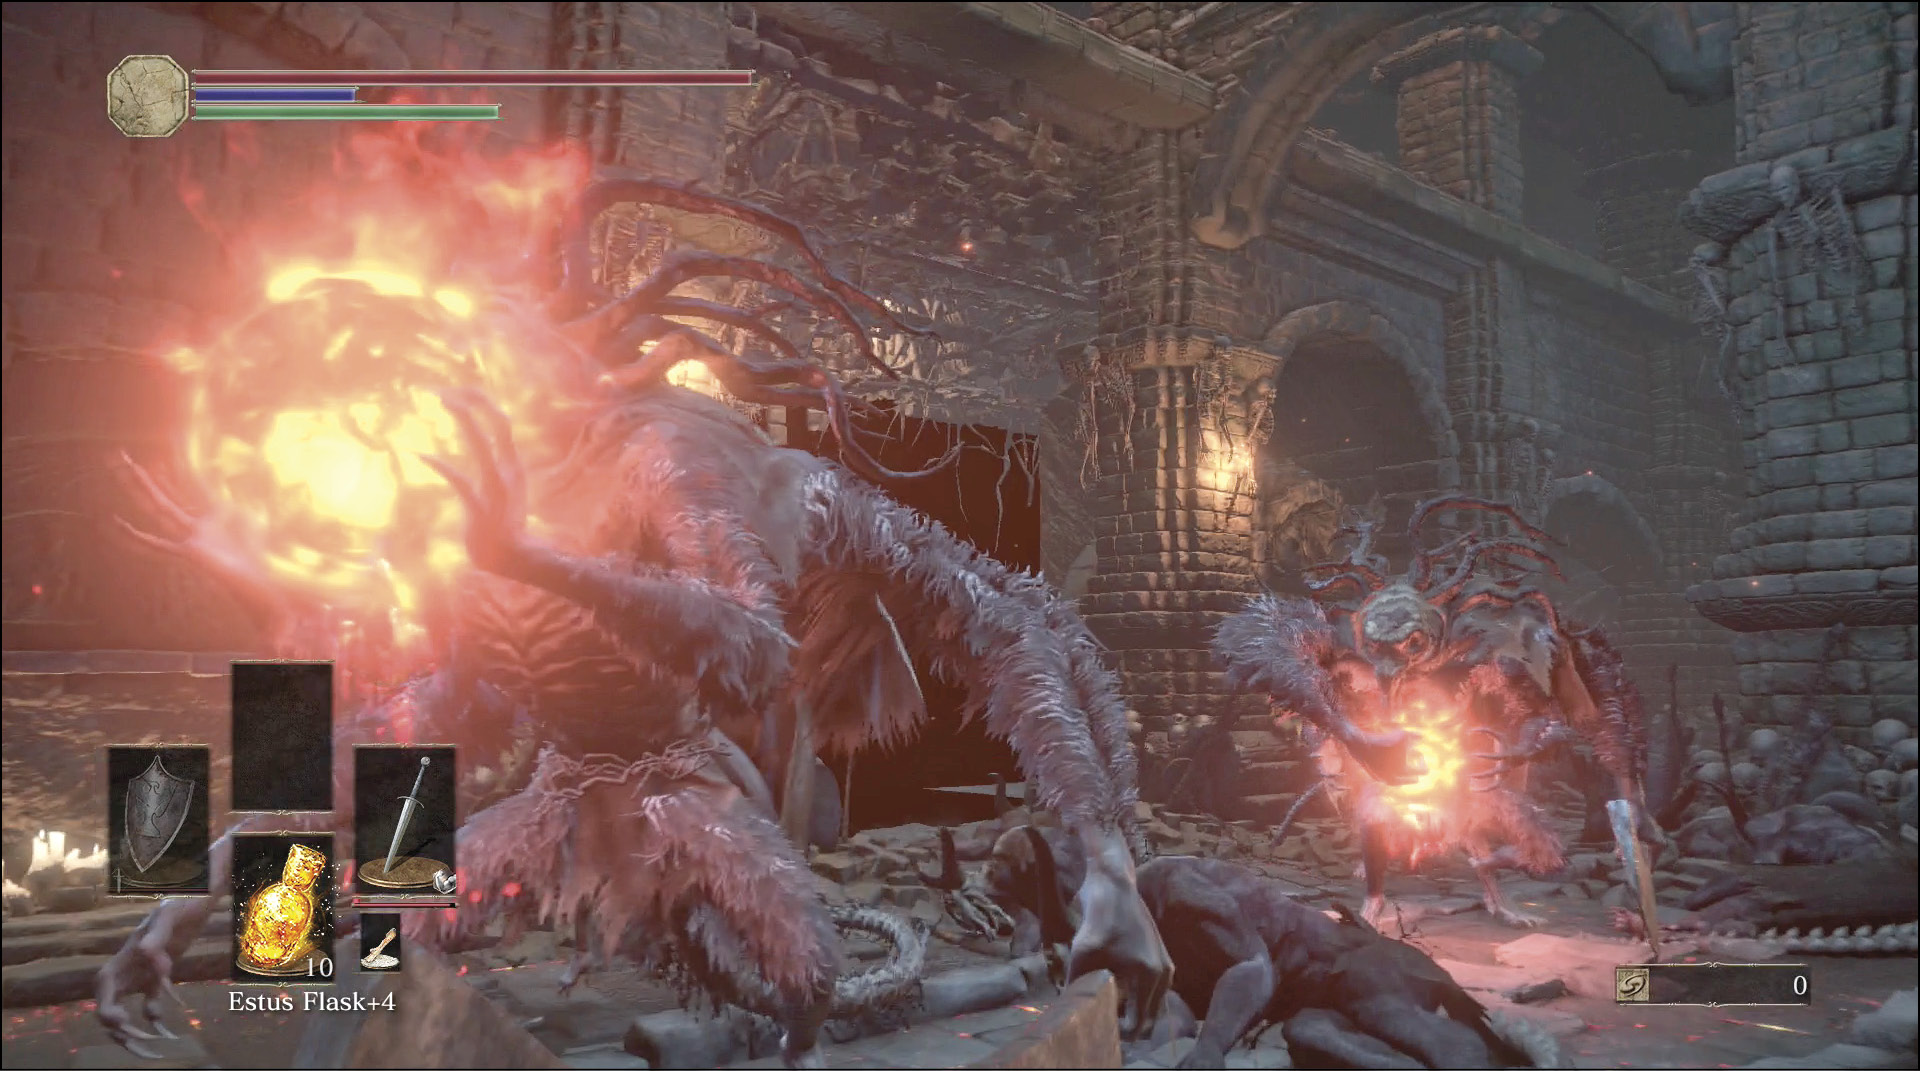
 The open chamber has two Demon Clerics. They’ll support each other with melee attacks and ranged fireballs, so they’re a huge hassle. Plink away at one of them when you’re at range to soften or kill it. Once isolated, the other one poses no threat. It’s worth killing these two because they have very nice treasure behind their starting point. It's an Undead Bone Shard!
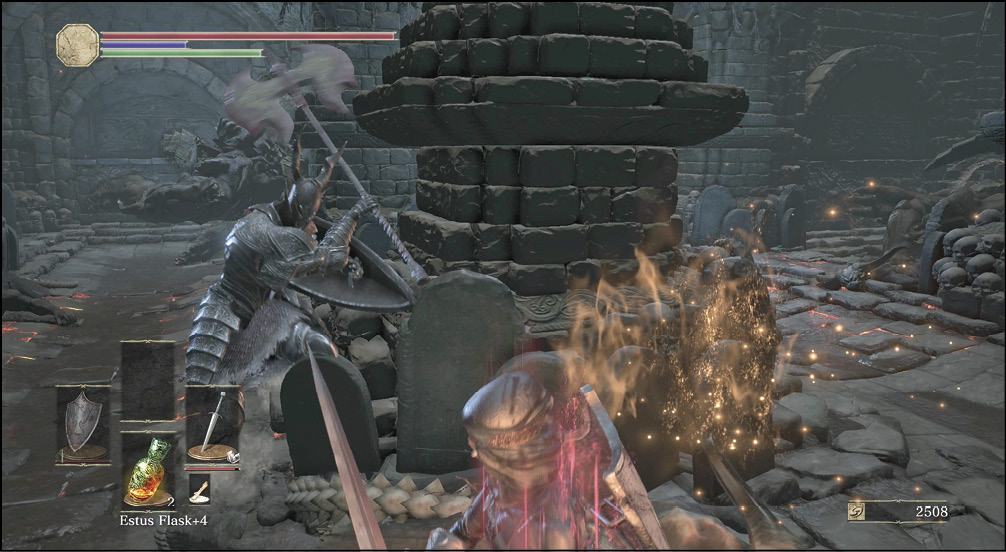
 A long hallway stops suddenly, looking more than a little suspicious. Attack the wall to open a secret door. Behind it is a room with a Black Knight and a Smoldering Ghru. Let the former kill the latter. Then, you can attack the knight with gusto. If you have trouble, retreat and use ranged attacks to wound the Black Knight. It has no response to this, though the battle takes a long time if you have to keep retreating.
Once you’ve beaten your adversary, search the room for the Black Knight Sword. Black Knight weapons deal 20% more damage against Demons, useful in this area! On New Game +2, you also receive a Flame Stoneplate Ring+2 in this chamber.
 Several more Smoldering Ghrus are in the south. They’re spread out within their chamber, so it’s not too hard to kill them individually without much risk. The staircase in the southeast gets you back up to the higher tier of the room, which lets you explore for more treasure.
Bonfire—Demon Ruins
 To collect the Estus Shard that was mentioned earlier, you have to open another secret door. This one is in the room at the top of the staircase. Hit the northern wall to open it, and then follow the corridor around to your treasure.
Mercifully, this room also has a Bonfire. By the time you get here, you probably need a refill for your Estus Flasks.
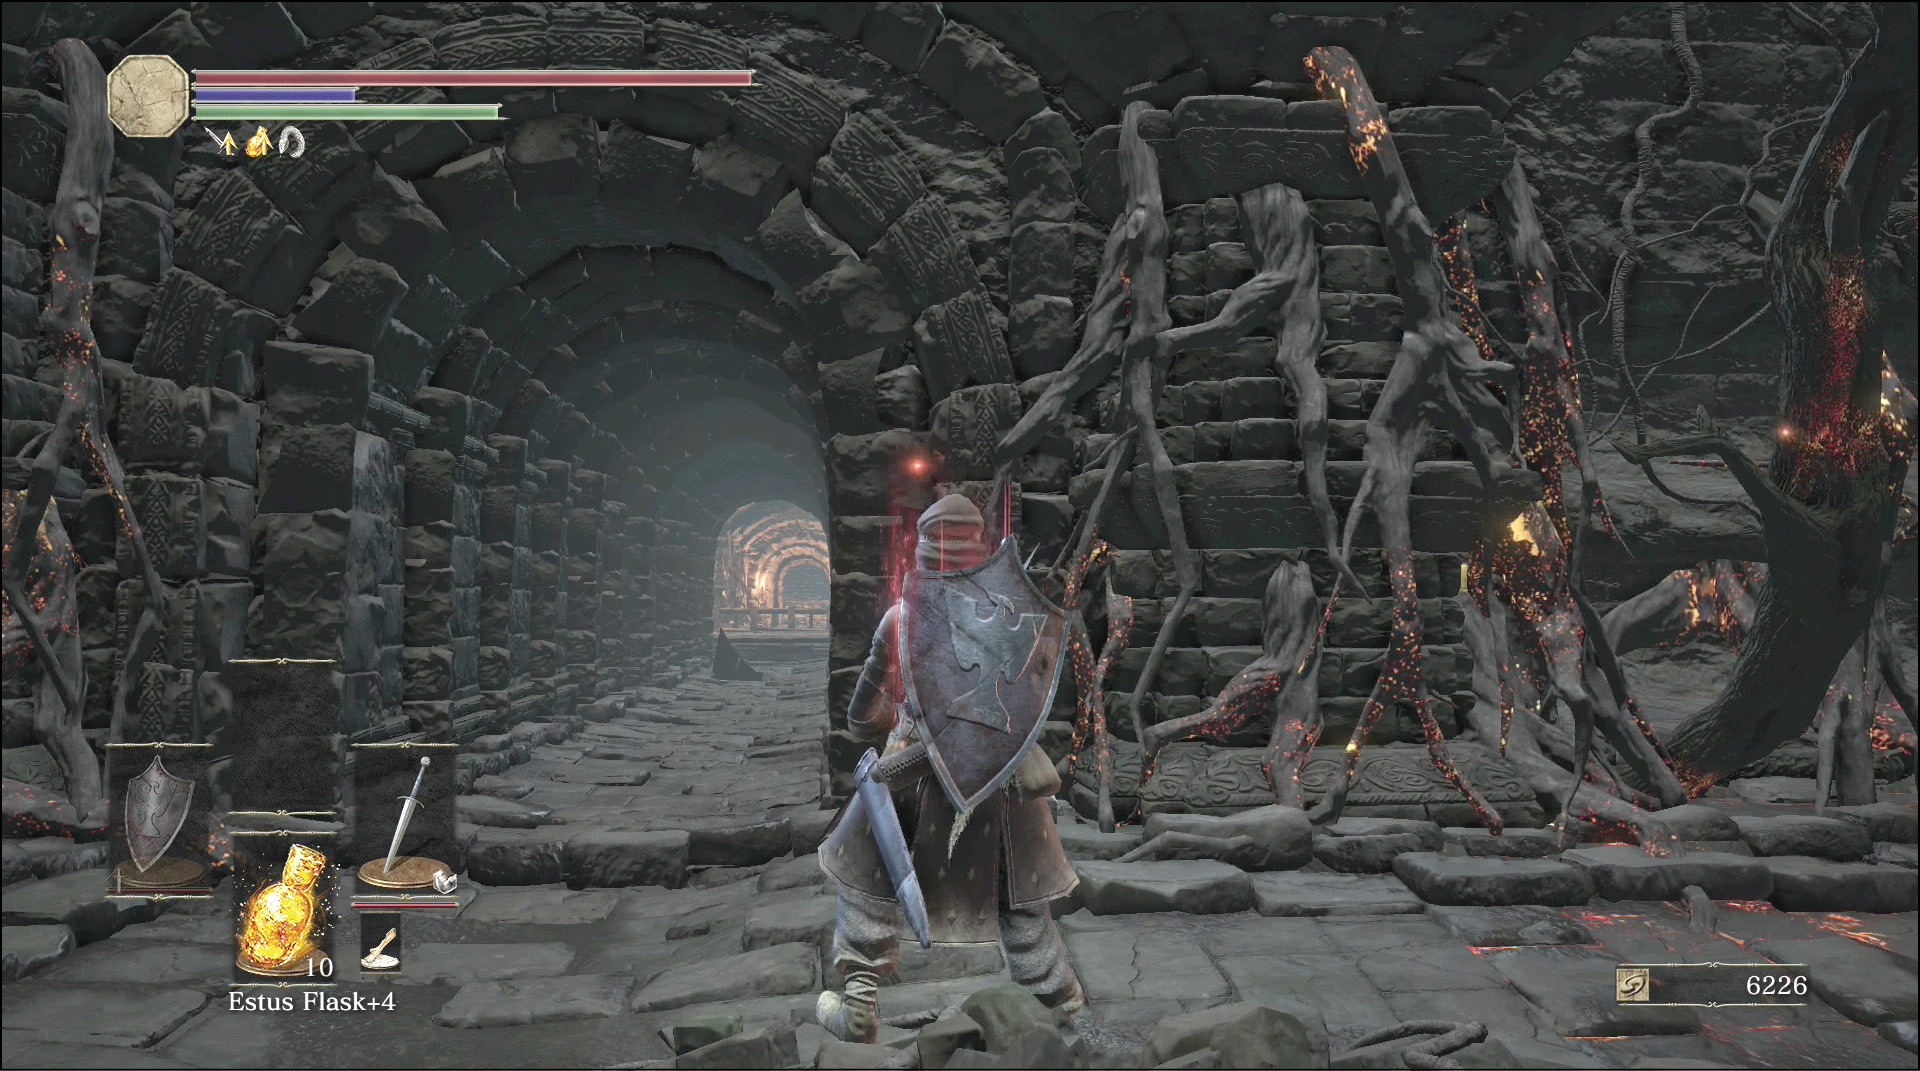
 Smoldering Ghrus protect this room and its treasure. Watch the sides of the room as you come in; it’s easy to focus on the enemy in front of you and miss the more dangerous ones that have a flanking position. The Izalith Pyromancy Tome is in this room.
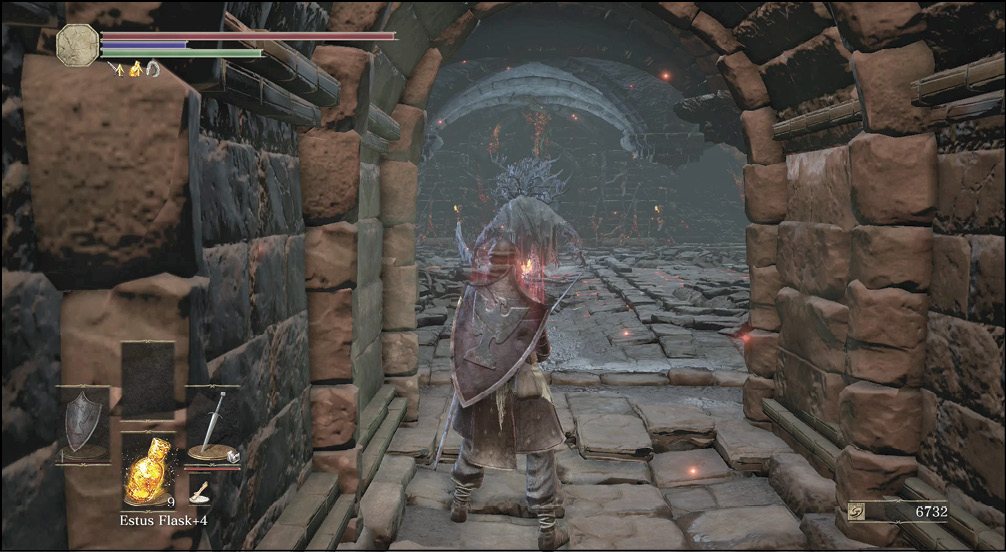
 There are two ways to get down to the lowest tier of the dungeon. You can drop through the pit on the eastern side of the middle tier. Or, you can take the stairs leading down at the northern end of that area. The stairs are the safer choice because you can retreat, and the initial hallway below is an ugly one.
First off, there is a multitude of Hound-rats. You can be overwhelmed and chain interrupted until you’re dead if you leap down and don’t have a good sweeping weapon or enough Poise to fend off the attackers. More dangerous is the pack of Basilisks below, be careful not to rush into their midst.
Look for a pair of secret doors on the eastern edge of the corridor. A chest is sandwiched inside of them, and it has a distraction inside, three Large Titanite Shards. The real prize is behind the second secret door, the Izalith Staff.
.jpg)
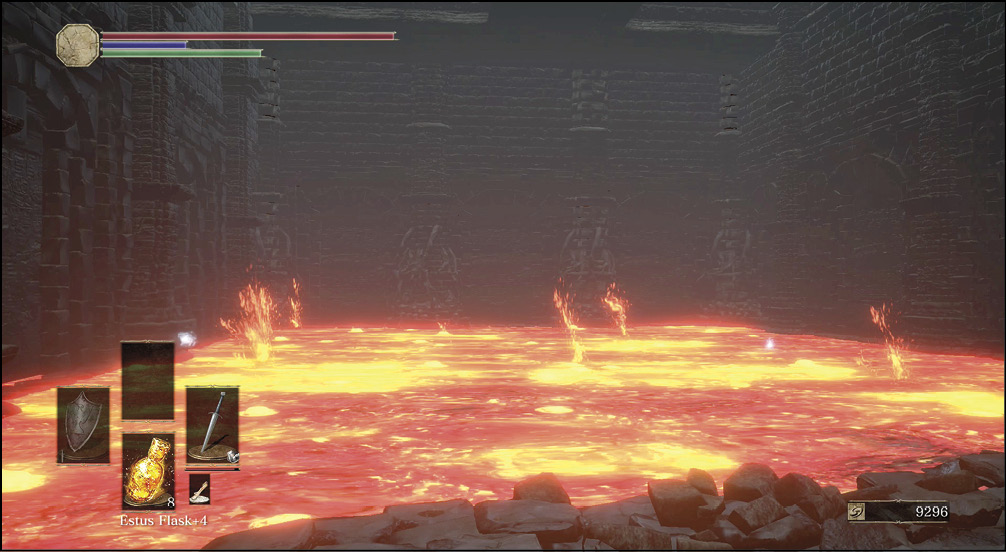
 Another lava pool has a couple of items and Knight Slayer Tsorig. You meet this Greatsword wielder on the stairs leading down to the lava. Pull back so that you are fighting on even ground, and bait out his slower attacks. This foe has a few nice pieces of equipment, so you’re well rewarded in victory! You get the Fume Ultra Greatsword and a Black Iron Greatshield.
This pool has several more items. Remember to put on your Flame Stoneplate Ring and use Flash Sweat if you’re going out after these goodies. Sacred Flame is out on the lake field.
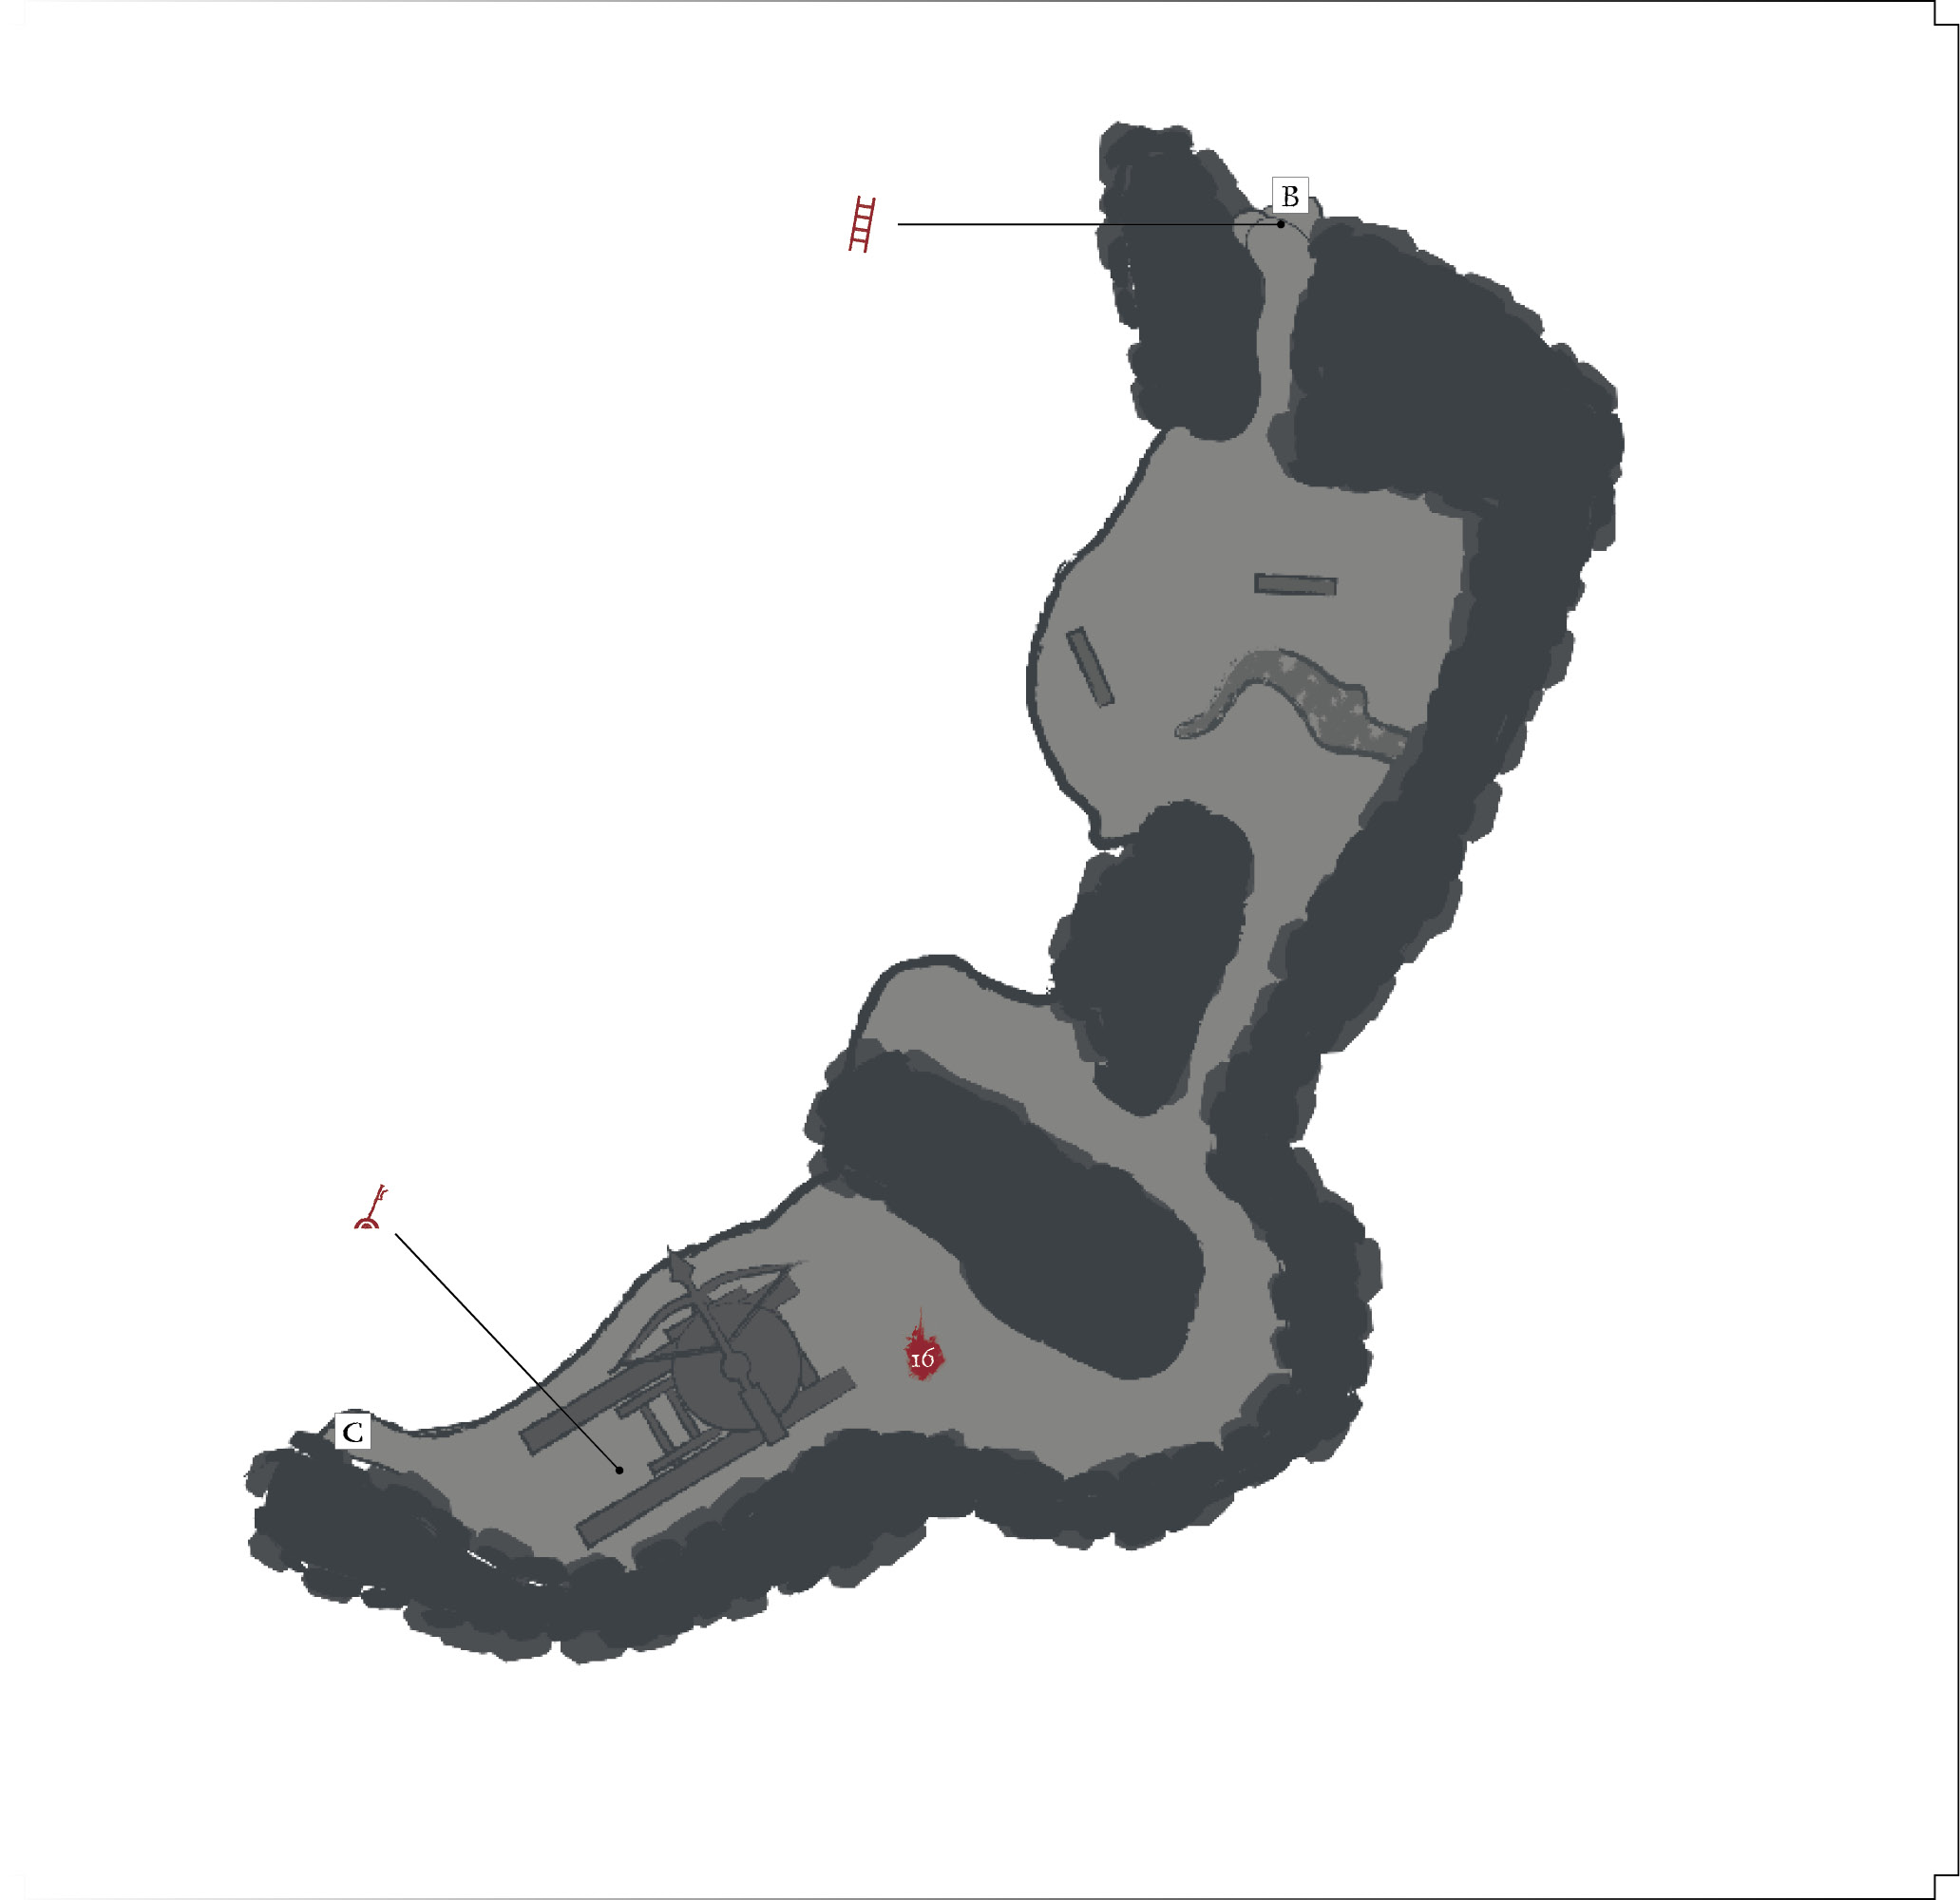
 You finally reach the end of the dungeon. A lonely Black Knight guards the bridge that takes you out of this area. It leads to a ladder, and up toward the ballista’s platform. Skeleton Wheels, Skeletons, and Skeleton Swordsmen are on the ledges above. Fight cautiously here because you’re very close to your goal. Also, look out for a Dragonrider Bow as you climb the ladders up to that tier. A small ledge has this bow, and you can safely drop down to get it.
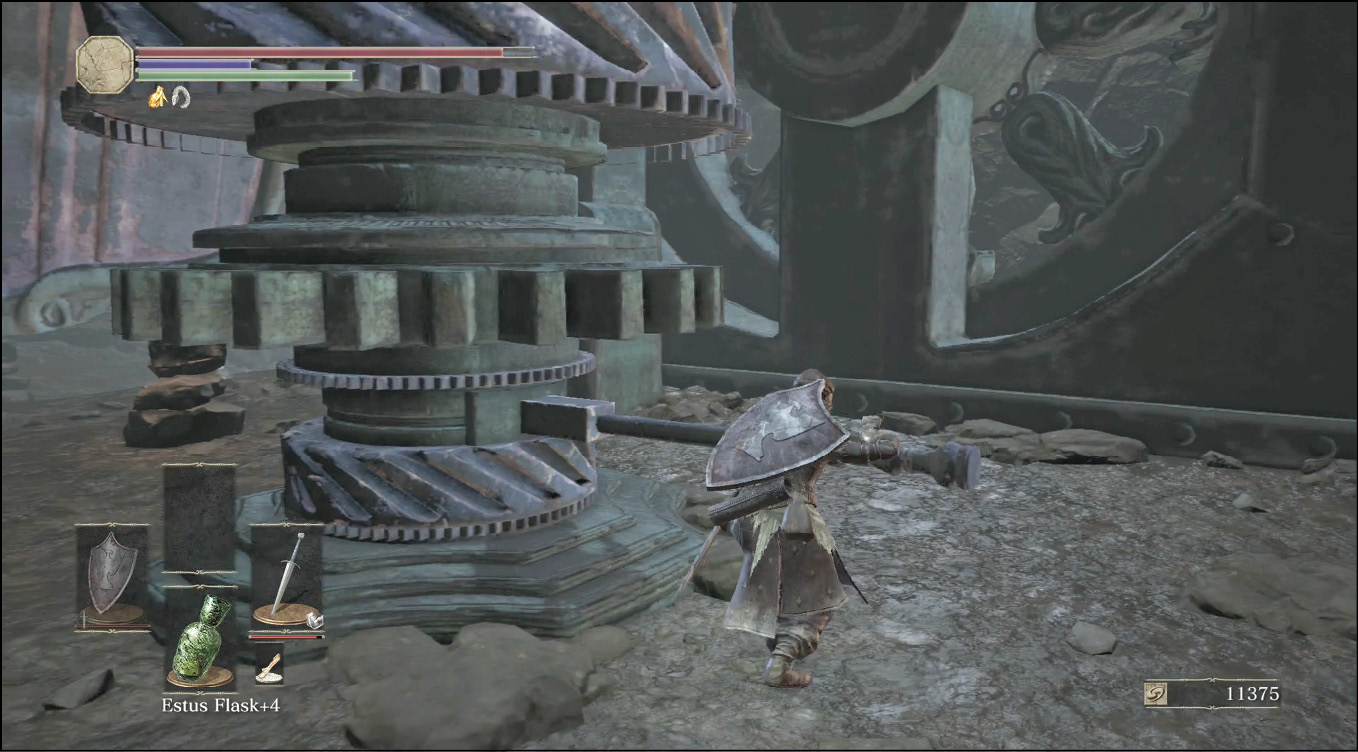
The ballista is at the very top of the hill. Use the crank beneath it to stop the weapon from firing ever again. This allows you to search the entirety of the Smouldering Lake without the constant threat of knockdowns and free damage. There is a fast way down if you hop onto a series of platforms at the edge of the cliffs, or you can use a Homeward Bone to back up without wasting time. On New Game +1, there is a Bloodbite Ring+1 near the Ballista.
Remember you need the ballista activated to break the wall to the Speckled Stoneplate Ring, so you should try to grab this rarity before coming up here and deactivating the ballista.