Dark Souls III Guide (Steam) Walkthrough
Smouldering Lake
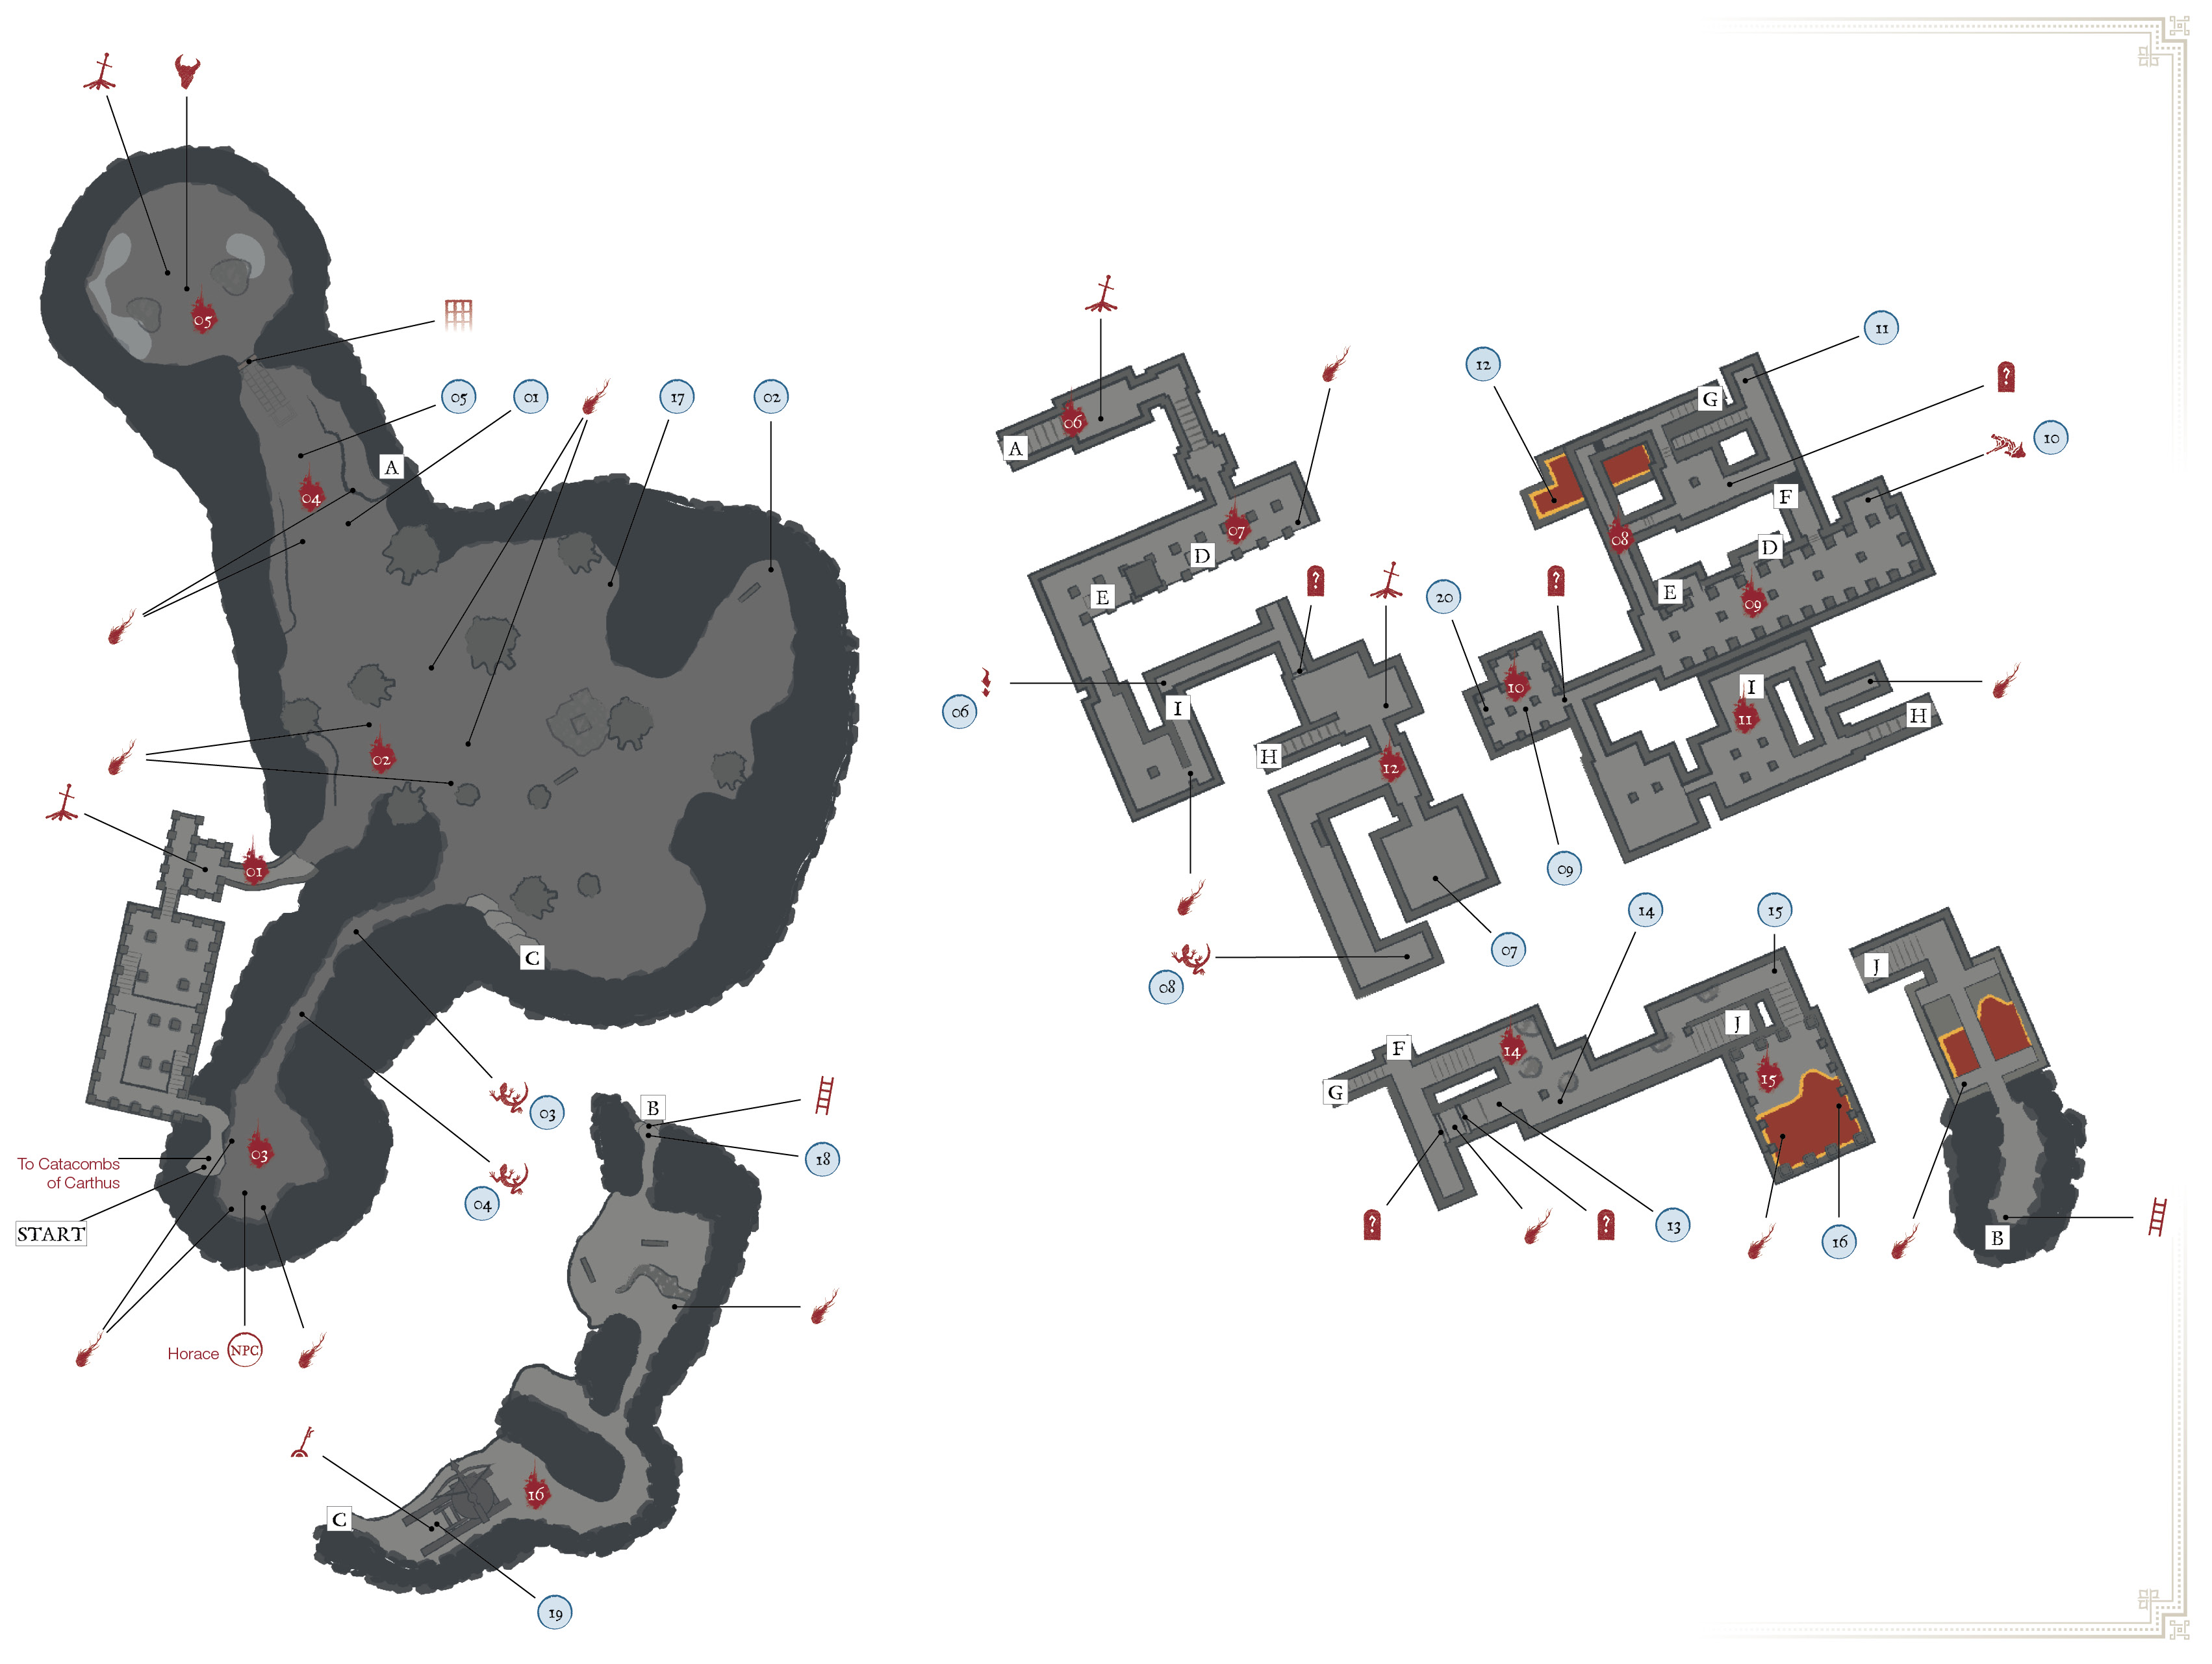
Major Items
 | Major Items |
|---|---|
| 1 | Shield of Want |
| 2 | Chaos Gem |
| 3 | Twinkling Titanite |
| 4 | Titanite Chunk |
| 5 | Lightning Stake, Undead Bone Shard (on Carthus Sandworm) |
| 6 | Estus Shard |
| 7 | Izalith Pyromancy Tome |
| 8 | Chaos Gem |
| 9 | Black Knight Sword |
| 10 | Undead Bone Shard |
| 11 | Quelana Pyromancy Tome |
| 12 | Toxic Mist, White Hair Talisman (both in lava) |
| 13 | Izalith Staff |
| 14 | Titanite Scale |
| 15 | Fume Ultra Greatsword, Black Iron Greatshield (on Knight Slayer Tsorig) |
| 16 | Sacred Flame |
| 17 | Speckled Stoneplate Ring (must break wall with Ballista shot) |
| 18 | Dragonrider Bow |
| 19 | Bloodbite Ring+1 (New Game +1) |
| 20 | Flame Stoneplate Ring +2 (New Game +2) |
Bonfires Located Here
| Bonfire Name |
|---|
| Abandoned Tomb |
| Old King’s Antechamber |
| Demon Ruins |
| Old Demon King (Boss) |
Enemies
| Enemy Name |
|---|
| Great Crab |
| Crystal Lizard |
| Old Demon King |
| Carthus Sandworm |
| Demon Cleric |
| Smoldering Ghru |
| Writhing Rotten Flesh |
| Basilisk |
| Hound-rat |
| Black Knight |
| Large Hound-rat |
| Demon Statue |
| Skeleton Swordsman |
| Skeleton Wheel |
Key Discoveries
| Discovery |
|---|
| Horace the Hushed |
Bonfire—Abandoned Tomb
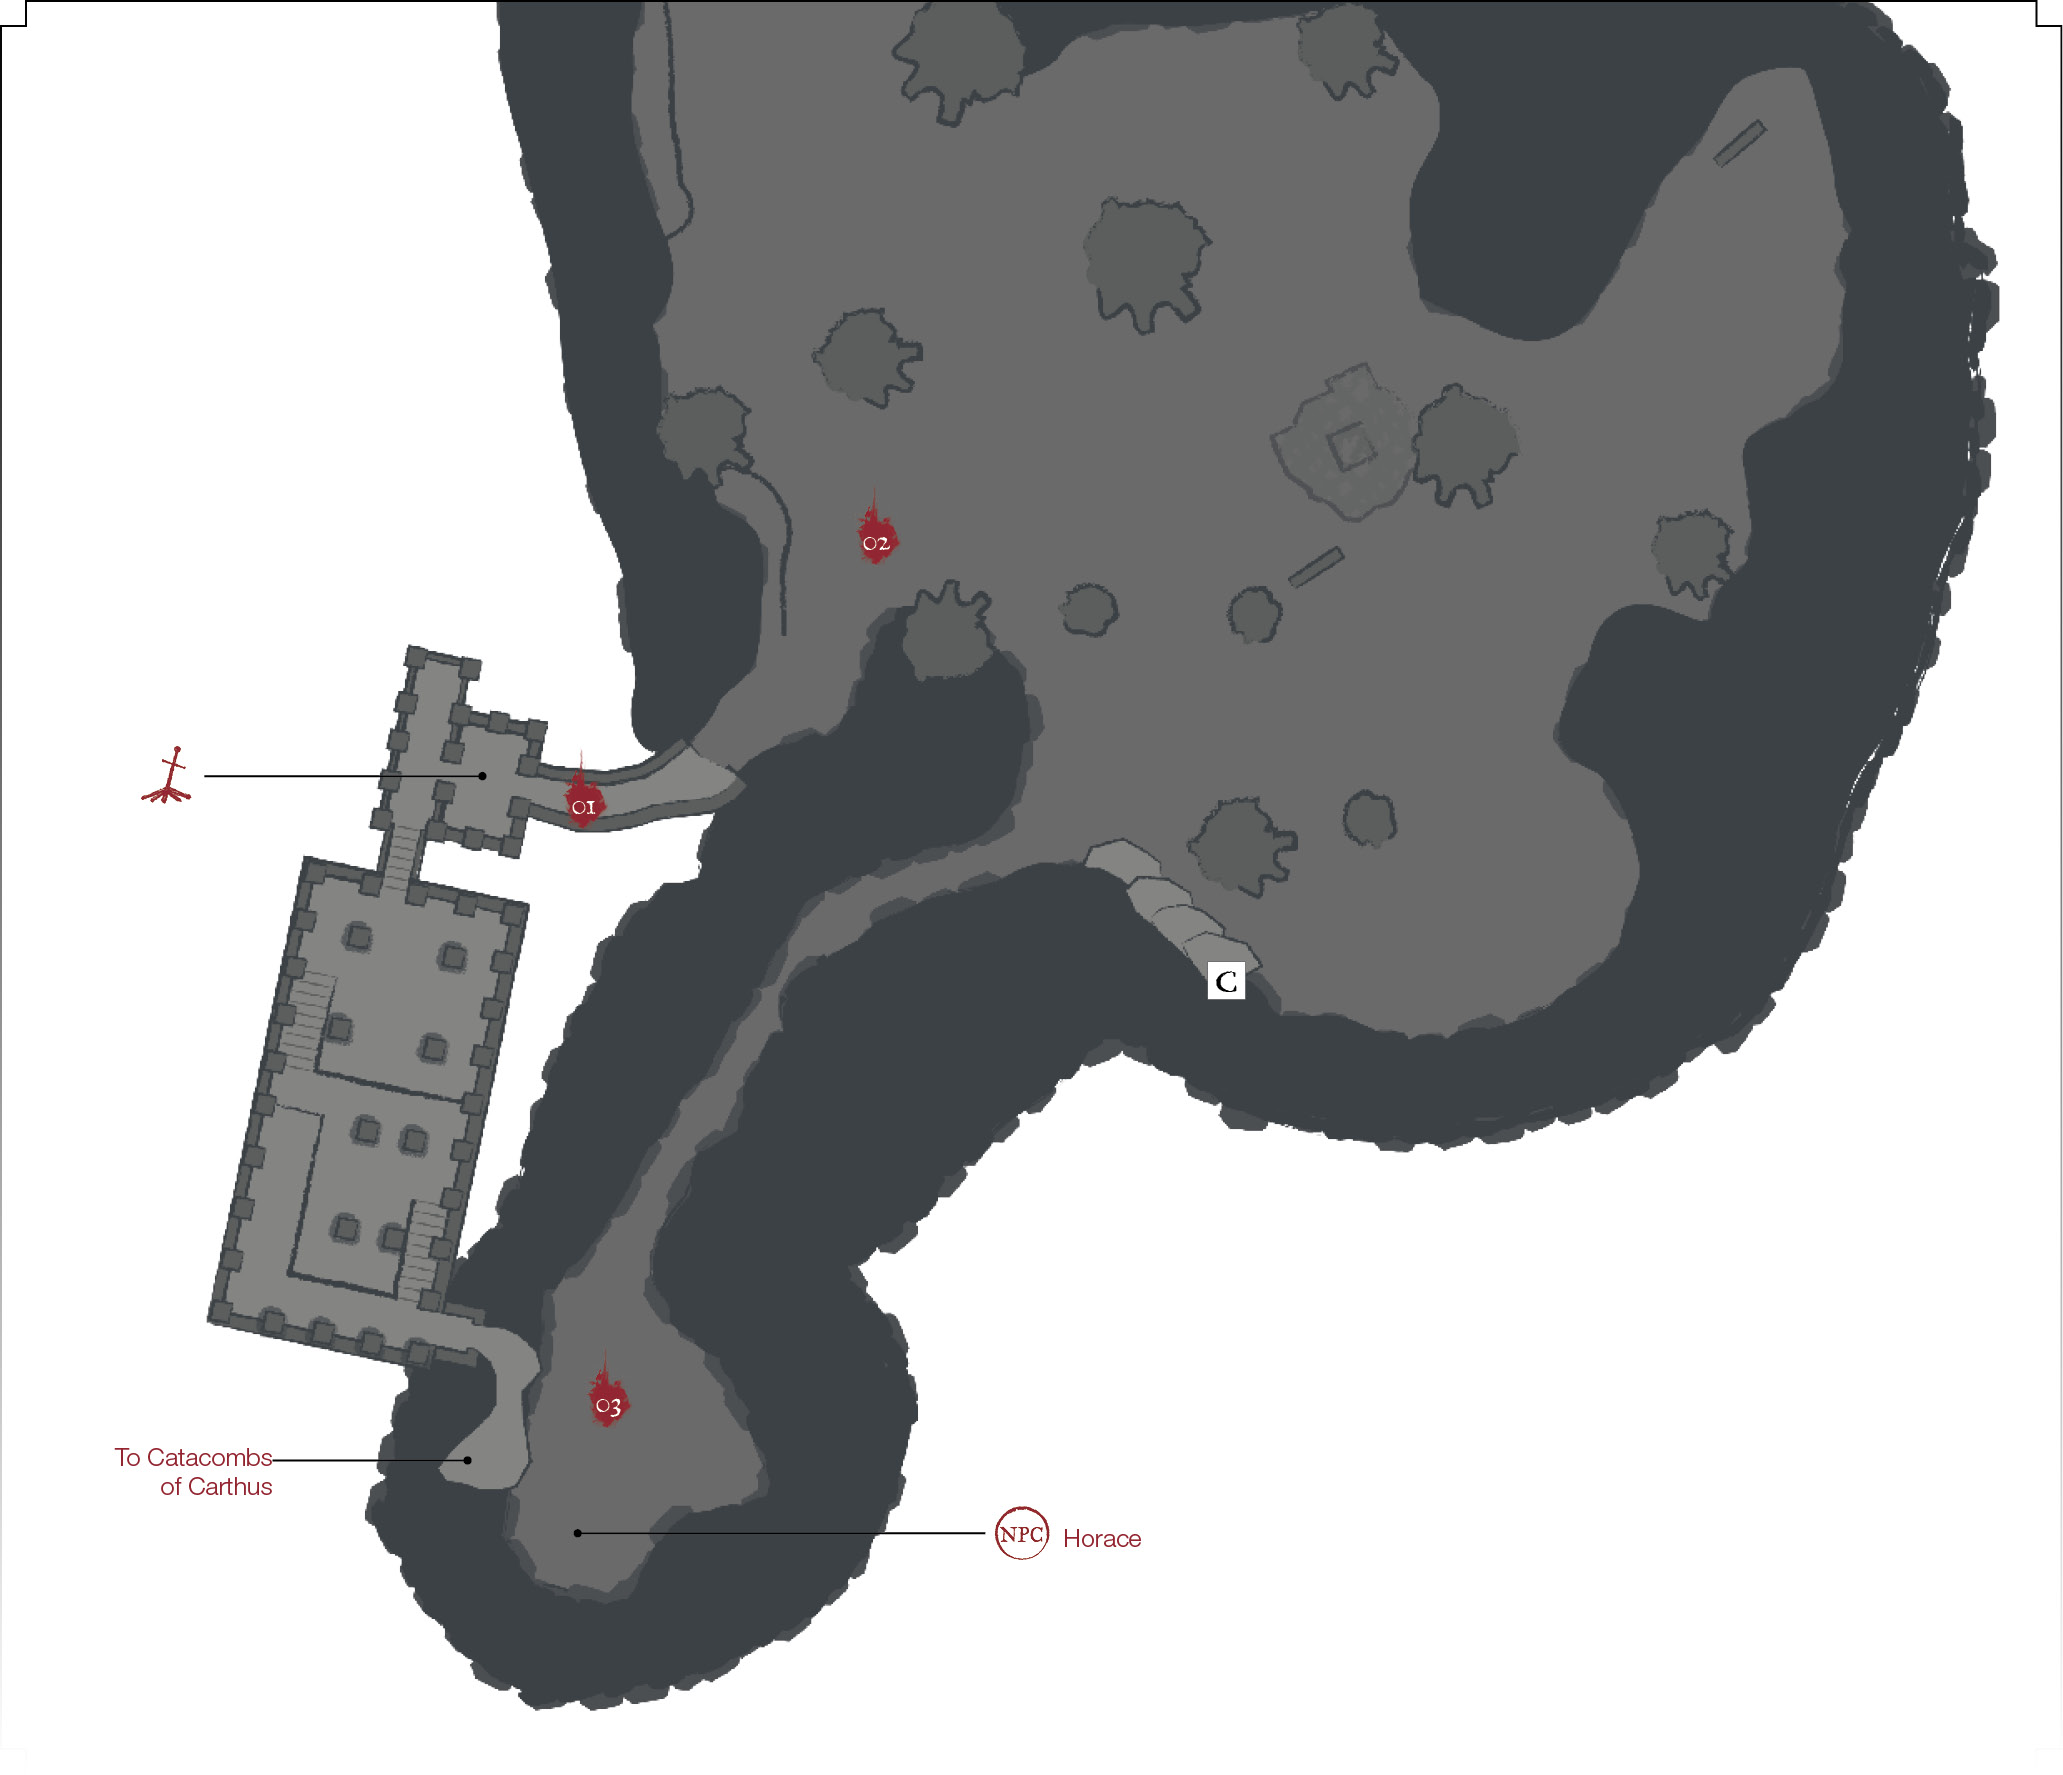
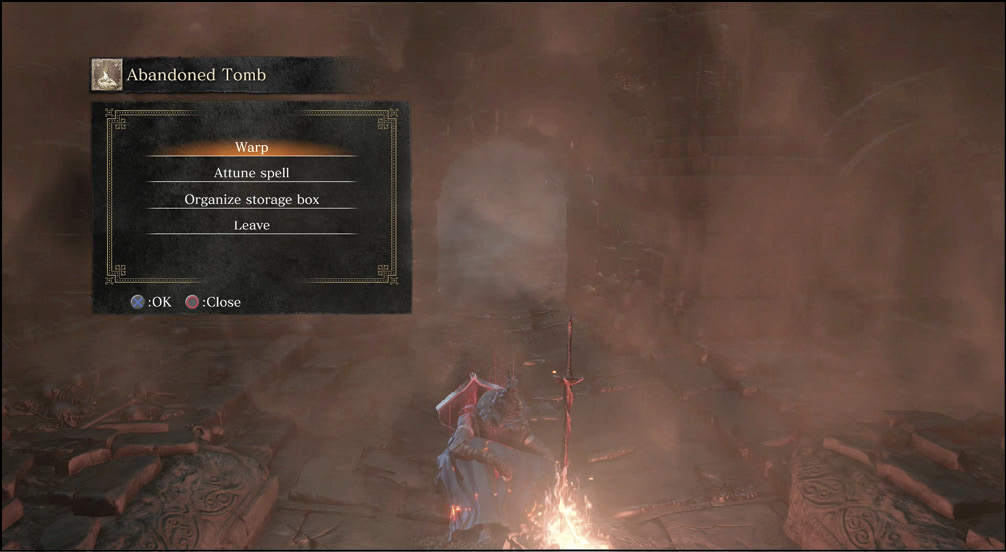
 The Abandoned Tomb Bonfire is impossible to miss. It’s on your way down from the Catacombs of Carthus into the Smouldering Lake region. Rest here. Things get ugly very soon. It’s tough enough that players with less experience may want to run through the next area, grabbing loot without caring whether their character gets killed or not. The treasure is so powerful down there that these “suicide” runs pay for themselves in spades. You can get upgrade materials left and right, and Large Titanite Shards are commonplace here.
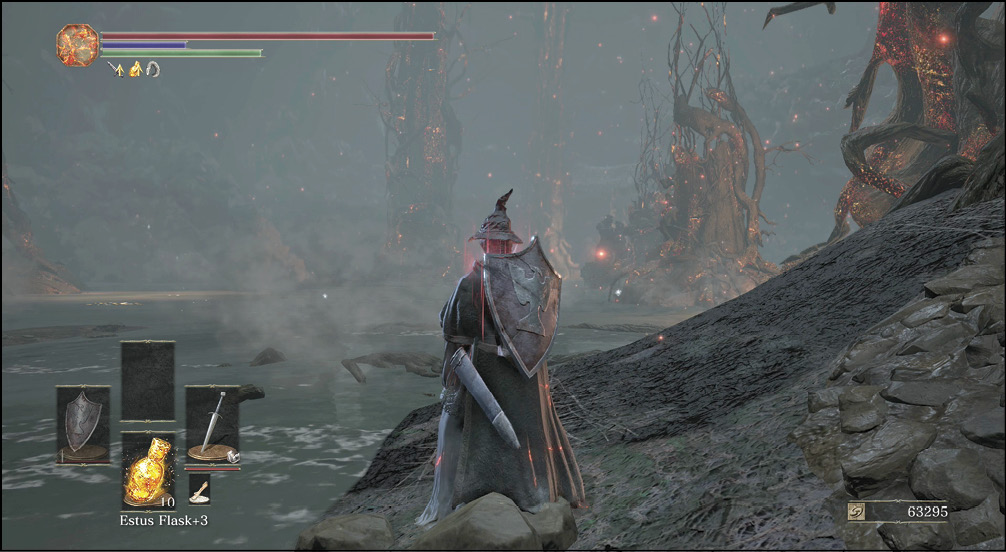
 You won’t get 10 steps into the lake before you realize how rough things are going to be here. The enemies are larger than life, and a humongous siege weapon has been installed on the cliffs to the south. Whenever there is a direct line of sight between you and the ballista up there, a series of shots rains down.
The shots come in waves of three, and each will knock you down if you don’t roll at the correct time. Until you shut off this weapon, it’s going to be a royal hassle.
Great Crabs are a common sight as you try to pick up the treasure that has been left all over the lake. Roll away from them and sprint to safety. Once the ballista is down, it’s okay to fight the Great Crabs. Even then, use a ranged weapon to pull them away from each other so that you can kill them individually.
 A narrow tunnel leaves the main room; look for this in the southwest. Along your way, kill both of the Crystal Lizards. There is more treasure in the cavern you reach, but beware: Horace the Hushed is present. If you’ve been following Anri’s line, this NPC will be here, attacking anyone who gets close to him. Read “A Few May Help You on Your Path” to learn more, because this NPC questline is very complex.
Major Battle
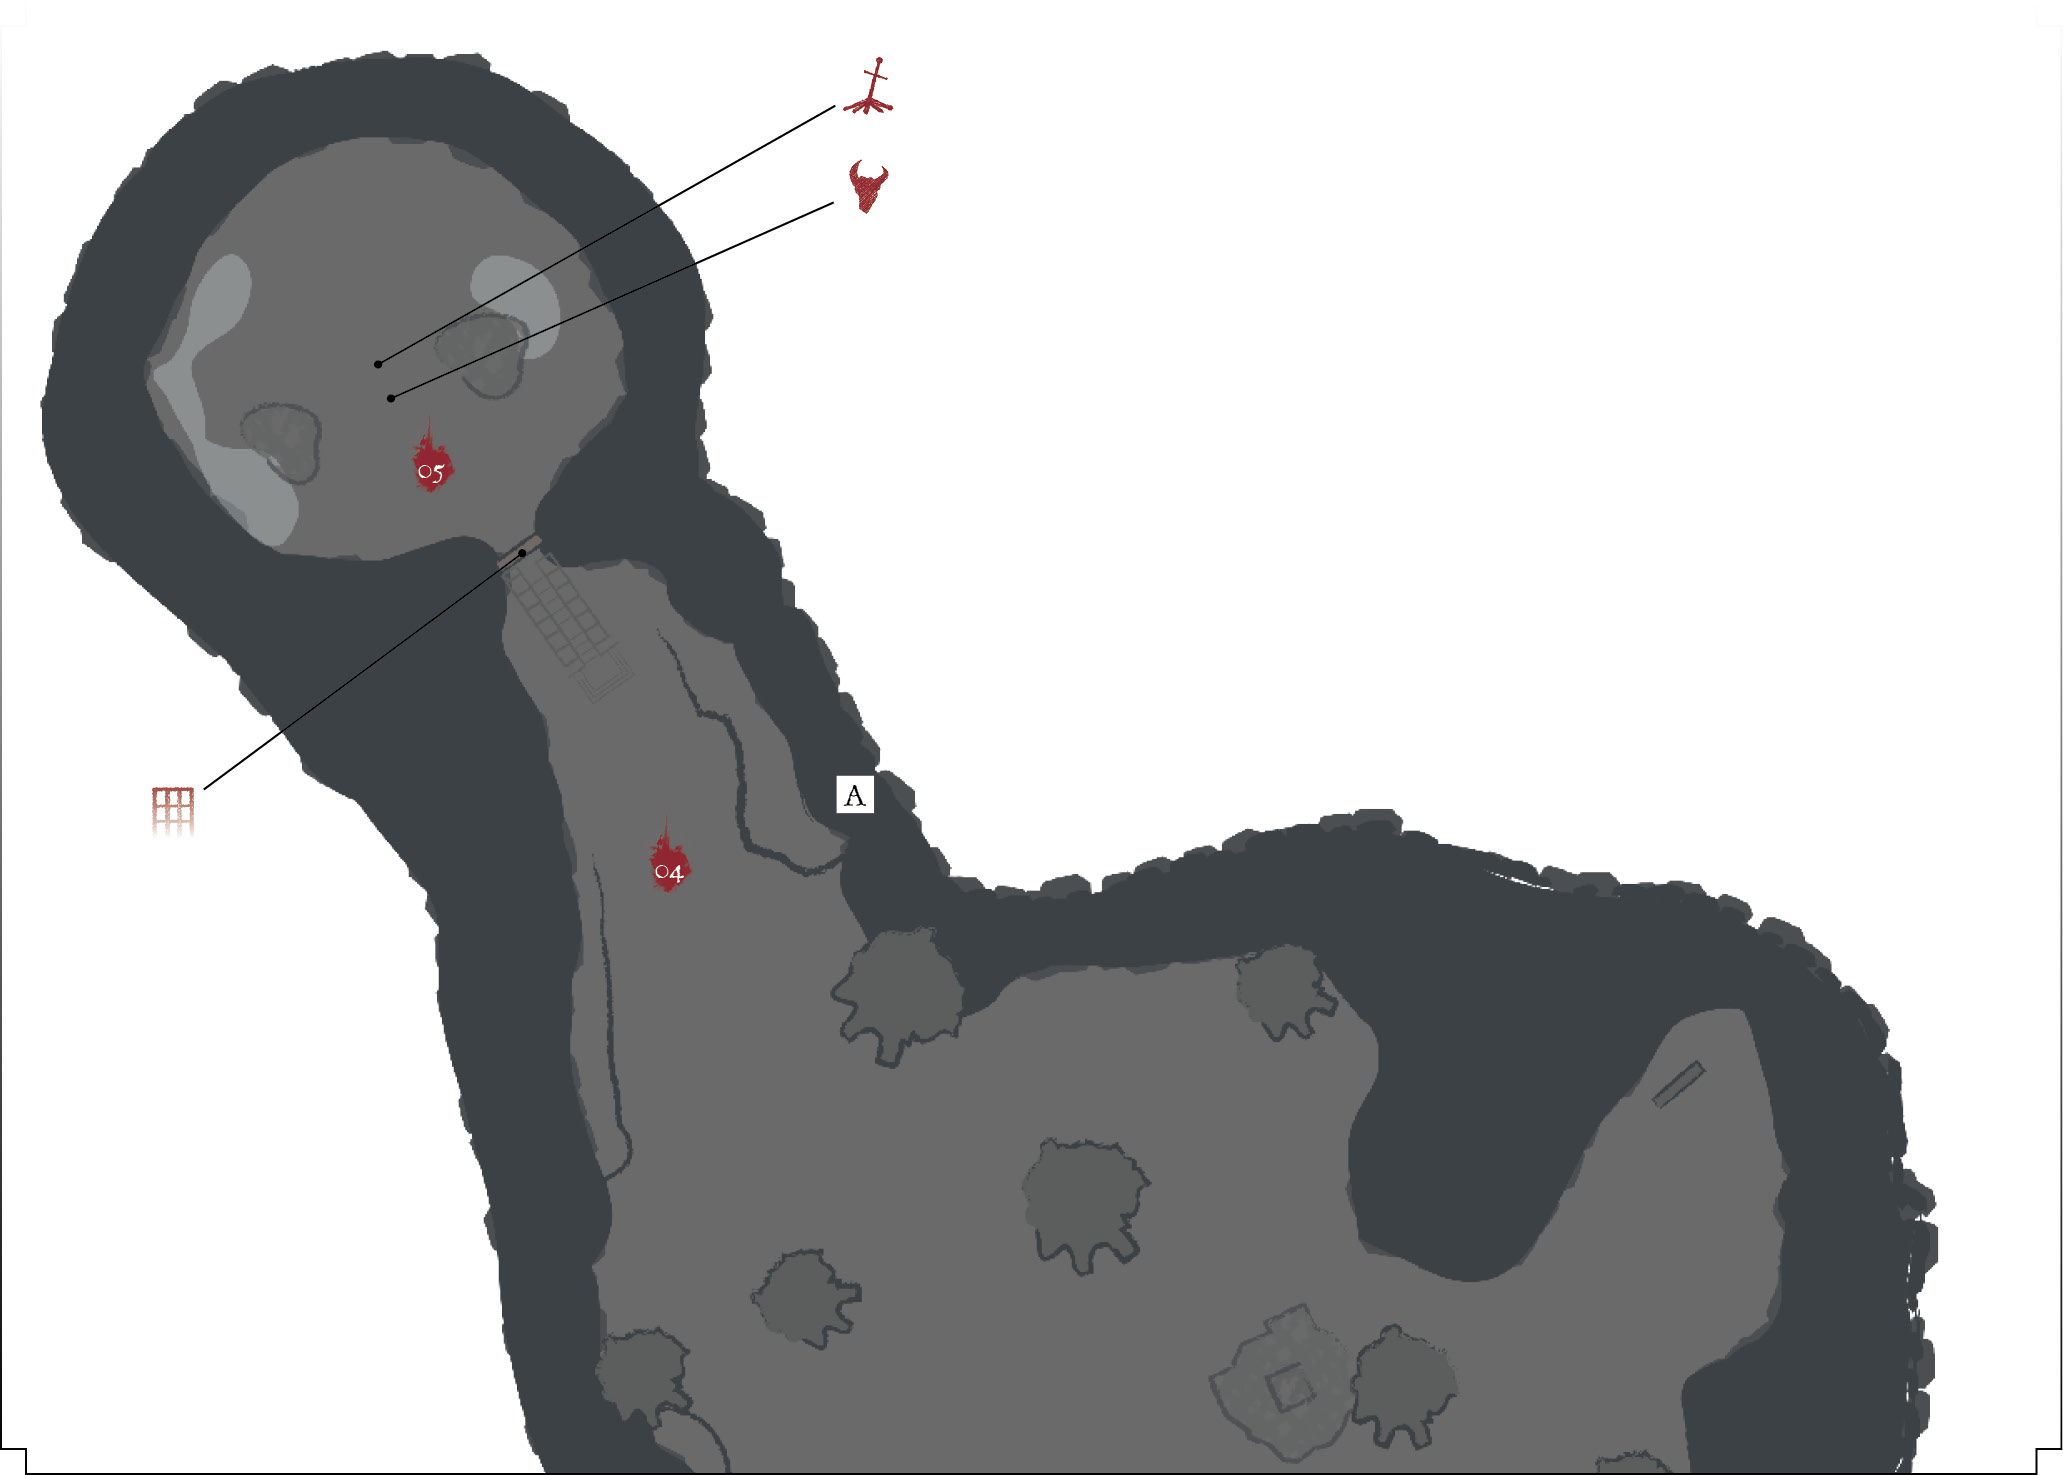
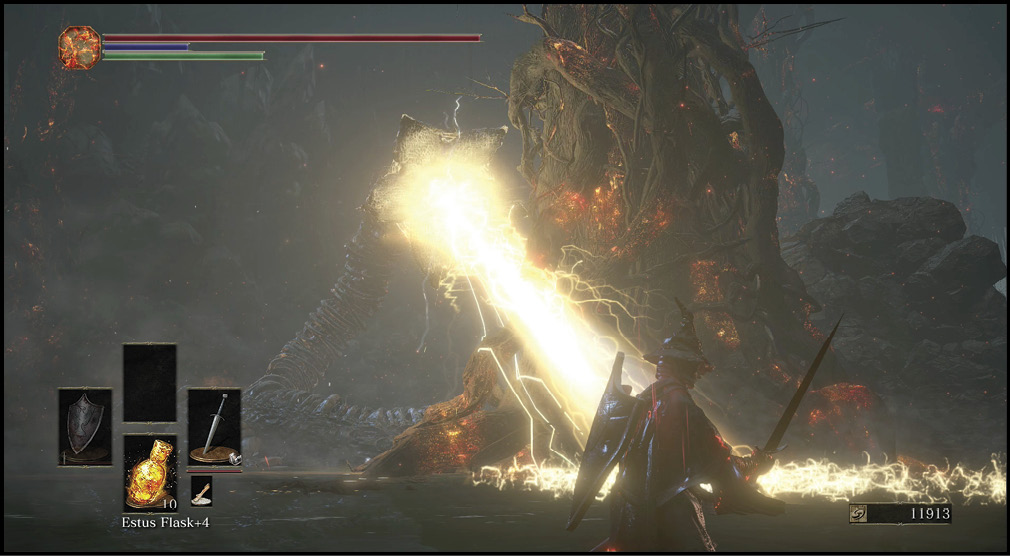
 The ballista attacks are bad enough, but things are even worse in the northern half of the map. Up there is a Carthus Sandworm that burrows through the ground and attacks anyone who comes near. It’s extremely hard to hurt this creature with melee attacks. Although you don’t need to kill it, ranged weaponry is vastly superior for doing so.
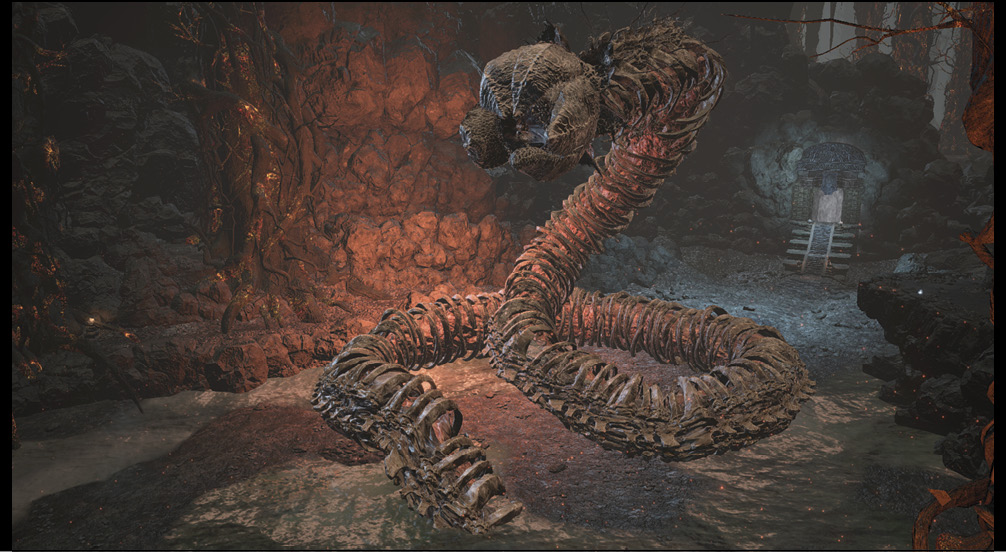
There is a ledge in the northeast that is safe from the Carthus Sandworm. If you so choose, fire from this position to kill the creature without letting it come after you. Once the Carthus Sandworm dies, you can move much more easily around the northern lake. Because the ballista can’t target enemies on that ledge, you can do this at any time. You receive Lightning Stake and an Undead Bone Shard when you kill the worm. A Shield of Want is also close by, in the area that the worm was guarding.
Farther east is a wall that is blocking a Speckled Stoneplate Ring. You need to stand near the wall and trick the ballista into breaking it for you.
That same ledge also ushers you into another section of this region. It leads toward another Bonfire, the ballista (which can be turned off), and plenty of treasure. The path is winding and dangerous, so go here only when you’re ready.
Major Battle
 Even if the ballista and Carthus Sandworm are both active, you can still reach a boss here in the Smouldering Lake. Sprint to the northern tip of the lake, and look for a large cave. Enter this cave to trigger the boss fight.