
Dark Souls III Guide (Steam) The Bestiary
Road of Sacrifices
Enemy Data
| Name | HP | Souls | Item Drop | Special Ability | Weakness | Resistant to | Ineffective | Type & Effective Items |
|---|---|---|---|---|---|---|---|---|
| Cathedral Evangelist | 804 | 380 | Spiked Mace/Evangelist Hat/Evangelist Robe/Evangelist Gloves/Evangelist Trousers/Titanite Shard/Blessed Gem | Elemental Attack (Fire) | Thrust | Fire | None | Hollow/Alluring Skull/Rapport |
| Hollow Manservant | 675 | 320 | Great Machete/Titanite Shard/Rubbish | Ailment (Bleed) | None | None | None | Hollow/Alluring Skull/Rapport |
| Black Knight | 640 | 900 | Black Knight Greatsword/Black Knight Shield/ Black Knight Helm/Black Knight Armor/Black Knight Gauntlets/Black Knight Leggings/ Ember | None | Dark/Frost | Poison & Toxic/Bleed | None | None |
| Crystal Sage | 2723 | 8000 | Soul of a Crystal Sage(Fixed) | Elemental Attack (Magic) | Physical Attack/Poison & Toxic | Magic | None | None |
| Lycanthrope | 816 | 350 | Titanite Shard/Ember | None | Slash/Bleed | Poison & Toxic | None | Hollow/Alluring Skull/Rapport |
| Lycanthrope Hunter | 294 | 150 | Pike/Titanite Shard | None | Poison & Toxic | None | None | Hollow/Alluring Skull/Rapport |
| Sage’s Prentice | 181 | 60 | Long Sword or Light Crossbow or Broken Straight Sword or Dagger or Pike/Wooden Shield/Throwing Knife/Firebomb/Crystal Gem | Light Crossbow: Elemental Attack (Fire) | Poison & Toxic | None | None | Hollow/Alluring Skull/Rapport |
| Sage’s Devout | 499 | 280 | Sorcerer’s Staff/Crystal Gem | Elemental Attack (Magic) | Poison & Toxic | Magic | None | Hollow/Alluring Skull/Rapport |
| Starved Hound | 204 | 80 | None | None | Fire | None | None | Hollow/Alluring Skull |
| Festering Starved Hound | 272 | 80 | None | None | Fire | Poison & Toxic | None | Hollow/Alluring Skull |
| Crystal Lizard | 97 | 0 | Crystal Gem(Fixed)/Twinkling Titanite(Fixed) | None | None | Magic | Poison & Toxic/Bleed/Frost | None |
| Corvian | 359 | 90 | Corvian Greatknife or Great Corvian Scythe/Shriving Stone | Scythe: Ailment (Bleed) | Bleed | None | None | Alluring Skull/Rapport |
| Corvian Storyteller | 359 | 360 | Storyteller’s Staff/Hollow Gem | Elemental Attack (Fire)/Ailment (Poison) | Bleed | None | None | Alluring Skull/Rapport |
| Great Crab | 1058 | 800 | Great Swamp Ring(Fixed first time)/Titanite Shard | Slows character’s movement | Frost | Slash | Bleed | Alluring Skull |
| Lesser Crab | 96 | 30 | Bloodred Moss Clump/Purple Moss Clump | None | Frost | Slash | Bleed | Alluring Skull |
| Poisonhorn Bug | 192 | 40 | Rotten Pine Resin | Ailment (Poison) | Fire/Frost | None | Poison & Toxic | None |
Corvian
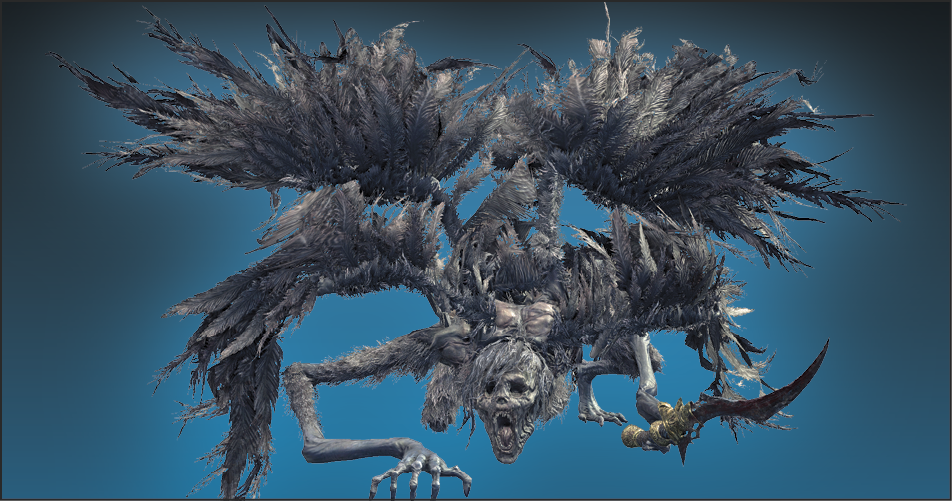
Corvians are usually in small groups of 2-4 members. They are led by a Corvian Storyteller. Both types of these enemies are vulnerable for a short time as you meet them. They’ll only become active after getting up and finishing a transformation. Corvian become berserk after that, and then they’re nasty.
The typical method for winning these fights is to charge. Race into the group, kill the Corvian Storyteller first if at all possible, then get as many Corvian down as you can before they are ready for the real fight.
Once berserk, they’ll attack with very fast combos. Find higher ground and use plunging attacks, ranged or thrown weapons, or melee weaponry with greater reach to kill them safely.
Corvian Storyteller
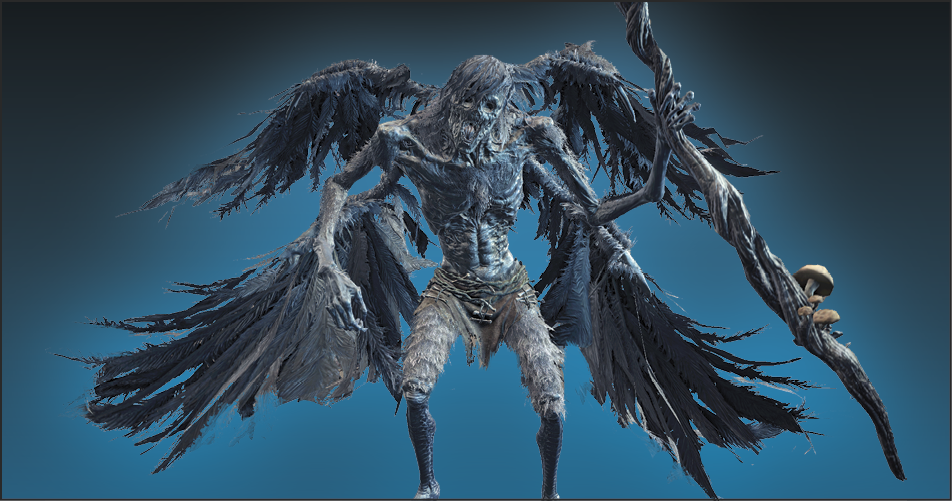
Corvian Storytellers have ranged, magical attacks. They’ll support the Corvian in the area with slow but consistent shots from quite far away. This is why they’re good targets to kill first, because that reduces the fights to a single type of enemy (Corvians only have melee attacks). Corvian Storytellers are rubbish at defending themselves up close.
Lycanthrope Hunter
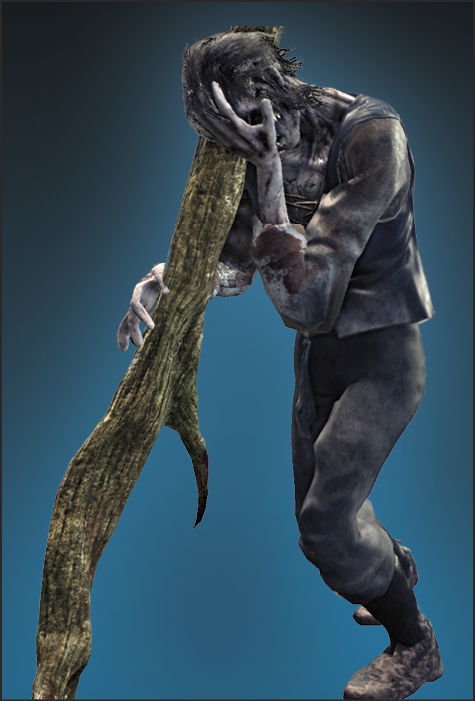
Lycanthrope Hunters are weaker undead that you only find in the marshes below the Road of Sacrifices. Jump them for fast kills, but watch out if you can’t get initiative. Lycanthrope Hunters charge over a modest distance with their melee attacks, and they can sweep to catch you if you try to roll to their flanks. In each case, you want to roll and kill them or block and retreat because you’ll lose a fair amount of Stamina.
Lycanthrope
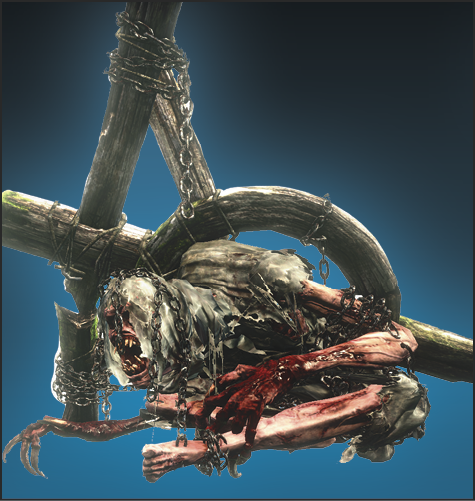
Lycanthropes are vile. If you approach them from the flanks or rear, you often get a free series of attacks before the fight starts. In a stand up fight, Lycanthropes frequently land blows because they’ll swing multiple times.
Make single hits or small combos, and roll away. Be conservative, even against single Lycanthropes.
Black Knight
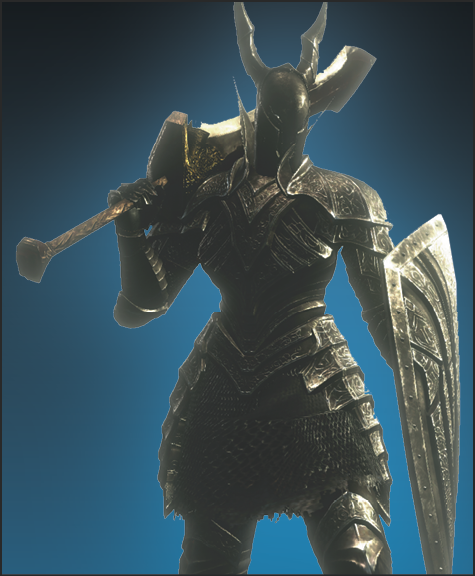
The Black Knight is a rare foe that guards an Ember near Farron Keep’s entrance. Like all knights, you need to be focused when you face this target. It has deadly attacks, strong armor, and can do heavy damage if you leave yourself open.
Gather your full Stamina and either bait an attack or wait for the Black Knight to move around instead of standing still waiting for your strikes. Then, unleash an extended combo.
Alternatively, use parry or dodge and get small hits against the Black Knight after avoiding each attack. This takes time and requires precision, but it’s also an effective way to win the encounter.
Lesser Crab
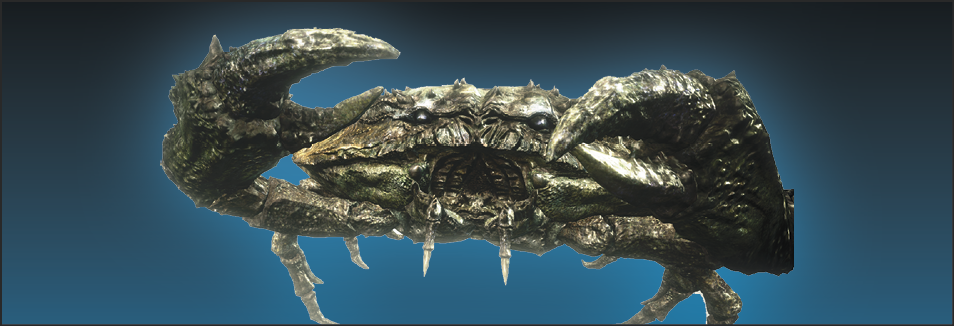
Lesser Crabs are small enemies that do trivial damage and can’t take much of a beating. Don’t let them distract you while you’re handling greater threats.
Great Crab
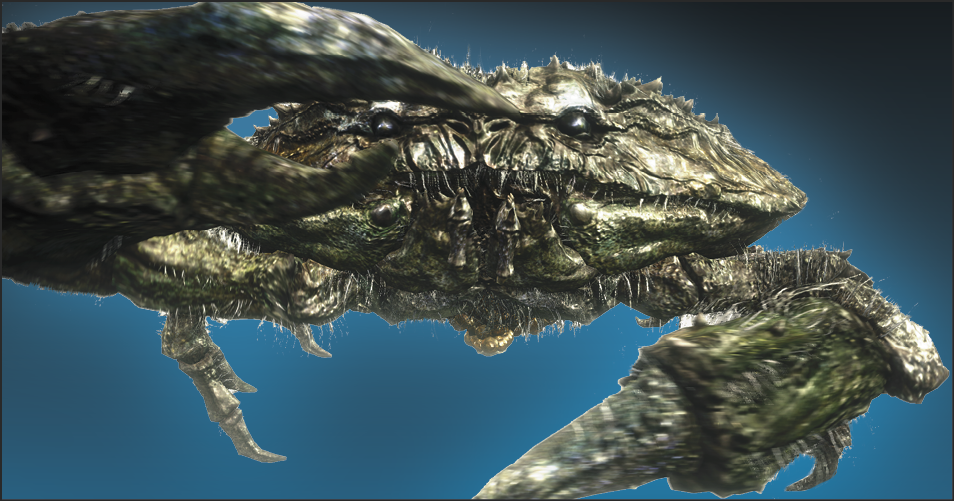
Great Crabs are much worse than their smaller kin. They have high damage output, cause knock down very easily, and can’t be comboed to death quickly early in the game. Even worse, they’re usually located in areas where movement can be impeded by high water. You can’t rely on sprinting to get you away from the fight.
Search for the areas where the water is low and doesn’t influence your running or dodging. If you must fight Great Crabs, pull them to these safer spots and kill them there.
Poisonhorn Bug
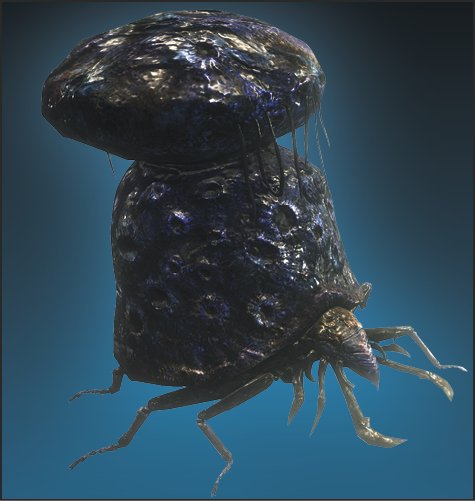
Poisonhorn Bugs don’t have much health. Slaughter their groups before they start to spew poison all over the place. If they unleash their clouds, run away and leave them. These targets aren’t worth many Souls, and being poisoned always raises the risk of dying.
Sage’s Devout
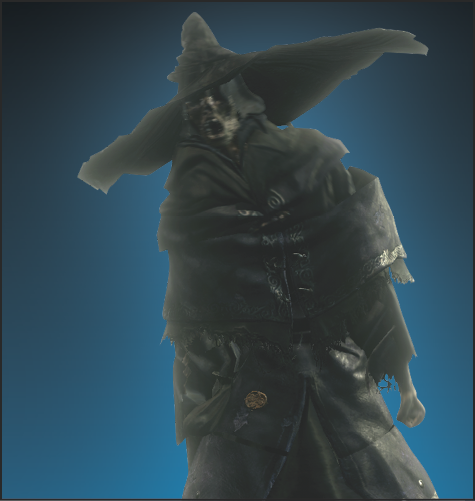
As you approach the Crystal Sage’s area, you have to fight a few Sage’s Devout; they have wonderful ranged attacks, but can’t do much against an opponent who gets close to them. Sprint quickly to get through areas that are exposed to any Sage’s Devout, and use pillars or walls to break line of sight so that they can’t keep casting at you successfully.
Once you get a straight shot, sprint over to the Sage’s Devout in question and use a full combo to bring them down immediately. Don’t play the ranged game against these foes because it is slow and frustrating.