
Dark Souls III Guide (Steam) The Bestiary
Irithyll of the Boreal Valley
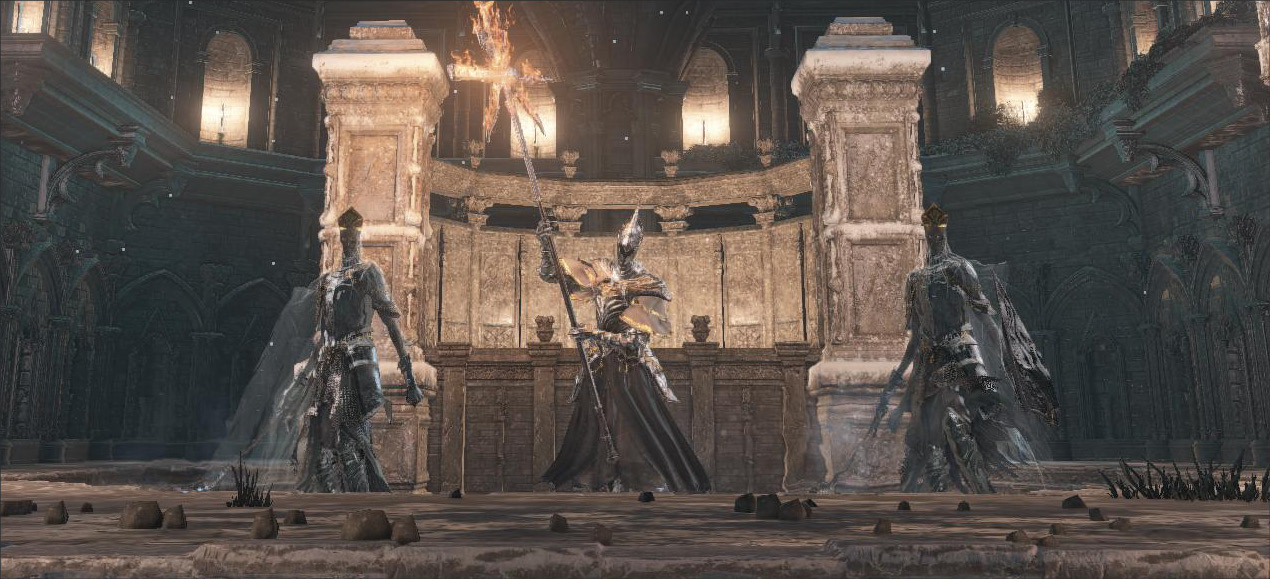
Enemy Data
| Name | HP | Souls | Item Drop | Special Ability | Weakness | Resistant to | Ineffective | Type & Effective Items |
|---|---|---|---|---|---|---|---|---|
| Burning Stake Witch | 792 | 1800 | Immolation Tinder/Fire Witch Helm/Fire Witch Armor/Fire Witch Gauntlets/Fire Witch Leggings/Large Titanite Shard | Elemental Attack (Fire) | Dark/Frost | Bleed | None | None |
| Cathedral Evangelist | 1608 | 800 | Dorhys’ Gnawing(Fixed)/Spiked Mace/Evangelist Hat/Evangelist Robe/Evangelist Gloves/Evangelist Trousers | Elemental Attack (Fire) | Thrust | Fire | None | Hollow/Alluring Skull/Rapport |
| Irithyllian Slave | 512 | 250 | Blood Gem/Blue Bug Pellet | Elemental Attack (Magic)/Hide | Physical Attack/Bleed | None | None | Hollow/Alluring Skull/Rapport |
| Irithyllian Soldier Slave | 512 | 250 | Claymore/Blood Gem | Elemental Attack (Magic) | Physical Attack/Bleed | None | None | Hollow/Alluring Skull/Rapport |
| Silver Knight | 1099 | 2500 | Dragonslayer Greatbow/Silver Knight Shield/Silver Knight Helm/Silver Knight Armor/Silver Knight Gauntlets/Silver Knight Leggings/Dragonslayer Greatarrow/ Large Titanite Shard(Fixed first time)/ Divine Blessing(Fixed first time) | Elemental Attack (Lightning) | Dark/Frost | Physical Attack/Fire/Lightning/Poison & Toxic/Bleed | None | Hollow |
| Pontiff Knight | 591 | 900 | Pontiff Knight Curved Sword or Pontiff Knight Great Scythe/Pontiff Knight Shield/Pontiff Knight Crown/Pontiff Knight Armor/Pontiff Knight Gauntlets/ Pontiff Knight Leggings/Large Titanite Shard | Elemental Attack (Magic)/Ailment (Frost) | Dark | Poison & Toxic/Frost | None | None |
| Sewer Centipede | 478 | 750 | Green Blossom/Budding Green Blossom | None | Strike | Thrust | Poison & Toxic | None |
| Crystal Lizard | 164 | 0 | Twinkling Titanite(Fixed)/Simple Gem(Fixed) | None | None | Magic | Poison & Toxic/Bleed/Frost | None |
| Corvian | 719 | 120 | Corvian Greatknife/Shriving Stone | None | Bleed | None | None | Alluring Skull/Rapport |
| Sulyvahn’s Beast | 2296 | 8000 | Pontiff’s Right Eye | Elemental Attack (Lightning) | Fire | Poison & Toxic | None | None |
| Sulyvahn’s Beast | 2721 | 12000 | Ring of Favor(When the second one is defeated) | Elemental Attack (Lightning) | Fire | Poison & Toxic | None | None |
| Irithyllian Beast-hound | 345 | 350 | None | Ailment (Frost) | Fire | Dark | None | Reanimated/Alluring Skull |
| Pontiff Sulyvahn | 5106 | 28000 | Soul of Pontiff Sulyvahn | Elemental Attack (Fire/Magic) | Thrust | Poison & Toxic/Bleed/Frost | None | None |
Sulyvahn’s Beast
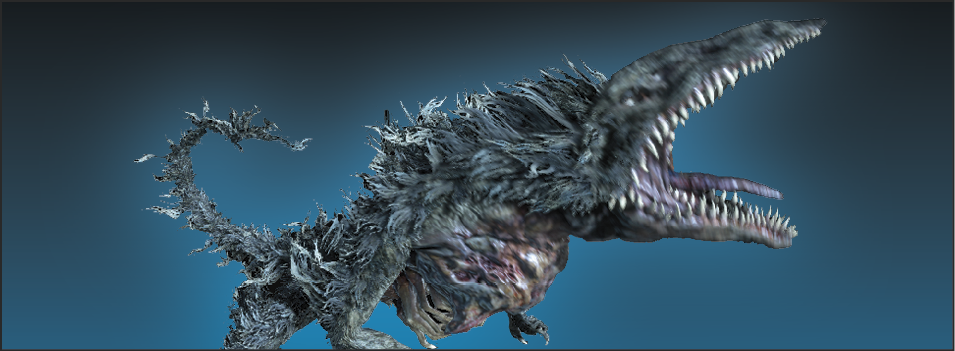
There is one Beast in Irithyll that attacks you on the starting bridge that leads into the city. Later, you face two of them by the Water Reserve Bonfire.
All of Sulyvahn’s Beasts are unique targets. Dedicated combos kill them quickly, but they have equally dangerous attacks of their own, and they can punish reckless behavior. It’s hard to back away, roll, or even sprint away from Sulyvahn’s Beasts, so you have to heal like you would in a boss fight (roll to avoid an attack, and use the enemy’s recovery time as your healing window).
Roll sideways to stay close to these creatures when dodging, and come up swinging at them to get damage in before they attack again. Don’t trade blows, and don’t extend your combos. Use short groups of strikes, until the fight is almost over.
Irithyllian Beast-hound
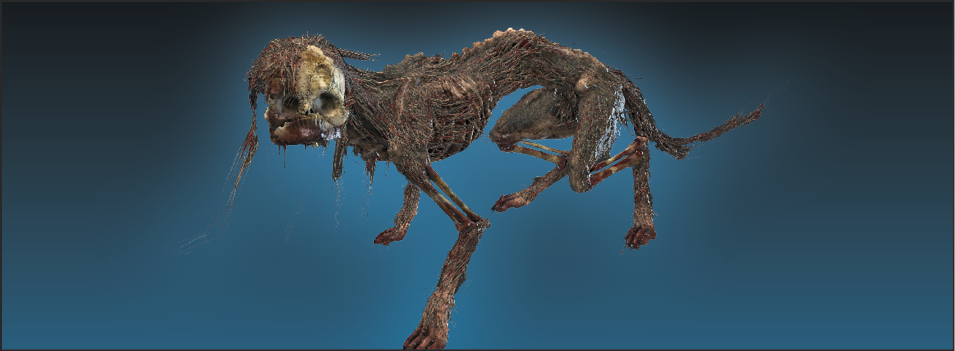
Irithyllian Beast-hounds behave exactly like the Starved Hounds that you are used to by this point in the game. However, these dogs are heavier targets and require more damage to kill, and a few of them have a Frost bite. Don’t rely on single attacks to kill these foes. Back up while you’re locked on, keep your shield raised, and hit each dog once after it bounces off of your shield.
Pontiff Knight
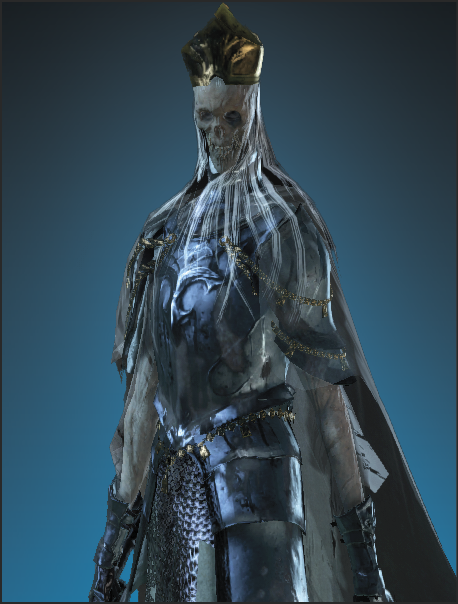
Pontiff Knights don’t fight like the other varieties of knights that you encounter in Dark Souls III. They have their own timings and style of battle and it’s hard to get used to initially. You may wish to employ a union of ranged attacks and then a sudden charge to kill each Pontiff Knight before it starts attacking. Blocking and dodging is very difficult against Pontiff Knights because their combos are fast.
Pull individuals to avoid getting a group of Pontiff Knights. These monsters patrol the Irithyll streets, so you never want to advance into your target.
Burning Stake Witch
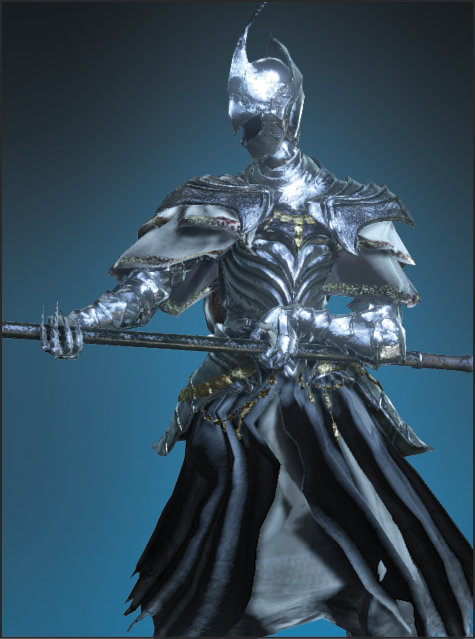
Beware the Burning Stake Witch. Few enemies have such a solid combination of ranged damage and melee potential. Burning Stake Witches cast spells that hit hard and don’t give you much time to roll aside. Even worse, they’re usually in a position that is difficult to reach. You have to sprint all the way around to get to your target. That’s triply dangerous in Irithyll because of the patrolling enemies.
Even when you’re close to a Burning Stake Witch you have to be careful. They can cast their spells when you’re hitting them, and they have a throw that does massive damage. Strike quickly, dodge, and keep the pressure on these foes as much as possible.
Irithyllian Slave
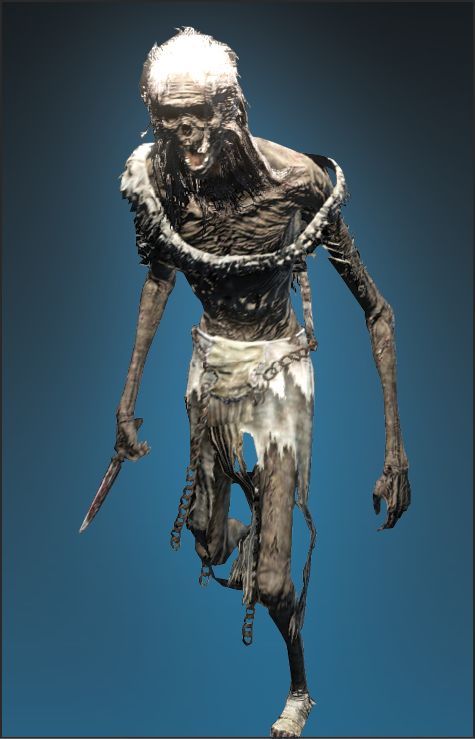
Irithyllian Slaves are plentiful in Irithyll. They are easy to see when they are out in the open, but become almost invisible when you are in dark places. Shields help to block their attacks and leave these weaker enemies vulnerable to any counterattack.
Because Irithyllian Slaves show up in numbers, you benefit more from sweeping weaponry rather than stabbing, single-target weapons.
Some Irithyllian Slaves use magical spells instead of melee weapons. They are a much more troublesome threat, and should be prioritized if you can reach them.
In dark areas of Irithyll, your shield should be held high almost all the time. This lets you avoid Irithyllian Slave attacks more often than not. Look for their burning eyes to spot them.
Sewer Centipede
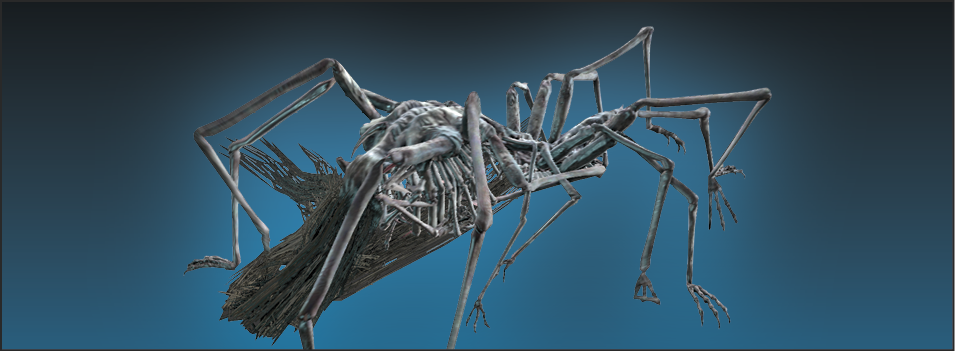
The wet areas below Irithyll have Sewer Centipedes. Their hair stands out in the water as thick, dark strands. Use this feature to spot them and ambush these enemies before they wake. It’s very easy to kill them with a few hits before they’re able to get up.
If you see one Sewer Centipede, there are probably quite a few close by. They never appear by themselves in areas, but they’re spread out enough for you to avoid being swarmed, as long as you’re methodical about clearing all of them.
Silver Knight
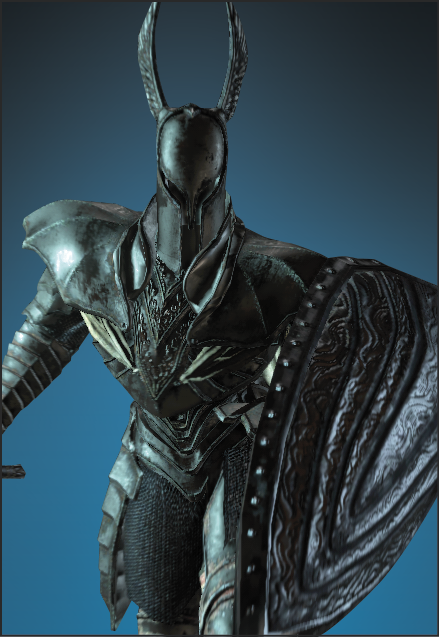
Silver Knights use somewhat standard knight techniques, but they have Lightning attacks in addition to just physical attacks. This makes shield blocking less effective, because you’re almost guaranteed to take damage even when you block successfully.
A two-handed weapon/stance can be much better for killing Silver Knights. The more damage you do per hit, the easier it is to take them out with one burst. These foes are very good at longer fights, so you want to end things quickly.
Ranged Silver Knights do high damage and and knock you back. They’ll make each encounter extremely difficult if you’re also being attacked by melee opponents. Hug the walls or use pillars for cover to break line of sight with them.