
Dark Souls III Guide (Steam) Walkthrough
Road of Sacrifices
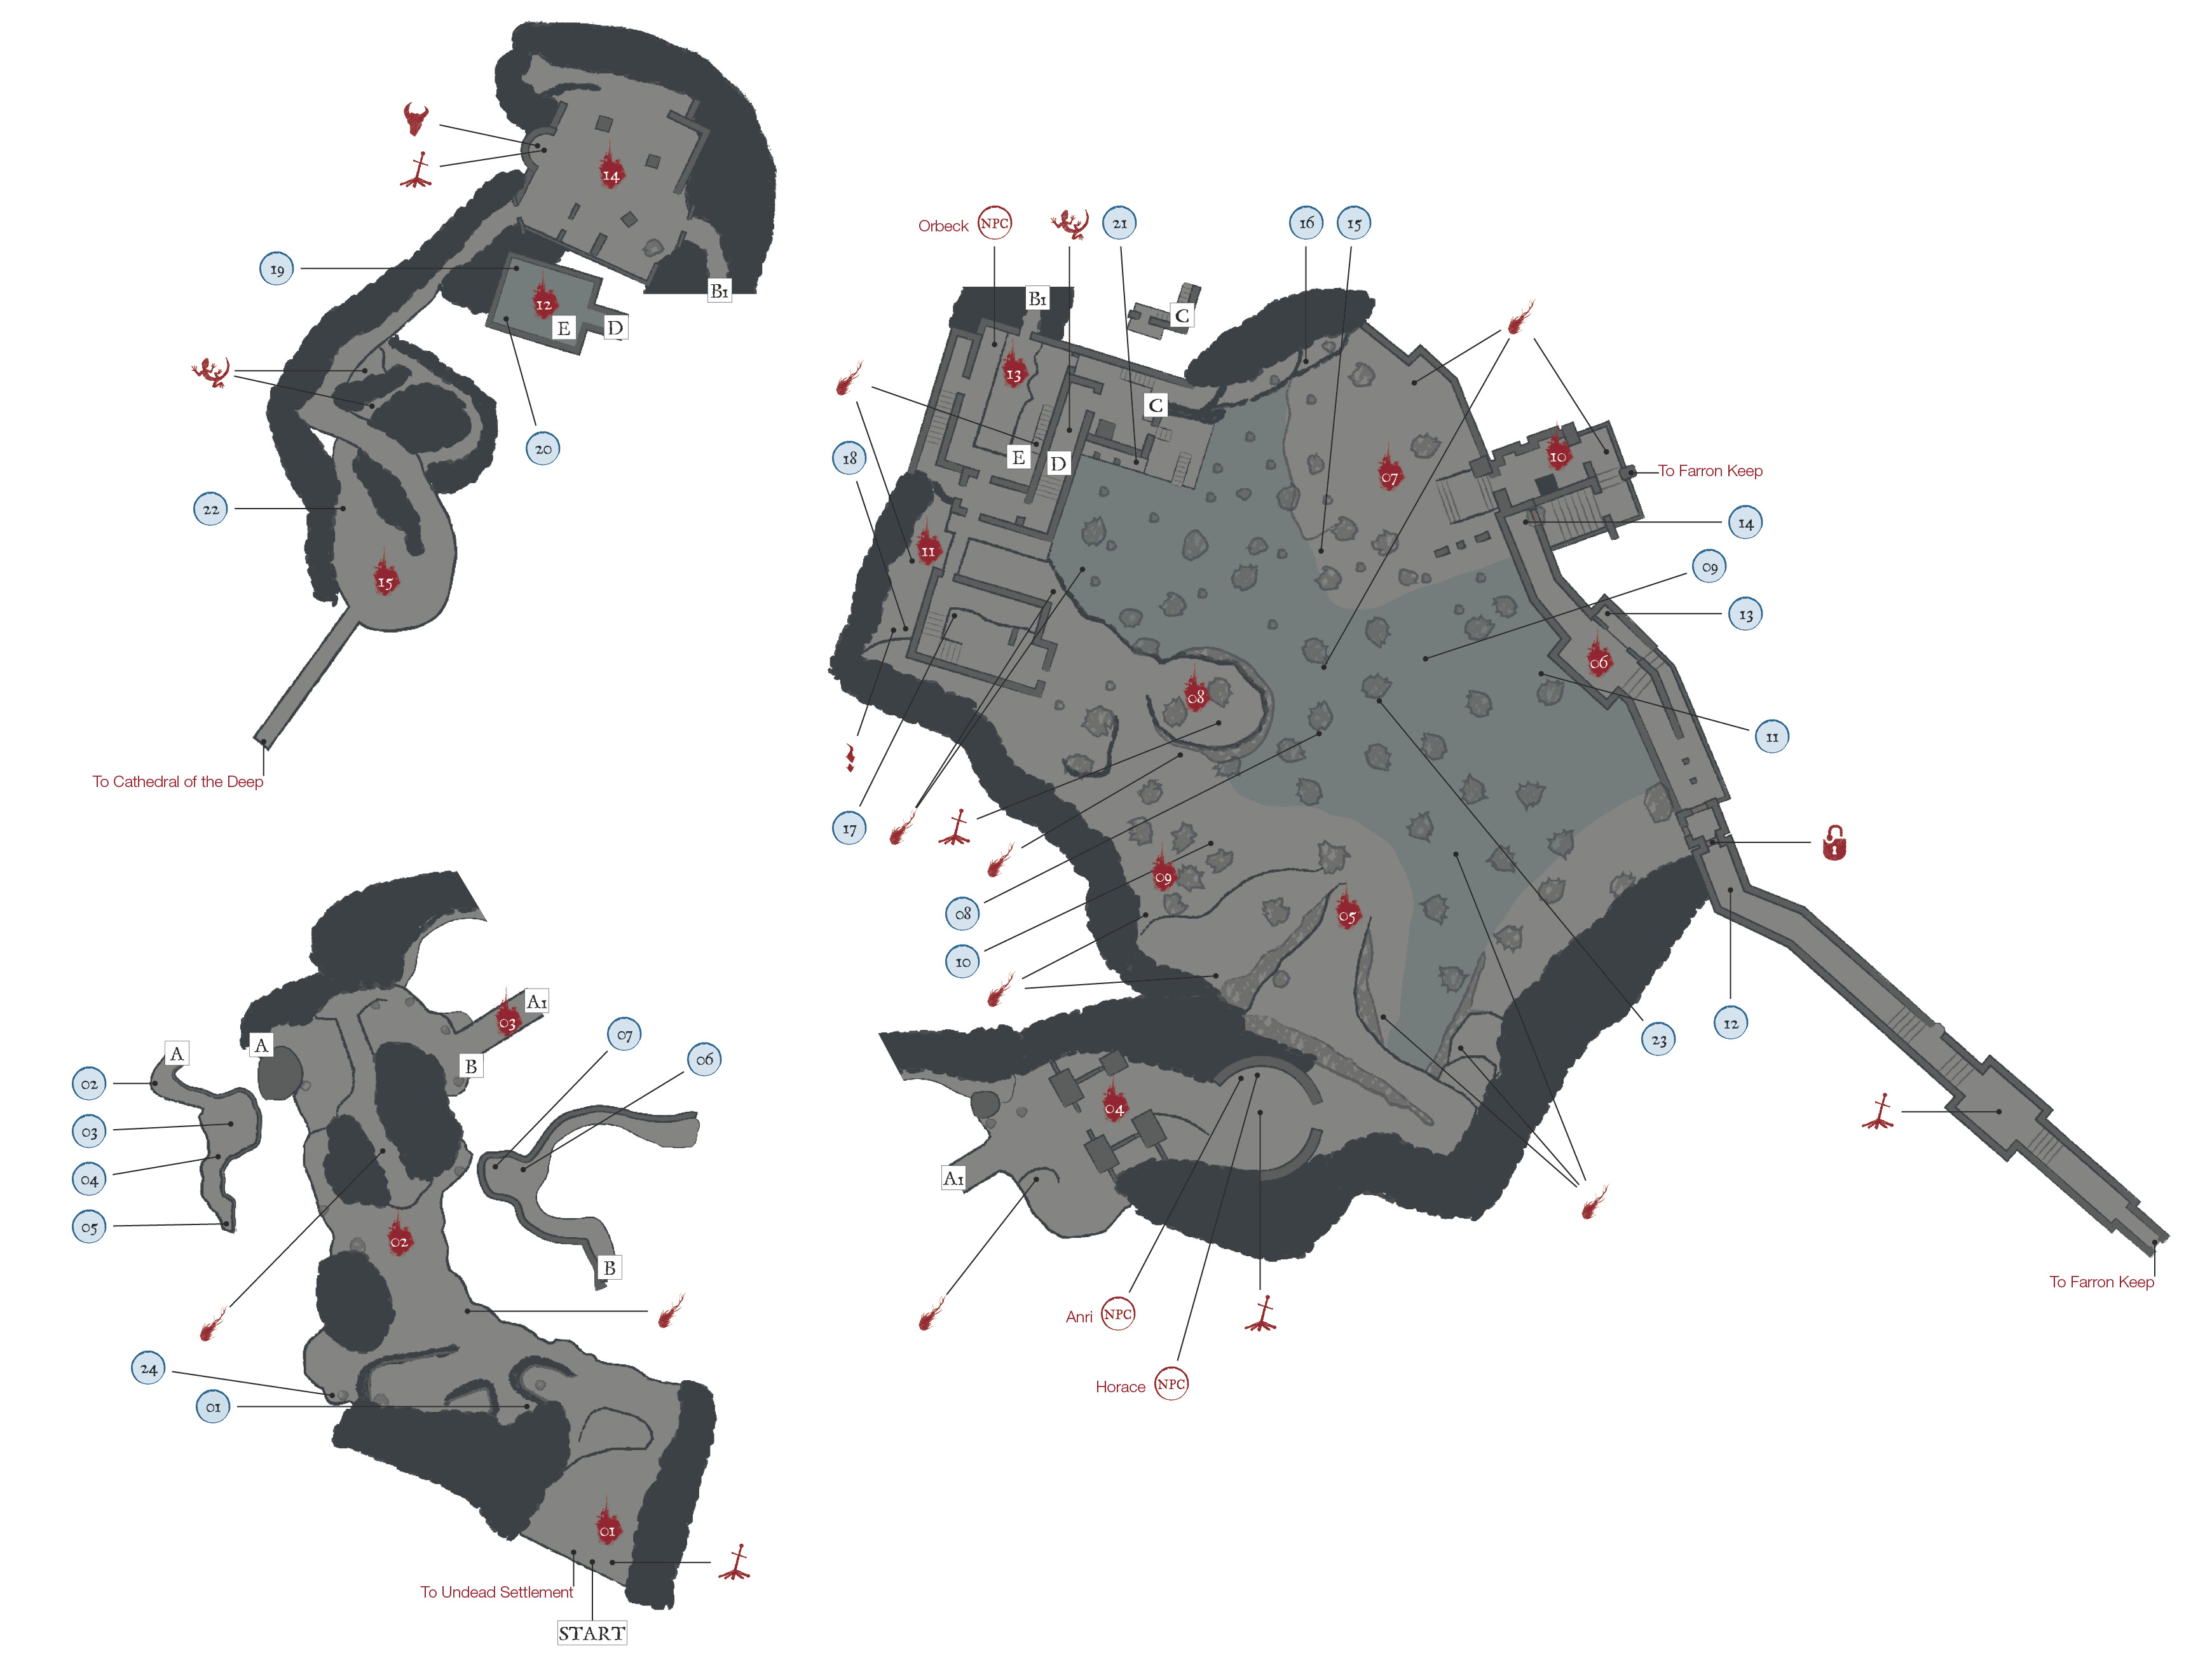
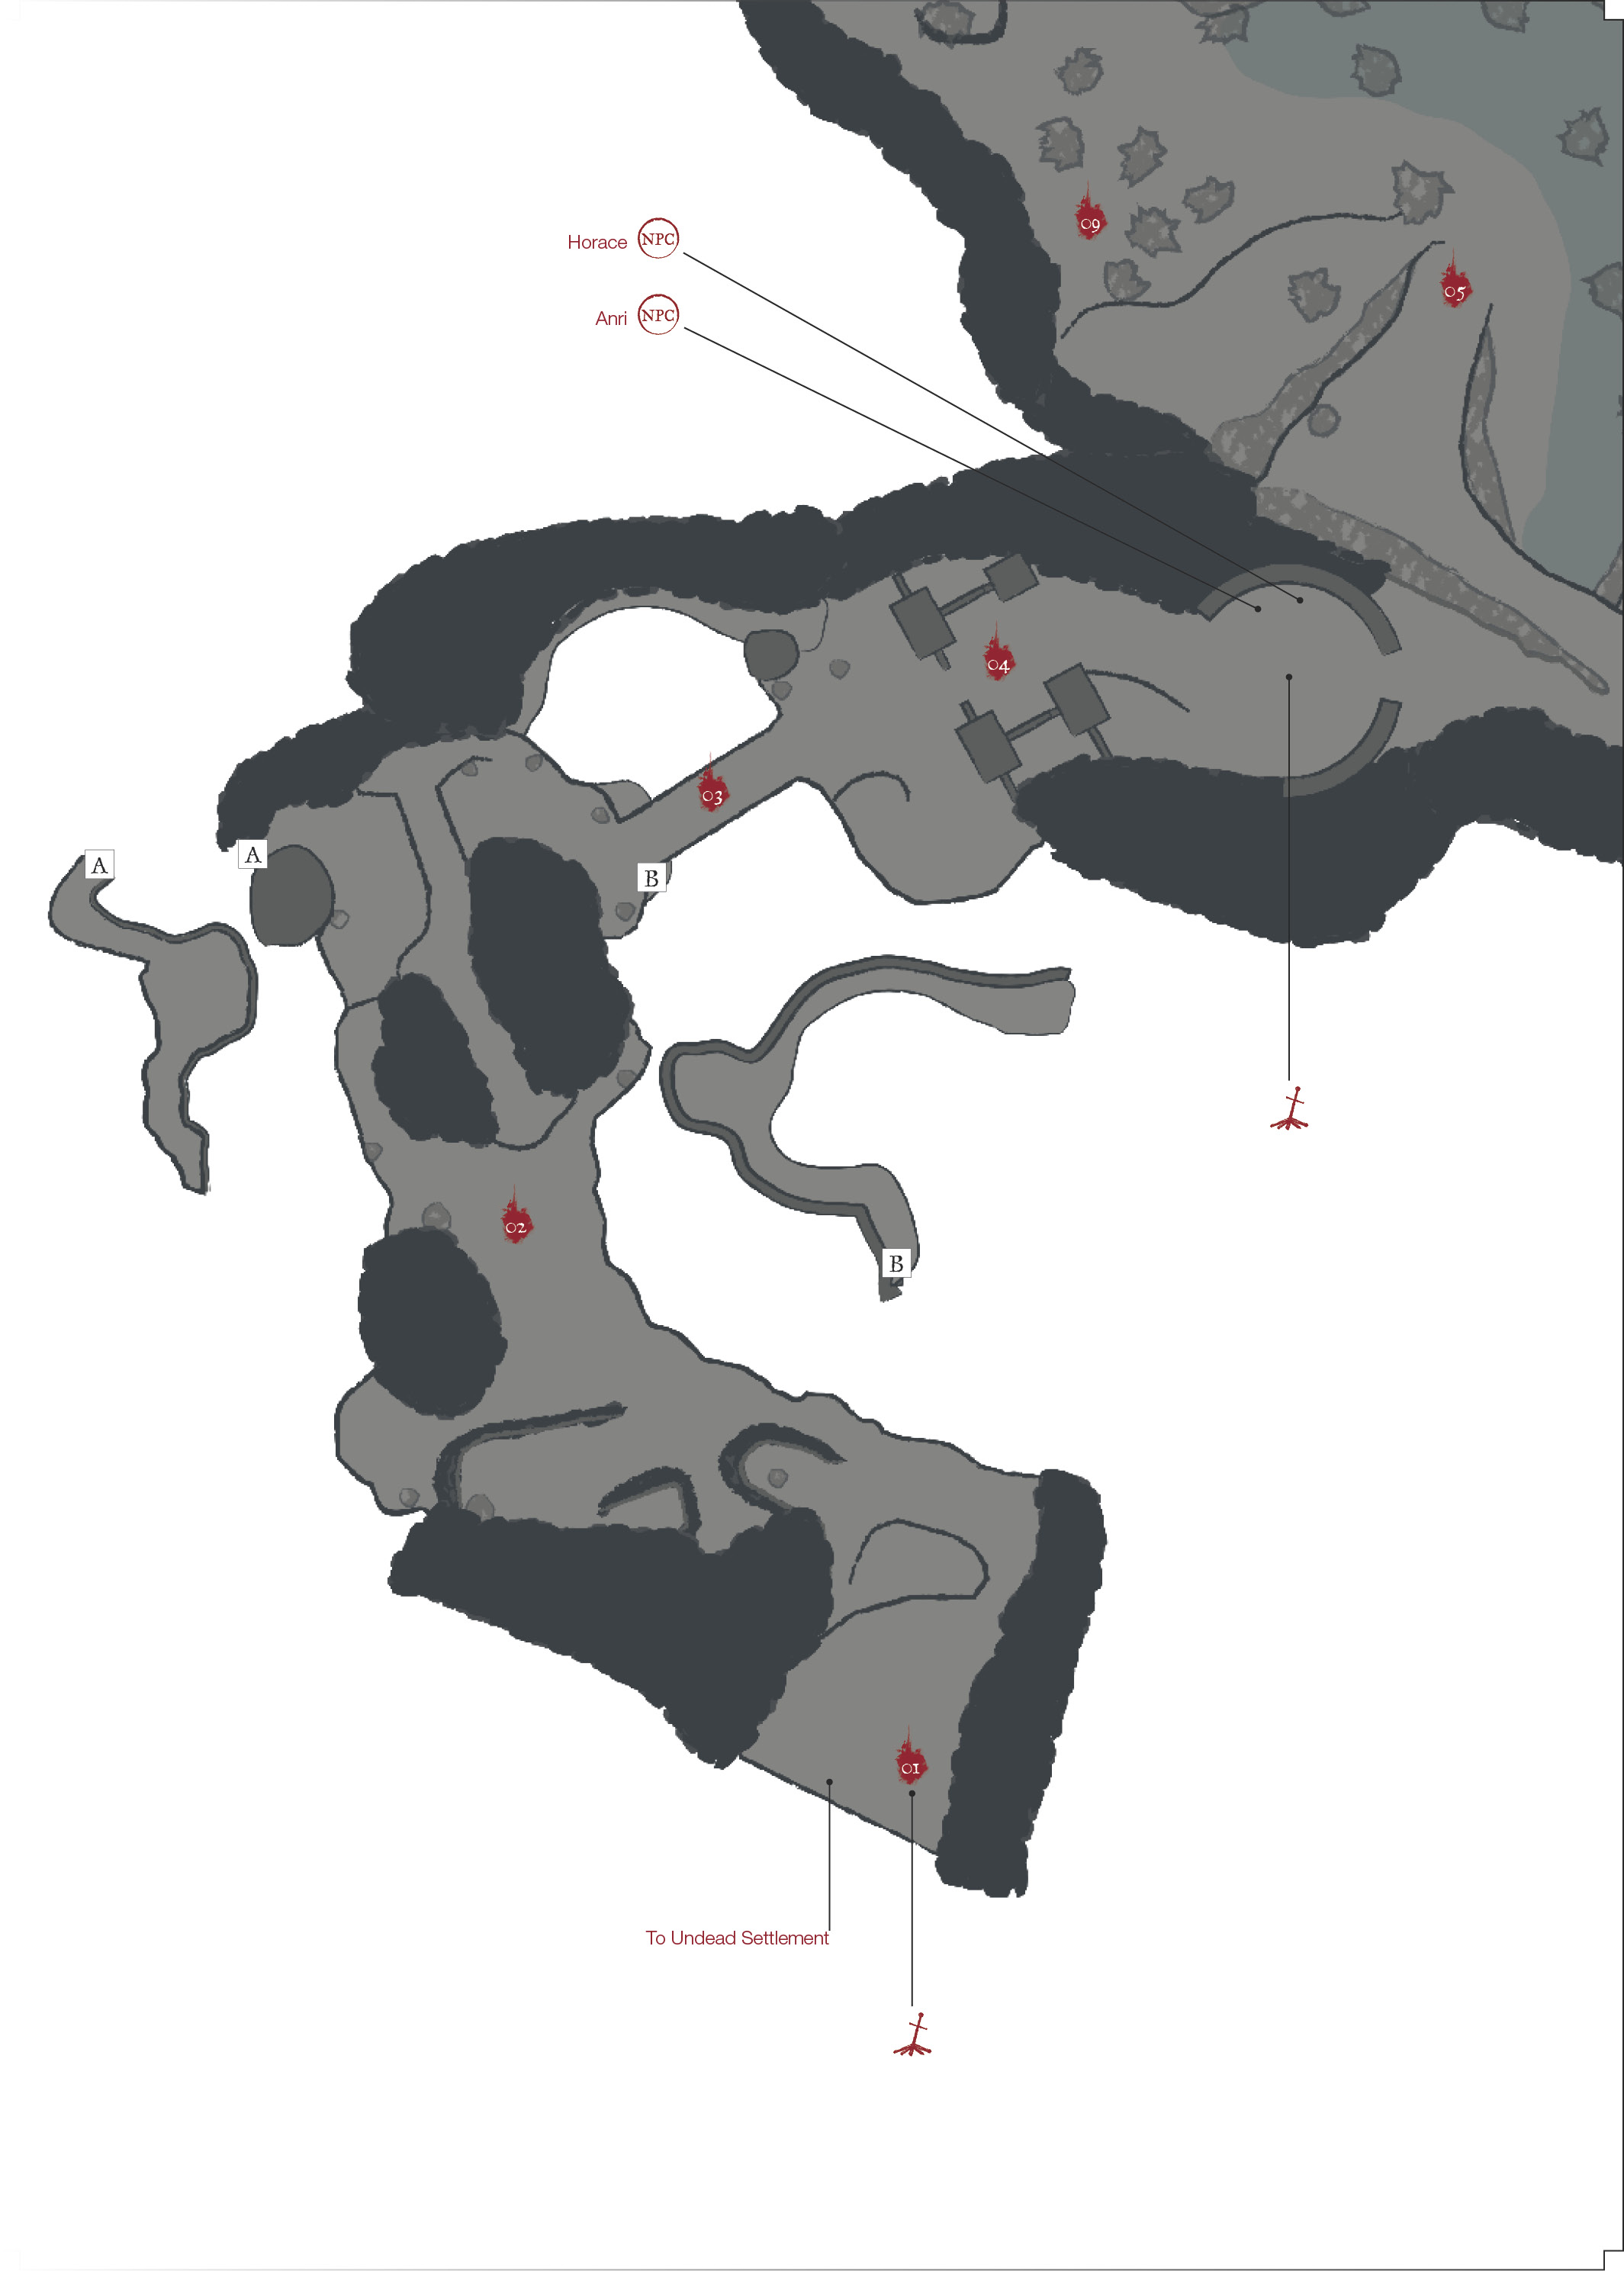
Major Items
 | Items |
|---|---|
| 1 | Shriving Stone |
| 2 | Brigand Axe |
| 3 | Butcher Knife (on Unkindled woman) |
| 4 | Brigand Armor (full set) |
| 5 | Brigand Twindaggers |
| 6 | Morne’s Ring |
| 7 | Braille Divine Tome of Carim |
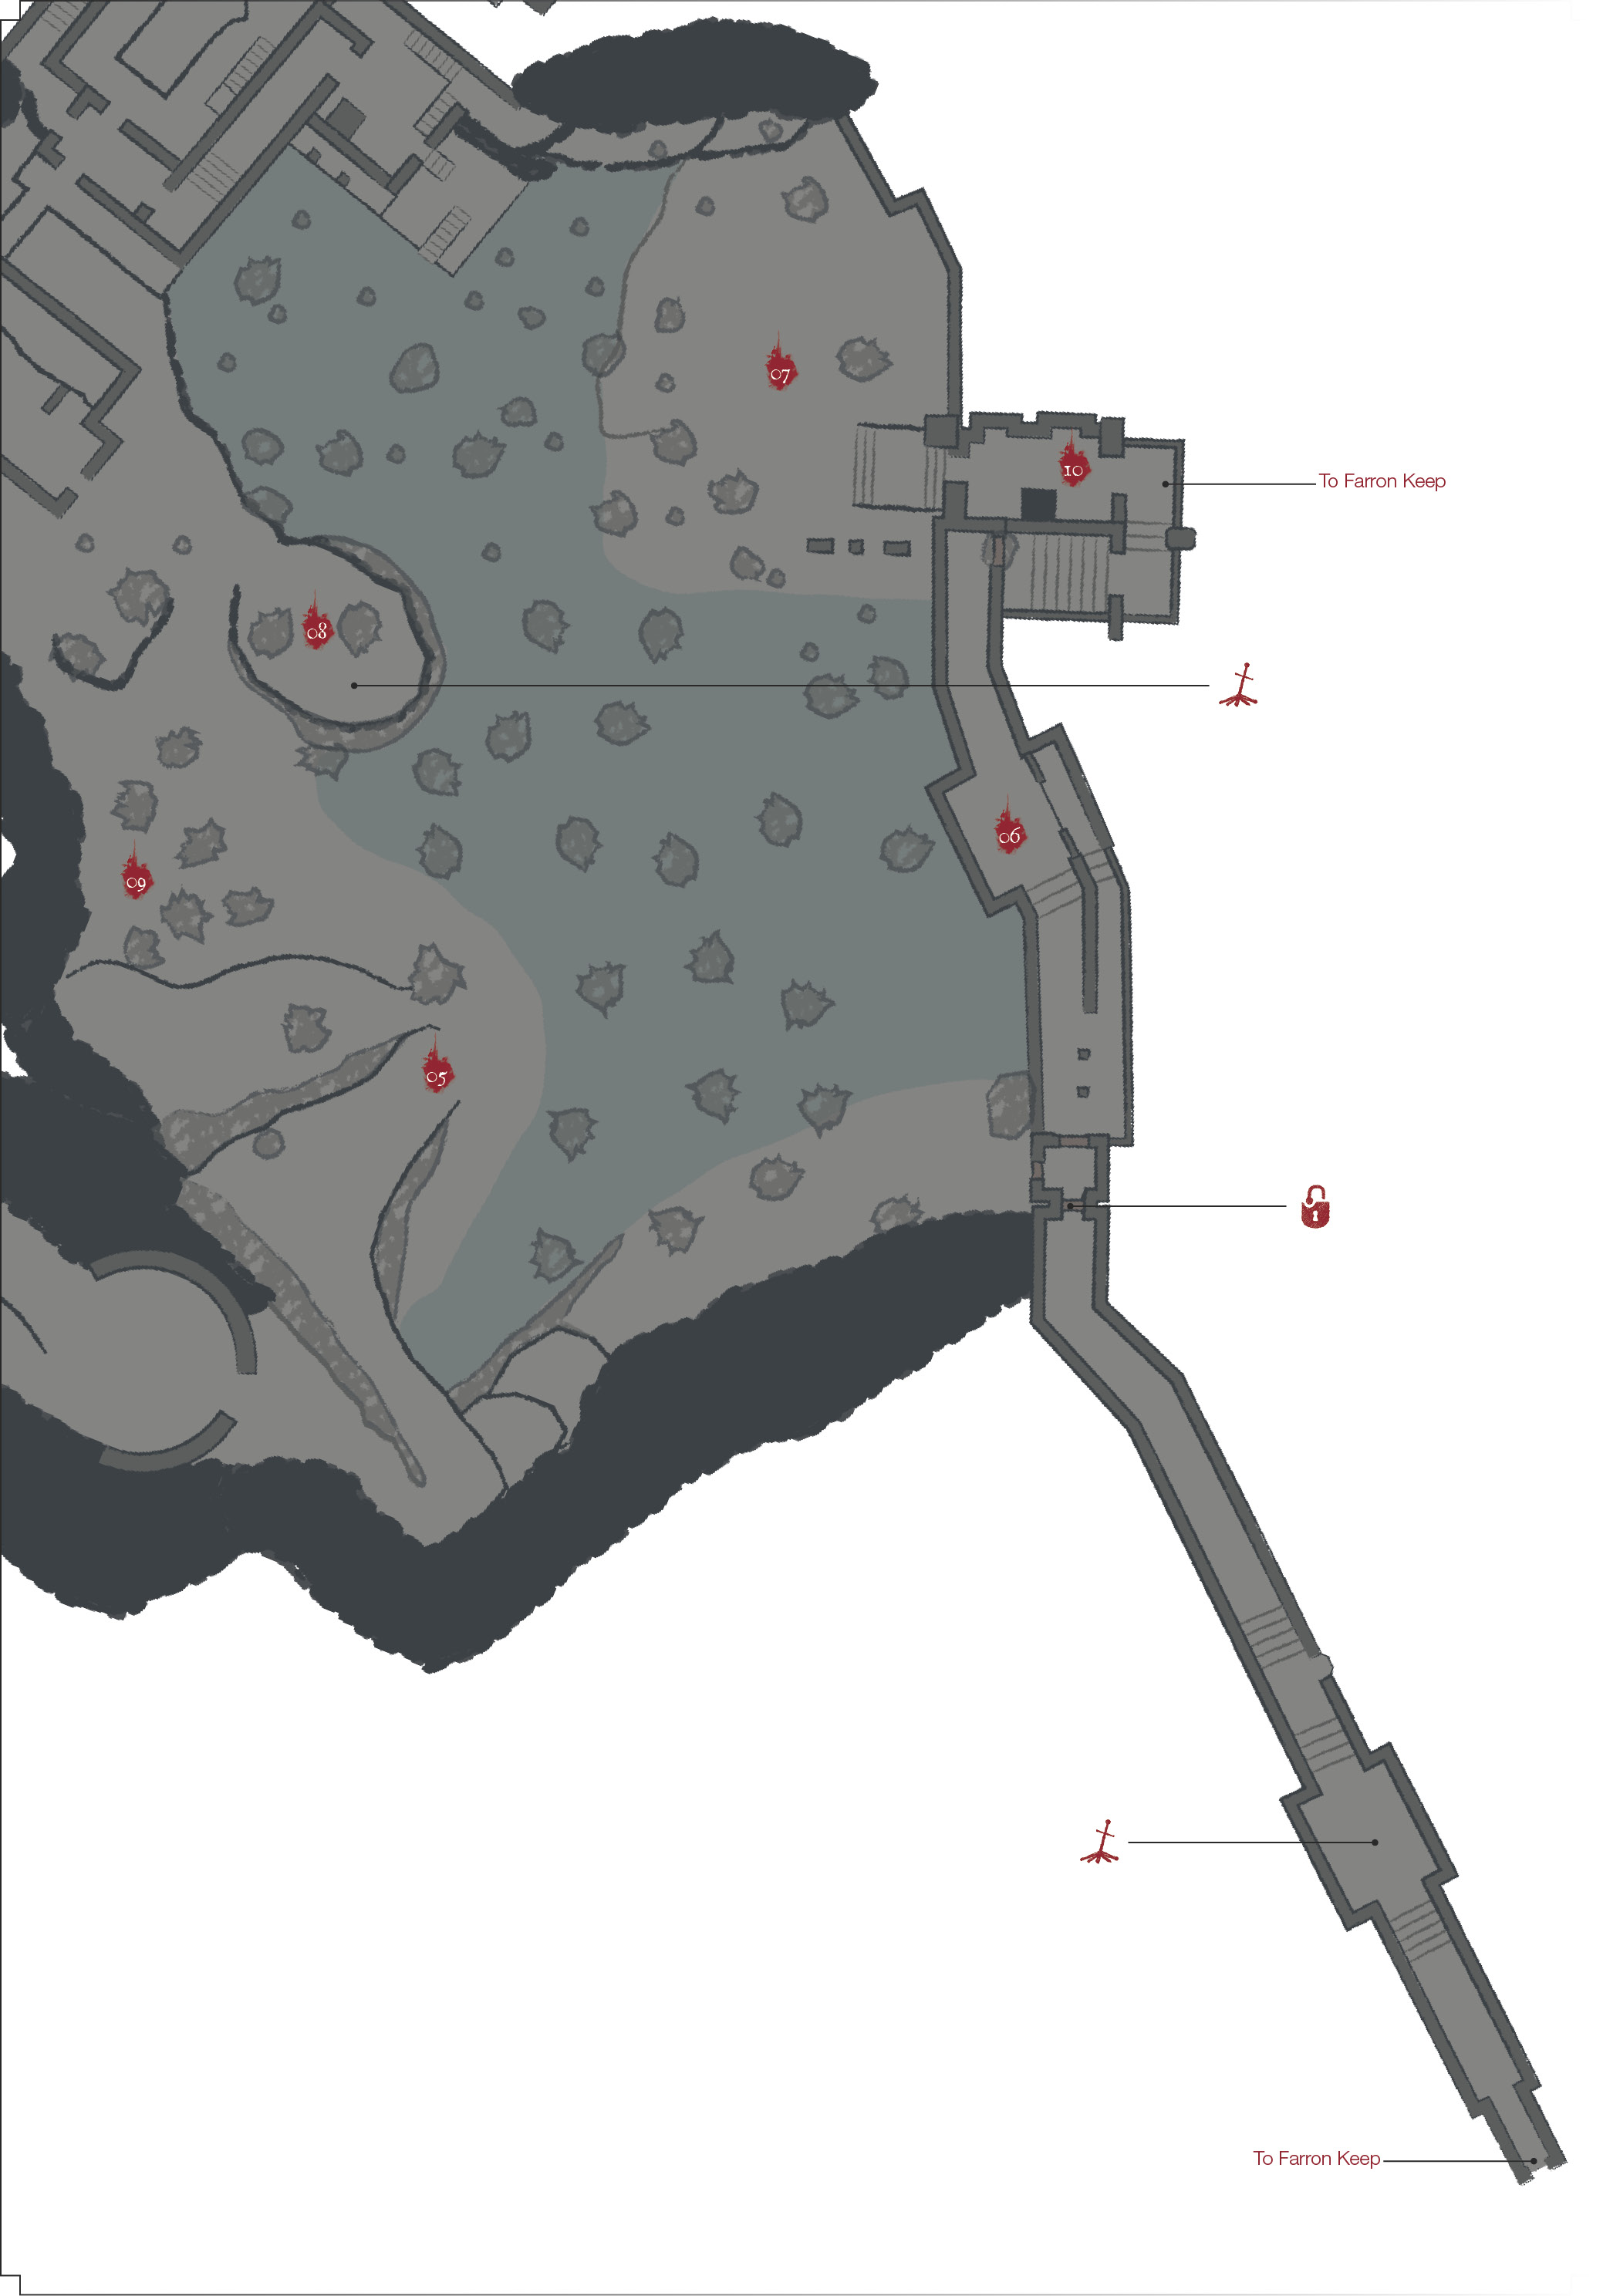
| 8 | Grass Crest Shield |
| 9 | Great Swamp Ring |
| 10 | Twin Dragon Greatshield |
| 11 | Conjurator Armor (full set), Great Swamp Pyromancy Tome |
| 12 | Great Magic Weapon |
| 13 | Sellsword Armor (full set, above ledge), Sellsword Twinblades (below ledge) |
| 14 | Farron Coal |
| 15 | Fallen Knight Armor |
| 16 | Golden Falcon Shield |
| 17 | Heretic’s Staff |
| 18 | Estus Shard |
| 19 | Sage Ring |
| 20 | Sorcerer’s Armor |
| 21 | Ring of Sacrifice |
| 22 | Herald Armor (full set) |
| 23 | Lingering Dragoncrest Ring+1 (New Game +1) |
| 24 | Chloranthy Ring +2 (New Game +2) |
Bonfires Located Here
| Bonfire Name |
|---|
| Road of Sacrifices |
| Halfway Fortress |
| Crucifixion Woods |
| Crystal Sage (Boss) |
| Farron Keep Perimeter |
Enemies
| Enemy Name |
|---|
| Corvian |
| Corvian Storyteller |
| Starved Hound |
| Lycanthrope Hunter |
| Lesser Crab |
| Great Crab |
| Lycanthrope |
| Black Knight |
| Poisonhorn Bug |
| Sage’s Devout |
| Crystal Sage |
Key Discoveries
| Discovery |
|---|
| Anri and Horace |
| Orbeck |
Bonfire—Road of Sacrifices
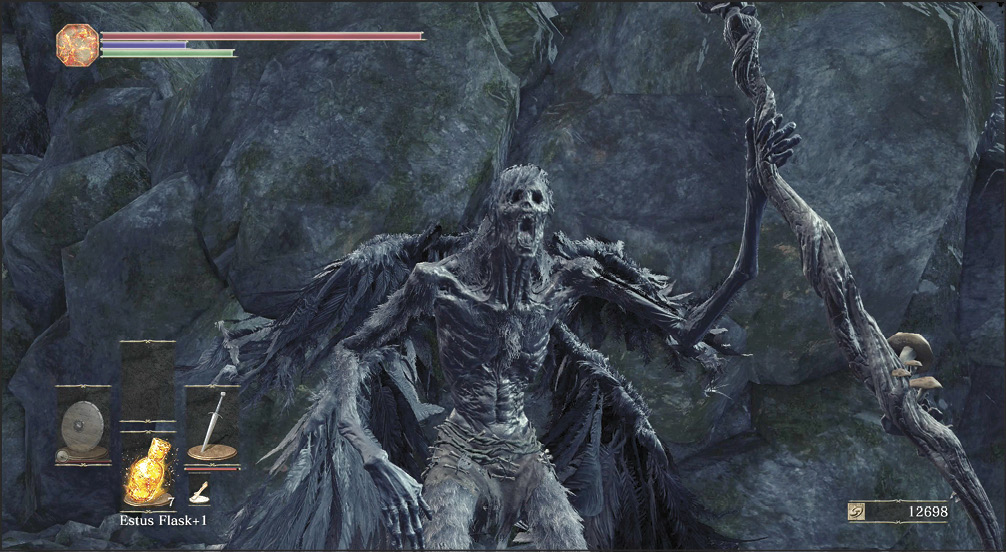
 In the early portion of this new area, you meet new enemies: Corvians and Corvian Storytellers. The former are rank-and-file foes that pose little threat by themselves but are often grouped together for protection. Attack them quickly to seize advantage, and kill them before they gather momentum. If you take too long, wings split out of their bodies, and they’ll enter a frenzy. If that happens, they gain decent damage potential and start attacking aggressively.
The Corvian Storytellers are best vanquished with melee attacks because they have powerful spells at range. When you see them, sprint toward them so that you can kill the Corvian Storytellers before they’re able to start casting.
Pick up the Shriving Stone tucked away in a small nook as you make your way through here.
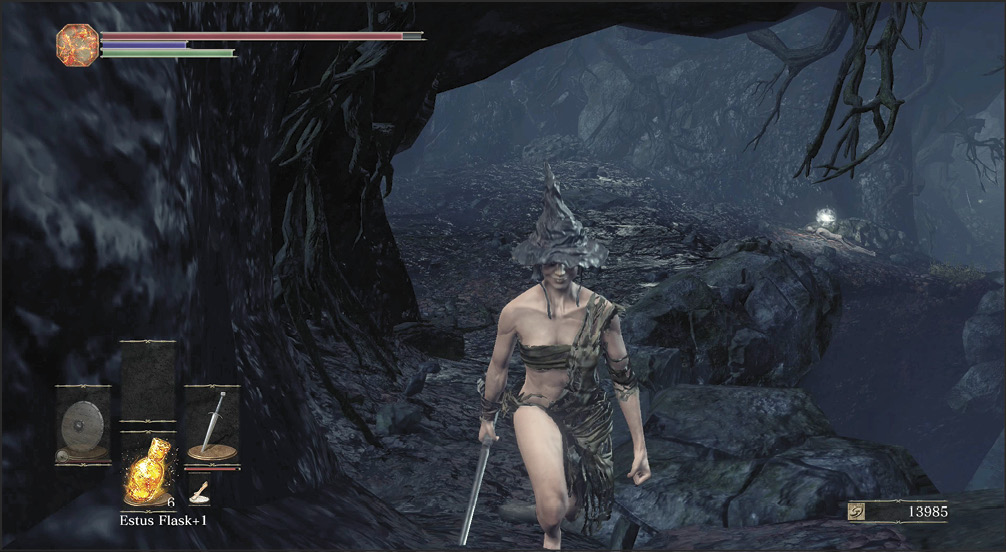
 Behind the stones here is an Unkindled, and she's quick to attack you.
Bait this woman into making her heavy attacks. She’ll leap forward and give you attacks that are easy to dodge or simply back away from. Step back, let her miss, and advance for free hits. You can kill her very safely this way. Collect the Butcher Knife from her body, and go about your business.
Grab the Brigand Axe on the path here, the full suit of Brigand Armor behind the Unkindled woman, and finally the Brigand Twindaggers at the end of the path, completing your set of Brigand gear!
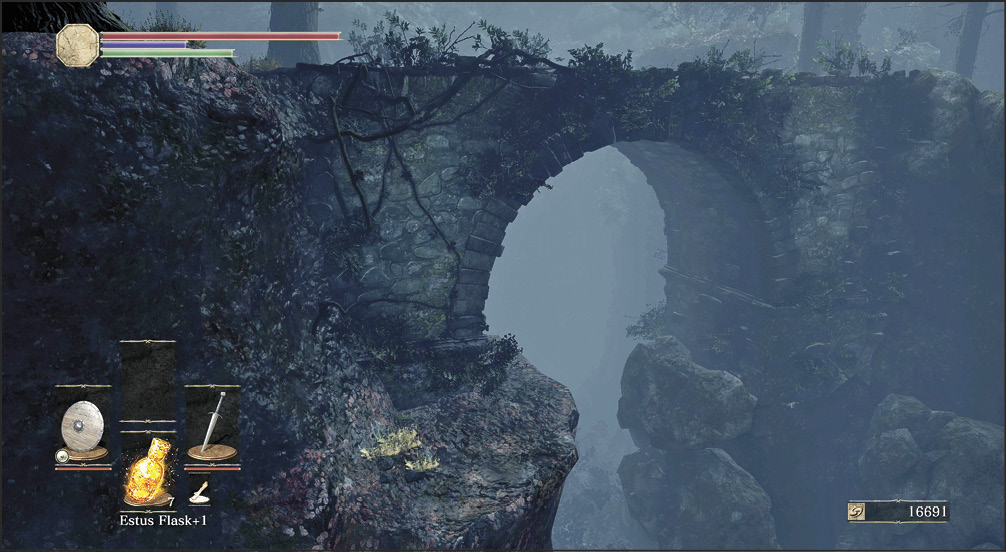
 After crossing a stone bridge, kill the third group of Corvian. Their caster is on top of a large boulder and takes a moment to reach. Fight through his first protector, kill the Corvian Storyteller above, and then turn around to make a Plunging Attack on the others that are approaching. It’s a lovely fight.
A ledge underneath the bridge is worth mentioning. Go back to your original side of the bridge, and look over the ridge edge. Drop to the ledge below, fight two Starved Hounds, and get the treasure there. Remember to have your shield out before you turn the corner to face the Starved Hounds.
You can pick up a Titanite Shard and an Ember on the paths above, and down below by the dogs, the Miracle boosting Morne’s Ring, and the Braille Divine Tome of Carim, granting you access to more Miracles when you return it to Irina in the shrine.
Bonfire—Halfway Fortress
 This Bonfire (Halfway Fortress) is in the middle of the path as you continue through the woods. It’s impossible to miss, and it serves as a strong rallying point for your attacks into the tougher area below.
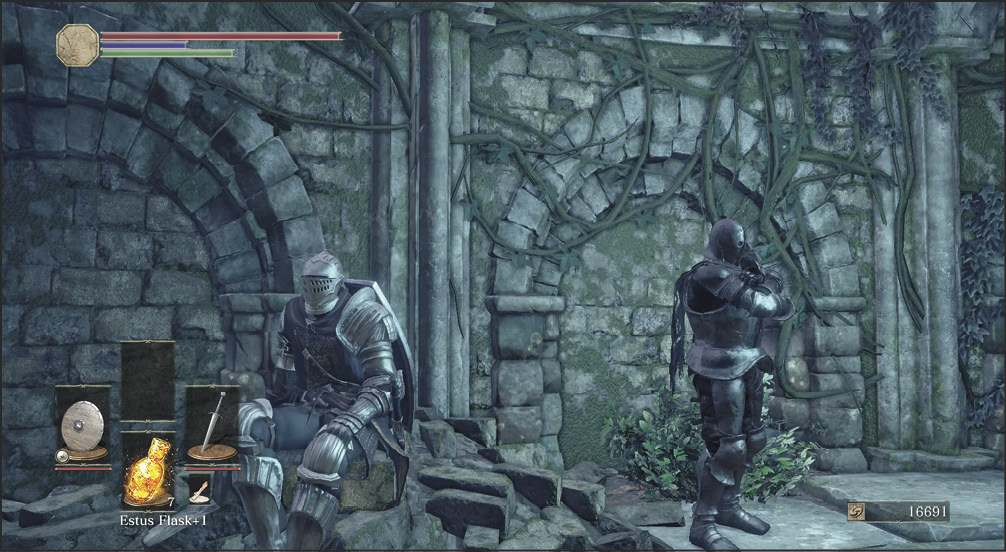
Here, you meet two more NPCs: Anri and Horace. Talk to Horace to receive the Blue Sentinels Covenant Insignia. Anri comes up many times as you play through the game, so look through the chapter at the end of this book on NPC quests to learn how this relates to your own story.
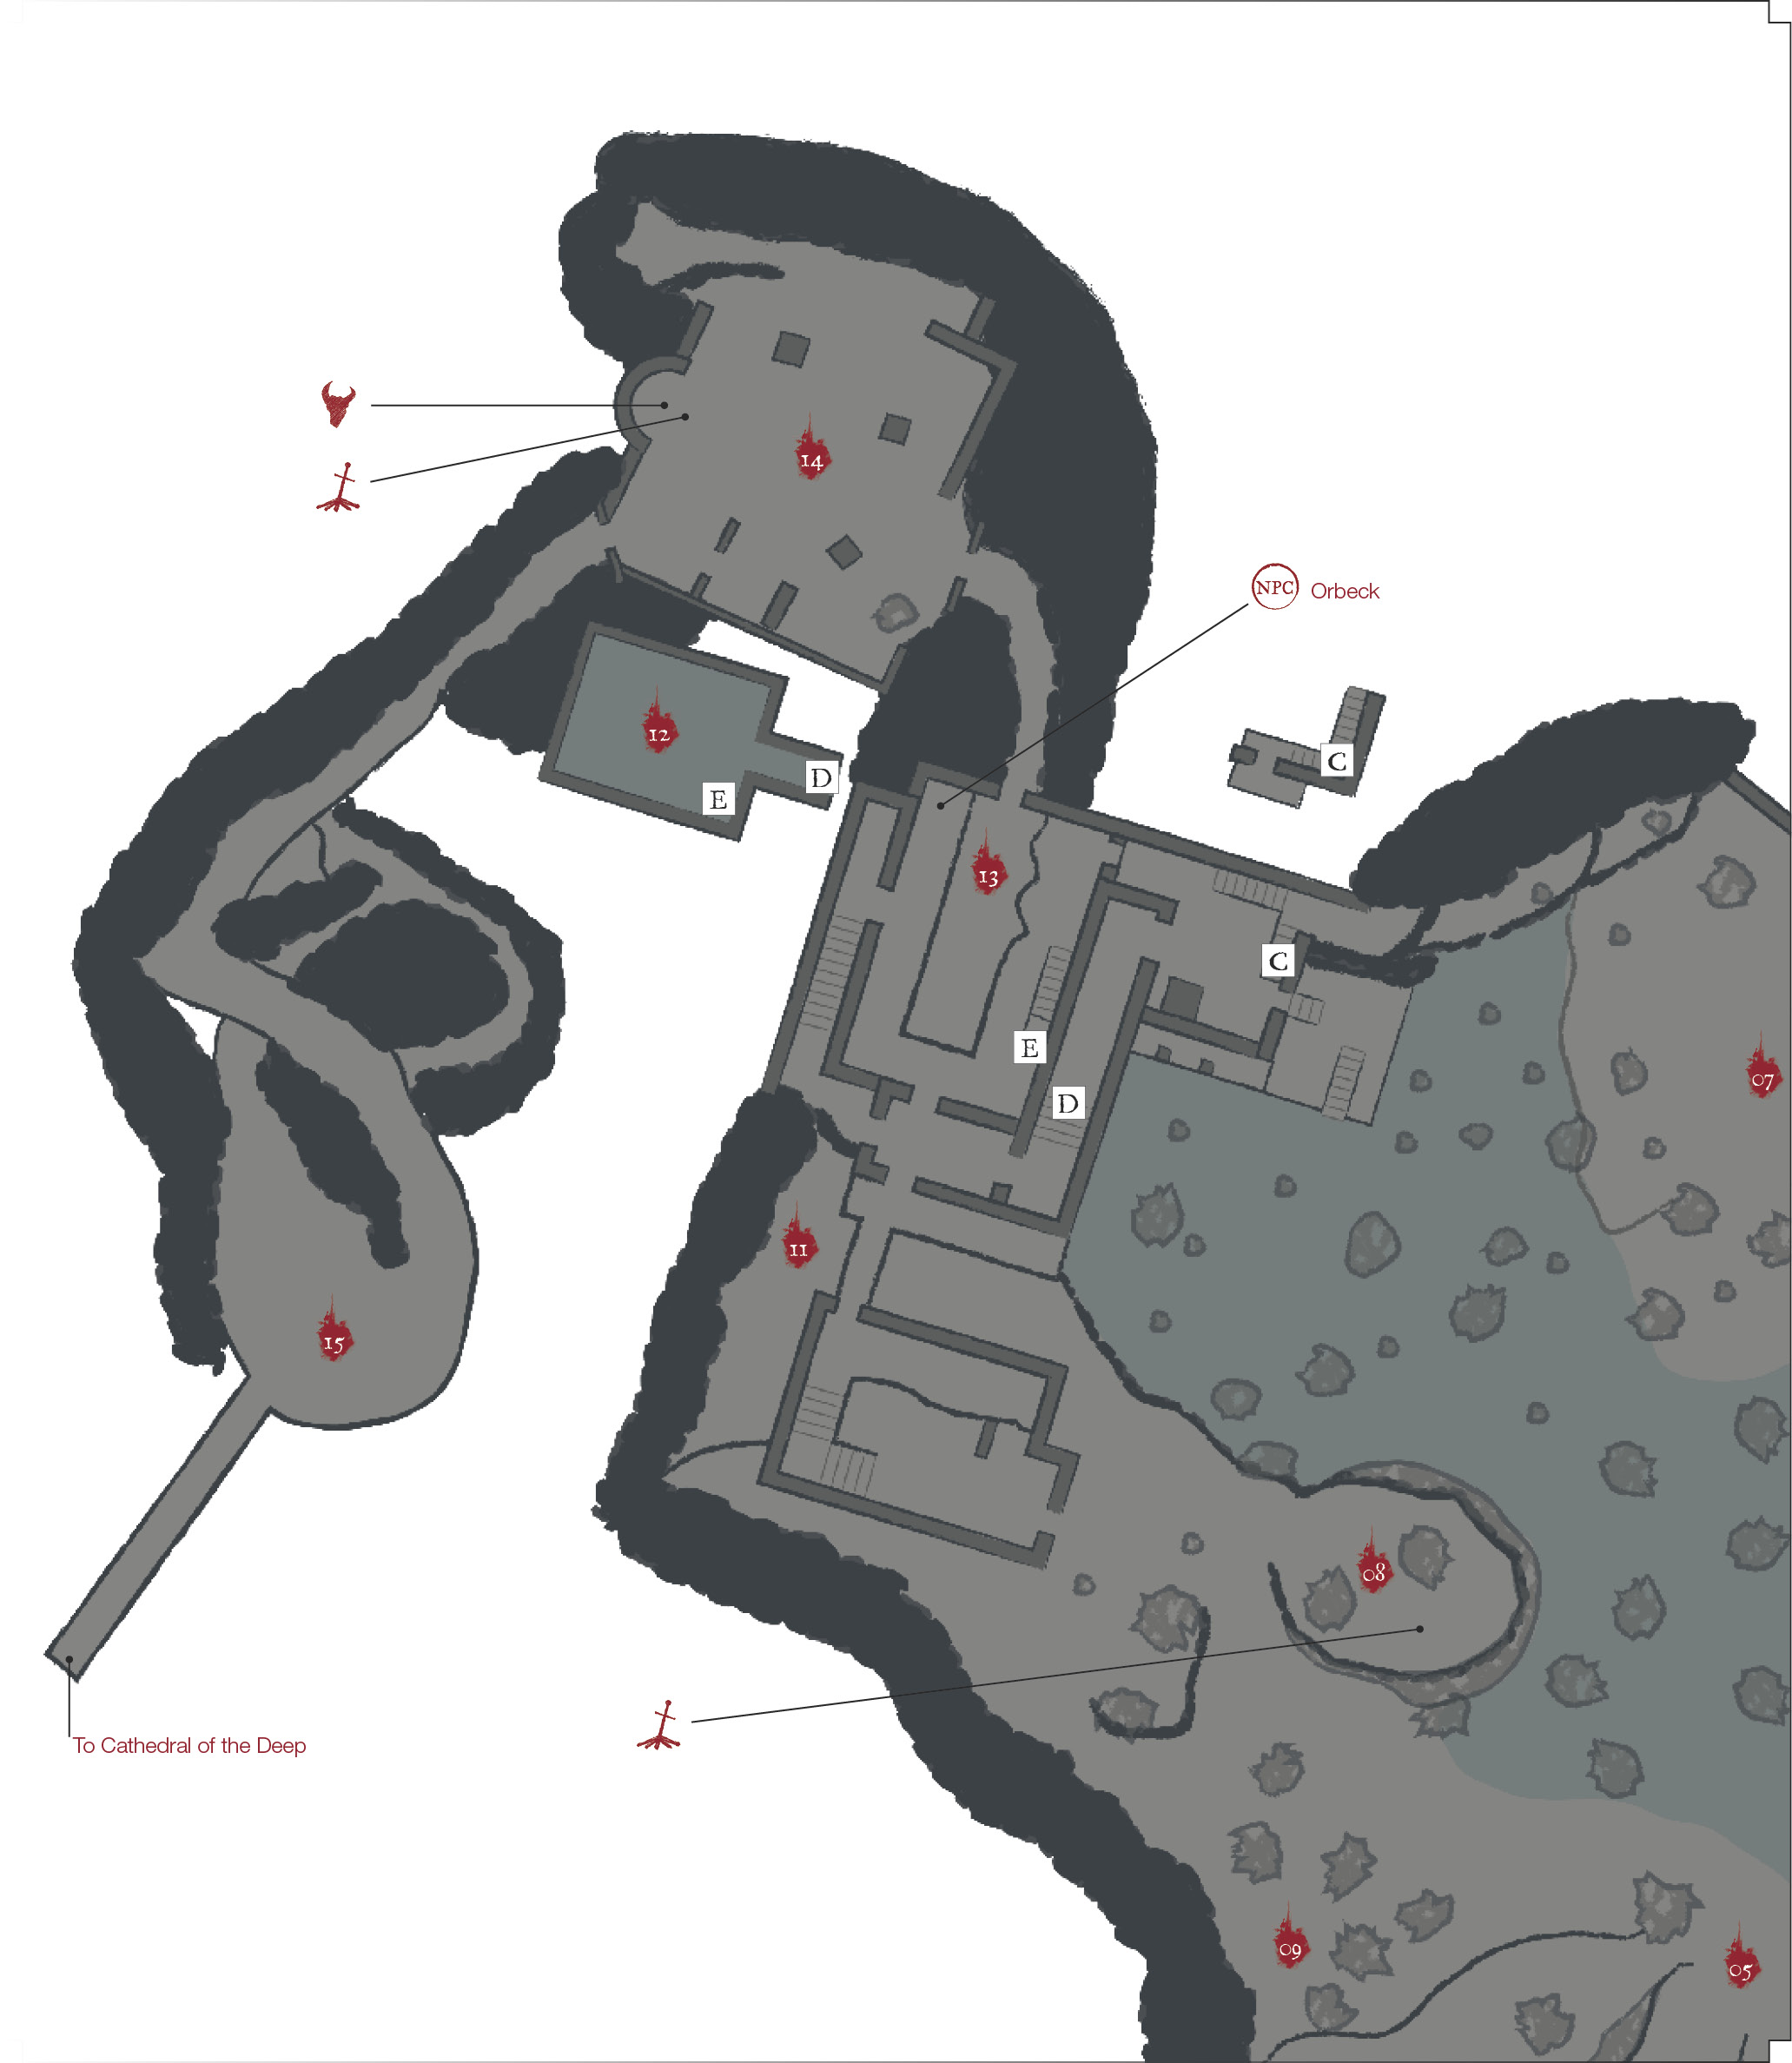
Make a point of opening up the Bonfire’s at (8) and (10) as quickly as possible, a bit of sprinting should let you get both without much trouble, and with all of the Bonfires in the area lit, you can explore the swamp at your leisure.
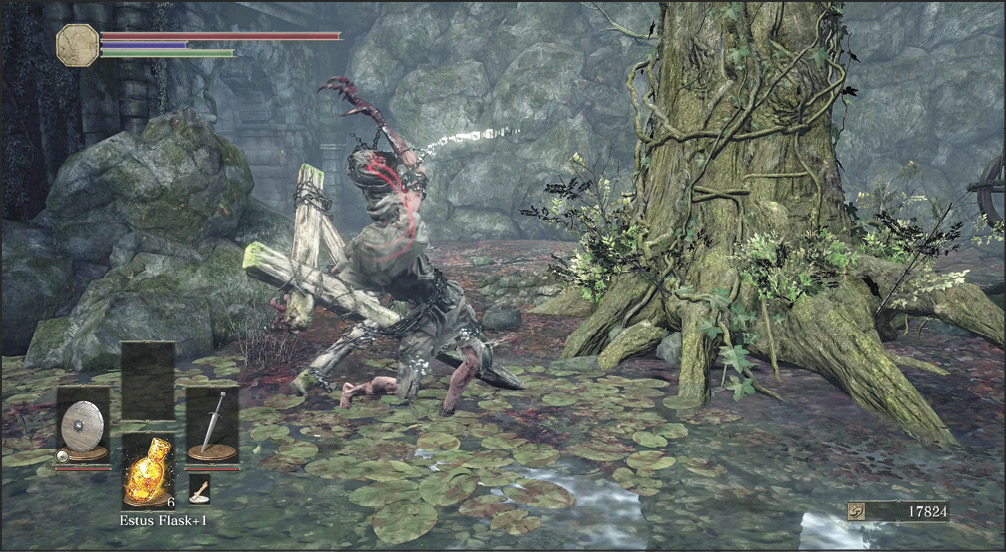
 As you approach Crucifixion Woods, you find Lycanthrope Hunters here and there. They’re light on health and can be easy to kill when you get the drop on them. Dodge to the side if they charge, since they have extensive range and reach with their poles.
Want Some Weapon Materials?Lycanthrope Hunters have a small chance to drop Heavy Gems. There is also a Farron Coal in this region. The Farron Coal lets you make your weapons scale incredibly well with Strength. Heavy Gems are the requirement for this modification. If you are playing a Strength-based character, this is the first time that you can really start pushing your weaponry to the next level of slaughter. |
As you explore farther ahead, you meet many other new enemies.
Lesser Crabs are small scuttlers that are found in the marsh. They don’t get you many Souls, nor are they very powerful. Kill them as targets of opportunity at best.
Great Crabs are rarer. They’re very large and have piles of health. Even worse, you usually face them in the water. That means that you can’t sprint or dodge as easily. Use long-ranged attacks or spells to fight these enemies when you have to. Because you see them at long range, it’s better to avoid them and get your treasure hunting done without wasting too much time fighting in the swamp.
One of the Great Crabs out in the water is guaranteed to drop the Great Swamp Ring, a ring similar to Morne’s Ring, but boosting Pyromancies instead of Miracles. Definitely worth going crab-hunting to track this down if you plan on using Pyromancy.
Lycanthropes stay on dry land, and they’re often alone. Get the jump on them to snag a few free hits before these heavier attackers get up and enter the battle properly. Lycanthropes swing each of their arms, allowing them to cover a wider area than you’d think. If you’re struck early in a combo, roll away because you can still avoid most of their attacks. If you’re hit at the tail end of their frenzies, start swinging back, and make the trade count.
Out in the swamp, you can also find a full set of Conjurator Armor, as well as the Great Swamp Pyromancy Tome, unlocking more Pyromancies when given to Cornyx back at the shrine.
 The eastern side of the swamp takes you to a long locked passage. You can’t access the passage until you come up from the depths of Farron Keep, but some of the building is available for exploration immediately. Be careful on the approach, there are several Poisonhorn Bugs that aren’t a threat, but the red-eyed Lycanthrope definitely is. With a non red-eyed twin nearby, try to pull them apart and deal with them separately.
Use ranged attacks to wound the Black Knight that guards that building. Up close, he can deal massive damage with heavy, single strikes. Dodge, make single attacks, and back away for the early fight. As he weakens, you can likely risk a heavier combo to secure the kill. If you’re lucky, he might drop his Black Knight Greatsword. Search both floors of the building for multiple items; a full set of Sellsword Armor, a pair of Sellsworrd Twinblades, and the Farron Coal (for the Blacksmith).
Later when you come down this passage from Farron Keep, you can find Great Magic Weapon just on the other side of the one way door—mind the Ravenous Crystal Lizard guarding it!
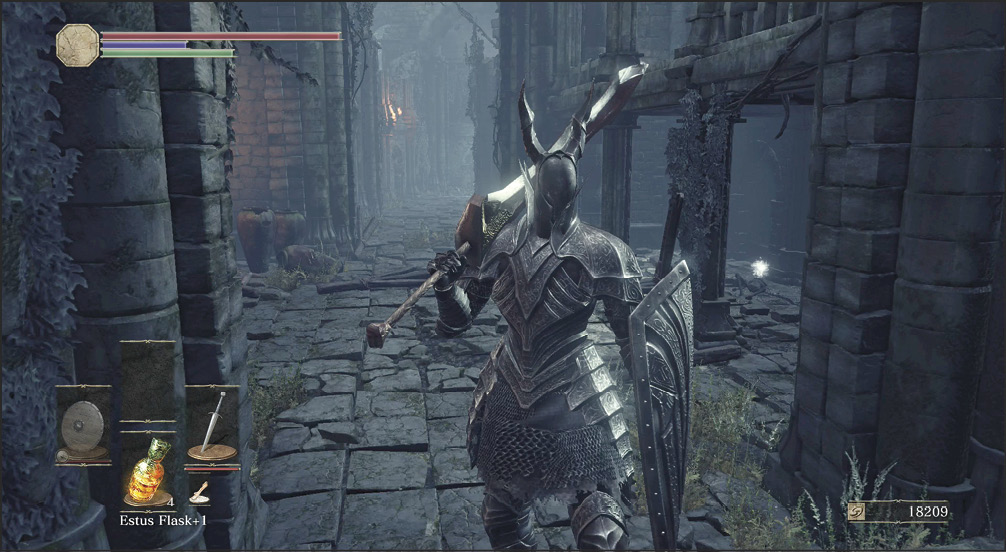
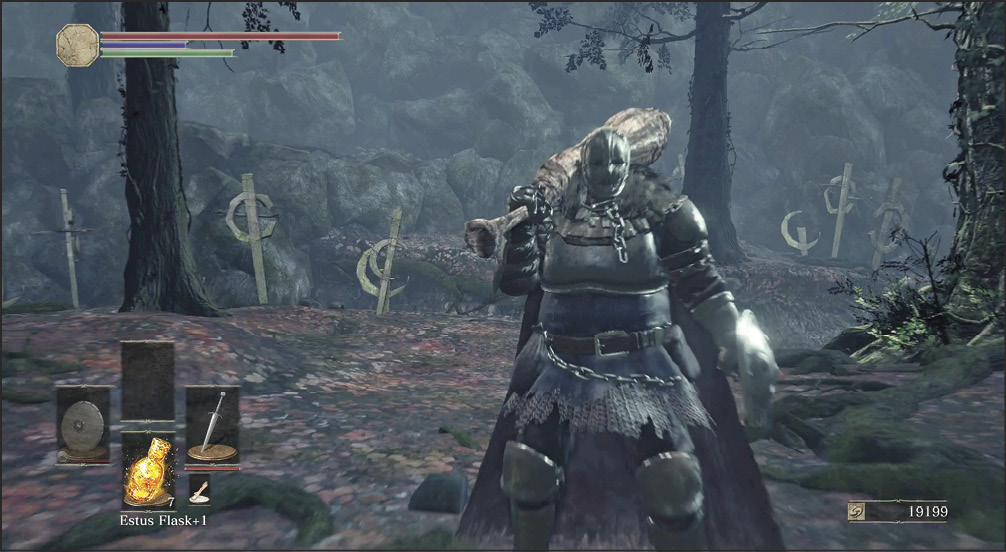
 This field has a proving ground for great fighters. There are two Unkindled here with good moves to show off. Approach slowly to avoid drawing both of them at the same time. Pull the first one you see, and try to land extra damage before it gets into melee range with you.
Both of these enemies can dodge and combo well. Bait and punish their attacks; if you try to trade blows, they’ll knock you down with their heavier swings. The foe with a sword has a combo with two whirlwinds and a final strike. Force yourself to be patient and hang back until the strike is done. Otherwise, you get thrown around and lose your opportunity.
The other fighter has a Great Club. His attacks are even heavier, but his recovery is awful. Bait him, too, and use a long combo and cut him in half before he’s able to return fire. If he dodges away, bait him again and repeat the trick.
You can pick up a full set of Fallen Knight Armor at the edge of this field. If you approach from the ledges that extend from the ruined keep area to the west, you can pick up the Golden Falcon Shield on a ledge at the northern end of the field. Finally both knights here can potentially drop their weapons, the Great Club and Exile Greatsword.
Bonfire—Crucifixion Woods
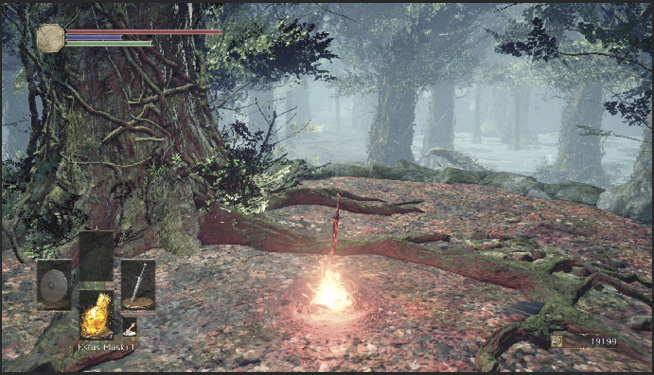
 This is the Crucifixion Woods Bonfire. It’s easy to miss because you won’t always spot this dry hill if you’re hugging the borders of the swamp. Make sure to ignite this Bonfire so that you have a place to restore your Estus Flasks.
Be wary of an invasion by the Dark Spirit Yellowfinger Heysel while exploring the swamp near here. The exceptionally useful Grass Crest Shield is in the swamp nearby, granting enhanced Stamina regeneration (at the cost of some physical damage absorption %, so it’s not a perfect blocking shield…).
Also located nearby is the Twin Dragon Greatshield, though it bears the unfortunate distinction of being the only Greatshield without 100% physical absorption. It is the lightest Greatshield, and still has excellent Stability.
 The southern part of the woods is filled with monsters and has only light treasure, a few Souls and Shards. You have to fight Starved Hounds, many Poisonhorn Bugs, and a Lycanthrope as you weave around the tight paths of trees and hills. If you go there, use a shield to help with the Starved Hounds, and consider taking anything that raises your Poison Resistance in case the Poisonhorn Bugs spray you. They’re slow-moving and don’t attack often, so you’re better off killing a few of them and sprinting away, even if there are a few left.
Bonfire—Farron Keep Perimeter
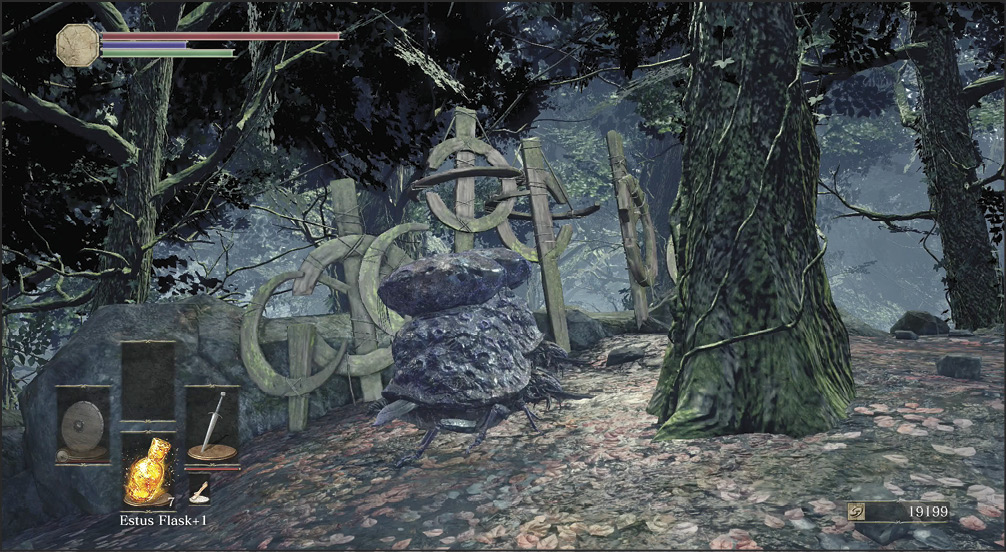
 The ladder here leads down into Farron Keep, which will be covered soon enough. Even if you’re not ready to look down there extensively, take a minute to climb down the ladder and get the Farron Keep Bonfire.
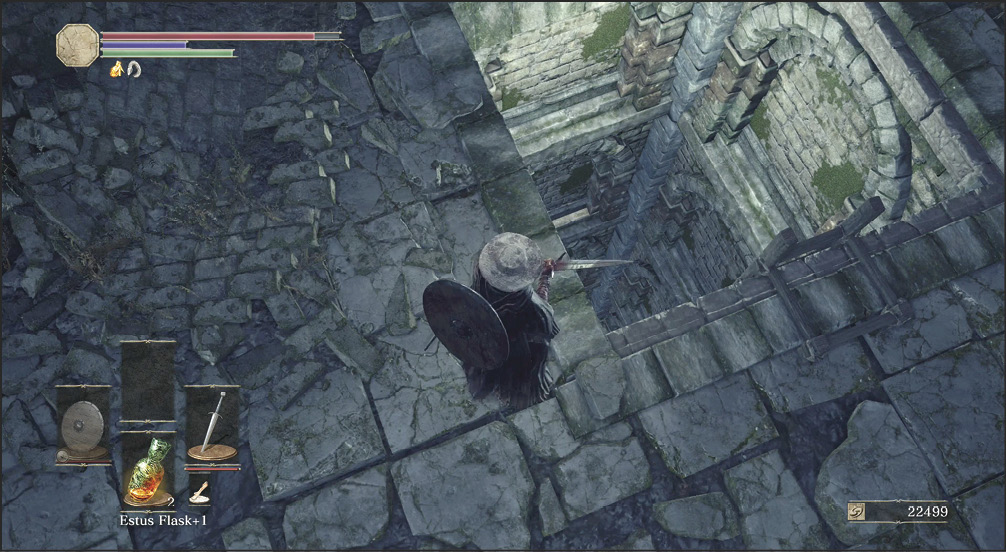
 Kill the Lycanthrope Hunters around the side and rear of the main castle. They’re easy targets and won’t pose much trouble, but there is a tougher fight by a campfire. Two Lycanthropes are there, both infused with red-eyed hatred, and a Sage’s Devout is on the wall above them.
Kill the caster at range before the others know to come after you. Once the Sage’s Devout is dead, the others can be killed one at a time and without nearly as much risk.
Don’t miss the Estus Shard tucked away in the corner of the rocks near the Lycanthropes!
One oddity is located here, near the southwest of the keep, there is a purple summon sign on the ground. Unless you’ve joined the Mound-Makers Covenant already and used their summoning sign, this may be the first you’ve seen. In this case, this is an NPC phantom. Summon Holy Knight Hodrick only if you wish to face a tough fight!
Inside the nearby keep via a crack in the wall is a large group of Hollows, along with a lantern bearer who can waken them all to attack you. Fend them off and you can find a Heretic’s Staff tucked in the corner. Be wary of fighting on the ground floor if the Sage’s Devout above is still alive, bombarding you with spells. Lure them out of the keep to fight safely, if necessary.
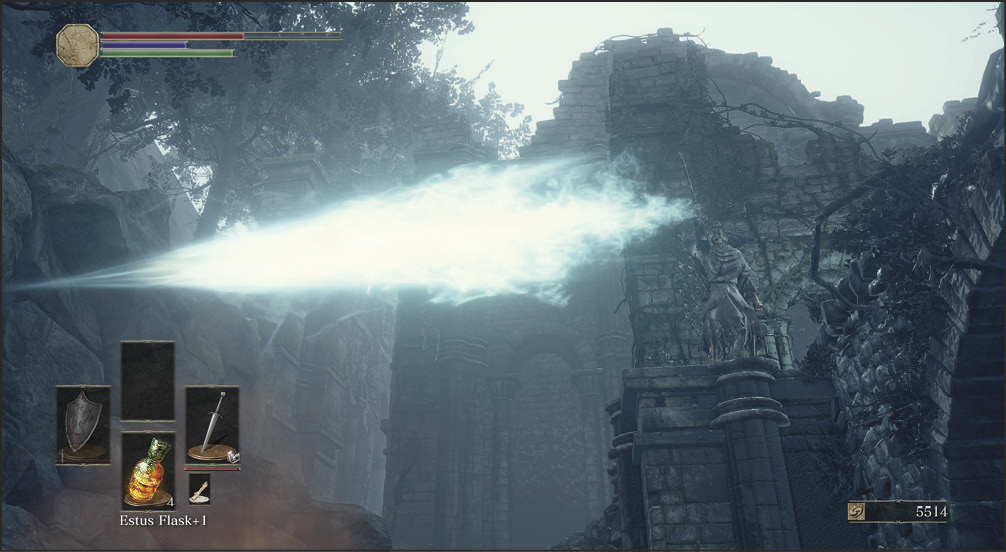
 This room is at the waterline; follow a small passage into it. A red-eyed Lycanthrope guards the loot in this room; the spellcasting speed boosting Sage Ring, and a full set of Sorcerer Armor. You’re not far from the Bonfire, so you can top off your Estus Flasks afterward if you have any trouble.
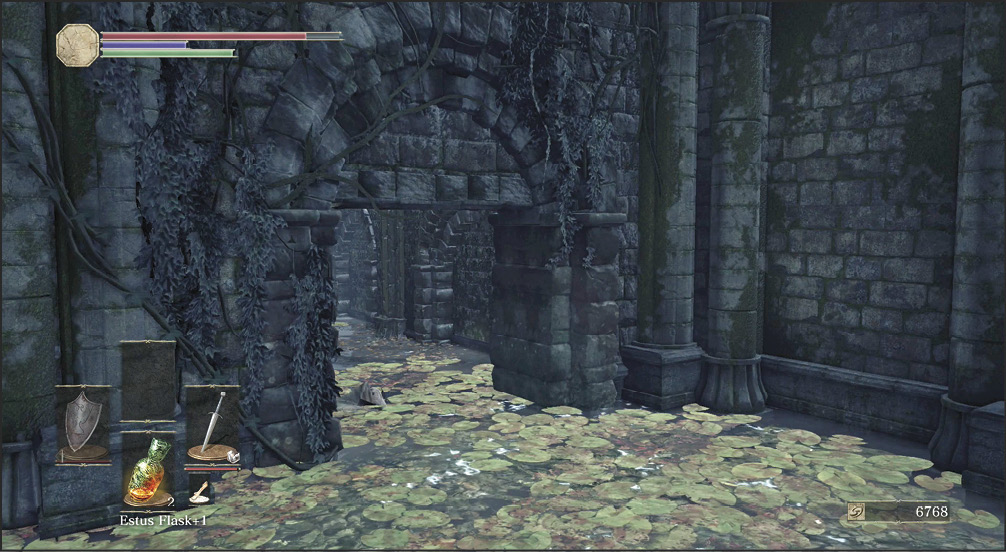
Orbeck
 There are many ways into the castle, but Corvians and Sage’s Devouts guard all of them. These paths come together in a pillared room with several targets. Use the pillars for cover from the caster’s fire, and kill off his allies one by one until you get him, too.
A side path from that room gets you up and around to the top level. You find a studious-looking mage up there, named Orbeck. You can invite him back to the Ashen Shrine, your nice, safe sanctuary.
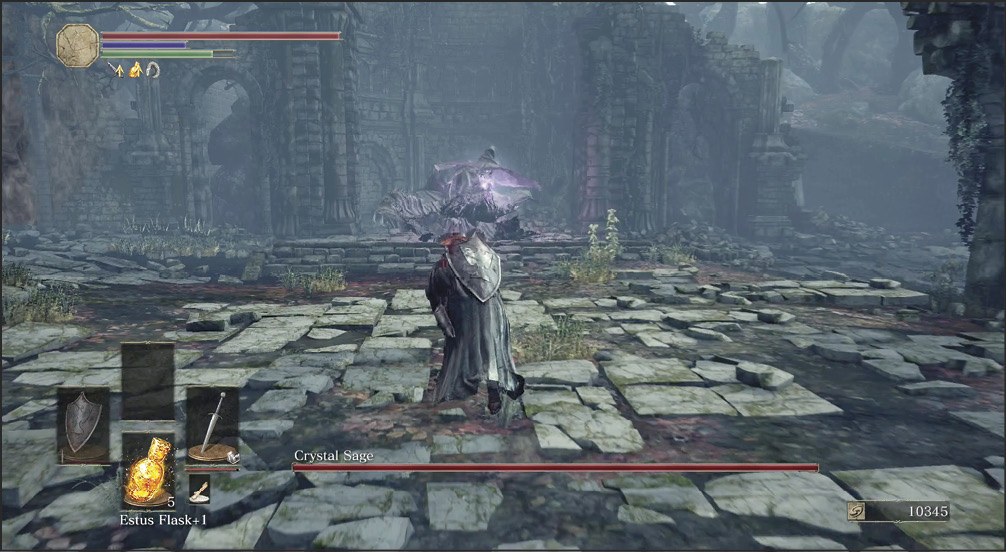
Explore the halls above to find a Crystal Lizard that drops an area appropriate Crystal Gem, which can be used to infuse your weapons to scale off of Int, useful for spell-caster focused characters. Not far past the little lizard is a ledge that you can drop down from to find a second Ring of Sacrifice (assuming you picked up the first in High Wall!).
If you have befriended Irina and not angered Eygon, his summon sign appears in the hall below Orbeck, allowing you to gain a companion for clearing the area and battling the boss.
Major Battle
 Without much preamble, a mystic boss attacks. For this fight, you should get as much Magic Resistance as possible, and load your equipment with the best items for raw damage. The Crystal Sage does not have much health, but it can cast hateful spells at you all day long. When you close the gap with this boss, you want to put out the best damage per second that you can manage!