Dark Souls III Guide (Steam) Walkthrough
Catacombs of Carthus
Major Items
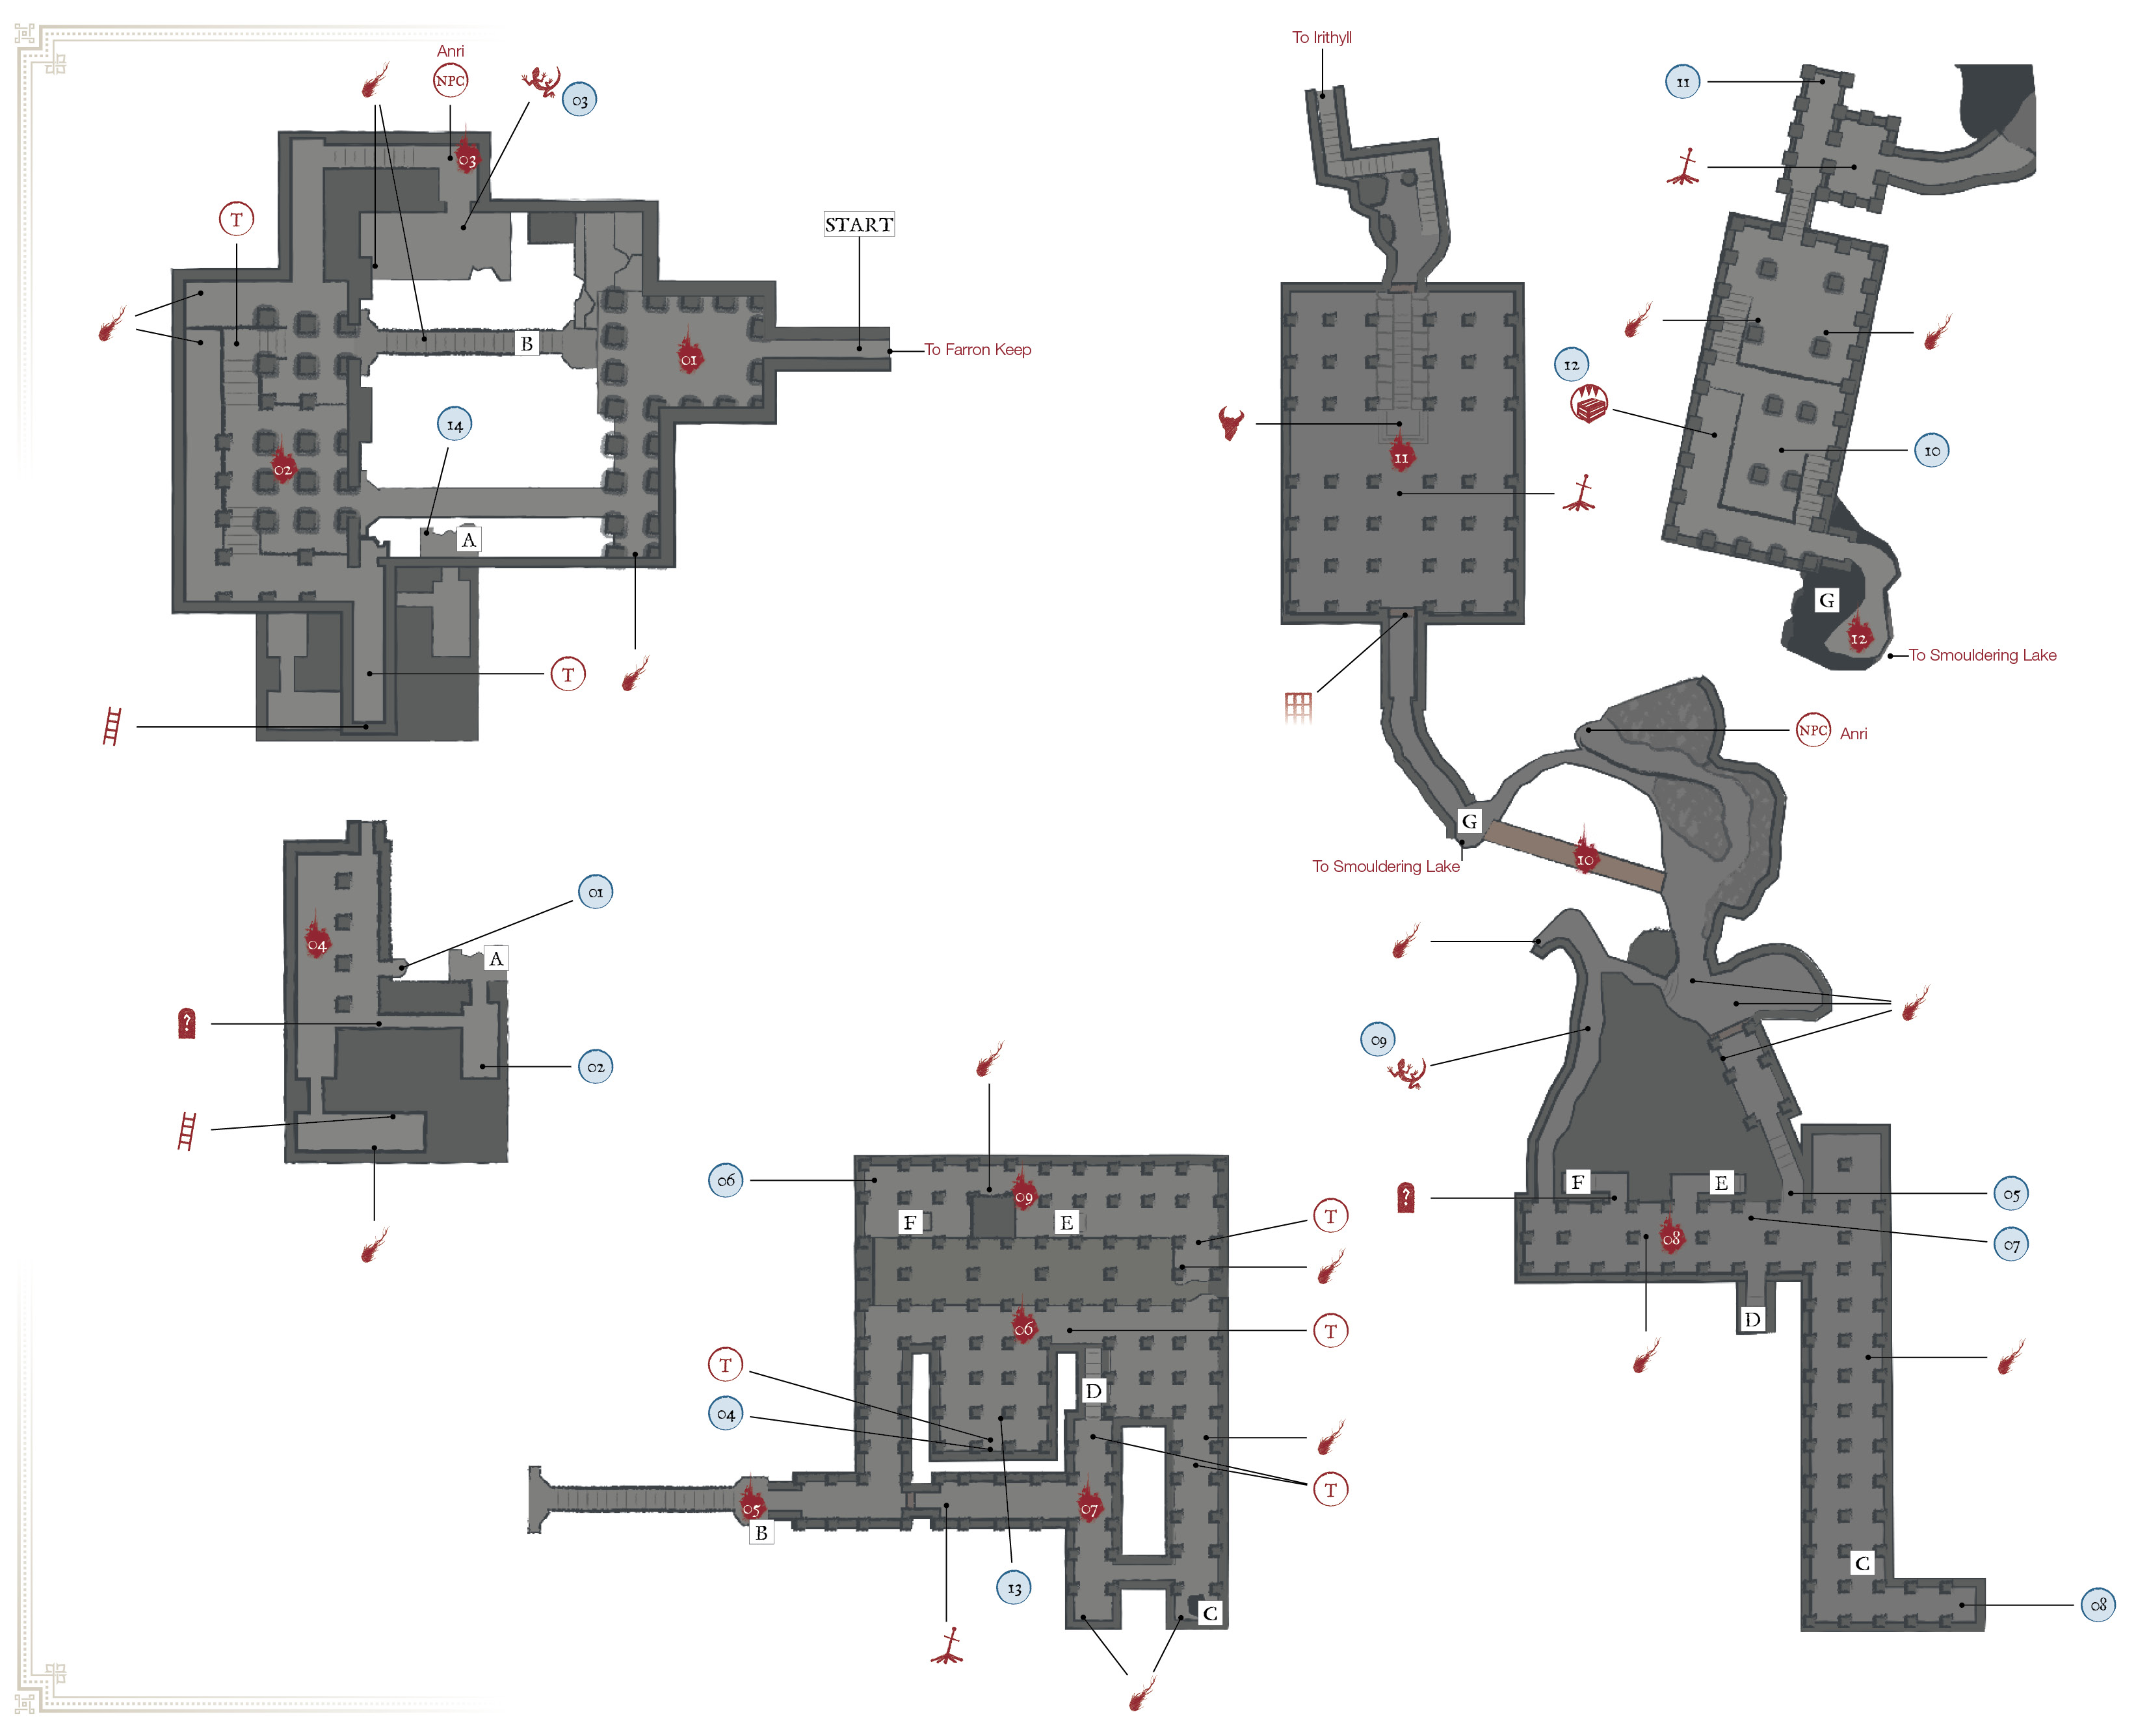
 | Major Items |
|---|---|
| 1 | Sharp Gem |
| 2 | Carthus Pyromancy Tome |
| 3 | Twinkling Titanite |
| 4 | Carthus Milkring |
| 5 | Knight Slayer’s Ring, My Thanks! Gesture (on Dark Spirit Knight Slayer Tsorig) |
| 6 | Grave Warden’s Ashes |
| 7 | Dark Gem |
| 8 | Carthus Bloodring |
| 9 | Fire Gem |
| 10 | Soul of a Demon (from Demon) |
| 11 | Old Sage’s Blindfold, Witch’s Ring |
| 12 | Black Blade (Mimic) |
| 13 | Thunder Stoneplate Ring+1 (New Game +1) |
| 14 | Ring of Steel Protection +2 (New Game +2) |
Bonfires Located Here
| Bonfire Name |
|---|
| Catacombs of Carthus |
| High Lord Wolnir (Boss) |
| Abandoned Tomb (Smouldering Lake) |
Enemies
| Enemy Name |
|---|
| Skeleton |
| Skeleton Swordsman |
| Lesser Crab |
| Hound-rat |
| Large Hound-rat |
| Writhing Rotten Flesh |
| Skeleton Wheel |
| High Lord Wolnir |
| Demon |
Key Discoveries
| Discovery |
|---|
| Anri Encounters (x2) |
 Get into the catacombs by approaching the shrine in the Abyss Watchers’ room. This opens a secret passage down into the catacombs. Descend, and then stop once you reach a stone bridge: enemies are going to attack you soon. The path is linear here, unless you discover the safe drop on the northern edge of the first open platform. It’s possible to skip down through a section of the map by dropping over a few overhangs.
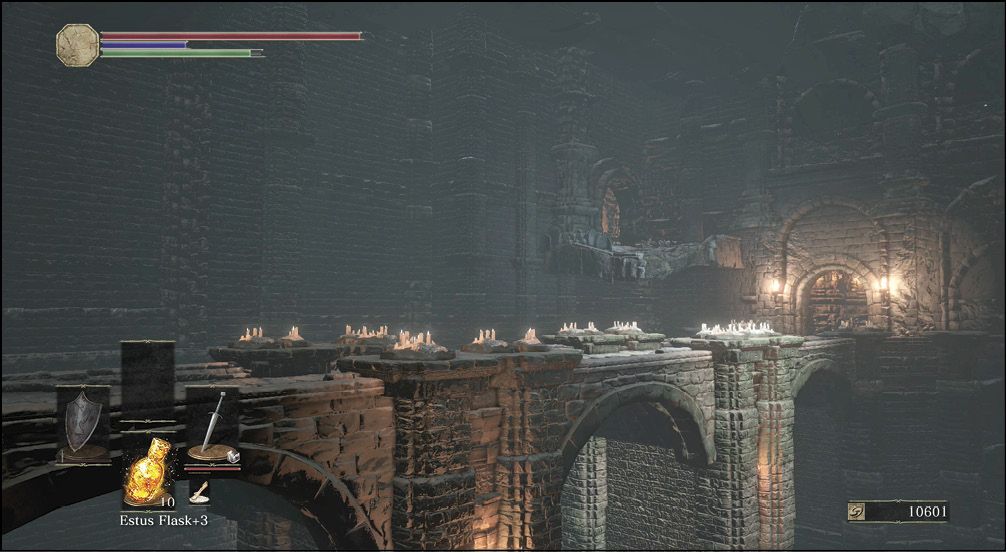
If you cross the bridge (as most players will), you’re going to fight a Skeleton and then an Skeleton Swordsman. The former target is very weak. Block these enemies and eliminate them, since they’re only a threat in large numbers.
Skeleton Swordsmen have an aggressive, twirling charge. Ideally, put up your shield to absorb this impact, then counter quickly to dispatch them before they get to start their combos.
Skeleton Archers are positioned on ledges above and below you in this main chamber. Don’t tarry here long. The best thing you can do is to move through quickly and kill these ranged foes later.
 The western room has similar enemies, even though you don’t have to contend with ranged attacks while you’re fighting. Draw out the Skeleton Swordsmen so that they are isolated. Also, watch out for the rolling balls of skeletal limbs that glide on by.
You take a fair amount of damage if they run over you, and you also get thrown around. The balls roll back and forth along their paths, and the one that goes over the lower bridge will claim many lives from players who don’t manage to avoid it. Enemies here attack quickly, so they’ll punish heavy casting or ranged attacks unless you’re starting a fight before they see you.
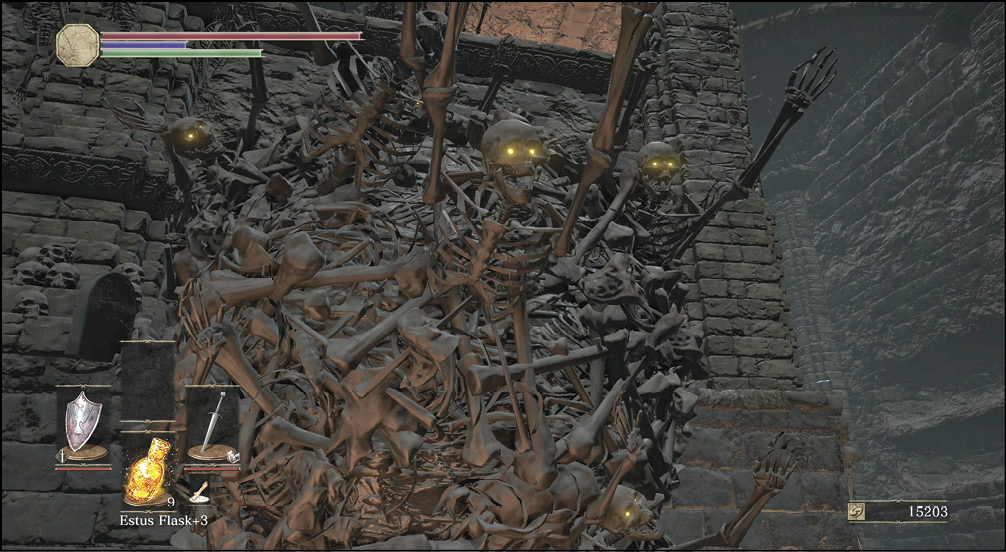
Some of the fights nearby have groups of Skeletons. In this situation, they’re more than a nuisance. If you can, equip a weapon with longer reach and/or a wide, sweeping attack. Greatswords and polearms are both good examples. They’re excellent for dispatching large groups of Skeletons so that you don’t get overwhelmed. Alternate between using these heavy weapons for groups and employing one-handed weapons and a shield for individuals.
 Anri is here, if you’re following his questline and have already defeated the Deacons of the Deep and talked to him (or her) back at the Firelink Shrine. Talk to Anri again to continue this storyline.
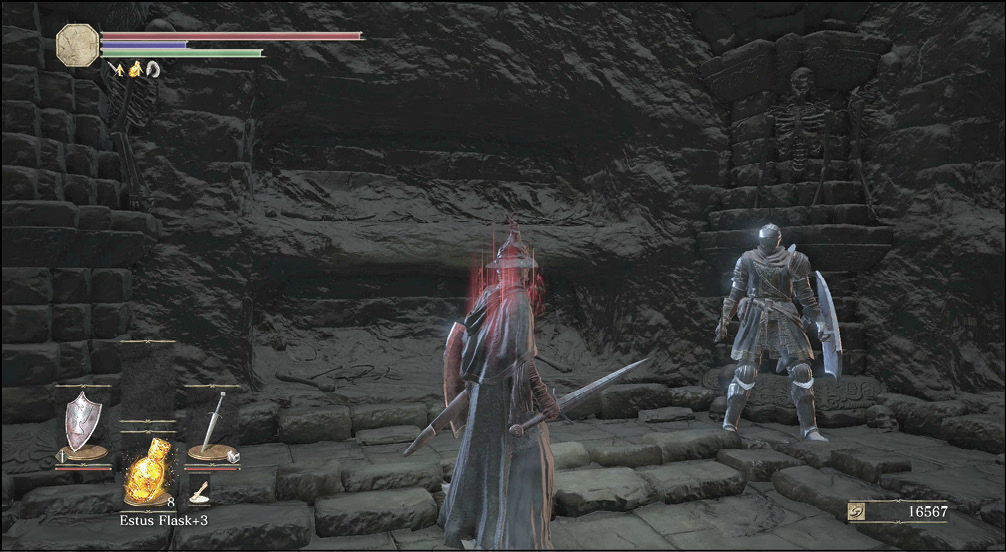
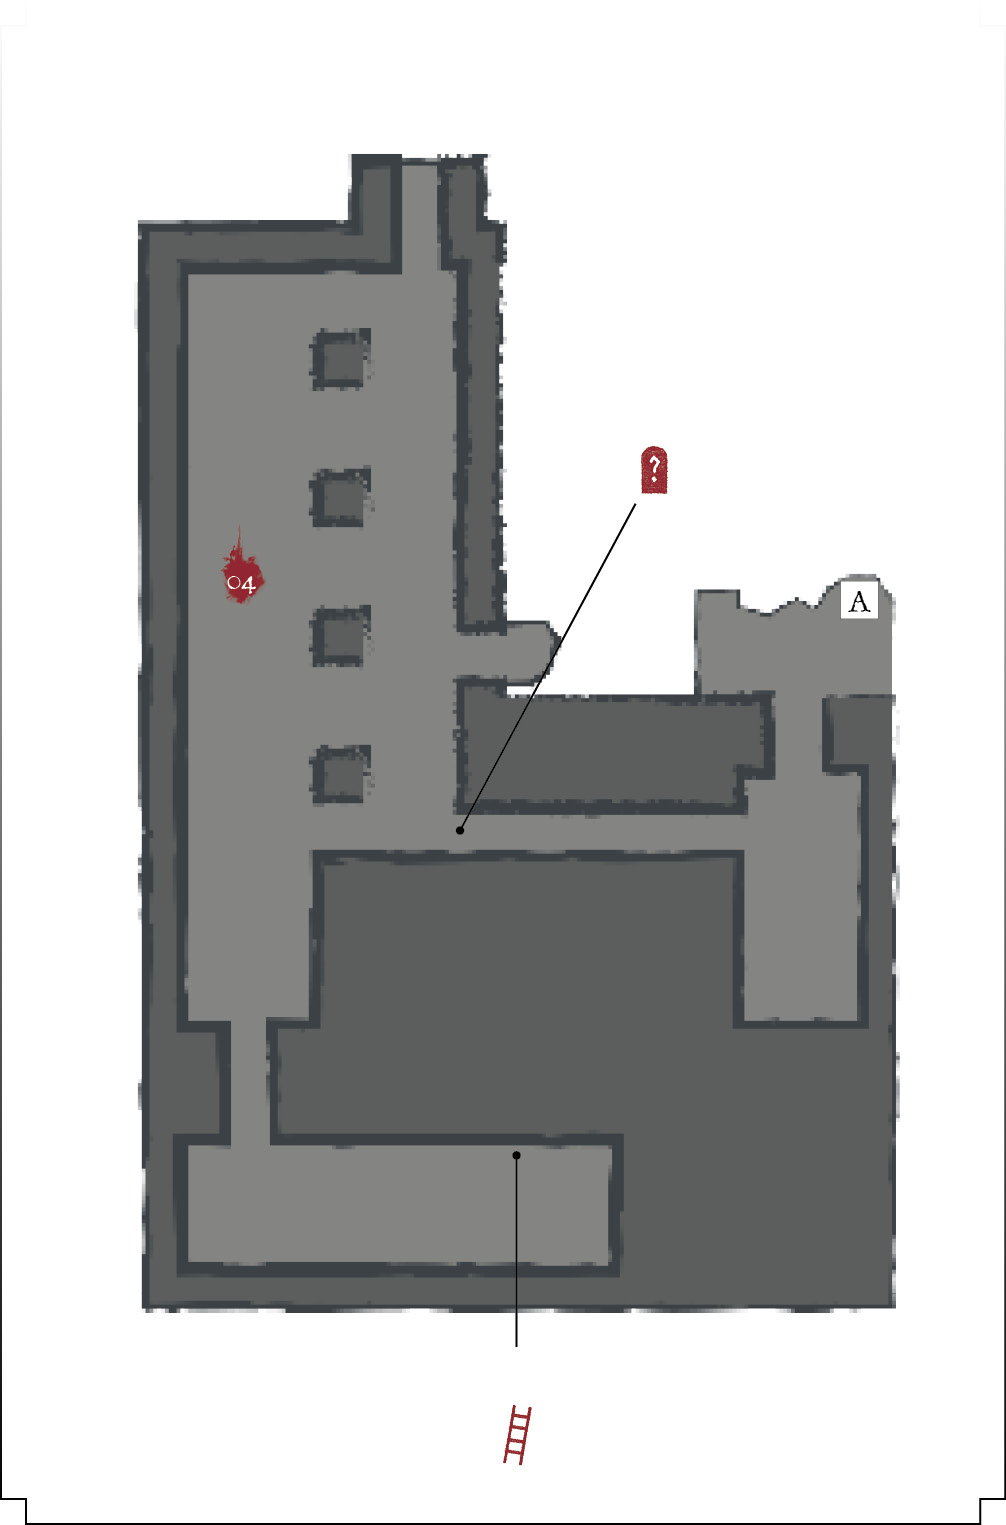
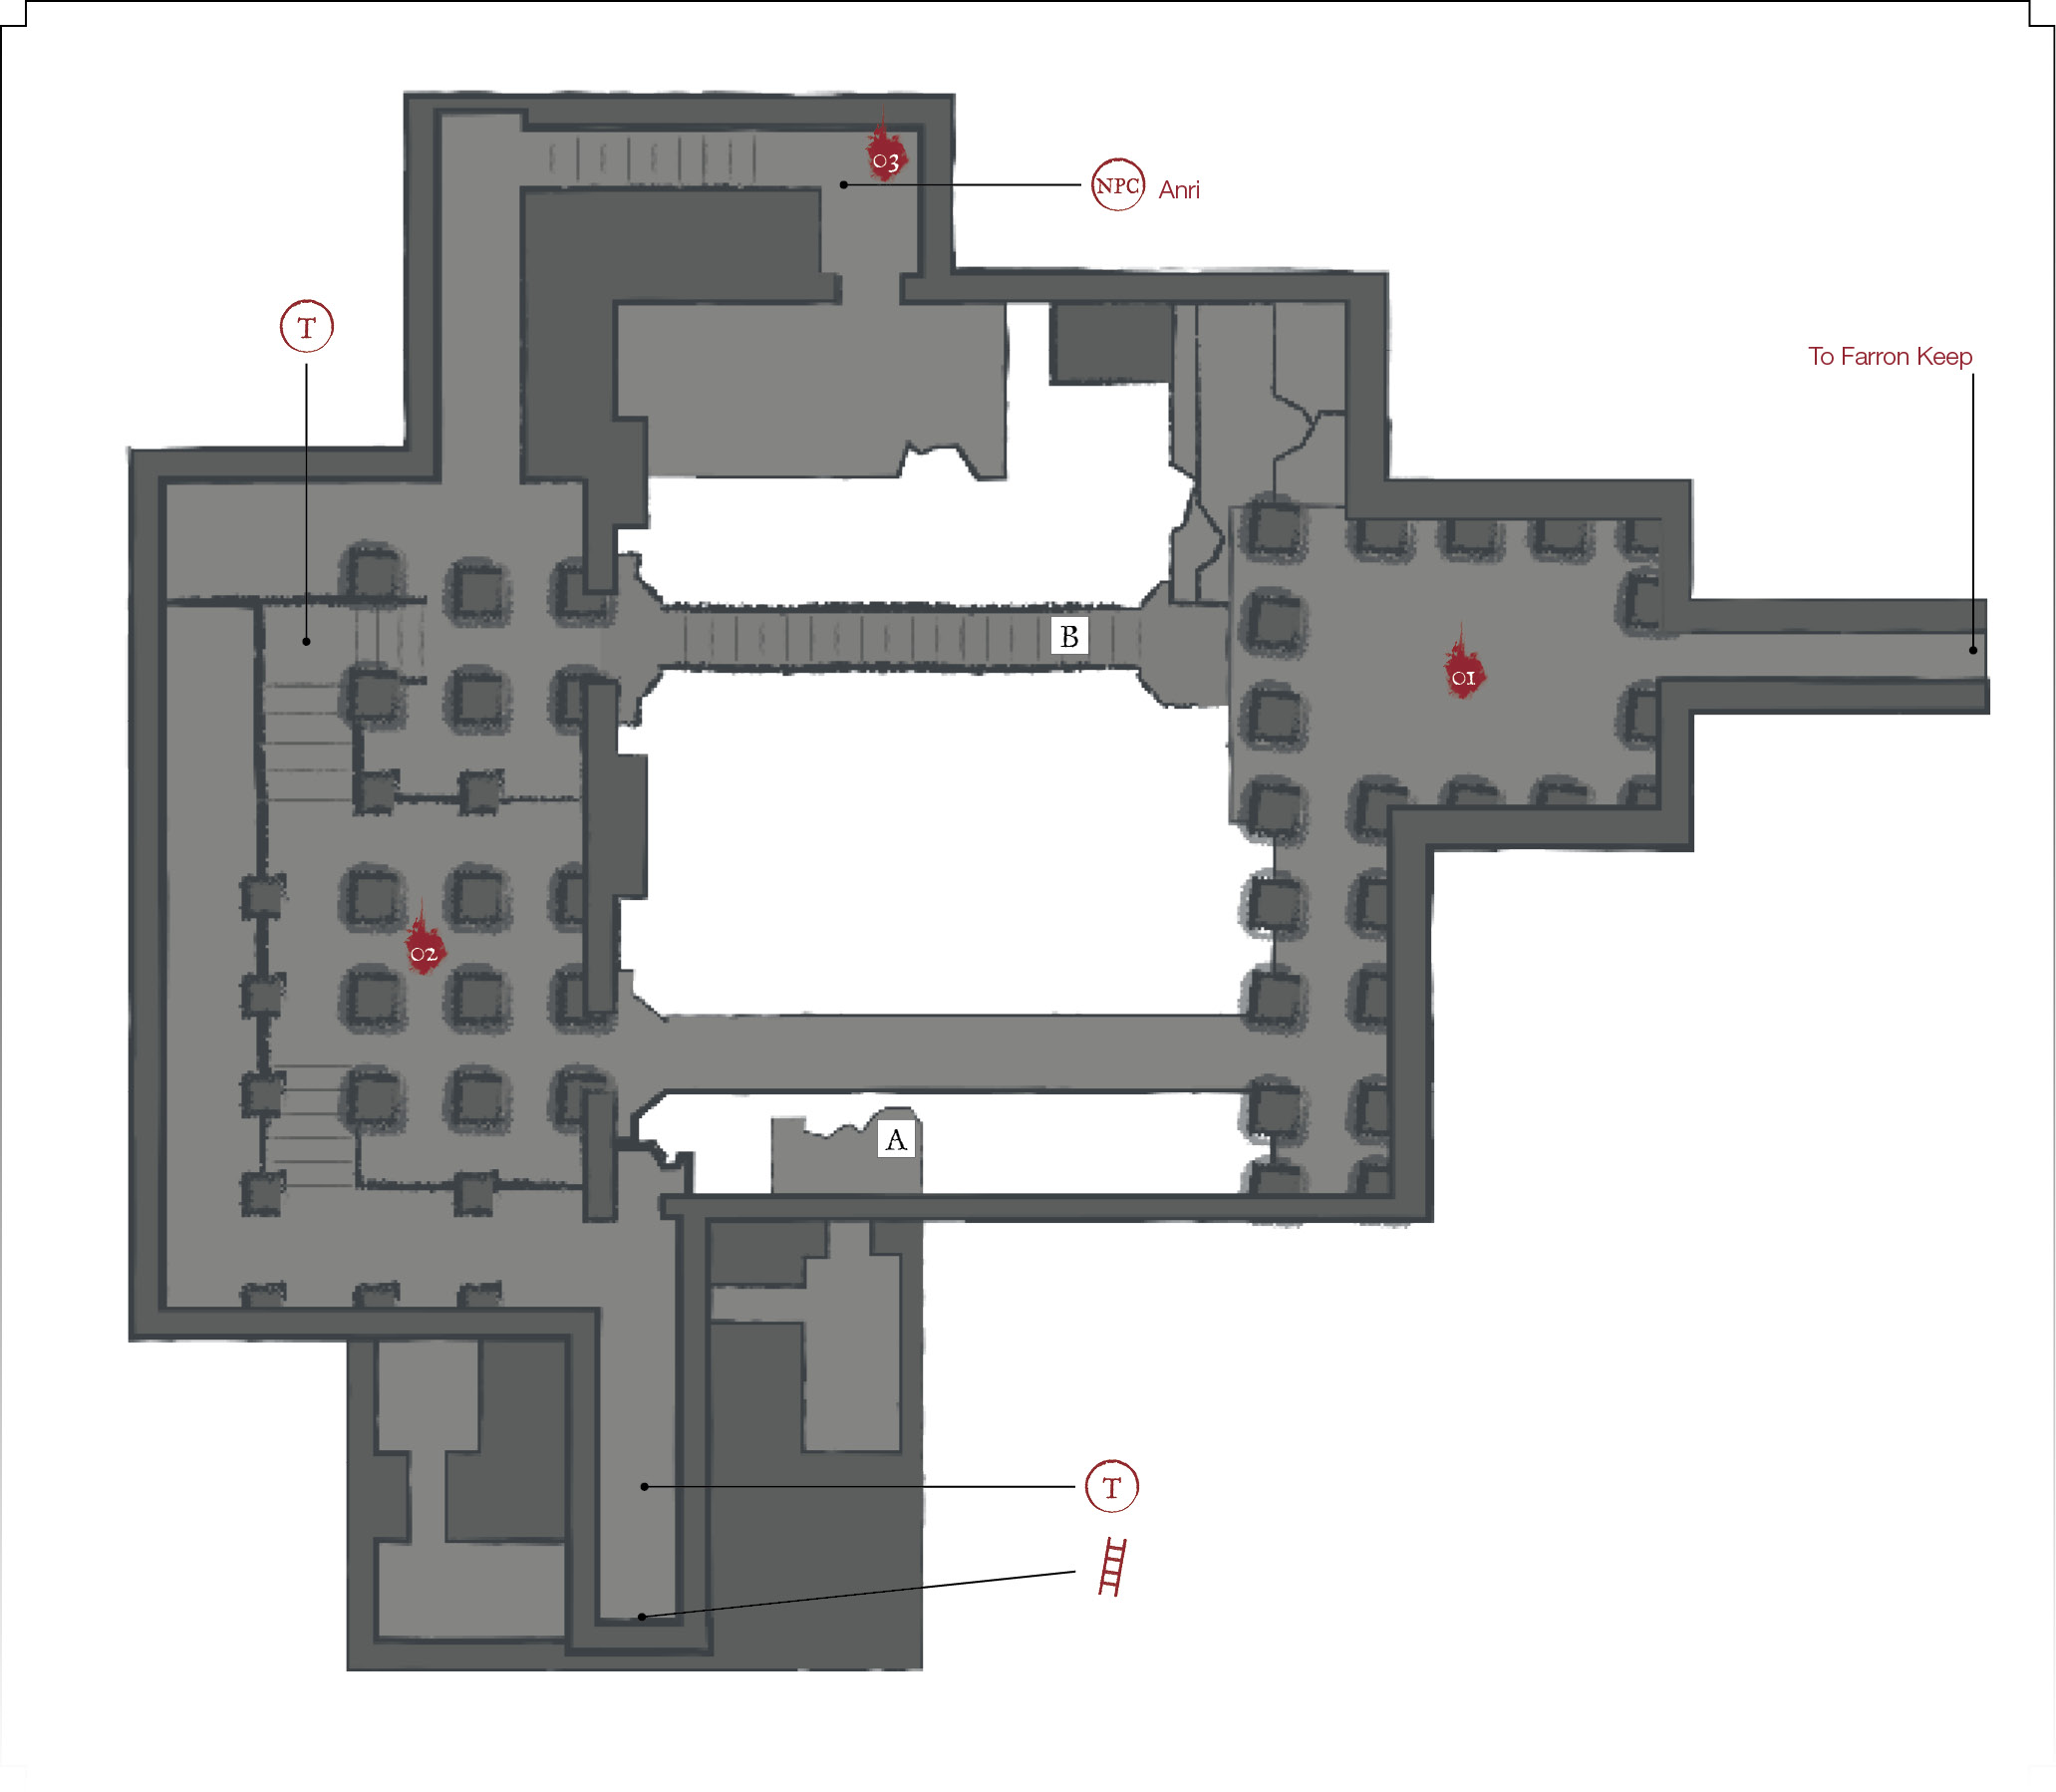
 Most of the treasure in the upper catacombs is really minor. However, the Carthus Pyromancy Tome is here. It’s one level down from the starting point, in the crypts south of the main bridge. Make sure to collect this before you proceed. In New Game +2 you find a Ring of Steel Protection +2 on the ledge that's Marked A on our map.
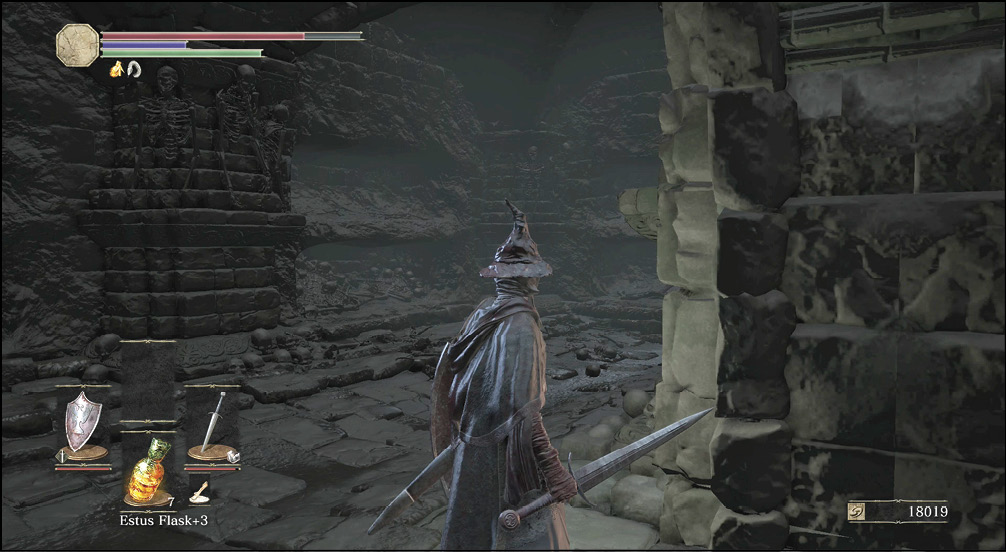
 There are many ways to get around the upper crypts, so make sure that you don’t get confused. The best way to navigate is to get onto the large staircase that leads down through the primary chamber. Use that set of stairs to keep your bearings. Once you’re finished exploring, go back to this staircase.
Sprint to get down the bridge after the ball of death rolls past you. Dodge to the side at the end to make sure that you’re out of the way before the next trip swings around.
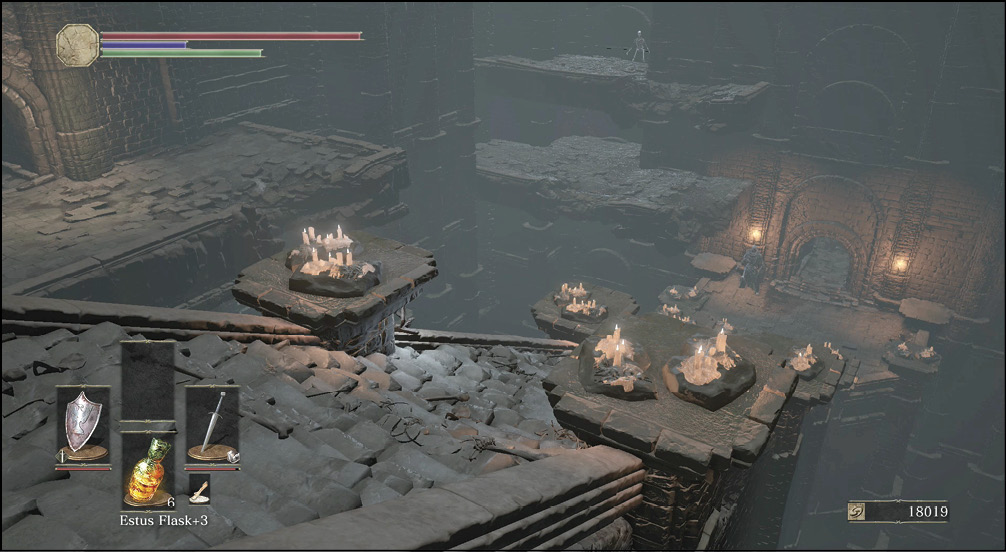
If you dropped off of the ledges back at (1), you will drop near the door at the bottom of (5). As long as you’ve obtained the Carthus Pyromancy Tome in this area, you should feel free to take this shortcut in the future.
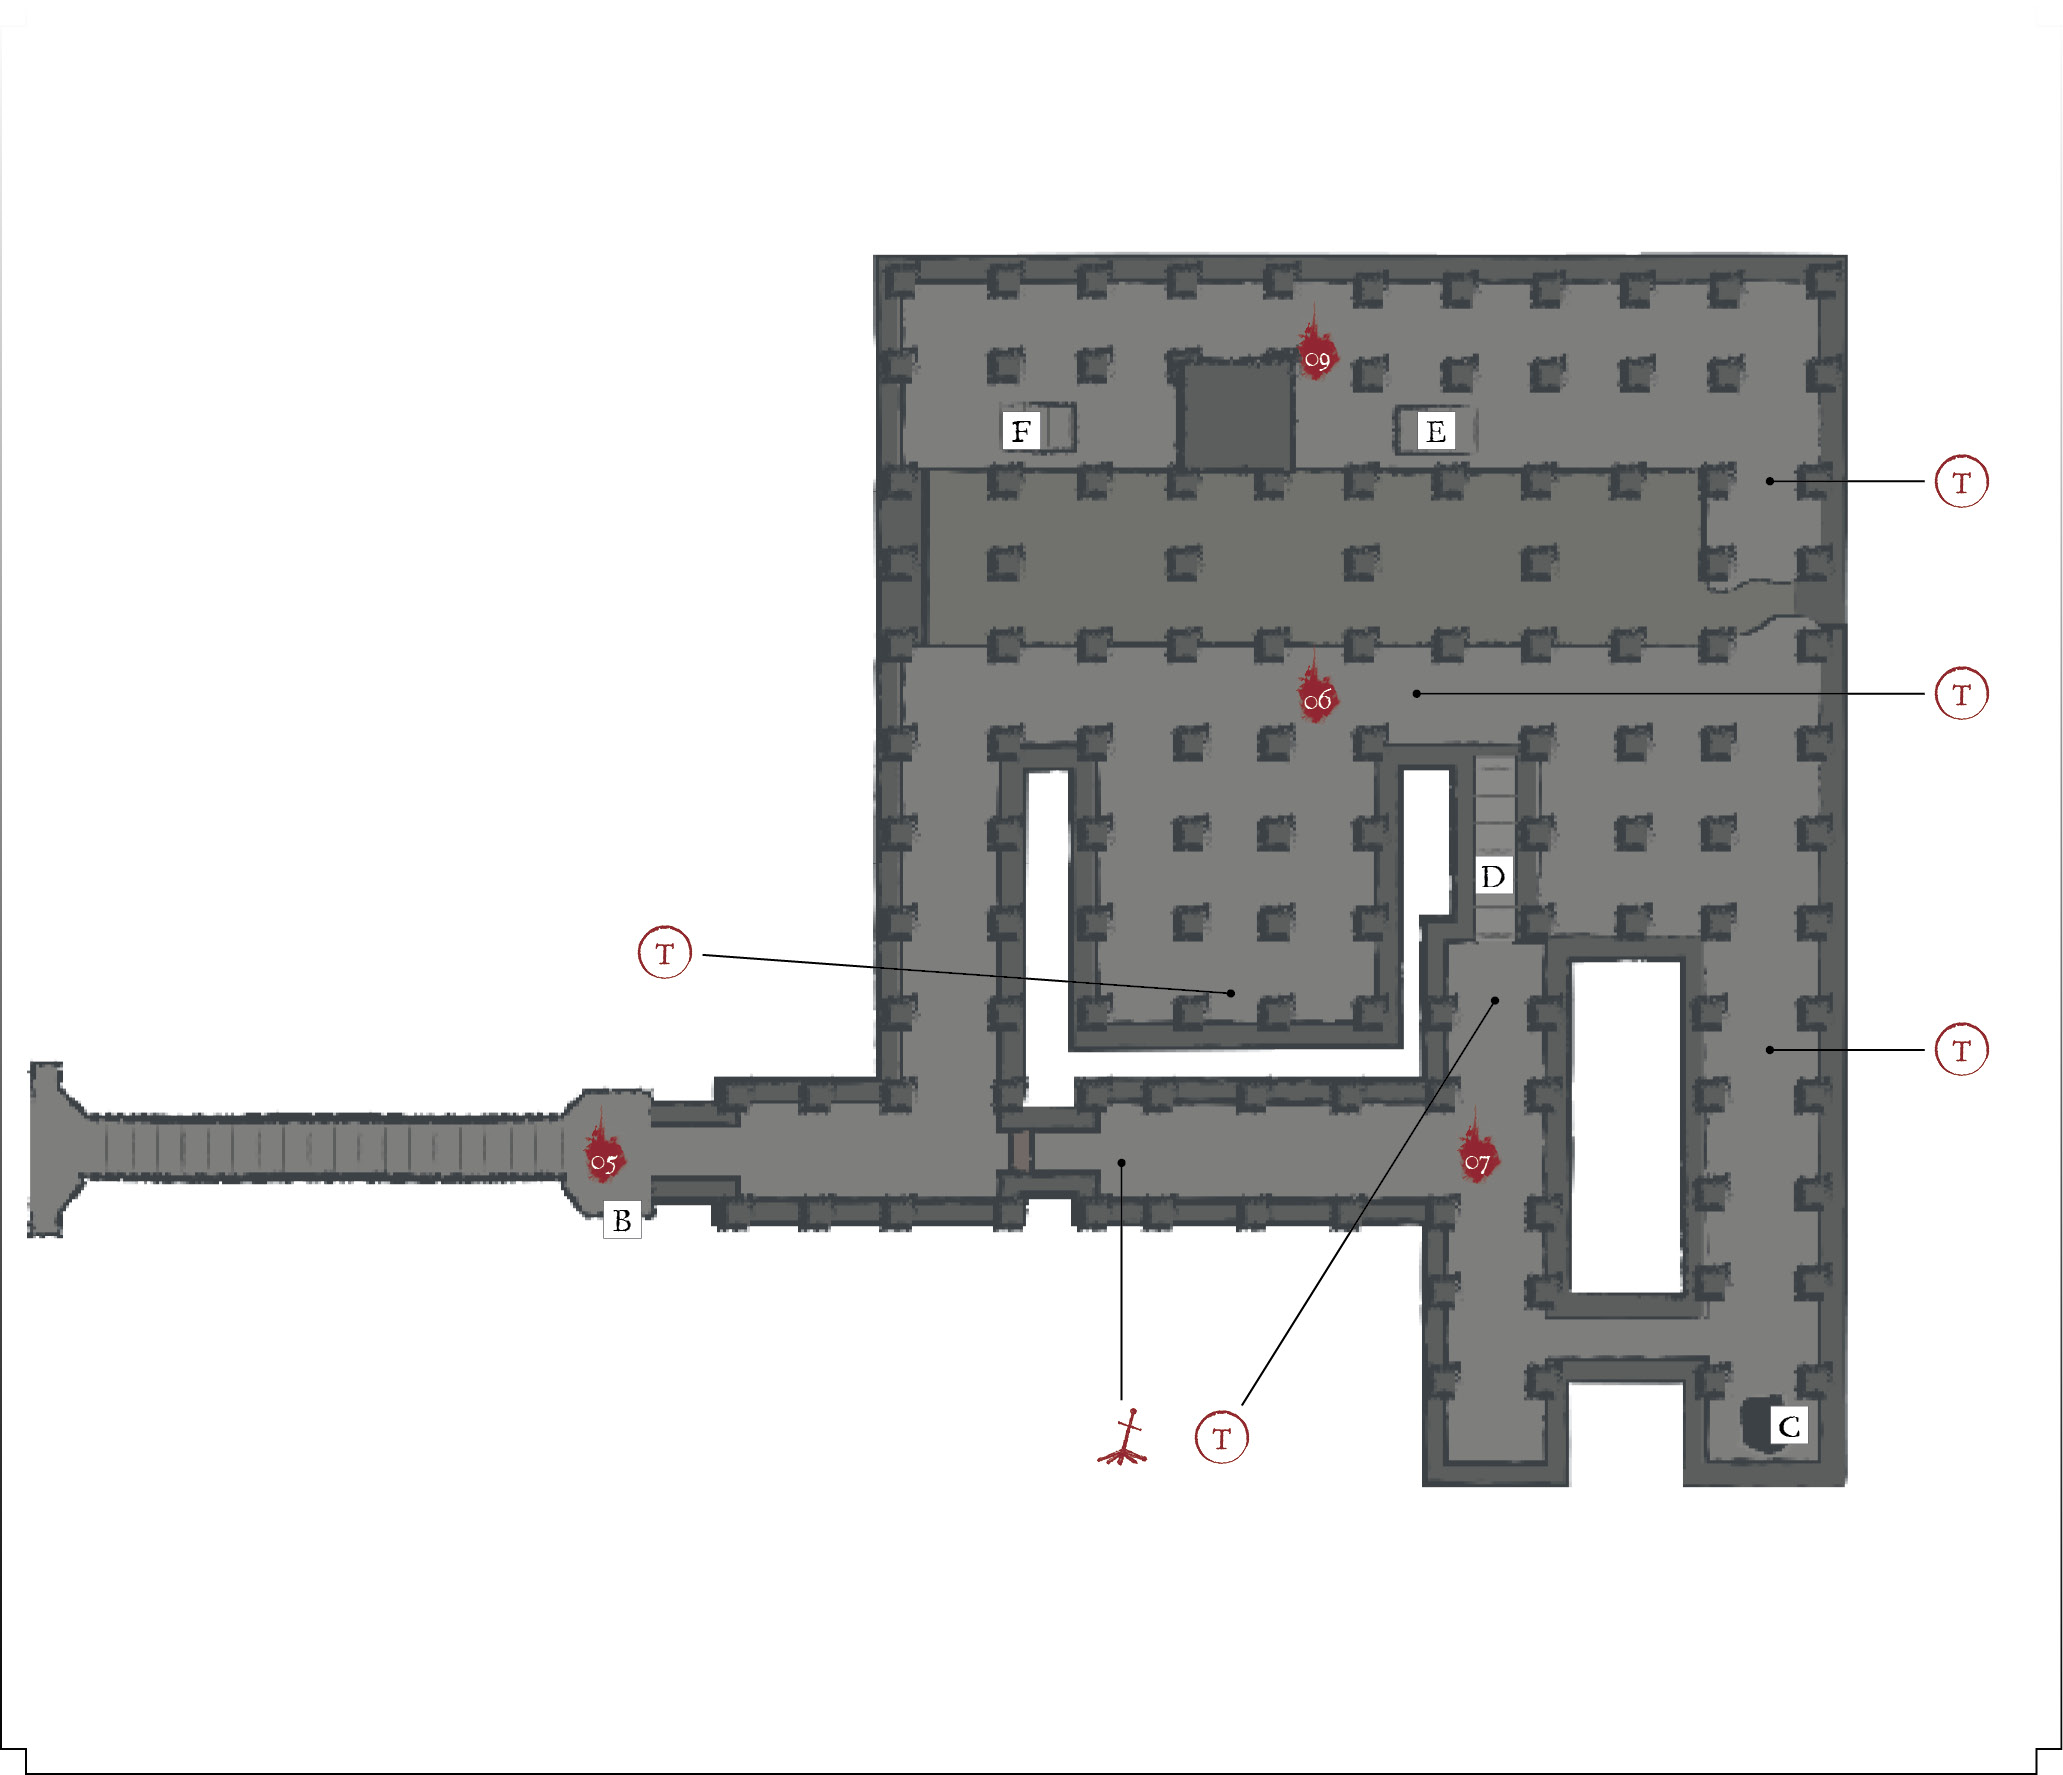
 The next portion of the catacombs is divided into two levels. You start on the upper tier, but you end up traveling back and forth between the two to get everything.
South of the Waypoint at 06, you find a cubby that's filled with pots. There are Skeletons hiding among them, but you get the Carthus Milkring there, and the Thunder Stoneplate Ring +1 if you're on New Game+1.
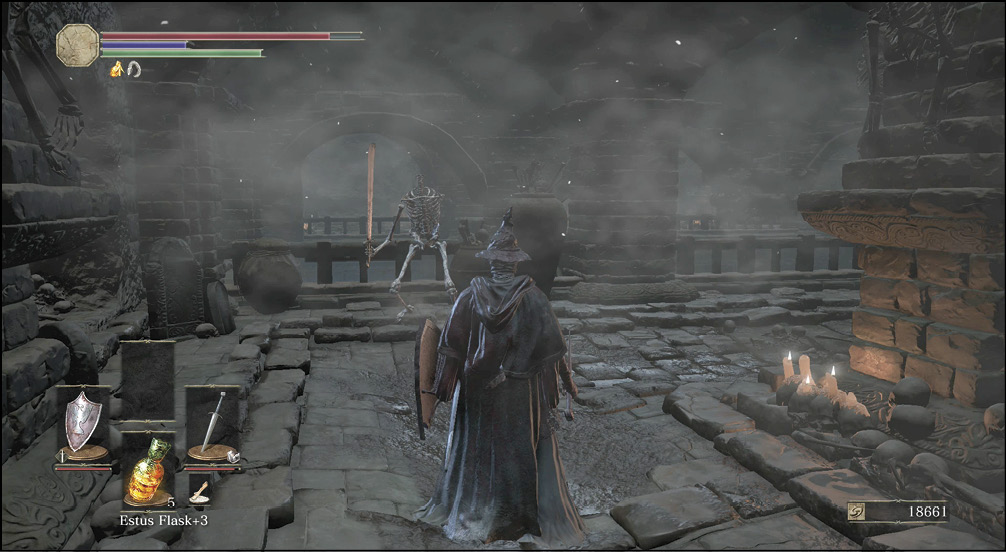
Bonfire—Catacombs of Carthus
 You see this Bonfire upon entering the new tier of the catacombs, but iron bars block it. To reach it, you must go all the way to the east around the level and backtrack through a few corridors. This is the Catacombs of Carthus Bonfire.
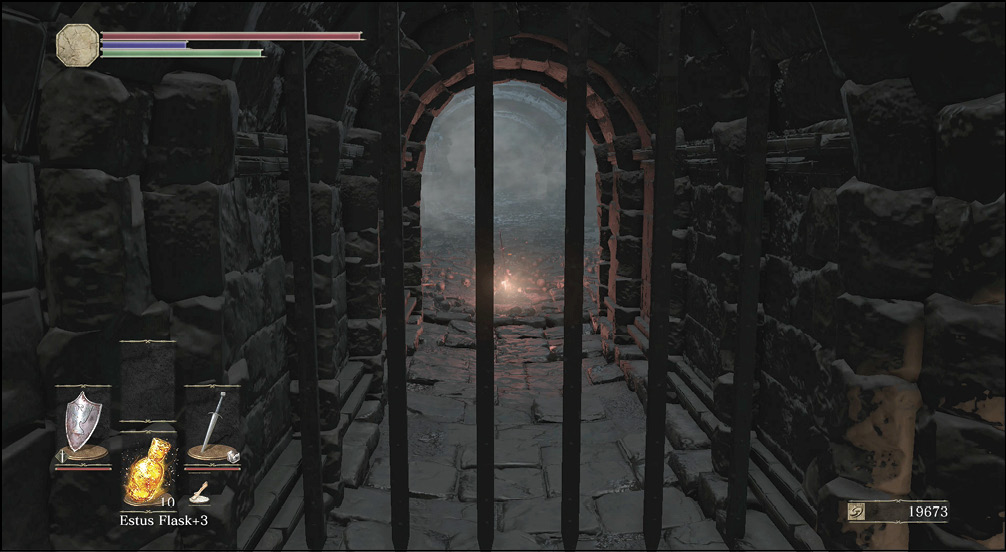
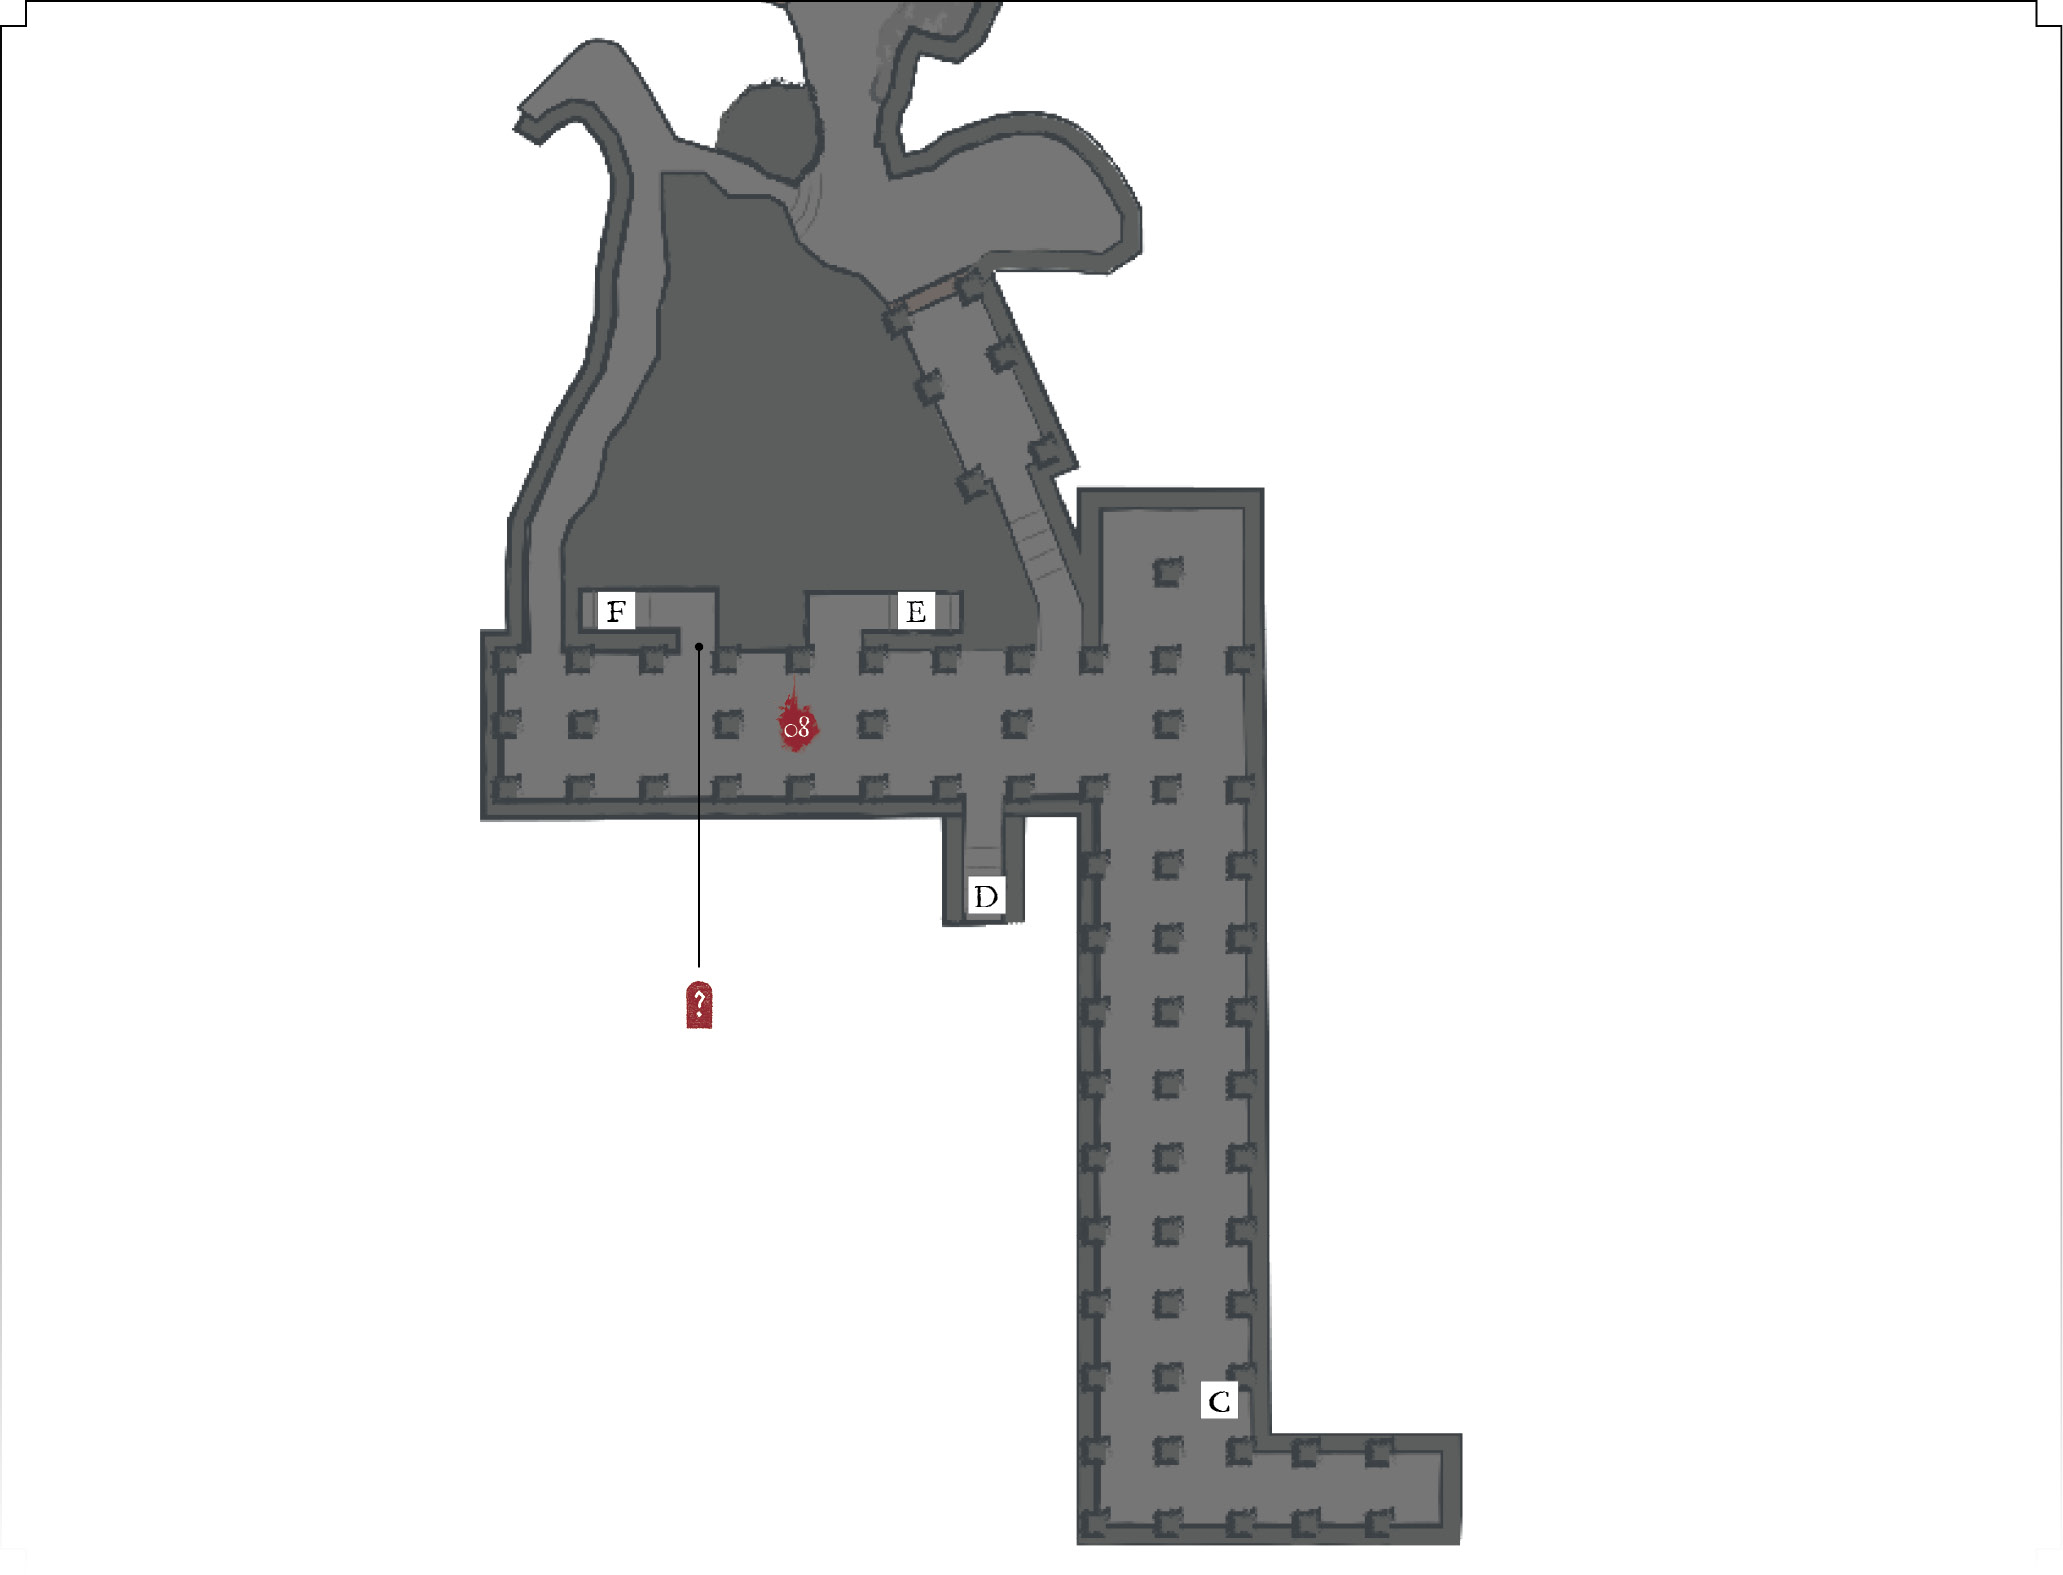
 A pit in the southeast and a staircase near the Bonfire both lead down to the lower tier. This is where the worst fighting takes place. There are Hound-rats, Lesser Crabs, Large Hound-rats, Skeleton Wheels, and worse down there. It’s lousy with monsters. You also might be invaded by Knight Slayer Tsorig. Back away to fight that enemy with more room and fewer distractions. You learn the gesture "My Thanks" from this battle.
If you run through here and attract the attention of all of the monsters, you are likely going to die. The main room of the lower tier has so many targets. Take it slow, kill enemies a few at a time, and retreat to the stairs as often as you can.
The corridor to the southeast has a bit of treasure. You have to fight a horde to get it, so retrieve that item and then return to the Bonfire if you need to use your flasks. The primary enemies are Skeleton Wheels; they roll quickly and interrupt your attacks if they bump into you while in motion. You can either block them, or dodge and attack after they hit a wall. It takes them a couple of seconds to turn around, so they’re quite vulnerable. The Carthus Bloodring is in the southeast, past all of these foes.
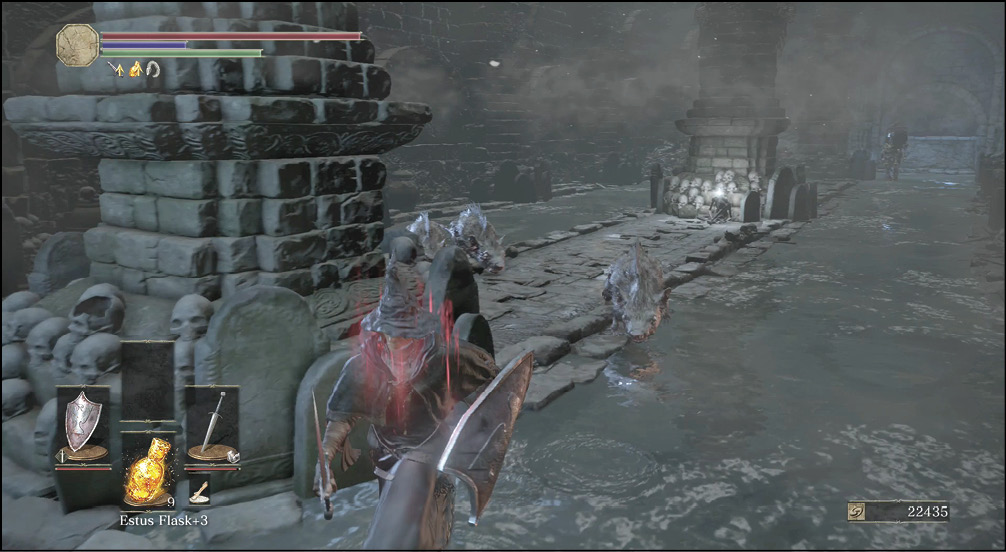
 Stairs lead up to the northern side of the upper tier. Although this is a dangerous area and doesn’t take you deeper into the catacombs, you find some interesting items. The Grave Warden's Ashes are up here.
Move very carefully as you hunt for loot. The Skeleton Swordsmen are fairly quiet, and they’ll put you in bad shape if they sneak up on you. Even worse, it’s possible to trigger a couple of them at a time. If that happens, run back to the stairs and make sure that all of your targets are in one direction.
Because the Skeleton Swordsmen are the nastiest enemies, you should spend the most time practicing your techniques against them. They’re best to attack after they miss or get blocked during their leaping attack. If you stay defensive until after that, you can counter their attacks. When fighting a group that also has Skeleton Swordsmen, charging attacks and quick retreats are useful. Get in there, do some damage with one attack, roll backward, and flee. You don’t want to fight these enemies when they have additional numbers around to interrupt you.
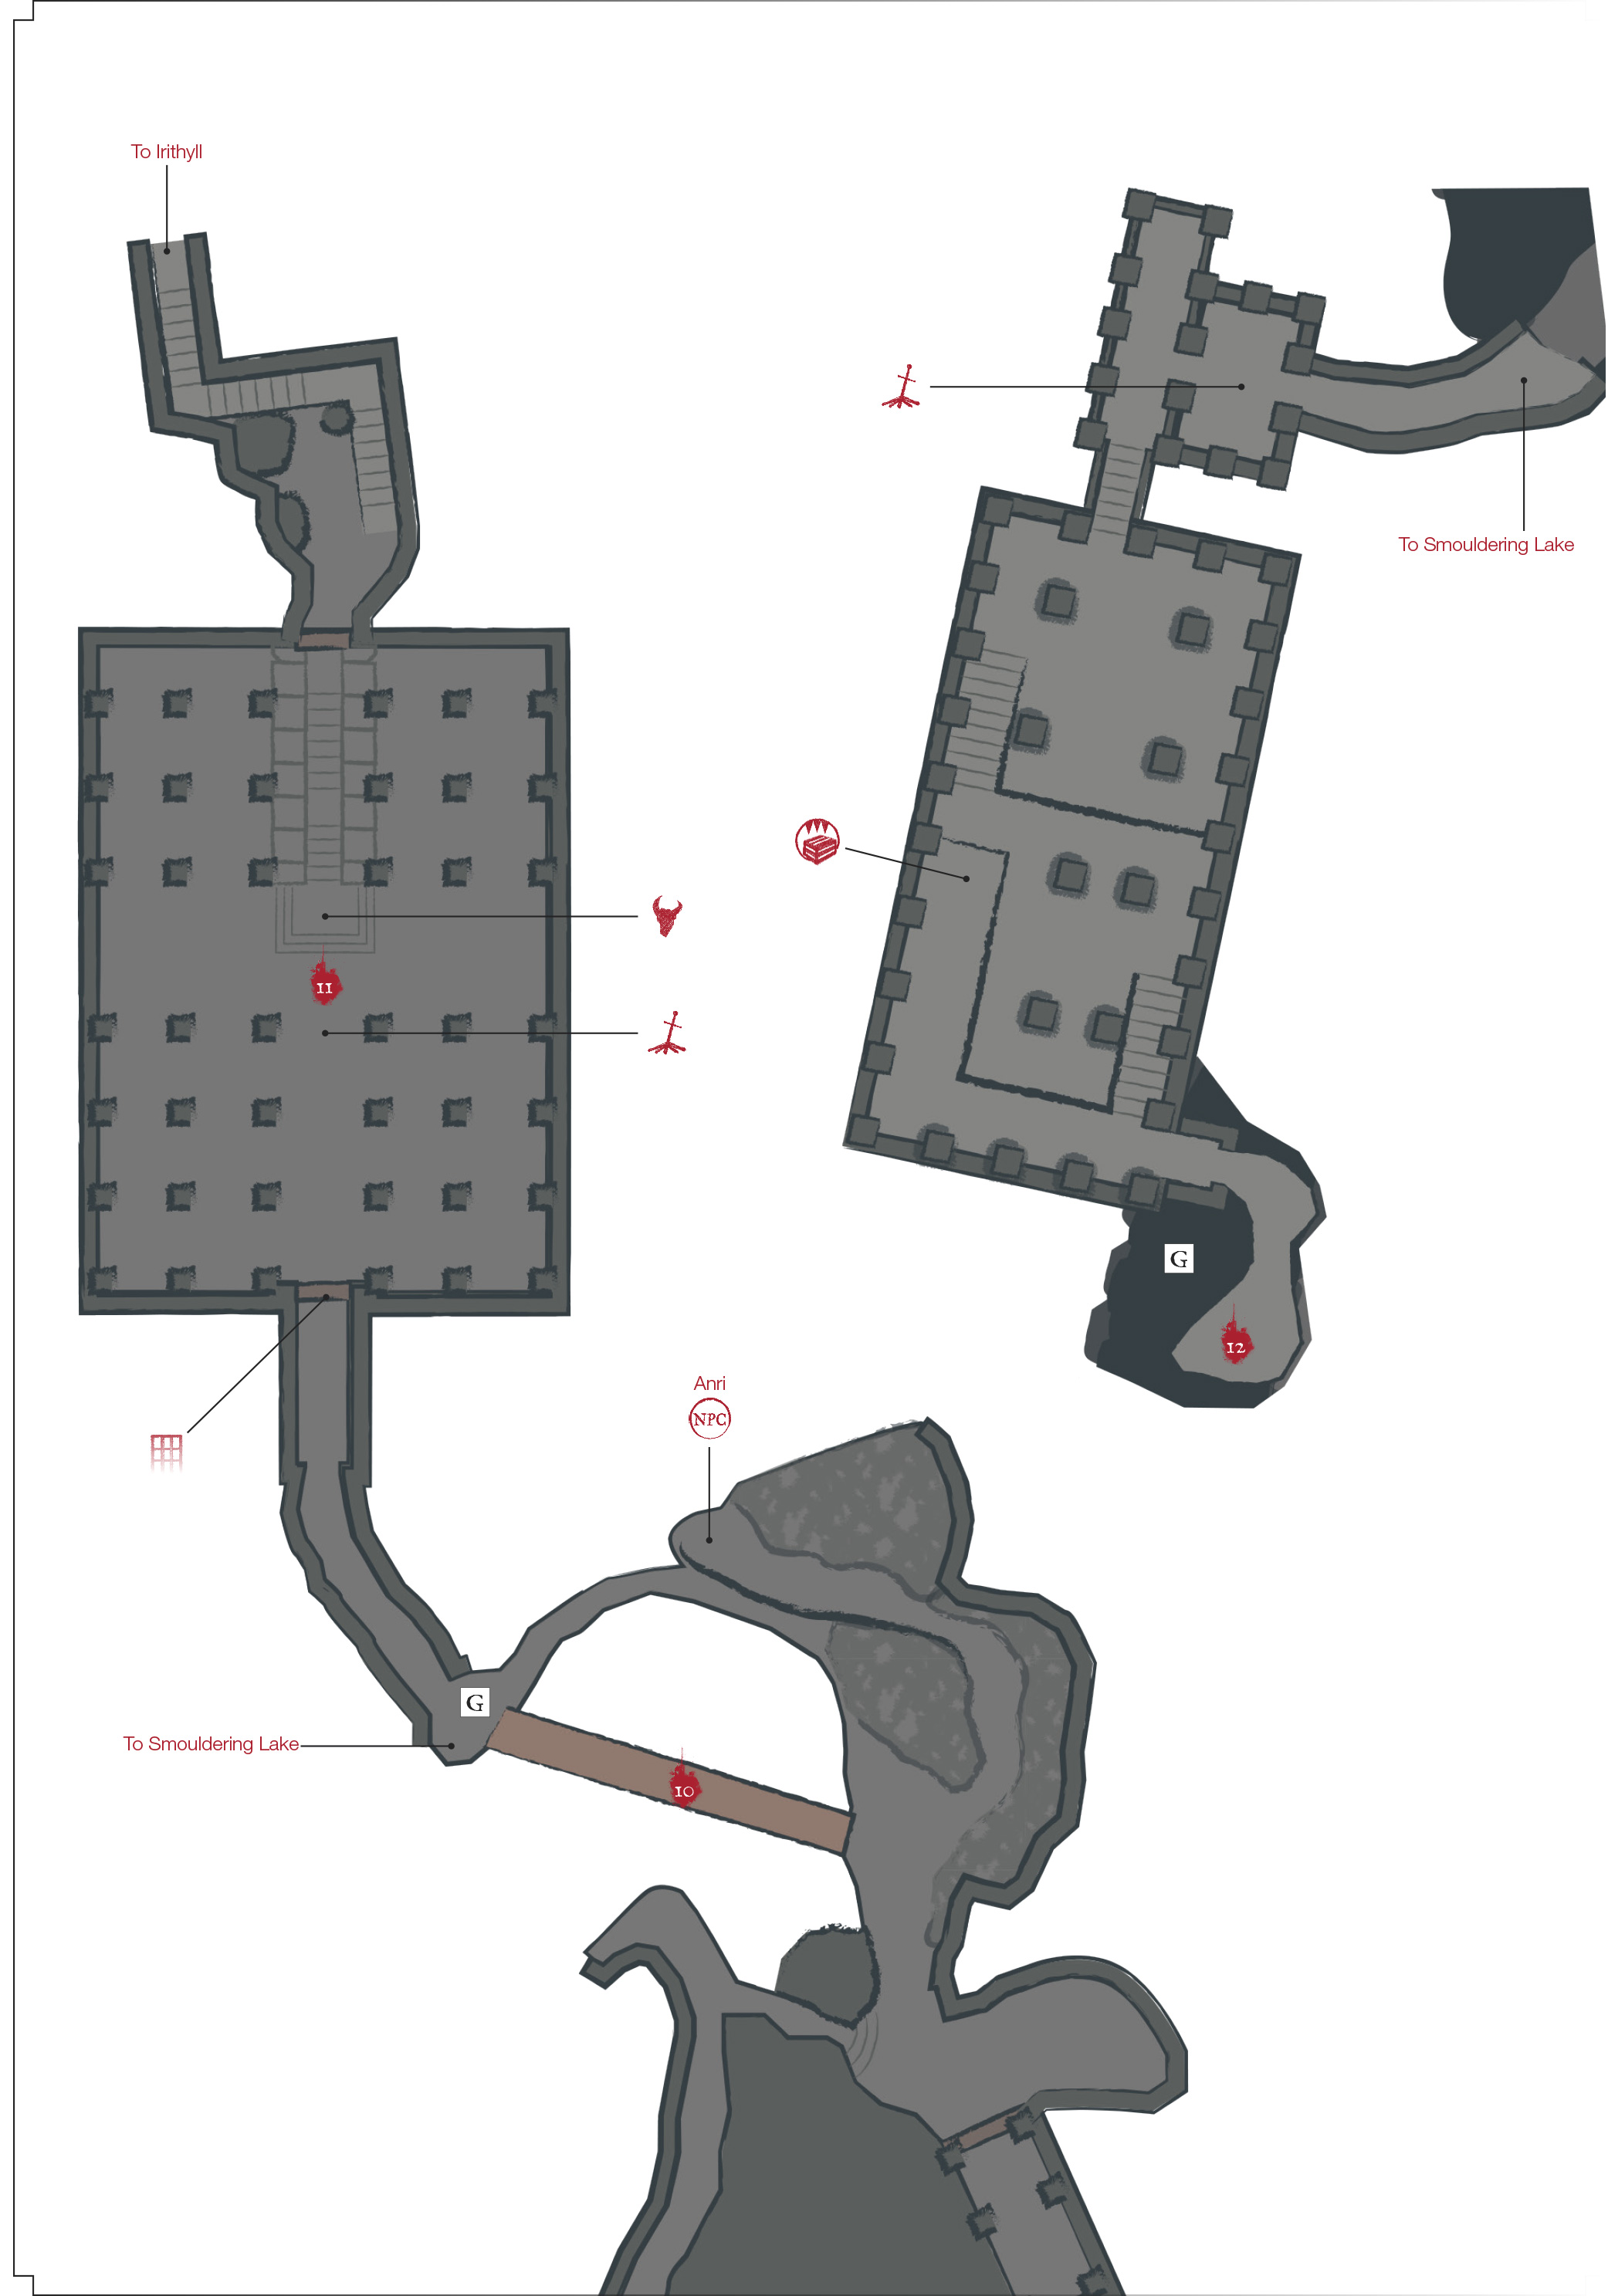
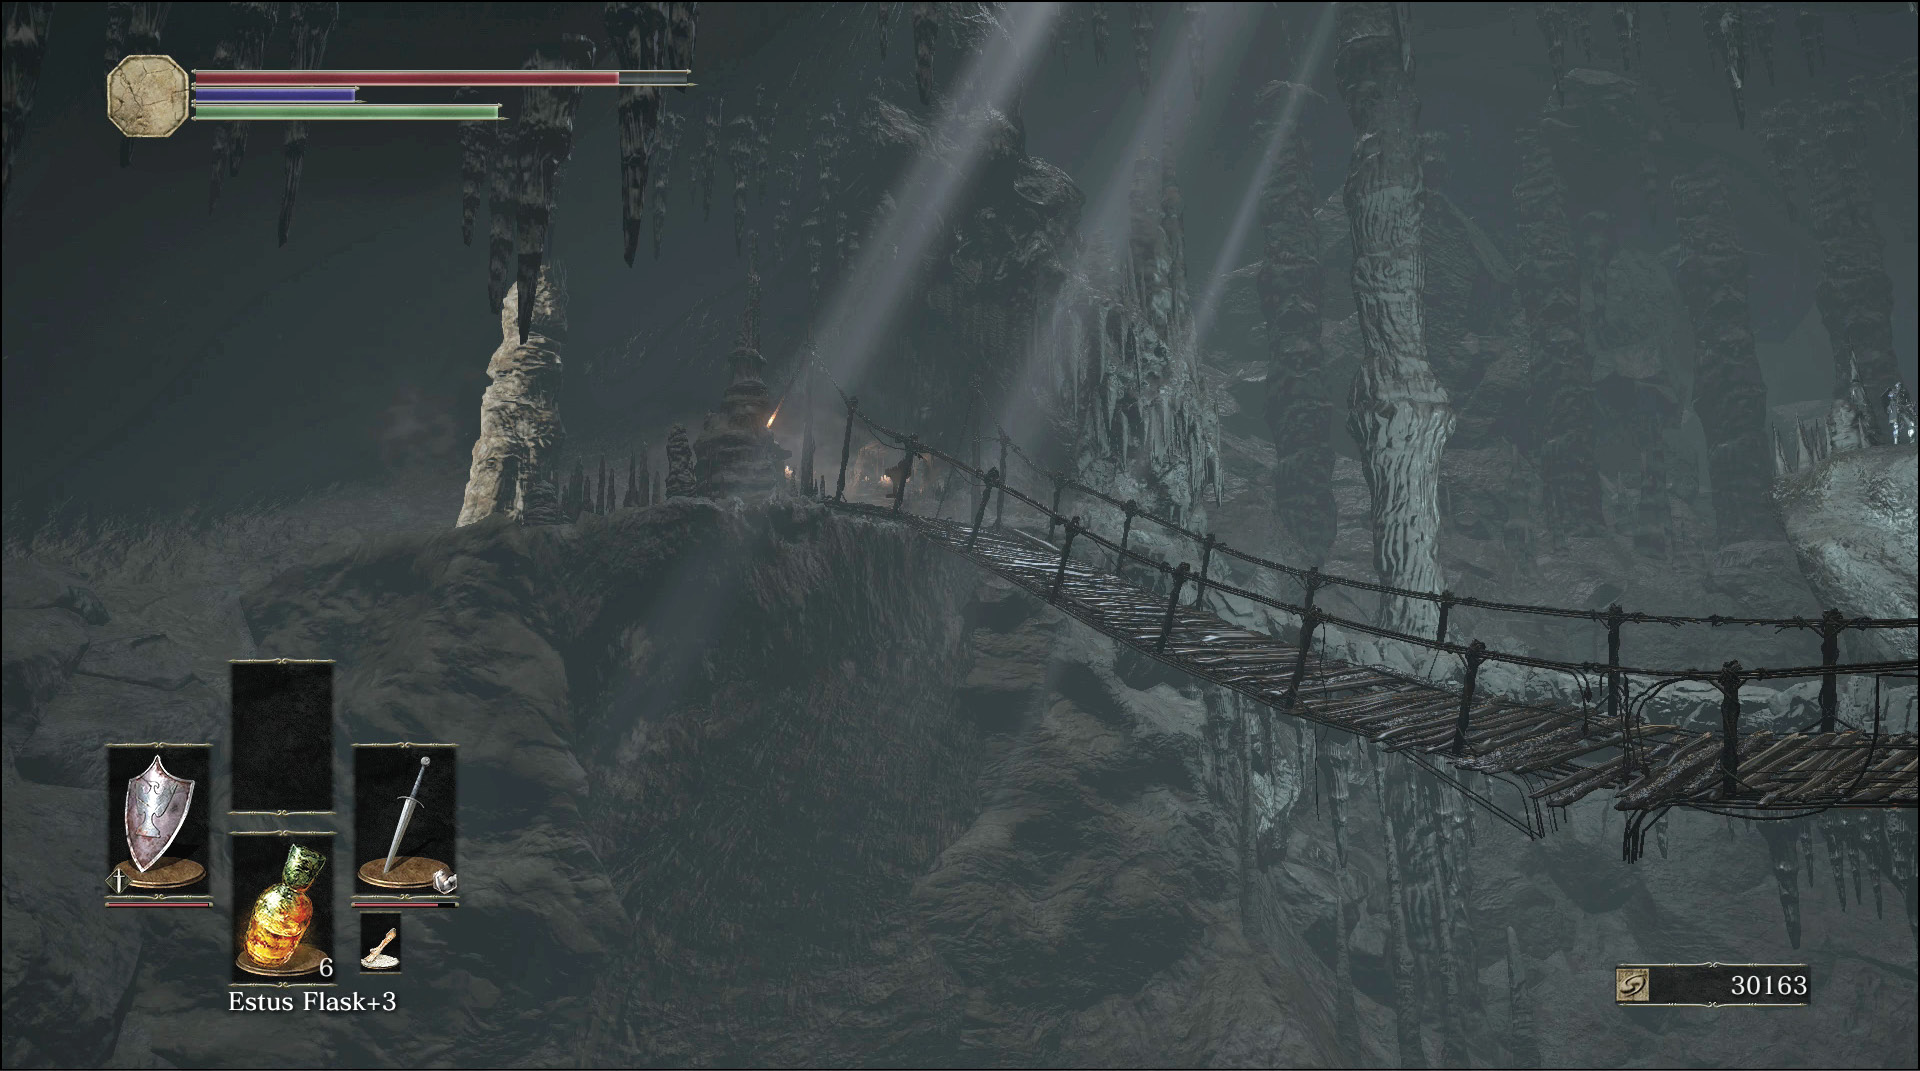
 A flimsy bridge connects the catacombs with your next boss. There is way more to this room than it initially seems. To reach it, you have to pass through a room that has a couple of Skeletons. When you leave that room, many more Skeletons rise and start to come after you. Cross the bridge to get to your next boss fight. Or, stand on the far side and attack the bridge to break it. This drops you down into the lowest reaches of the catacombs, where there is much greater treasure (and danger, too). That route leads into the Smouldering Lake, an optional area.
If you're being chased by a horde of Skeletons, chop down the bridge as you're about to reach the far side. When the bridge falls, your pursuers die and you still get their Souls. The remains of the bridge can be used as a ladder to climb up or down between the two levels here.
Major Battle
 Cross the bridge, and open the door at the end of the path. Approach the altar in the middle of the next room and interact with it. You are whisked away to a dark area, which is where you must fight.