
Dark Souls III Guide (Steam) Controlling the Game
Controls
Movement
The left analog stick controls your movement. Normally, you turn and then move in whichever direction you push. Press back on the stick to move toward the camera, left to strafe left, and so on. Turn your camera to make it easier to see where you’re going, or keep it focused on something specific if you’re trying to dodge ranged attacks or watch an incoming enemy.
It’s possible to lock on to enemy targets by clicking the right analog stick. When you’re locked on to an adversary, you face them at all times. Consequently, moving left or right causes you to sidestep, and pressing down backs away from your target. This is slower than your standard run speed, but it makes things much easier when you’re trying to aim your attacks at the foe in question.
It’s useful to switch between lock-on and regular movement frequently. It’s easier to run away and get distance from your enemies when you aren’t locked on. Do this to get to safety, earn time for your Stamina to regenerate, or look for a place to hide and use your Estus Flask.
When you’re on the attack, it’s easier to line up attack combos when you’re locked on. It requires less effort to stay on target and land shot after shot against your enemy. Your character strafes around the victim, avoiding some of their attacks without even using Stamina.
Move normally when you’re exploring, lock on to take out your foes, but click the right analog stick again if you need to drop your lock and get away from an enemy that is gaining the upper hand.
Target locks disappear when your opponent is slain, but you can quickly shift them to other targets by pressing left or right on the right analog stick. This is useful if you change your focus on multiple targets, or for going through groups and slaughtering one after the other without needing to lock on to each one.
Game Controls
| Category | Action | PS4 Controller | Xbox One Controller | Notes |
|---|---|---|---|---|
| Movement | Move | Left stick | Left stick | |
| Dash | Left stick while holding down  button button |
Left stick while holding down  button button |
||
| Jump | L3 button while dashing | Push in left stick while dashing | ||
| Evasion | Backstep | button |
button |
|
| Roll | Left stick + button |
Left stick + button |
||
| Interaction | Open door |  button while facing door button while facing door |
 button while facing door button while facing door |
|
| Use lever | button while facing lever |
button while facing lever |
||
| Hold onto ladder | button while facing ladder |
button while facing ladder |
||
| Climb/descend ladder | Left stick (up or down) | Left stick (up or down) | ||
| Slide down ladder | Hold down button while holding onto ladder |
Hold down button while holding onto ladder |
||
| Attack upwards on ladder | R1 button while holding onto ladder | Right bumper while holding onto ladder | ||
| Attack downwards on ladder | R2 button while holding onto ladder | Right trigger while holding onto ladder | ||
| Camera | Control camera | Right stick | Right stick | |
| Reset camera | R3 button | Push in right stick | If no enemies are nearby. | |
| Toggle lock-on | R3 button | Push in right stick | If there are enemies nearby. | |
| Equipment | Toggle right weapon | Right directional button | Right on directional pad | |
| Toggle left weapon | Left directional button | Left on directional pad | ||
| Toggle spell | Up directional button | Up on directional pad | ||
| Toggle item | Down directional button | Down on directional pad | ||
| Items | Use item |  button button |
 button button |
|
| Stance | Two-hand right weapon |  button button |
 button button |
|
| Two-hand left weapon | Hold down button |
Hold down button |
||
| Attacking | Right weapon: attack | R1 button | Right bumper | |
| Right weapon: strong attack | R2 button | Right trigger | Can charge an attack by holding button down. | |
| Right weapon: guard | L1 button while two-handing | Left bumper while two-handing | ||
| Right weapon: Skill | L2 button while two-handing | Left-trigger while two-handing | ||
| Right weapon: dash attack | R1 button while dashing | Right bumper while dashing | ||
| Right weapon: strong dash attack | R2 button while dashing | Right trigger while dashing | ||
| Right weapon: backstep attack | R1 button at the end of a backstep | Right bumper at the end of a backstep | ||
| Right weapon: strong backstep attack | R2 button at the end of a backstep | Right trigger at the end of a roll | ||
| Right weapon: rolling attack | R1 button at the end of a roll | Right bumper at the end of a roll | ||
| Right weapon: strong rolling attack | R2 button at the end of a roll | Right trigger at the end of a roll | Can charge an attack by holding button down. | |
| Kick | Tilt left stick forwards + R1 button | Tilt left stick forwards + right bumper | ||
| Right weapon: jumping attack | Tilt left stick forwards + R2 button | Tilt left stick forwards + right trigger | ||
| Right weapon: plunging attack | R1 button while falling | Right bumper while falling | ||
| Left weapon: attack | L1 button | Left bumper | ||
| Left weapon: Skill | L2 button | Left trigger | ||
| Right weapon: cast spell | R1 button | Right bumper | ||
| Left weapon: cast spell | L1 button | Left bumper | ||
| Left weapon: guard | L1 button while suitable item is equipped | Left bumper while suitable item is equipped | When equipped to left hand. | |
| Backstab | R1 button while behind enemy | Right bumper while behind enemy | ||
| Opening Menus | Open menu | OPTIONS button or touch pad button (right) | Menu button | |
| Open gesture menu | Touch pad button (left) | View button | ||
| Toggle action (Examine, Open, etc.) | button |
button |
||
| Pick up item | button |
button |
Camera Control
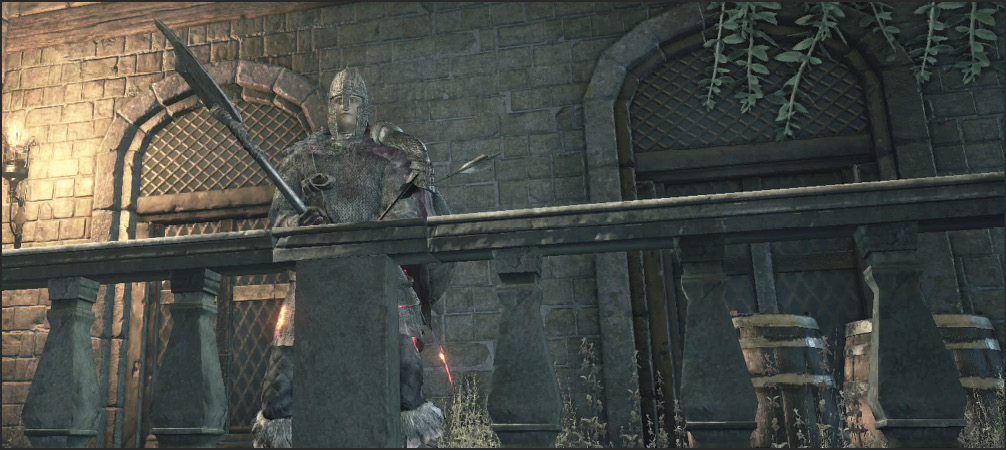
The right analog stick controls your camera. Reposition this to see around corners, to keep your line of sight on a particular target, or to look all over a room when searching for treasure or threats.
The Shoulder Buttons
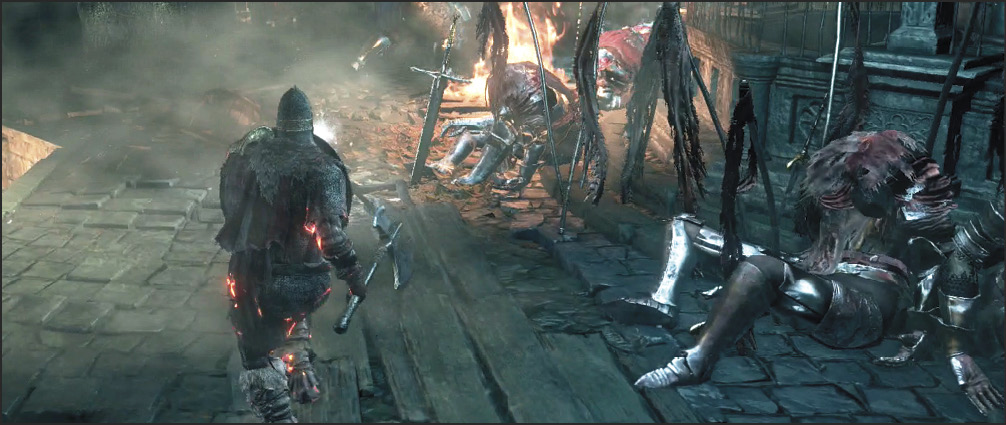
All four of the shoulder buttons control your equipment. The item in your right hand is used with R1/RB (attack) and R2/RT (strong attack). The item in your left hand gets L1/LB and L2/LT. If you’re wielding an item in both hands, all four of the shoulder buttons have different actions for whatever you’re wielding. Shields are set to L1/LB.
Each weapon and shield has its own timings and moves, so you don’t really know what you’re going to get out of them until you practice. The general rule is that R1/RB and L1/LB are for the basic uses of those items, and R2/RT and L2/LT deal with more specialized behaviors.
For example, a shield in your left hand is used to block with L1/LB. Hold down the button to keep your shield ready, and let go when you’re done with it. L2/LT lets you parry with most smaller shields, but it also allows you to access special moves with your main weapon on shields that can’t parry.
Try different uses of these moves. Hold down the button for a heavy attack to see if you can charge it for even more damage, and to mix up your timings. This is a very complex aspect of the game, and it is discussed in more detail in the Gameplay chapter.
The Menu
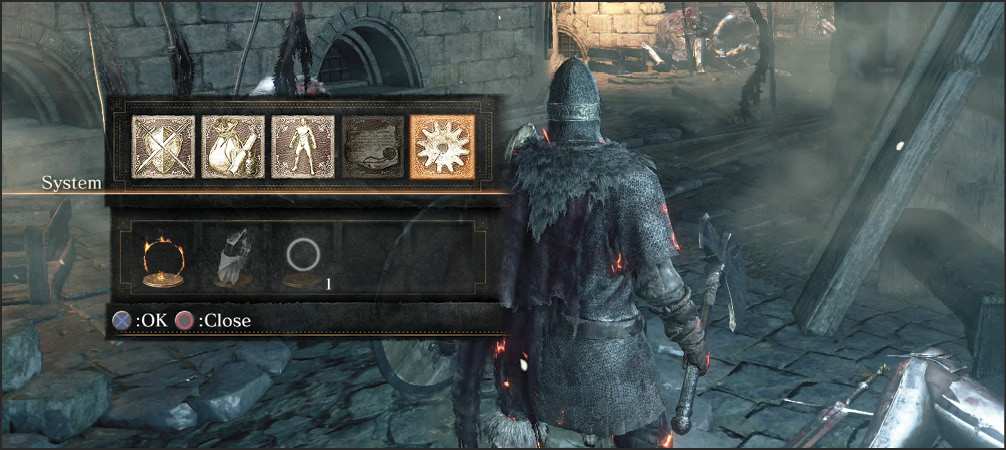
Though you can’t pause the game, you can bring up a menu with the Options/Start button. Try this to see what’s available.
This is how you get to several important screens: System, Status, Inventory, Equipment, and Message.
The System screen has a number of options to explore. Take your time playing around with them until you find the control scheme that is ideal for your playstyle. Focus especially on Camera Speed, Brightness, Camera Axis, and lock-on behavior. All of these choices influence the game considerably, so you need to find the setup that you enjoy the most.
The Status screen lets you look at your character and his or her stats.
The Inventory screen allows you to use some of your tools and to read descriptions for all of the goodies that you find.
Check out the Equipment screen to set up your hotbars, change armor, choose weapons, etc.
The main menu also lets you assign several tools as quick-use shortcuts. These are items that you use fairly frequently, but you don’t want them cluttering up your toolbelt in combat. You can freely assign these items from the Inventory screen, and use them directly from the Options/Start menu.
Interaction
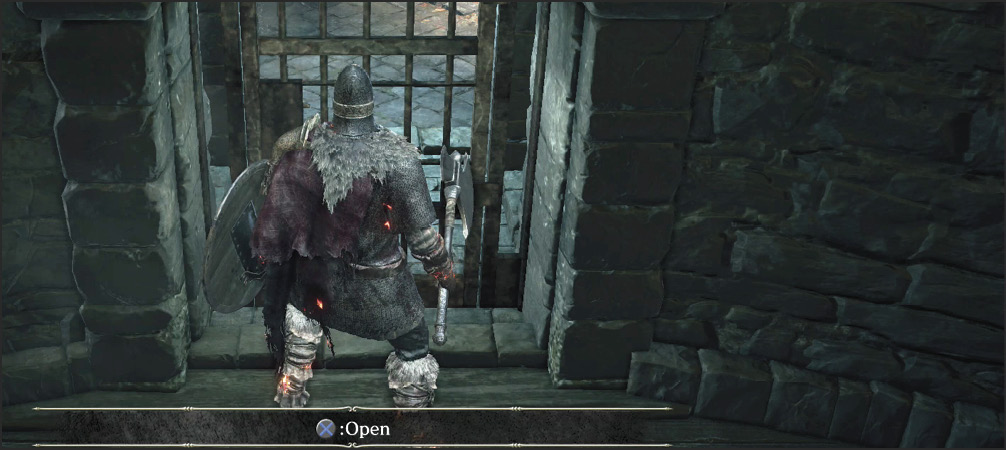
Use on the PS4 and on the Xbox One to interact with objects. This lets you pick up items, open doors, turn cranks, etc.
Use Tool
Press on the PS4 and on the Xbox One to use whatever tool you have selected. Throw your knives, use an Estus Flask, etc.
Dodge
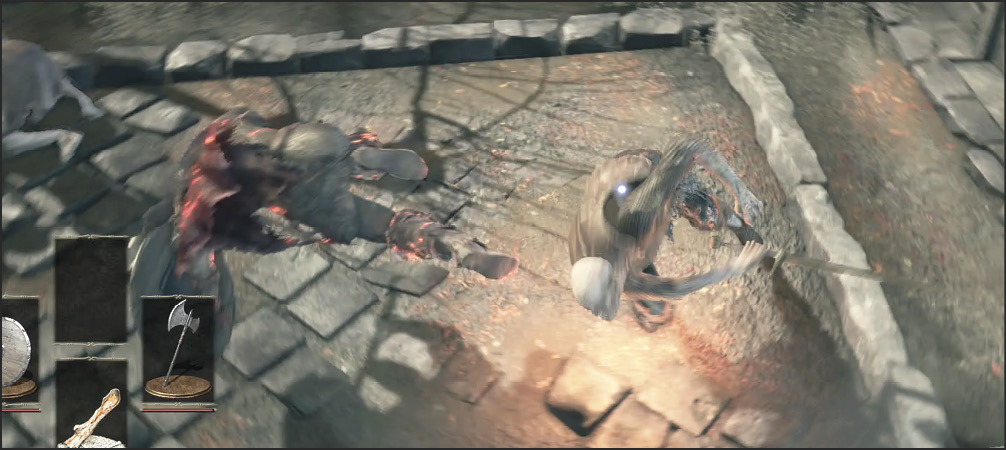
Tap on the PS4 and on the Xbox One to dodge in whichever direction you’re currently moving. If you’re standing still, this move causes you to suddenly backstep. Both of these maneuvers are infinitely useful for saving your life. Practice dodging all the time, as it’s one of the best ways to survive attacks. Roll behind your enemies, jump back to avoid a heavy attack, or use this to quickly get out of the way of anything that is about to turn you into pudding.
Advanced players learn when it’s best to dodge, shield block, and parry, but this is something that takes days or even weeks of play to master. When you’re first playing Dark Souls games, just dodge the heavier attacks and block the lighter ones. It’s a safe way to start your journey toward mastery.
That said, one of the most interesting aspects of dodging is that it does more than get you to quickly move out of the way. There is a small window during your dodge where you won’t take damage even if an enemy is swinging at you. This invulnerable period lasts only a fraction of the animation time for the dodge, but it’s vital for avoiding massive attacks that are common from invaders and bosses alike.
The dodge action has invulnerability frames: these are the number of visual frames during which your character has invulnerability while dodging. Thinking about things in terms of visual frames for determining timing is a tradition borrowed from other high-skill fighting games.
As a rule of thumb, practice dodging as late as possible when your enemies attack. If you dodge too early, it’s still likely that you will take damage.
Sprinting and Jumping
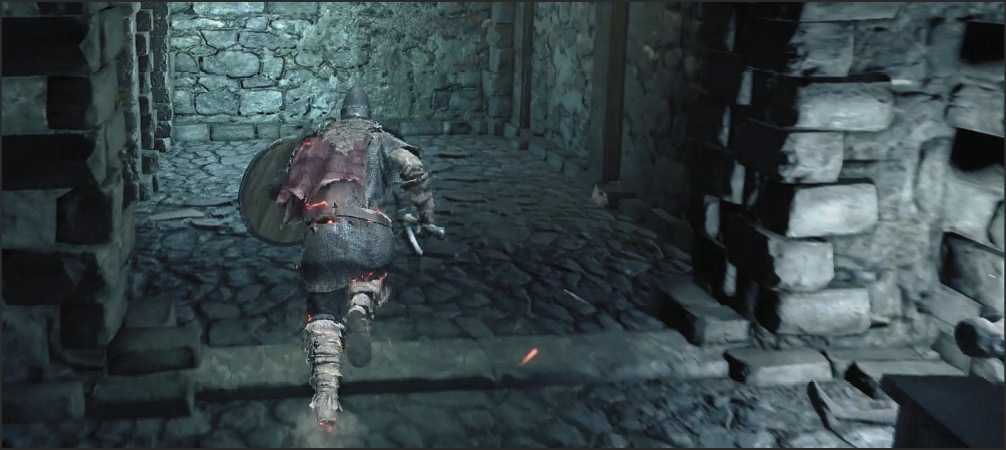
If you hold down /, you use Stamina to sprint in whichever direction you’re traveling. This lets you explore faster and get away from pursuers. Be careful using all of your Stamina just before a fight begins, but otherwise, feel free to use it frequently.
When you’re already sprinting, click the left analog stick to jump. This is rarely needed in the game, but there are a few gaps that you can jump. Often, these lead to extra treasure but are not required for getting through major regions.
Alternate 1h and 2h
Press on the PS4 and on the Xbox One to alternate between one-handed and two-handed use of your current item. This makes it easy to switch to heavier attacks briefly, and then go back to using a shield or another weapon when your enemy recovers.
If you press and hold the button, you switch to two-handed use of an item that is in your left hand instead.
It is incredibly powerful to master this switching process. If you’re not using a shield at any given moment, swap to your two-handed stance, and deal more damage until you need your shield again. When mastered, you’ll find yourself doing this in the middle of battles, even against single foes. Block, swap to the two-handed stance, and beat on your target. Once your enemy is ready to swing again, back off and get your shield ready.
Select Items, Weapons, and Spells
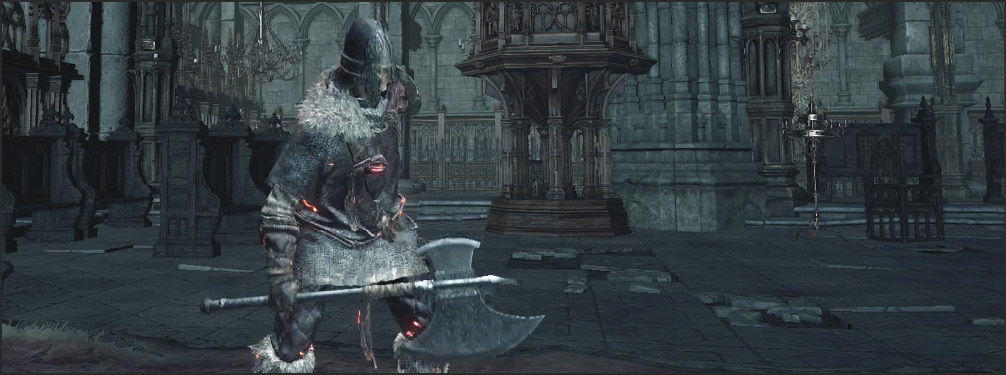
The D-pad controls your tools, spells, and equipment. You’re allowed to equip multiple tools, weapons, shields, and spells, but only a few of them are prepared at a given time. Press down on the D-pad to shift between your equipped tools. Press left to switch items in your left hand, and right for changes to equipment in your right hand. Press up to select from currently Attuned spells.
Practice switching quickly between these items so you have more flexibility in how you approach situations. As a bare minimum, have access to a ranged spell or weapon, a melee weapon, and flasks to heal and restore FPs. This is a baseline that can be expanded based on the region that you’re exploring. Are there multiple enemies with the bleed effect down there? Keep a Bloodred Moss Clump on your bar. In poisoned areas, switch that out for a Purple Moss Clump.
Keep in mind that equipped weapons, catalysts, ranged weapons, and shields all affect your total weight, and thus the speed of your dodges. If you’re trying to stay nimble, packing six left- and right-hand pieces of equipment isn’t a good idea.
Tools do not have an impact on your weight or speed beyond the real time it takes you to cycle through your toolbelt items if you have many selected. Try to keep your toolbelt items list fairly short. You don’t want to cycle to a consumable fire-buffing item when you really need to drink from your Estus Flask!
Gestures
Gestures are normally used as a roleplaying aspect of the game. You start with a modest selection of gestures that let your character animate an action, but various NPCs teach you more of them throughout the game.
These help you cheer on allies that come to help you defeat enemies, or warily give respect to invaders before dueling. Watch out when using any gesture around an invader; it’s good to be polite, but not everyone is trustworthy. In fact, you should only bow when opponents keep healthy range before battle. Never expose yourself to an invader that gets a little too close for comfort.
If you realize that you’re in danger, roll out of animations. This is certainly better than taking any free shots, although it still leaves you at a slight disadvantage because you’ve used Stamina and lost the initiative in an encounter.