Dark Souls III Guide (Steam) Walkthrough
Boss: Dancer of the Boreal Valley
Stage I
For a character who is just starting out, this battle is grueling. Only very experienced players would have any chance of winning here without multiple weapon upgrades.
Unless you’re trying to do something creative, like looting a few advanced areas prematurely, you should have high-end equipment by the time you take this enemy on.
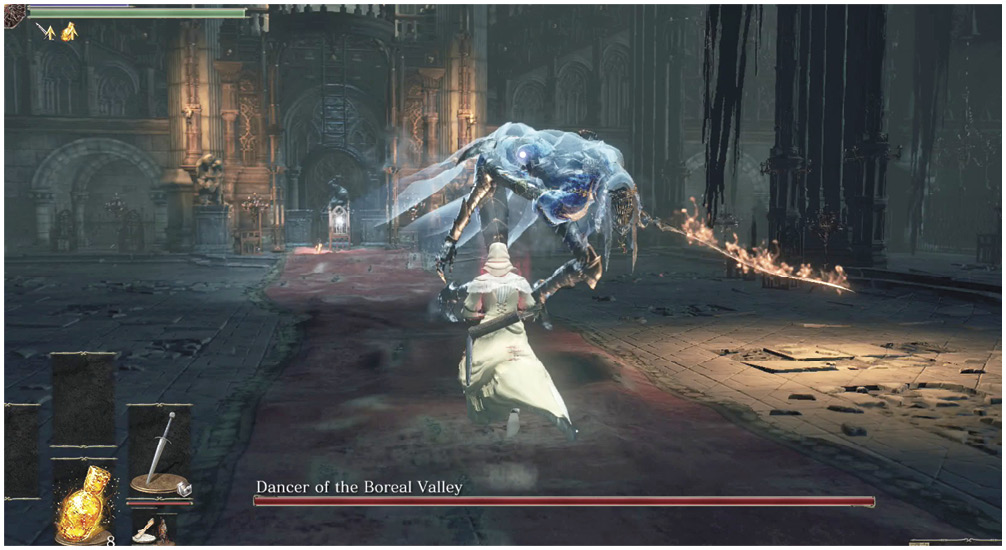
The Dancer has attacks that deal extremely high damage. In particular, watch out for the grab that she makes. If you see the Dancer’s right hand come out wide, then wait a moment and dodge left, through the grab. Dodging right feels more intuitive, but it’s more likely to get you caught (and the damage you take is ugly).
The overhead strike is much easier to avoid, and you can simply sidestep it some of the time. However, don’t try that with the sweeping attacks. Roll through those, and hit the Dancer hard while she recovers.
Stage II
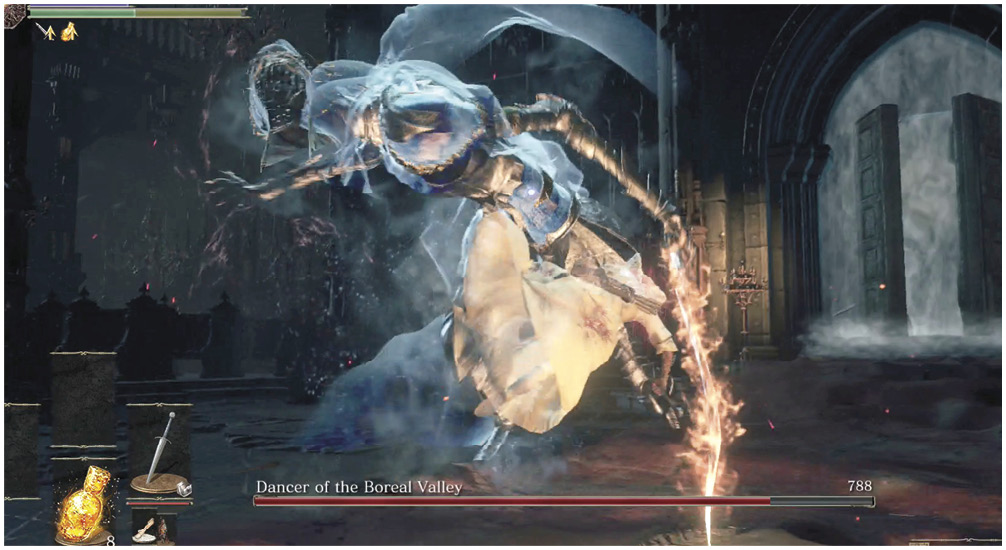
The pause mid-battle is usually a good time to lay on the damage, and this is somewhat the case here. Capitalize on the Dancer’s transition into the second phase. When this happens, you’ll see a burst of gray smoke. Get your attacks in fast, but save enough Stamina to run away as she starts to move again. She’ll go straight into a long spinning combo.
Dodge back from these combos—they continue for up to seven attacks’ worth of damage. You can’t take that on the chin, nor can you block your way through it. The only wise method is to dodge until you’re temporarily out of range, and then sprint until you’re truly safe. Regenerate your Stamina, and come back just after the brief whirlwind that ends the combination.
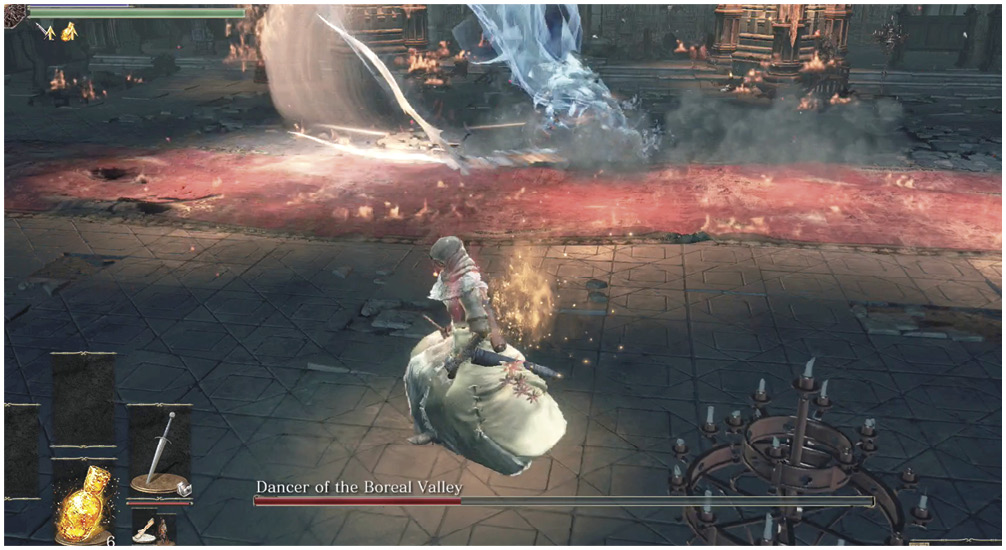
Continue to dodge around and then get behind the Dancer when she isn’t making those huge combos. That’s the way to score most of your damage. Execute at least two hits each time, unless you’re using a very slow weapon.
Dispatch the Dancer. With this done, you can climb up the ladder that is revealed. Above is a path to the left, letting you reach the Consumed King’s Garden. Ahead is Lothric Castle.
 The upper path leads you away from the Lothric Knights and the church. You can clear the balcony that overlooks the Winged Knight’s courtyard to get a large soul, and then jump to reach the ring on the awning nearby.
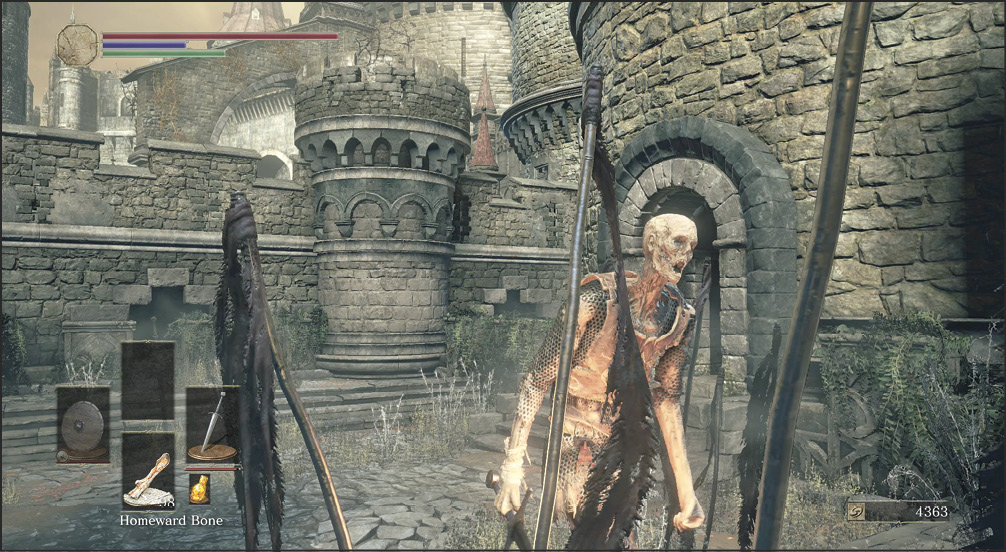
Continuing up the path, you reach a small yard. Though almost empty at first, it fills with the undead as you approach the far side. Aggressively wade into this group as the foes arrive. If you have a weapon with a wide, sweeping moveset, equip that beforehand to make your work even easier.
Attack the lone enemy that waits at the end of the yard, and kill off all of his friends as they climb over the wall. You can often defeat the entire group without a blow coming your way, if you’re quick about it.
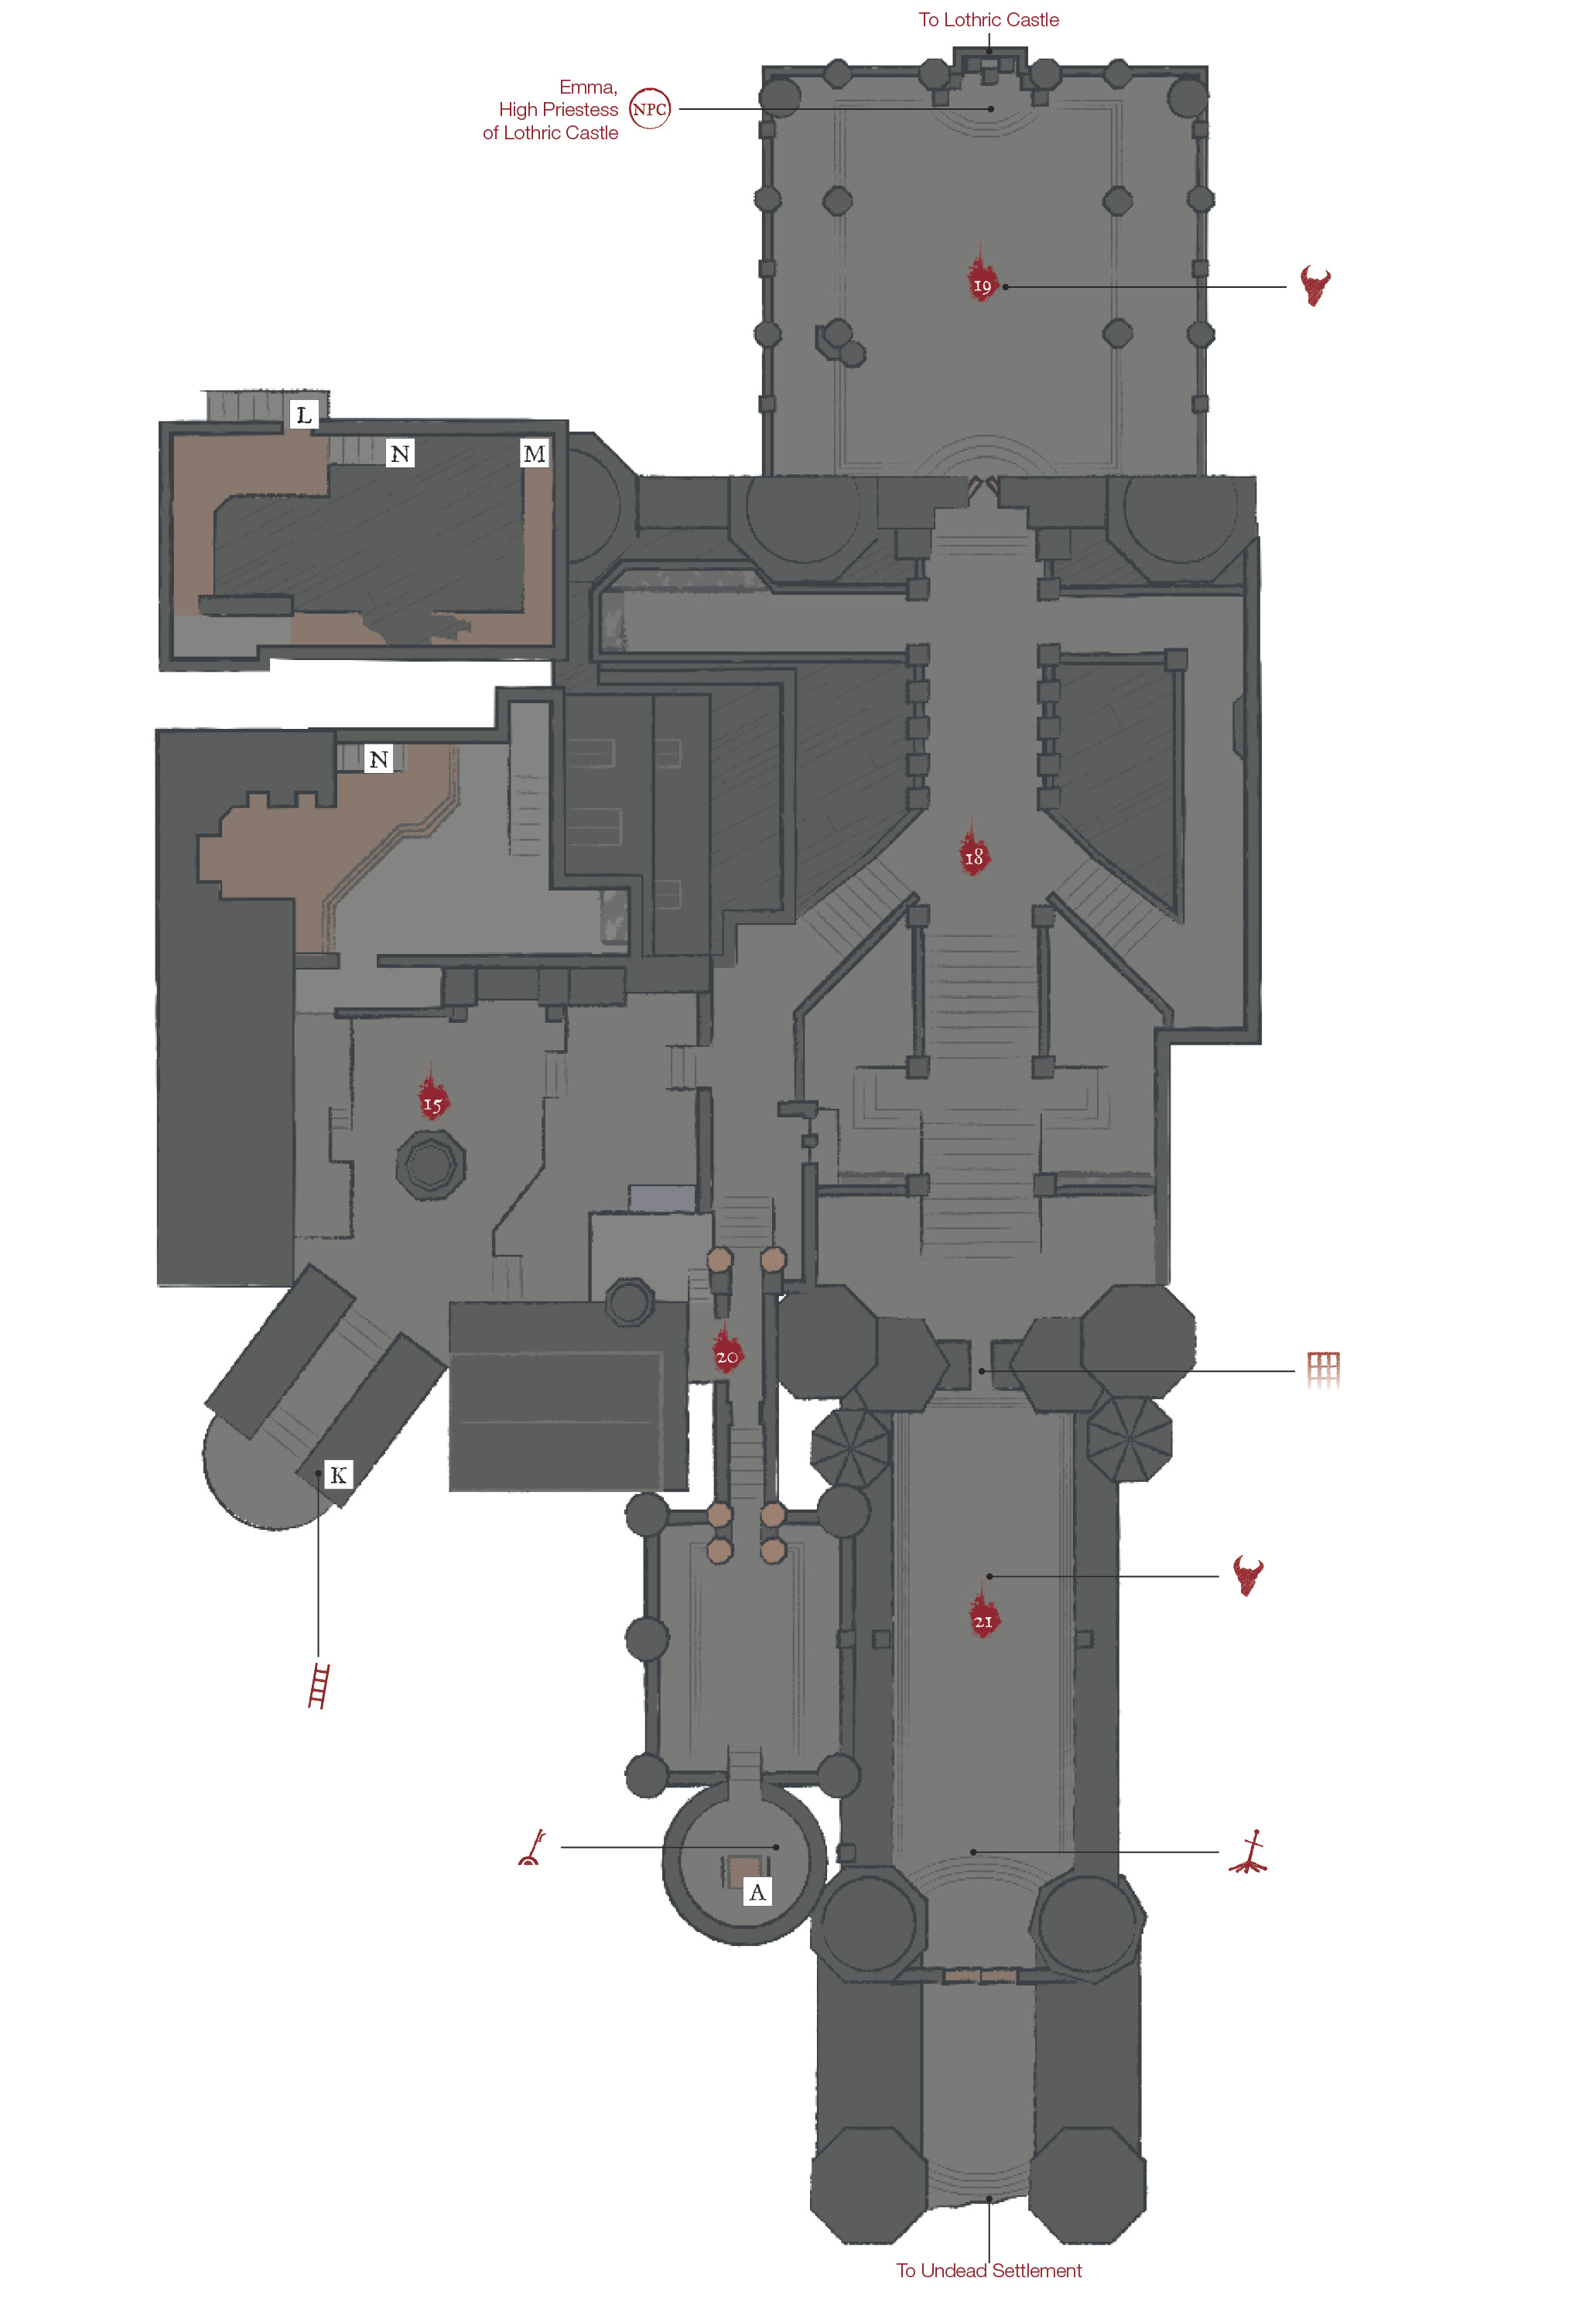
The tower behind the undead has a lift. Take that to the top, and unlock the door you discover. This is the shortcut all the way back to (3) that you passed a while ago. With this open, you can get to the boss without having to fight more than a handful of targets, using the first Bonfire in the area.
Grab the Green Blossoms in the corner of this room. These consumables temporarily boost your Stamina regen rate, a very useful boon when facing very dangerous foes. Typically you only want to bother using these when fighting bosses, but they can be worth keeping on your toolbelt for nastier foes like Dark Spirits (whether NPC or player invaders!), or tough mini-boss style enemies.
Major Battle
 Opposite the church, you see a foggy room that looks ominous at the base of the large stairs. The floor is damaged, and you can feel the tension in the air. There has to be a boss here. And indeed, as you step farther into the room, your dire opponent is revealed.