Dark Souls III Guide (Steam) Walkthrough
Lothric Castle
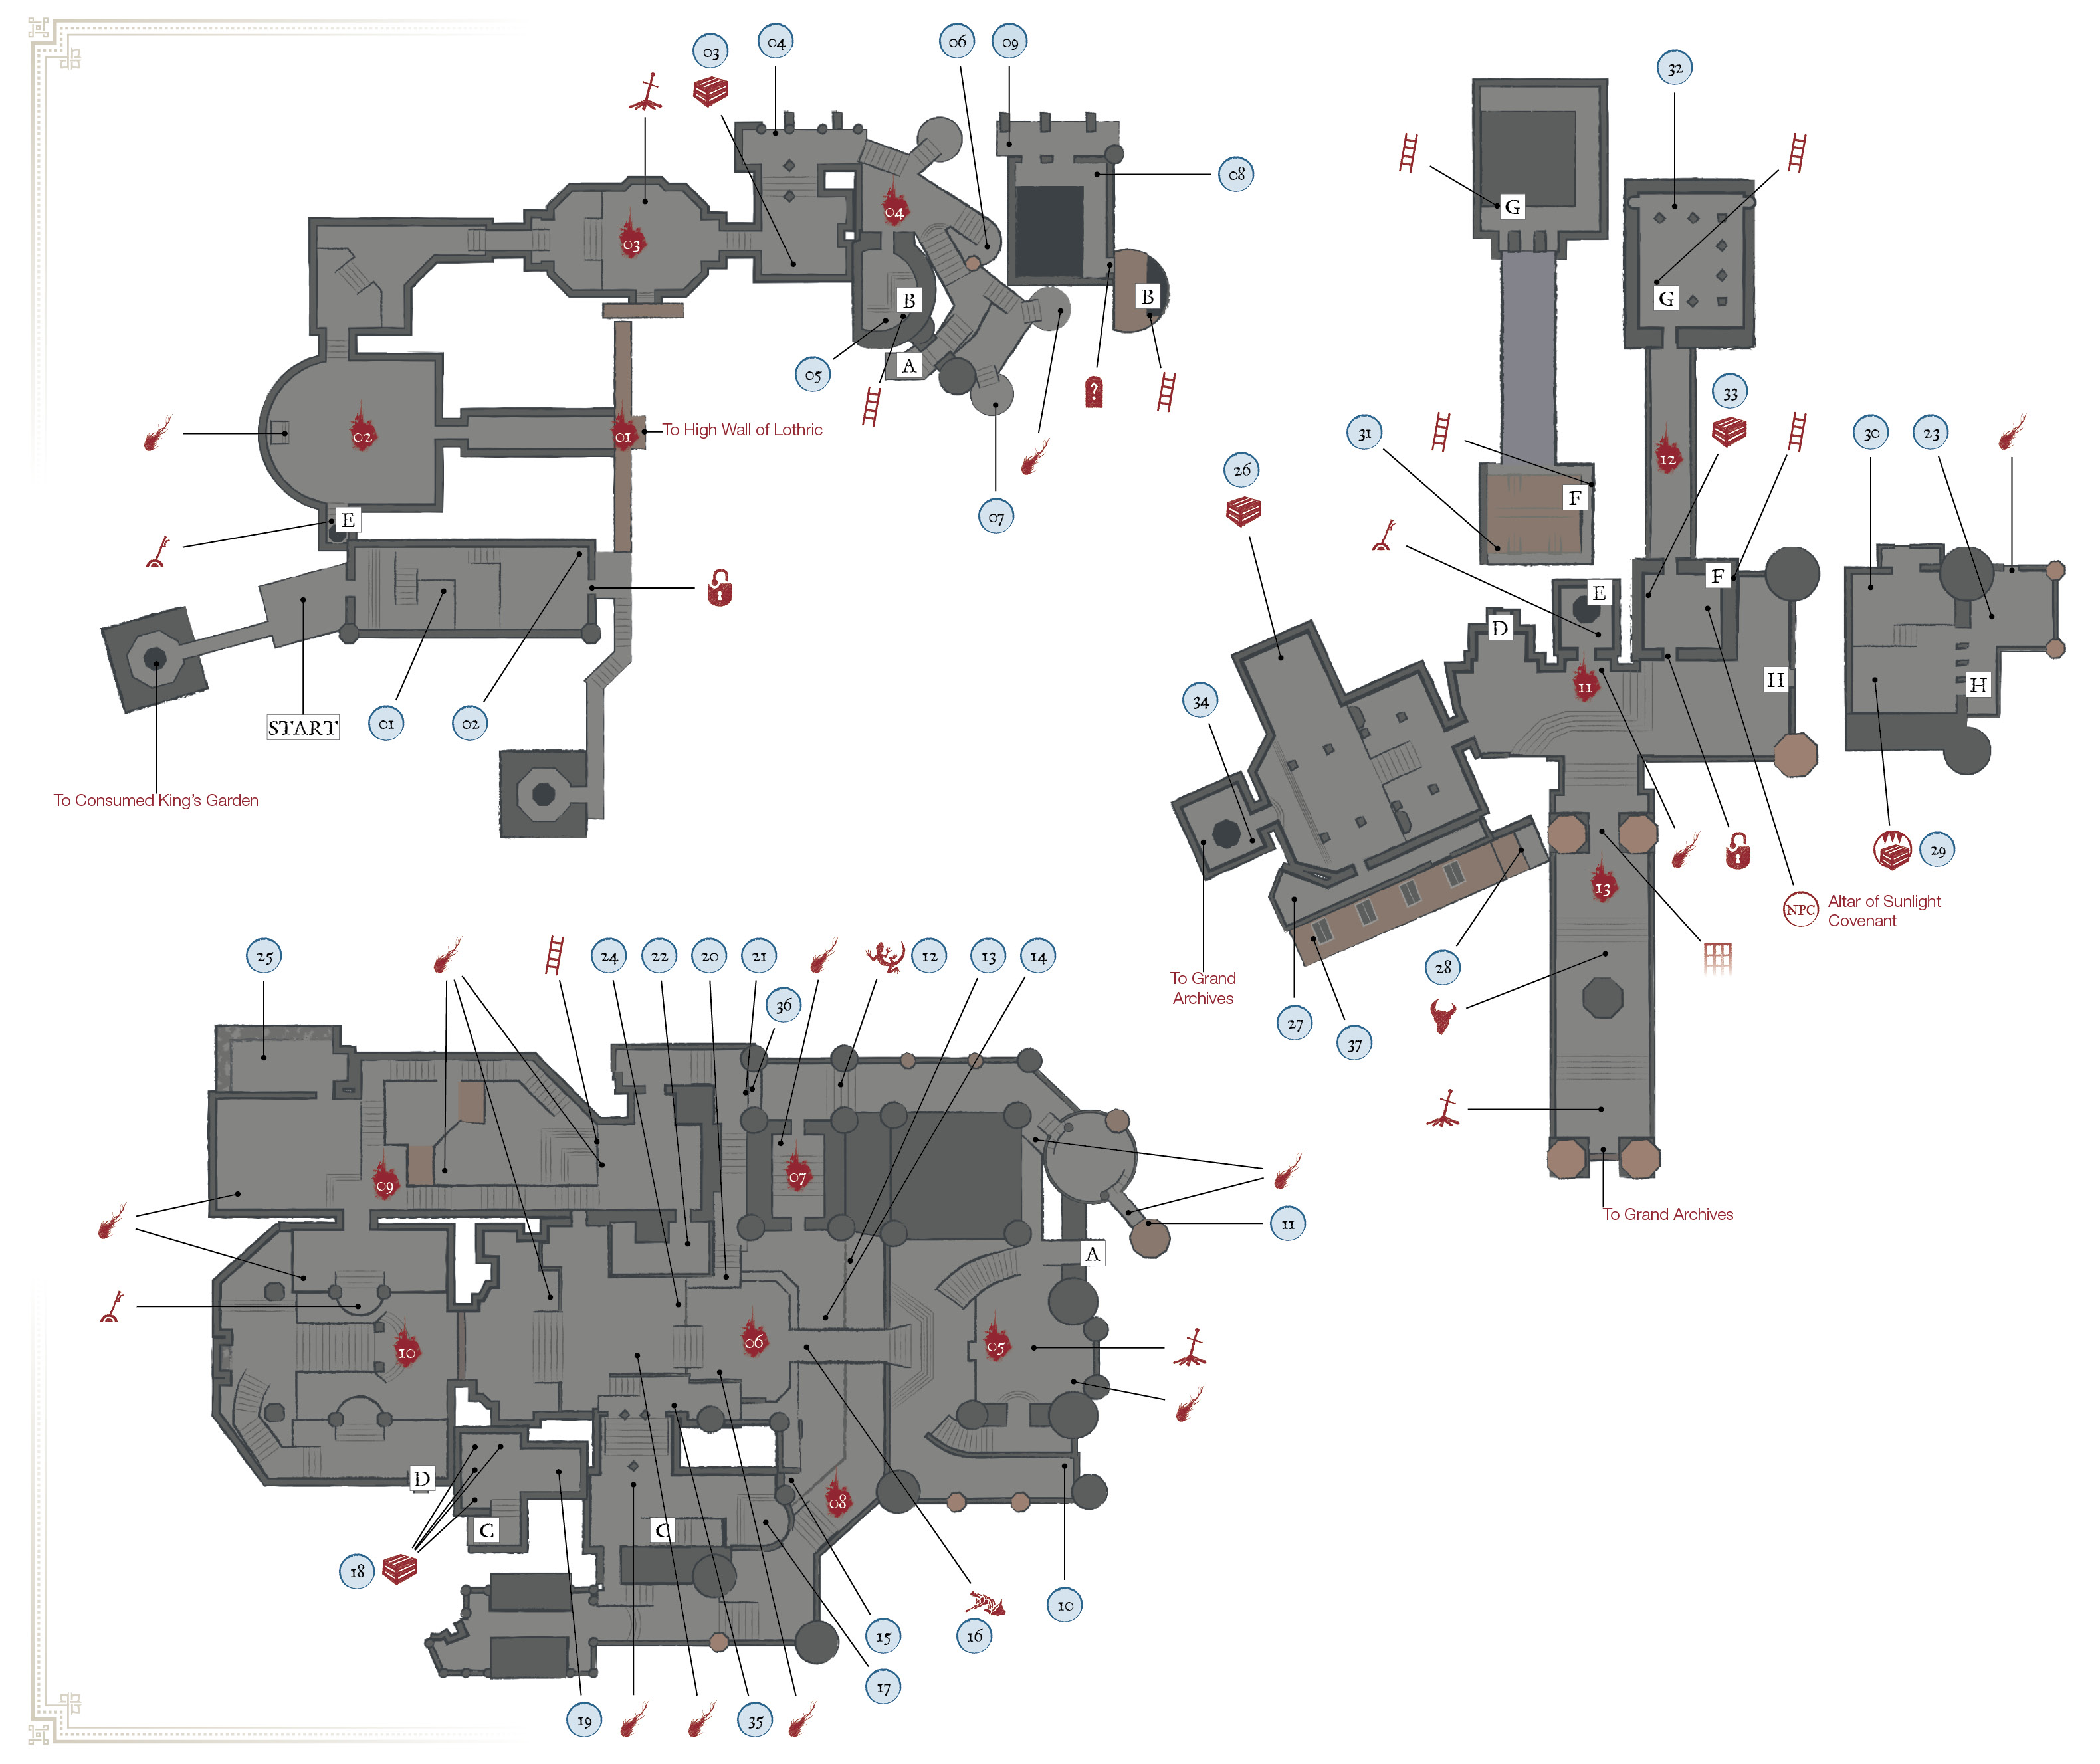
Major Items
 | Items |
|---|---|
| 1 | Titanite Scale |
| 2 | Titanite Chunk |
| 3 | Armor of Prayer (full set) |
| 4 | Titanite Chunk |
| 5 | Twinkling Titanite |
| 6 | Titanite Chunk |
| 7 | Titanite Chunk x2 |
| 8 | Winged Knight armor (full set) |
| 9 | Sacred Bloom Shield |
| 10 | Greatlance |
| 11 | Sniper Crossbow |
| 12 | Twinkling Titanite x2 |
| 13 | Titanite Chunk |
| 14 | Titanite Chunk x2 (under bridge) |
| 15 | Twinkling Titanite x2 |
| 16 | Undead Bone Shard (under bridge on ledge) |
| 17 | Raw Gem |
| 18 | Spirit Tree Crest Shield, Titanite Scale, Twinkling Titanite x3 (in chests) |
| 19 | Irithyll Rapier (on Boreal Outrider Knight) |
| 20 | Titanite Scale |
| 21 | Titanite Chunk |
| 22 | Titanite Chunk x2, Ember x2 (right Dragon) |
| 23 | Titanite Chunk x2, Ember x2 (left Dragon) |
| 24 | Refined Gem |
| 25 | Titanite Scale |
| 26 | Titanite Scale |
| 27 | Red Tearstone Ring |
| 28 | Caitha’s Charm |
| 29 | Sunlight Straight Sword (on Mimic) |
| 30 | Braille Divine Tome of Lothric |
| 31 | Titanite Chunk |
| 32 | Knight’s Ring |
| 33 | Titanite Scale x3 |
| 34 | Titanite Slab (at bottom of lift shaft) |
| 35 | Dark Stoneplate Ring+1 (New Game +1) |
| 36 | Life Ring+2 (New Game +1) |
| 37 | Thunder Stoneplate Ring+2 (New Game +2) |
Bonfires
| Bonfire Name |
|---|
| Lothric Castle |
| Dragon Barracks |
| Dragonslayer Armor |
Enemies
| Enemy Name |
|---|
| Lothric Knight |
| Devout of the Deep |
| Hollow Soldier |
| Winged Knight |
| Lothric Wyverns |
| Boreal Outrider Knight |
| Pus of Man |
| Dragonslayer Armour |
Key Discoveries
| Discovery |
|---|
| Altar of Sunlight Covenant |
 Your starting point in this map is near the upper-left side of the region. You climb up a ladder from the Dancer of the Boreal Valley Bonfire. A path south leads toward the Consumed King’s Garden. Heading west takes you deeper into this area instead.
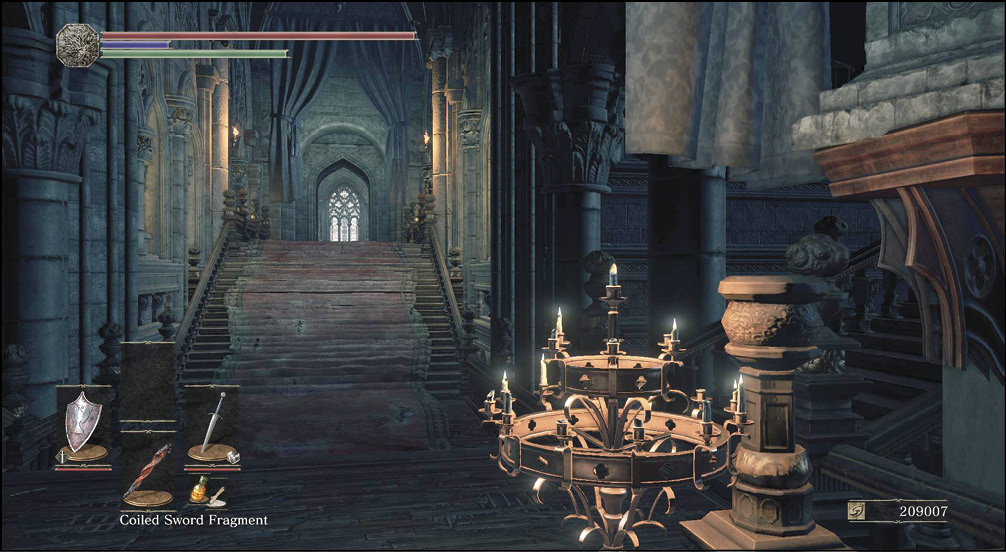
 A Lothric Knight and a Devout of the Deep are in here. Roll past the knight and kill his companion first to ensure that you won’t be distracted while fighting the heavier target. Then, settle in for a long fight against the Lothric Knight. He’s hard as nails, so it takes many hits to drop him.
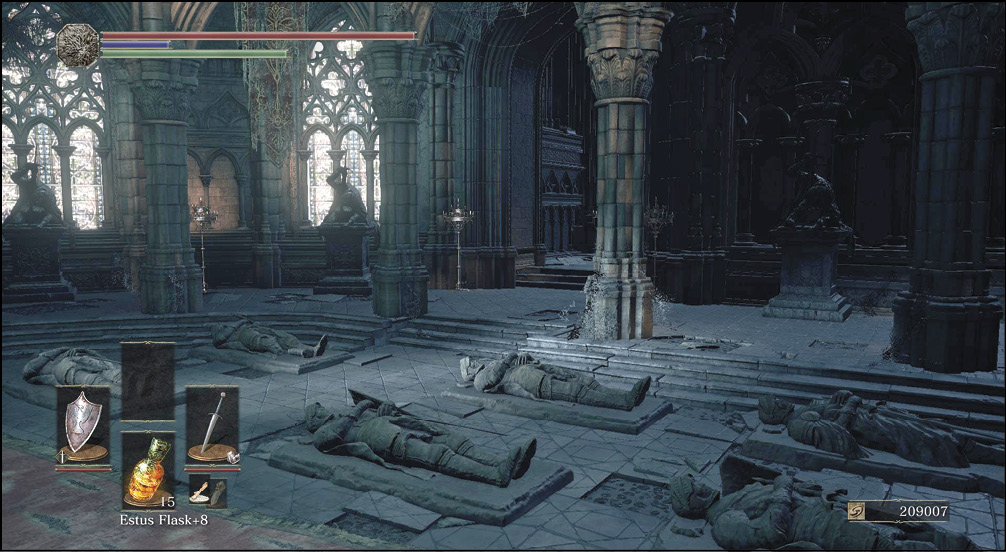
Bonfire—Lothric Castle
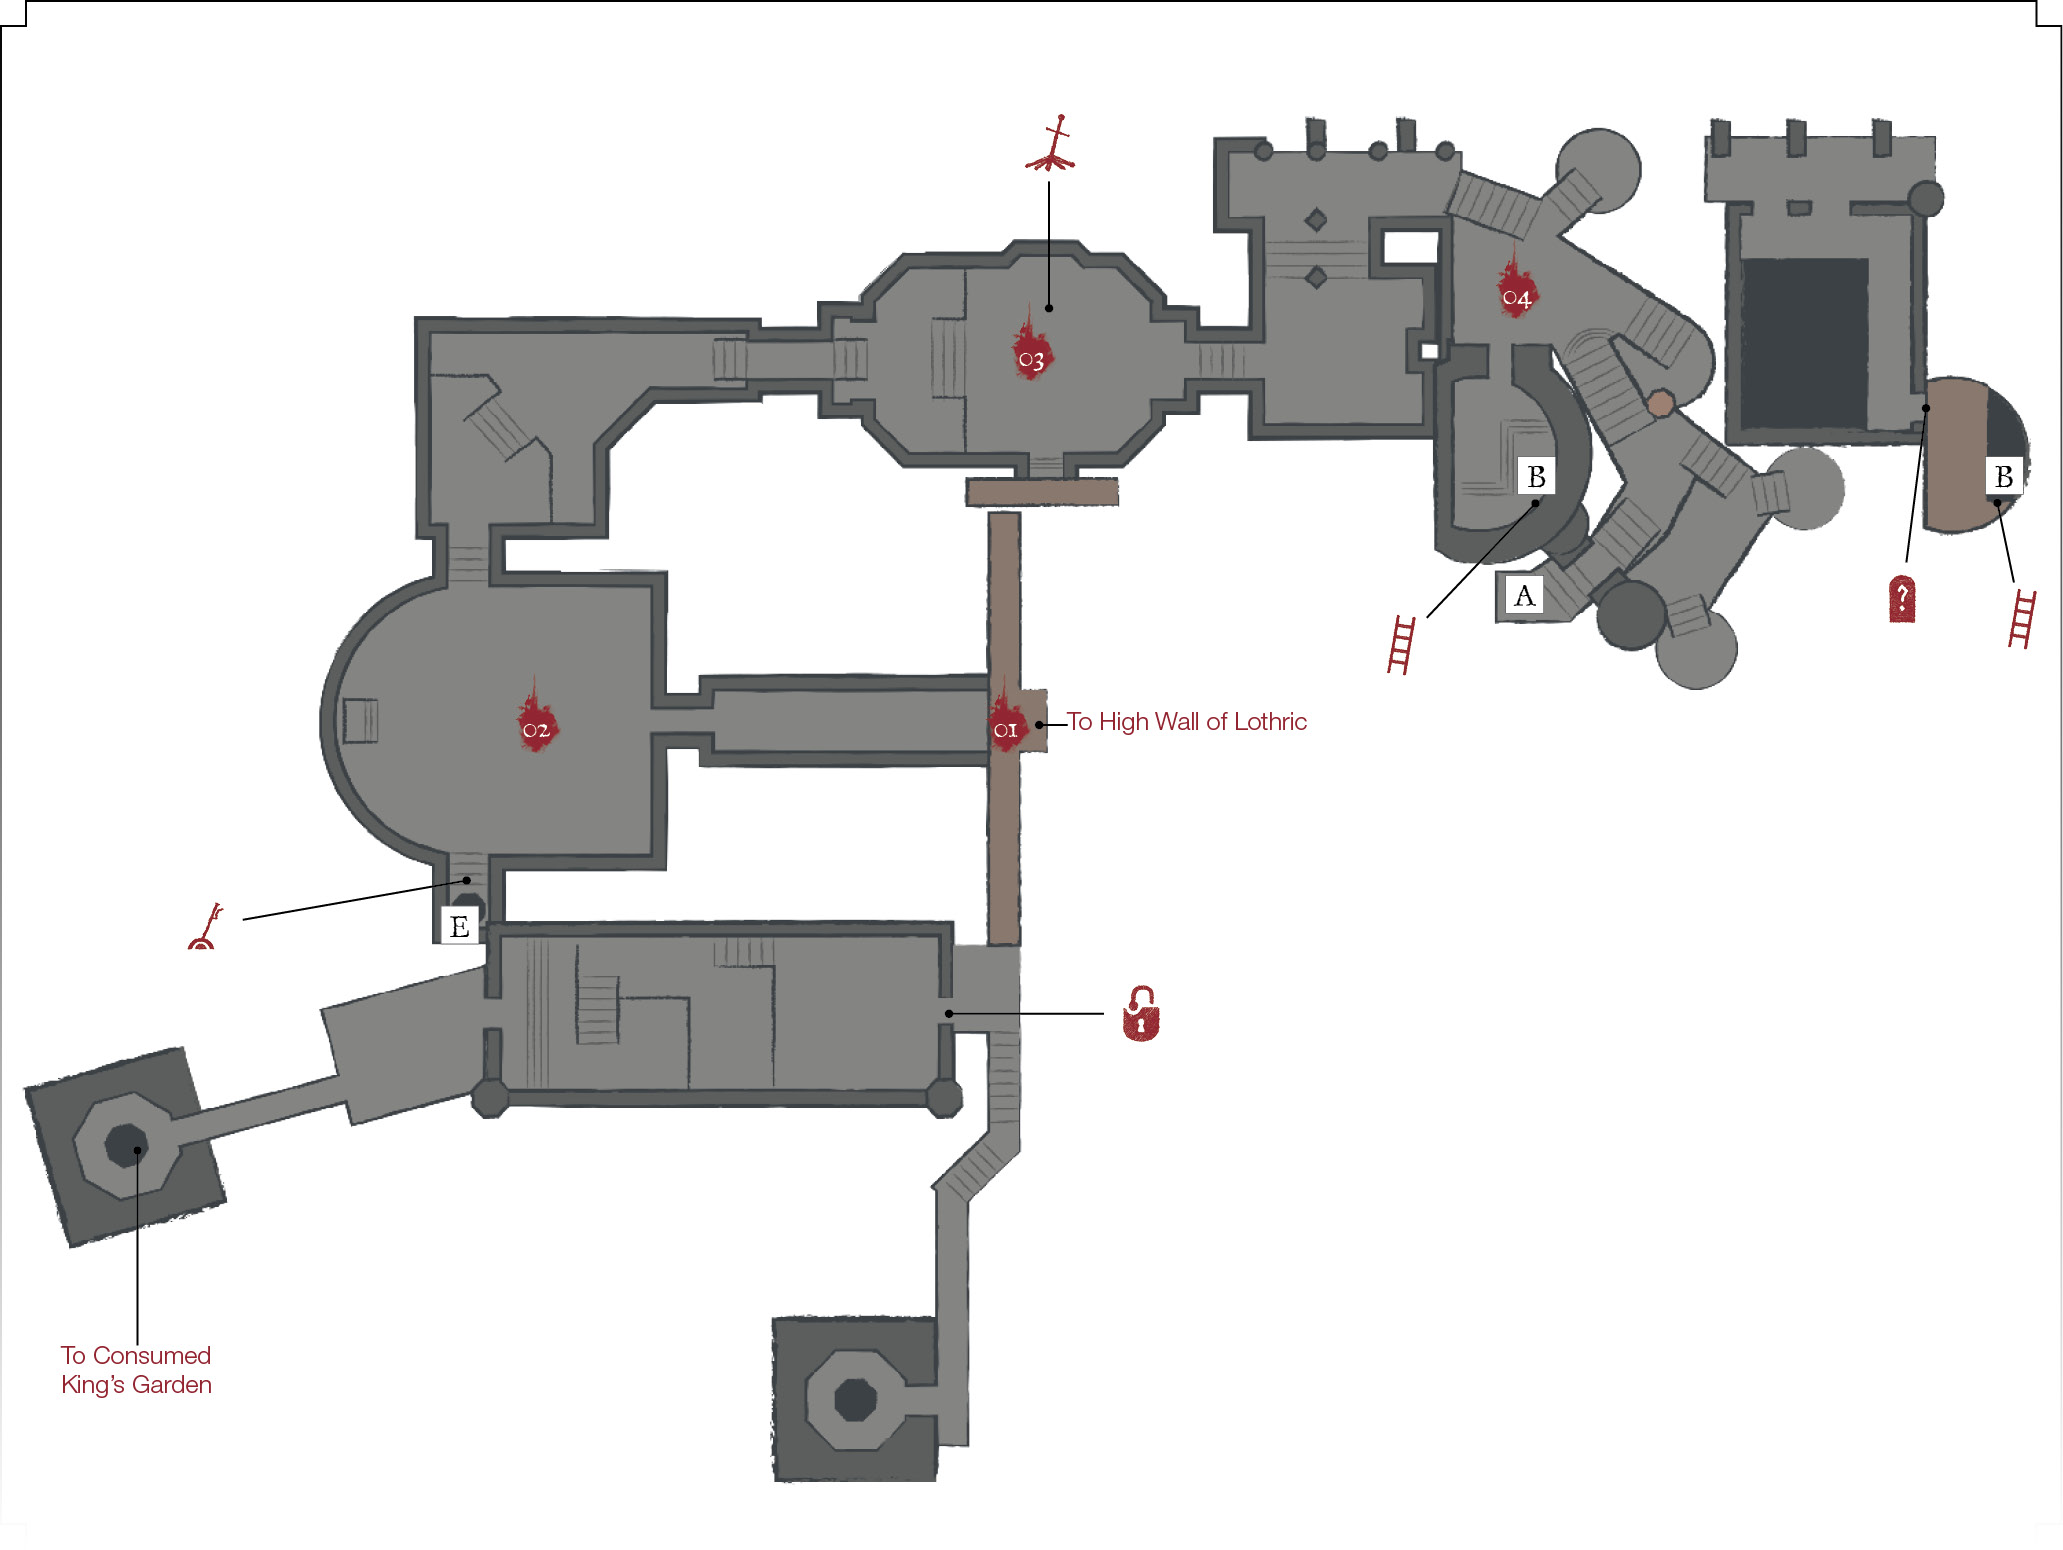
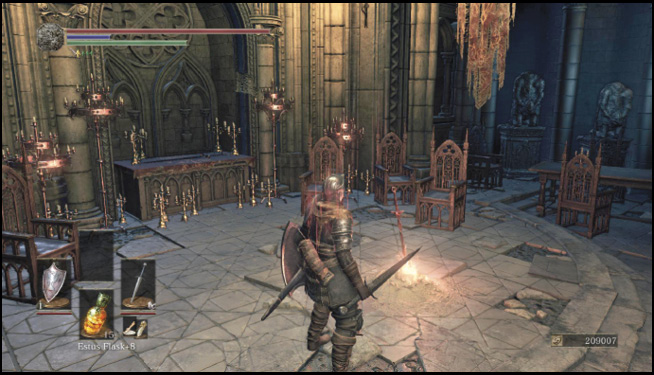
 Two more Lothric Knights and a couple of passive Devout of the Deep are in the hallway. The Devout of the Deep won’t add to your fight, so they’re not a concern this time. Shoot the first knight you see, and lure him down the stairs to fight him alone if possible. Getting both is doable, too, but make sure to focus fire on the first Lothric Knight so that you get the fight down to a one-on-one level quickly.
Farther down the hallway, you find a Bonfire (Lothric Castle). Now you don’t have to climb that ladder every time you want to come in here! East of here you find the Armor of Prayer Set.
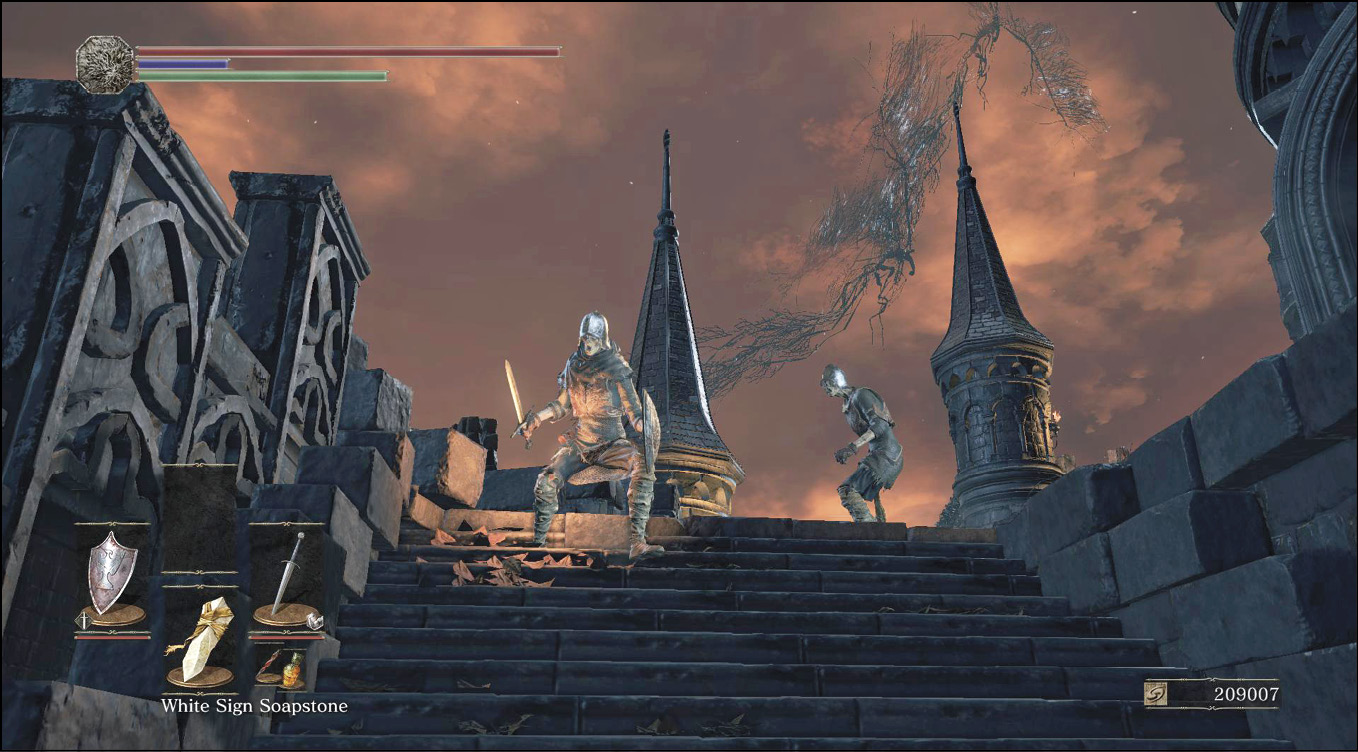
 Climb the outer steps on the north side, which get you around to the main portion of the castle. A few Hollow Soldiers are here; they’re weak targets. The ones here have adequate health, but they use simple weapons and combos, so they’re only a threat when they show up in force.
Much more impressive is the Winged Knight inside a nearby guard tower. Pull him out into the yard after clearing the Hollow Soldiers. This way, you have much more room to maneuver, and that favors you in this skirmish.
Climb a short ladder inside that tower, and smack a wall up top. It fades, and you get some treasure for your efforts. You get the Winged Armor Set and Sacred Bloom Shield as you explore these rooms.
Bonfire—Dragon Barracks
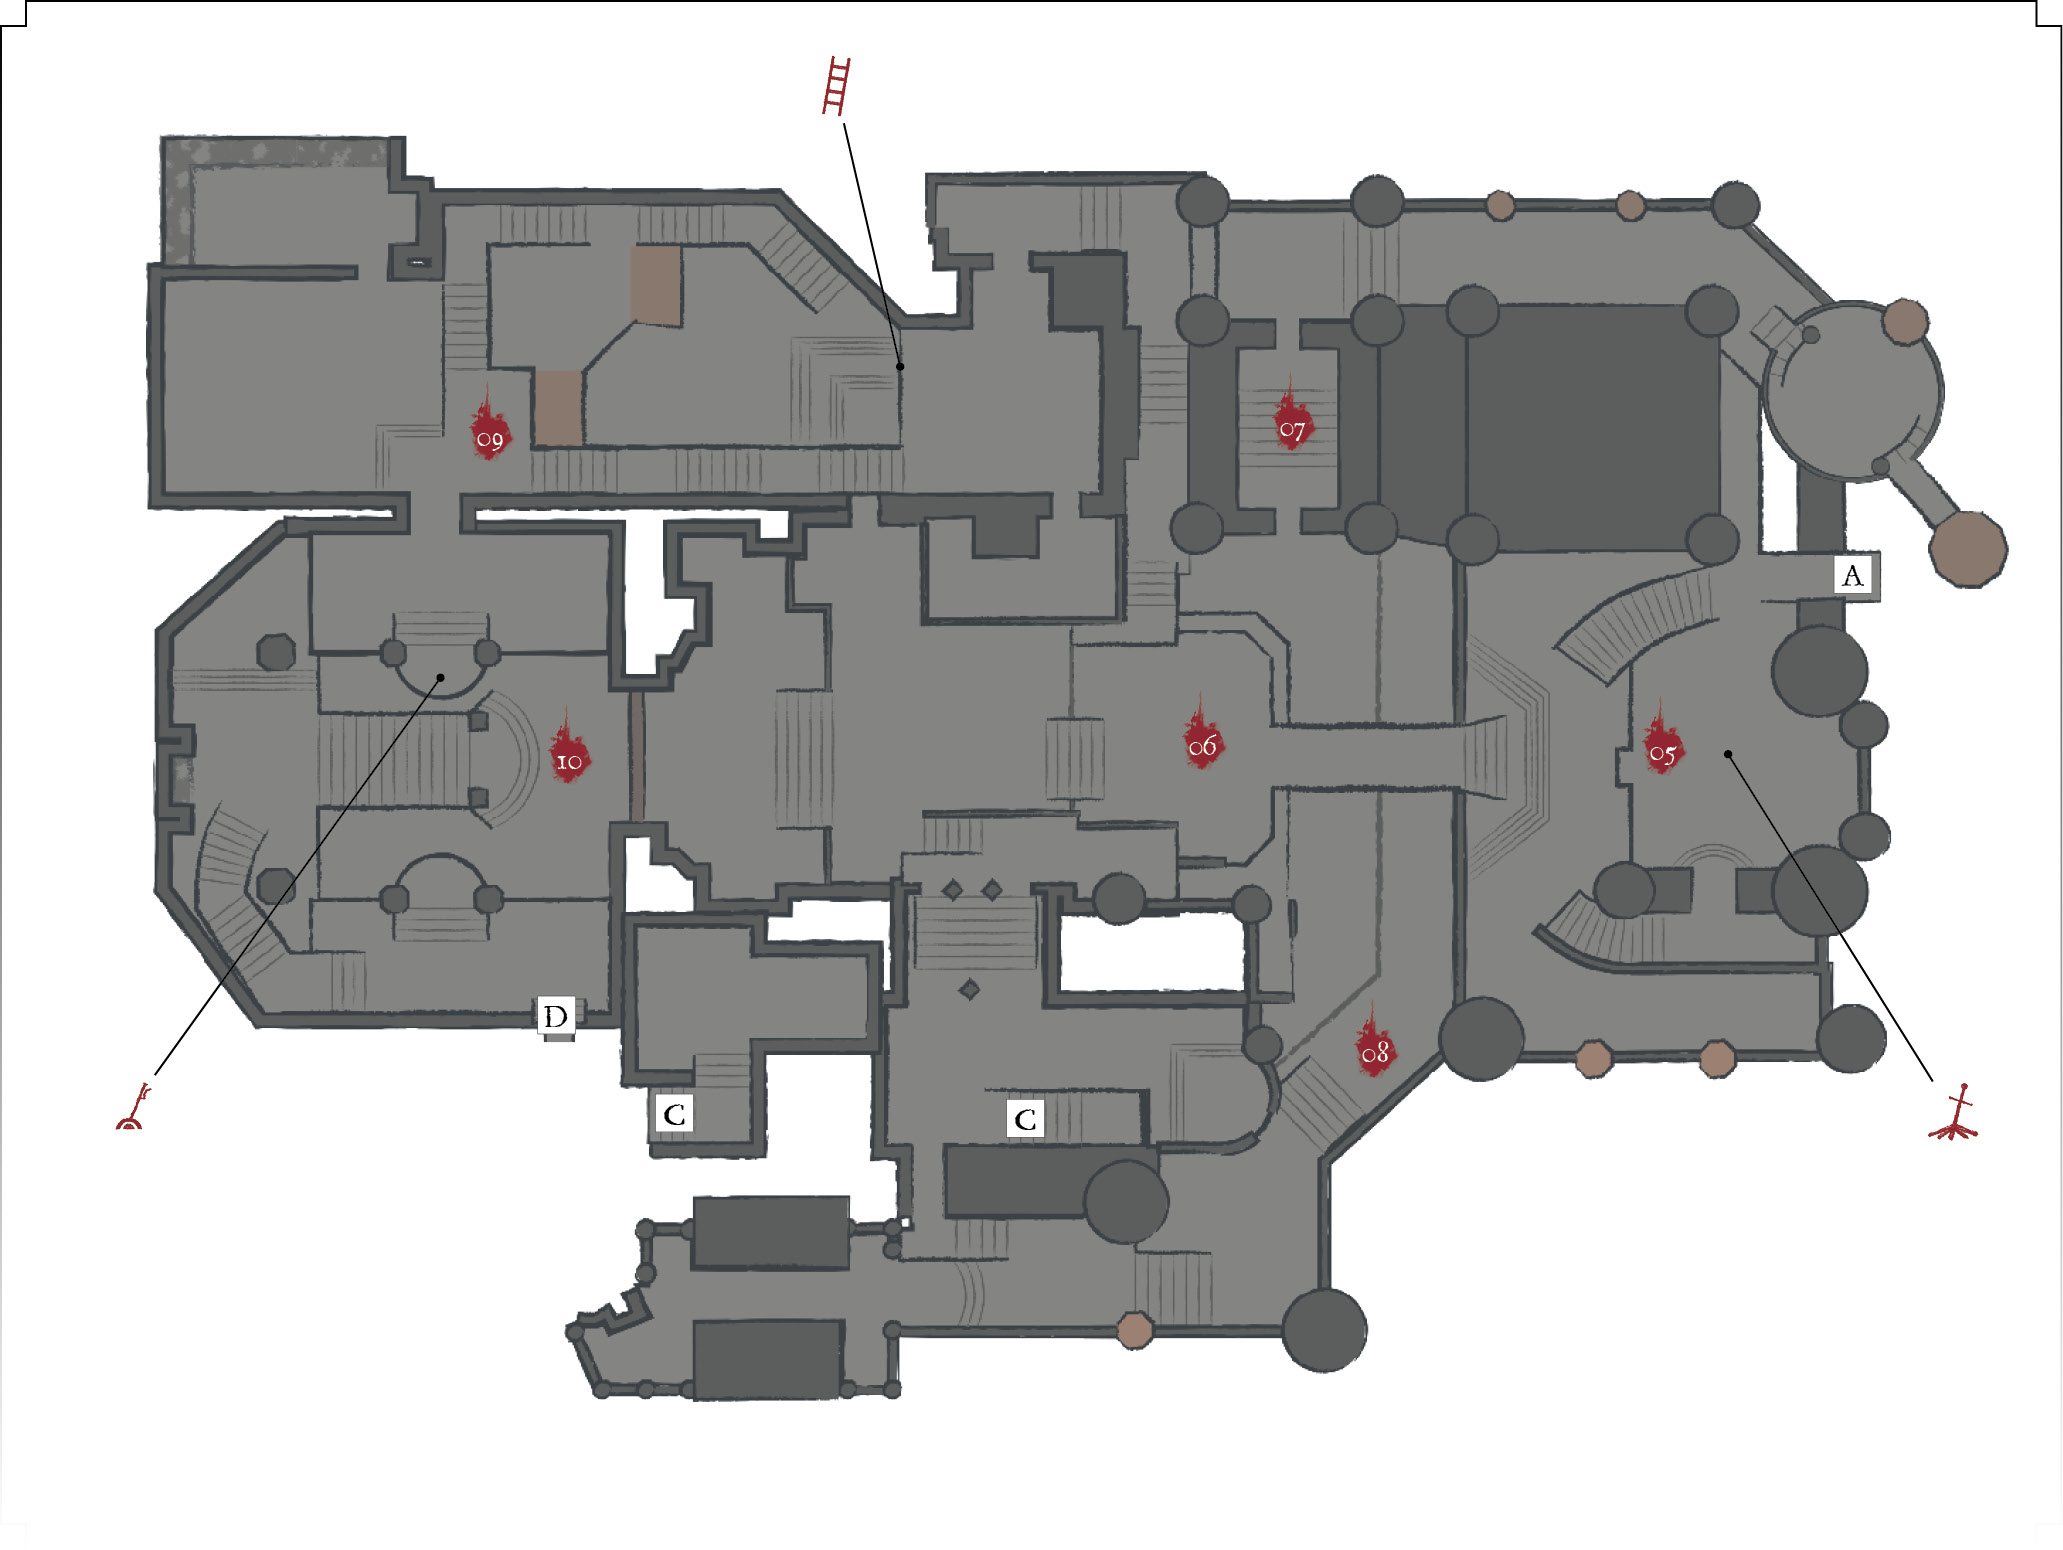
 You get another Bonfire (Dragon Barracks) without having to go far into Lothric Castle. Several more fights slow you down, but they’re still against smaller groups of lesser undead. This place is trying to get you to lower your guard, but don’t. It’s going to get rough very soon. A Greatlance is south from this waypoint. If you work your way north, using the trench below the dragons' bridge, you reach parapets with a Sniper Crossbow.
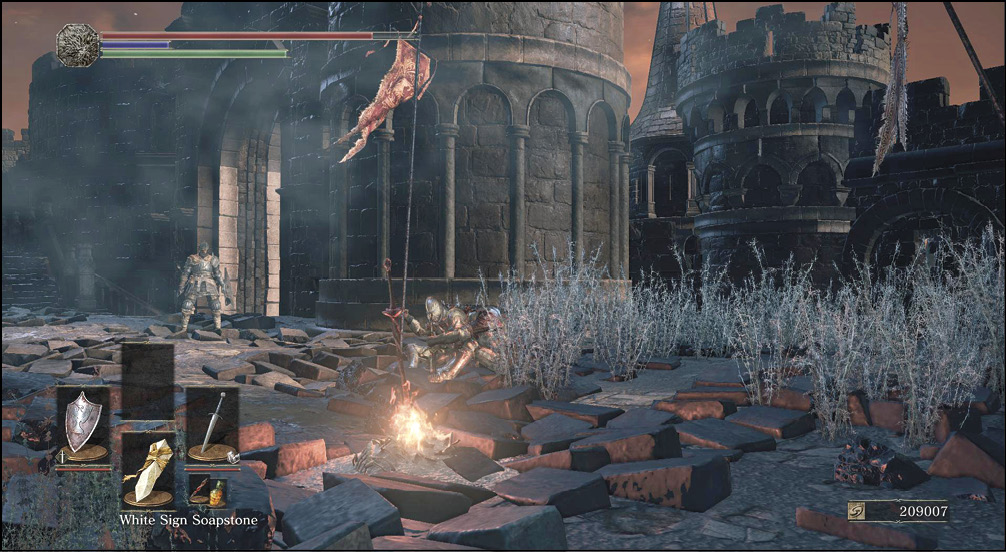
Major Battle
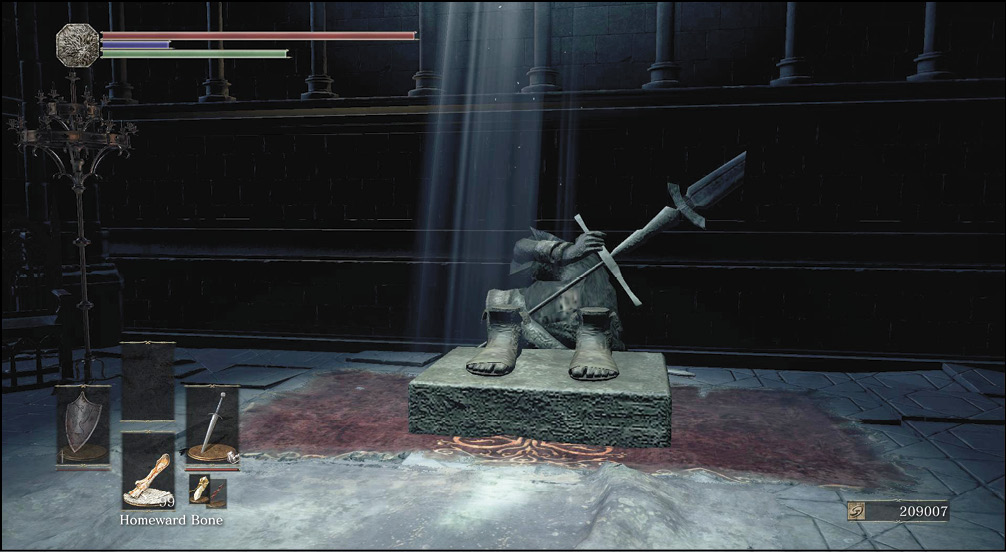
 The Dragon Barracks area is well named, as two dragons guard it. They’re practically pinned to their perches, not far from the Bonfire. As you approach them, take shelter behind a stone statue of a knight just beside a bridge. That’s your cover for the dragon’s fire. Once you’re safe, use a ranged weapon to kill the dragon on the left. Try to hit high on its neck so that you can target each shot easily but still get maximum damage. Body shots or wing hits deal far less damage, so experiment until you get high damage without having to expose yourself by poking too far out of cover.
Remember to bring a full complement of arrows or bolts; you’ll need them.
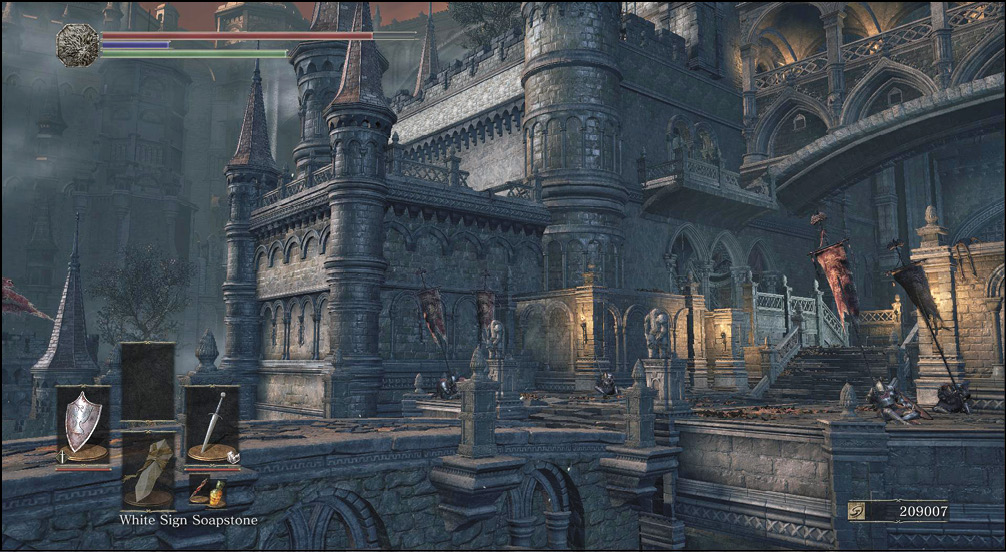
 After looting the area around the dragons, take a moment to search in a few directions. This place is fairly open, so you have multiple choices for where to go next. It’s best not to fall off of the bridge. There is loot down there, but you can reach it by going south. Falling into the middle of the enemies is very risky, so stay on the beaten path as you explore. The Undead Bone Shard underneath the bridge is the most important item to find.
However, there is also a Dark Stoneplate Ring+1 if you're playing on New Game +1. It's to the southeast from the Bonfire. North of the Bonfire is a Life Ring+2 (again, if you're playing on New Game +1).
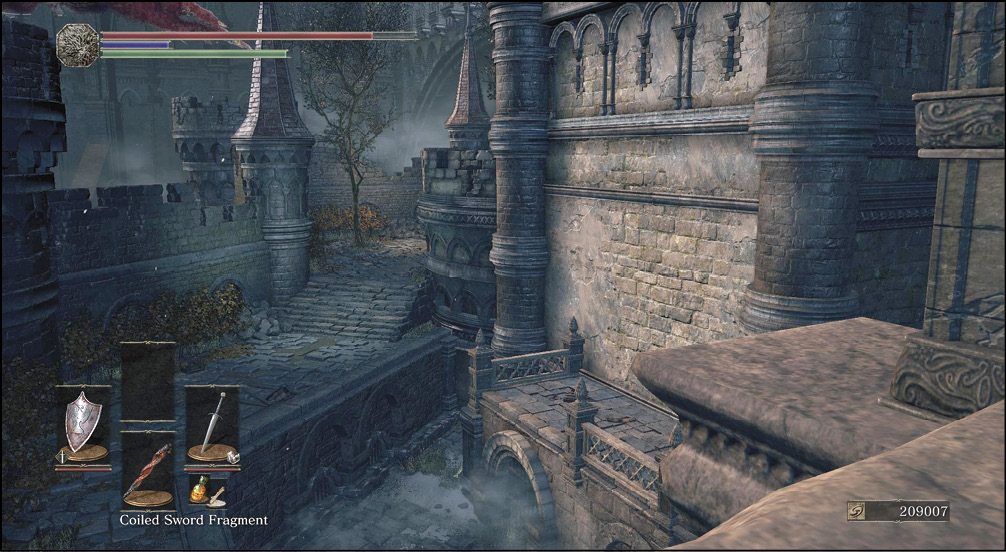
 The area south of the dragons has several targets. At first, you face a variety of Hollow Soldiers. Kill their ranged members first, and then deal with the heavier members of the group. Remember that these guys are easily staggered, so you can interrupt and slay even their best fighters with long combos.
Down in the gully, there are two Praying Hollow Soldiers. Kill them quickly if you don’t want them to turn into Pus of Man. Alternately, let them change if you’re farming for Souls or loot. A building north of the Pus of Man lets you climb onto the upper walkways that overlook the area. Though it’s an optional place to visit, this spot has a bit of extra treasure and another Winged Knight to kill.
The fight to be most careful of while exploring is down in a basement. A simple set of stairs that’s south of the dragons leads down into this basement, which is filled with upgrade materials. However, there is a Boreal Outrider Knight waiting for you. In dark and cramped quarters, this enemy is a nightmare. The chests in that storage room have a Spirit Tree Crest Shield and many Titanite items. You also get the Irithyll Rapier when you defeat the Boreal Outrider Knight.
Focus entirely on dodging. Get one hit every time you avoid the enemy’s combos, and only risk a second strike if you’ve gotten into a perfect position after the large foe has missed one of its slower, heavier swings. Get used to the one-two swing that it favors most of the time, and also look for the slower single hit that it winds up to perform.
Frost Resistance is a major bonus for this fight, and it’s worth equipping gear specifically for this. The Boreal Outrider Knight, as usual, is practically a boss unto himself.
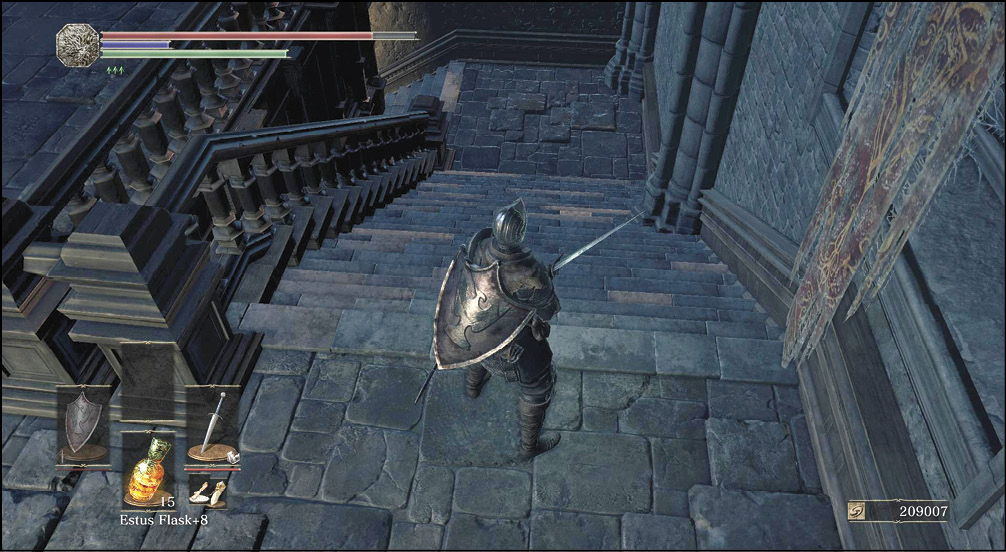
 The area northwest of the bridge is the way to go when you’re trying to proceed. There are two ways in—a lower entrance near the main gate, and an upper one that leads you up a staircase that hugs the northern building. Both enter the same room, a large chamber with many weaker undead.
A Pus of Man is guarding the fallen dragon’s body. Don’t try to approach it. It vomits horrible material at you, causing a curse effect. Hang back and shoot it with arrows until it’s dead. You get a decent amount of material for the kill, and the dragon’s body disappears.
Although there aren’t any other super nasty enemies in the room, you have to be careful. The sheer volume of undead ensures that it’s possible to be overwhelmed and torn apart. Fight each target as you see it, and be thorough. Kill everything, or a simple battle can suddenly turn sour as you back into foes that you ignored earlier.
The end of the chamber leads you into a small balcony with a lever. Pull that to open the main gate outside.
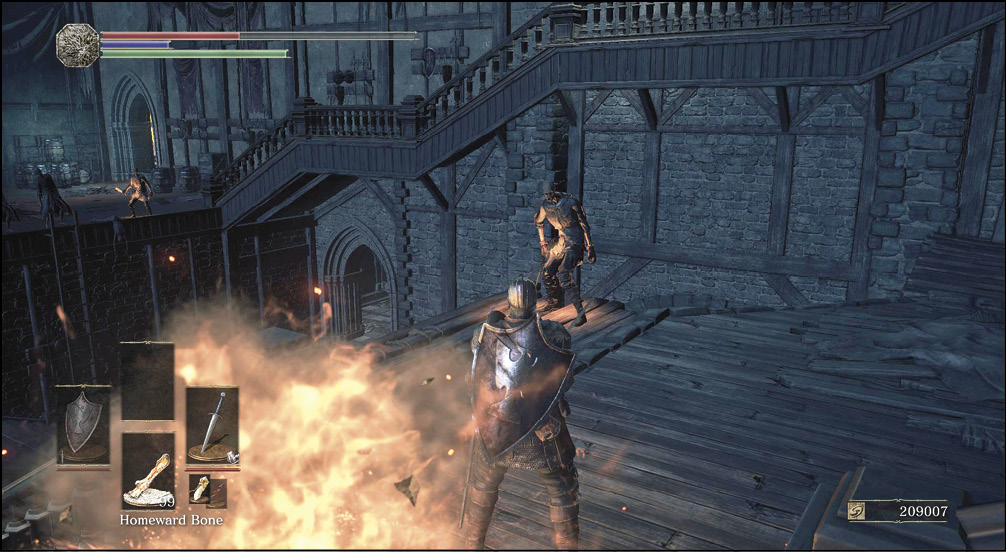
 Lothric Knights and Devout of the Deep are inside the main gate. Pull them out into the open and fight them safely so that you only get one knight at a time.
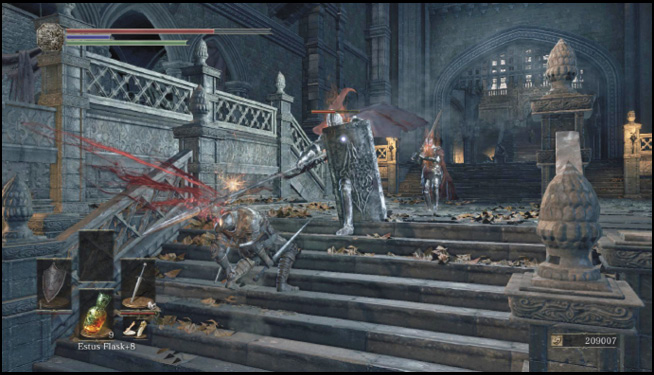
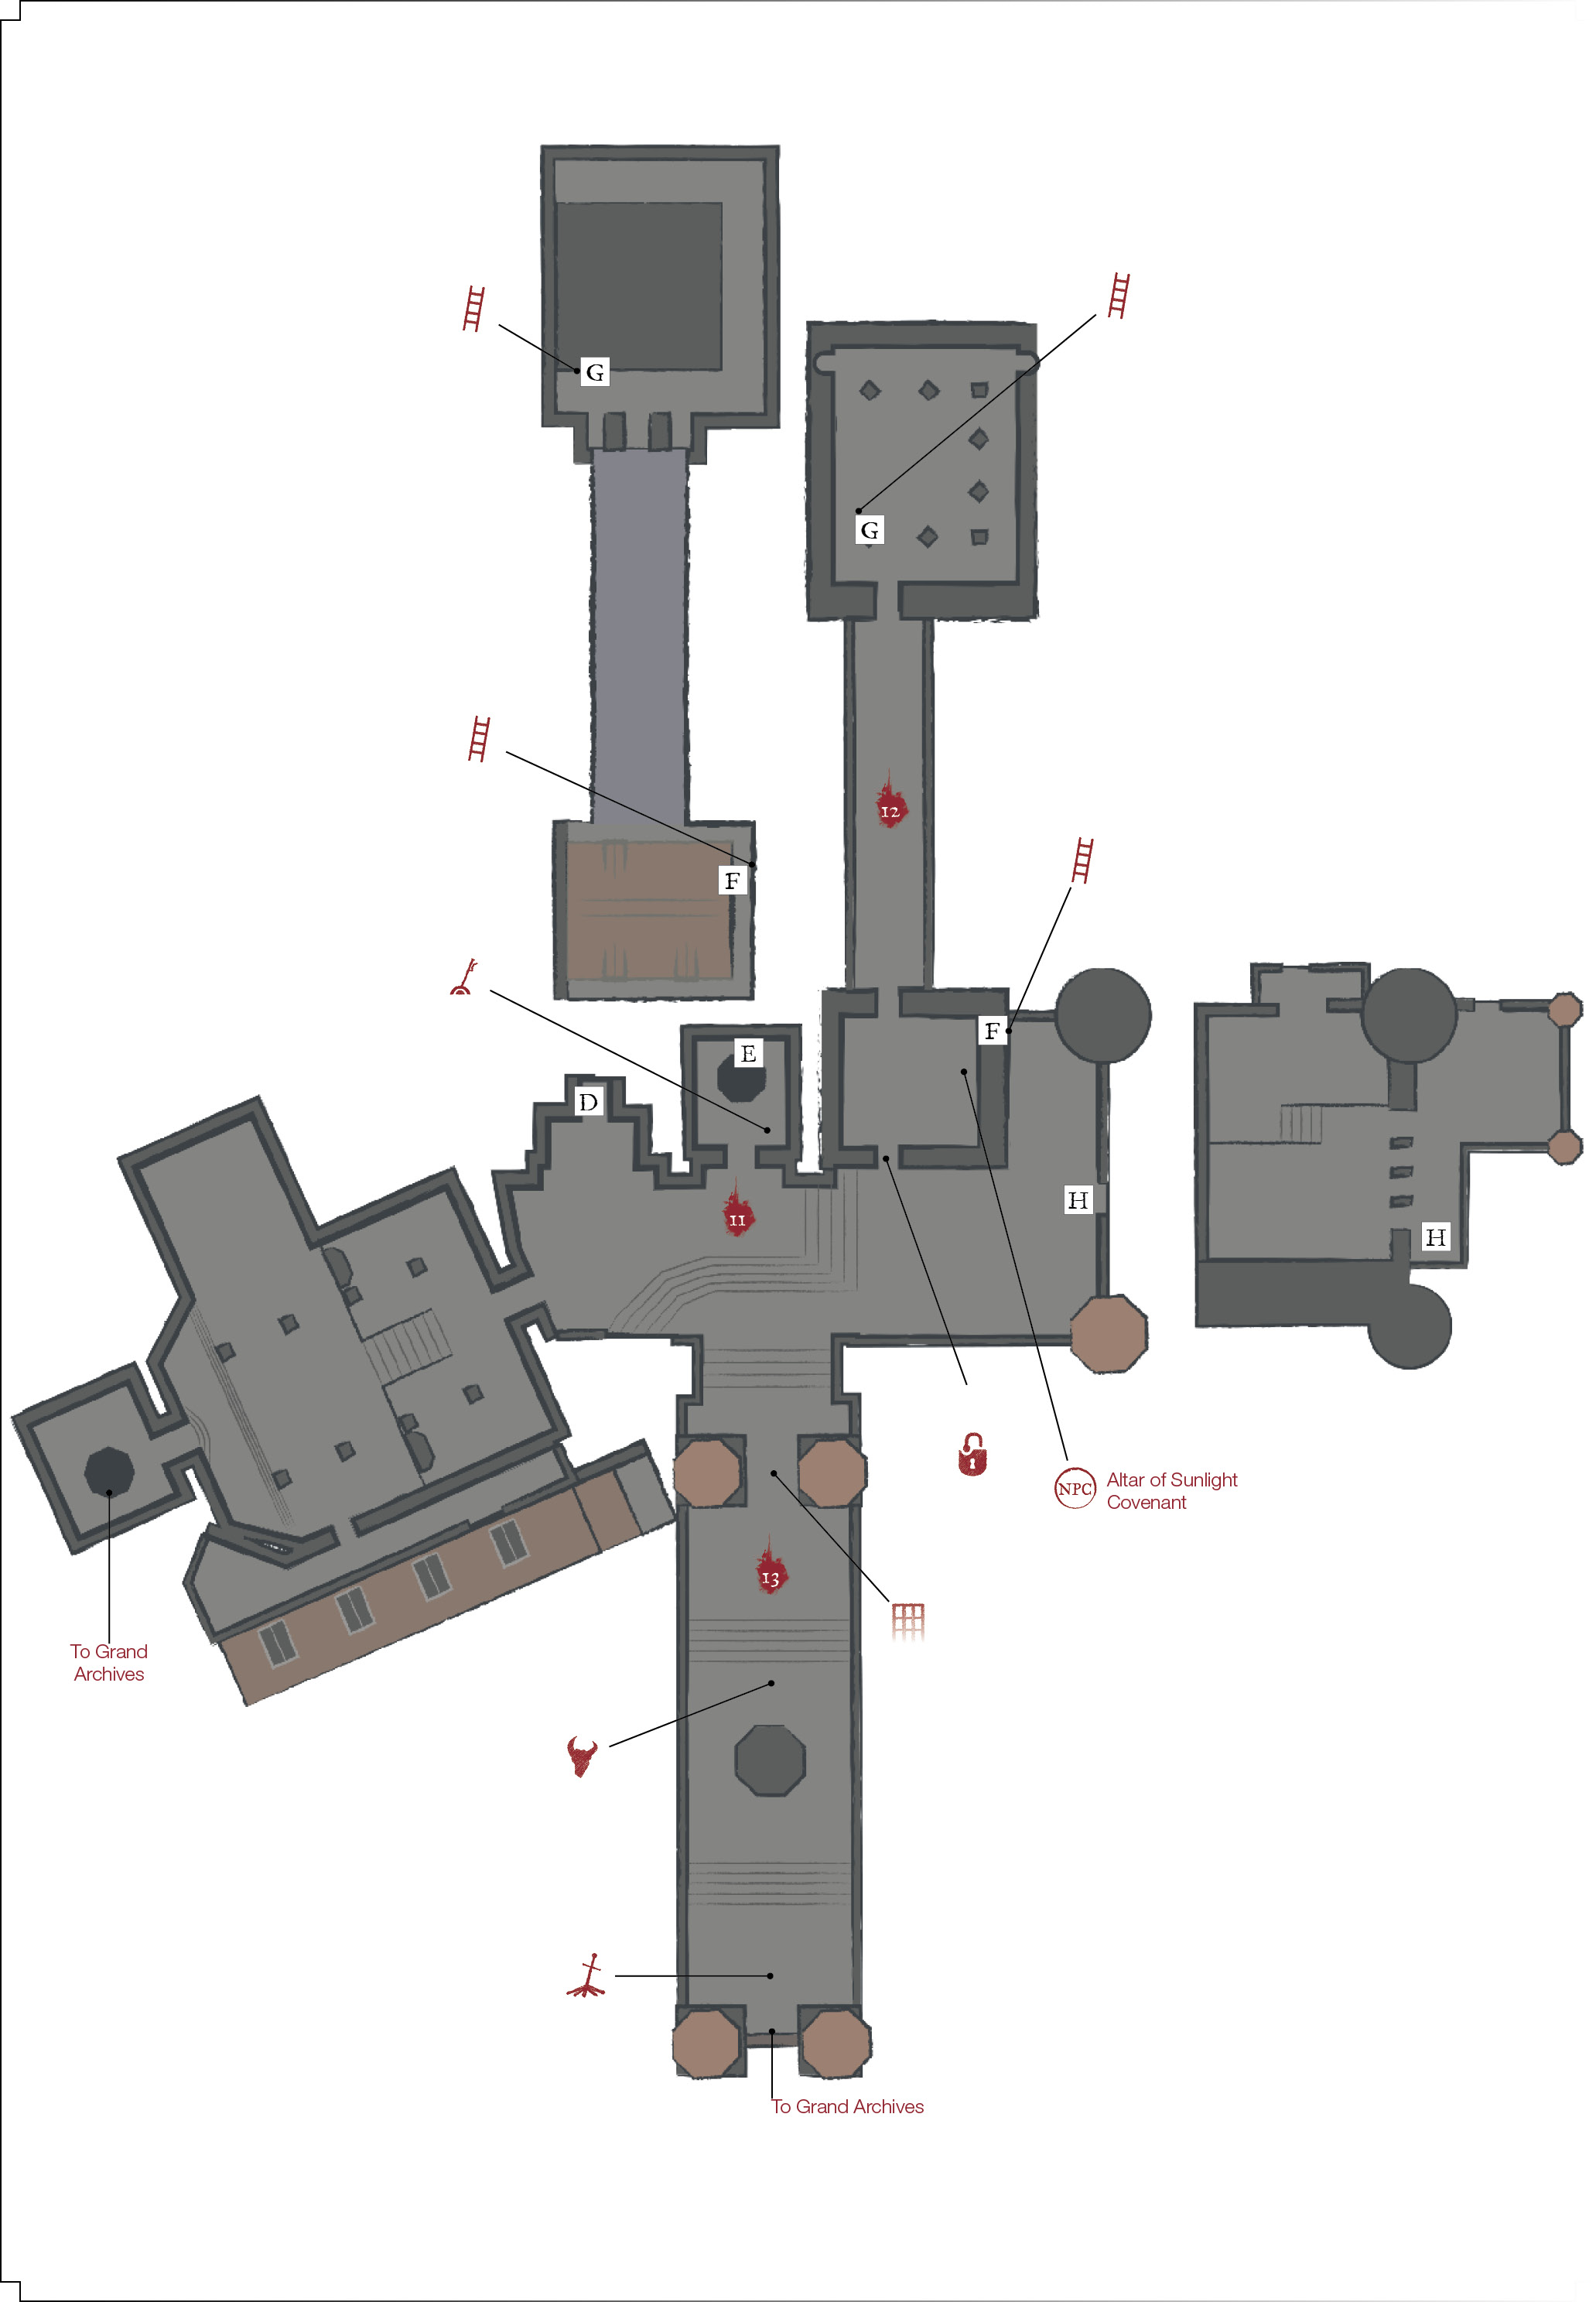
 Large stairs lead to the higher tiers of the castle. The path splits when you get to the top, so check your map carefully as you consider your options. A boss’ fog gate is ahead of you. To the east, you can jump off of this level and hop down to the other dragon’s corpse. A second brutal Pus of Man is there, with just as much loot as the first. A Mimic in the vicinity has a Sunlight Straight Sword. Keep scouring the area to also find a Braille Divine Tome of Lothric too.
The building to the west has no enemies. Take its treasure, and notice a lift. This becomes a shortcut to the Grand Archives boss once you’ve unlocked it from the upper level.
If you have remained friendly with Eygon of Carim, you can find his summon sign just inside in the western building, bring him along to help with the boss!
And speaking of shortcuts, the closer lift unlocks a route between this spot and the beginning of Lothric Castle. Take that down to the bottom to make sure that it’s open. Now, you can get up to the boss from the Lothric Castle Bonfire without spending too much time.
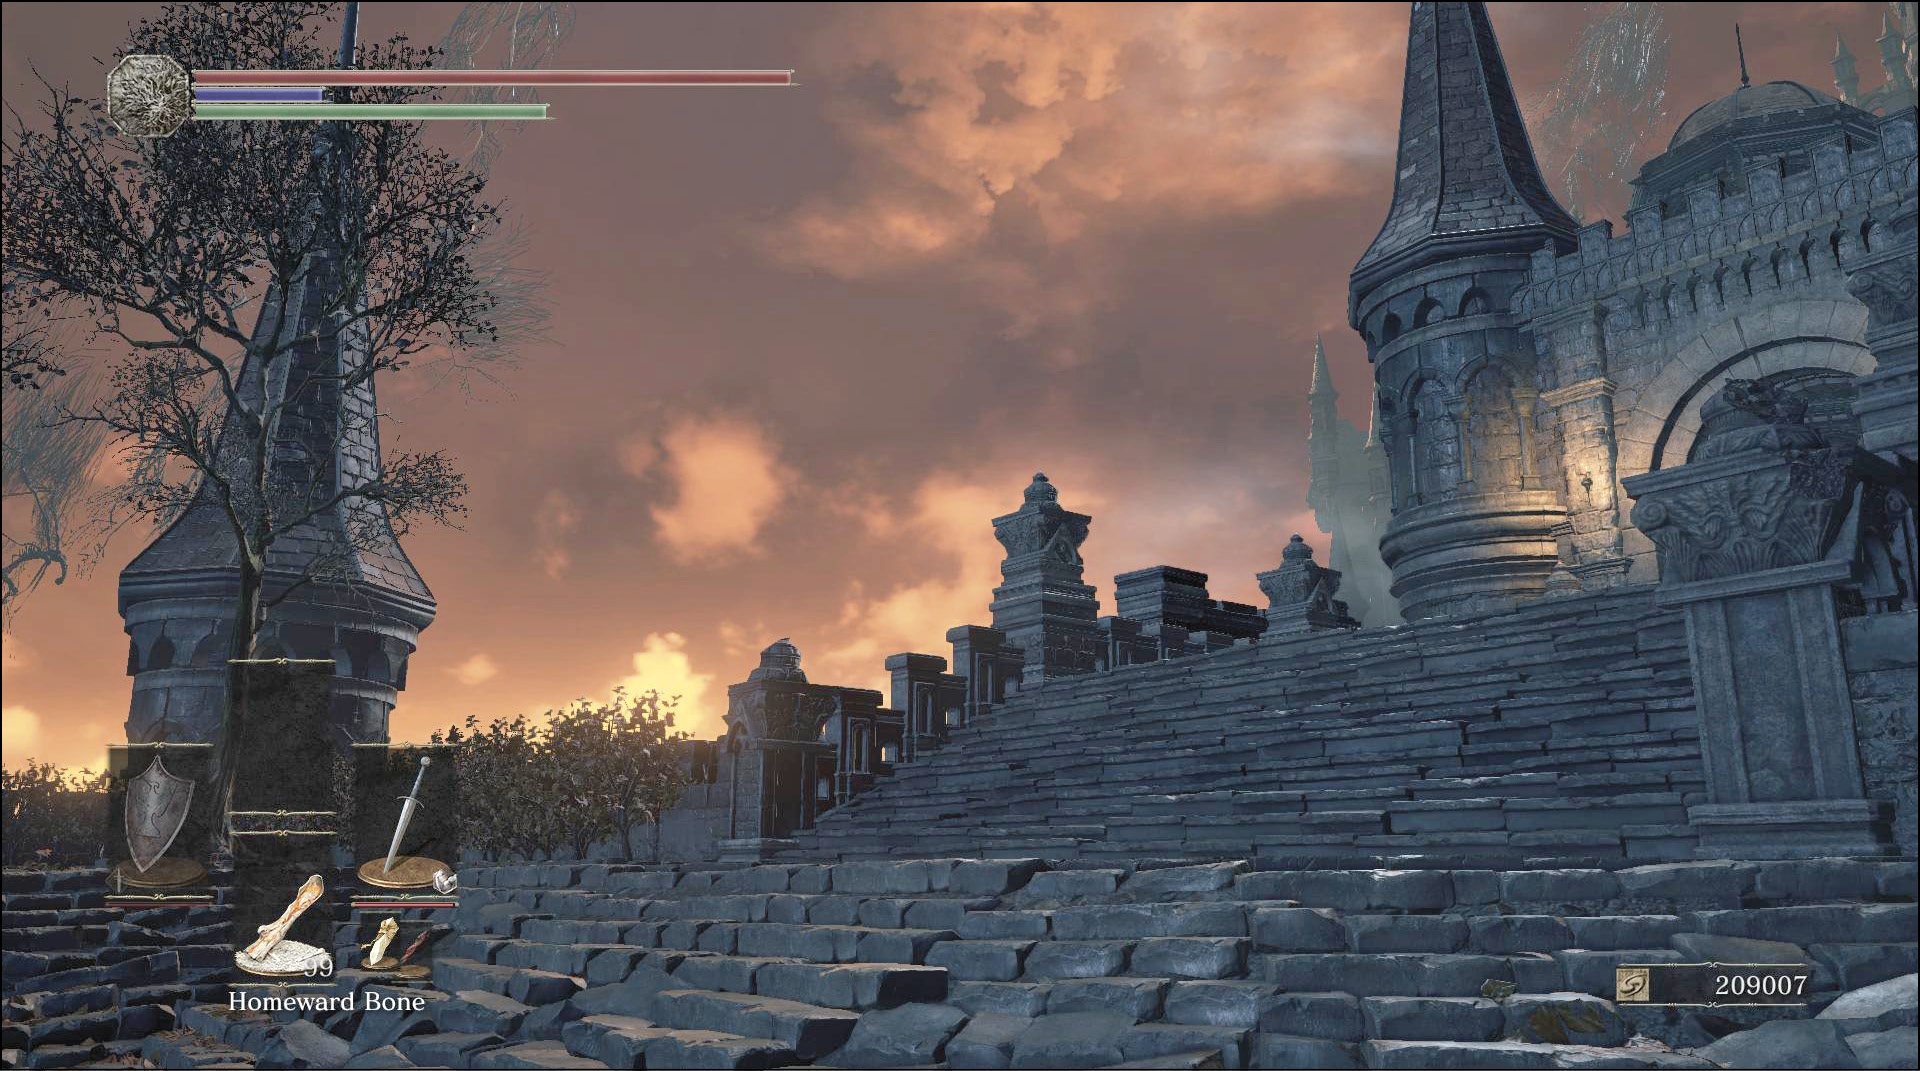
Altar of Sunlight
 A locked door blocks your way into another building near the boss. To get inside, climb a ladder around the right side of the building. Cross the rooftops while dealing with two Hollow Soldiers with crossbows and an axe-wielding buddy of theirs. If you’re having trouble, shoot the weaker crossbowmen before the big guy comes out onto the roof.
Inside the building, you find a bit of loot, along with the Altar of Sunlight. You offer Sunlight Medals here to improve your Covenant faction. There’s only a single Lothric Knight on the way to unlock the door, so getting out of there isn’t too bad.
Major Battle
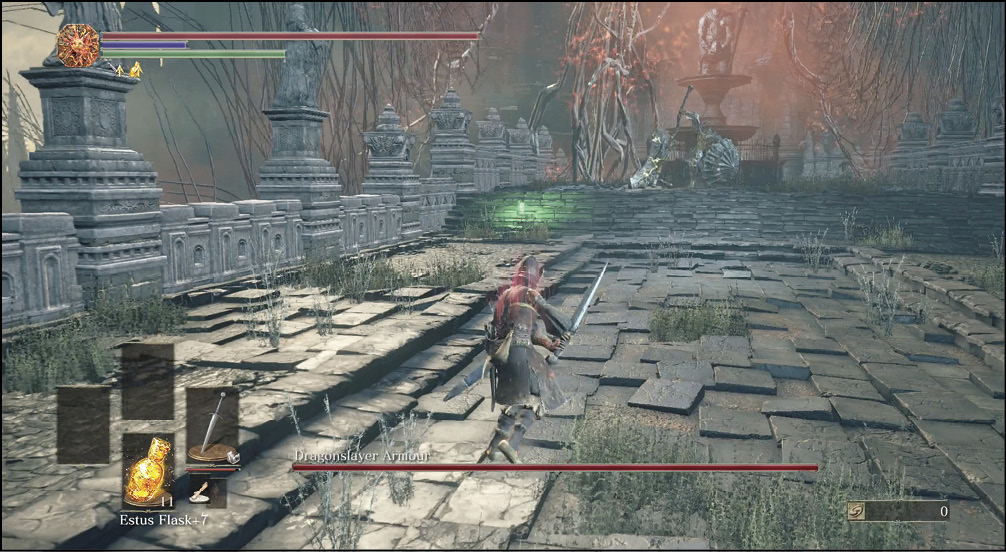
 After you’ve unlocked the lower shortcut and explored this area, hit the boss’ lair. The Dragonslayer Armour goes a good job of killing you the first couple of times you face it, so assume that this is going to be rough. Try to get here with a full group of flasks. The path from the Lothric Castle Bonfire still has a few Lothric Knights in your way, but you can sprint around them to get to the lift.
Remember to send the lift back down once you reach the top. Otherwise, this “run to the lift” method won’t work so well the next time you try it!