
Dark Souls III Guide (Steam) The Bestiary
High Wall of Lothric
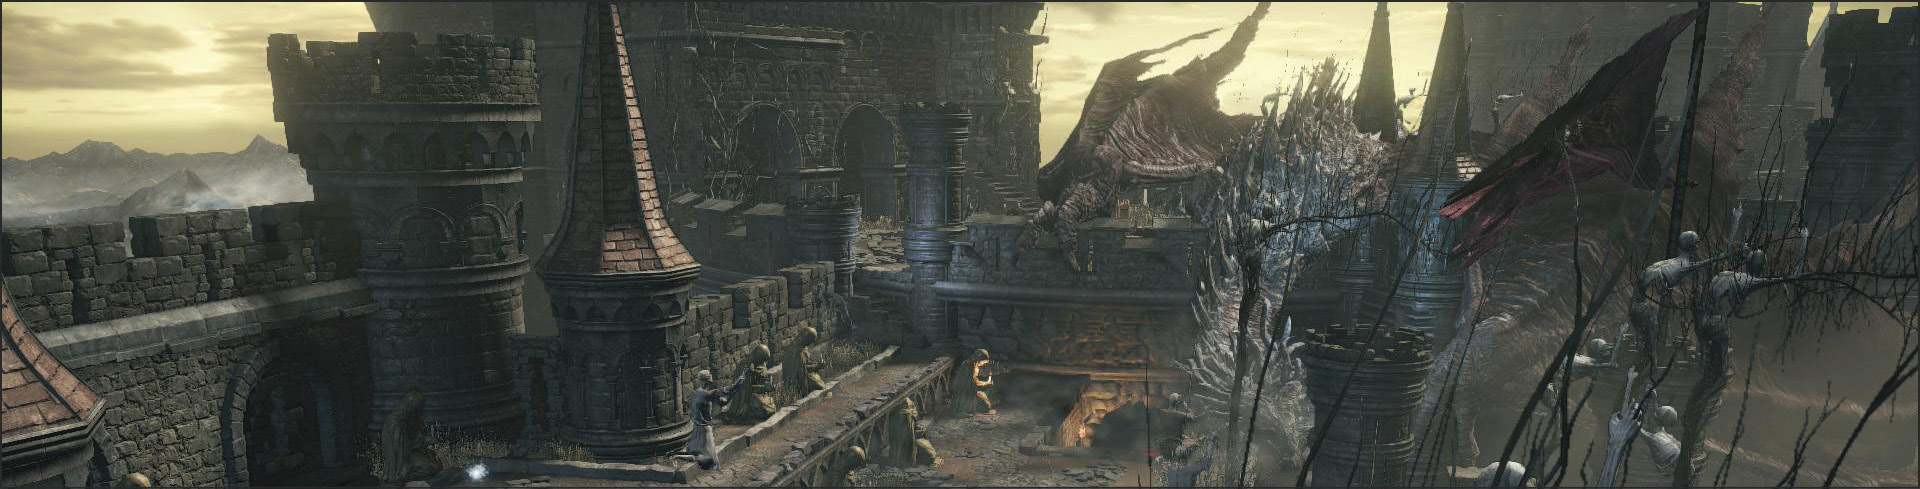
Enemy Data
| Name | HP | Souls | Item Drop | Special Ability | Weakness | Resistant to | Ineffective | Type & Effective Items |
|---|---|---|---|---|---|---|---|---|
| Pus of Man | 587 | 250 | Titanite Shard(Fixed)/Dark Gem/Ember(Fixed) | None | Fire | Dark/Frost | Poison & Toxic | Abyssal/Alluring Skull/Rapport |
| *Hollow Soldier | 167 | 30 | Long Sword/Iron Round Shield/Steel Soldier Helm/Deserter Armor/Deserter Trousers/Firebomb/Titanite Shard/Raw Gem | Elemental Attack (Fire) | Poison & Toxic | None | None | Hollow/Alluring Skull/Rapport |
| Hollow Assassin | 130 | 30 | Dagger/Deserter Trousers/Throwing Knife/Titanite Shard/Raw Gem | None | Poison & Toxic | None | None | Hollow/Alluring Skull/Rapport |
| Hollow Soldier (Large) | 357 | 80 | Greataxe or Halberd/Titanite Shard/Raw Gem | None | Poison & Toxic | None | None | Hollow/Alluring Skull/Rapport |
| Lothric Knight | 326 | 220 | Lothric Knight Sword or Lothric Knight Long Spear/Knight’s Crossbow/Lothric Knight Shield/Lothric Knight Helm/Lothric Knight Armor/Lothric Knight Gauntlets/Lothric Knight Leggings/Titanite Shard/Ember | None | Lightning/Frost | Bleed | None | Hollow/Alluring Skull/Rapport |
| Lothric Knight (Red-eyed Royal Guard) | 468 | 1200 | Lothric Knight Sword/Knight’s Crossbow/Lothric Knight Shield/Lothric Knight Helm/Lothric Knight Armor/Lothric Knight Gauntlets/Lothric Knight Leggings/Titanite Shard/Ember/Refined Gem(Fixed for the first time defeated, random for the second time or later) | None | Lightning/Frost | Bleed | None | Hollow/Alluring Skull/Rapport |
| Winged Knight | 508 | 300 | Winged Knight Halberd/Titanite Shard/Blessed Gem | Elemental Attack (Magic) | Frost | Strike/Poison & Toxic/Bleed | None | Hollow/Rapport |
| *Starved Hound | 147 | 40 | None | None | Fire | None | None | Hollow/Alluring Skull |
| Avaricious Being | 854 | 1500 | Deep Battle Axe(Fixed)/Symbol of Avarice | None | Dark | Lightning/Poison & Toxic/Bleed/Frost | None | Alluring Skull/Rapport |
| Crystal Lizard | 70 | 0 | Raw Gem(Fixed) | None | None | Magic | Poison & Toxic/Bleed/Frost | None |
| Vordt of the Boreal Valley | 1328 | 3000 | Vordt of the Boreal Valley(Fixed) | Ailment (Frost) | Dark | Slash/Thrust | Poison & Toxic/Bleed/Frost | None |
| Lothric Wyvern | 2723 | 0 | Large Titanite Shard(Fixed) | Elemental Attack (Fire) | Lightning/Frost | Poison & Toxic/Bleed | None | None |
| Darkwraith | 692 | 2500 | Dark Sword/Dark Mask/Dark Armor/Dark Gauntlets/Dark Leggings/Pale Tongue/Red Eye Orb(Fixed when defeated for the first time) | None | None | Dark/Bleed/Frost | Poison & Toxic | Abyssal |
| Dancer of the Boreal Valley | 5111 | 60000 | Soul of the Dancer(Fixed) | Elemental Attack (Fire)/Elemental Attack (Magic) | Dark | Bleed | Poison & Toxic/Frost | None |
*There are multiple Hollow Soldier types in High Wall (and elsewhere), this table lists the ‘most complete’ drop variant, the lesser equipped types have less drops.
*The Starved Hounds here are likely to engage you with other humanoid undead foes nearby. Try to pull them away and deal with them first, you really don’t want them tearing at your heels while you’re fighting other undead.
Large Hollow Soldier
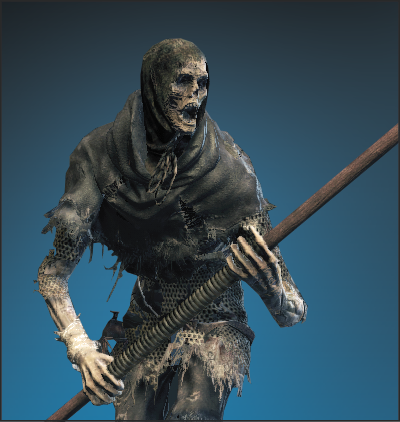
Most likely, this will be your first encounter with a seriously brutish enemy that can end your life quickly. This archetype of foe is encountered with some frequency throughout the game, sometimes as a sort of ”miniboss”, though later in the game you can expect to find this sort of foe more commonly.
Large Hollow Soldiers hit extremely hard, but they are relatively slow, learning to punish their attacks when they overextend is a valuable lesson that carries forward to a lot of other enemies you must face.
Like most humanoid foes, Large Hollow Soldiers can wield a variety of (large!) weapons. Expect wide sweeping strikes and blows from halberds or large axes on the High Wall.
As a fresh-from-the-grave Unkindled, you are still weak this early in the game, and with low stamina (and possibly a shield that doesn’t block 100% of physical damage, if you even have a shield), blocking their heavy hitting attacks repeatedly is a good way to get your guard blown out and then killed.
It’s safer to roll out of the way of an incoming strike, strafe beside them, and unleash a flurry of attacks, then back off and repeat. It is possible to backstab these foes, and quickly strafing behind them after they are frozen from a heavy swing is an effective tactic.
Hollow Soldier
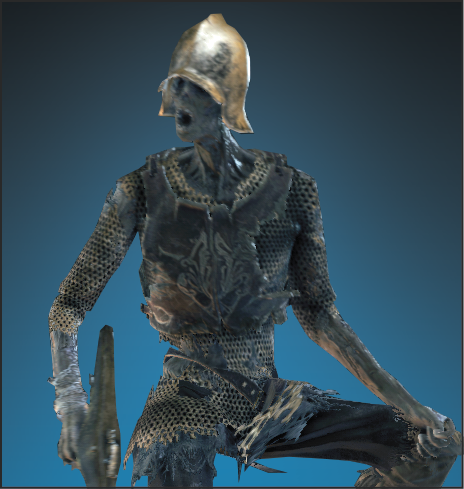
The most ”normal” undead enemy you face, Hollow Soldiers are basic humanoid foes, armed with poorly preserved equipment and possessing some basic combat knowledge. You can expect to encounter them with single weapons, a weapon and shield, or occasionally, perched up on a ledge with a ranged weapon.
These enemies are easily dispatched with basic combat techniques, keep your shield up, block their weak hits, and retaliate. Most are very susceptible to backstabs as well, though parries can be a little tricky, as they often attack with flurries of weak swings. Avoid being surrounded and you can easily take these enemies down with a few swings even with early un-upgraded weapons.
Praying Hollow Soldier
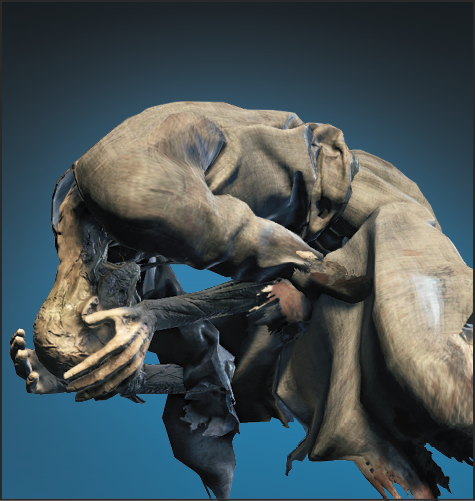
More a sad commentary on the state of undead existence than actual foe, Praying Hollow Soldiers appear along the walls of Lothric and in a few other places throughout the land.
Focused on praying rather than fighting you, they can often be ignored completely, as few bother to rouse themselves from their activity to attack.
If they do attack, they behave much like the early Grave Wardens, furiously lunging with weak weaponry, with little in the way of martial discipline.
Lothric Knight
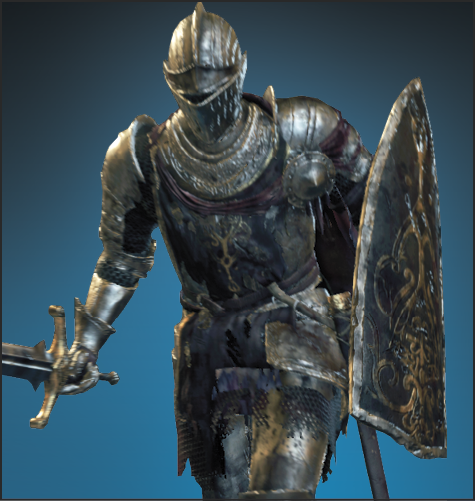
Your first highly trained humanoid opposition, these Lothric Knights are very dangerous, so don’t be too surprised if you end up running back from a Bonfire after engaging in battle with one. Lothric Knights are challenging foes, as they mix controlled aggression with a solid defense.
Lothric Knights are armed with suits of sturdy armor, a stout shield, and a weapon with which they are considerably proficient.
Basic combat tactics of blocking and strafing around them work, but Lothric Knights are wise to your attempts to backstab them, and will quickly pivot in place while lashing out with their shield to fend you off.
On top of that, if you persist in cowering behind a shield, they can switch from using their shield to two handing their sword, and performing a lunging strike that will blow out your guard if it connects.
Lothric Knights are very vulnerable to parry, because their attacks are cleanly telegraphed, if you can muster up the courage to attempt a parry on their initial swings, you can punish their tells with a powerful counterattack.
Otherwise, if you are really struggling in melee, mix up your approach—bypass them entirely by running, pick them off from a distance with a bow, or bring a stack of firebombs and burn them down.
Hollow Assassin
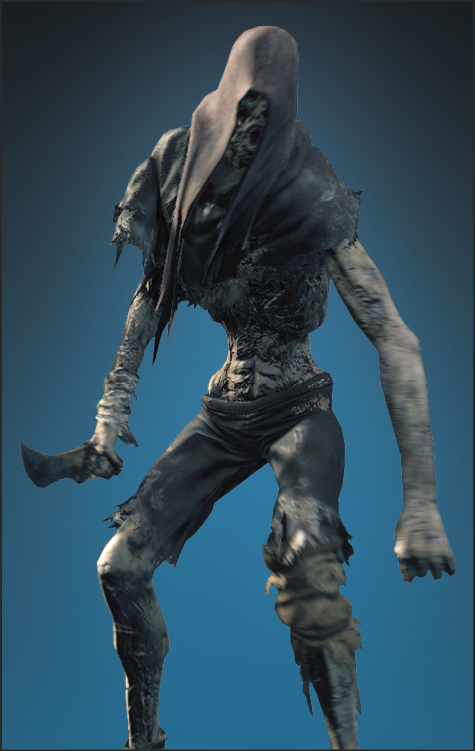
These foul assassins present a danger mostly because of their ambush tactics, not as much their sustained durability in combat. Typically armed with light daggers and throwing knives, they are often hidden in the shadows in room corners or shadowed alcoves. If you spot them early by moving carefully, you can nullify their greatest strength; surprise.
In combat, Hollow Assassins attack with vicious flurries of blows, but they can be defended fairly easily by blocking, and they are both fairly weak defensively, and quite vulnerable to backstabs or parries. If you try to keep your distance from them for too long, they can throw knives at you, though this is rarely a serious threat.
Pus of Man
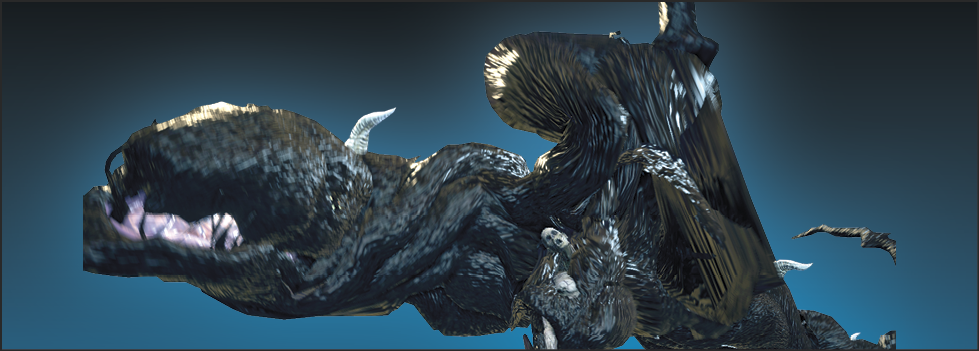
Exploding from the bodies of unfortunate undead, this consuming chaos corruption manifests itself as an amorphous black blob, vaguely resembling some horrific beast in silhouette, but with no recognizable shape.
The Pus of Man moves relatively slowly until it attacks, but when it does strike, it hits hard, and has surging and sweeping melee strikes that can be hard to evade.
Very early in the game, you are best served either avoiding these entirely, or dispatching them swiftly with some spare firebombs, which they are quite vulnerable to.
It is possible to block and counter against them, but because they hit hard, you may find your stamina sapped swiftly. They can drop Titanite Shards and Embers, which makes for appealing loot, just be aware of the danger!
Winged Knight
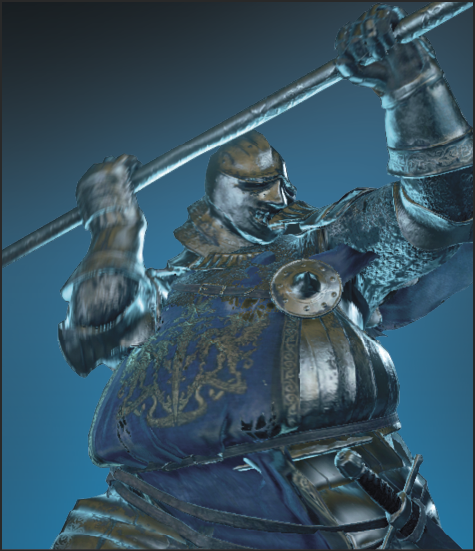
Another lesson in the virtue of avoidance, the Winged Knight is an enemy normally encountered much later in the game. Tough and powerful, it can dispatch you with speed when you first encounter it.
Like the Dragon, if you do insist on engaging the Winged Knight, you are best served by attacking it from a distance and taking it down slowly but safely.
If you engage up close, you need to deal with wide sweeping swings from its halberd, a spinning attack that covers a lot of ground, crushing vertical strikes with great reach, and just to top it all off, blasts of magic that incinerate the area around it (and you, if you get touched by any of the white pillars it calls down).
This enemy can be defeated in a straight fight, but it’s a tough battle, so make sure you have the nearby Bonfire or shortcuts unlocked before you decide to tangle with it!
Dragon
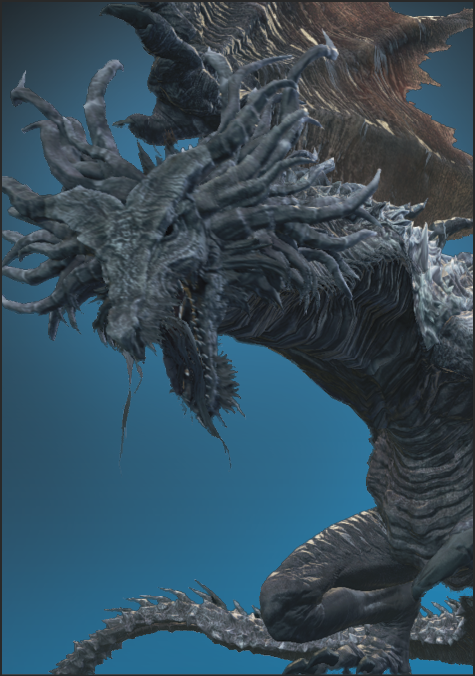
A classic Dark Souls tradition, throwing a dragon in your face this early in the game seems quite cruel, but it mostly serves as a lesson in avoiding dangerous threats… and archery.
This Dragon can be dispatched by means of a bow, and a small sum of Souls spent buying arrows. If you aren’t planning on dispatching it with ranged attacks, avoid it entirely!
The dragon located here coats part of the wall with flames should you attempt to venture past it, but it is possible to skip it via a side path.
If you do scare the Dragon off, you can reap the rewards, a small heap of treasure items left behind by their burnt owners, and a chest in the building beneath it.