Dark Souls III Guide (Steam) Gameplay
Using Equipment
There are hundreds of tools, weapons, and pieces of armor in Dark Souls III. This section doesn’t discuss all of them, but you can read about the major categories and how to understand their statistics.
Tools
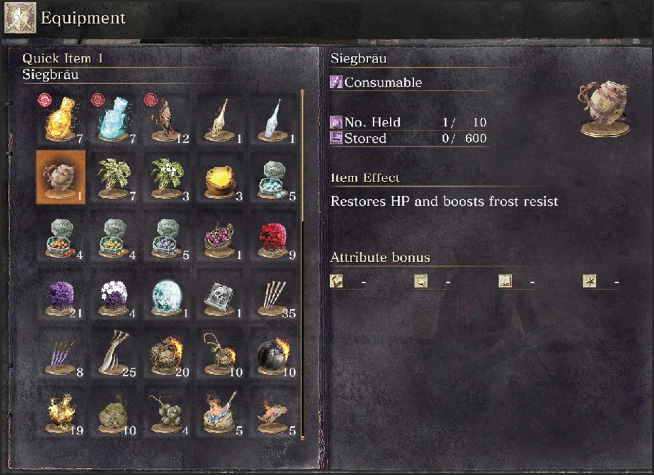
Tools are usable items that have a huge range of effects. Some of them generate Souls (Souls of various bosses, people, etc.). Others are single-use weapons, such as Firebombs and Throwing Knives. There are things to let you invade other worlds, help others, and leave messages in various locations.
To find out what you’re carrying, open your menu and select Inventory. This takes you into a screen with many tabs (one for each category of equipment). You don’t need to worry about weight for most things in this game; your equipped weapons, tools, and armor count, but everything else is kept available without any restrictions.
Go to the Tools tab, which is normally the first one shown. At the bottom of the screen, a legend shows you which buttons to use. There is a “Show Item Info” button that gives you a better picture of each tool. You also get a description that explains more about the tool’s background and function.
Remember to use your tools during difficult fights. Some players hoard items for a rainy day, and then forget to use them while going against bosses. Bosses ARE your rainy days. Anything that buffs your survivability and damage output is amazingly useful when you’re attacking bosses.
Materials
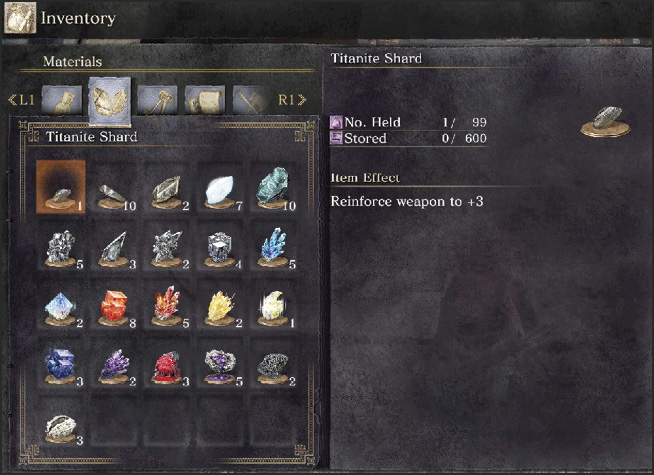
These items are required for upgrading your weapons and armor. As such, they’re incredibly valuable. You can find them on a variety of monsters, or sometimes grab them from specific areas as you explore. Always search bodies when you see a glowing white object beside them. You never know what you’re going to find, unless you have a walkthrough to tell you what to expect.
Hoard materials and spend them only on the equipment that you’re using the most. It costs Souls to upgrade equipment (in addition to the materials), so you should consider every upgrade with care. You make these improvements by talking to a Blacksmith. Look for the Ashen Shrine to meet an NPC who can help you with this.
There are several tiers of materials, so you can’t take a piece of equipment to its maximum just by farming Titanite Shards.
Key Items
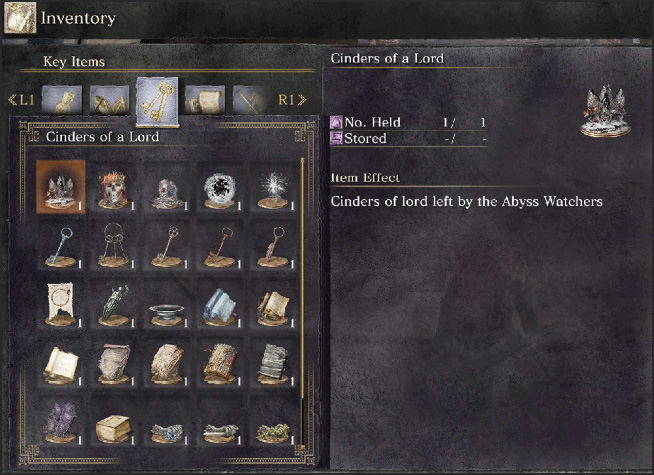
Some set items are required for progress through the game. These items include keys, crests, and other special pieces that you find during your time in Dark Souls III.
Catalysts
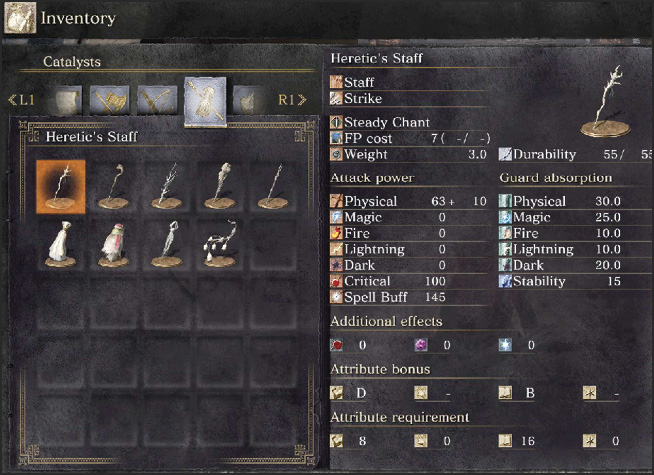
Catalysts allow you to use your spells. They can be equipped in either hand, and are a requirement for spellcasting. A few special weapons also act as Catalysts.
Spells
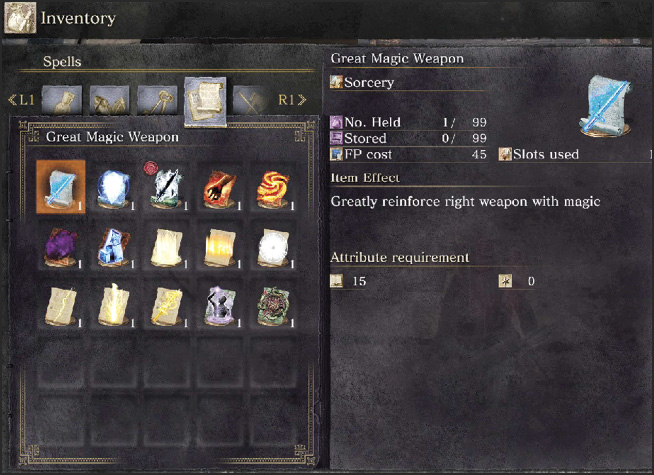
Spells allow characters to accomplish a variety of powerful effects. Each one has to be found or purchased, and then you unlock Attunement slots for them so that you can use each while you’re adventuring. The higher you raise your Attunement attribute, the more spells you can prepare simultaneously. This is very important for characters who are focused on magic builds, but it’s far less important for melee and ranged weapon users. Hybrid builds can be very successful but are more challenging and should be attempted only after you have a strong foundation for playing the game.
To change the spells that you have prepared, go to a Bonfire and select Attune Magic.
Melee Weapons
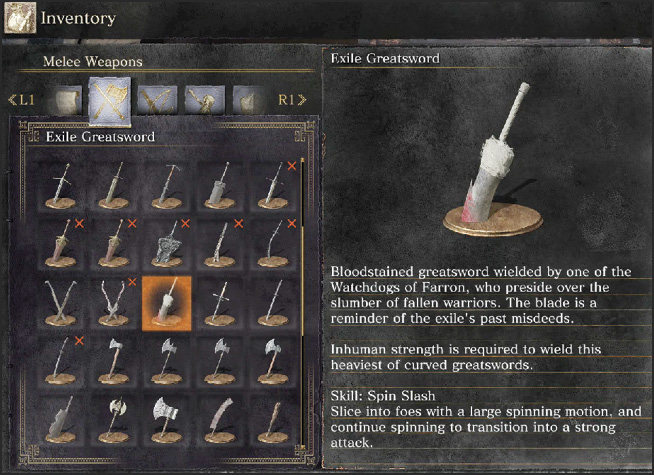
Melee weapons don’t require ammunition, so they’re free to use at almost any time. They require a fair amount of Stamina to wield, so you always have to balance between Stamina for dodging, blocking, and attacking.
Melee weapons primarily require Strength or Dexterity (or both) to deal damage, so these are major attributes to raise when you’re wielding good melee gear.
When you look at a weapon in your Inventory screen, it shows a ton of information under Attack Power. This reveals the damage that a basic attack from that weapon does. Physical, magic, fire, lightning, and dark are all potential damage types, and the total weapon damage output is the sum of all of these categories.
After the damage number is often a bonus. It might say something like, “Physical 125 +30.” This is telling you that the weapon does 125 as a base value, and then +30 due to your attributes.
Weapons let you know which attributes raise their damage output. Look lower on the page, where it says “Attribute Bonus.” The higher the letter value under each attribute, the more influence that attribute has on your bonus damage. This gives you important information about the weapons that you should focus on with your given build. If you have very high Strength, look for items that have an S, an A, or a B under Strength. The same applies for any attribute that is shown.
Weapons can also have additional effects (Bleed, Poison, and Frost). The higher the value shown by each icon, the greater a chance the weapon has of causing that effect.
Attribute requirements heavily restrict your ability to use a weapon unless you meet or surpass certain values. Not all weapons have these requirements, but many do. Make sure to build your character toward the items that you’re planning on wielding.
Weapons and armor have Durability, which is a stat that lowers as you use your equipment. Blacksmiths can repair equipment if it breaks.
Ranged Weapons
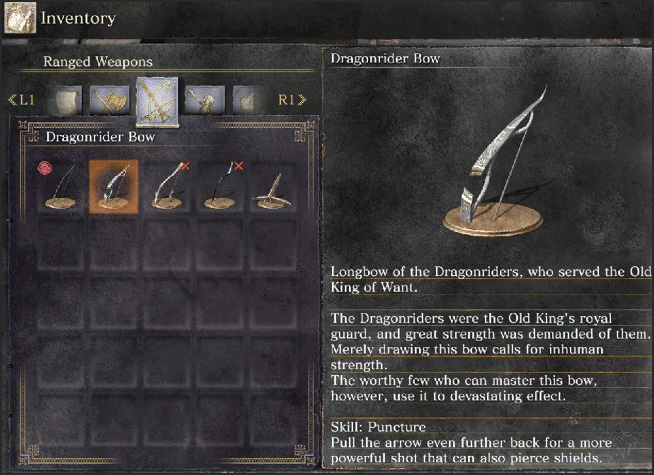
Ranged weapons have similar statistics, but they require that you purchase or find a considerable amount of bolts or arrows to fire them. This means that ranged weapons are sometimes more expensive to use (requiring you to spend Souls), but they are safer weapons and give you a fair advantage over certain foes.
Even characters who aren’t building for high Dexterity should keep a ranged weapon around for pulling purposes. Keep a cheap type of ammunition in one of your quivers at all times, and have a more expensive or situational type of ammo in the other. This lets you poison or otherwise mess with more dangerous foes as much as possible before they close in against you.
You can purchase arrows and bolts at the Ashen Shrine. A few of the NPCs there carry these important pieces of ammo.
Shields
Shields are one-handed items that give you a tremendous amount of defensive power. They absorb a percentage of damage from various types of enemy attacks. For the best survivability, look for shields with a physical value of 100. This means that they’ll take all of the damage from physical attacks that come your way. Anything less than that, and you will still get hurt when you’re blocking.
Obviously, the other guard power values can be important, as well, depending on what you’re fighting against. Magical and elemental attacks often get a decent bit of damage through, so characters must be more mobile against targets that are using those effects.
Stability determines the amount of Stamina that you lose when you block attacks from foes. You want this to be as high as possible so that you can block with impunity against most enemy strikes.
As with melee and ranged weapons, shields may have attribute requirements and attribute bonuses, as well.
Shields are held up to block damage. If you don’t know your target’s timings very well, hide behind the shield as soon as their attack wind-up starts. Lower the shield afterward to regain Stamina, and maneuver until you get an advantageous position for your attacks.
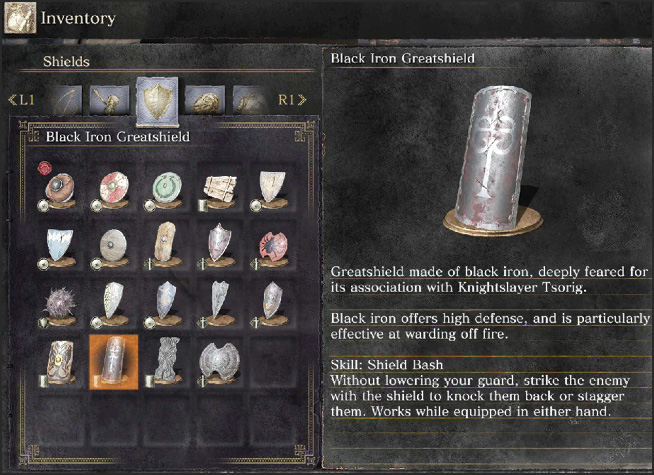
Once you know an enemy really well, it’s possible to use shields with the Parry skill to block at the last moment. This creates a parry, an advanced defensive technique that stuns targets and leaves them extremely vulnerable to a riposte counterattack.
Armor
Armor is used to protect your head, chest, hands, and legs. The items that you find for this have stats for Reduction (the amount of direct damage they mitigate) and Resistances (to improve your ability to withstand bleeding, poison, and such). Armor also has weight that goes against your Equip Load.
You need to keep your maximum Equip Load high enough so that you can use strong defensive equipment. There is no advantage to having a bunch of excess Equip Load, so don’t focus on this heavily until you start getting equipment that is heavier and has improved stats to warrant the investment.
Rings
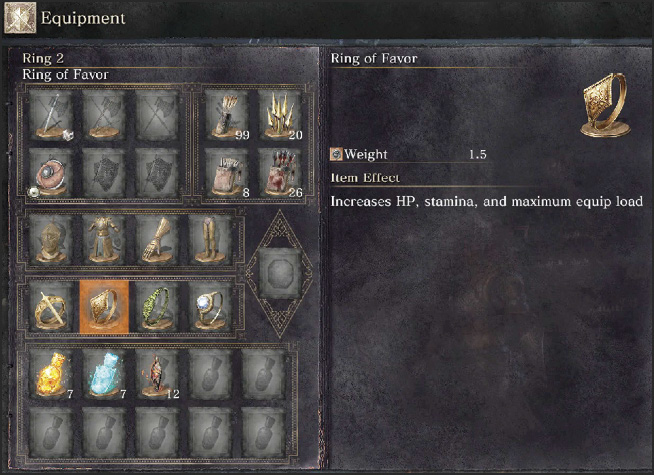
You have several slots for accessories. Rings are loaded into these four slots, and they’ll give you a variety of special effects.