Dark Souls III Guide (Steam) Walkthrough
Boss: Aldrich, Devourer of Gods
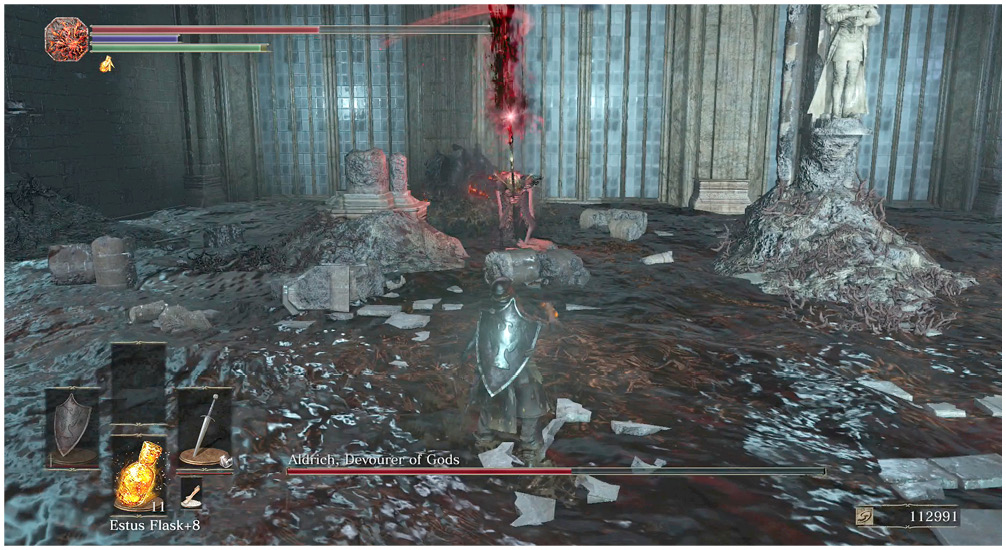
Killing Aldrich is the easy part; surviving Aldrich’s spells long enough to finish the job is what makes your task difficult. All of Aldrich’s attacks deal high damage, so it’s worth pulling out your Estus Flask whenever you get hit. Beyond that, this fight is all about learning how to avoid the spells well enough so that they don’t kill you outright.
The bolt that Aldrich casts is fast, has long range, and is hard to dodge. However, this spell isn’t used as much if you stay at close or medium range with Aldrich. That’s sensible anyway, since this is not a boss that you want to trade ranged attacks against.
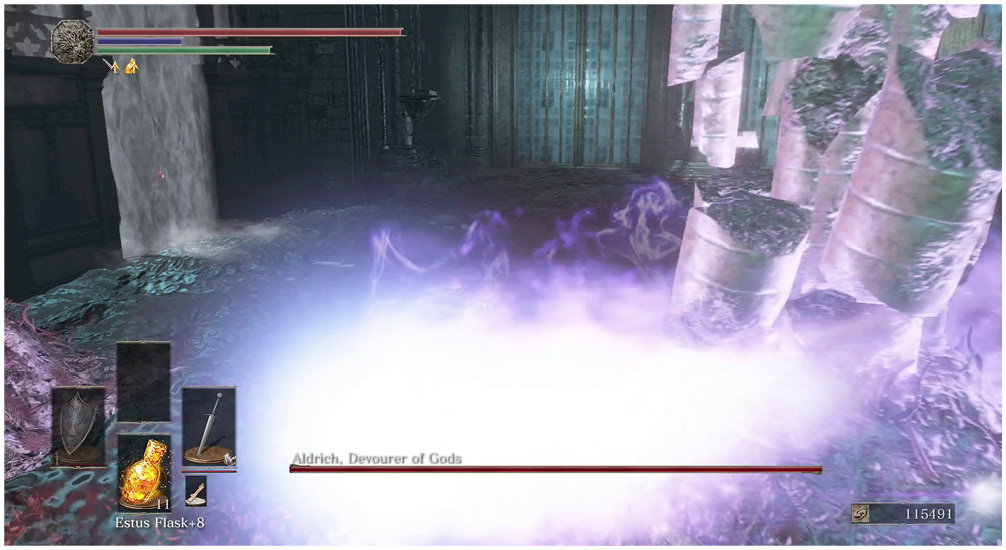
It’s even harder to dodge all of the small motes of Arcane energy that Aldrich summons. They’ll rise as a group of eight, and then they’ll individually go after you. They don’t do tons of damage per hit, but you’re going to waste a lot of Stamina if you want to avoid all of them. The most efficient defense is to roll under the motes and get closer to Aldrich. Absorb a couple of hits so that you arrive at the caster with most of your Stamina ready to use. As long as you’re evading the majority of the motes, you should be in good shape for reprisal.
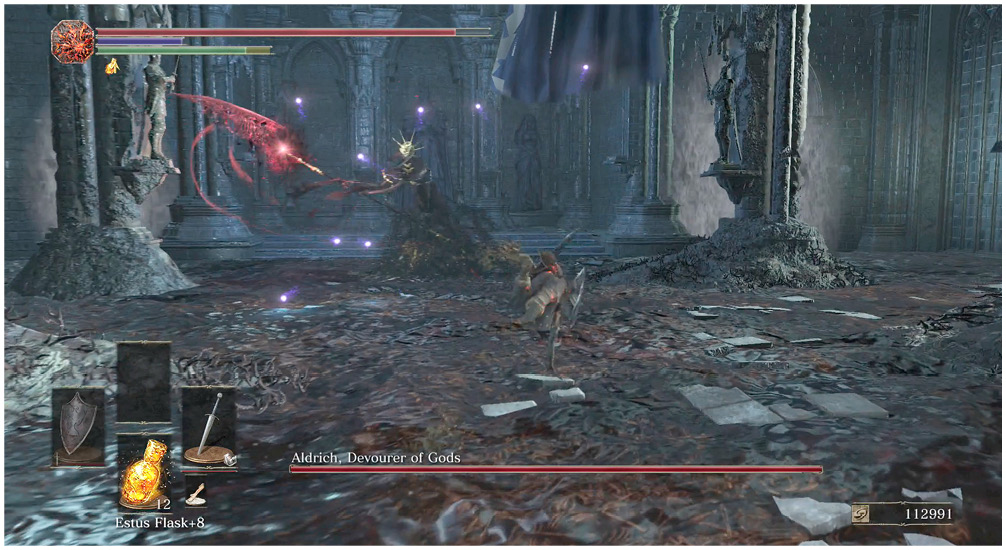
Aldrich can knock you down and do some damage if you’re at point-blank range. Accept this, because that’s the place where you inflict the most damage on him. He knocks you down as he’s beginning to teleport to another location. That means that he won’t attack for several moments, allowing you time to heal and start repositioning yourself. Aim for the farthest corner of the room, which is likely where he’ll pop up again.
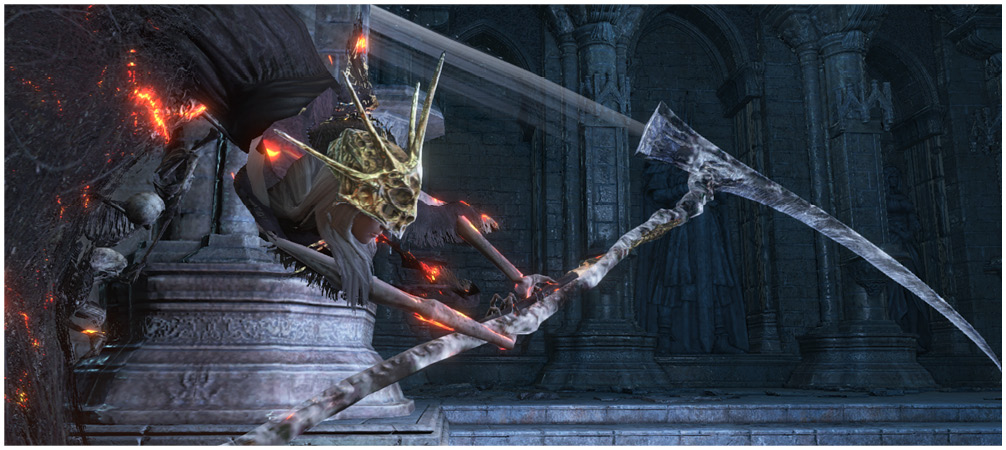
When in just the right mood, Aldrich charges for a big swing of his scythe and then hits everything around him. It’s real damage, and you most certainly want to dodge it. The good news is that you might go an entire fight with him without seeing this bigger melee attack happen.
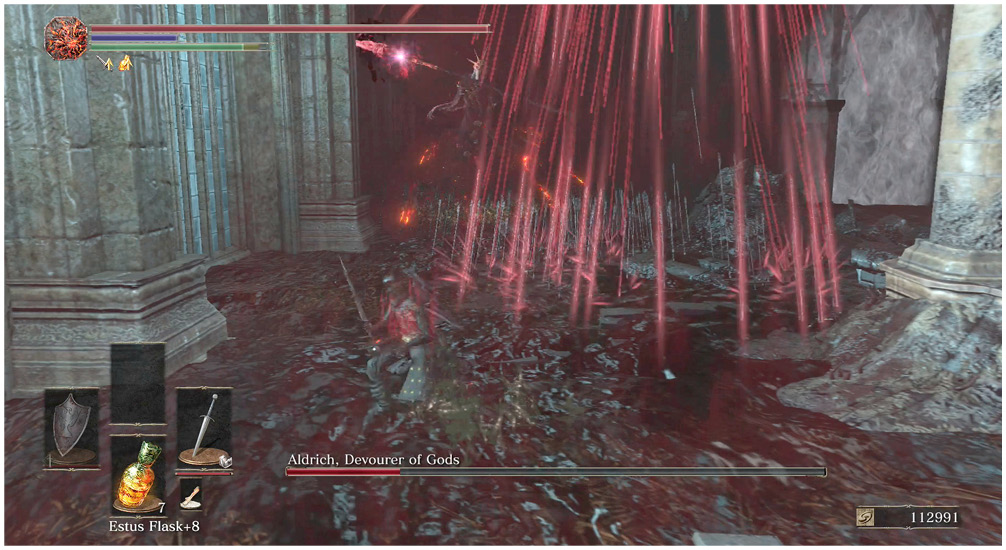
Unfortunately, you will see Aldrich rely on his best attack much more often. After slowly pulling out a magical bow, Aldrich summons a wave of arrows that rains down all over the field. They’ll retarget often, trying to get to you. You have to stay mobile during the rain of arrows, or else you’ll take cruel, unfair, and lethal damage. Run as faar away from the boss as you can before he even has the bow out, fleeing the moment that he begins his animation. If you try to trade damage with him inside the arrow rain, he’ll win, and you won’t feel good about it.
To win this fight, get bursts of fast damage. Use maximum Magic Resistance, extra HPs, and extra damage. You can also consider lowering your Equip Load by taking shields, ranged weapons, and other non-essential gear off of your character.
With that, you’re done with Anor Londo. You are summoned back to the High Wall of Lothric. For a description of the next battle there, see the Dancer of the Boreal Valley write-up in the High Wall of Lothric portion of the walkthrough. Complete that fight to access Lothric Castle. From there, you can either wander into the Consumed King’s Garden or continue through Lothric Castle.