Dark Souls III Guide (Steam) Walkthrough
Irithyll Dungeon
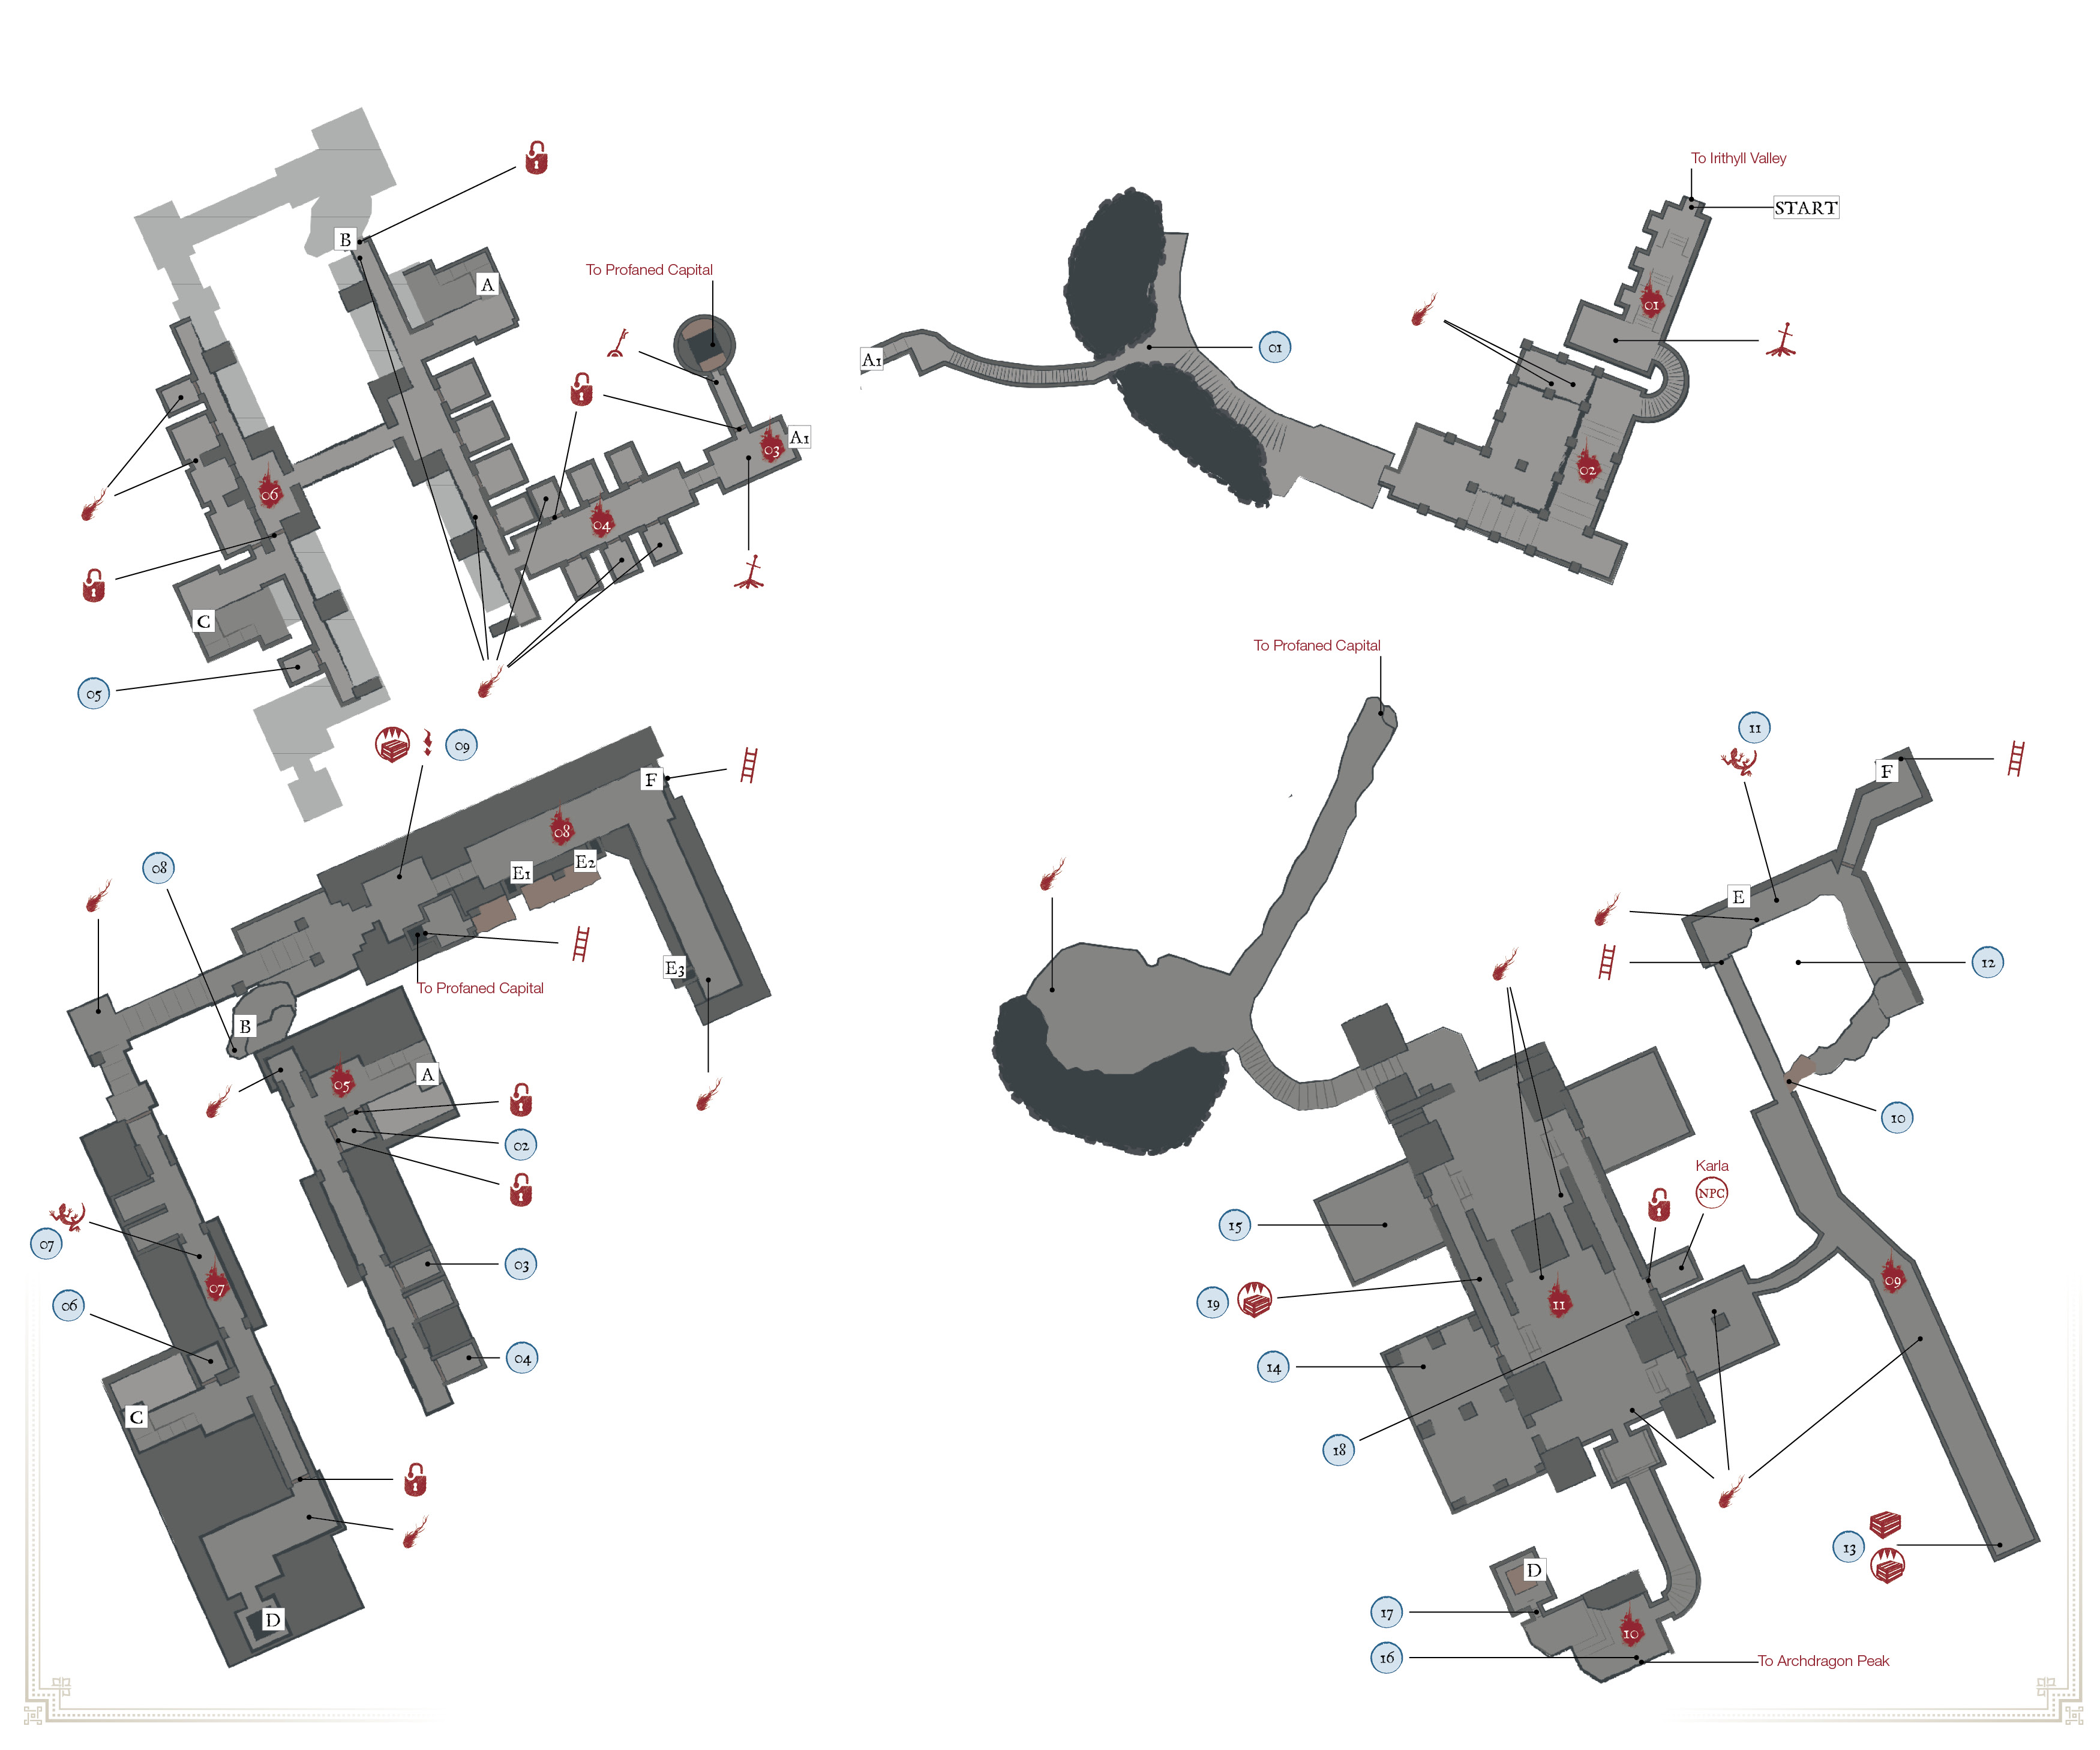
Major Items
 | Major Items |
|---|---|
| 1 | Murakumo (on Dark Spirit Alva) |
| 2 | Prisoner Chief’s Ashes |
| 3 | Old Sorcerer’s Armor (full set) |
| 4 | Great Magic Shield (on Corpse-grub) |
| 5 | Jailbreaker’s Key |
| 6 | Simple Gem |
| 7 | Titanite Scale |
| 8 | Bellowing Dragoncrest Ring |
| 9 | Estus Shard |
| 10 | Pickaxe |
| 11 | Titanite Chunk |
| 12 | Titanite Chunk (on giant), Profaned Flame (on ground) |
| 13 | Old Cell Key, Dark Clutch Ring (on Mimic) |
| 14 | Profaned Coal |
| 15 | Xanthous Ashes, Dusk Crown Ring |
| 16 | Dragon Torso Stone |
| 17 | Lightning Blade |
| 18 | Alva Armor (full set) |
| 19 | Titanite Scale x2 (Mimic) |
Bonfires Located Here
| Bonfire Name |
|---|
| Distant Manor |
| Irithyll Dungeon |
Enemies
| Enemy Name |
|---|
| Pontiff Knight |
| Peasant Hollow |
| Jailer |
| Corpse-grub |
| Cage Spider |
| Wretch |
| Giant Slave |
| Crystal Lizard |
| Hound-rat |
| Basilisk |
| Large Hound-rat |
| Lycanthrope |
Key Discoveries
| Discovery |
|---|
| Siegward’s Story Continues Here |
| Karla is Locked in a Cell |
| Entrance to Archdragon Peak |
Bonfire—Distant Manor
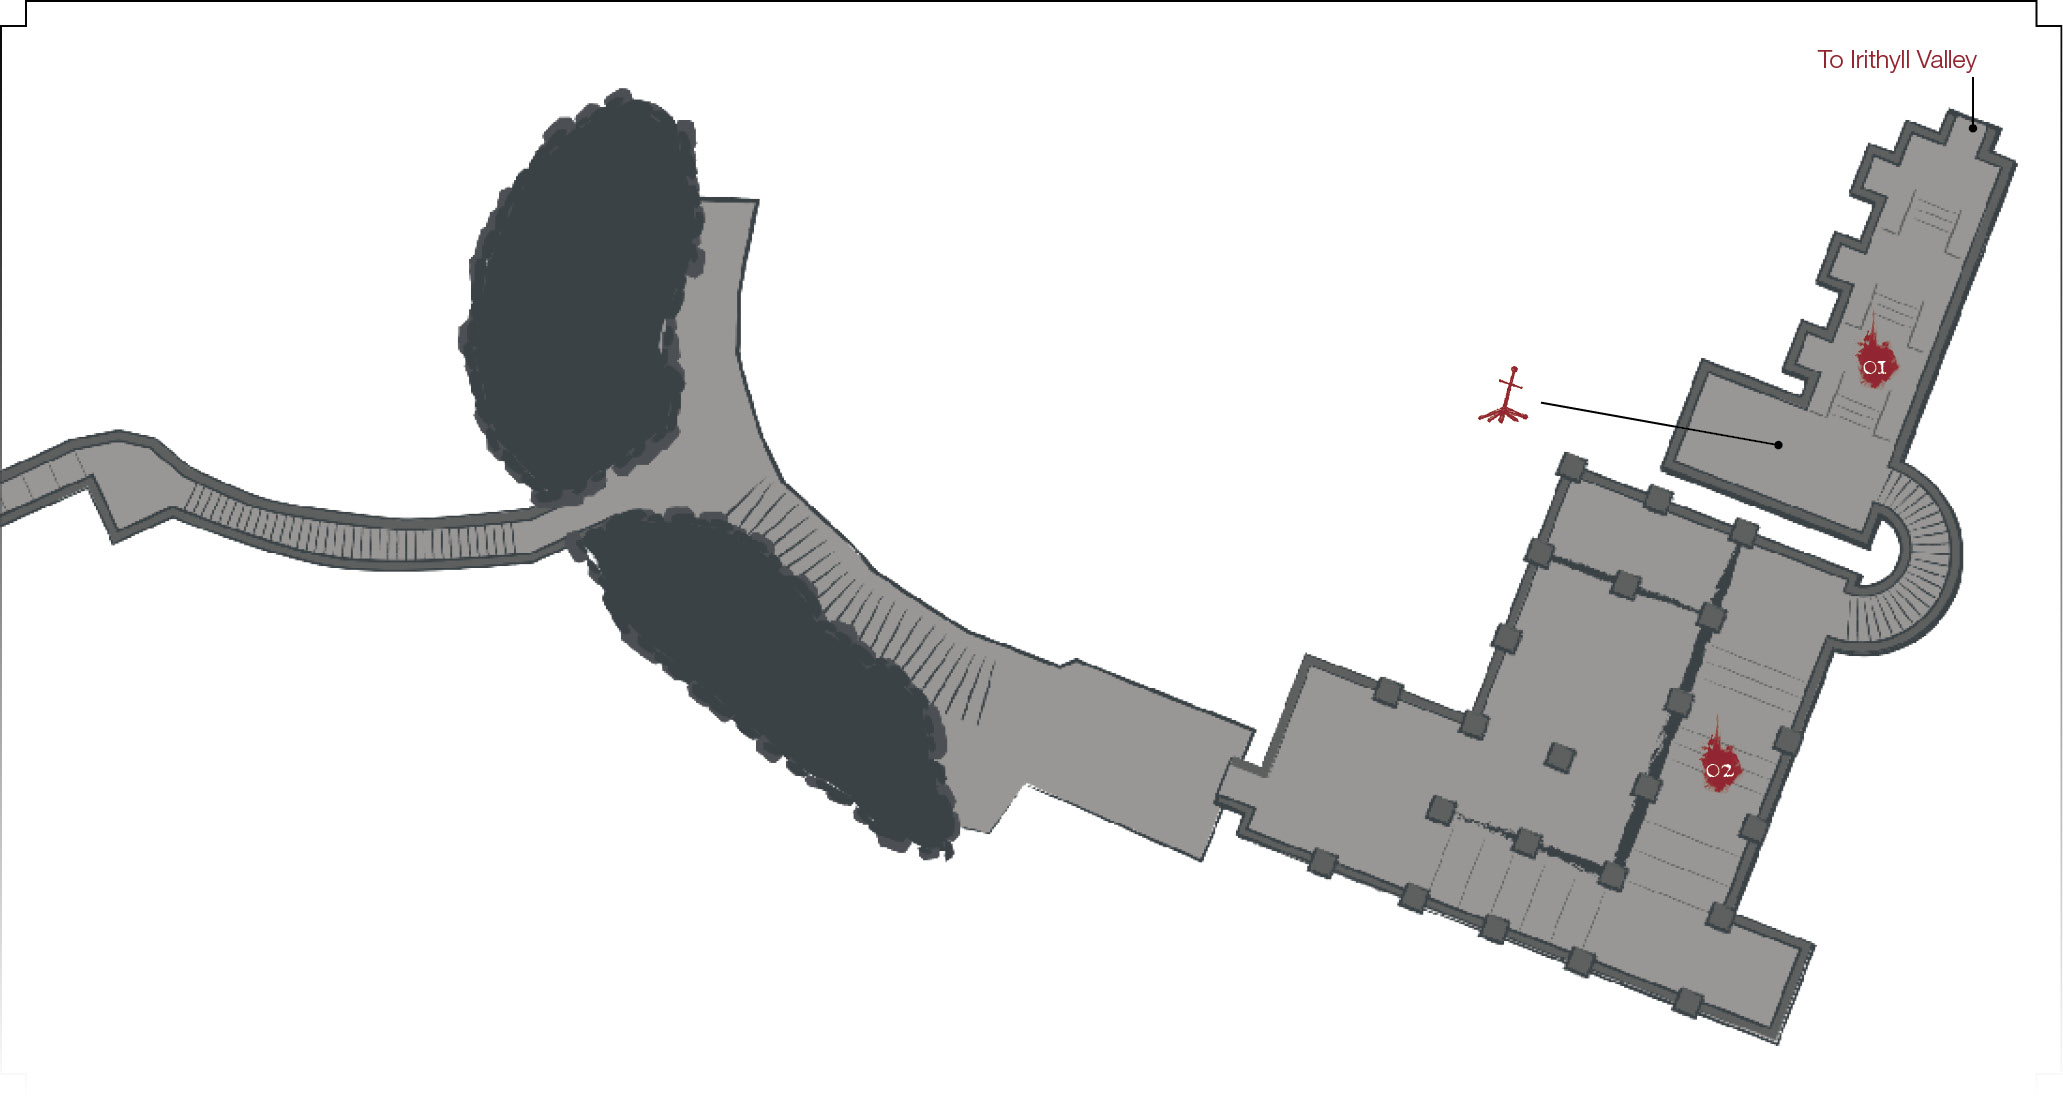
 The Distant Manor Bonfire is very close to the edge of Irithyll. Take the route through the wetlands of the city, and proceed down into the dungeon in the south. You find the Bonfire there. Light the flame!
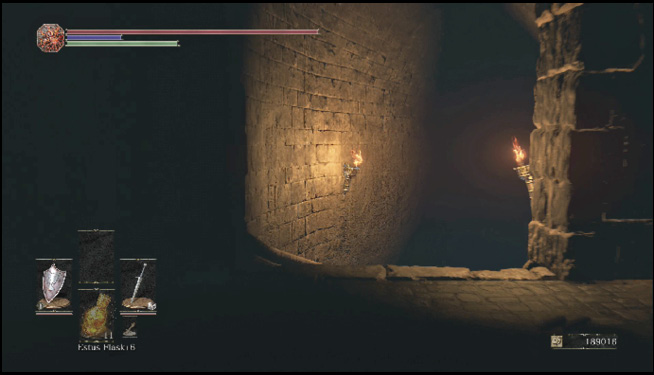
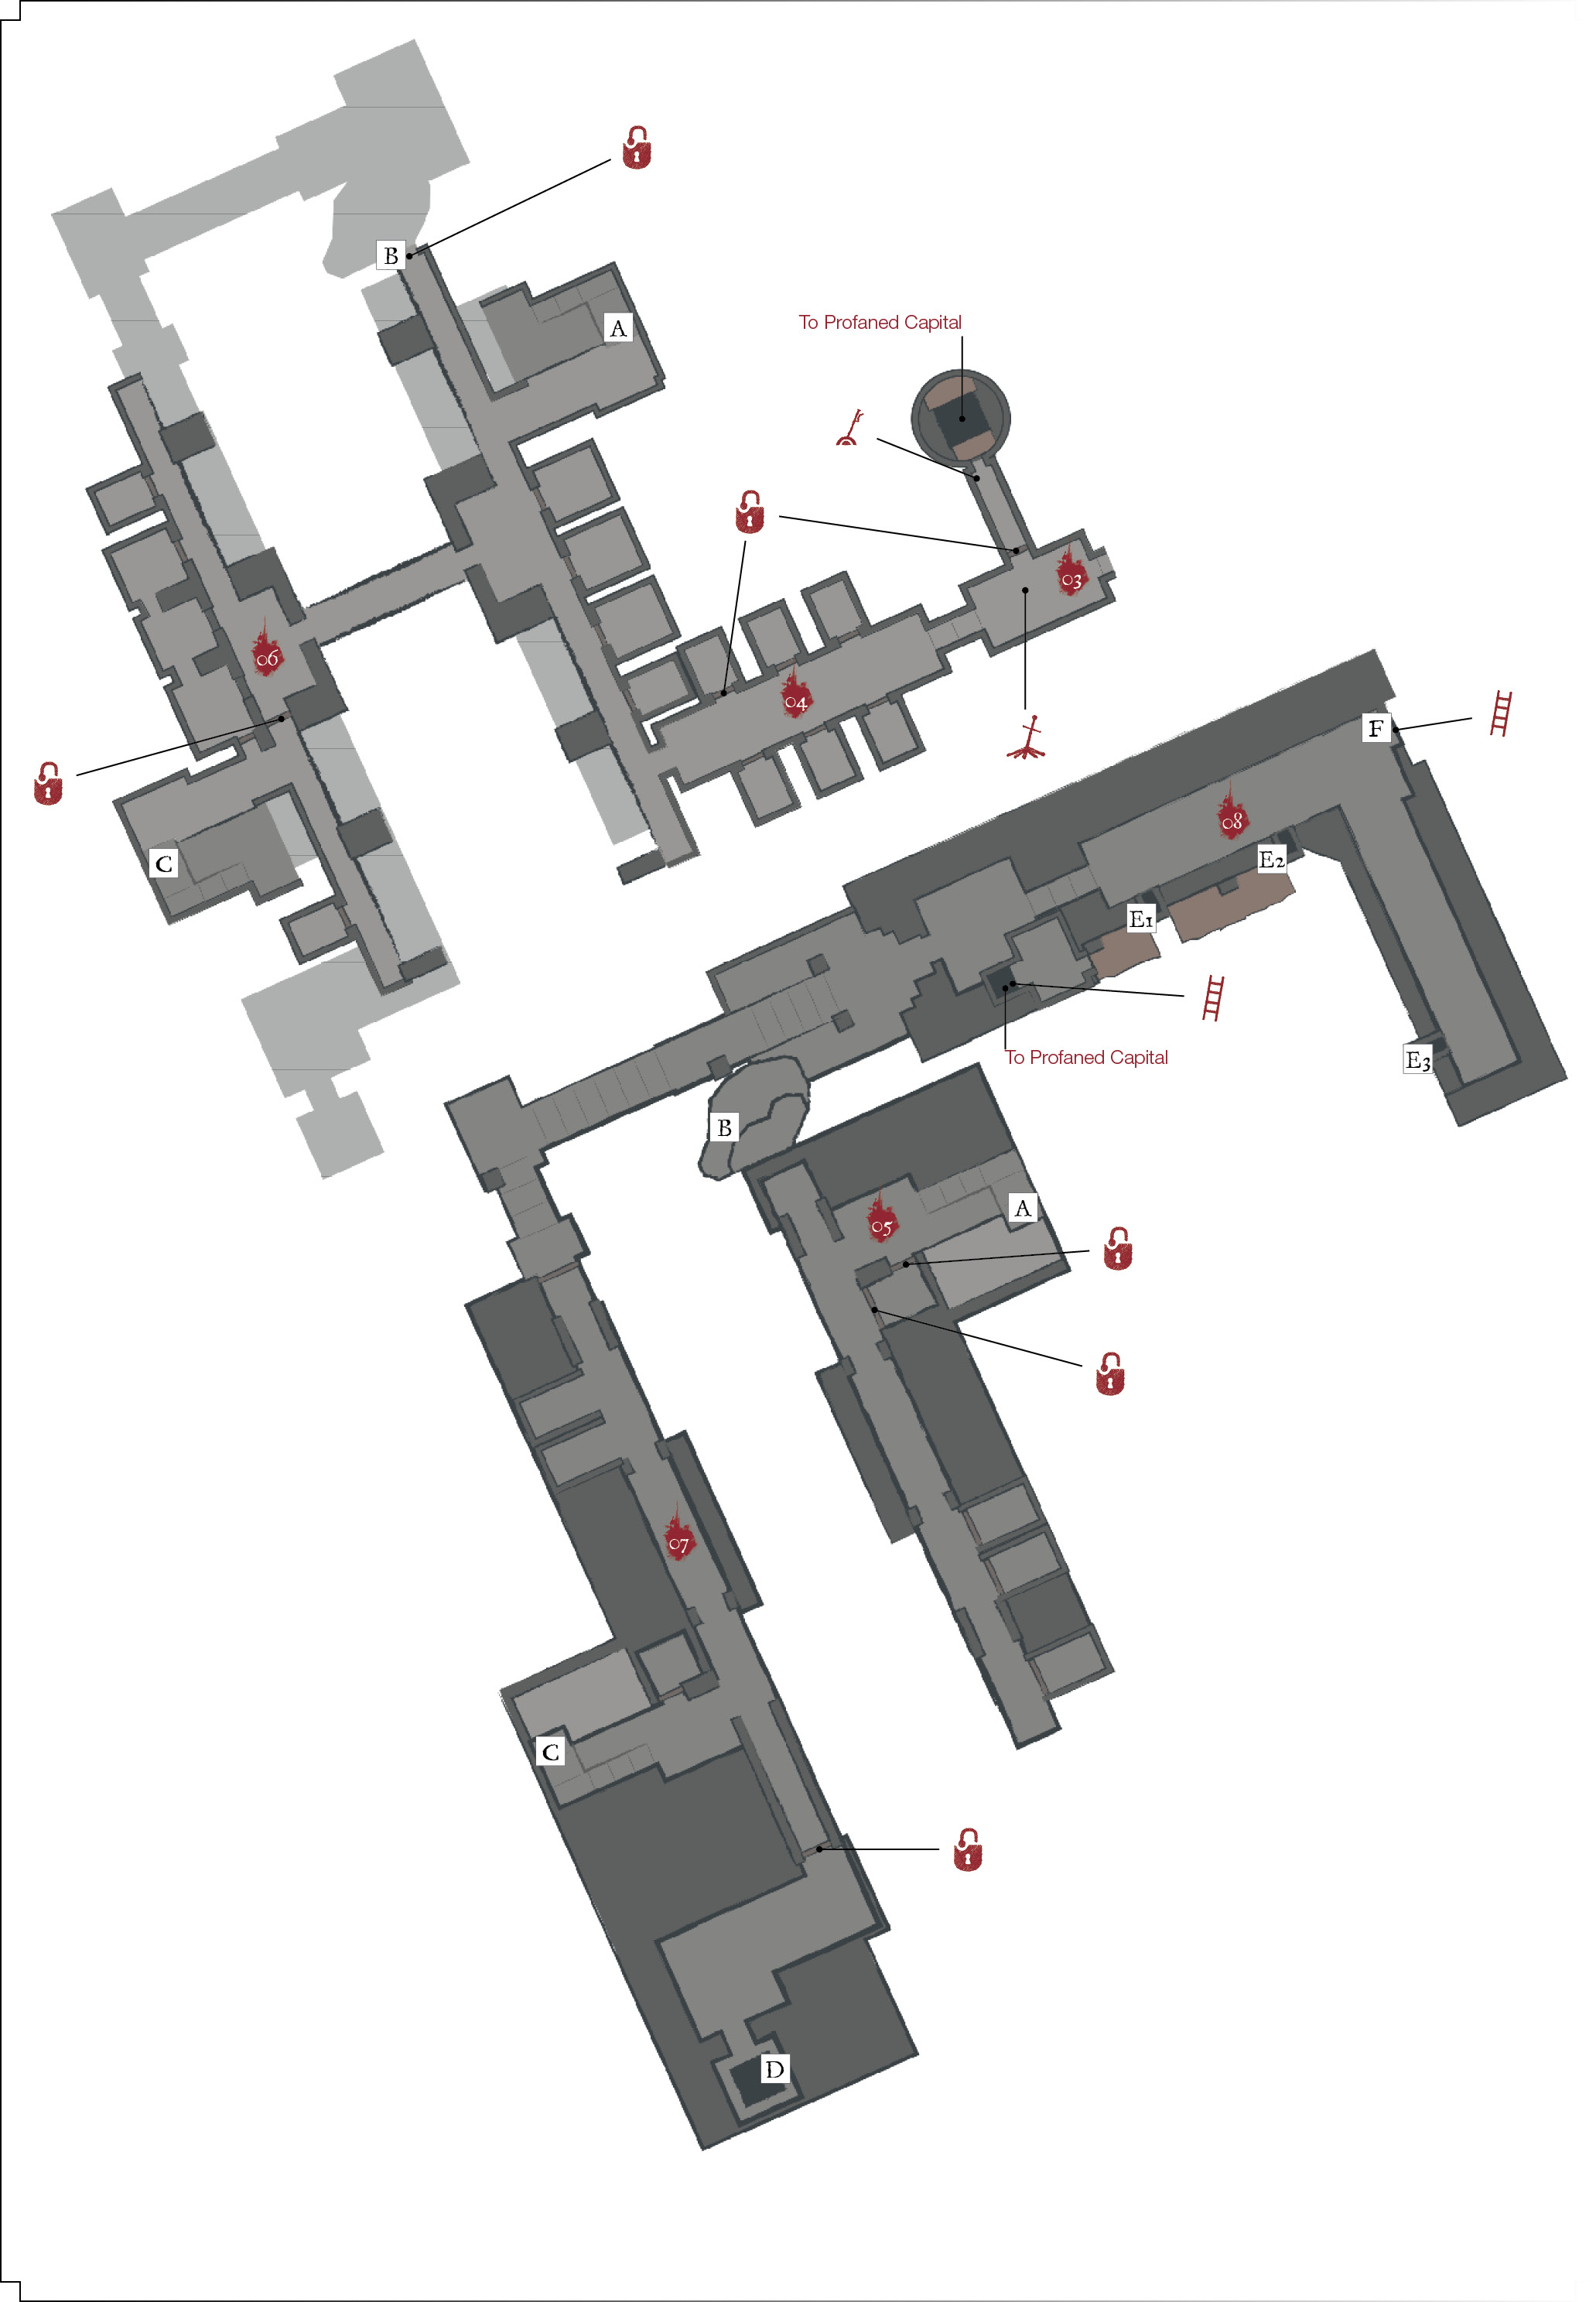
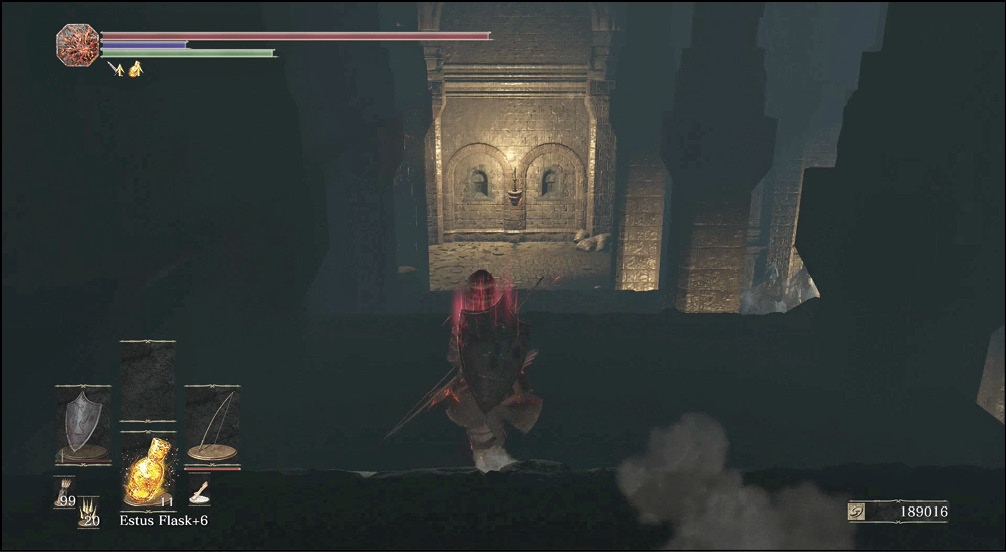
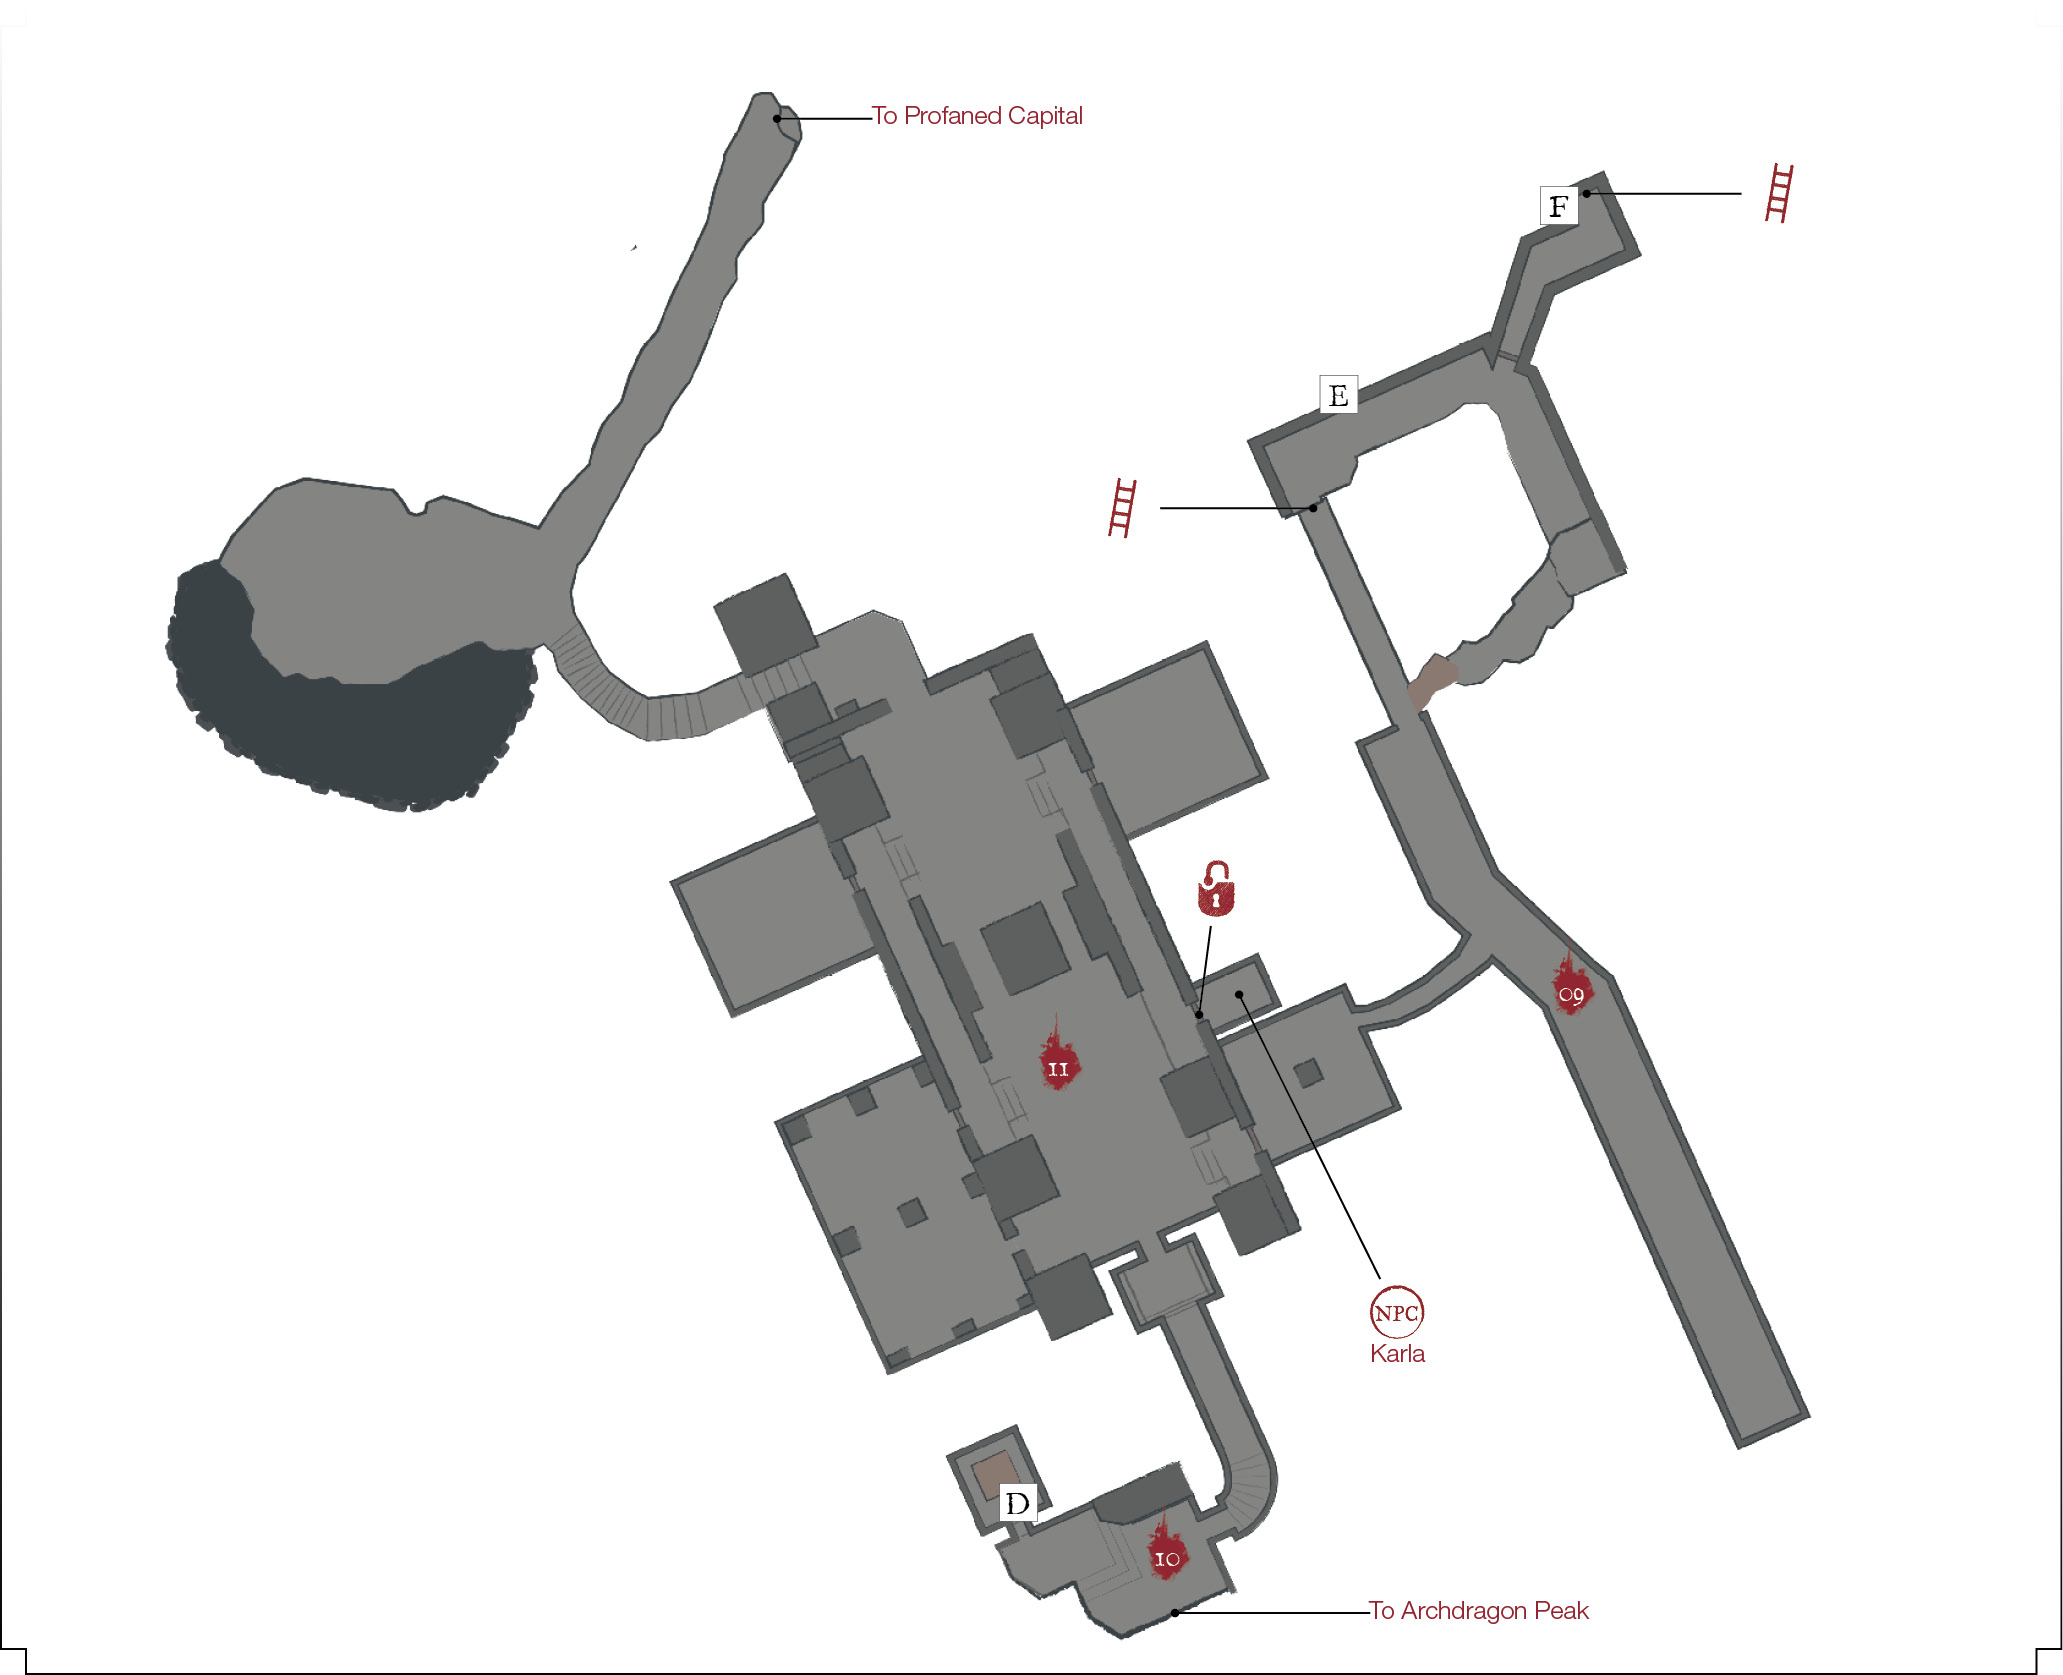
 A Pontiff Knight is patrolling in a dark room. Use a ranged weapon to hit him, and then kill him higher on the stairs. Another one is hiding farther down, hoping that you get close enough for an ambush. Proceed from there outside and toward the next Bonfire. On your way, you discover Murakumo on an Invader named Alma.
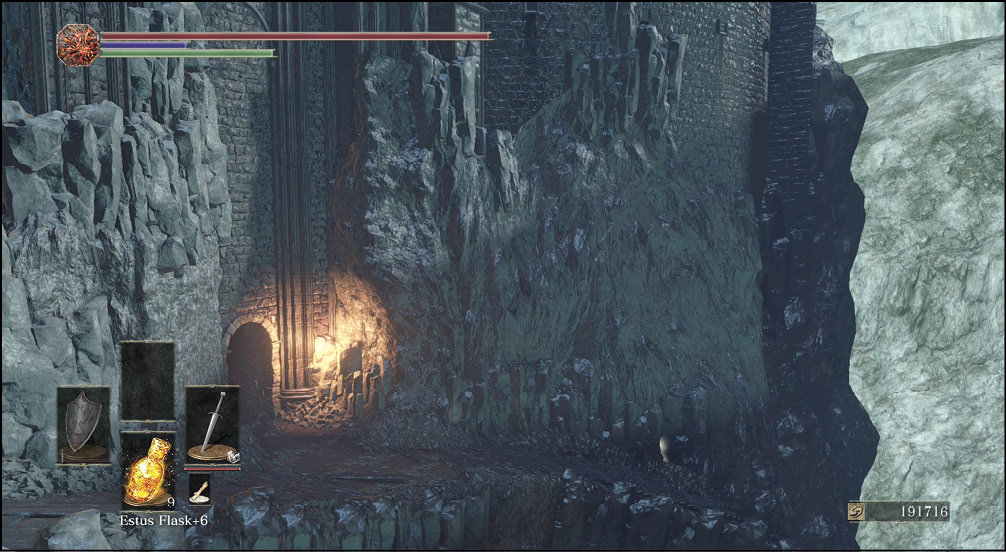
Bonfire—Irithyll Dungeon
 There aren’t any other substantial fights on the way to the next Bonfire, but it formally starts Irithyll Dungeon. It has a shortcut on the right that goes all the way down into the Profaned Capital. You won’t be able to open that passage until you’ve gone almost to the end of this region.
The only other way to go is forward. Bleed and Curse Resistances are both useful in this area. Ranged weaponry is weaker, mostly due to the tight corridors.
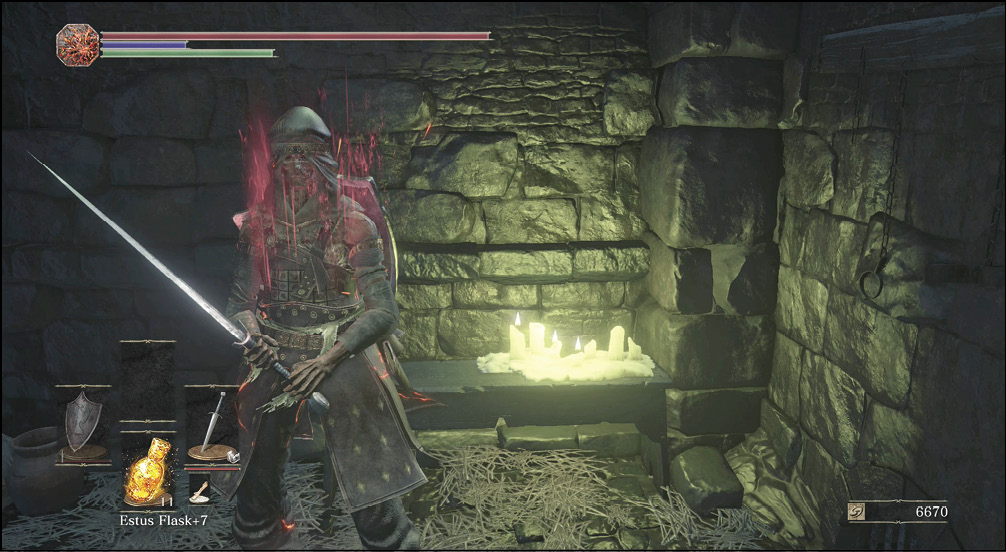
 There are six cells in this chamber. Peasant Hollows inhabit a couple of them. They’ll offer only a little resistance while you search for treasure, but they attack if you give them a chance. Kill them to release the prisoners from their burden, and take what you can from their cells.
A single cell is locked, and you get the key to it quite a bit later. Luckily, you’ll be able to open a shortcut by then, so it’s simple to get back to this area.
One central hallway connects the cellblock, and a Jailer patrols it. These enemies Curse you simply by staying within your line of sight as they approach. They also release a gas that causes Curse to build if you stay within it. They’re very bad news. Shoot at the one patrolling in the main hall, and bring it back into the previous area to deal with it. It’s always good to use corners to break line of sight so that Jailers can’t debuff you from afar.
 This side of the lower tier has Ashes of the Prisoner Chief and similar foes to fight. Attack the Jailer as you descend, and watch out for Cage Spider while you move forward. There are quite a few of them, and they become nuisances if you don’t spot them before they attack. Another Corpse-grub is in a cell farther down, but it’s distracted, and you can attack it from behind. You get the Old Sorcerer's Armor Set from one cell on this block, and Great Magic Shield when you kill the Corpse-Grub.
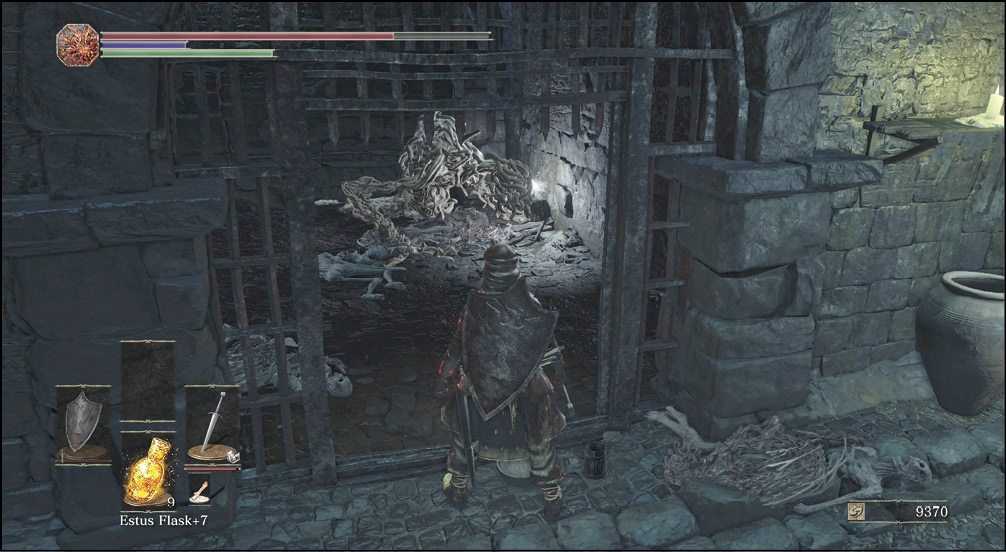
 If you’re complacent, the far side of the upper tier gets you killed. Most of the cells have such weak monsters in them that you might dash straight into each one for the easy kills. A Jailer is at the end of the hallway on that side of the jail. Use ranged weapons to kill it so that you don't have to approach this target in a narrow corridor. Go in carefully so that you don’t breathe in a faceful of gas.
You also encounter Wretches. They’re weak and slow to react, but they blend in well with the dark cells. You should spot and kill them before they have time to wake up and come after you.
The Jailbreaker’s Key is in the southern cell on this tier. Get that, and then unlock the door in the northeast. You collect a ring and can use that as a shortcut to get down to the Profaned Capital even faster. The item in question is the Bellowing Dragoncrest Ring.
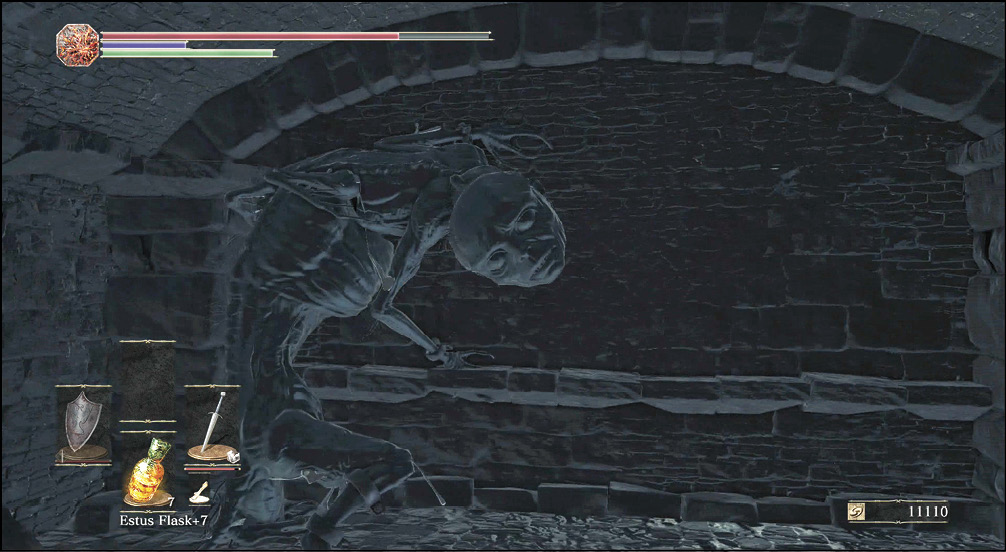
 This side of the bottom tier has a few patrolling Jailers and more Wretches trapped in their cells. Another shortcut is here, but it won’t be opened until a little bit later, when you’re wrapping around from the basement. A lift gets you to the other side of this door, and that’s where you open it.
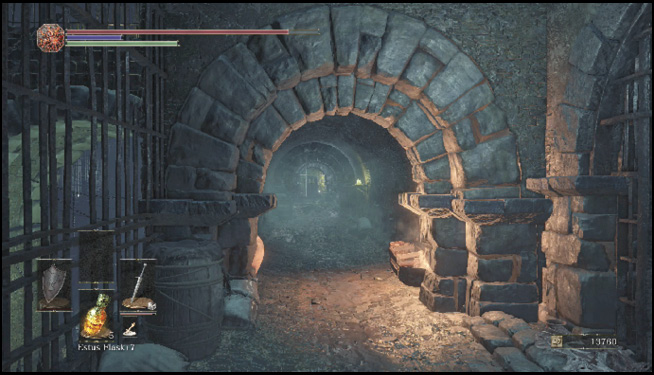
 There are three Hollows on an outside bridge that leads out from the cell block. They're no threat, and a room behind them has a treasure chest. That's almost too easy. And in fact, it is. This is a Mimic. Make sure to kill it because the creature has a valuable Estus Shard inside of it.
As you leave the cell block and try to find the areas deeper into the dungeon, many Peasant Hollows get in your way. With the proper gear, these enemies are one-shot kills, making it safe for you to wade through them. If you’re a bit behind in upgrades, take the passages with a bit more care, and use your shield to block their modest attacks.
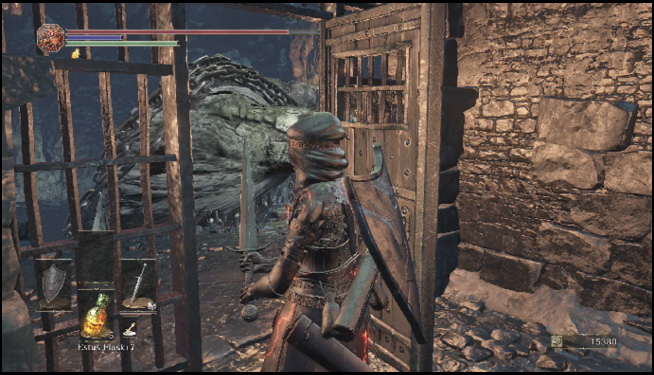
Soon, you hear loud snoring coming from an area beneath the main Peasant Hollows room. Don’t jump down the holes in there; instead, use the ladder in the upper-right corner to descend safely. Open the door at the bottom to get a good view of a sleeping Giant Slave. From the safety of that hallway, you should shoot the Giant Slave to eliminate it.
A Crystal Lizard is on the ledge that the Giant Slave was using for a headrest. Ride the elevator up from that area and roll off of it onto a small window ledge. You get the Lightning Blade spell from there.Get what you want before climbing down a wooden ladder onto a bridge below. You can now open the locked cells in the upper ward.
There are hordes of Hound-rats at the base of the chamber, and they’ll keep coming if you drop down to them. However, the loot below is worth the risk. You haven’t collected many Titanite Chunks yet, and each one really counts. You get a Profaned Coal, too.
To leave this massive room, you have several choices. From the bottom, the northern exit leads to a Mimic and a ladder that returns you to the top of the Giant Slave’s chamber. The other tunnel on the bottom goes to a lift that rises back to the original cellblock. Unlock the door that you reach, and connect this area with the Irithyll Dungeon Bonfire.
Finally, the stone bridge is your key to finding the Profaned Capital. Once you’ve looted everything and opened your new shortcut, get onto the bridge and walk south.
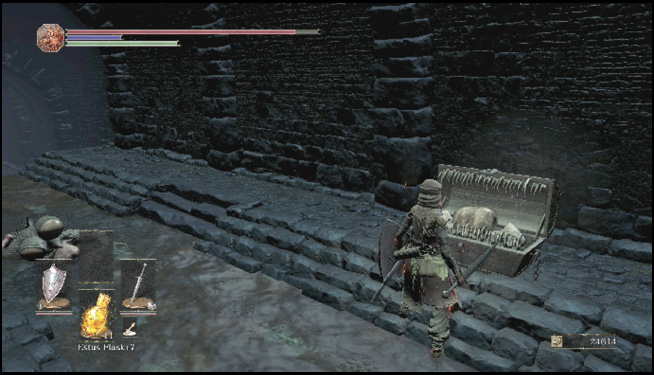
 A long corridor of Hound-rats and Basilisks is south from the bridge. These are petty creatures, and you’ve cleared them out before from several areas. A treasure chest and a Mimic are at the top of the tunnel. These have the Old Cell Key and a Dark Clutch Ring.
A break in the western wall lets you continue. Fight two Large Hound-rats on your way into the next room in that direction.
 When you get to this lower cellblock, look around carefully. You can turn north or south here. The southern route has two purposes: it leads to a shortcut at (7), and you get a Dragon Torso Stone from a strange body.
The lift behind the Dragon Stone takes you up to the original cellblock. This time, it’s to the door on the western side of the block. Open that, and then return to the lower part of the dungeon.
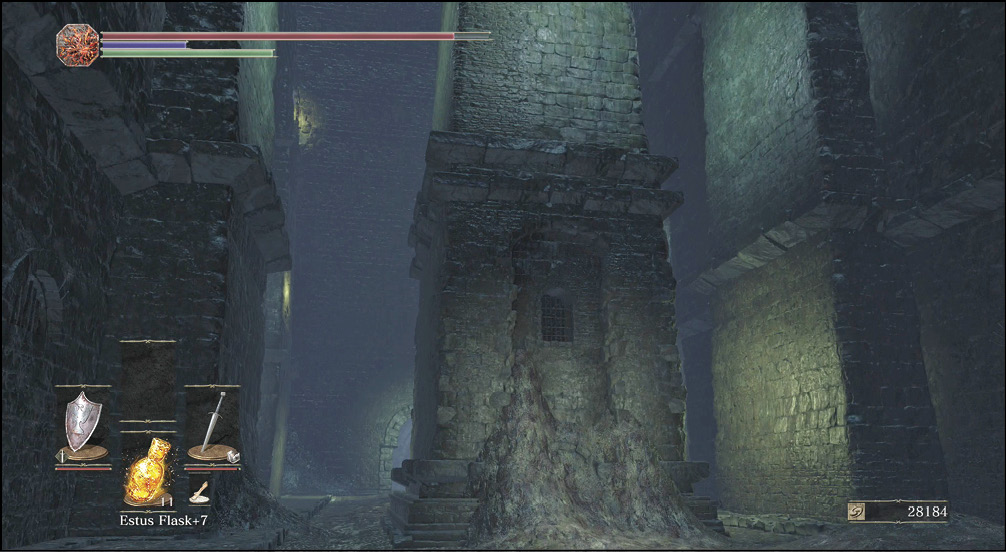
 A coven of Jailers wanders back and forth between the two halves of this large chamber. Don’t attack the entire group. Wait until they’re on the far side of the central pillar, and then move out and slaughter one of them. Retreat, and kill any others that saw you. Make more hit-and-run attacks like this until the Jailers’ numbers are manageable.
Once you’re finished, clear all of the cells. The cell in the southeast is locked, but you should return later to open that one. It has Karla, a student of dark magic. If you free her, she’ll travel to the Firelink Shrine. To get the Jailer’s Key Ring that you need, travel to the Profaned Capital, and climb the stairs that lead out of the eastern mire. They’ll take you back into the dungeon and let you kill a lone Jailer to obtain this key.
Searching the cells down here gets you Xanthous Ashes and the Dusk Crown Ring (to the northwest) and the Alva Armor Set (to the east).