Dark Souls III Guide (Steam) Walkthrough
Boss: Crystal Sage
Stage I
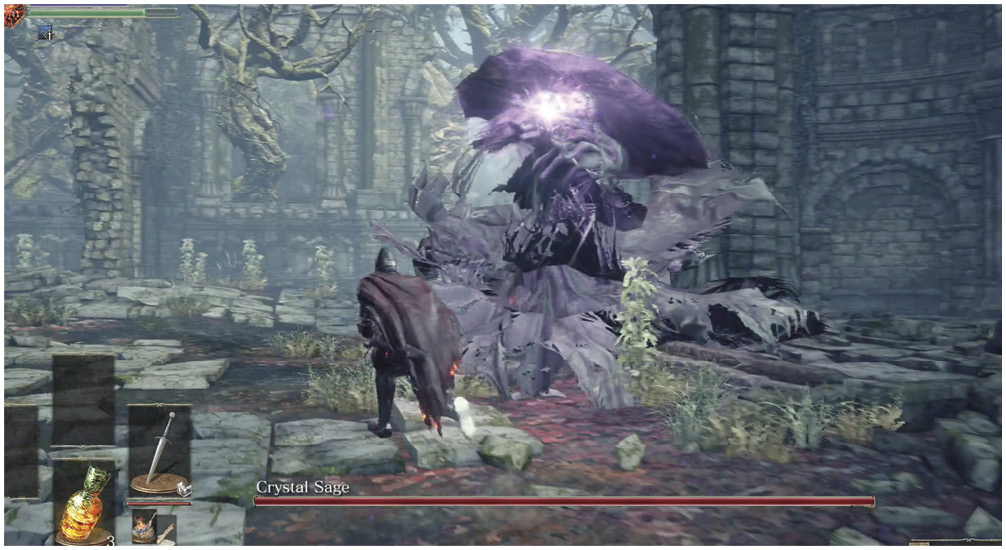
Initially, the Crystal Sage appears in front of you and uses a handful of spells to attack from range. Although many of these spells can track, skillful dodging is still 100 percent effective in avoiding the attacks.
Sprint forward to close the distance, and dodge only when you have to. Walk the last few feet to start regenerating Stamina before your big combo, and unload on the Crystal Sage. If you’ve kept up with your weapon upgrades, you can cut off half of the boss’ health with one combo.
It’s okay if you haven’t been pushing a really superior damage build. If that’s the case, get several attacks on the boss, and then run back to one of the stone pillars so that you can get your Stamina while maintaining some level of safety. Then, repeat your glorious charge to finish Stage I.
Stage II
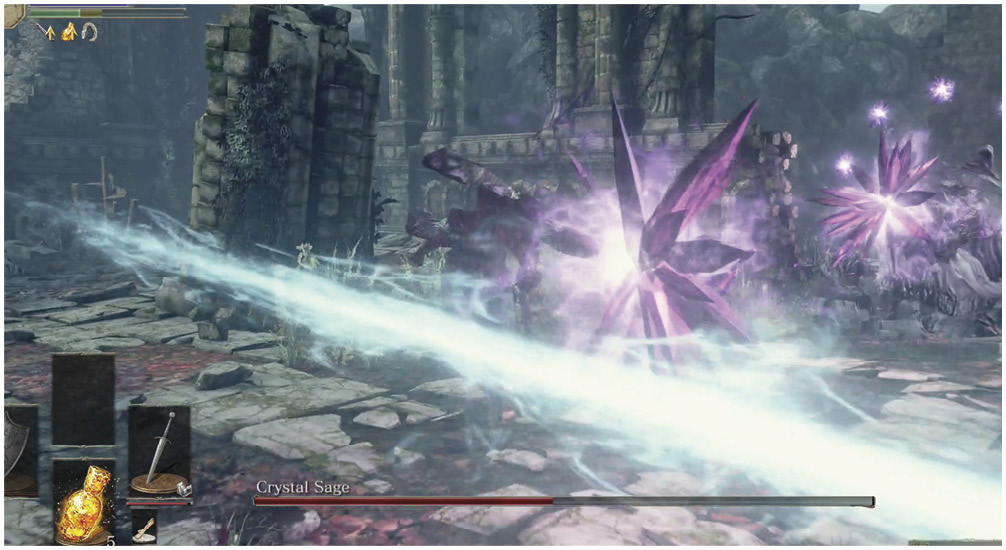
The Crystal Sage gets much smarter for the second half of the battle. It disappears at first and throws a few crystals around the arena. Stay mobile and be watchful.
When the mage returns, it will come up in multiple areas. Most of the images you see are fake, but they can still cast spells. For a crude solution, hit each image once to see if the Crystal Sage takes actual damage. If it does, you’re dealing with the real one. Murder it! If not, then the image disappears, and you have one less target to worry about.
The faster way to tell which boss is real is to look for the proper color. The fake bosses use only blue spells. The real Crystal Sage casts purple spells, so it’s fairly easy to see where everything is coming from. Track the spells back to their source, and beat this fight quickly.
Do not tarry. This is a fight that gets very difficult if you try to finesse it. Sprint to targets, attack, and either move on if they’re fake or kill the Crystal Sage when you find it. Be a brute! It's safer too kill the false sages because their spells do very real damage. If you're having any trouble, take the extra time to kill all of the false sages before attacking the real boss.
After the fight, use the new Bonfire. Your fire burns stronger with each victory.
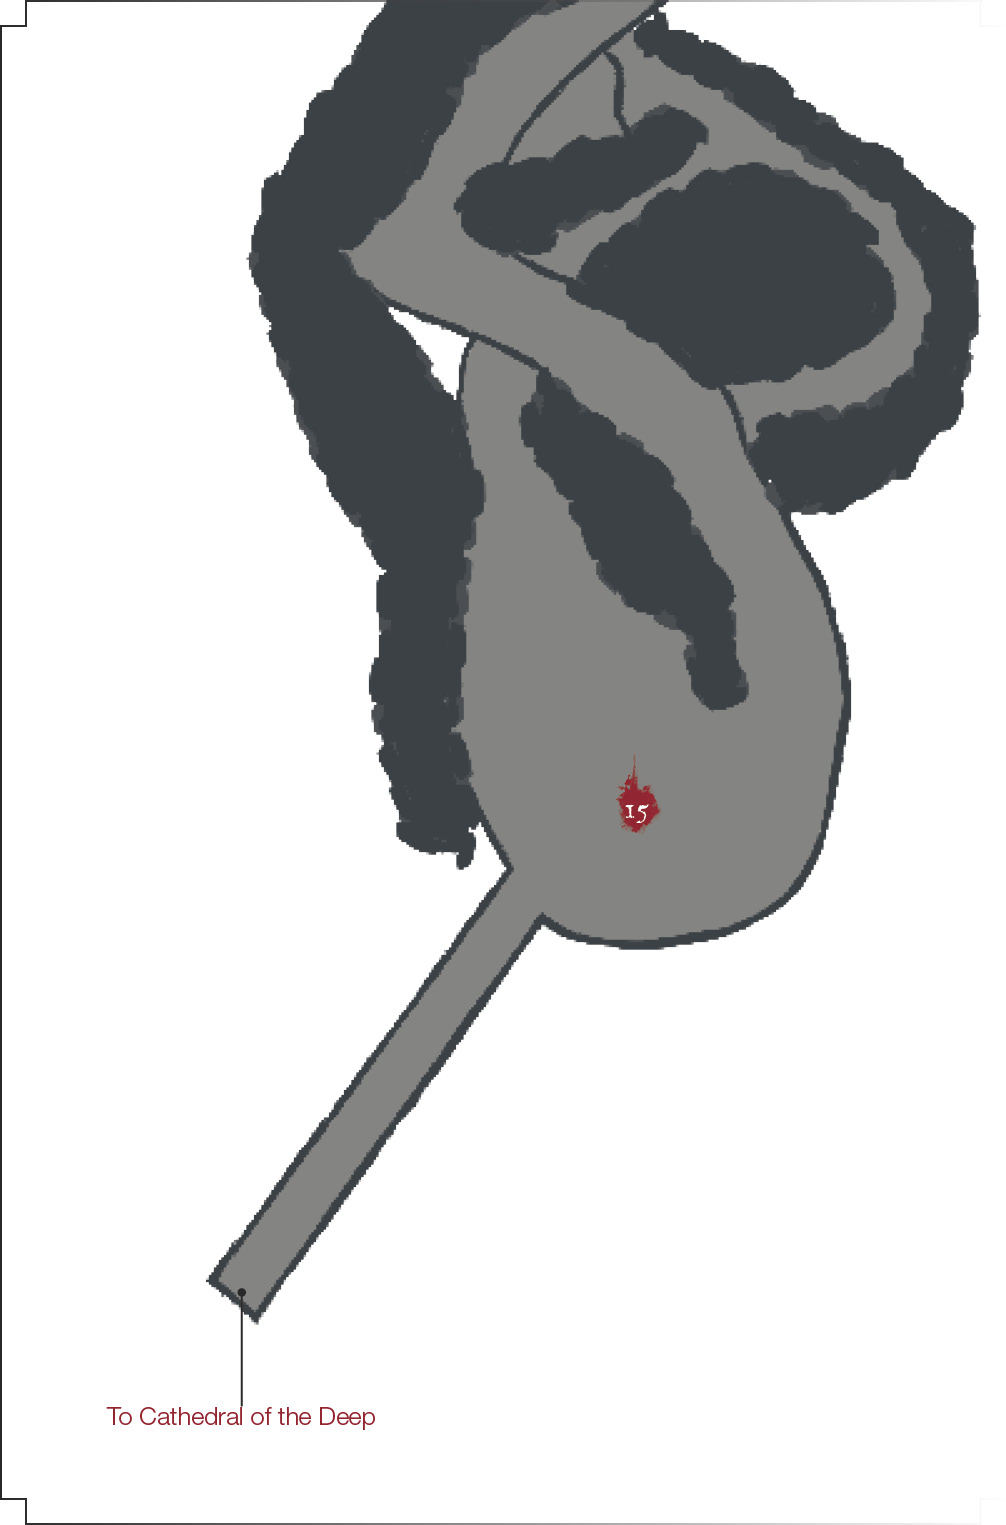
 A path leads out from the Crystal Sage’s arena. The path winds here and there, and only a few enemies guard it, two Hollow Manservant and an Evangelist.
There are two Crystal Lizards here, on ledges below you as you leave the Crystal Sage’s room, though defeating them before they run away can be tricky.
Remember you can port out and back (or quit and continue) to make them reappear. Both drop Twinkling Titanite, which can be used to upgrade unique soulbound weapons (that is, weapons that are neither normal mundane weaponry nor soul-transposed weapons from Ludleth).
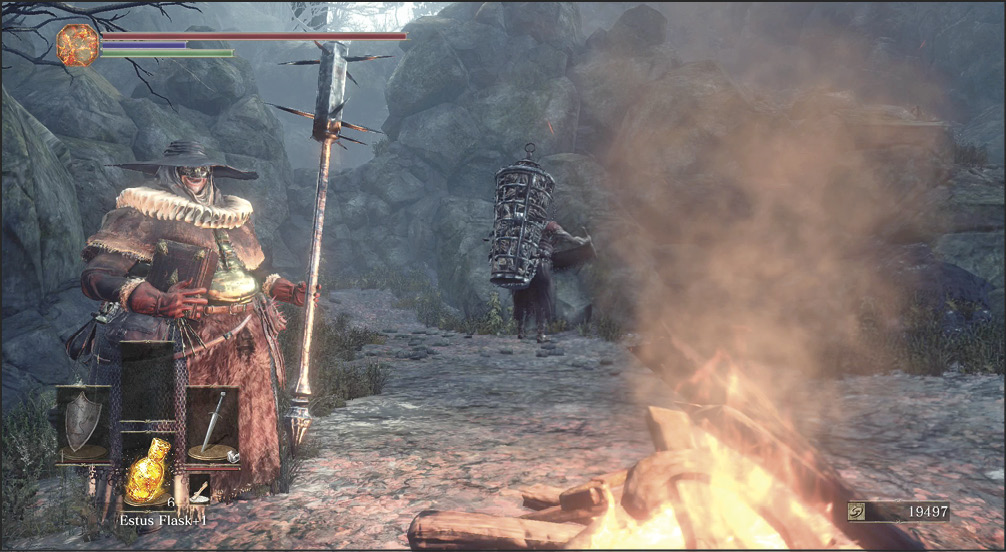
The Herald’s Armor Set is on your way. You find it just before reaching the Cathedral of the Deep. Get the Bonfire for that new region, and check on a ledge just below the Bonfire for the Paladin’s Ashes, but consider returning to Farron Keep to clear that area before you move on formally into the cathedral.
When you do approach the Ashes, be wary of an Unkindled that is hiding back there. This foe dodges well, has thrown weapons, and can take more than a few hits. If you don't see this side area, that enemy follows you and attacks later on (from behind)!