
Dark Souls III Guide (Steam) The Bestiary
Cathedral of the Deep
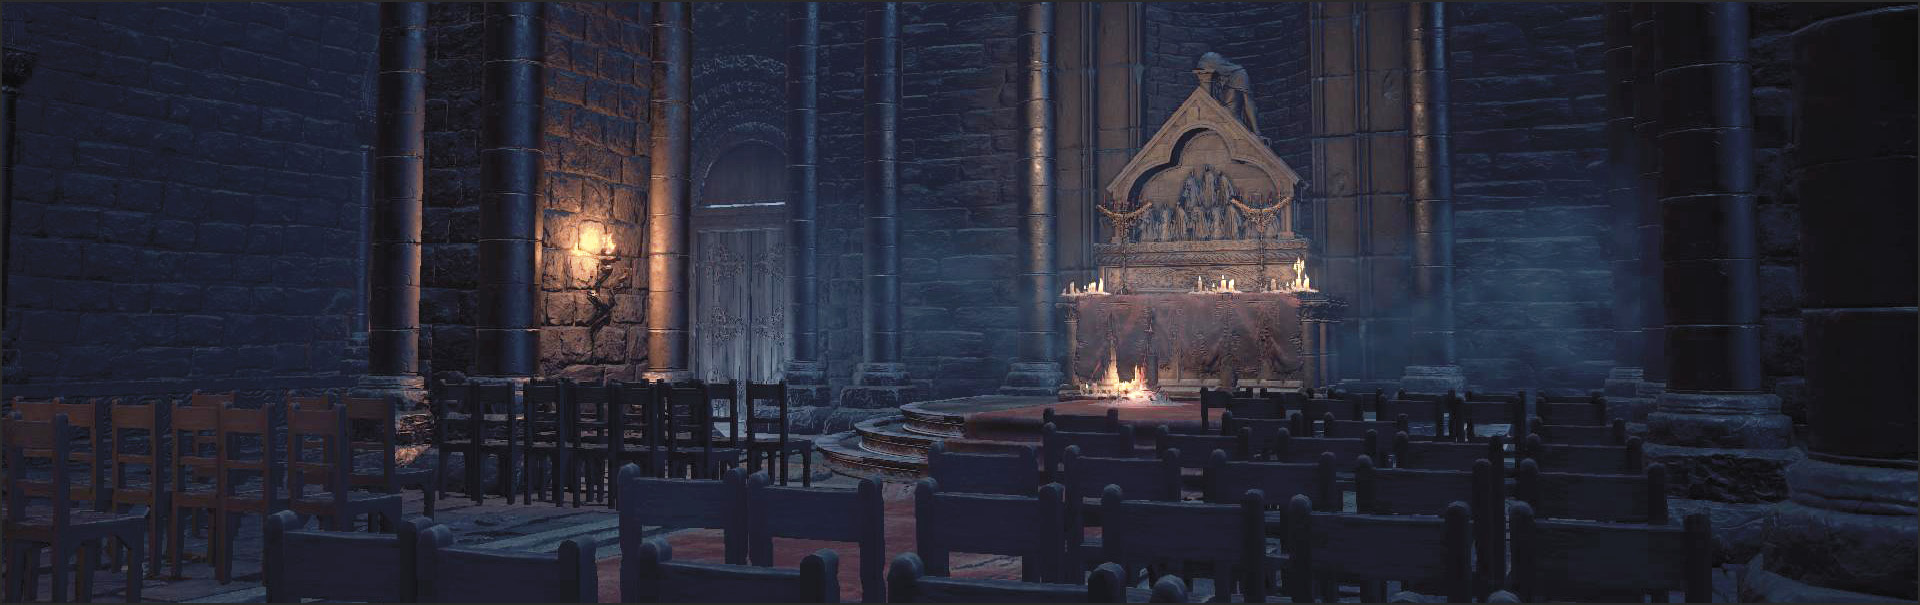
Enemy Data
| Name | HP | Souls | Item Drop | Special Ability | Weakness | Resistant to | Ineffective | Type & Effective Items |
|---|---|---|---|---|---|---|---|---|
| Knight of the Deep | 556 | 550 | Great Mace or Cathedral Knight Greatsword/Cathedral Knight Greatshield/ Cathedral Knight Helm/Cathedral Knight Armor/Cathedral Knight Gauntlets/Cathedral Knight Leggings/ Titanite Shard/Ember/Heavy Bolt | Miracle Enchant: Elemental Attack (Magic) Addition | Poison & Toxic/Bleed | Lightning/Frost | None | Hollow/Rapport |
| Hollow Slave | 182 | 90 | Thrall Axe or Flamberge/Thrall Hood/Deep Gem/Titanite Shard | None | Poison & Toxic | None | None | Hollow/Alluring Skull/Rapport |
| Reanimated Corpse | 233 | 20 | None | Ailment (Infesting with maggots: Bleed) | Fire | None | Poison & Toxic | Reanimated/Hollow/Alluring Skull/Rapport |
| Infested Corpse | 233 | 200 | None | Ailment (Infesting with maggots: Bleed) | Fire | None | Poison & Toxic | Reanimated/Hollow/Alluring Skull/Rapport |
| Cathedral Evangelist | 830 | 380 | Spiked Mace/Evangelist Hat/Evangelist Robe/Evangelist Gloves/Evangelist Trousers/Titanite Shard/Blessed Gem | Elemental Attack (Fire) | Thrust | Fire | None | Hollow/Alluring Skull/Rapport |
| Cathedral Grave Warden | 707 | 750 | Warden Twinblades/Grave Warden Hood/Grave Warden Robe/Grave Warden Wrap/Grave Warden Wrap/Bloodred Moss Clump | Elemental Attack (Fire)/Ailment (Bleed) | None | Poison & Toxic | None | Hollow/Alluring Skull/Rapport |
| Devout of the Deep | 187 | 70 | Long Sword or Spear or Light Crossbow or Dagger or Arbalest/Firebomb/Red Bug Pellet/Throwing Knife/Heavy Bolt | Elemental Attack (Fire) | Poison & Toxic | None | None | Hollow/Alluring Skull/Rapport |
| Devout of the Deep (Large) | 556 | 350 | Greataxe or Halberd/Crystal Gem | None | Poison & Toxic | None | None | Hollow/Alluring Skull/Rapport |
| Starved Hound | 211 | 80 | None | None | Fire | None | None | Hollow/Alluring Skull |
| Corpse-grub | 680 | 600 | Soul of a Deserted Corpse/Large soul of a Deserted Corpse | Ailment (Infesting with maggots: Bleed) | Fire | None | Poison & Toxic | Reanimated/Alluring Skull/Rapport |
| Avaricious Being | 976 | 2000 | Symbol of Avarice/Deep Braille Divine Tome (Fixed) | None | Dark | Lightning/Poison & Toxic/Bleed/Frost | None | Alluring Skull/Rapport |
| Writhing Rotten Flesh | 227 | 20 | Titanite Shard | None | Fire | Physical Attack/Magic/Lightning/Dark | Poison & Toxic/Bleed/Frost | Abyssal/Alluring Skull |
| Crystal Lizard | 100 | 0 | Twinkling Titanite(Fixed) | None | None | Magic | Poison & Toxic/Bleed/Frost | None |
| Man-grub | 313 | 100 | Undead Hunter Charm/Duel Charm/Red Sign Soapstone (fixed if you don’t own one) | Ailment (Infesting with maggots: Bleed) | Slash/Thrust/Fire | None | Poison & Toxic | None |
| Giant Slave | 1873 | 4000 | Large Titanite Shard(Fixed)/Dung Pie(Fixed) | None | None | Slash/Thrust/Fire/Lightning | Poison & Toxic/Bleed/Frost | None |
| Ravenous Crystal Lizard | 1231 | 5000 | Titanite Scale(Fixed) | Elemental Attack (Magic) | None | Magic | Poison & Toxic/Bleed/Frost | None |
| Deep Accursed | 800 | 1500 | Aldrich’s Sapphire(Fixed) | Ailment (Curse) | None | Poison & Toxic | None | Abyssal |
| Archdeacon Royce | 4099 | 13000 | Small Doll(Fixed)/Soul of the Deacons of the Deep(Fixed) | Elemental Attack (Dark) | Physical Attack | Magic/Dark/Poison & Toxic/Bleed | None | Hollow |
| Deacon of the Deep | 292 | 150 | Deacon Robe/Deacon Skirt/Deep Gem/Deep Ring (fixed when defeated for the first time) | Elemental Attack (Fire) | Physical Attack | Magic/Dark | None | Hollow/Rapport |
Devout of the Deep
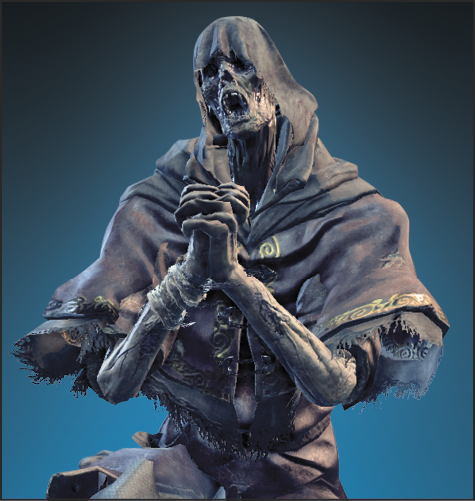
The Devout of the Deep are basic humanoid foes, much like Hollow Soldiers. Almost all of the tactics that you learn work well against them, but they serve as a distraction while you’re also being attacked by more serious adversaries. Kill them while keeping your eyes out for ranged enemies with crossbows, or for any of the undead who are lighting themselves on fire.
Reanimated Corpse
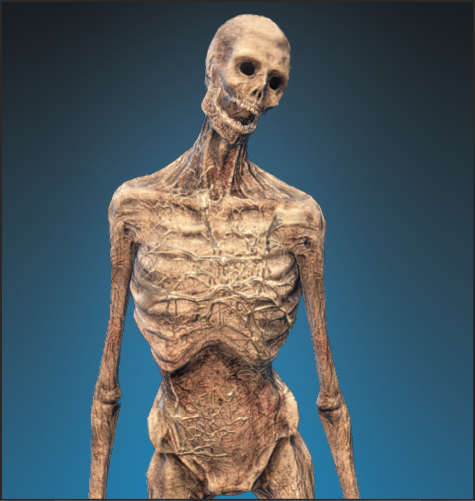
Reanimated Corpses are pathetic targets. They are only any danger at all because they cannot be killed for long, reviving after falling. However, they aren’t a major threat to you. Their attacks do minor damage and their health is poor. The only way they’ll trouble you is by lurching forward to slow your progress when you’re simply trying to run past them. Always assume that they can attack from greater range than expected, and watch your back if you cut them down. It doesn’t take long for them to recover and stand back up.
Devout Bomber
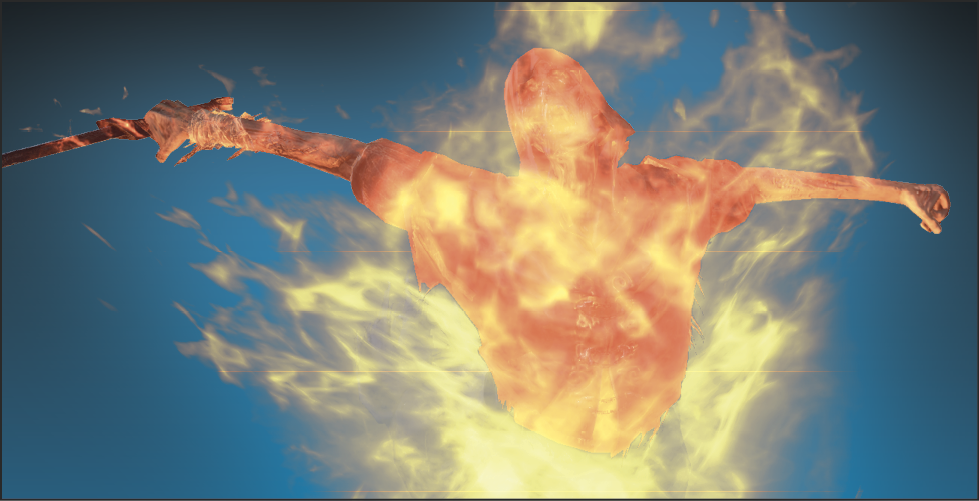
Devout Bombers immolate themselves and sprint toward your direction. They’ll throw themselves onto you and try to detonate. Though this kills them in the process, it deals plenty of damage to you, if it happens.
If you see a Devout Bomber starting their fiery animation, attack them immediately. They’re defenseless while they put themselves to the torch, and it isn’t hard to do enough damage to kill them. They won’t explode.
Failing that, lead the Devout Bomber toward other enemies and then dodge soon after the undead jumps into the air. They’ll likely miss, so you don’t take damage. Even better, their explosion takes out everything nearby (and you still get Souls for their deaths).
Infested Corpse
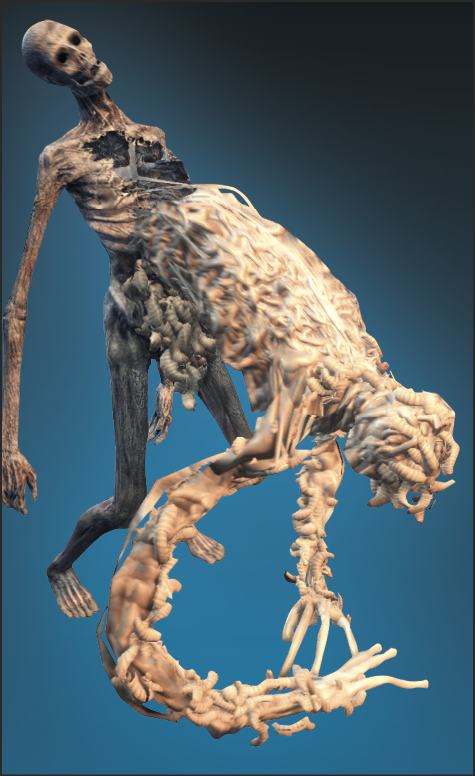
Infested Corpses are a worse form of Reanimated Corpses. They have a budding creature of maggots bursting out of them. They have massive Bleed capabilities, so make sure that your Resistance to Bleed is as high as possible. There are many maggot creatures in the area near the cathedral, so putting on equipment specifically for this purpose is worth your time.
Infested Corpses have more health compared to the Reanimated Corpses, and you need a very serious combo to kill them in a single run. Keep a shield out, lock on, and back off as soon as the Infested Corpses rear up for a two-handed blow. You should be able to avoid the hit just by backstepping. This leaves you with tons of Stamina left over for a lethal combo.
Corpse-grub
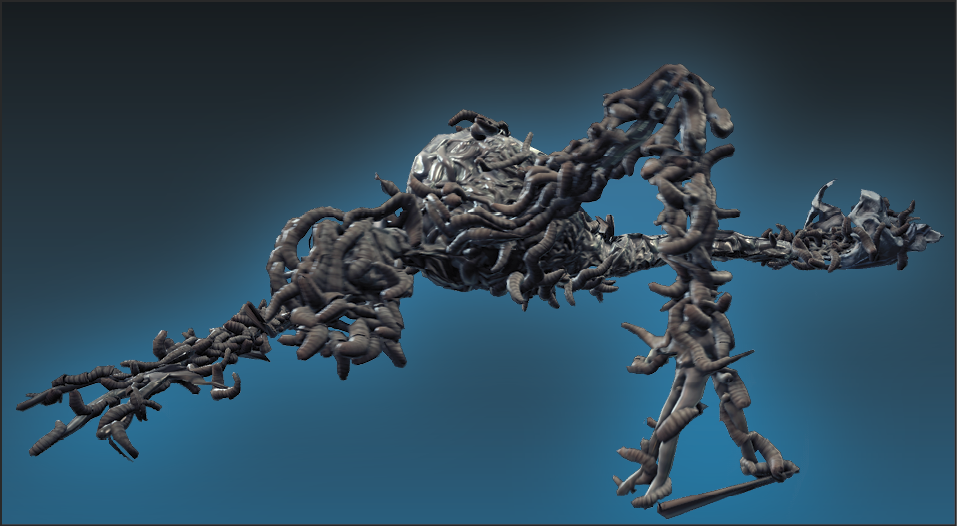
Corpse-grubs are the worst of the maggoty bunch. They are larger, heavier, and meaner than the other two maggot foes near the graveyard. You have to bait their attacks, just like the Infested Corpses. Wait until they dedicate to their heaviest attacks, and then you can push forward, land a few blows, and then retreat.
Play conservatively, because even a single hit promises high damage and enough Bleed effect to make things difficult. Bring curatives.
Cathedral Grave Warden
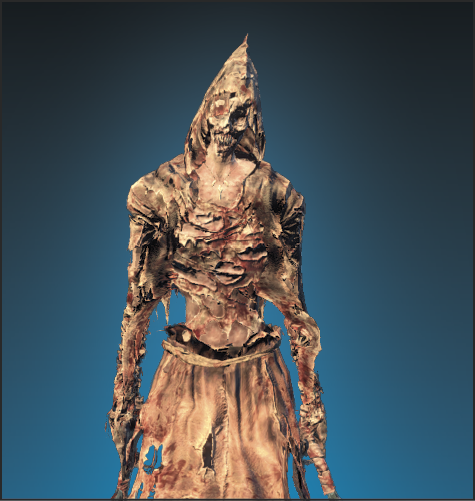
Cathedral Grave Wardens aren’t seen too often, and that’s a good thing. They have medium-range attacks, fast melee combos, and decent health. Keep a shield ready, because you can absorb much of their violence without losing all of your Stamina. Block, perform a short counter-combo, and then fade back.
Writhing Rotten Flesh
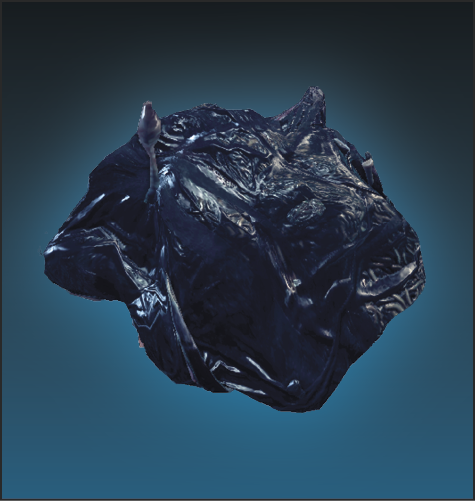
Writhing Rotten Flesh is a disgusting slime that hangs on ceilings and attempt to ambush you from above. As long as you remember to look up, they’re not much of a threat. After they fall, they attack slowly and exist just to soak up damage.
The biggest problem with Writhing Rotten Flesh is that they block narrow hallways if you don’t take the time to kill them. Remember that the path is blocked if you hurry forward, and don’t try to retreat through slime later on!
Knight of the Deep
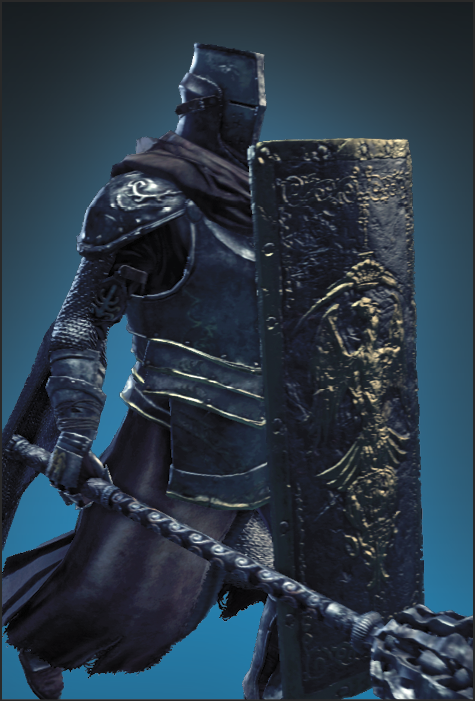
Knights of the Deep aren’t always as defensive as other knights in the game, but they know how to lay on the damage. Some of them have single-handed weaponry. These knights fight more like what you’re used to from the early game. Use extended combos to knock aside their shields, and then get real damage in while they’re briefly stunned.
The two-handed Knights of the Deep are damage dealers. Don’t trade with them, because you are going to regret it (briefly).
A nice trick against all Knight of the Deeps is to back off and bait their spells. They’ll buff themselves when you’re far away, but you have enough time to close and attack before they finish.
Deep Accursed
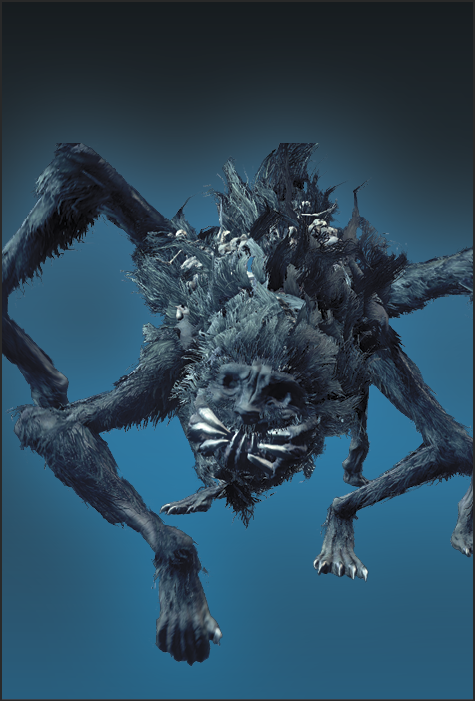
Deep Accursed are unique enemies. You meet one in the Cathedral of the Deep, and another later in Anor Londo. Both are large targets that look extremely intimidating. They have a Curse effect on their attacks, so any extended fighting can leave you in a difficult situation.
Therefore, take a more aggressive approach. Roll into the Deep Accursed and use long combos to deal maximum damage quickly. This trade gets you hurt every time, but the Estus Flasks that you drink restoring yourself are well spent. Because these are unique monsters, you just have to clear them once, return to a Bonfire, and then pass safely through the area in the future.
Giant Slave
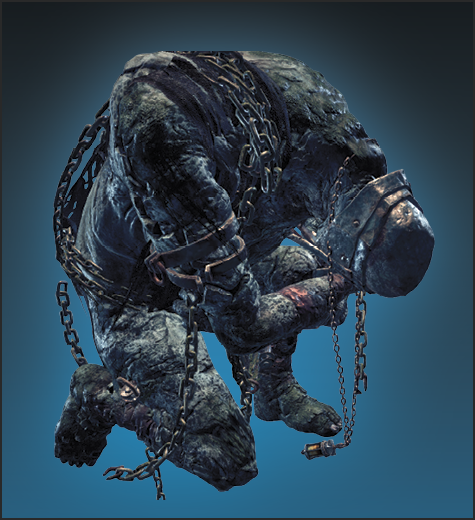
Giant Slaves are seen several times throughout the game. Most are unique (like the ones in the Cathedral of the Deep), but not all of them. Ranged weapons from a safe location are slow but effective at killing Giant Slaves. However, gutsy players should run under their feet and combo extensively to kill them. Don’t get stepped on, and watch out for enemies that add to these fights, but the foot-stabbing method is very reliable.
There are smaller Giant Slaves located in Irithyll Valley, they are (slightly) faster than their massive brethren.
Deacons of the Deep
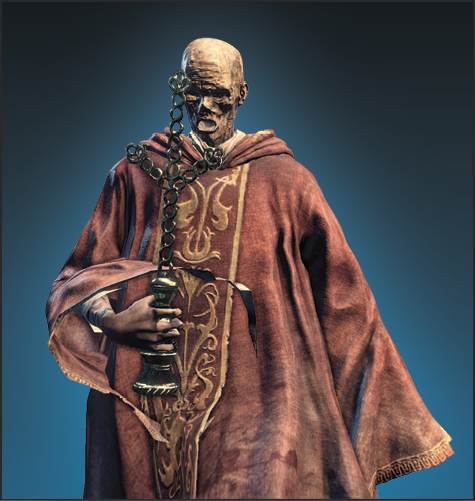
Deacons of the Deep are spellcasters with very long range. They rely on fire for damage, but have very weak melee attacks. Lure any knights that are protecting them away, kill those dangerous targets, and then return for an easy slaughter. They’re defenseless if taken on directly. Roll under their fire spells on your approach, and close in for the kills.
Avaricious Being/Mimic
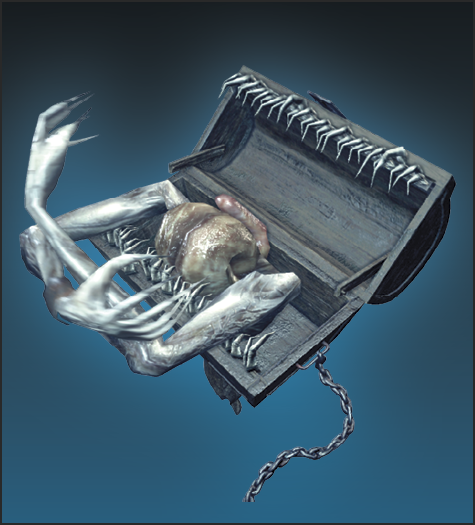
Avaricious Beings/Mimics are false treasure chests. You learn where they are as you explore, or you can use the maps in the walkthrough chapter, but you can always check to see if a treasure chest is safe by swinging at it. Mimics only attack if you try to open them or if you go after them first. Take the initiative with a very long series of strikes, and try to kill the Mimic before it even stands up.
Roll backward if your combo doesn’t finish the job, and try again in a few seconds. Mimics aren’t very dangerous as long as you trigger them this way.
Man-grub
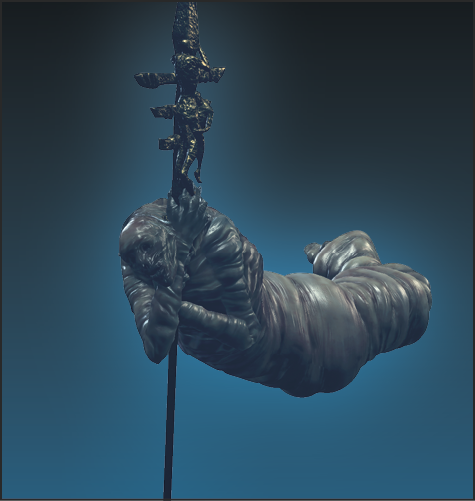
Man-grubs are only seen near Rosaria’s chamber. They use ranged fire attacks and are a moderate threat because of their numbers. Attack their groups and back away to break their line of sight. This lets you kill any of the members who follow.