
Dark Souls III Guide (Steam) The Bestiary
Cemetery of Ash
Enemy Data
| Name | HP | Souls | Item Drop | Special Ability | Weakness | Resistant to | Ineffective | Type & Effective Items |
|---|---|---|---|---|---|---|---|---|
| Grave Warden | 88 | 20 | Cleric’s Sacred Chime/Fading Soul | None | Poison & Toxic | None | None | Hollow/Alluring Skull/Rapport |
| Starved Hound | 110 | 10 | None | None | Fire | None | None | Hollow/Alluring Skull |
| Crystal Lizard | 63 | 0 | Twinkling Titanite(Fixed) | None | None | Magic | Poison & Toxic/Bleed/Frost | None |
| Ravenous Crystal Lizard | 1200 | 4000 | Titanite Scale(Fixed) | Elemental Attack (Magic) | None | Magic | Poison & Toxic/Bleed/Frost | None |
| Iudex Gundyr | 1037 | 3000 | Coiled Sword(Fixed) | None | Frost | Dark/Bleed | Poison & Toxic | Abyssal |
Grave Warden
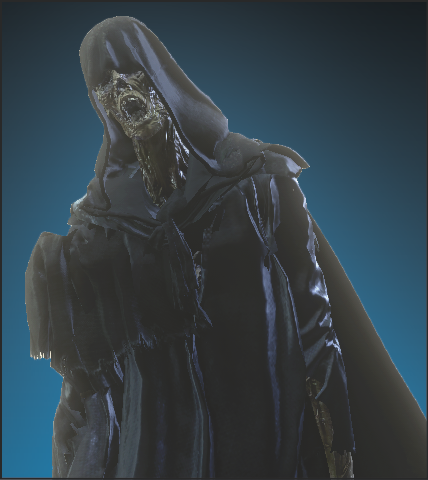
The most basic humanoid foes in the game, these poor souls are other cursed undead who have lost all of their humanity. Most wander aimlessly, some stand idly in place. These sad souls are pitiable, but do not mistake their often passive demeanor as reason to treat them carelessly.
Roused from their stupor, they can lash out and deal heavy damage if you let them past your guard. Keep a sturdy shield between you and their attacks, or dodge when they charge and go for a fatal backstab to finish them quickly.
These undead have been carefully placed as an early game tutorial lesson in basic combat against humanoids, use the opportunity to practice if you are new to the game!
Starved Hound
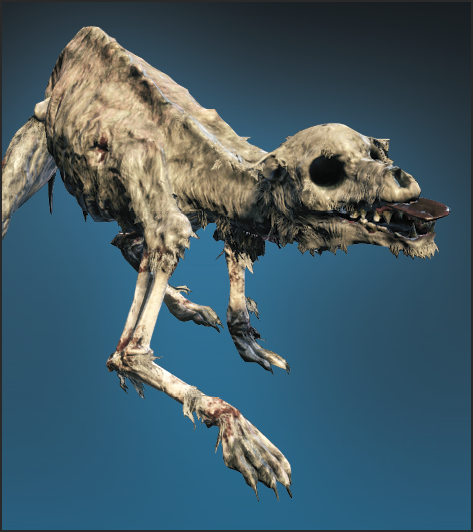
Don’t underestimate these emaciated undead hounds. They are lethally fast, and can quickly flank you and break your guard. They are often encountered in packs later in the game, and it is very easy to get overwhelmed and killed if you stumble into a group of them.
Starved Hound attacks don’t have a lot of punch individually, so if you can keep them at bay by blocking with a shield, they’re fairly easy to dispatch—just watch your flanks and don’t let them surround you.
If you do get rushed, dodge roll away repeatedly and get some distance. If you can make them come at you while you’re on elevated terrain, it restricts their movements, and they’re a lot easier to handle.
When encountered later in the game in packs, if at all possible, try to pull them (or kill them!) from a distance with ranged attacks. You really don’t want these dogs ambushing you in unfavorable terrain (or worse still, with other foes nearby).
Ravenous Crystal Lizard
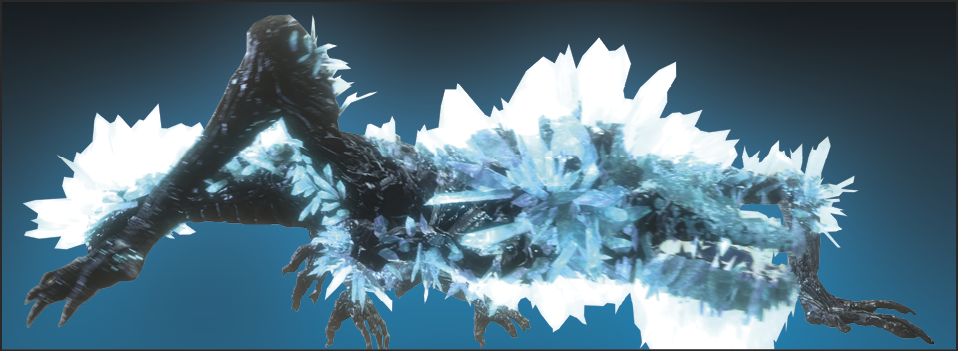
These rare foes are apparently an evolved form of Crystal Lizards, and the only ready source of Titanite Scales in the game until much later on, when you can buy them from the Shrine Handmaid, or loot them from Rock Lizards in Archdragon Peak. Scales (and only Scales) are used to upgrade specific special weapons.
Unlike most enemies, Ravenous Crystal Lizards do not respawn after they are slain. They are the larger, angrier version of Crystal Lizards who simply flee when encountered.
Ravenous Crystal Lizards have a fairly nasty arsenal of attacks, and they are your first real encounter with a non-humanoid foe. Learning its tells can be tricky at first—if you don’t mind dying a few times, it is well worth it to engage this foe and let it attack you at close range and a distance—it is good training for learning to read non-humanoid attacks, a very useful skill that will come in handy.
Ravenous Crystal Lizards move quickly and can close distance rapidly with lunging and sweeping attacks that cover a lot of ground. Blocking all of their attacks with low Stamina or a weak shield is inadvisable, and they are an excellent foe to learn dodge timing against.
Because you encounter this dangerous foe literally at the beginning of the game, don’t hesitate to move on if you find it too difficult to defeat—you can always return later!
If you stock up on a few thrown weapon consumables (or you have access to offensive magic), Ravenous Crystal Lizards make good targets if you’re not comfortable mixing it up in melee.
When encountered later in the game, you usually want to actively seek these out and defeat them for their material drops.
Crystal Lizard
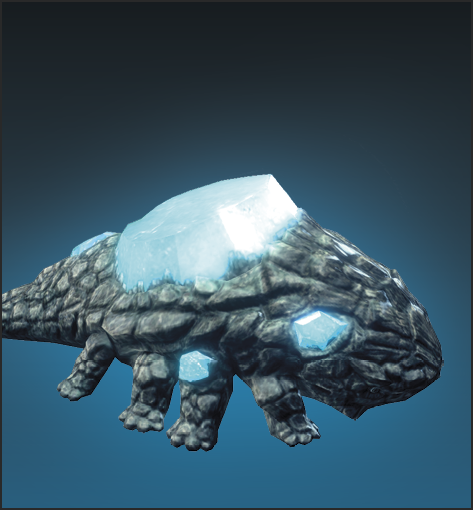
These tiny glimmering lizards are covered in a shell of precious stones. If you manage to kill one, its load of Titanite is yours!
Crystal Lizards are a special sort of Dark Souls enemy—when approached, they instantly begin to flee, and if you do not defeat them quickly, they vanish entirely!
They do reappear after a reload or zone warp, so you can return to try again with a different weapon should you miss one (not an uncommon occurrence if you accidentally stumble across one unprepared).
You may want to carry around a weapon (even unequipped) that has a good sweeping downward strike. Because Crystal Lizards are so small, large slow weapons or precise weapons such as spears or thrusting swords can be really awkward to use against them.
Also be sure to try different attack types—a sprinting strong strike or standing two handed strong strike with some weapons may work best, or some quick weapons with good downward arcs can get away with sprinting at the critter and mashing weak attacks rapidly.
Crystal Lizards drop different chunks of Titanite depending on where you kill them, but they are all useful, especially early in the game. Later when you have a range of Gems for infusion, they are a luxury, but early on, they can provide you access to valuable infusions for your weapons, setting you on the path to success with a strong upgraded weapon that suits your build’s stats.