
Dark Souls III Guide (Steam) Walkthrough
Irithyll of the Boreal Valley
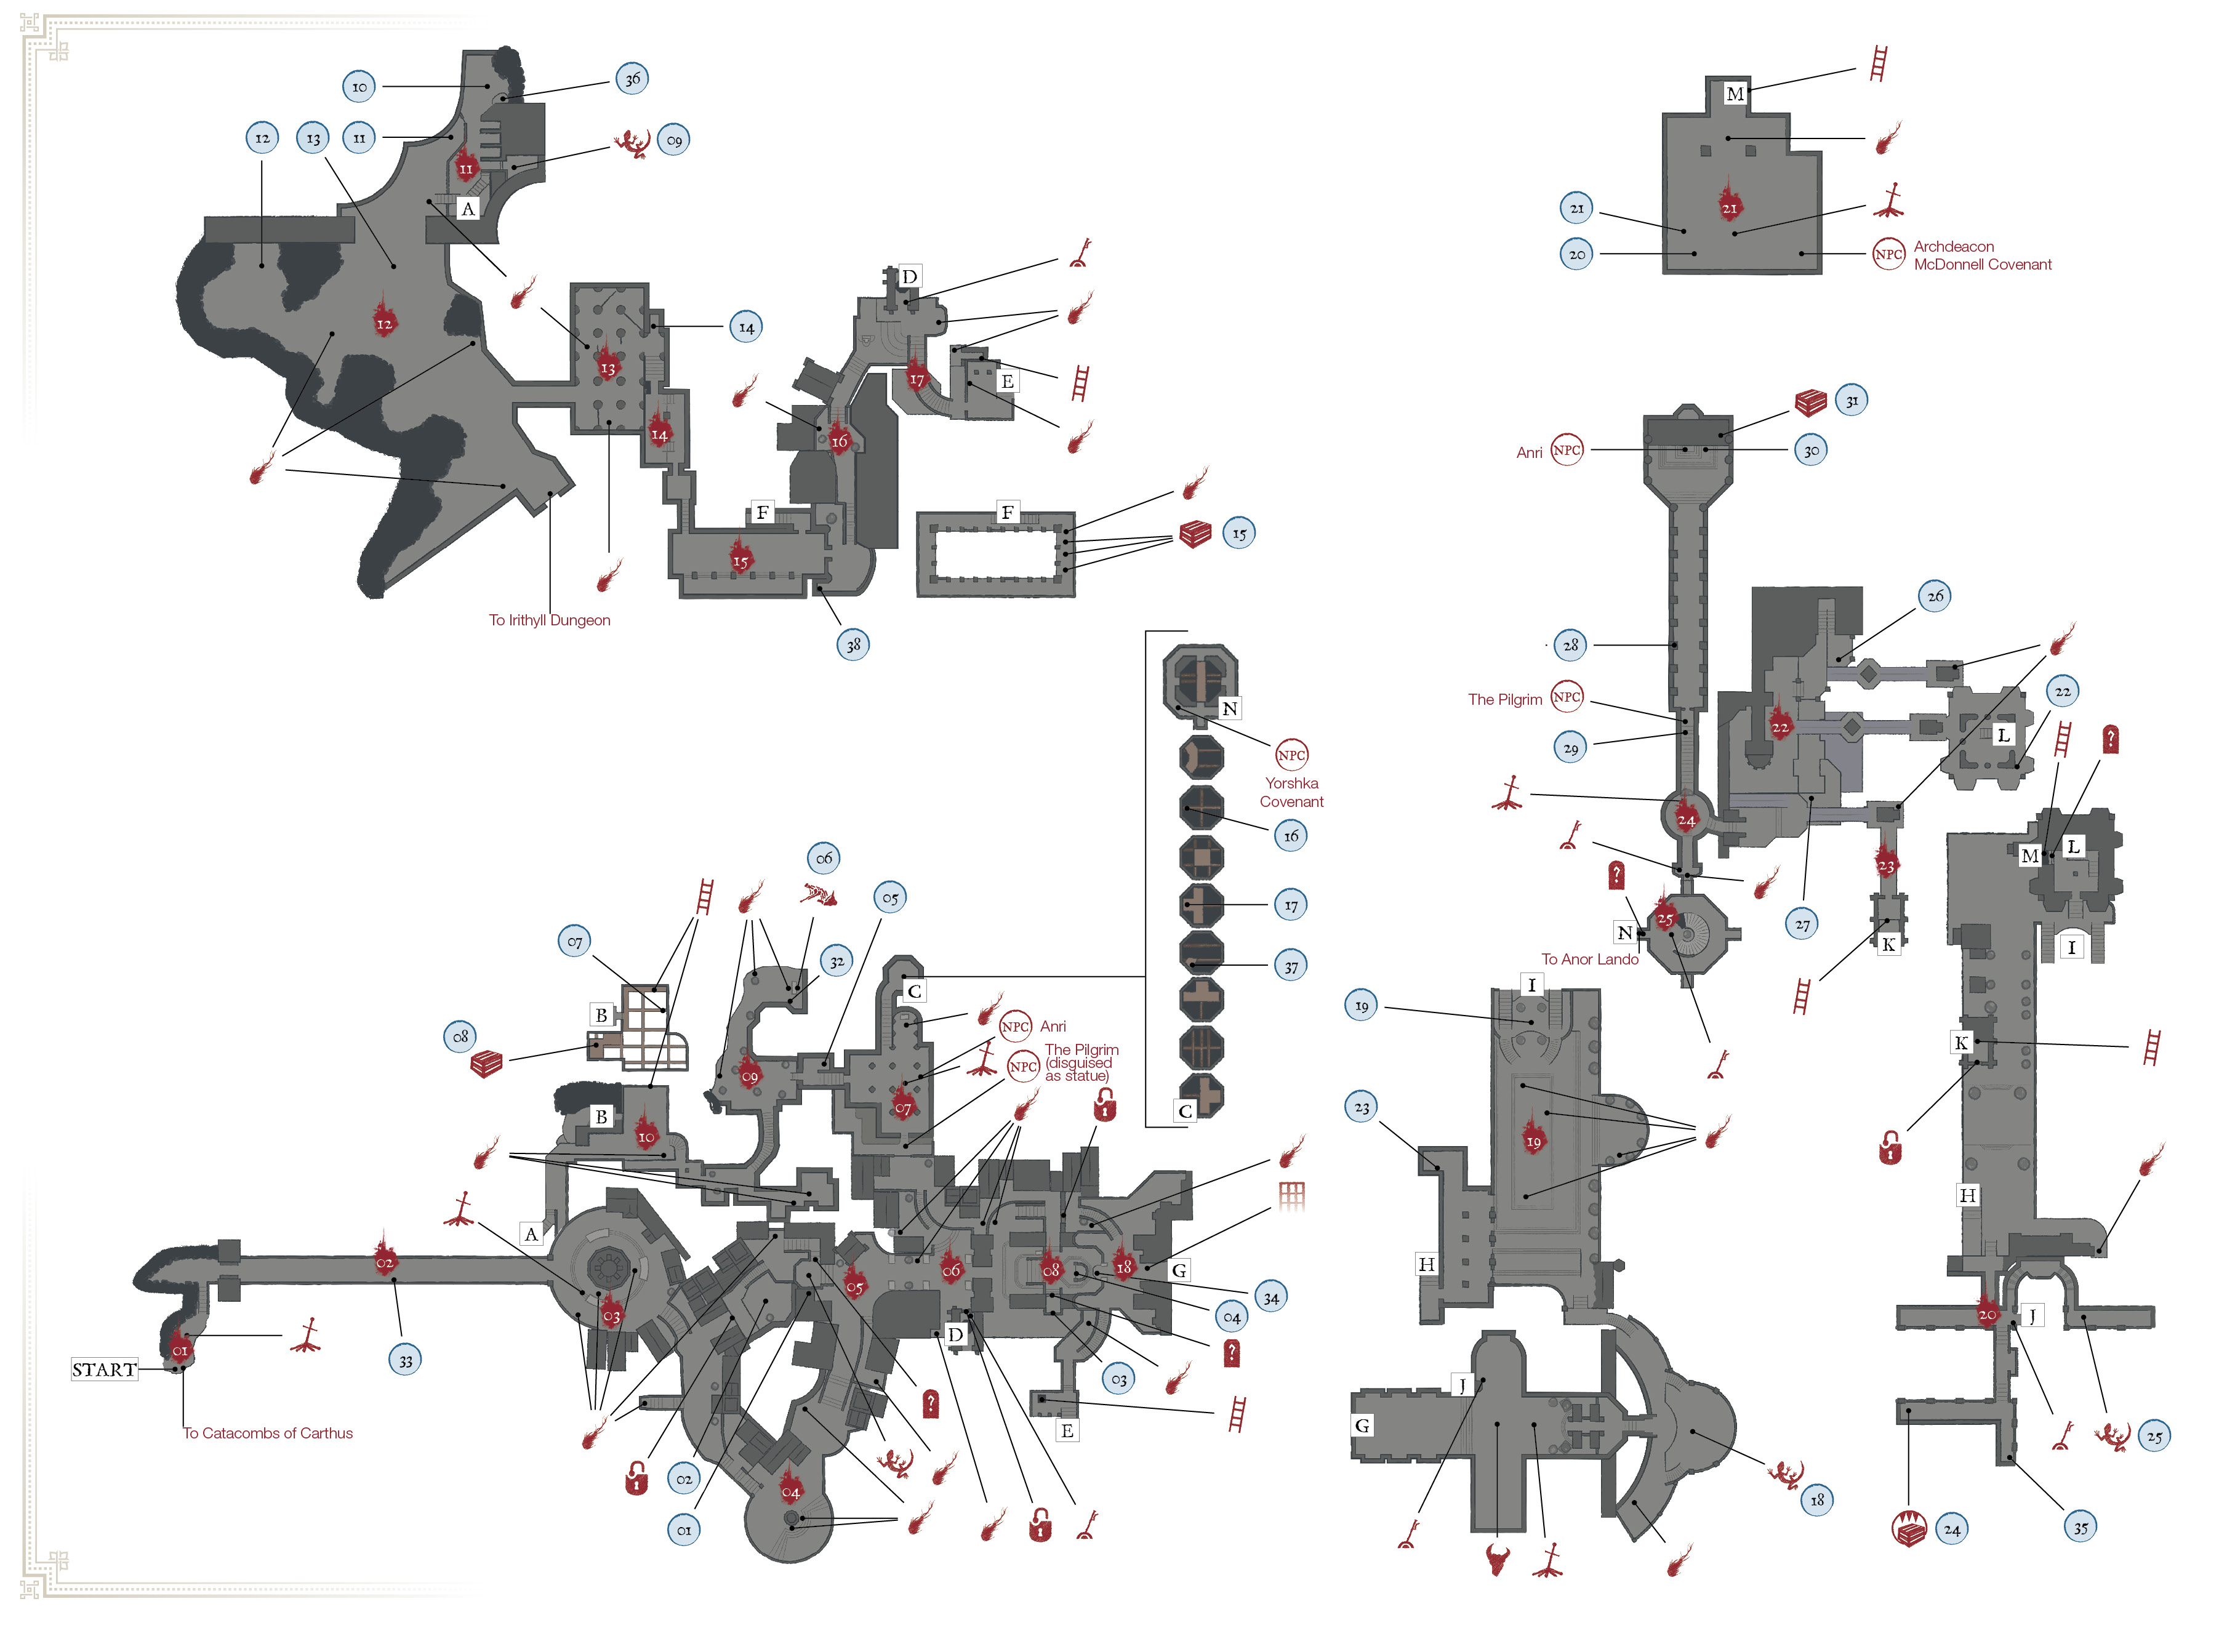
Major Items
 | Items |
|---|---|
| 1 | Twinkling Titanite |
| 2 | Dorhys’ Gnawing (on Evangelist), Witchtree Branch (on ground) |
| 3 | Magic Clutch Ring |
| 4 | Lightning Gem (ground floor), Ring of the Sun’s First Born (ledge, accessible from 18) |
| 5 | Roster of Knights |
| 6 | Undead Bone Shard |
| 7 | Shriving Stone |
| 8 | Yorshka’s Spear |
| 9 | Twinkling Titanite |
| 10 | Blood Gem |
| 11 | Ring of Sacrifice |
| 12 | Great Heal |
| 13 | Pontiff’s Right Eye (on Sulyvahn’s Beast here or from bridge entrance to Irithyll) |
| 14 | Excrement-covered Ashes |
| 15 | Smough’s Great Hammer, Leo Ring (in chests) |
| 16 | Painting Guardian’s Curved Sword |
| 17 | Painting Guardian’s Armor (full set) |
| 18 | Twinkling Titanite |
| 19 | Drang Twinspears (on knight) |
| 20 | Deep Gem |
| 21 | Ring of Favor (on Sulyvahn’s Beast) |
| 22 | Titanite Scale |
| 23 | Dark Stoneplate Ring |
| 24 | Golden Ritual Spear |
| 25 | Simple Gem |
| 26 | Easterner’s Ashes |
| 27 | Dragonslayer Greatbow, Dragonslayer Greatarrow |
| 28 | Brass Armor (full set) |
| 29 | Sword of Avowel (before ceremony), Chameleon (from Pilgrim’s body after Anri ceremony) |
| 30 | Anri’s Straight Sword (near Anri’s body after ceremony) |
| 31 | Reversal Ring |
| 32 | Dragonslayer’s Axe (on Creighton, after Sirris co-op) |
| 33 | Creighton’s Armor Set (after defeating Dark Spirit at Item 32) |
| 34 | Chloranthy Ring+1 (New Game +1) |
| 35 | Ring of Favor+1 (New Game +1) |
| 36 | Covetous Gold Serpent Ring+1 (New Game +1) |
| 37 | Havel’s Ring +2 (New Game +2) |
| 38 | Wood Grain Ring+2 (New Game +2) |
Bonfires Located Here
| Bonfire Name |
|---|
| Irithyll of the Boreal Valley |
| Central Irithyll |
| Church of Yorshka |
| Pontiff Sulyvahn |
| Water Reserve |
| Prison Tower |
Key Discoveries
| Discovery |
|---|
| Archdeacon McDonnell Covenant |
| Anri |
| Company Captain Yorshka Covenant |
Enemies
| Enemy Name |
|---|
| Sulyvahn’s Beast |
| Pontiff Knight |
| Burning Stake Witch |
| Irithyllian Beast-hound |
| Irithyllian Slave |
| Crystal Lizard |
| Sewer Centipede |
| Silver Knight |
| Evangelist |
| Giant Slave |
| Deacon of the Deep |
| Pontiff Sulyvahn |
Bonfire—Irithyll of the Boreal Valley
 When you first look at the map in this guide, Irithyll probably appears quite daunting. It is a fairly large area, and there are many enemies and items to uncover here. However, the map is also spread out very well, so you aren’t going to be overwhelmed. Take this city in stages. Start by going after the boss, Pontiff Sulyvahn. By the time that he is slain, you have unlocked enough shortcuts to get around somewhat easily in the future, and you’ll have plenty of Bonfires, as well.
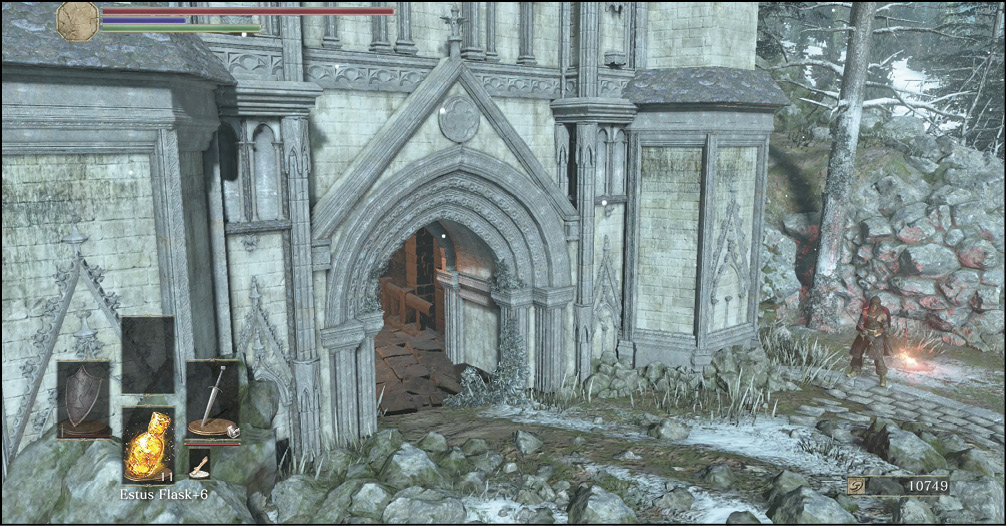
 A long bridge goes toward the city. As long as you’ve beaten the Deacons of the Deep, you will have the Small Doll that is required to cross that bridge and enter Irithyll. If you haven’t done this, travel to the Cathedral of the Deep now and take care of that boss battle before you proceed.
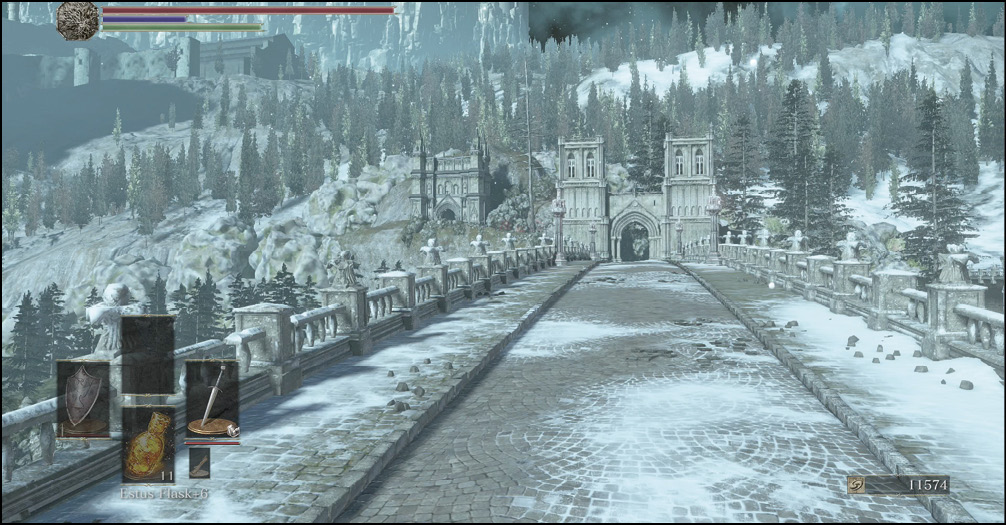
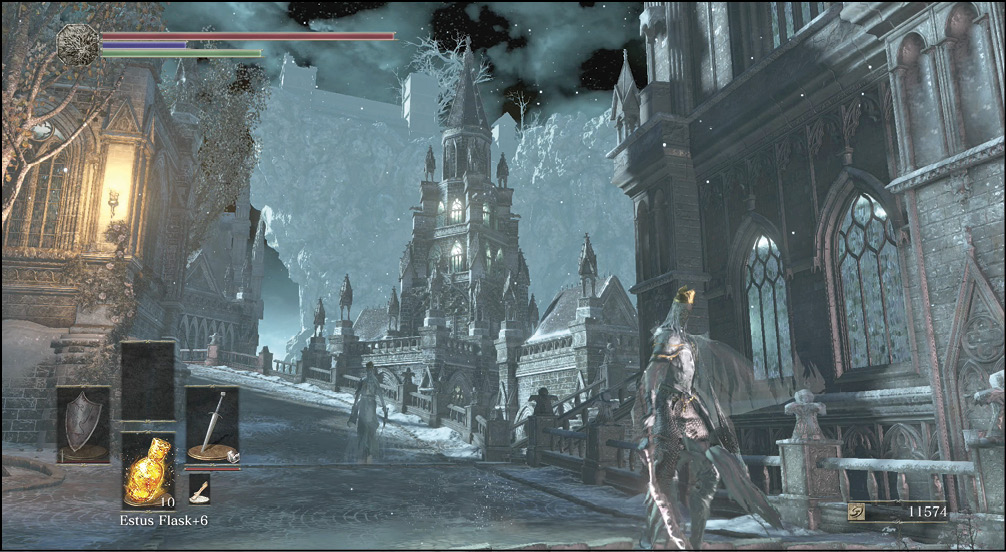
As you go across this bridge, Sulyvahn’s Beast attacks you. This monster only appears one time, so killing it is very important. You’re close to a Bonfire, so waste as many Estus Flask uses as you need to. Sulyvahn’s Beast has massive damage output. Top off your health whenever you take a hit. You get Pontiff's Right Eye from the monster.
Also, come here after fighting Creighton if you're finishing Sirris' questline. Creighton's Armor Set appears on this bridge once everything is done.
Bonfire—Central Irithyll
 To celebrate your entrance into Irithyll, you get another Bonfire. Light this one (for Central Irithyll). As you go up the street from there, you start to encounter Pontiff Knights. These fast foes have lethal melee combos. It’s hard to block them, it’s hard to dodge away from them, and they can cut you down in seconds.
Bloody Pontiff Knights!I have to say that these guys gave me so much trouble at first because I am such a melee brute. Their combos last for so long that I couldn’t dodge and counterattack them. Though I usually favor a fast approach to kills, I suggest that players take on these enemies at range. Arrows are cheap, and dying isn’t. This also ensures that you fight only one Pontiff Knight at a time. Getting two of these monsters at once is pure agony. Another warning here: don’t bait Pontiff Knights. It’s better to take the initiative and hit them during their approach. Otherwise, they have a good chance of starting a combo that will deplete your Stamina, do damage, and begin the Frost effect on your character. |
There are three Pontiff Knights as you go up the first street. Pull each back, isolate them, and then kill them.
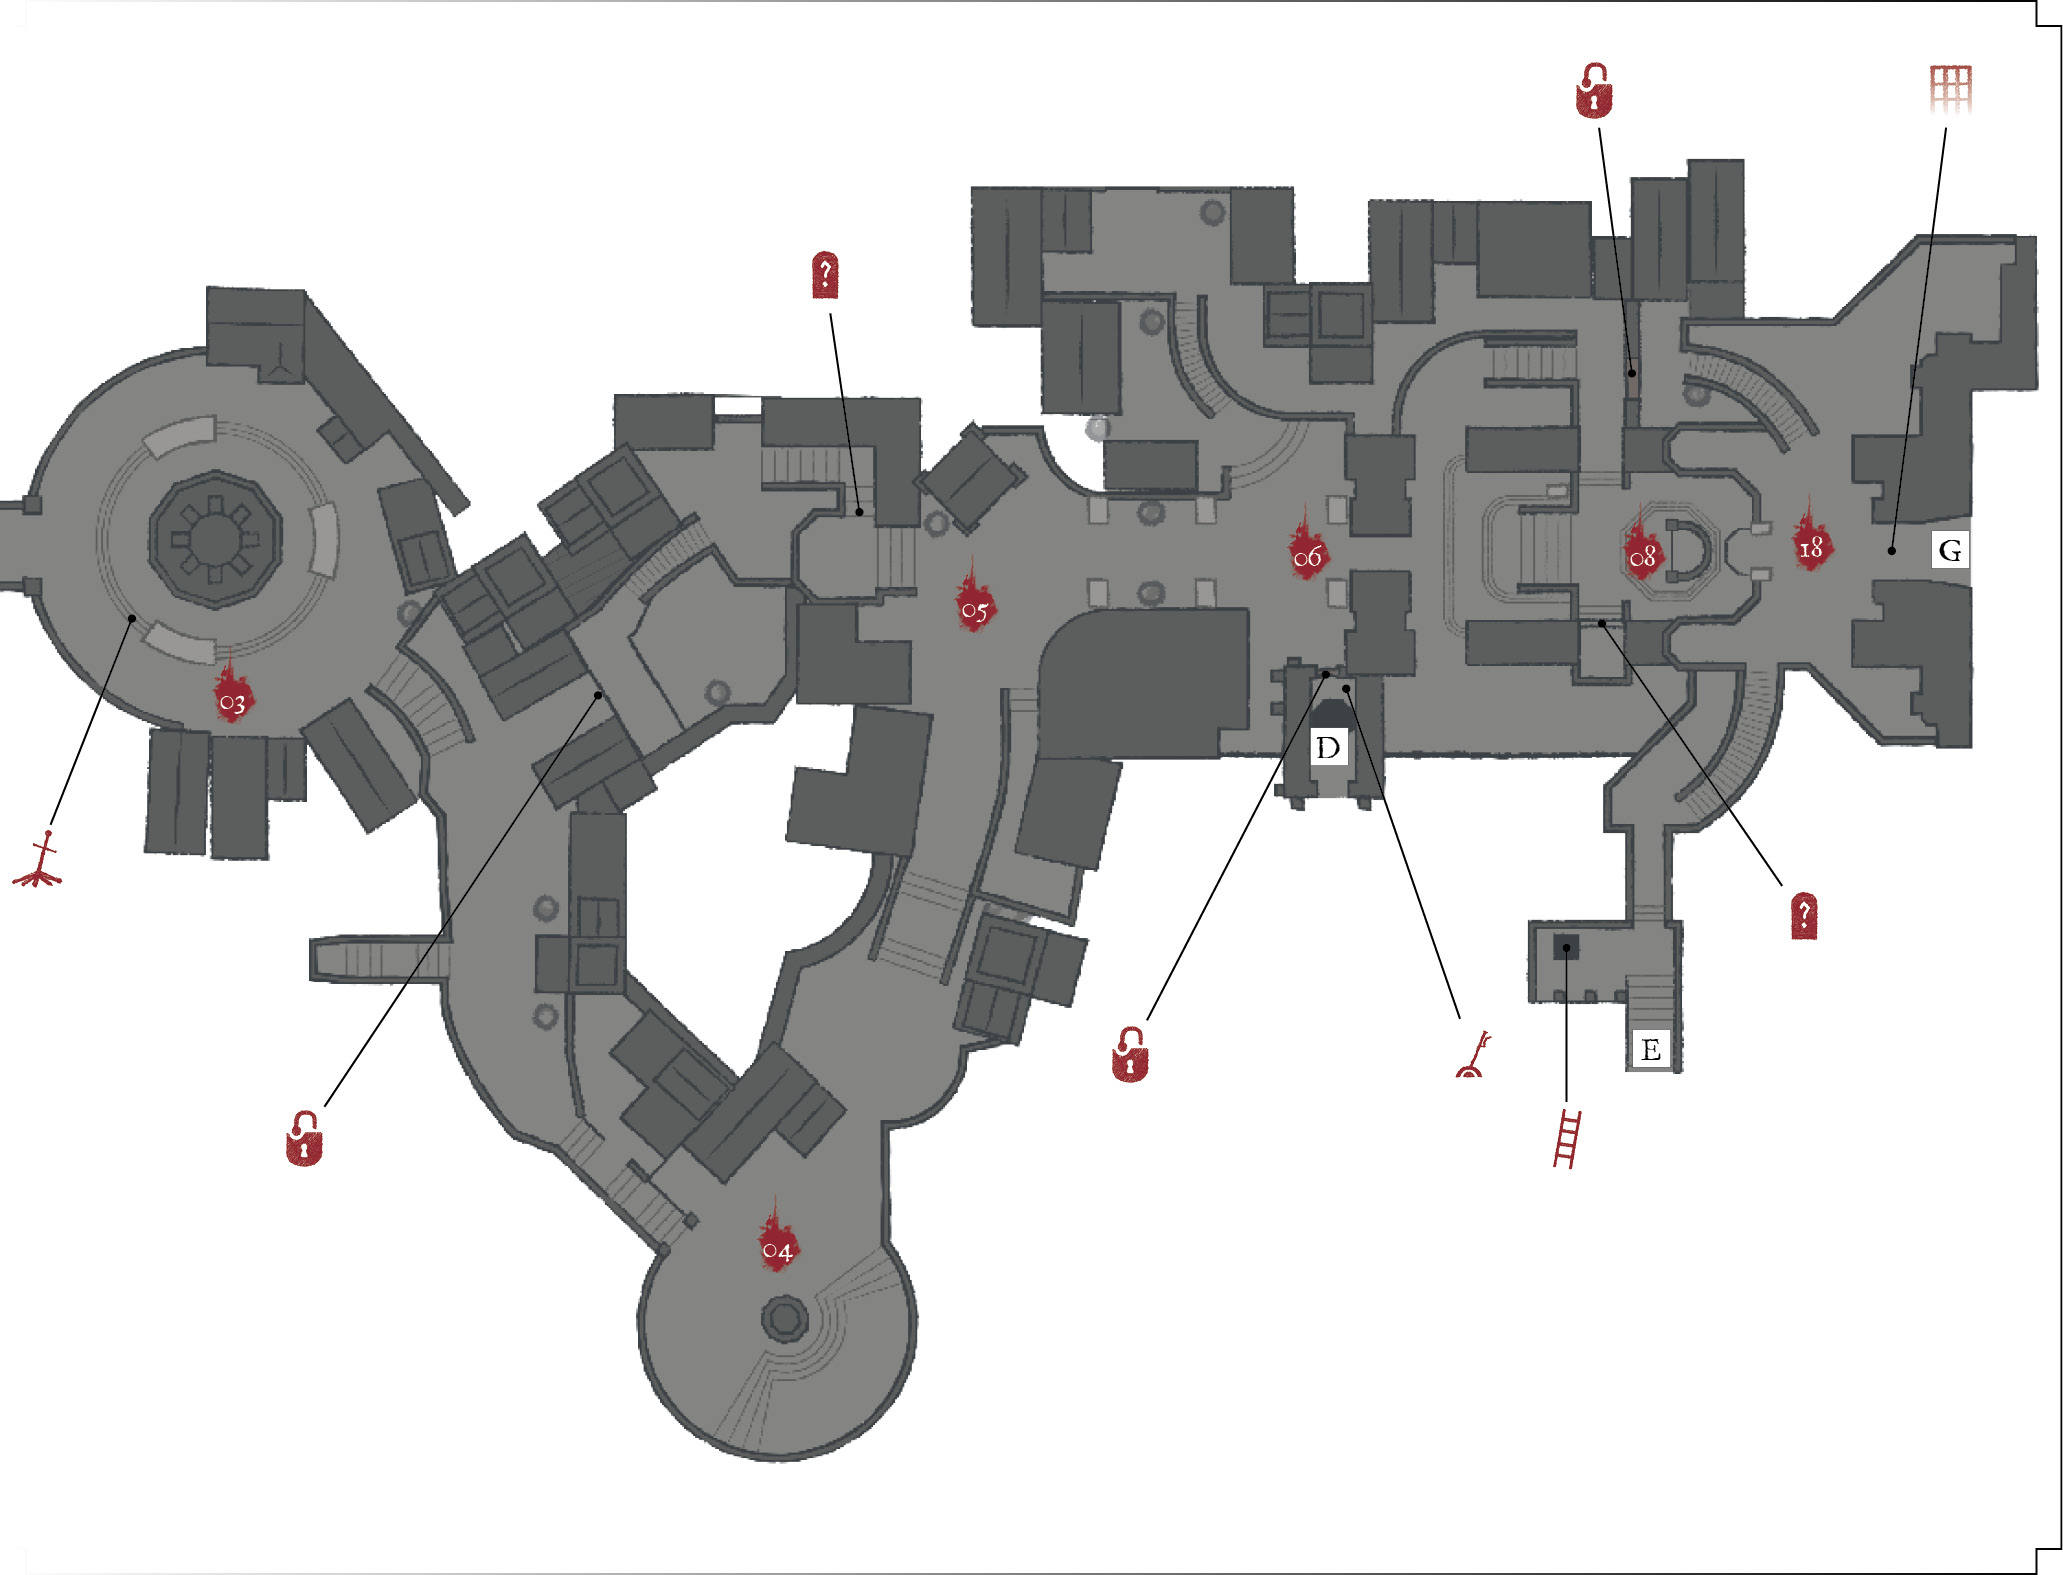
A side shortcut is on the way up, but it’s locked initially. You get this later, near (5).
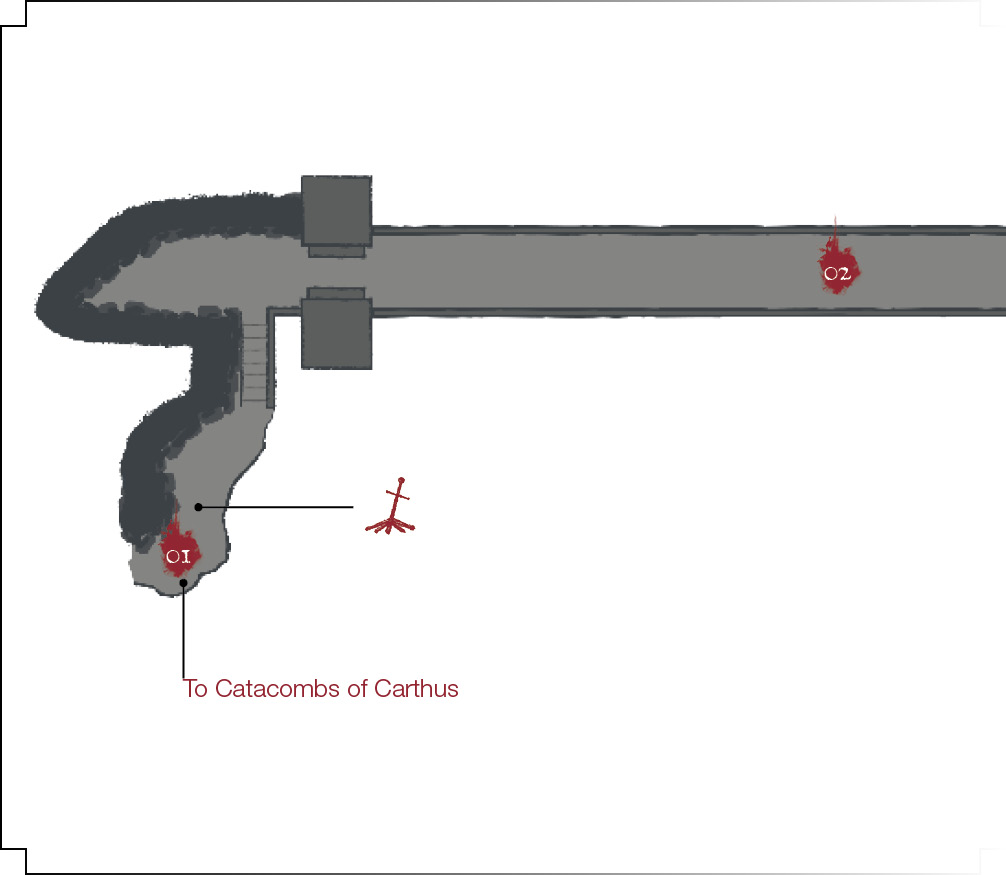
 A fountain has a couple of Irithyllian Slaves as guardians. These are the basic foot soldiers for the area. They’re low on health, only deal moderate damage, and can be killed in groups if you’re prepared for them. When found in dark places, they’ll be almost invisible, but you can see the few gathered here without difficulty. Dispatch them.
Nearby, another new foe is holding its ground. Burning Stake Witches fire Pyromancy spells at range, and they’re able to quickly slam targets at close range, as well. You need to give them as much respect as possible. Pull enemies away from them, kill everything in the area, and then slaughter the Burning Stake Witch once it’s alone. Never fight anything under the gaze of these adversaries because they’ll give you constant bombardment.
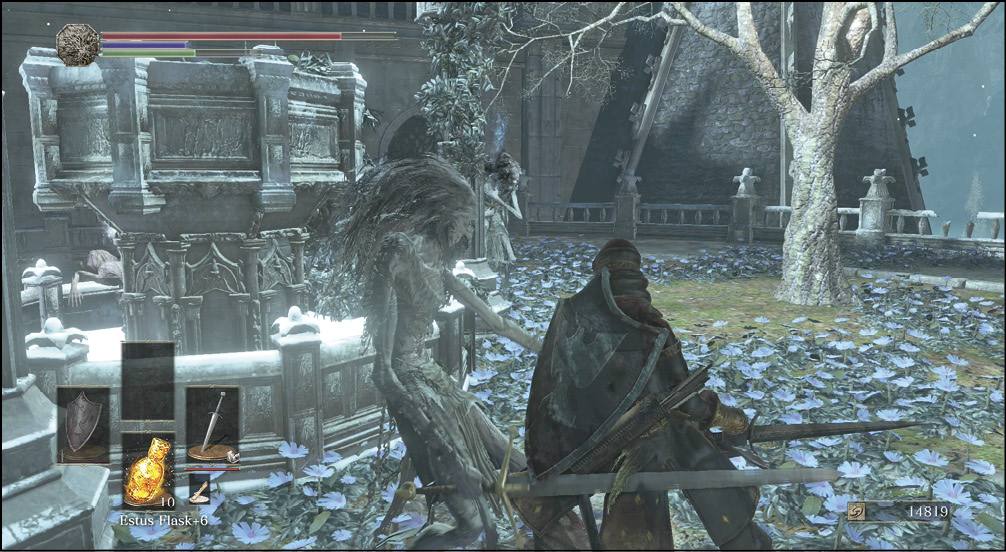
 On the way up to a church, you fight another Burning Stake Witch. Two patrolling Pontiff Knights are close to that street, so watch out for them while you’re closing in on the Burning Stake Witch. Make sure that you don’t catch their attention before their ranged ally is dealt with. If you really mess up, you’re going to pull all of these enemies at once.
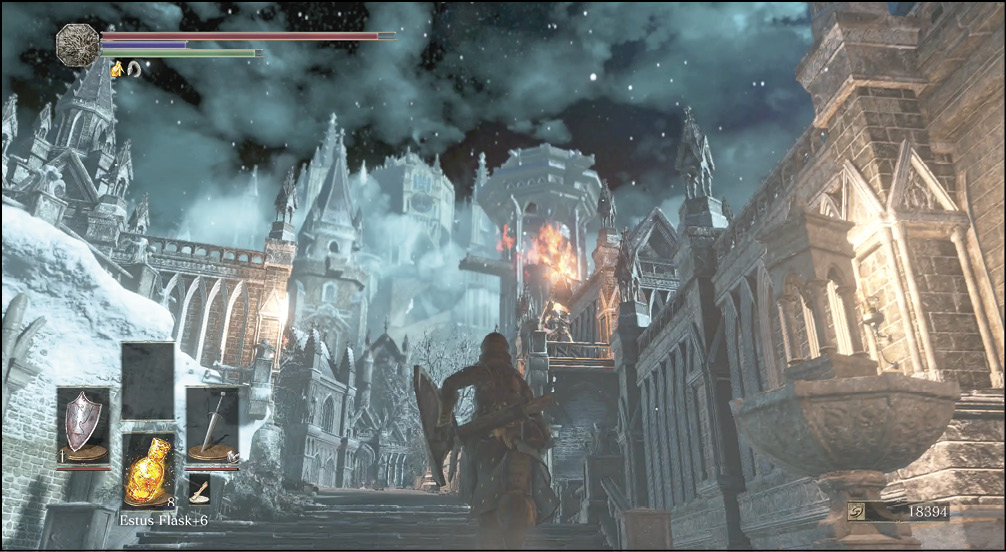
In the northwest, you find a modest set of stairs that seems to go almost nowhere. An empty ledge? Maybe it isn’t. Try to smack the edge of the balcony up top with your weapon. A set of new stairs appears! Follow it down, and then kill an Evangelist that is praying in the yard below. You get some treasure and can open the shortcut at (3). This lets you bypass quite a few monsters on the main road. The treasure includes Dorhys' Gnawing and a Witchtree Branch.
 The boss, Pontiff Sulyvahn, is at the top of a building at the end of the road. You can’t get in there from this part of the city without opening shortcuts. Instead, take the side path toward (7) to advance.
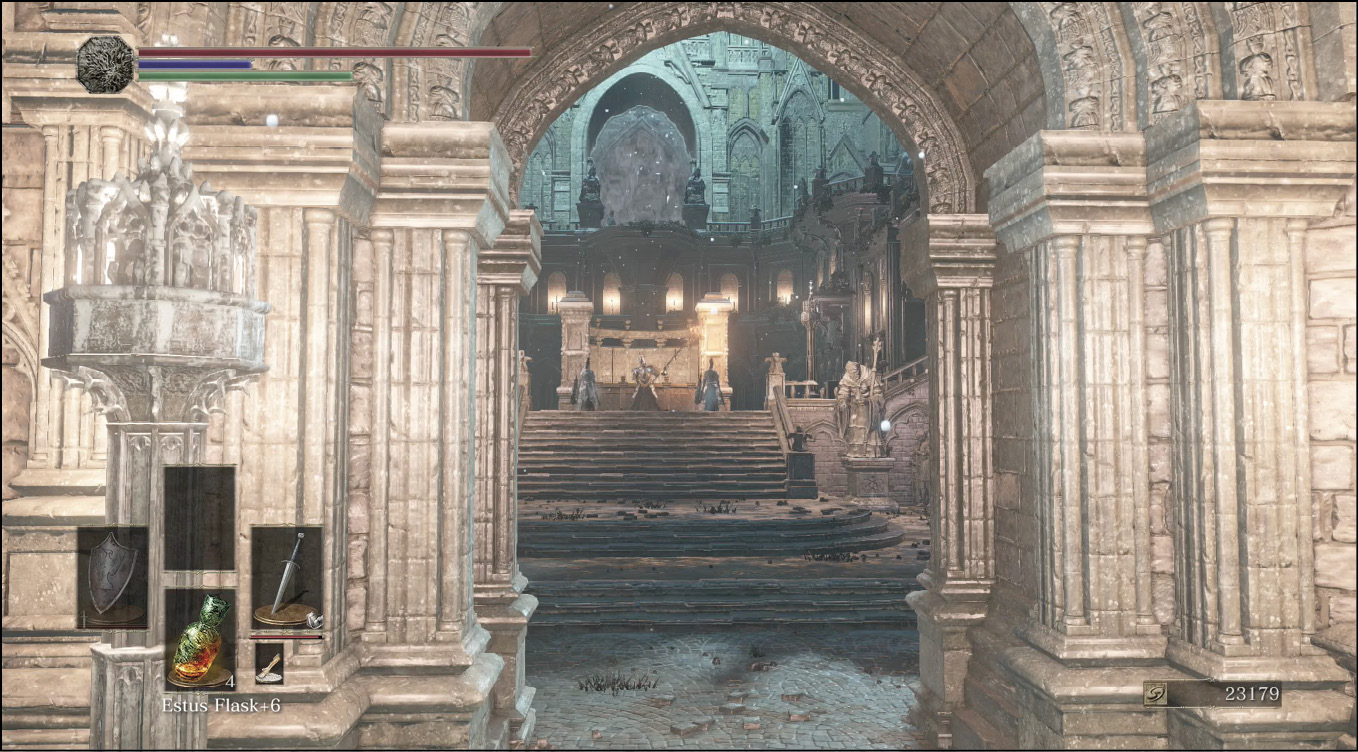
Bonfire—Church of Yorshka
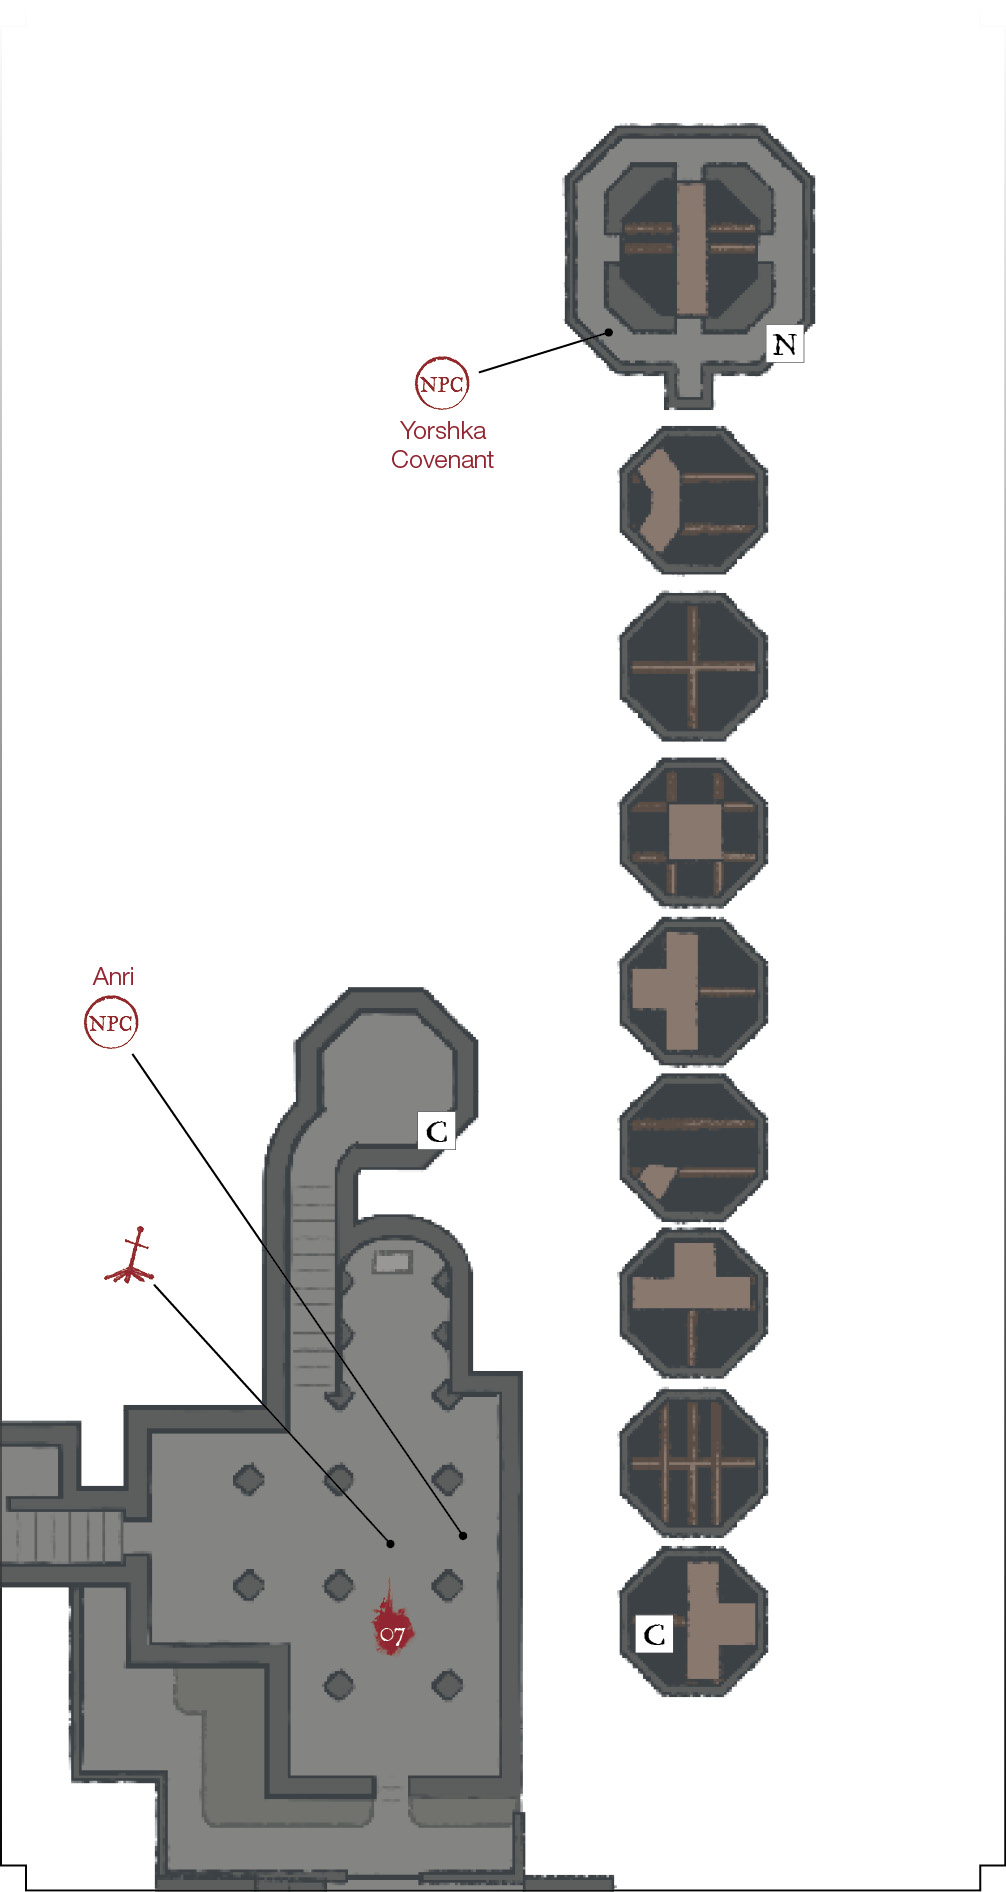
 The Church of Yorshka Bonfire makes it much easier to take out the region’s boss, and it’s also a critical point for exploration. The side routes away from this Bonfire let you either go after Pontiff Sulyvahn more easily or descend through the backstreets of the city. The loot improves along that route, and the path eventually takes you to the Irithyll Dungeon. On the way to the west, you pick up the Roster of Knights in a small cubby.
If you’re going along Anri’s questline, you find Anri here. Talk to Anri to continue the story. You get the Ring of the Evil Eye and learn the Quiet Resolve gesture.
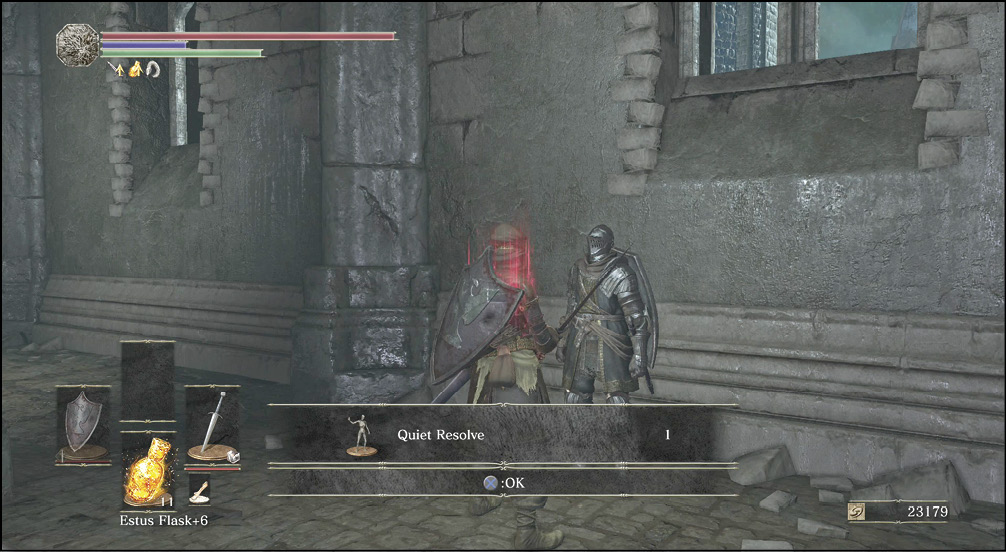
 The big building has a Burning Stake Witch and two Pontiff Knights. Pull the knights away from their support, and kill them around a corner. Look for a secret wall beside the enemies, as you find a Magic Clutch Ring behind it.
Once you’ve opened the shortcut, it’s possible to go after the boss by proceeding through the large gate in this building. Otherwise, you have to go to (7) and take the long way around.
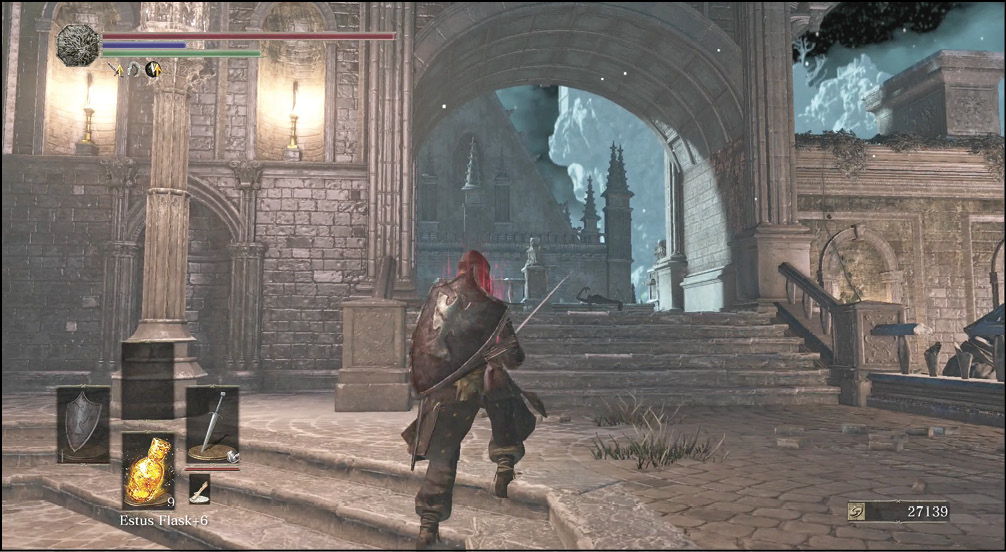
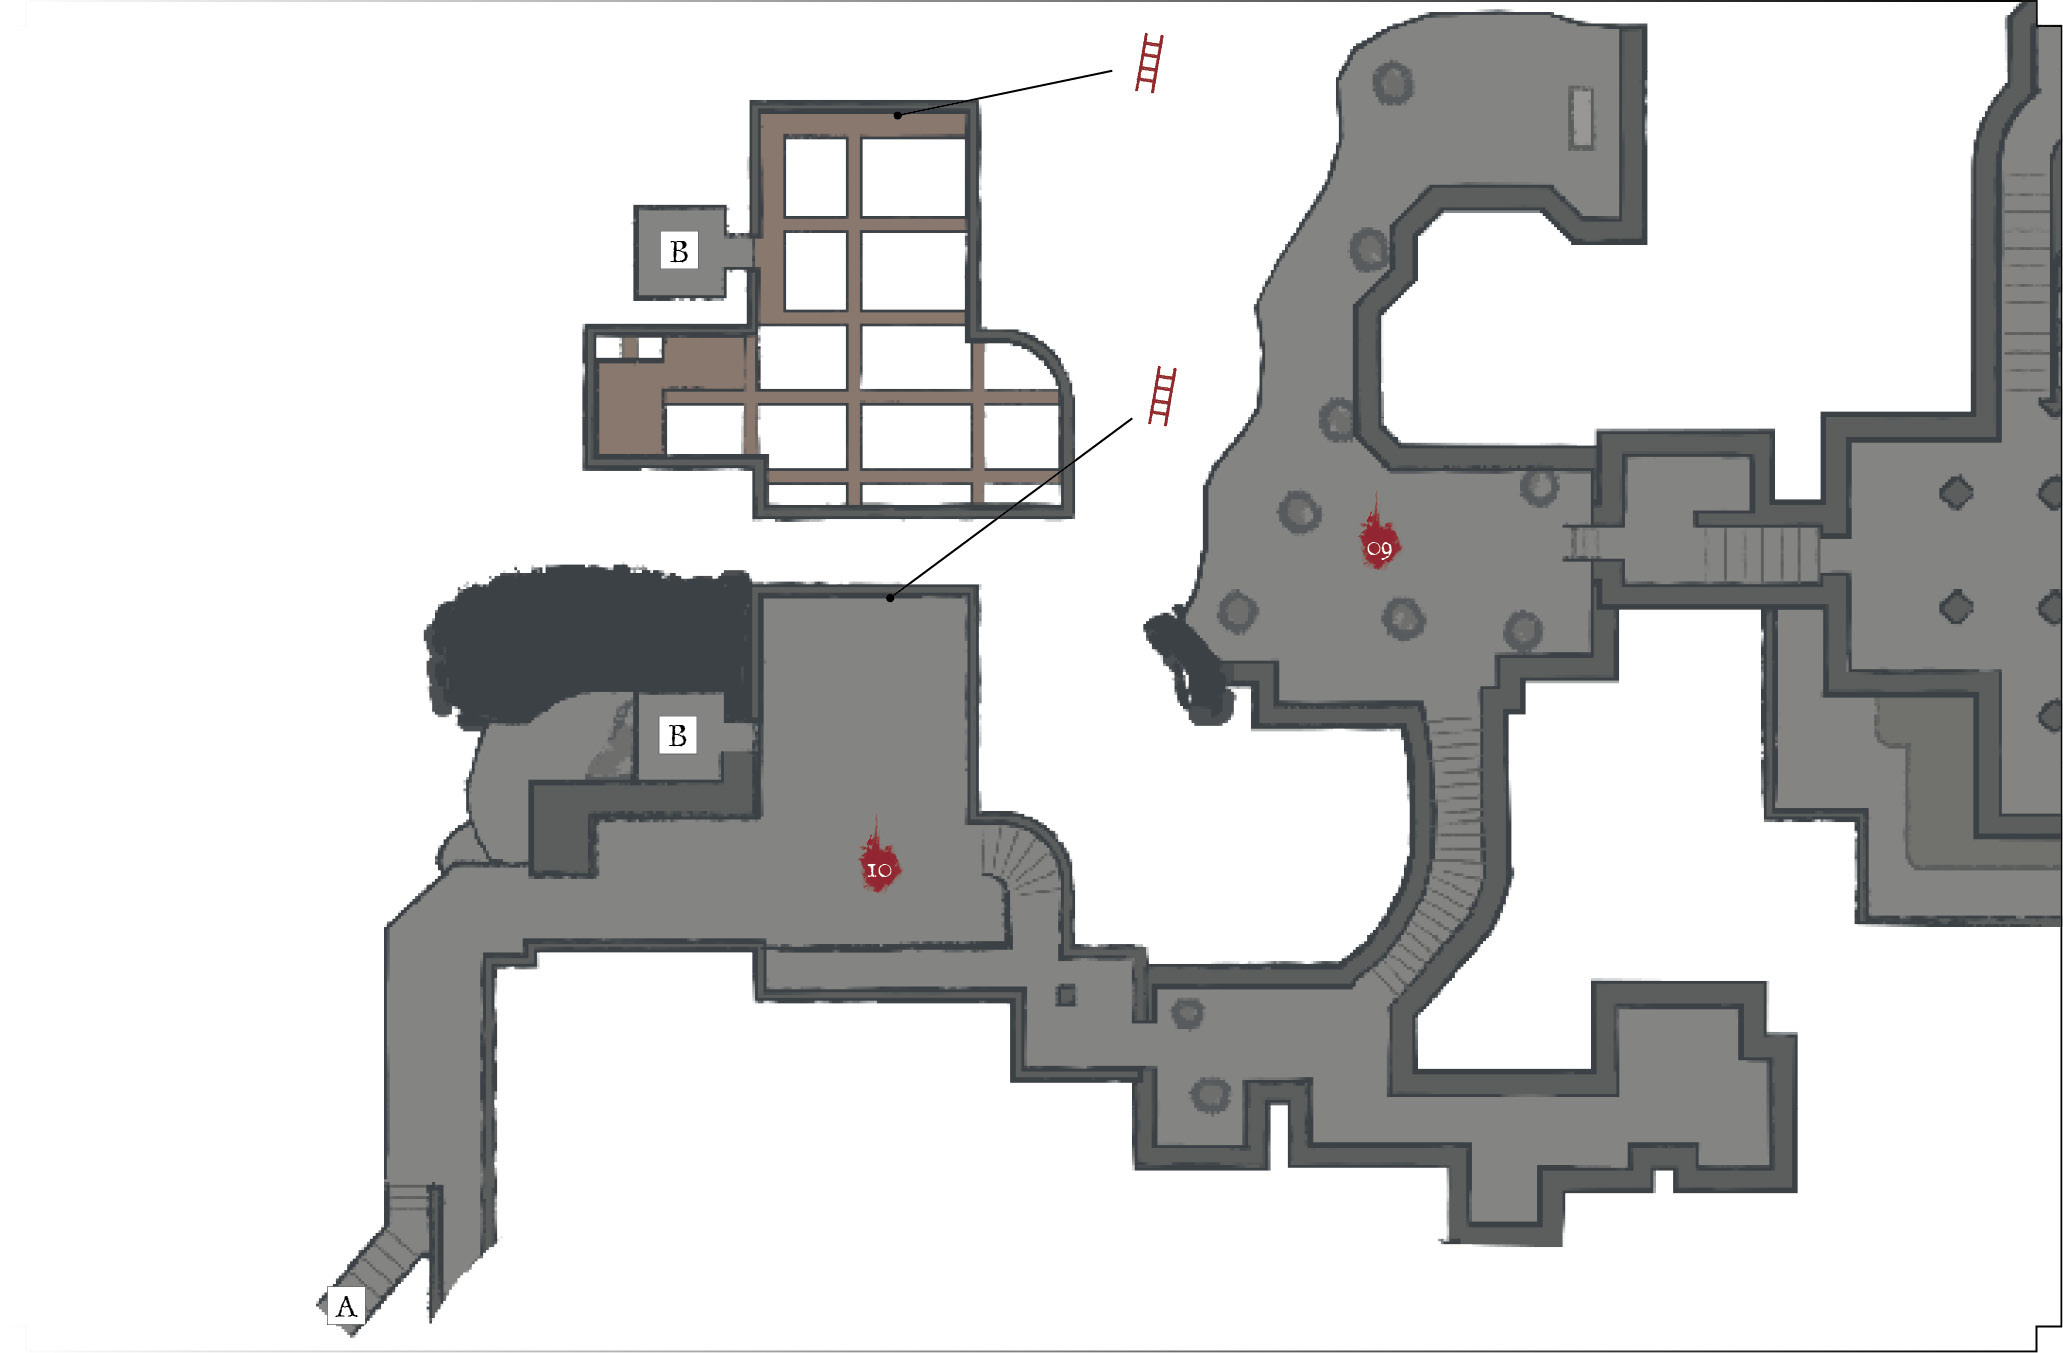
 Stairs lead down, away from the Bonfire. They exit to a graveyard with Irithyllian Slaves here and there. Explore thoroughly, and look for an Undead Bone Shard behind a gravestone. Although they are easy to kill, the Irithyllian Slaves here can’t be seen until you’re almost on top of them. Their burning eyes appear first, but the rest of their bodies follow suit within an instant. Keep a fast weapon at the ready so that you can counter them without getting hit. At minimum, at least have a shield out so you don’t get stabbed. If you finish Sirris' cooperative questline, come here at the end of it. You find the Dragonslayer's Greataxe on Creighton, north of the waypoint at 09.
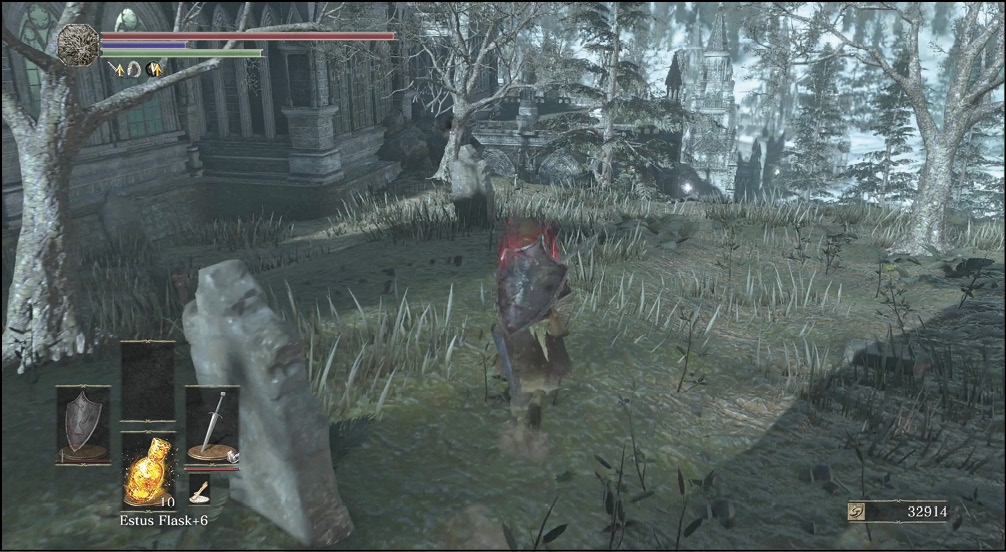
 As you get closer to the wetlands outside of the city, many Irithyllian Slaves are hiding inside a dark basement. Hide behind your shield, and counter their attacks once they’re revealed. A chest is up in the rafters of that room, and minor items are scattered below. You get Yorschka's Spear from the chest.
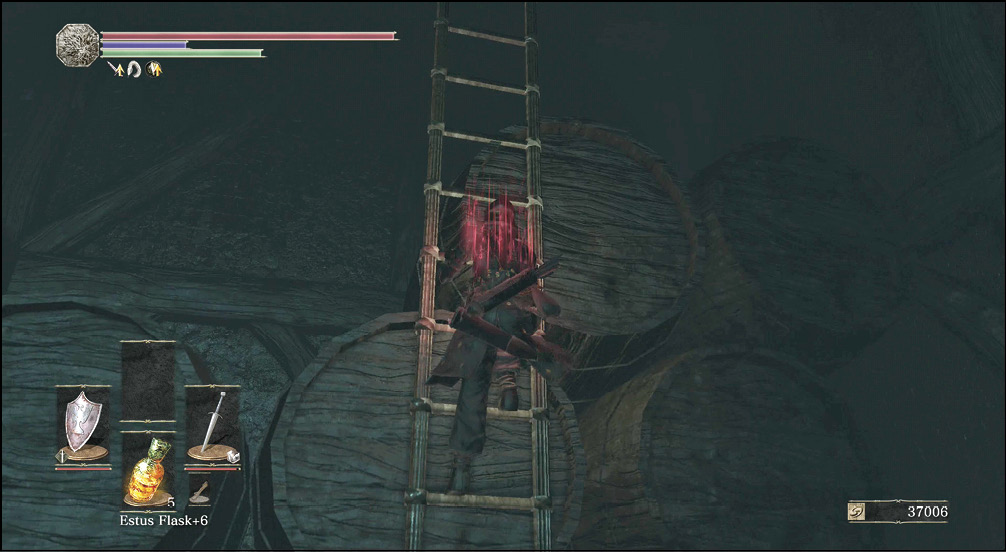
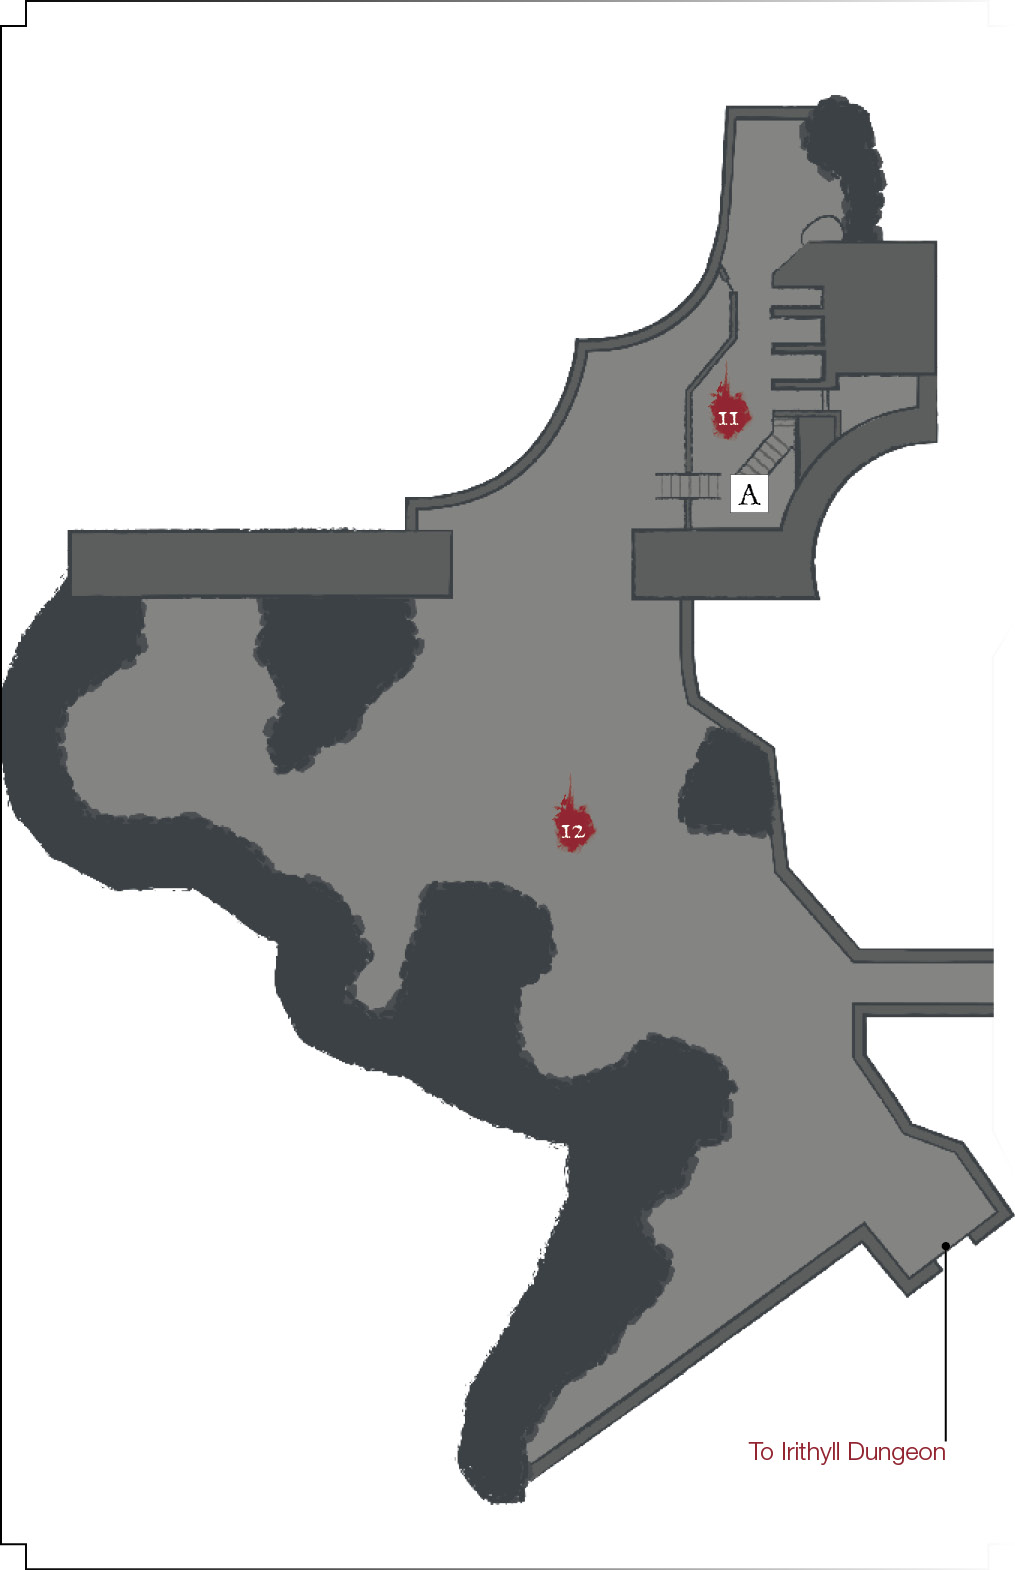
 Kill the remainder of the Irithyllian Slaves on the ledges outside. The only thing that’s hard to find here is a secret door that’s recessed inside a brick archway. A Crystal Lizard is trapped beyond that door. A Ring of Sacrifice is also here, northeast of the waypoint.
On New Game +1, there is a Covetous Gold Serpent Ring+1 north of the waypoint.
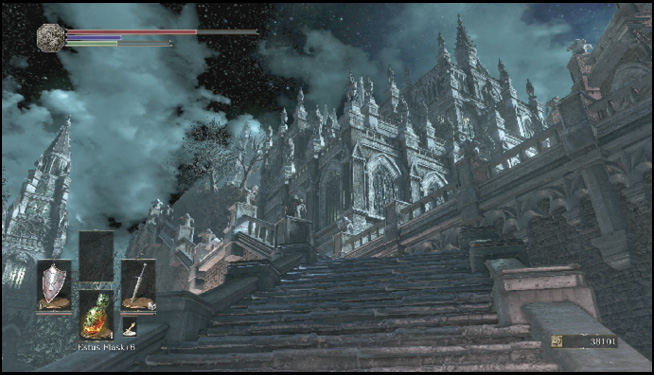
 It’s slow-going once you reach the water, but treasure abounds. Search all parts of the land and water to get everything that isn’t nailed down. Great Heal is at the western end of the wetland. Most of the enemies here are Sewer Centipedes. They’re hard to spot because they lie low in the water before they sense you, but you can still see them once you know what to look for. Ambush these foes before they rise, so you can score kills without having to really fight.
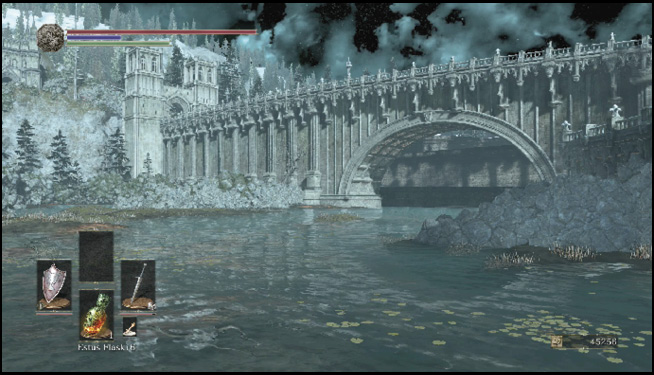
Once you arrive, you find two new ways out of the wetlands. The archway to the south takes you down into Irithyll Dungeon. There are two major regions there, and it takes a fair bit of time to clear them. There is a Bonfire called Distant Manor in that direction, and you get it without having to engage in any combat. If you’re low on flasks, head over there now to restore yourself.
To the east, a sewer entrance lets you explore the remainder of Irithyll.
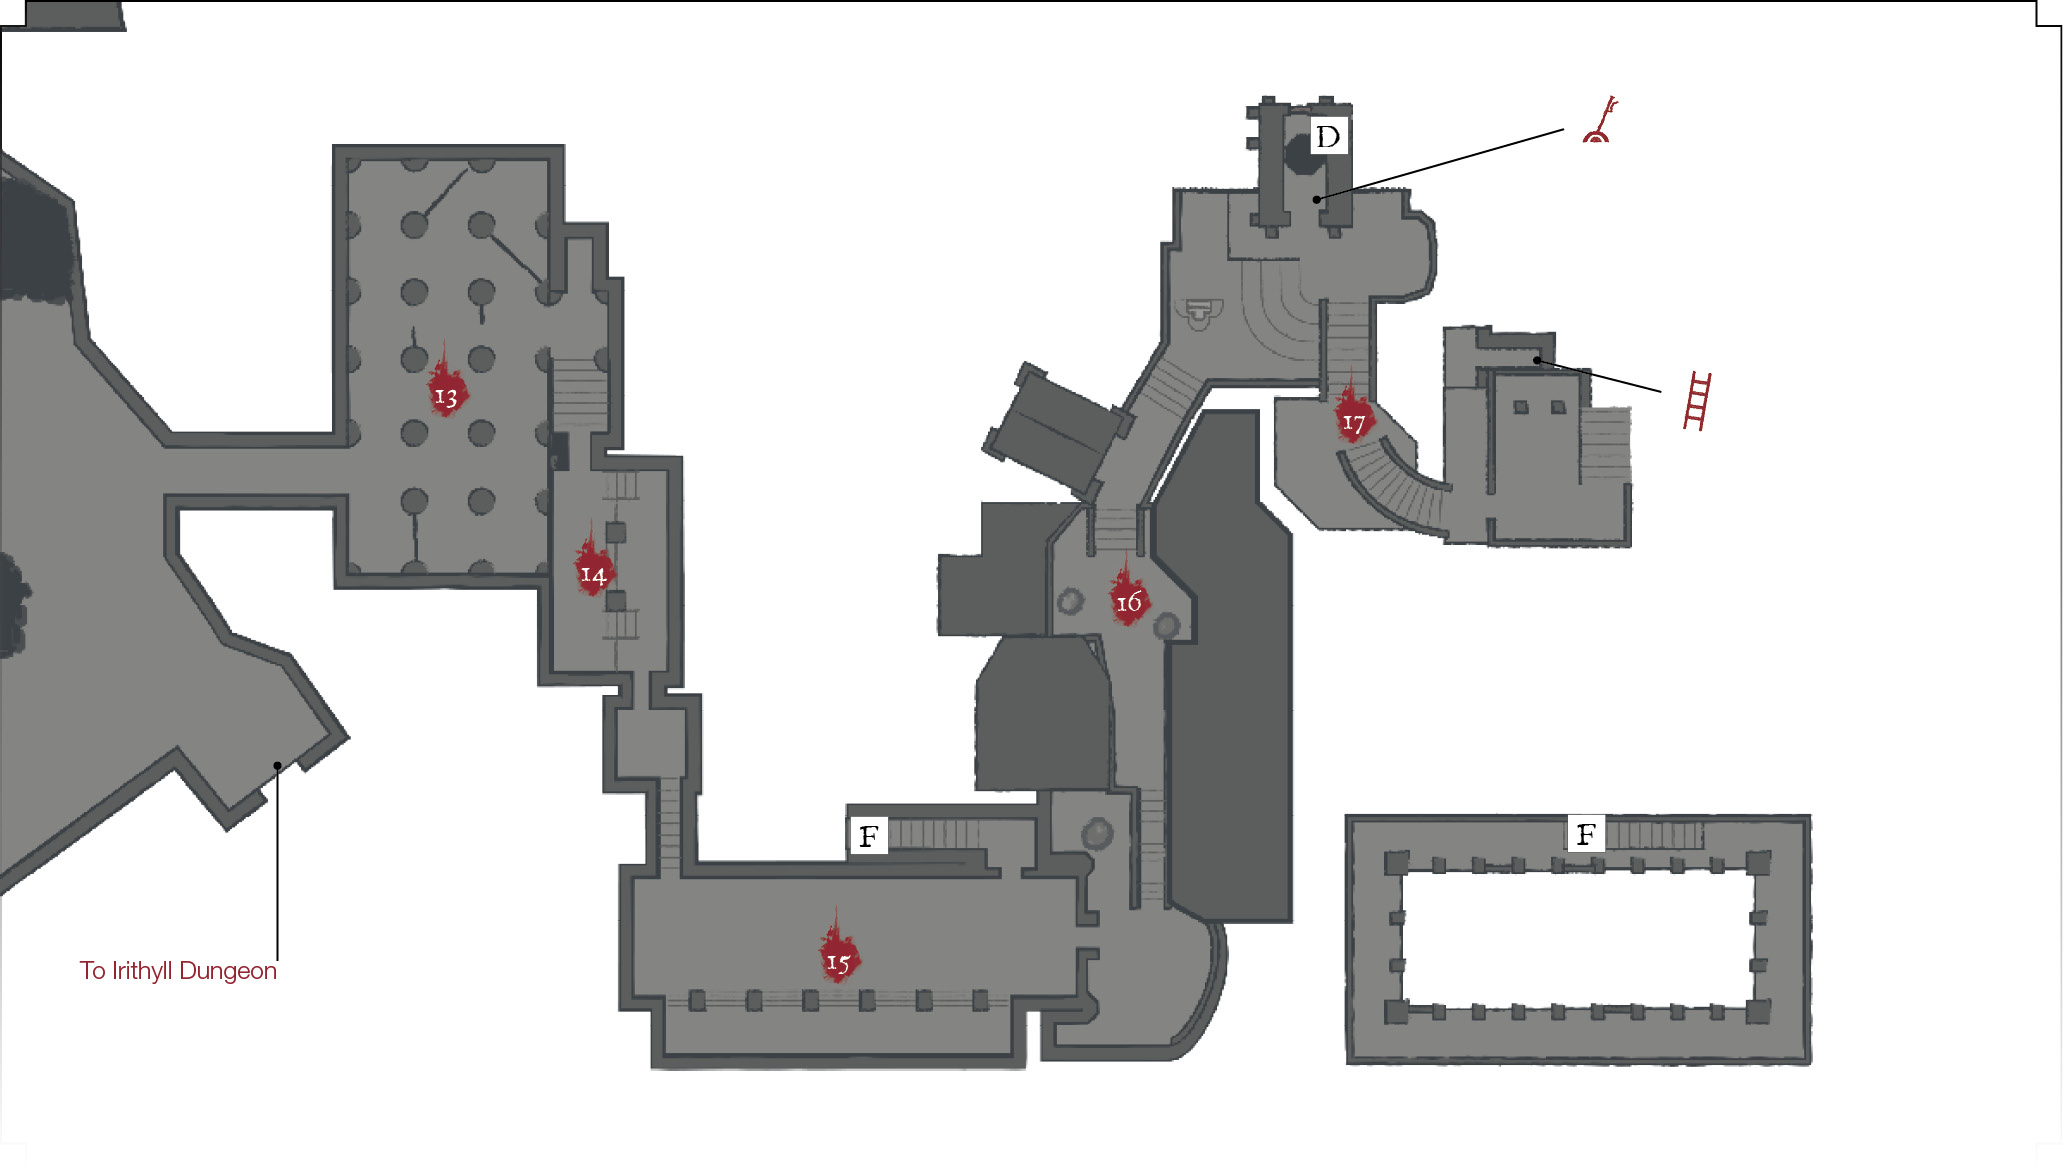
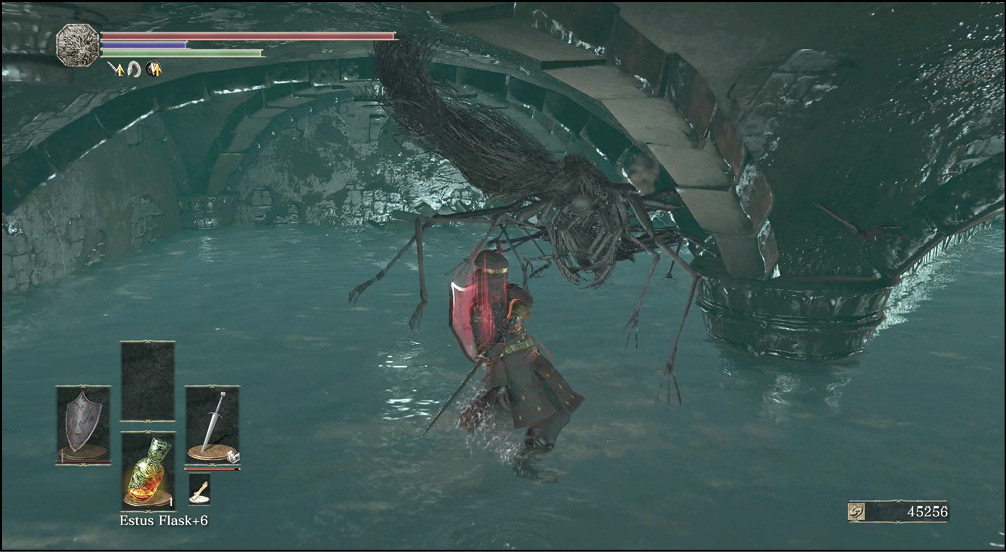
 Many Sewer Centipedes are located just inside the sewer entrance. They sometimes drop Large Titanite Shards, so you’ve found a good hunting spot if that is something that you’re looking for. There are also some Excrement Covered Ashes in this dank room.
 Don’t miss the Estus Soup that’s boiling in the kitchen here. However, you may want to save this cauldron of free healing and come back to it once you deal with the Silver Knights ahead at (15).
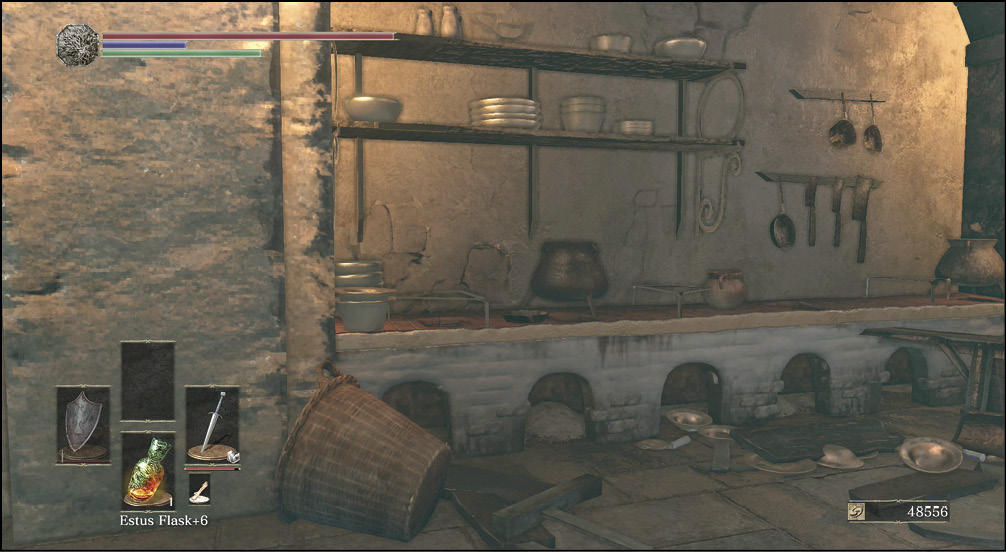
 This hall has three Silver Knights. One is on the bottom floor with a sword and shield. The ones above have bows and won’t let you have a moment’s rest if you go too far into the chamber. Shoot the knight on the bottom level, pull him over, and kill him near the entrance wall (you can’t get shot there). Silver Knights have lightning buffs for their weaponry, so blocking isn’t as useful; some of the damage leaks through, even if you have a larger shield. Dodge and counter to get your kill.
Then, climb the stairs in a side hall and slay the Silver Knights above. If you push them back over the edge, it’s possible to make a Plunging Attack to finish them (for extra style).
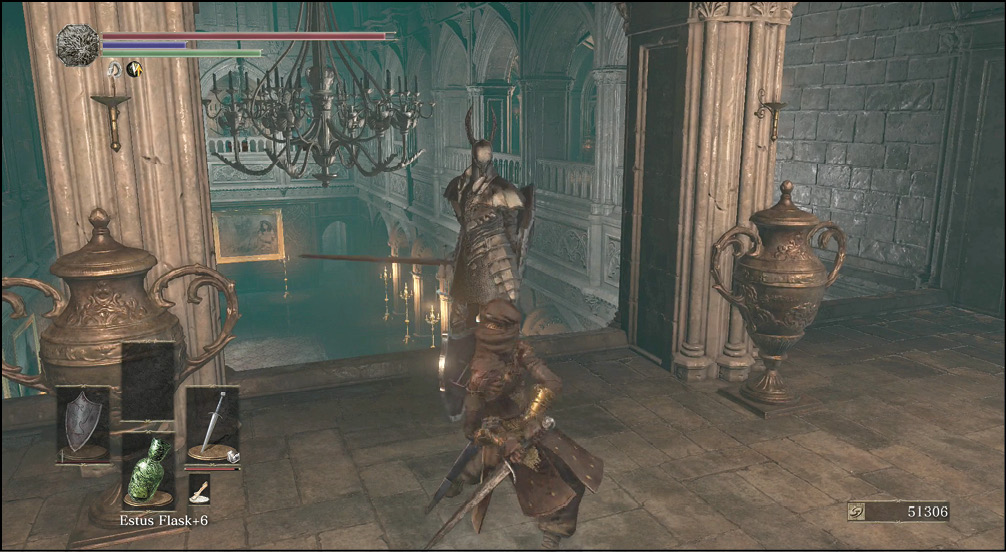
Get the three treasure chests on the upper level before you go back down. Inside the chests are Smough's Great Hammer and the Leo Ring.
On New Game +2, you should search when you leave this building, going east. A Wood Grain Ring+2 is out there, to the right of the exit.
 Irithyllian Beast-hounds try to keep you away from a shortcut and the boss’ area. Go back to a shield configuration to weed these foes out.
The lift to the north gets you to a shortcut. Open this to connect with the front side of the boss’ building. (You passed by there a good while earlier.)
A side lift opens a shortcut from this street to the front of the boss’ area. You’ll get a better shortcut in a minute or two, but open this one anyway in case you get killed before you reach the next one.
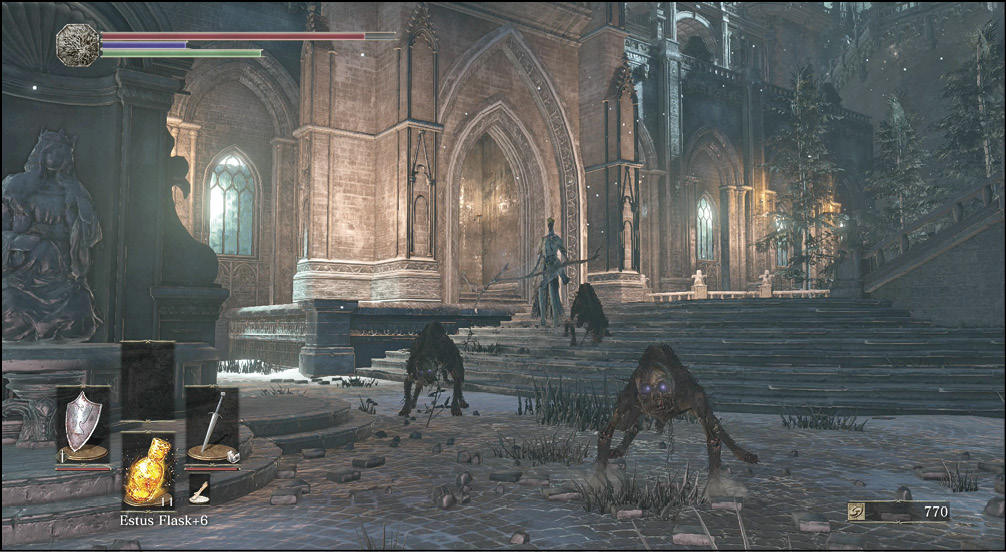
 Over a half-dozen Irithyllian Slaves are at the top of the stairs when you try to approach the boss’ lair. Wade through with a sweeping weapon, or retreat so that the melee Irithyllian Slaves come forward to die without getting help from their allies higher up in the chamber.
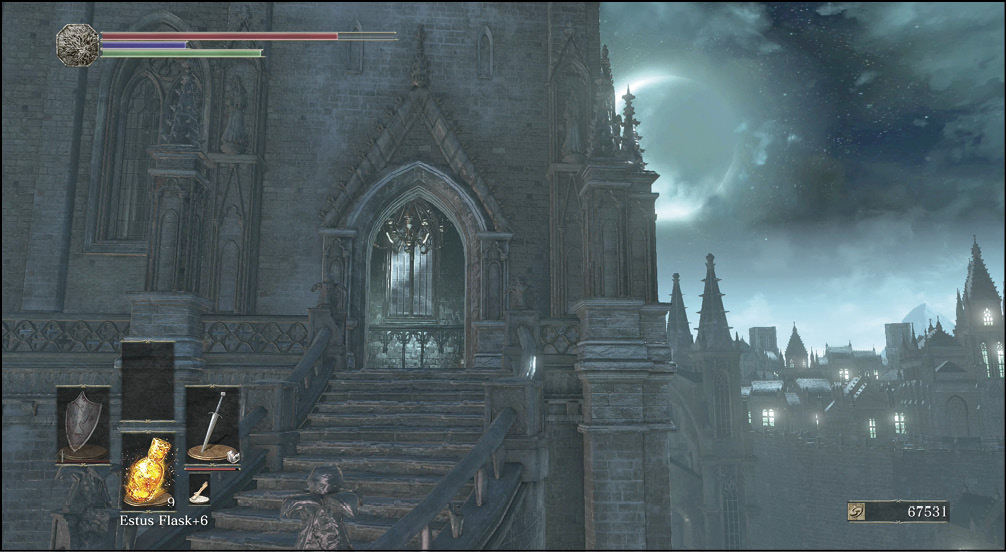
A small room with a ladder leads down to a ledge.
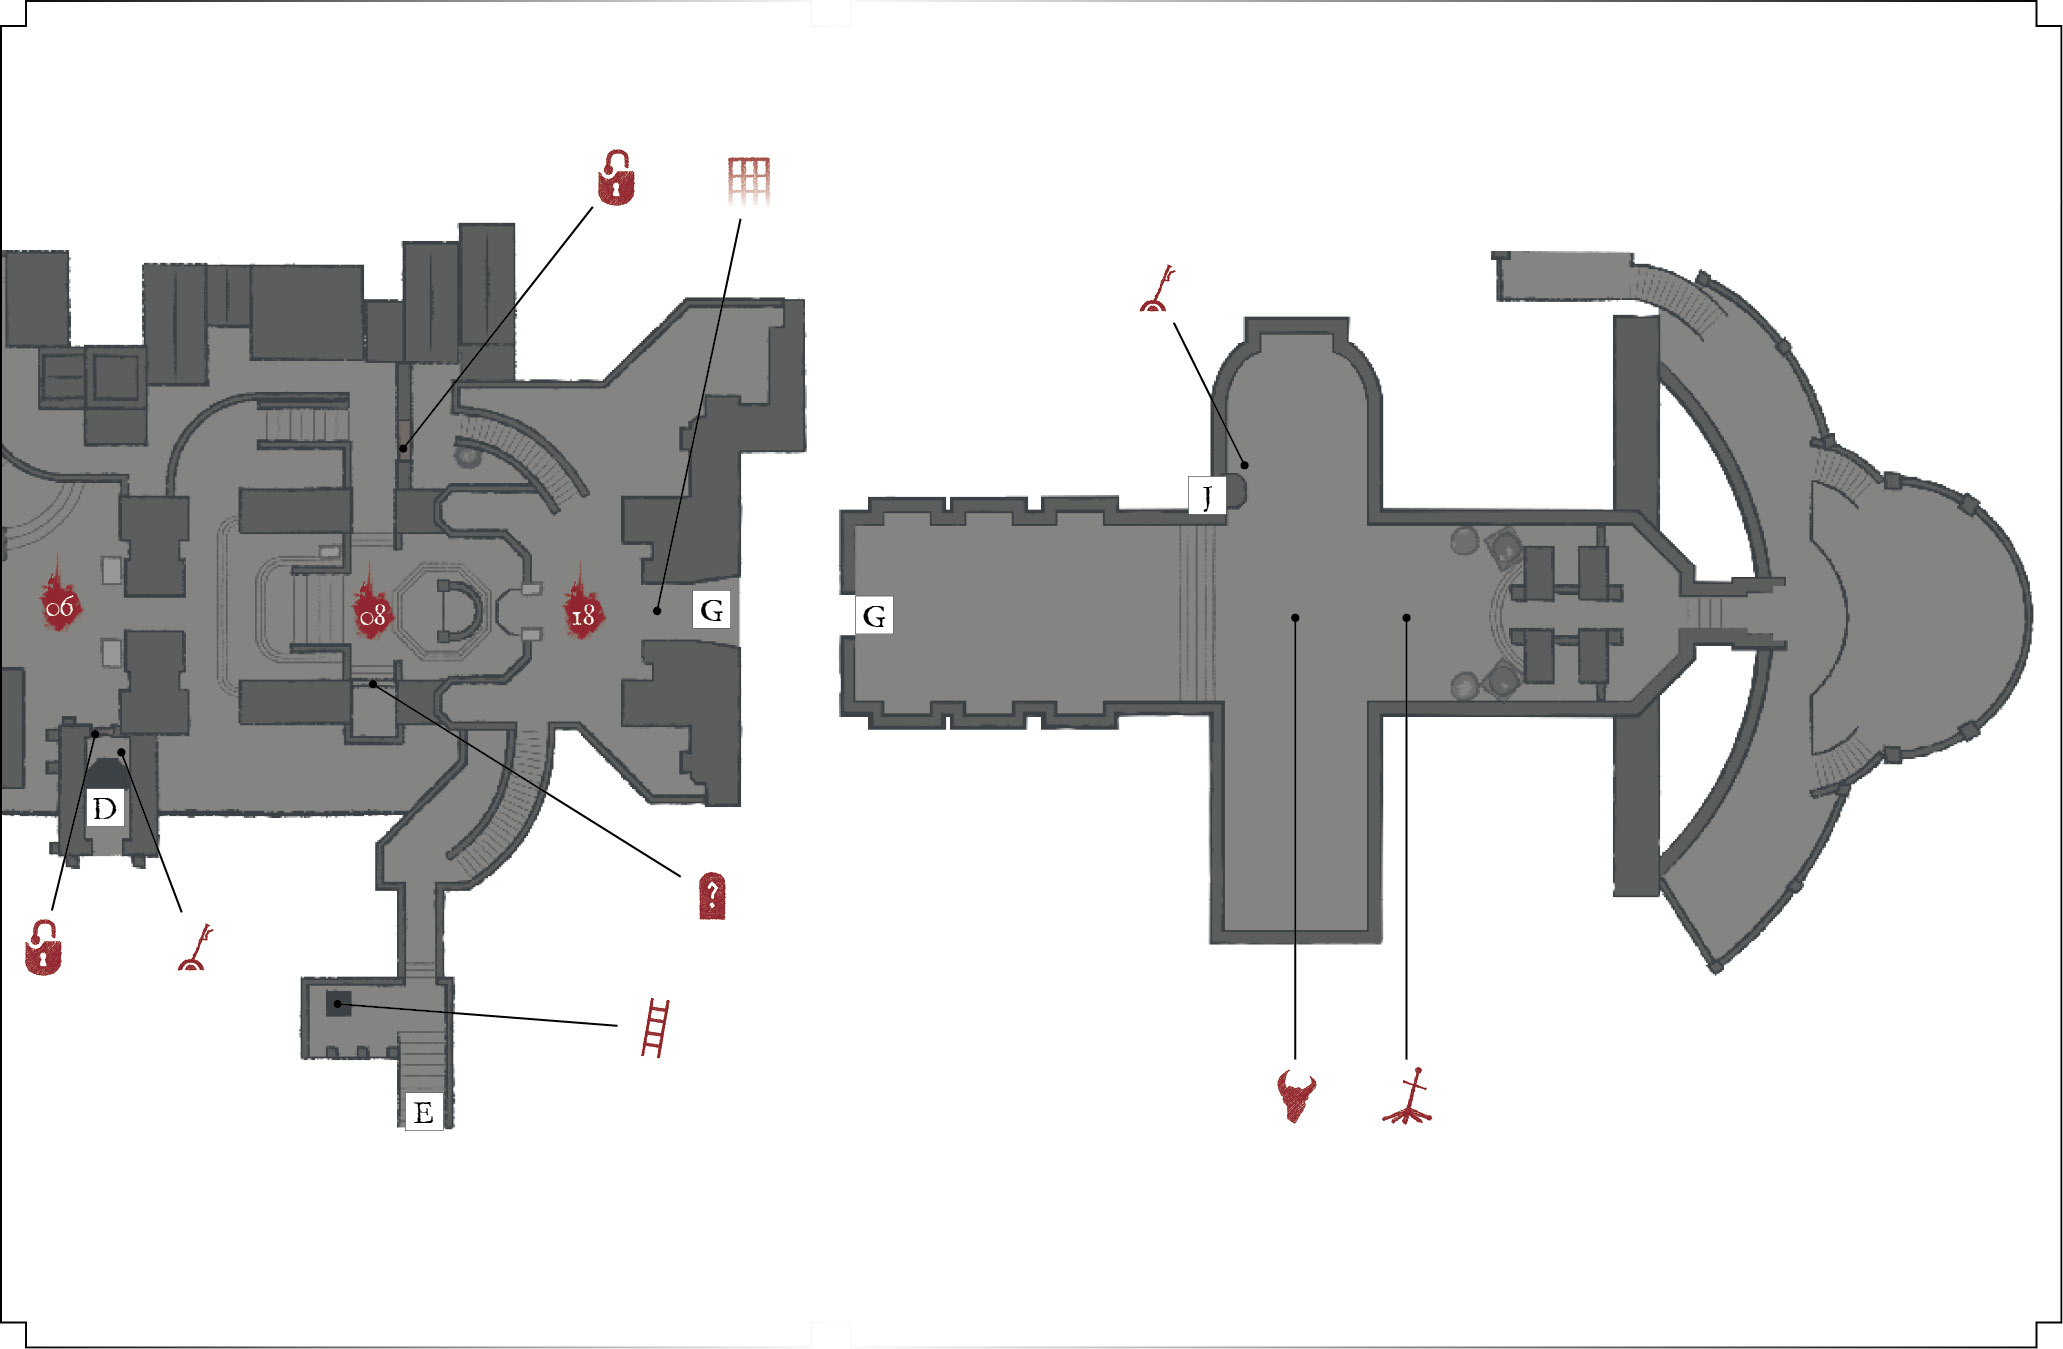
 Do not go into Pontiff Sulyvahn’s room when you first get to it. Take a staircase down on the northern side of that area. You reach a gate that is unlocked from that side. Open it and walk forward until you get back to the Church of Yorshka Bonfire at (7). At this point, you’ve connected the entire western side of the region and won’t have any issues going back and forth in the future.
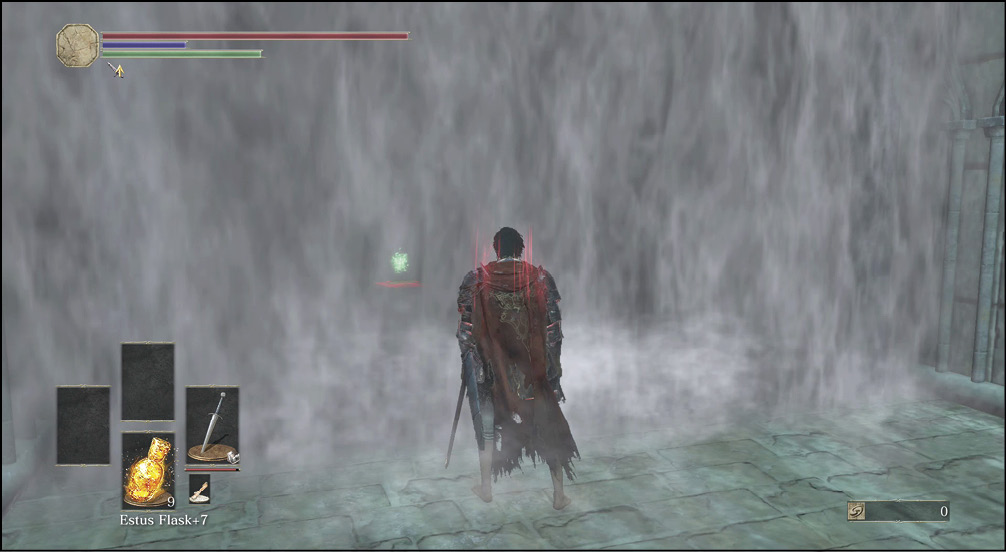
Plus, you can sprint to the boss now with all of your Estus Flask uses at the ready. Before you do that, hop down to the west of the waypoint to grab the Ring of the Sun's First Born. It's on a raised dias below you.
On New Game +1, you get a Chloranthy Ring+1 near the waypoint.