
Call of Duty: Infinite Warfare Guide Single-Player Campaign Walkthrough
Target of Opportunity: Operation Taken Dagger
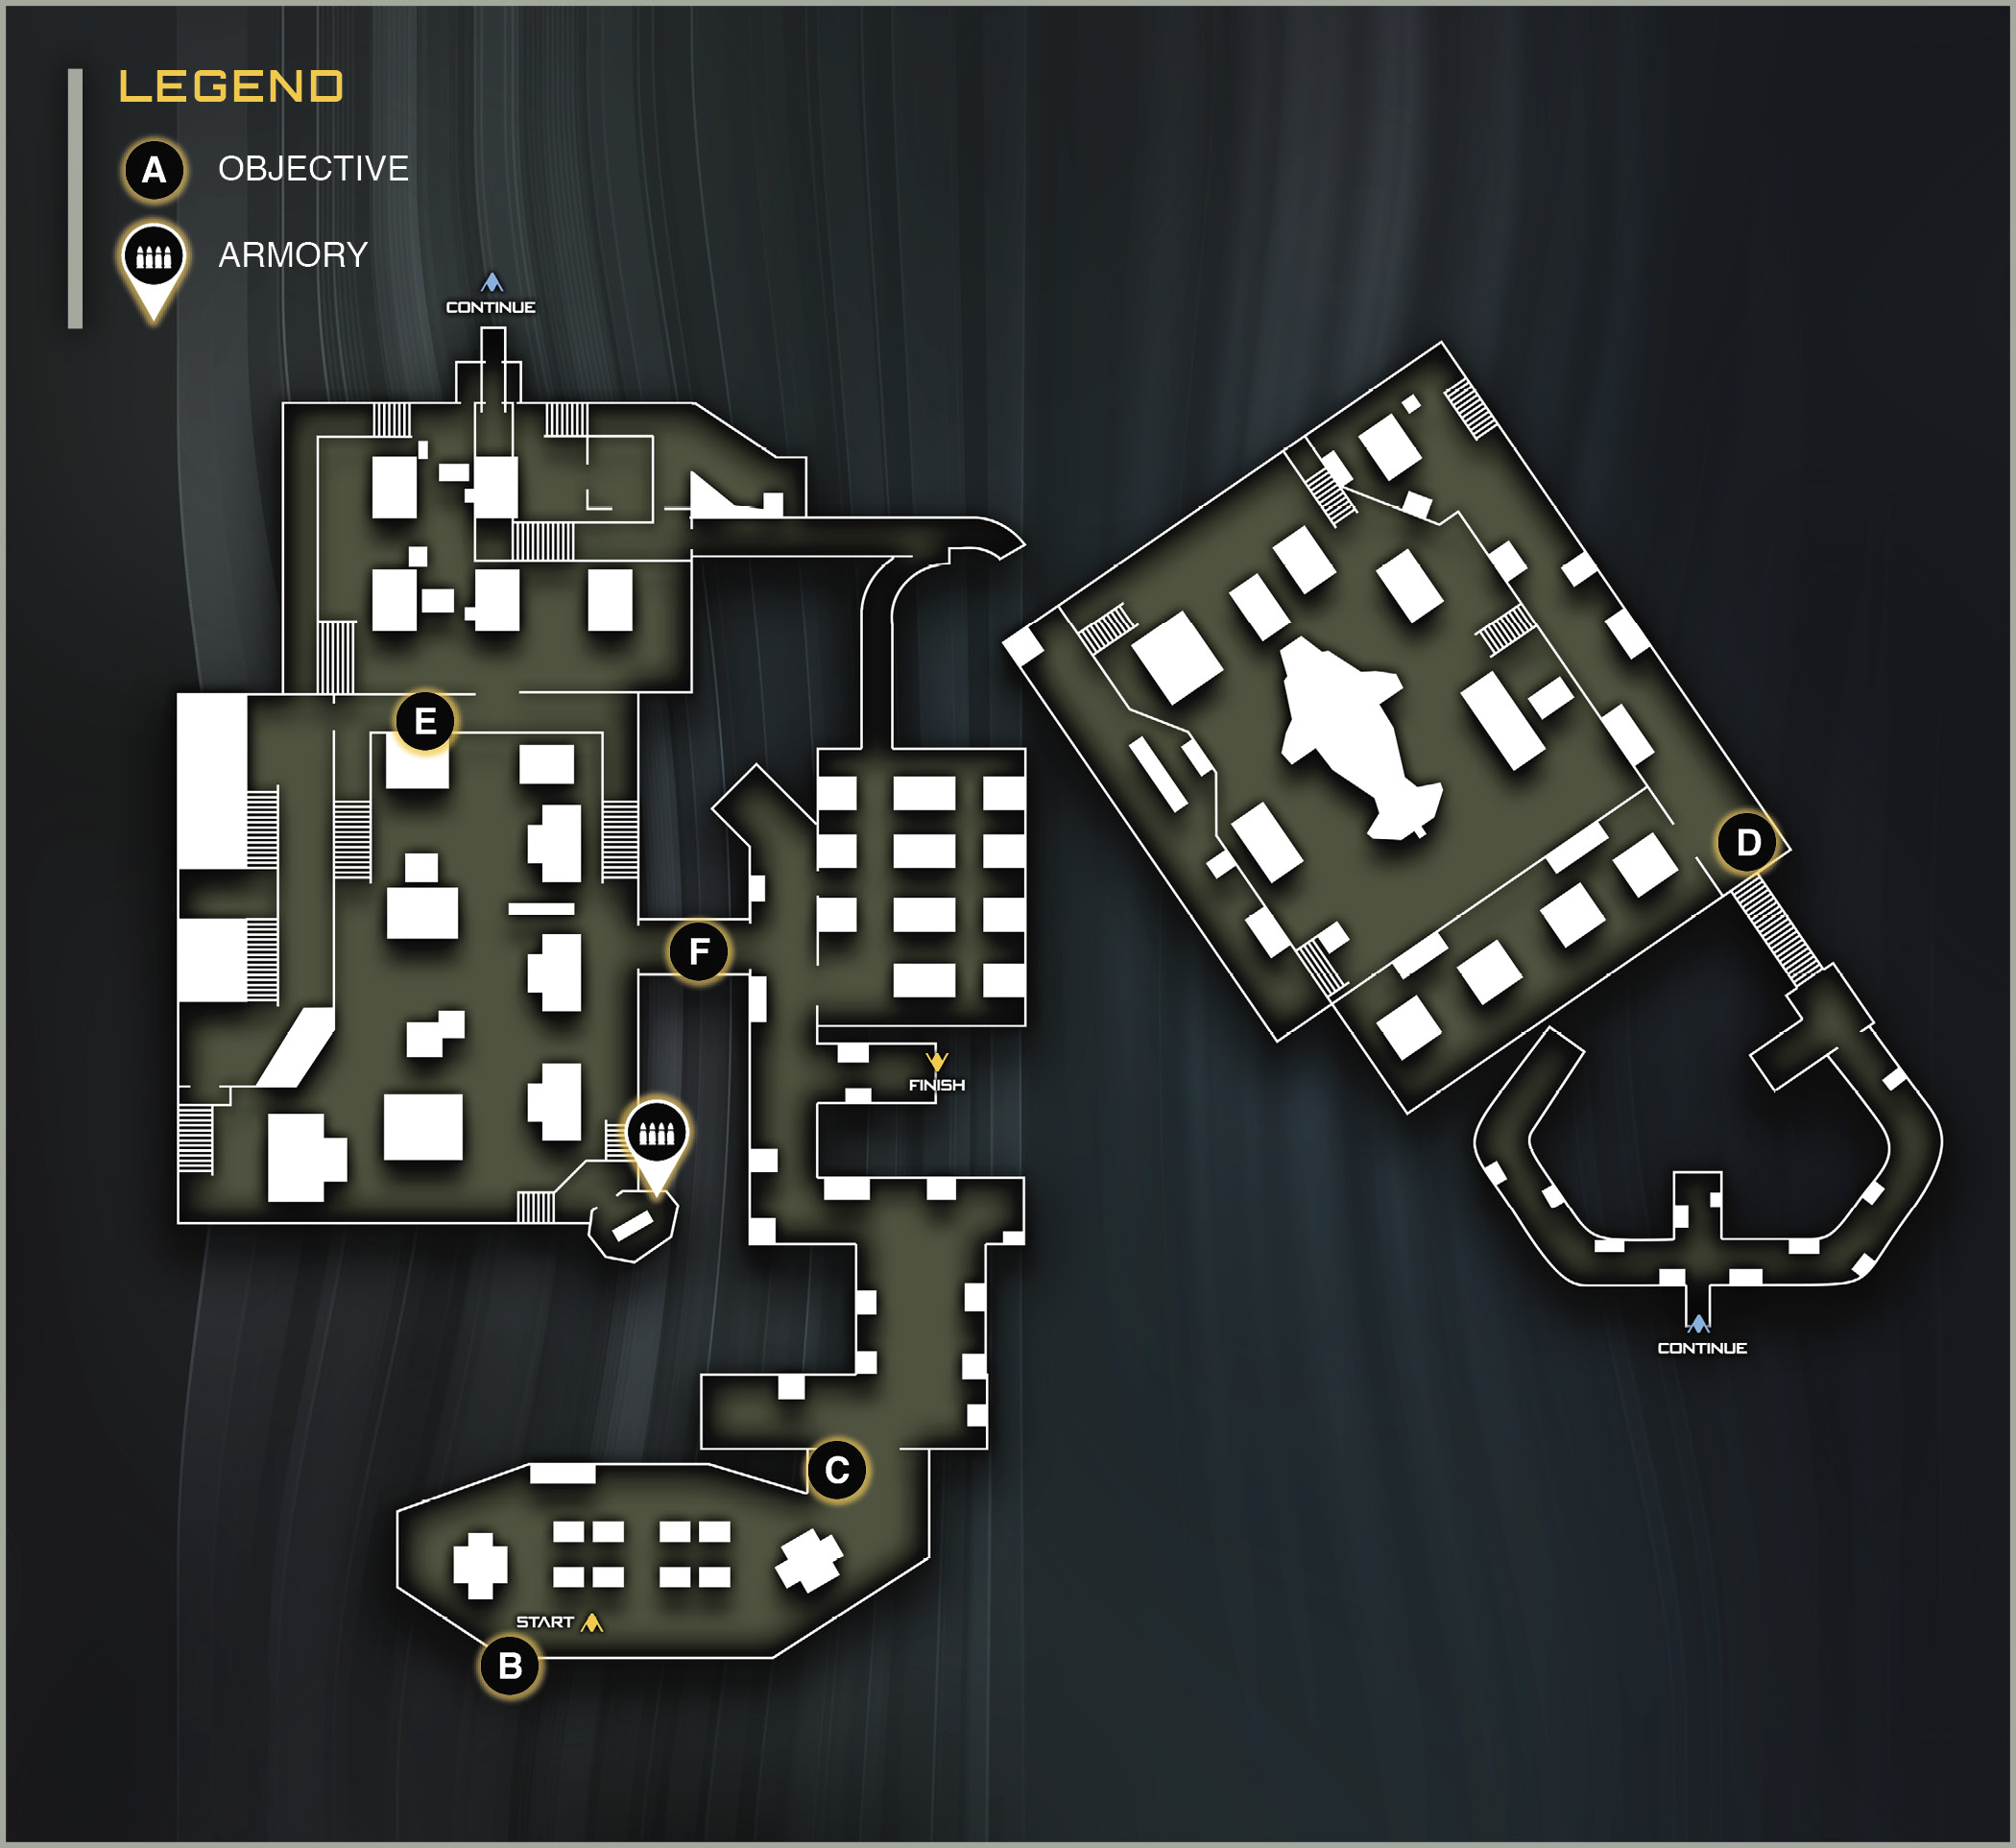
Location: Neptune Cluster
Target: SetDef Destroyer Galaxius
Mission Summary: Retrieve stolen weapon. Rescue hostages.
Mission Description: SetDef has stolen one of our weapons, as well as engineers, to attempt to reverse engineer printing of the device. Try to save the prisoners, but the primary mission is recovery of the stolen weapon.
Unlockable Perk: Fast Reload Suit Upgrade
Team: LT Nora Salter SCAR Flight and Ground Support 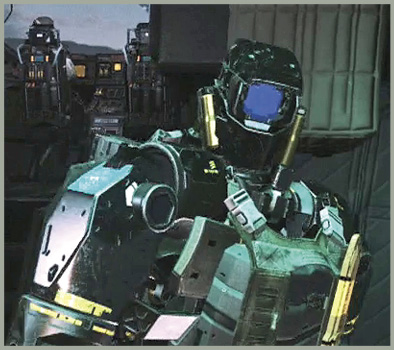 PO1 E3N (Ethan) Navy Hacking Support 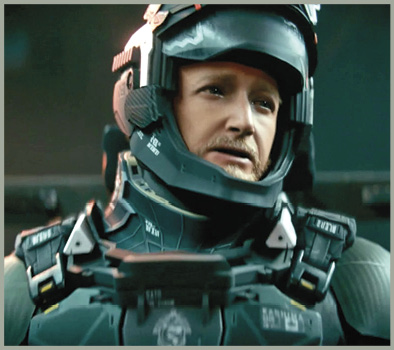 PFC Todd Kashima Marines Alpha Team 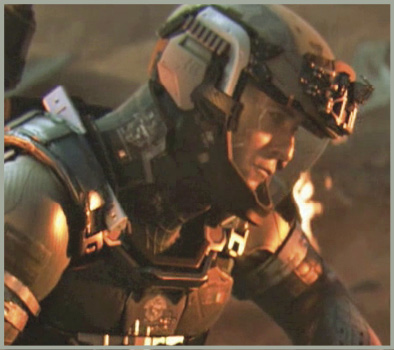 CO Sean Brooks Marines Alpha Team |
GRIFF’S RECOMMENDED LOADOUT:Weaponry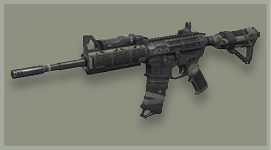 Primary: NV4 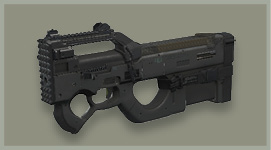 Secondary: FHR40 Tactical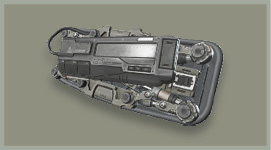 Retractable Shield 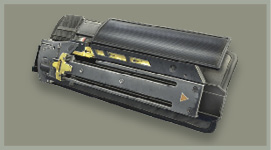 Hacking Device Lethal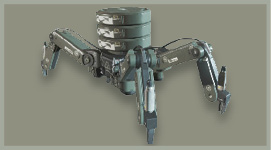 Seeker-Bot 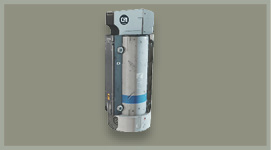 Anti-Gravity Grenade |
Operation Taken Dagger is technically one of the most difficult levels in the game. It requires extensive sections of stealth and one-on-one battles with C8s. You may want to come back to this mission once you are further along in the campaign and have many upgrades unlocked.
 OBJECTIVE: Board the SDF Destroyer Galaxius.
Float forward into the space wreckage. Use your grappling hook to move through the debris. When Ethan warns you of approaching enemies, find some good cover and wait for them to settle in.
When you have some good cover, look at the group for red, floating barrels. Explode these barrels to make the fight easier. Once the enemy has engaged, let loose with rocket grenades. (This is the only section of the level where you can use these grenades.)
There are a lot of enemies here, and some reinforcements arrive via shuttle. Take time to shoot at the enemies with your long-range rifle from cover. After you kill about a dozen, the objective will mark blue on your HUD.
There is an EBR Sniper available near the flat piece of rubble in this area. It is not suppressed, but will be useful for this section if you don’t have a powerful long-range weapon.
 OBJECTIVE: Breach the ship.
Float toward the air lock. Activate near the door to plant a breach charge. The charge blows everyone inside out into space. Move into the ship and hack the terminal to give Ethan access to the ship.
Ethan can’t determine the location of the prisoners. Hover over to the open doors and push through into the main corridor.
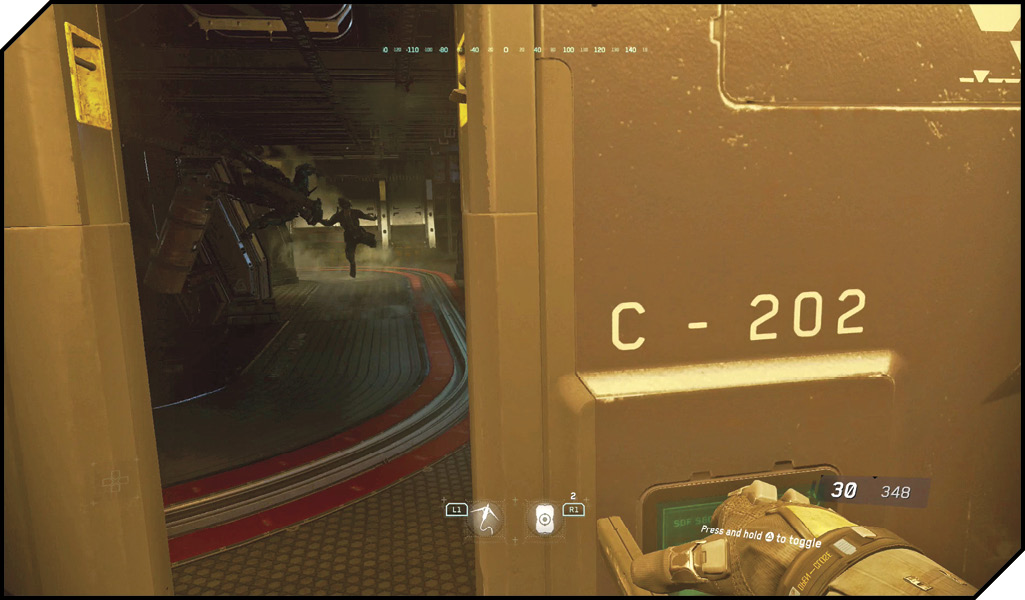
 OBJECTIVE: Attempt to secure the engineers.
Ethan returns gravity to the ship corridor. Crouch and proceed forward down the hall. There are two enemies carrying an incapacitated comrade out into the hall. Aim Down Sight and quickly down them both with headshots.
Restock your ammo in the crate on the right. Then proceed into the door just beyond. This leads to a cafeteria. Sprint through the cafeteria to avoid being spotted in the left window. Crouch down and crawl into the maintenance shaft.
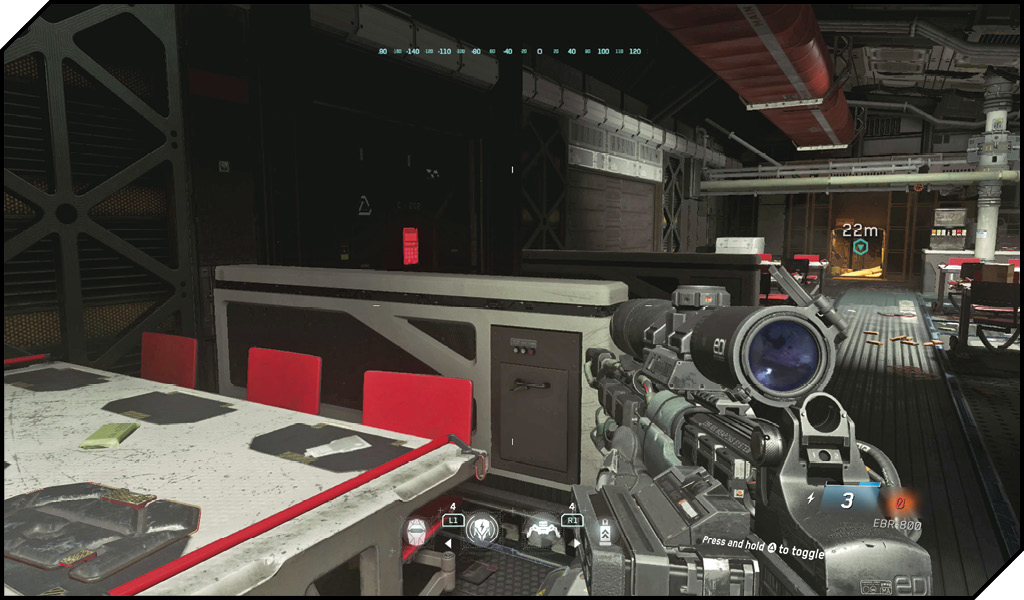
Ethan gives you access to the ship’s camera feeds. This unique algorithm allows you to scan in whatever direction you are looking for the locations of enemies. There is no limit on how far you can look with this feed.
Try the camera feed to see how that pulse works now. Note that you must wait a few seconds between camera feed uses.
Activate the grate to exit back into the corridor. One SDF enemy has his back to you. Move up behind him and use a melee attack to stealth kill him. Make sure the Stealth Kill HUD indicator is on-screen before executing the attack so you don’t just hit him with your gun butt.
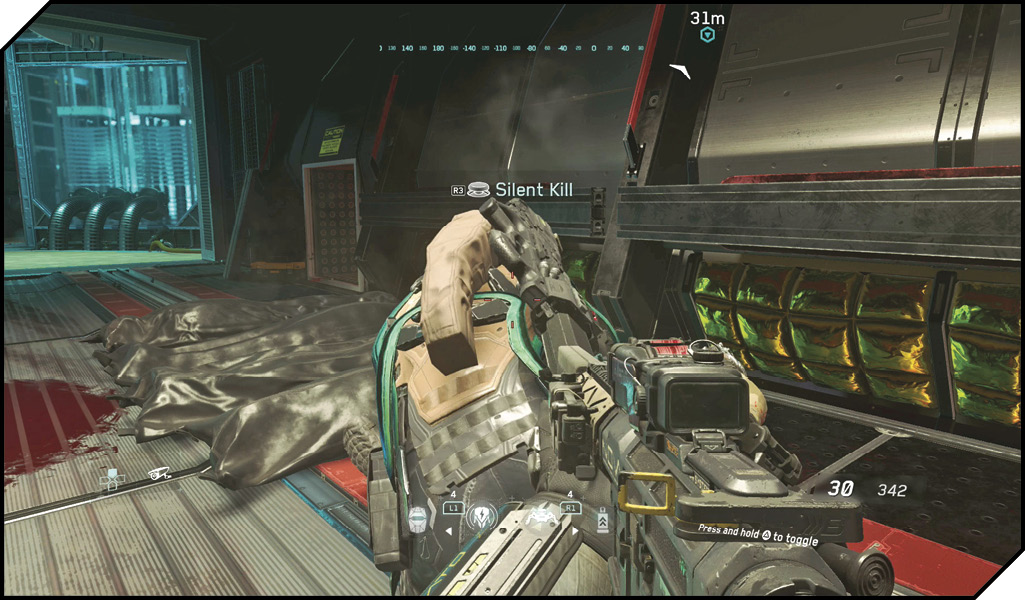
Move to the maintenance shaft entrance opposite and execute another stealth kill on the enemy inside. There are three enemies patrolling this room. It’s best to kill them with stealth. If you fail at that task, the door to the next area will lock, and some drone reinforcements will arrive.
To get through using stealth, wait at the base of the ladder in the room where you killed the second soldier. A soldier will eventually patrol at the top of the ladder. Wait for him to approach the ladder, and then turn back. Climb the ladder and quickly melee stealth kill him.
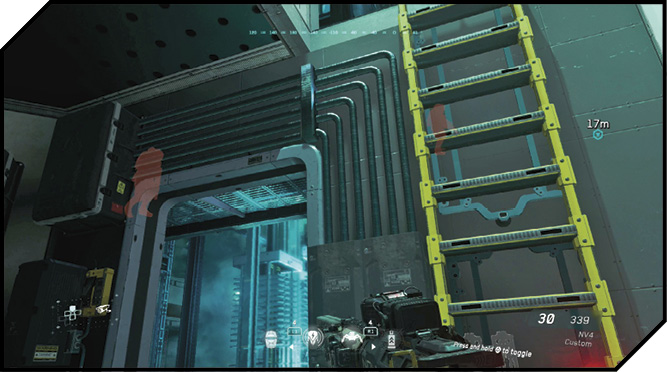
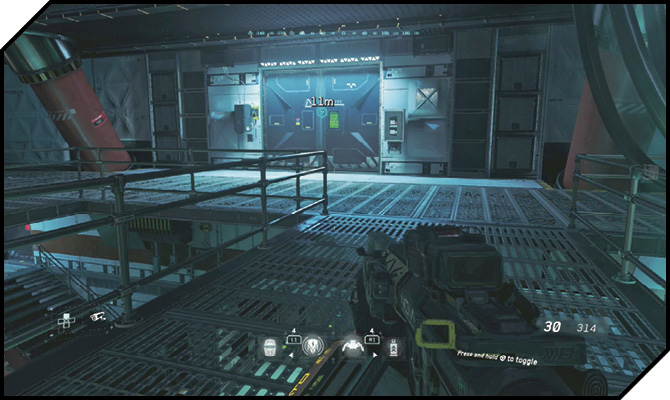
Now climb the stairs. Use the camera feed to get a bead on the guy patrolling up above. Wait for the guard to move away from the door at the top, and then sprint through the door to safely exit the area.
 OBJECTIVE: Eliminate the SDF in the cargo bay.
You will soon arrive in a huge cargo bay filled with enemies. Ethan reports over a dozen enemies inside. You will need to kill the enemies without raising an alarm to save the engineers. Infamous SDF Captain Barkov guards the prisoners. If an alarm goes off, he will execute them.
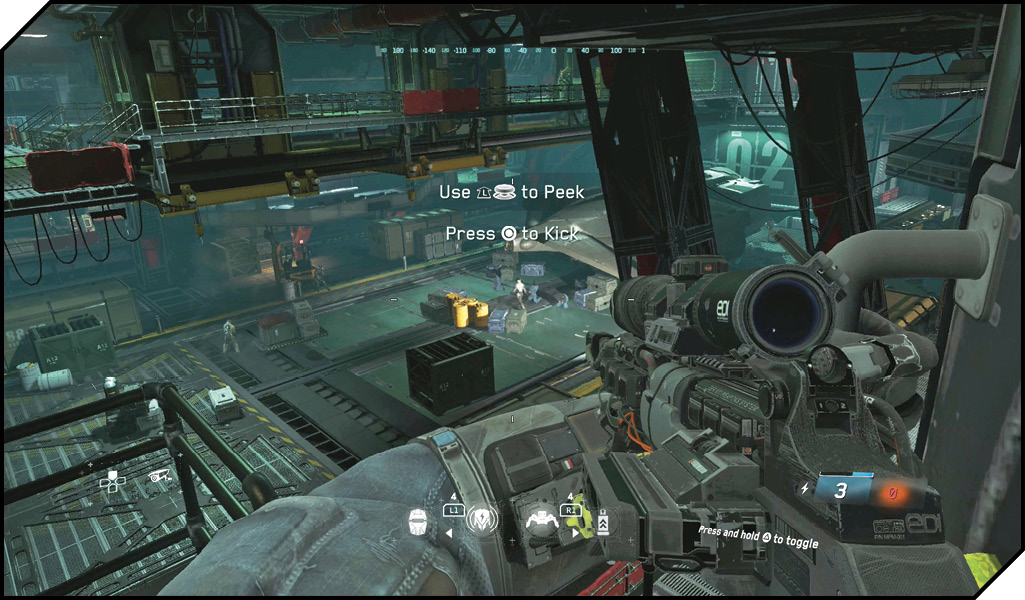
Enemies move around this room quite a bit, so it’s not easy to give step-by-step directions on how to take down all of the enemies. We’ll provide a suggested pattern, but this may change based on the enemy formations and timing.
The general tip here is not to be afraid of using your Suppressed Weapons. As long as no one sees the soldier get shot, no one will raise an alarm—even if they see the body on the ground. Just be sure to score headshots. If the enemy survives, the alarm is quickly raised.
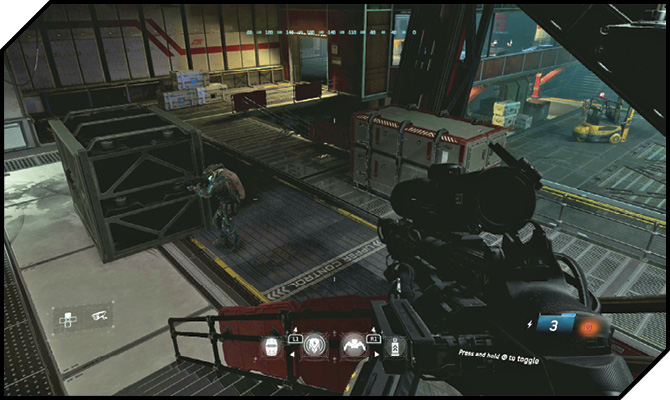
Move around the area, shooting any soldiers standing on their own. If a soldier is being looked at when he is shot, it will raise the alarm. Don’t worry about trying to kill everyone with stealth melee attacks, which would be extremely difficult.
After opening the door, descend the stairs. Kill the enemy patrolling alone here.
Move to the back (to your left if you are looking toward the prisoners) of the area. Look up to the catwalk directly over the middle of the cargo bay. There are two enemies up here (use your camera view to spot them). One is moving; one is stationary. Wait until the moving guard moves in your direction. Kill him with a headshot. Next, shoot the stationary soldier.
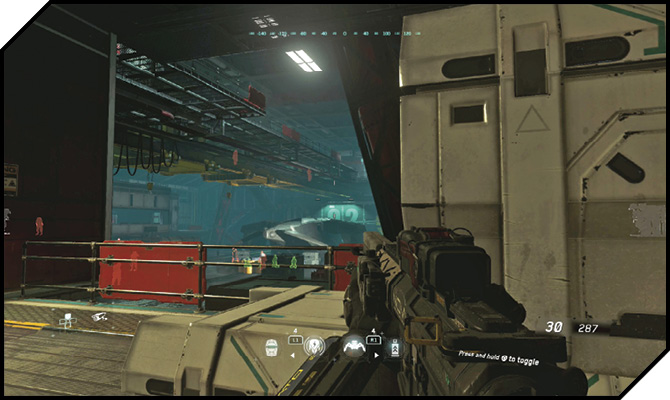
Now look down. You should see two soldiers directly ahead. (See screenshot.) The far one patrols back and forth, and the near one is stationary. Kill the far one first; then cap the near one.
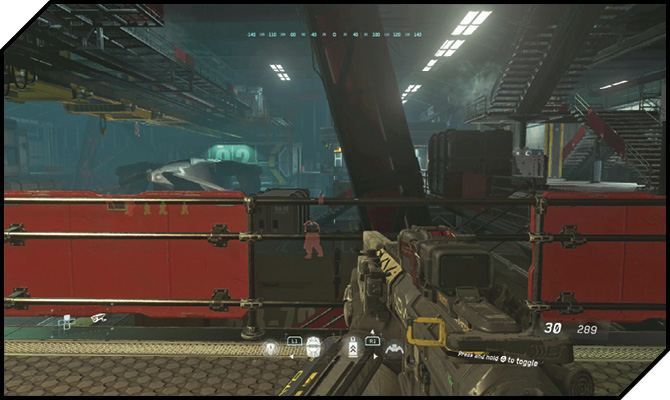
These lower guards’ corpses will be seen by a patrol on the lower level. Wait until the guards crouch down near the body and quickly kill them as well. If the corpses aren’t seen, wait until the two patrolling guards get as close as possible to your side, and then kill them.
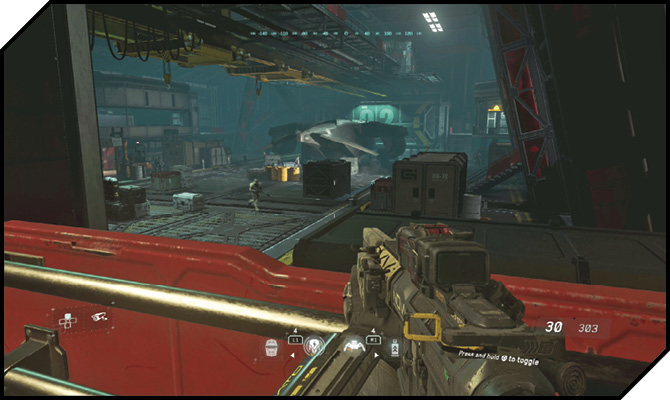
Move around the back of the area to the left. This rear room is empty. On the other side, there is one patrolling enemy on your level. A second enemy stands on a staircase above. A third is in a room looking out into the bay. Kill the patrolling enemy with your gun when he approaches your position. Next, kill the enemy on the stairs. Finally, kill the enemy inside the room.
Return to the lower stairs that lead down to the cargo bay floor. There is a patrolling guard below. Wait until he starts moving away from you. Then move down the stairs and melee-kill him.
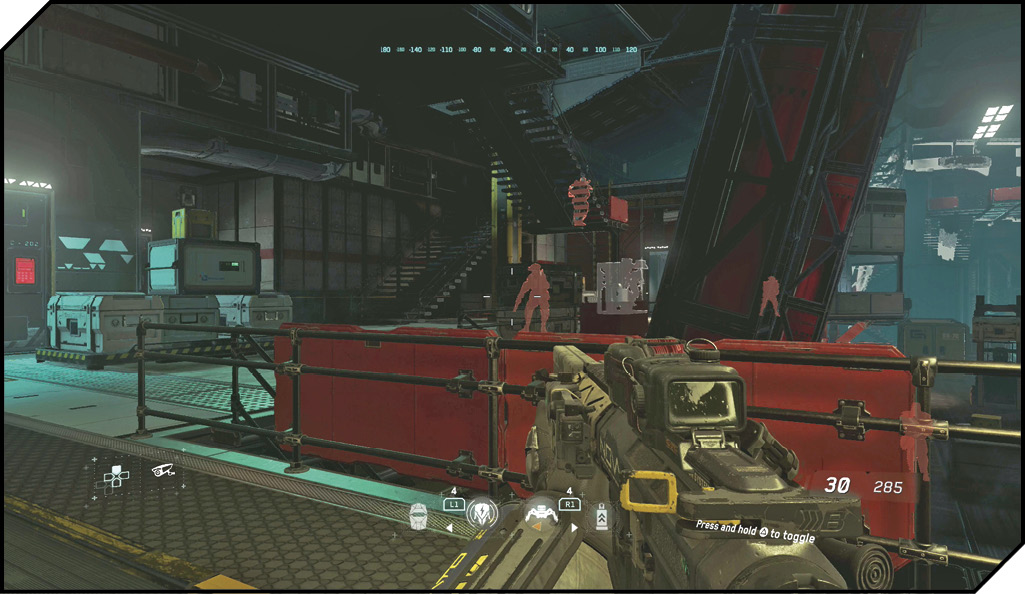
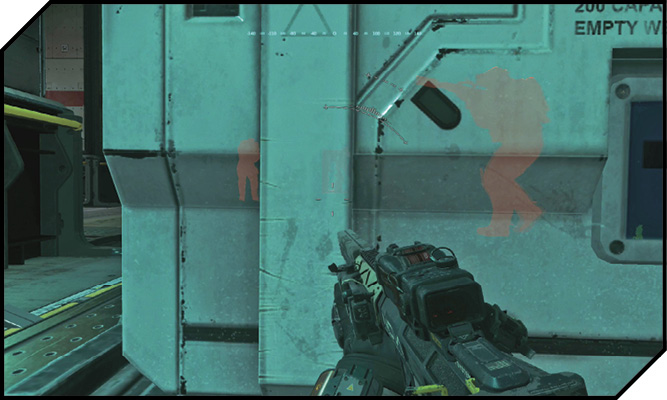
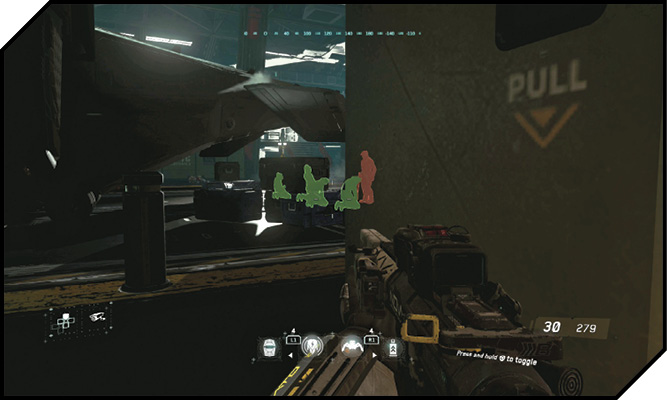
There should be three enemies left. One is the captain, and the other two are stationary to his left. You want to get a shot on the far guy. Move up to the front of the bay area. (Watch out for the random pair of enemies who run through the area.) Once at the front of the area, line up a clean shot and down the guard. Now, line up a shot on the second guard. Kill him, and the room will be clear for you to finish the captain.
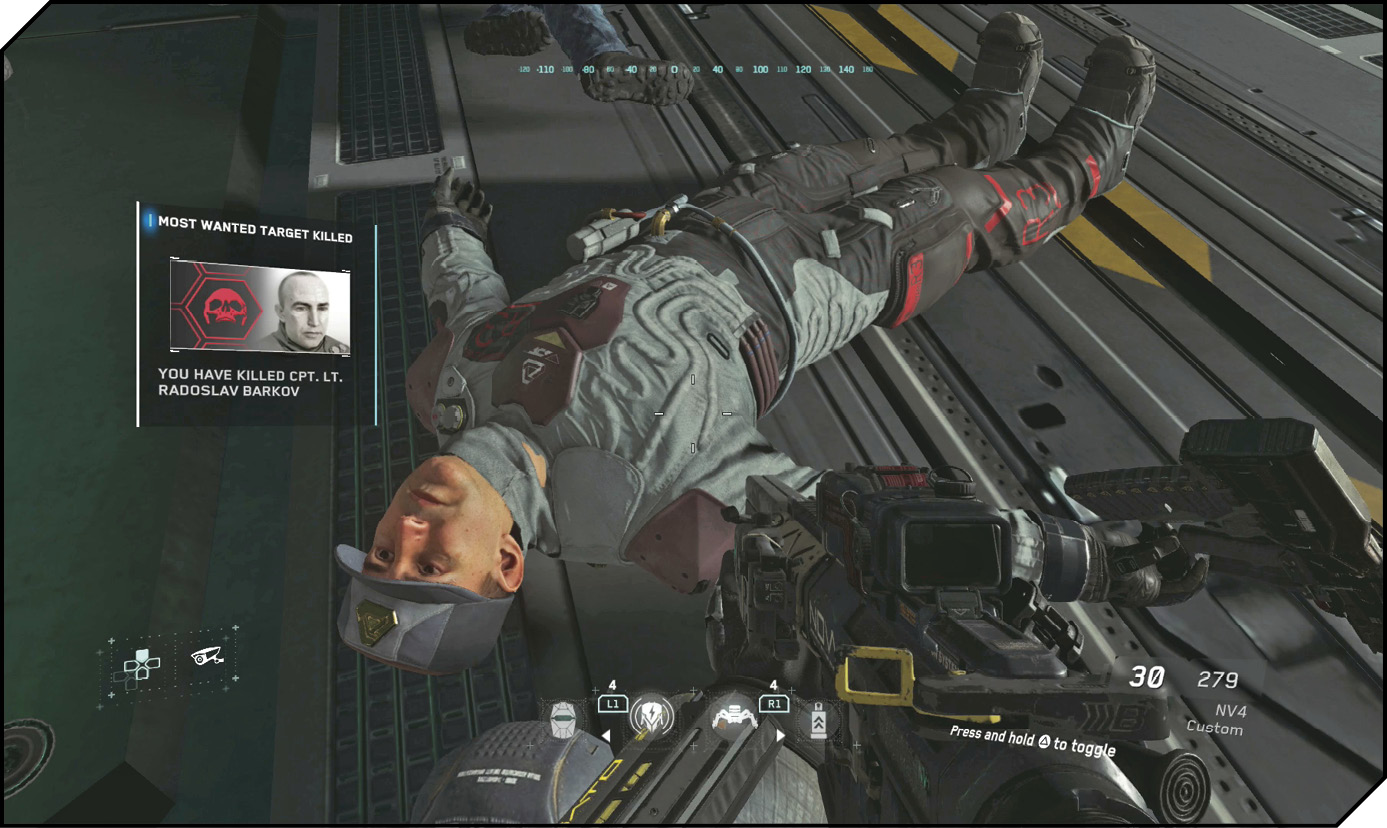
Kill the captain with your preferred method. The marines arrive for the extract.
 OBJECTIVE: Recover the stolen technology.
Salter arrives to help you get to the tech. Follow her up to the second deck using your Boost Jump. The next room has some light resistance. Use your Seeker-Bots to destroy the enemies in cover. Hold off on using your Hacking Charges for now.
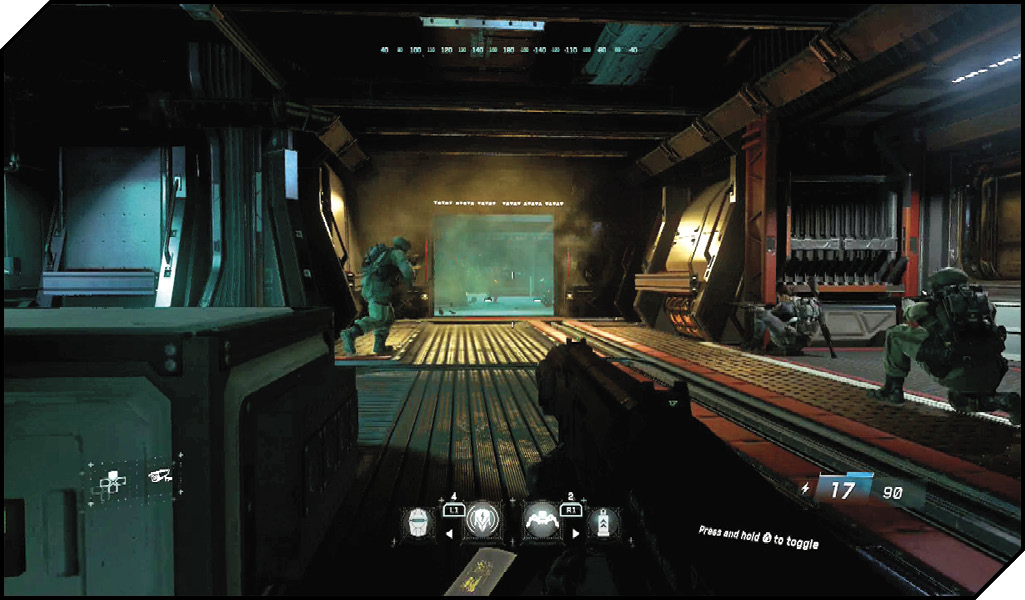
When the room is clear, move up to the next room. Inside are a couple of drones, several SDF troopers, and a C8. Hack a drone and wipe out the defensive line with melee attacks. Then move to the back of the room and blow up the C8 with a Self-Destruct. This won’t finish the C8, but it will significantly weaken it.
Proceed into the room. Stay in cover. As you move toward the C8, more drones will spawn. Hack a second drone and use it to clear out the enemies first; then have it kamikaze the C8. Even this will likely not kill it. However, it will be very weak. Move in and start hitting it with an energy weapon. A few more shots should take it down.
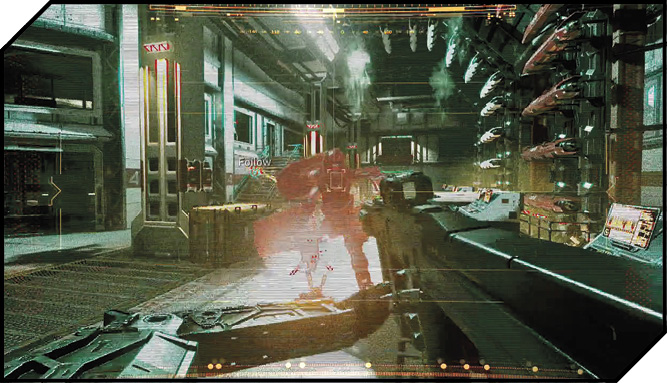
Take out the sniper on the catwalk above. When he goes down, you should get the all clear. There is an ammunition crate in the middle of the room. Use it before attempting to get the weapon. If you search one of the side rooms, you can find a restock for Seeker-Bots and Shock Ammo. The Shock Grenades are the priority. Be sure you have them for the next fight. There’s another set of grenades right outside the armory you can use in the upcoming fight.
 OBJECTIVE: Return to the Retribution.
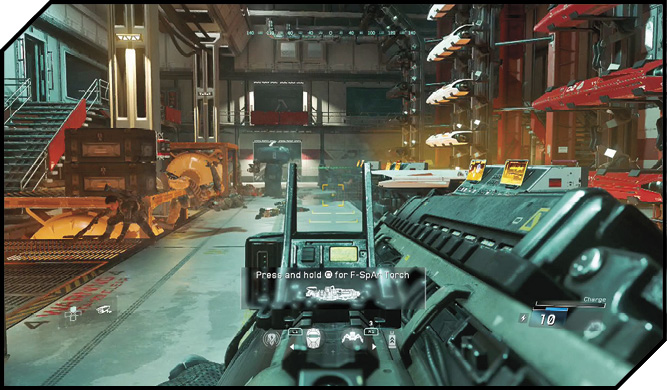
Step back outside, and a large SDF force arrives to stop you from escaping. Take cover and use a Hacking Charge to hack one of the drones and decimate the enemy defenses. A second Hacking Charge comes in handy when a C8 arrives with reinforcements, but if you are out of Hacking Charges, feel free to use the P-LAW to let loose into the C8 and his buddies until they all fall.
When you get the all clear, follow Salter up to the next door. Be ready to fire when the door opens. Two soldiers charge your position from the door ahead. Kill them and turn your attention down the right corridor. A C8 arrives with two escorts. Toss a Shock Grenade down the corridor and unload with the P-LAW to finish it off.
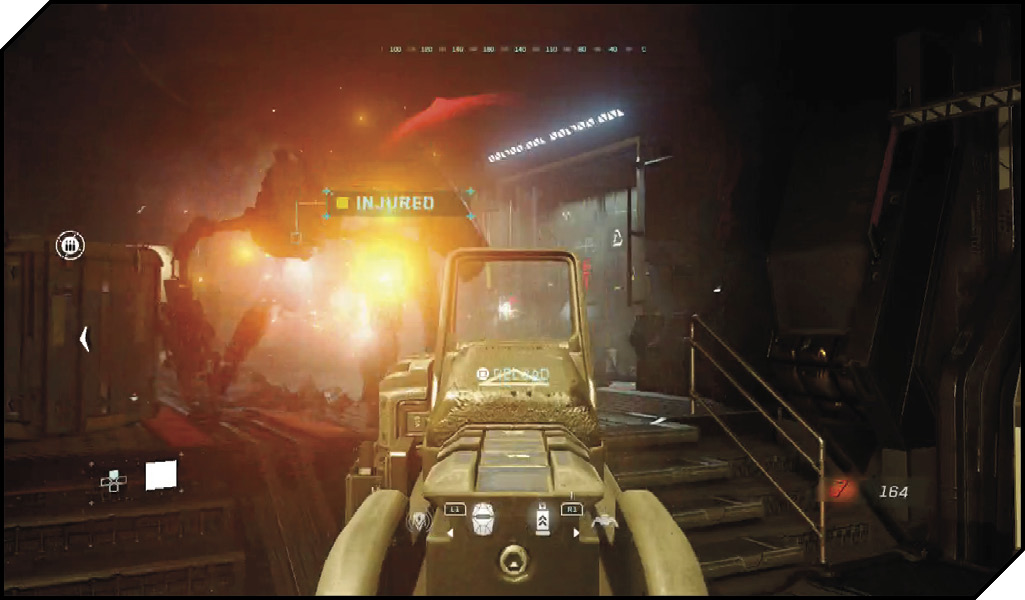
Open the air lock on the left to exfil to the Retribution.