
Call of Duty: Infinite Warfare Guide Single-Player Campaign Walkthrough
Operation Burn Water
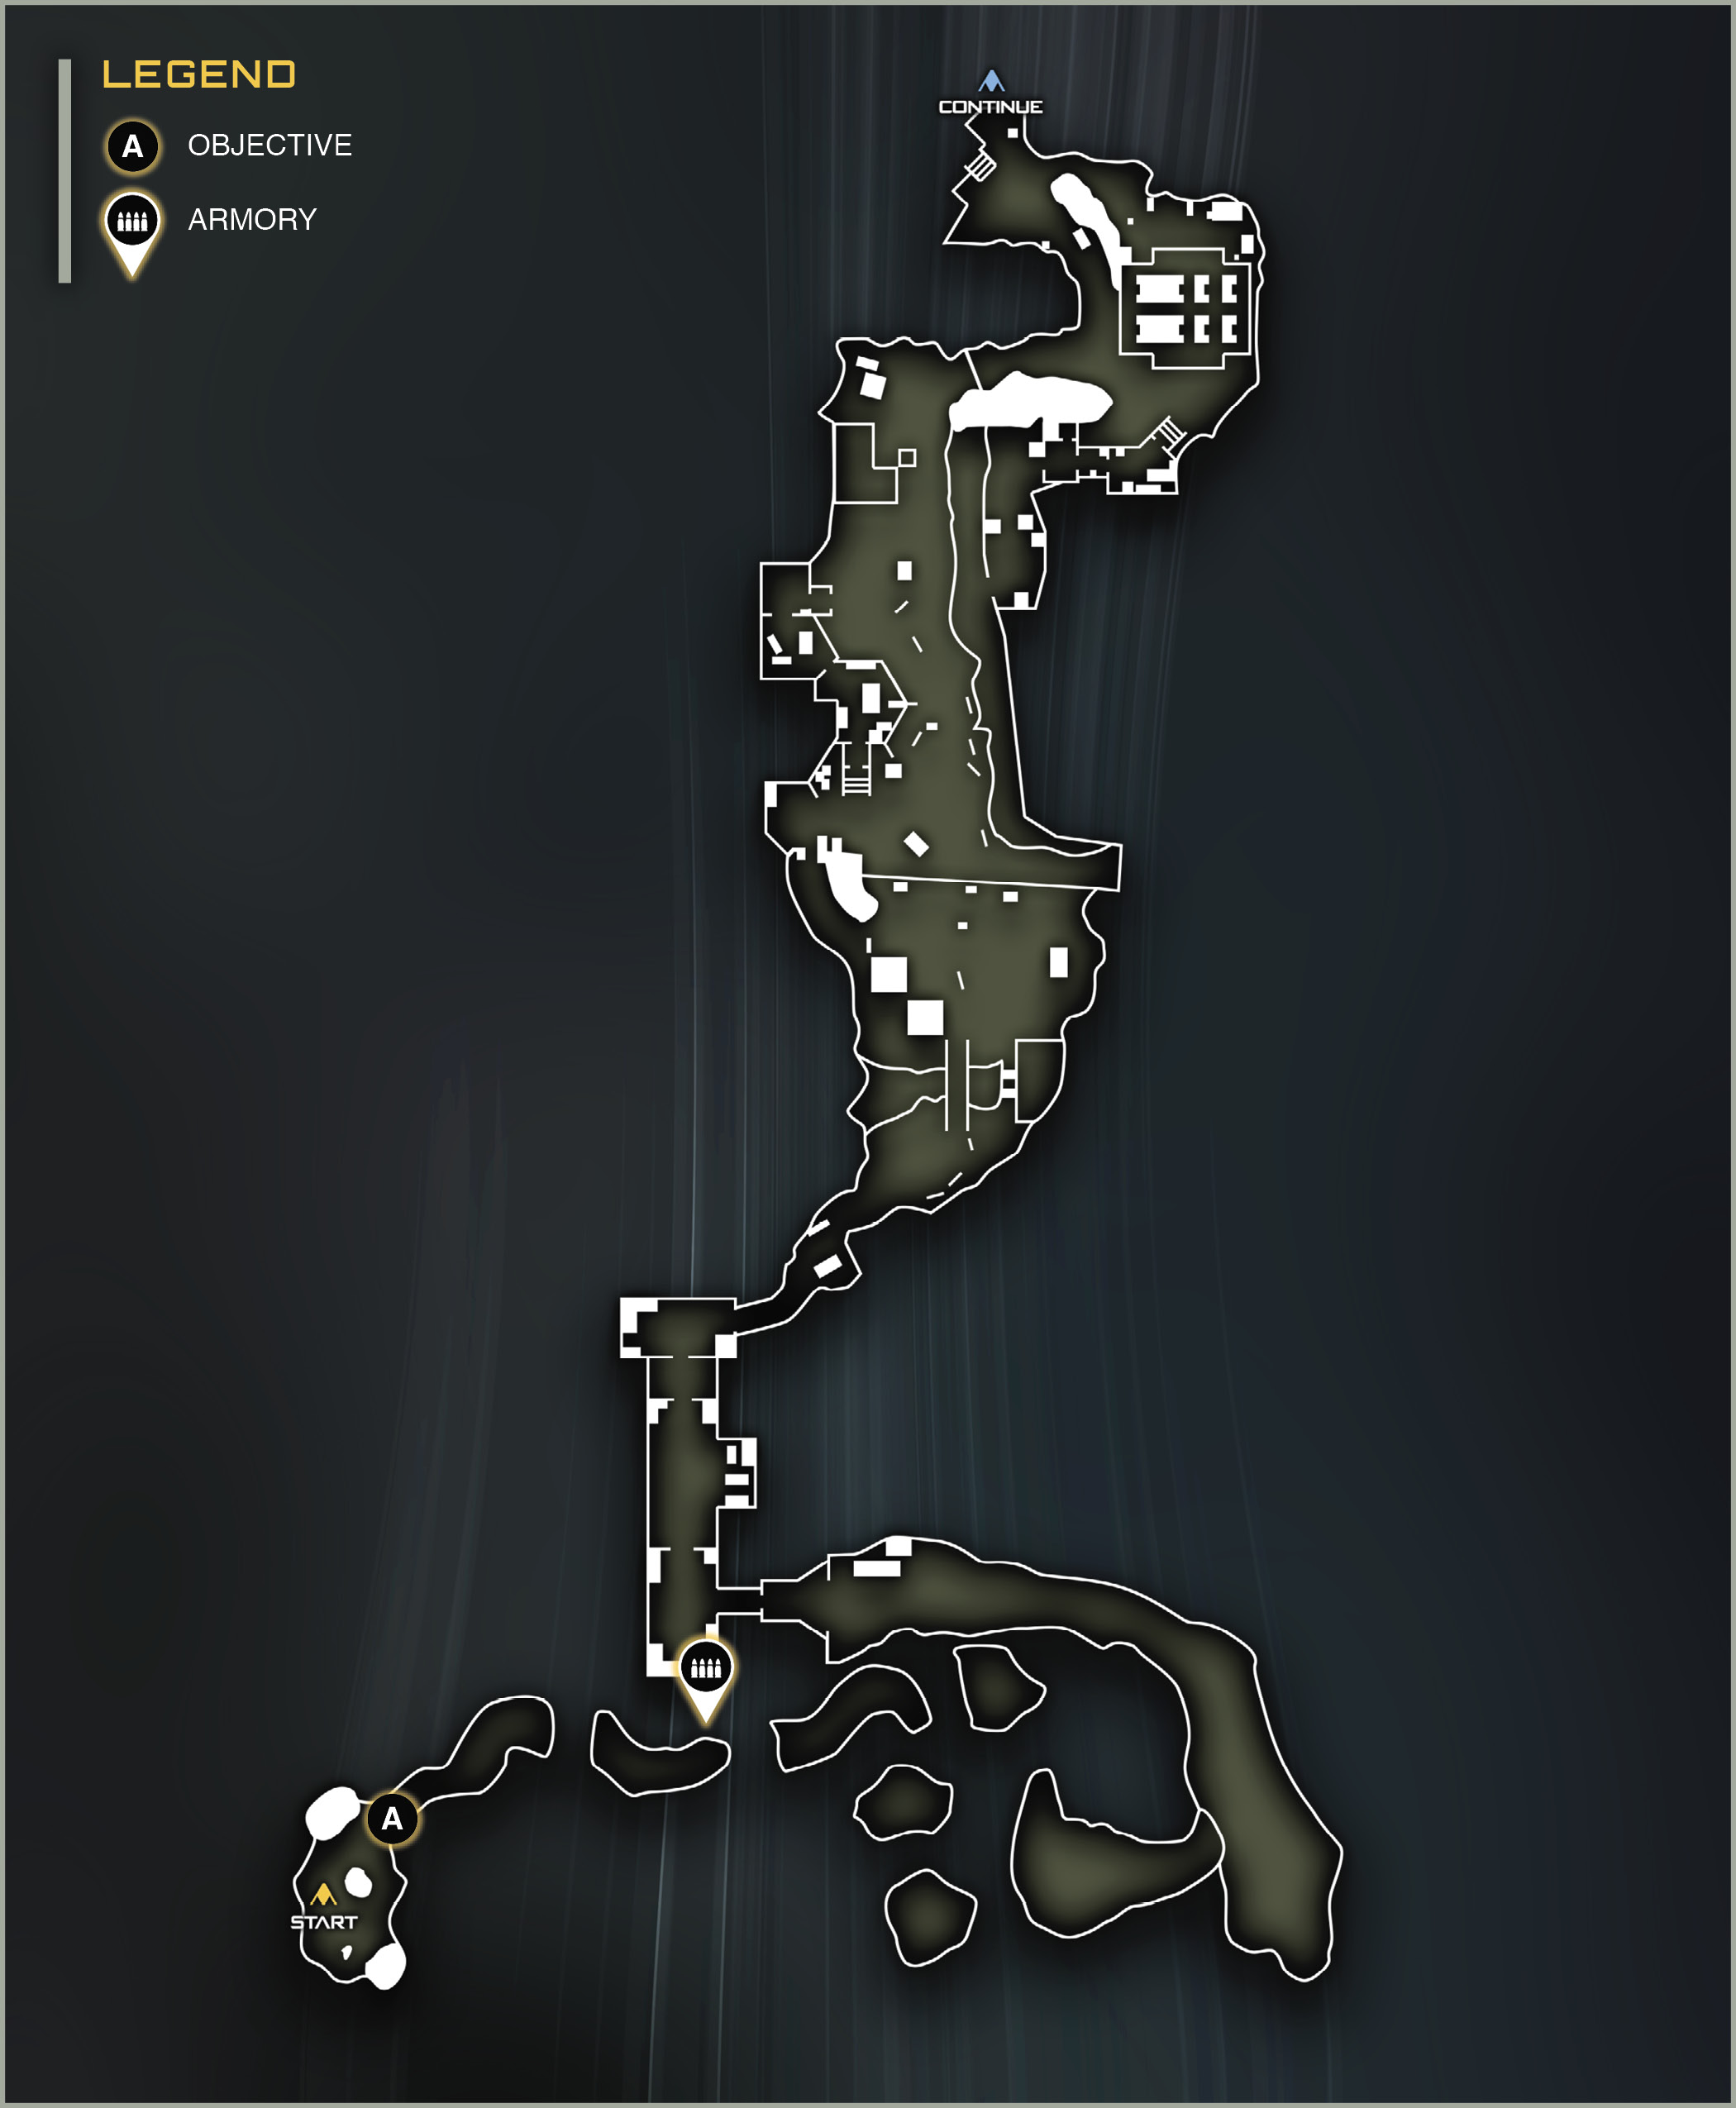
Location: Saturn, Titan
Target: Primary SetDef fueling station
Mission Summary: Eliminate critical SetDef fueling station.
Mission Description: Your team will land near a critical SetDef fueling station. Your job is to cripple the station, which will hamper the SetDef fleet. Expect fierce resistance. SetDef is aware of how important this refinery is.
Unlockable Perk: Blast Shield
Team: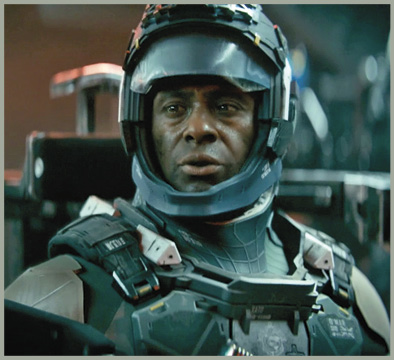
SSgt Usef Omar Marines Ground Support 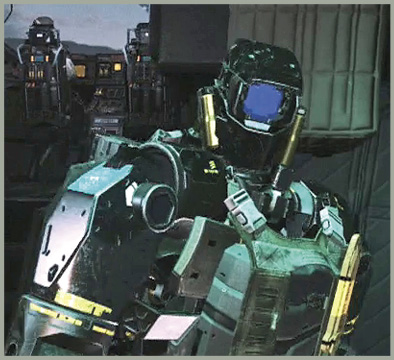
POFC E3N (Ethan) SCAR Ground and Flight Support 
LT Nora Salter SCAR Flight Support |
GRIFF’S RECOMMENDED LOADOUT:Weaponry
Primary: EBR-800 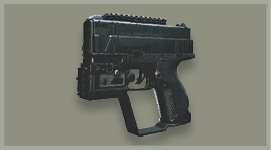
Secondary: EMC Tactical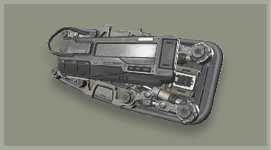
Retractable Shield 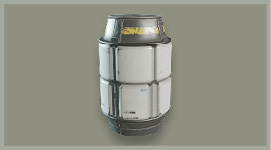
Foam Wall Lethal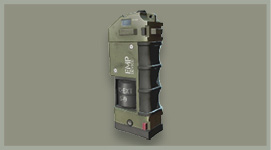
EMP Grenade 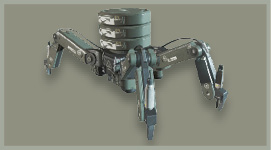
Seeker-Bot |
When you activate the mission, your crew blasts the Retribution into an orbit around Saturn.
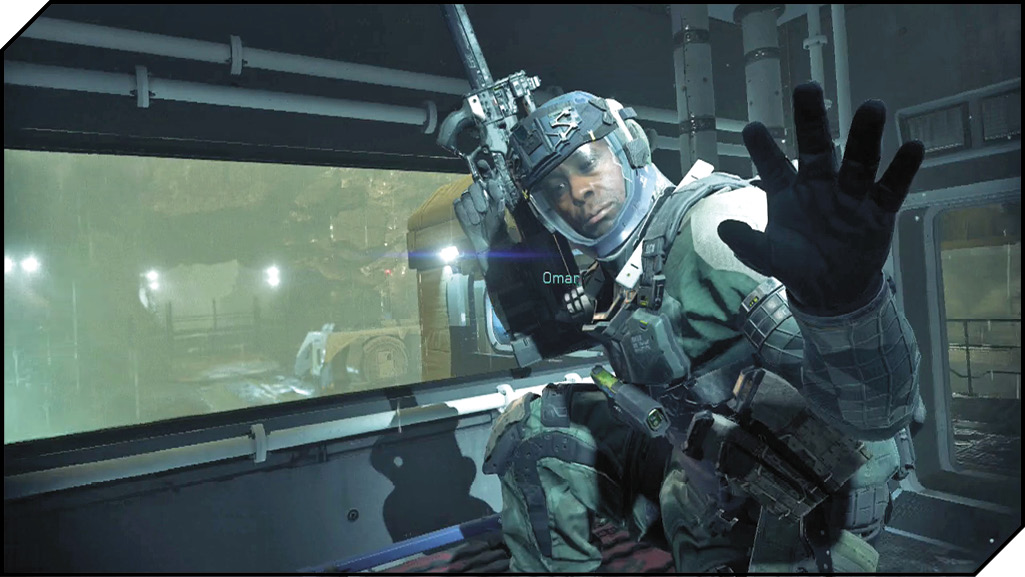
Nassir has some more details on the elevator ride down: comms will be intermittent, but workable. Staff Sergeant Omar has some history with SetDef and Titan, and he’s onboard for your mission. He’s had a change of heart about Ethan, and requests he accompany you on the mission.
You’ll be transporting in on this mission, so head to the large ship on your right when you enter the hangar. Strap in, and get ready for a big drop.
Refinery
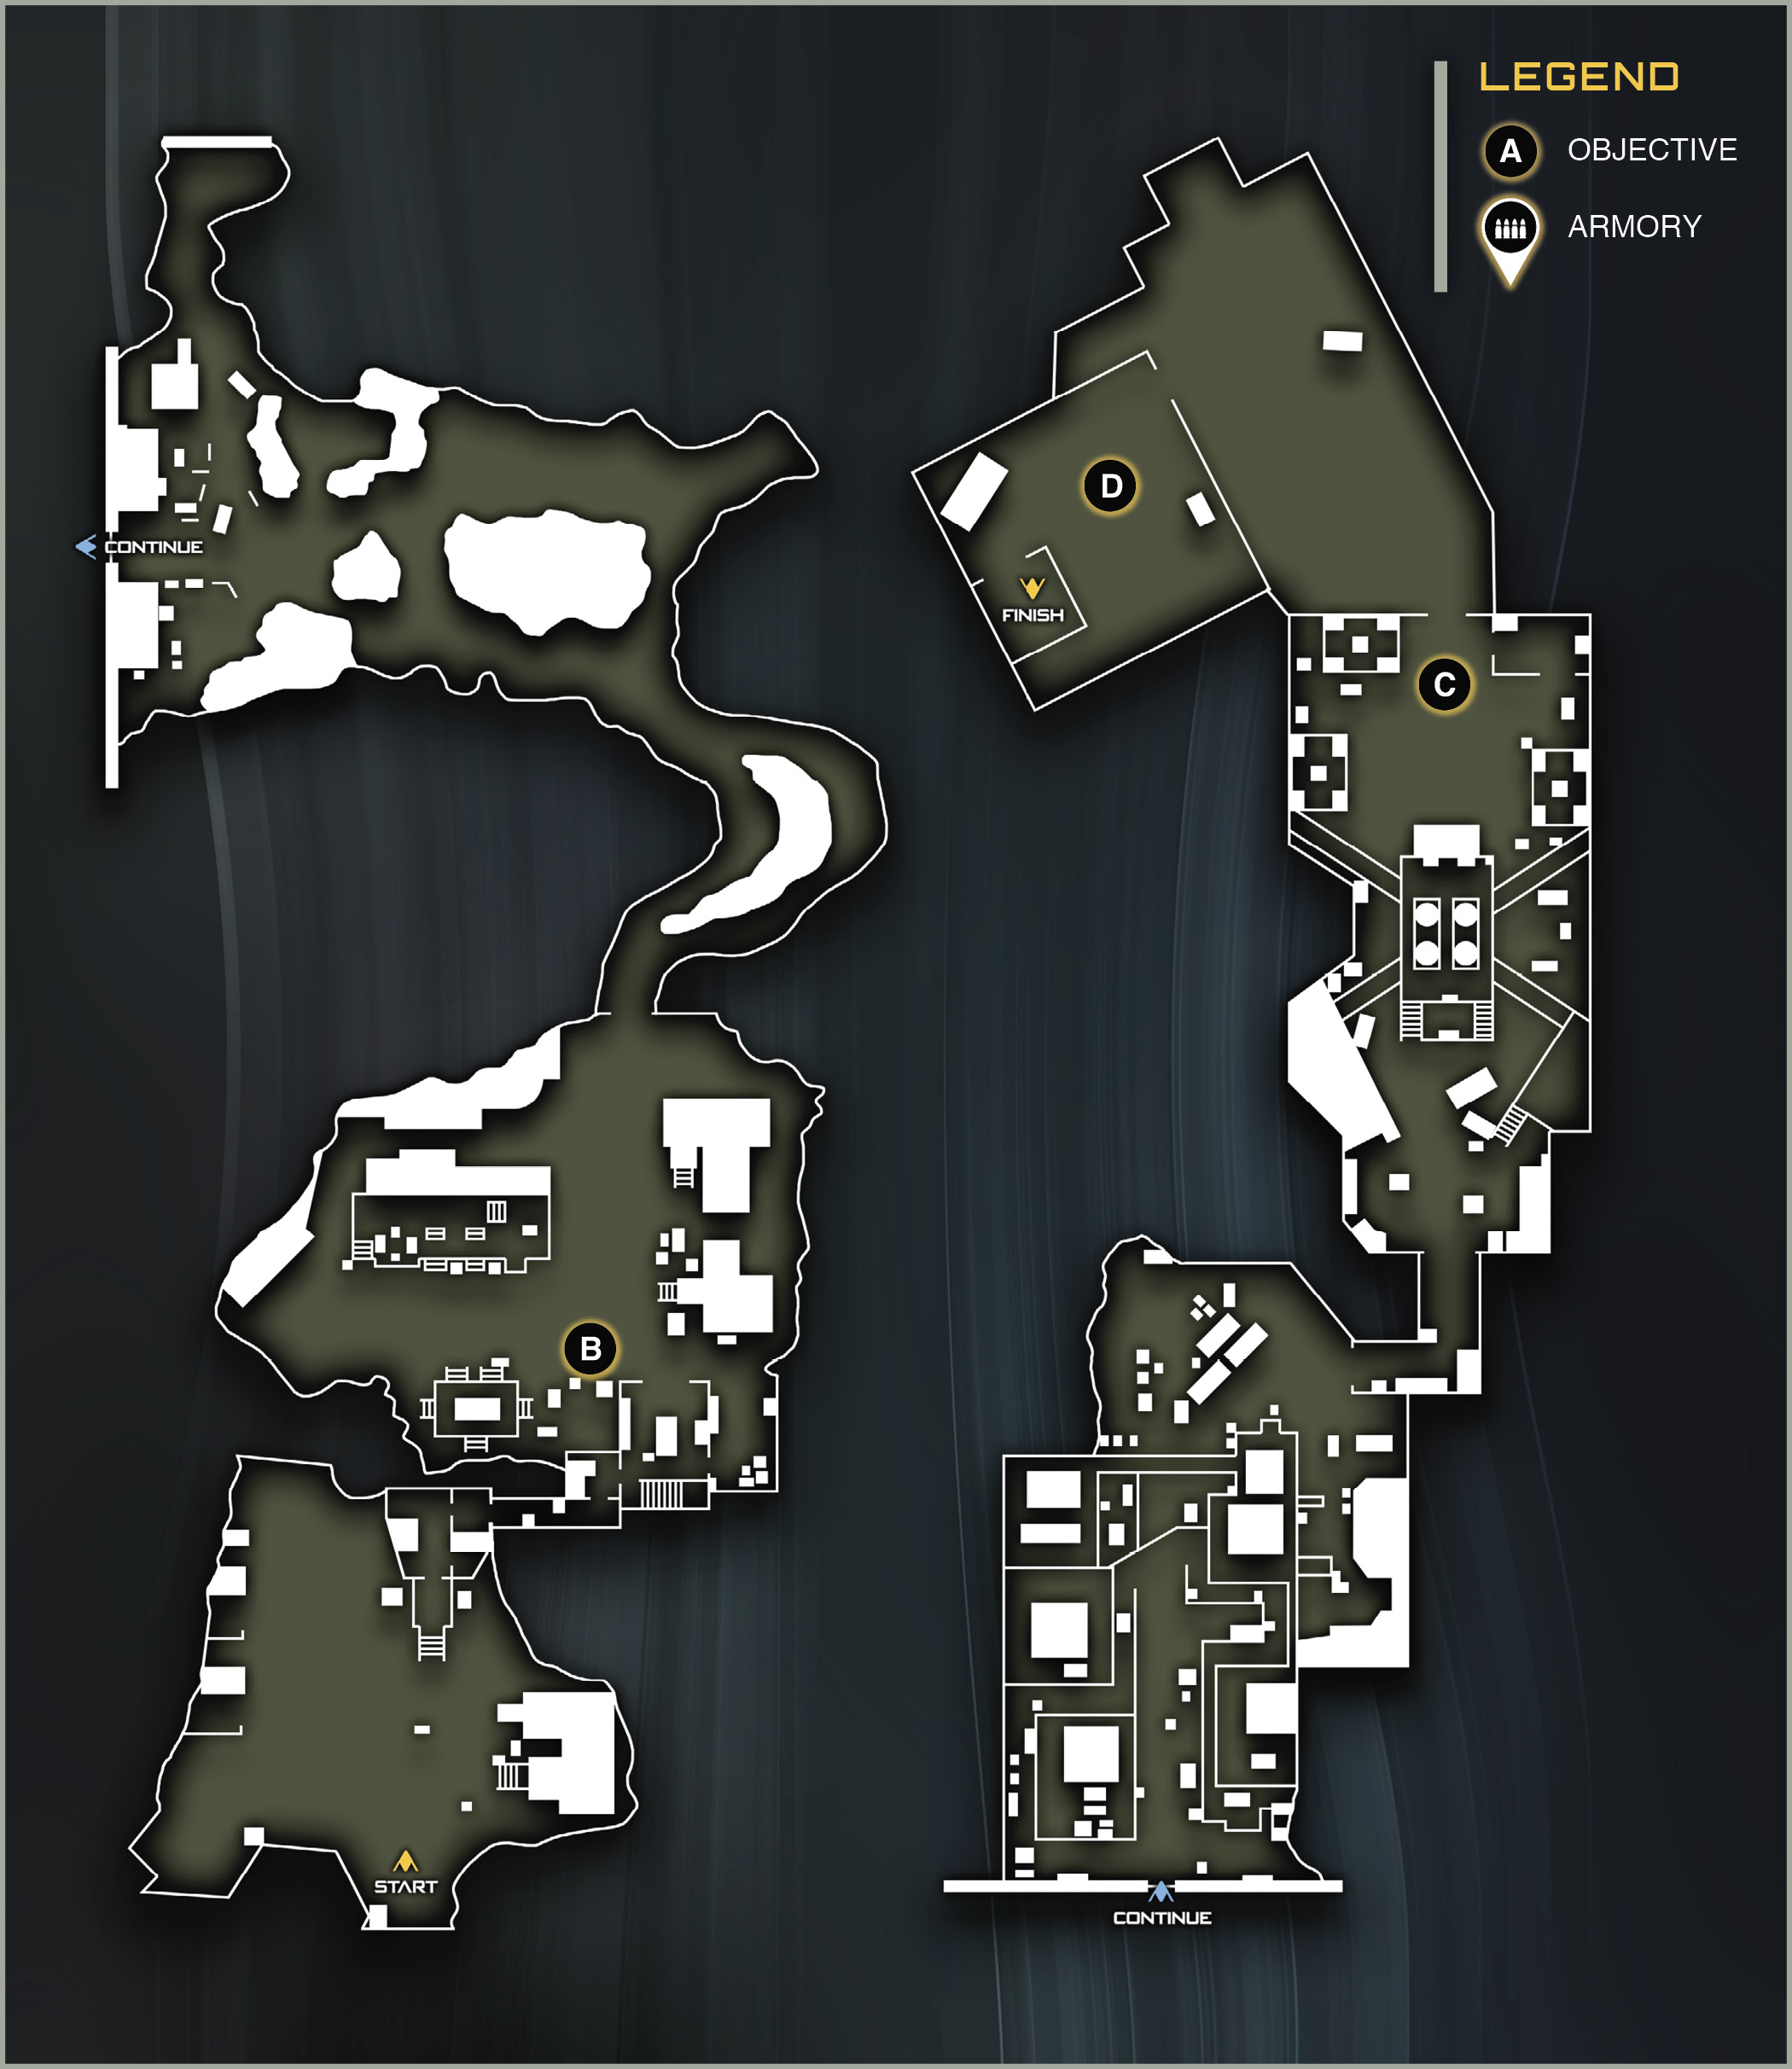
 OBJECTIVE: Find a suitable landing zone for the assault team.
There’s no reason to take the lead. It’s easy to take a wrong step here and tumble down a cliff face. Hang back and follow Omar’s lead, as he has experience on Titan.
When you reach the top of the cliff face, Omar, Ethan, and the rest of the team head inside to a small structure. Before following, take some time to find the nearby armory.
When you’re done with the armory, step inside the living quarters and hit the Activate button on the set of personal items in a nearby locker.
Explore the area until you find the tipped-over filing cabinet at the back of the structure. Hold Activate to lift it for the rest of your team.
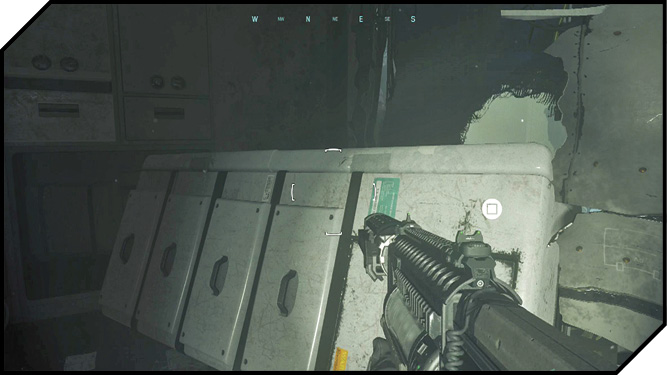
Through the living quarters, the SetDef refinery is just ahead. Your team splits, and you and Omar go dark. Omar will do most of the heavy lifting in this section, so stay behind him and out of sight of the enemies. Listen carefully to his instructions to ensure you don’t alert the base to your presence.
Slide down the hill after Omar. Be sure to hit the Change Stance button to stay in crouched mode while following in this section. At the top of the next hill, there is a guard patrolling. He will see you if you approach, so hang back and wait for Omar to take him down from the right flank.
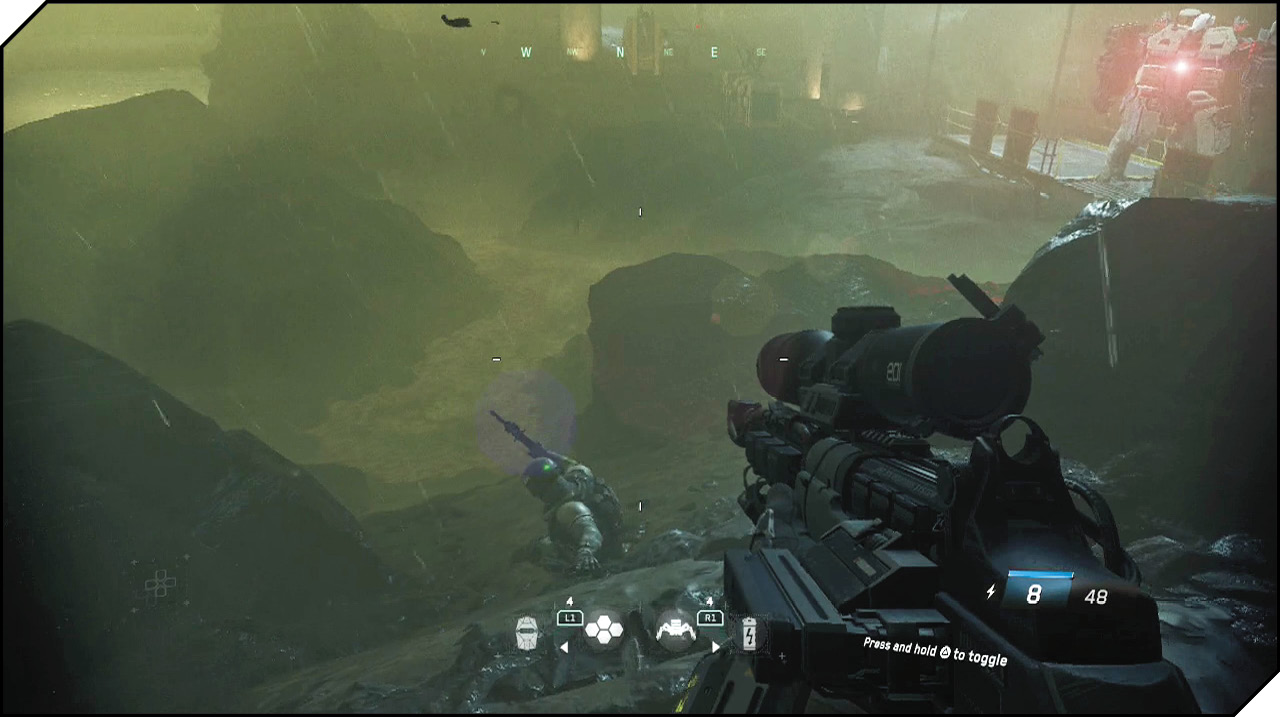
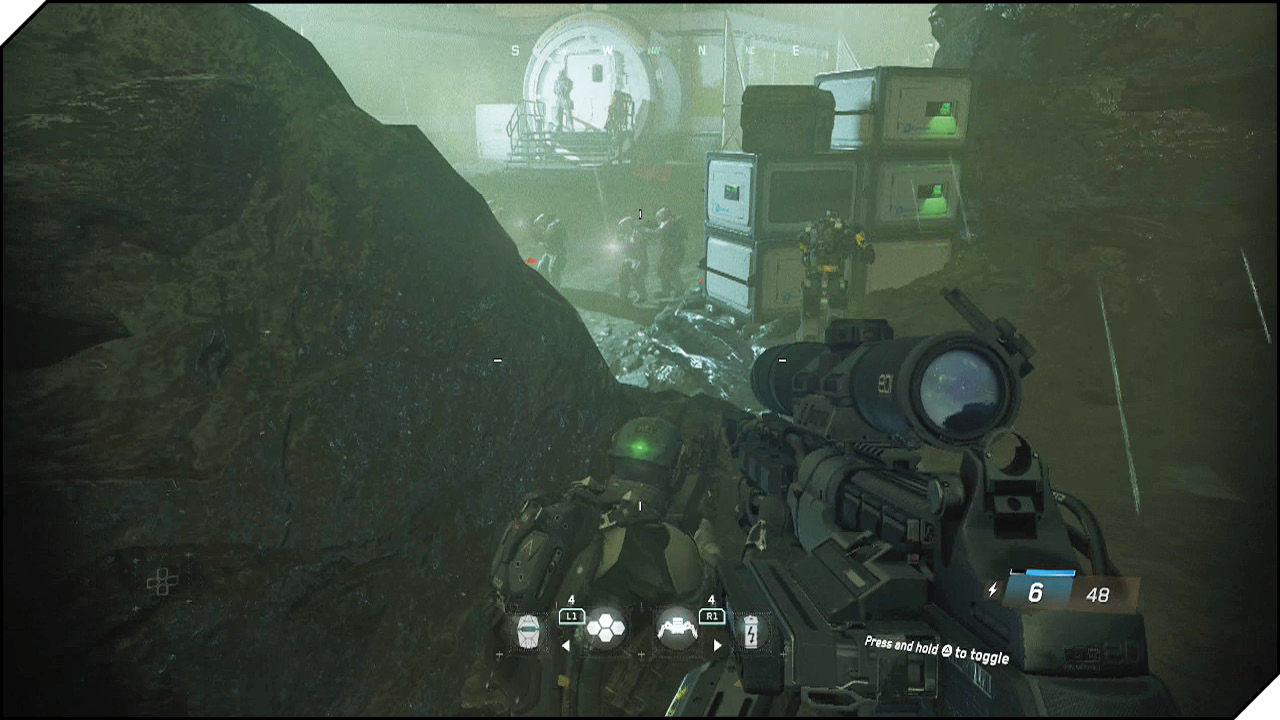
Continuing, another guard patrols with a Seeker-Bot in tow. Ignore him, and follow Omar inside the structure on the left. In the next room, stay in cover on the left side as another guard approaches. If your stealth meter gets too hot, down him with a silenced headshot. If you prefer to wait, Omar takes down the guard on his own.
Wait for Omar to step back outside. Follow him, find some cover, and wait for the patrol to pass. Use your double-jump to scale the side of the cliff. Ethan is waiting at the top.
When Omar gives you the go, shoot any of the three soldiers grouped ahead. Ethan and Omar down the other two guards.
Ethan takes point now, moving forward through the next bunker. Wait behind him until the path outside is clear.
Three more enemies patrol the refinery area outside. There are two on the right, one on the left. Target any of the enemies and pick them off with a silenced headshot. Ethan will give the all clear and sprint forward.
The front of this next area has four soldiers on a passing patrol. Wait for them to move through, and then down the soldier standing post in front of the round building to the right.
Trace Omar’s path through the base. Omar will toss an Anti-Gravity Grenade at the four enemies grouped outside the outpost door. Wait until the grenade blasts, and then unload into the four soldiers. You must kill all of them before the Zero-G effect ends to avoid sounding an alert.
Inside, Omar needs help with forcing a door. Oblige by tapping Activate until the door opens. Hang back as Omar takes point. This leads to a perfect area to set up a drop point for your armor.
After radioing the location of the LZ, it’s now your task to clear the area of enemy soldiers. You have the drop on the enemies, so it’s time to go loud.
Take out the three enemies grouped on the right from the window by shooting the red barrel they are standing around. Then, if you already have Seekers in your inventory, throw them at the four enemies patrolling the area on the left (but watch out for incoming fire while doing so).
Head downstairs and grab the Seekers in the crate below. Deploy them all if there are still enemies present. At this point you can clean up any remaining enemies, but the Seekers will have likely already done the job for you.
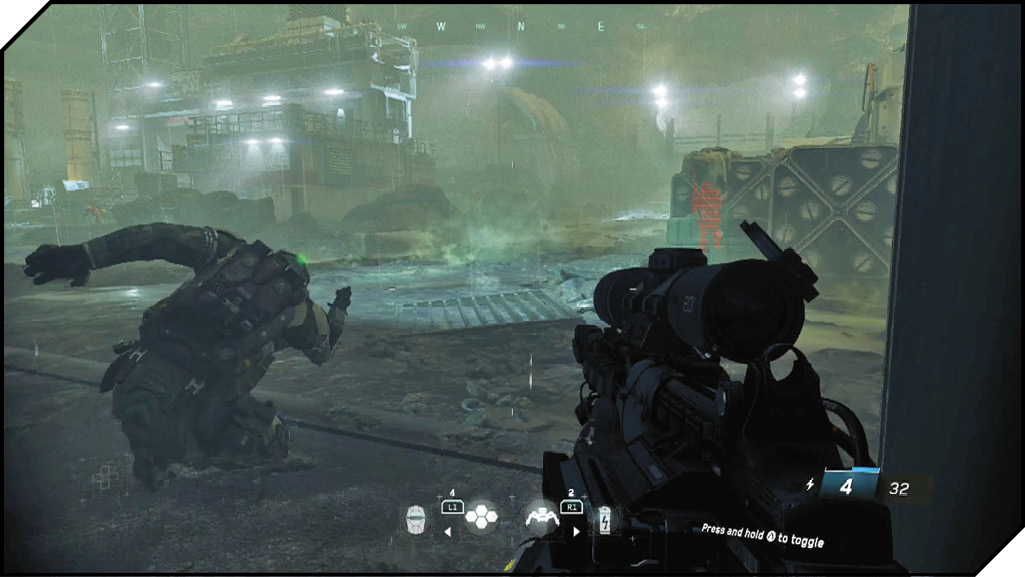
Return to the garage and restock your Seeker-Bots. Continue releasing bots until all the soldiers are dead.
Hang back safely behind the armor as it advances through the canyon, because it can accidentally trample you to death.
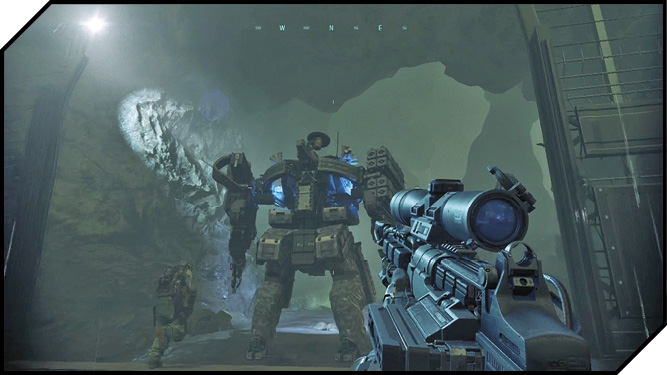
Move up the right path to stay high as the C12 moves through the canyon. At the end of the path, you are looking down on the Section 15 Refinery.
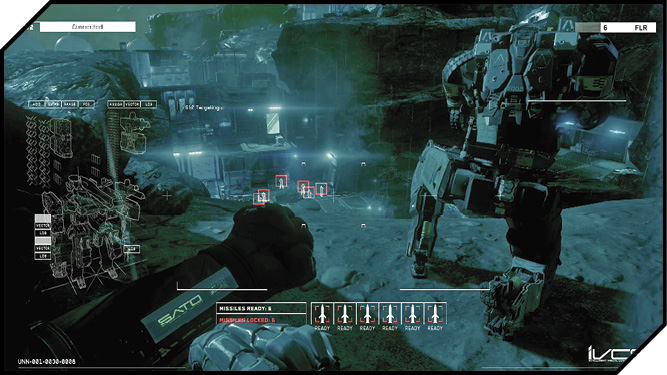
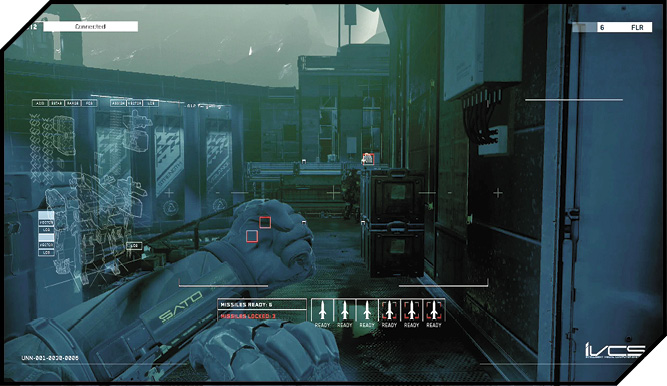
You now have control of the C12’s targeting system. Hit the up Inventory button to pull up the controls. When looking at the C12’s targeting HUD, you can see visible targets highlighted. At the bottom, the HUD displays the number of readied missiles.
Try to get six enemies targeted with red outlines. When you have it, press the Fire button to unleash a volley and begin the assault.
While you wait for the C12 to reload, stay prone at the top of the cliff, picking off the scrambling enemies below with your scoped weapon.
The mech will eventually storm the front gates of the refinery. When it does, use your sniper to pick off some of the enemies on catwalks just inside the gates before you descend to follow the team through.
 OBJECTIVE: Escort C12 battle tank to the Section 15 Refinery.
To make use of your C12 targeting interface, you need to be above enemies and looking down at them. To get a better vantage point, head up the stairs into the structure on the right. Be warned: there are a few enemies defending inside. Focus on clearing them out, and then look down into the courtyard to target the enemies defending inside.
It may take a few volleys to clear out all the defended decks of the refinery here. Wait patiently in cover and use the C12 volleys when they become available.
Wait for the squad to begin advancing, and use your jump pack to quickly get over the building on the left side. This gives you a vantage point over the enemies defending the next section to help unleash missile volleys.
The enemies here have wicked accuracy, so it’s better to stay in cover and use your C12’s missiles as soon as they leave cover.
With the second yard cleared, the C12 advances on to a third. Another dozen or so enemies defend this area, but the enemies are scrambled and no longer putting up a good defense. Continue using the C12 volleys. When the third area is clear, climb the center structure.
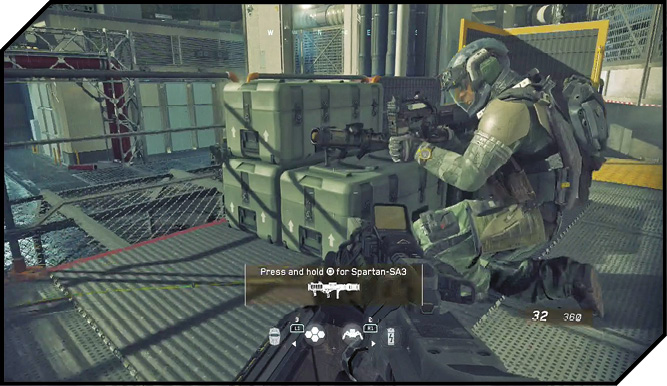
If you are in the right spot, you should be on a second floor rail, looking down into a fourth yard. Look for the Spartan SA-3 Rocket Launcher on a crate to your right.
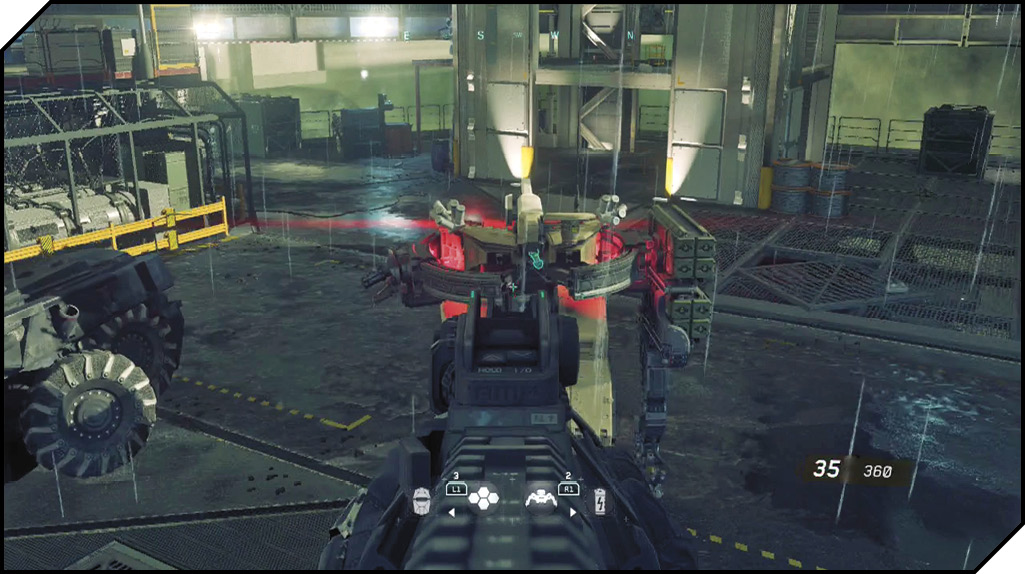
You need the missile launcher to take down the enemy. Use the alt fire on the missile to target the robot’s limbs. It will take two rockets to disable one of the arms. Once an arm is disabled, you need to jump on the back of the mech to begin a quick time event.
There are two possible quick time events that can occur, depending on which limb you destroy. If you take out the C12’s right arm, you will jump on the back and plant a missile in its neck. Shooting this missile destroys the mech.
Alternatively, if you destroy the left arm, when you jump on, you need to continually hit the melee button to force the mech to shoot itself with its own minigun.
If you need more heavy ammunition in this fight, there is more ammunition on the right side of the yard. If you are playing on a hard difficulty, you need to be very cautious of the SetDef reinforcements that flow in the sides of the yard. Use your shield to make sure the area is clear before you go charging in.
If you don’t like the idea of rodeoing the mech, you can also destroy it by destroying multiple limbs with the rocket launcher. If you can find a safe spot to target the mech from, this is the easiest way to take it down.
 OBJECTIVE: Secure the refinery and repel the SDF forces.
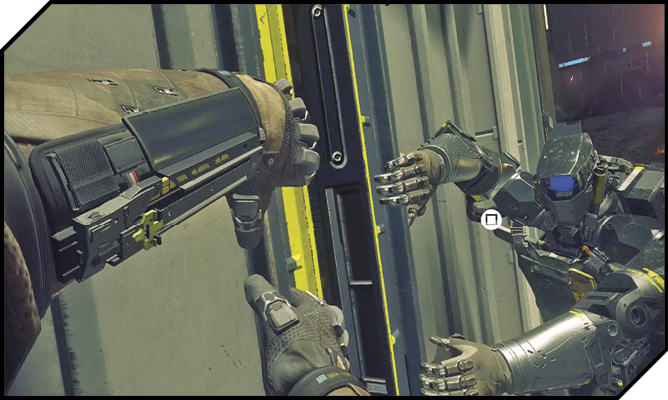
With the enemy mech in pieces, the good news is that your C12 is still ticking. Follow it through the final gate to the AO (Area of Operations). Before you leave this last area, search the enemies for weapons and ammunition. You need a good stock for the next part of the level.
After the incoming hellstorm from Olympus Mons, you need to get to safety. Hang a few feet behind Ethan as he powers through the incoming fire. Jump over the debris, and help Ethan open the door with the Activate button. Inside, there’s a momentary respite in the base of the tower.
Ethan activates the elevator as Omar and his squad ready an attack below.
 OBJECTIVE: Cover the marines from the roof.
At the top, pry the drop doors open with the Activate button. Things look dire until the Retribution arrives with your Jackal. Jump into the Jackal to continue the fight.
Fight or Flight
 OBJECTIVE: Take out the SDF fueling tower.
Back in your Jackal, you are in a much better tactical position than you were on the ground. The Olympus is temporarily held at bay, and it’s time to complete the mission.
Fly straight forward along the rig’s pipes behind Salt. Unsurprisingly, several Skelters arrive to defend the landing platform.
These Skelters are weak, and have no countermeasures, so feel free to take them down with missiles to make your life easier.
 OBJECTIVE: Eliminate the SDF A-jak Cutter.
 OBJECTIVE: Eliminate the SDF Skelters.
After you clear out the majority of the Skelters, an A-Jak frigate arrives to reinforce the enemy. This is your new primary target. Use your boosters and countermeasures to avoid getting targeted by the gunship. Switch to your 50mm gun and begin unloading into the ship’s rear engines.
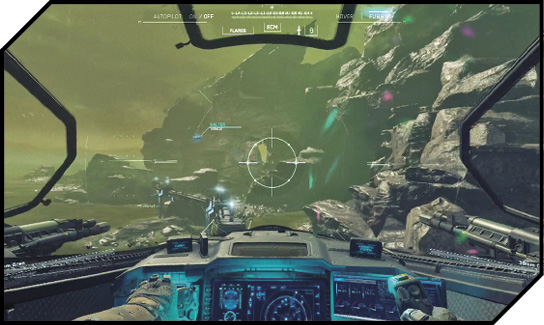
Try to stay just in range of the A-Jak so you can hit it without taking fire from the incoming guns. If you take too much damage, you can retreat to the previous area to recover your ship’s hull.
Mop up the light Skelter reinforcements, and Salt gives you the go to land on the turbine.
 OBJECTIVE: Land on turbine.
The turbine landing pad you need to land on will light green. Move near the pad and hit the Activate button to automatically land.
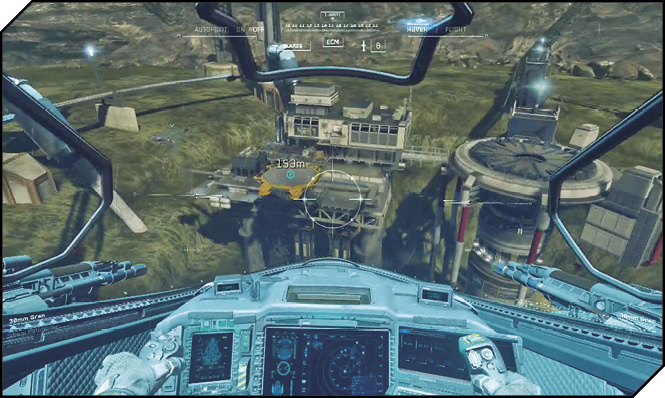
Immediately after landing, take cover behind the Jackal. The ground soldiers have the drop on you, and can kill you quickly. Luckily, Salt is on standby and makes short work of them, opening the path to the turbine controls.
 OBJECTIVE: Expose the turbine shielding.
In this section, you are fighting alongside Ethan. You need to move along the left side of the building, clearing out the several remaining enemies defending the turbine.
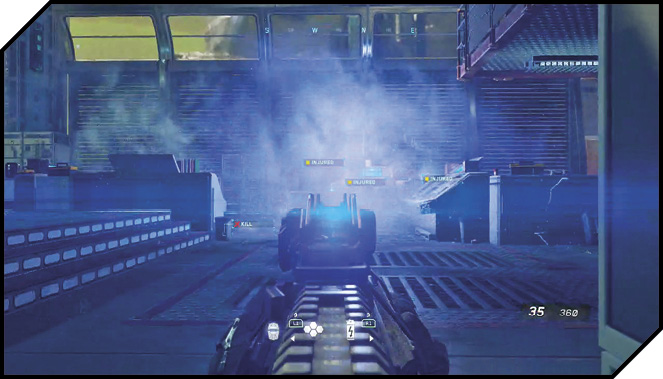
When you clear the first group, advance to the corner of the rig. Be ready for charging enemies, as well as enemies hanging back behind cover. The enemies will keep attacking your position, so use cover to patiently wait for them to advance. When they do, pick them off.
There are several more enemies at the top of the stairs on this corner. Use your shield to find their position and advance on them.
At the top of the stairs, the enemy forces make their last stand, defending the console at the back of the room.
 OBJECTIVE: Expose the turbine shielding.
Make sure you clear both sides of the turbine controls room before advancing on the console facing back outside. Activate the console to expose the turbines, and Salt assaults them, priming the tower to blow.
 OBJECTIVE: Board your Jackal.
There may be some stragglers on the way back out to your ship. To avoid getting hit by them, hang back behind Ethan as he clears the way.
Back out at the landing pad, use Activate on the front of the Jackal to board.
Once in the Jackal, hold jump to take off, and follow Salt down the pipes to the refinery tower. Blast the pipes at the base of the tower to set off the final detonation and complete the mission.
All that is left is to Activate to signal an exit launch for the SCARs and Retribution.