
Call of Duty: Infinite Warfare Guide Single-Player Campaign Walkthrough
Operation Port Armor
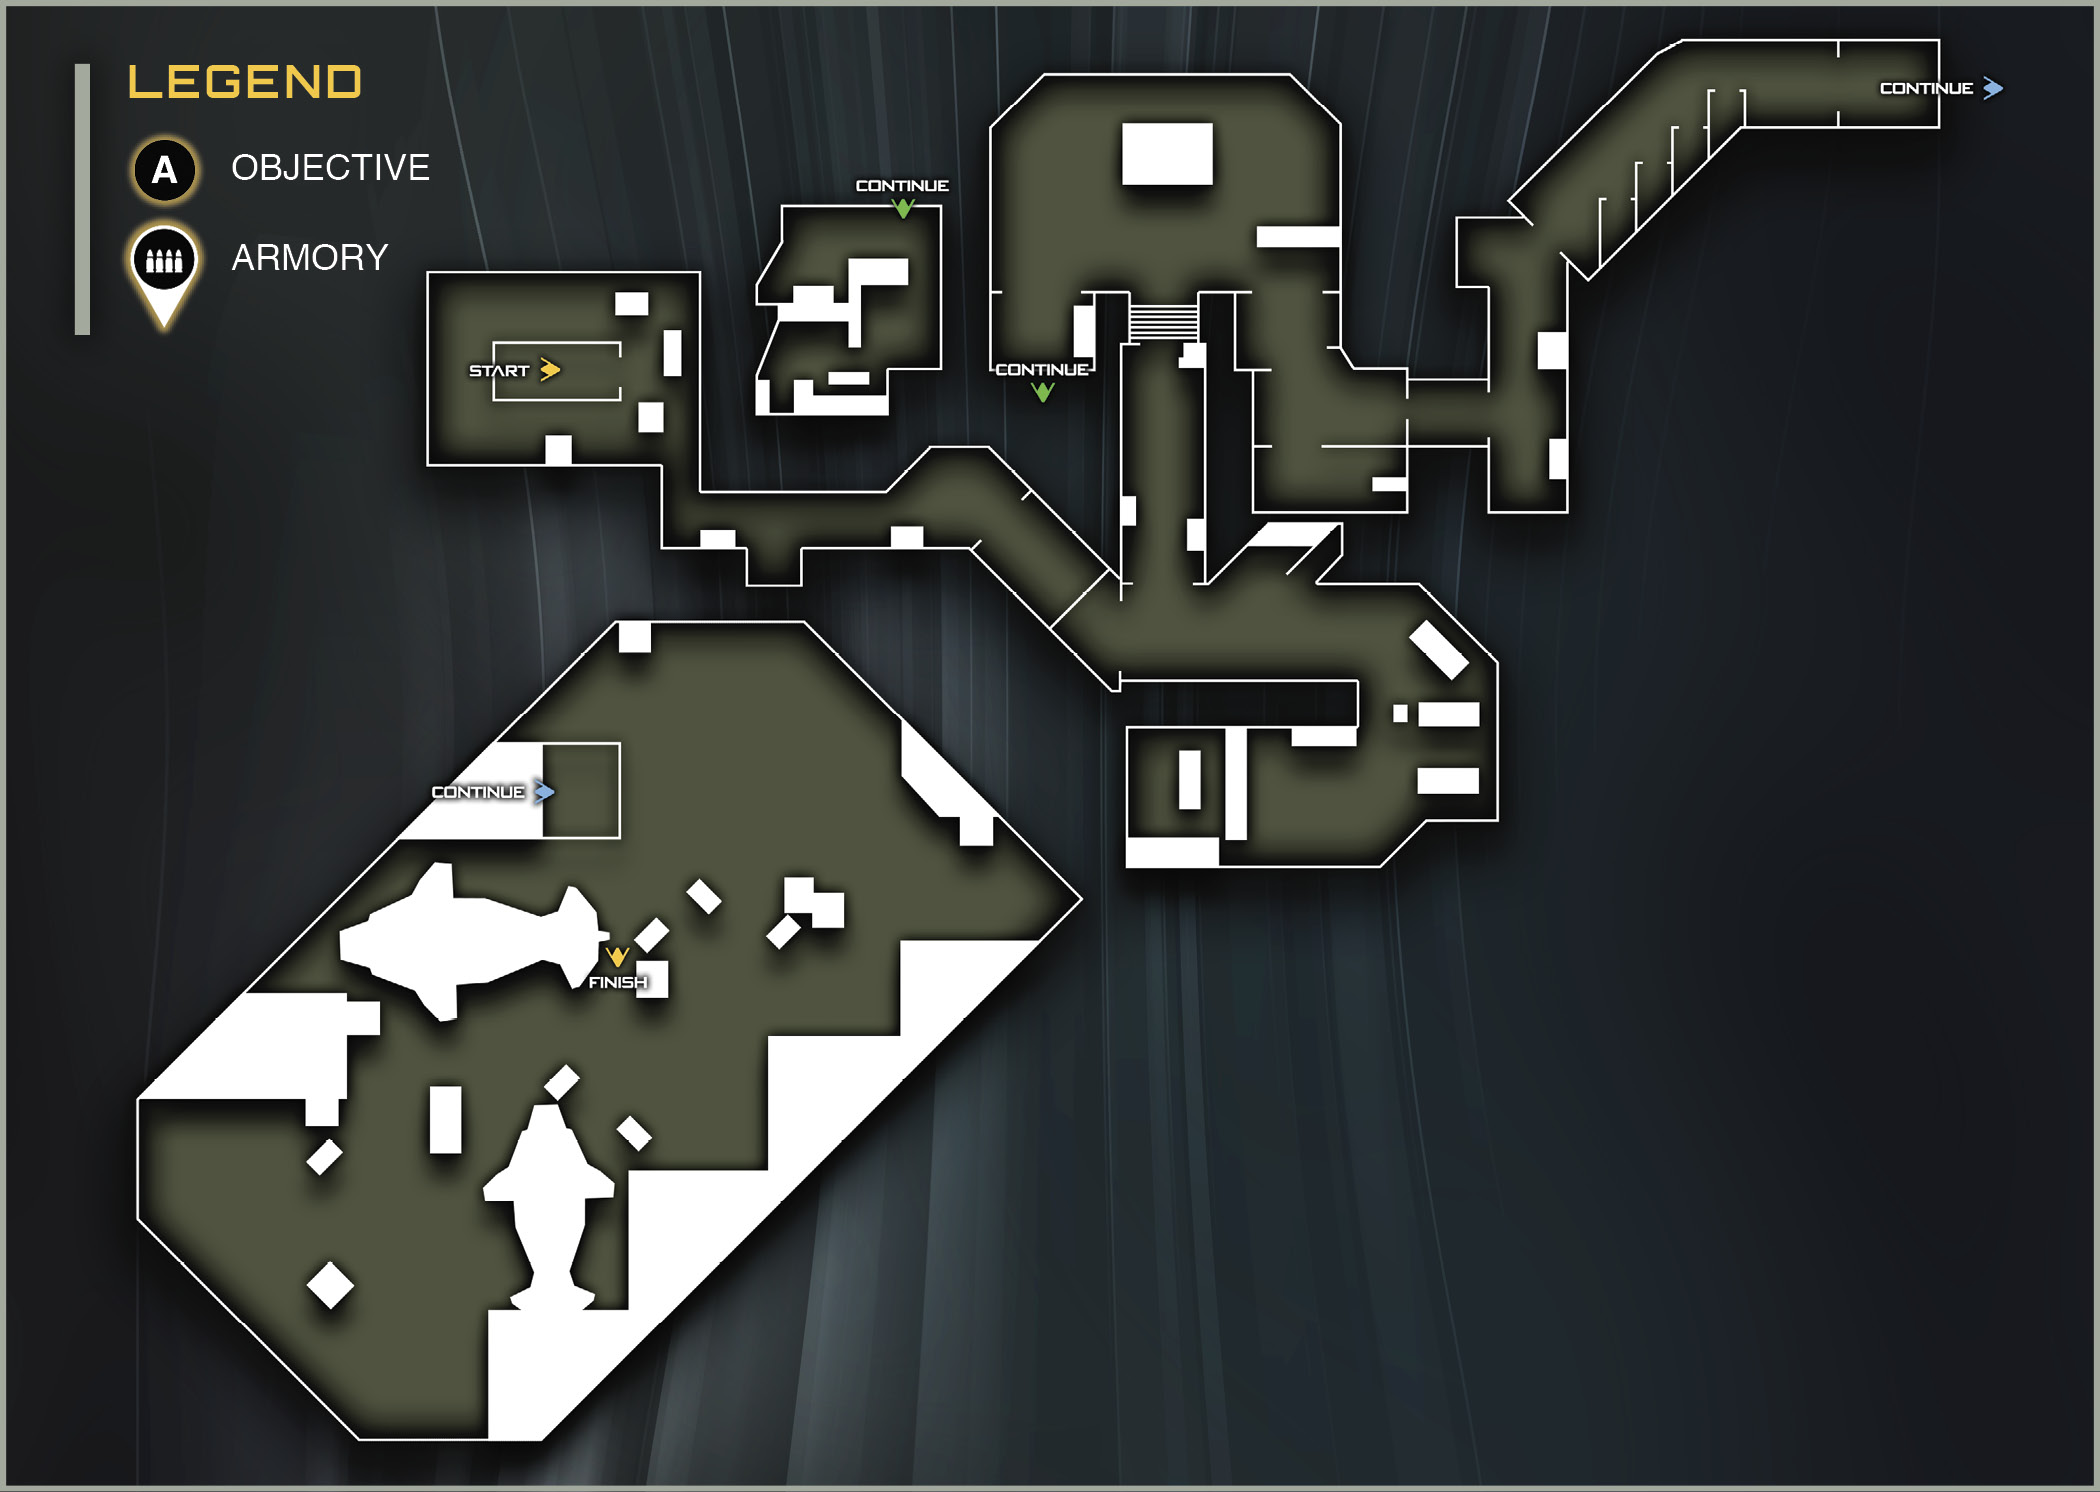
GRIFF’S RECOMMENDED LOADOUT:Weaponry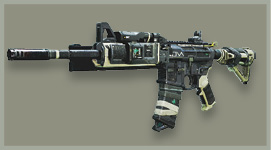 Primary: NV4 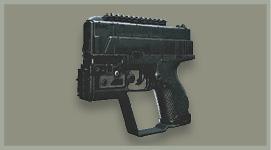 Secondary: Karma-45 Tactical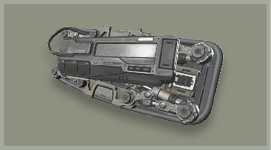 Hacking Device Lethal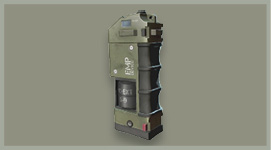 Frag Grenade |
Retribution: Aftermath
You start this level immediately after the prior. You and Salter are still in your Jackals. Wait for the flight crew to help you off your ship. The hangar took serious damage in the attack.
Follow Salter up the elevator. A storage cabinet has blocked the entrance to the bridge. Help her lift it by holding the Activate button.
After lifting the cabinet, you meet Marine Staff Sergeant Usef Omar. Omar will be aiding you on several of the upcoming ground-based missions.
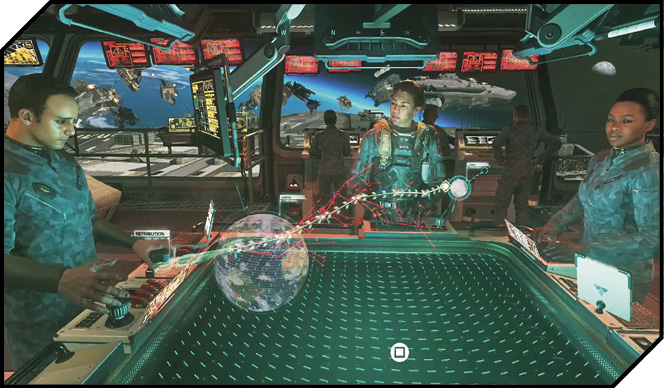
On the bridge, you have been assigned as Commander of the Retribution.
In the captain’s quarters you can use the computer to find additional background on the other characters in the game, listen to intel logs, and get After Action Reports (AARs) for each of the missions you have completed.
You can also take a look at the Most Wanted board, which shows some of the SDF’s most wanted leaders and soldiers. When you kill one of the members of their leadership, their card will appear on the board and you can read their bio.
When you have finished in the quarters, enter the bridge and Activate the command panel in the center of the room. This instructs the crew to warp the Retribution to the moon for your next mission.
Follow Sotomura to the elevator down to the armory.
This is your first of many stops in the armory. Whenever you leave for a mission, you select your loadout here. Griff always has a recommended loadout for you. You are free to heed his advice, or customize on your own.
As you find weapons in the game, more will become available for selection. Additional attachments for each weapon are found by successfully completing missions. For more info, check out the Armory section of Gameplay Basics.
With your outfitting complete, it’s time to get to the mission. Move down the corridor and open the hatch at the back. At the end of the elevator ride, move forward to equip your Booster Rig. This enables the ability to double-jump and long jump, which you learned how to do in the first mission.
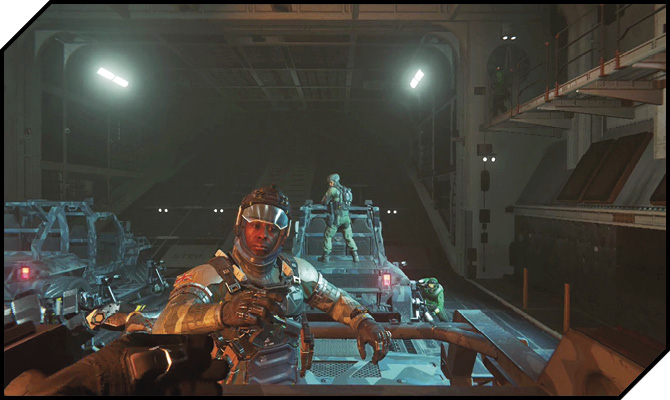
Open the last door to exit into the Hummer bay. Coordinate with Omar to set up in the near vehicle. Activate the back of the vehicle to mount up the rear.
Location: The Moon
Target: UNSA Lunar Terminal
Mission Summary: Infil to the Lunar Terminal.
Mission Description: SetDef has attacked a civilian terminal on the moon. Your attack group will be broken into two teamws: Alpha and Beta. Each team will siege the terminal from two directions.
Team: LT Nora Salter SCAR Ground Support 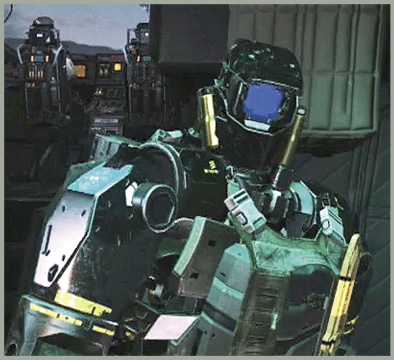 PFC E3N (Ethan) Marines Ground Support 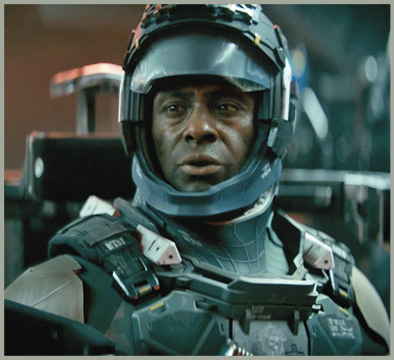 SSgt Usef Omar Marines Ground Support 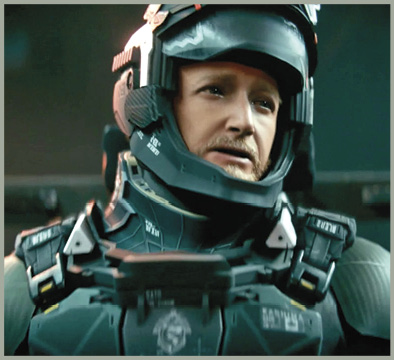 PFC Todd Kashima Marines Ground Support 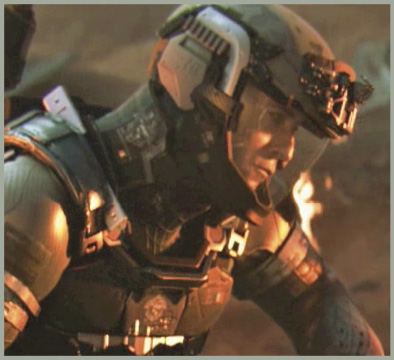 PFC Brooks Marines Ground Support |
Civilian Terminal
 OBJECTIVE: Infil to the Lunar Terminal.
After a rough landing, your vehicle is assaulted on the right side by a SetDef APC. Aim Down Sight and shoot the gunner at the top of the vehicle.
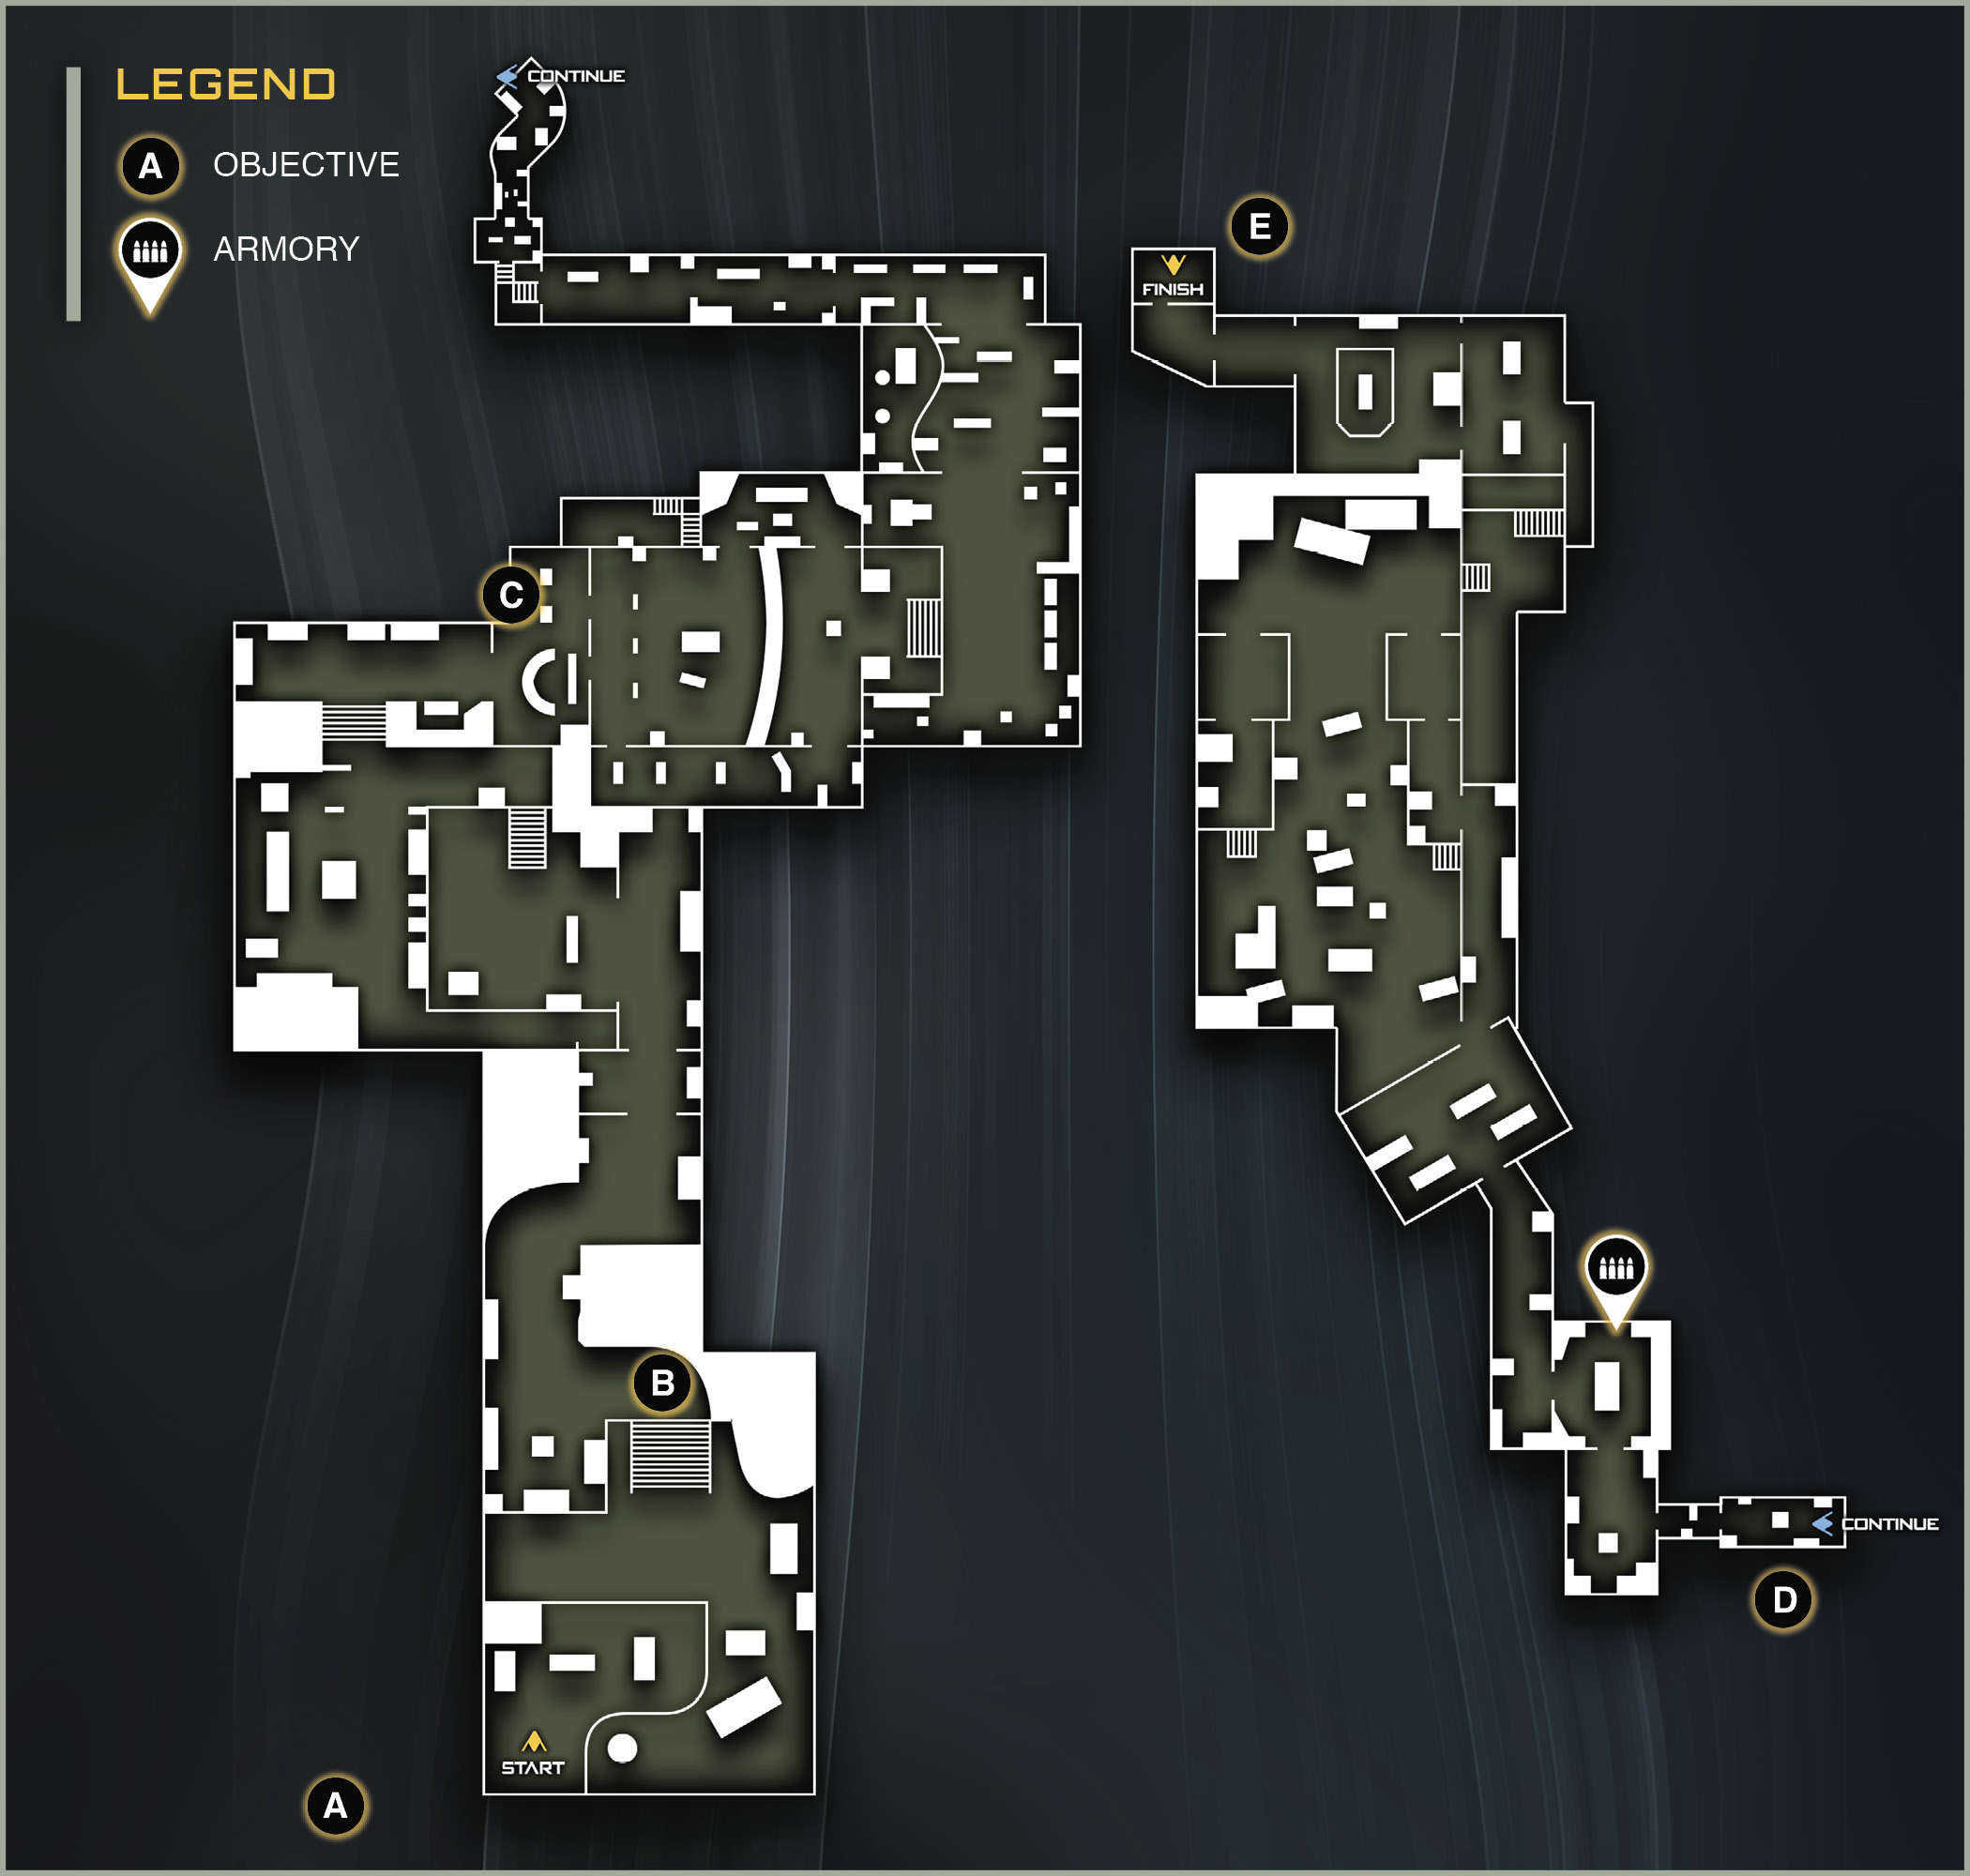
Once you are inside the terminal, you are in lunar gravity. Hop over to the nearby air lock. When the room pressurizes, you also get Earth gravity.
Peek through the door. No threats. SetDef isn’t in this section of the terminal, so you can move through freely to the next section.
 OBJECTIVE: Secure the Lunar Terminal and repel the SDF forces.
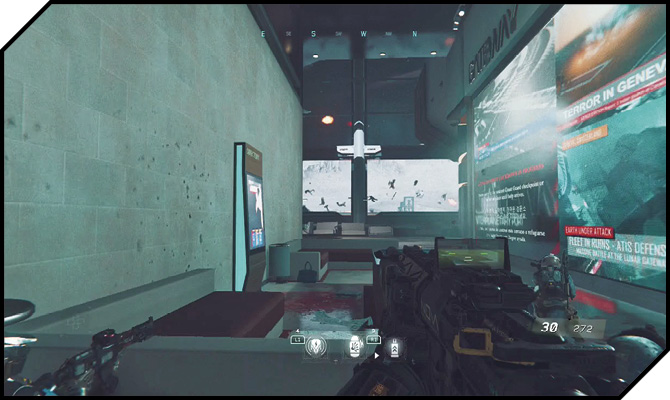
At the top of the next flight of stairs, several SetDef enemies are waiting to be ambushed. The best way to take these guys out is by shooting out the glass in the terminal windows behind them. This sucks the enemies out, and the terminal automatically seals the windows after they are blown open.
After blasting most of the enemies into vacuum, stay in cover and move up into the terminal.
Wall run across the curved billboard. Follow your squad and crouch through the lowered blast door.
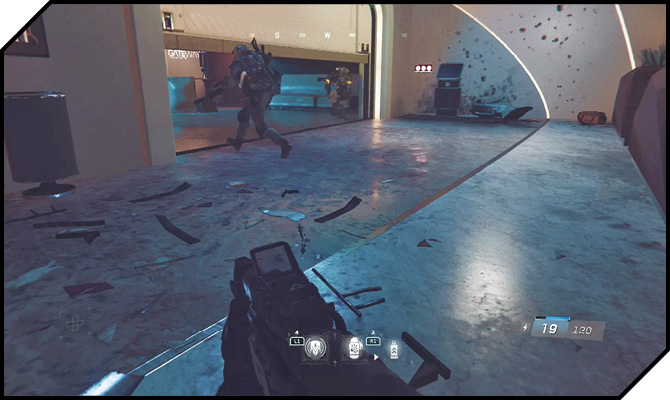
This leads to another large terminal. The civilians are dead, so you’re free to blast the windows behind the SetDef to suck them outside.
There are several SetDef troopers in the lobby area below. Toss a Frag Grenade down there and they will retreat to the upper area. Blow out another window to suck another group of them outside.
Follow Omar down the right curved corridor. Check the grenade box for some Anti-Grav Grenades. These grenades can be tossed at enemies to helplessly suspend them in midair—excellent for removing your targets from cover. Try one out on the remaining SetDef in at the back of the room.
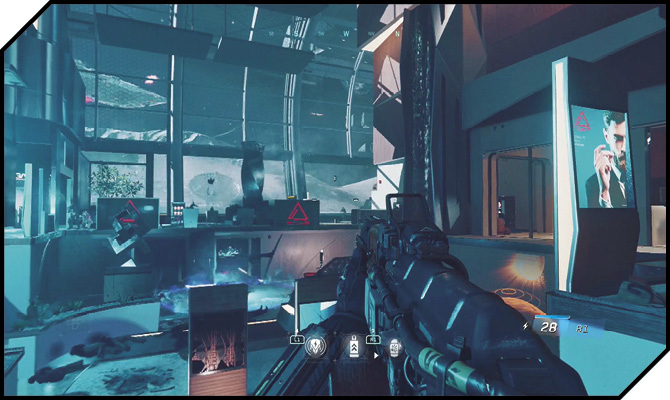
When the large room is clear, your squad advances. Hang back and follow them in through the next area.
SetDef has some snipers above. Unfortunately, there are no windows to blow out in this room, so you’ll have to kill them the old-fashioned way. Use your long-range weapon to pick them off when you pop out of cover. If you did not pick up an EBR-800 in Geneva (and it doesn’t get sucked out the window), grab the one this sniper drops.
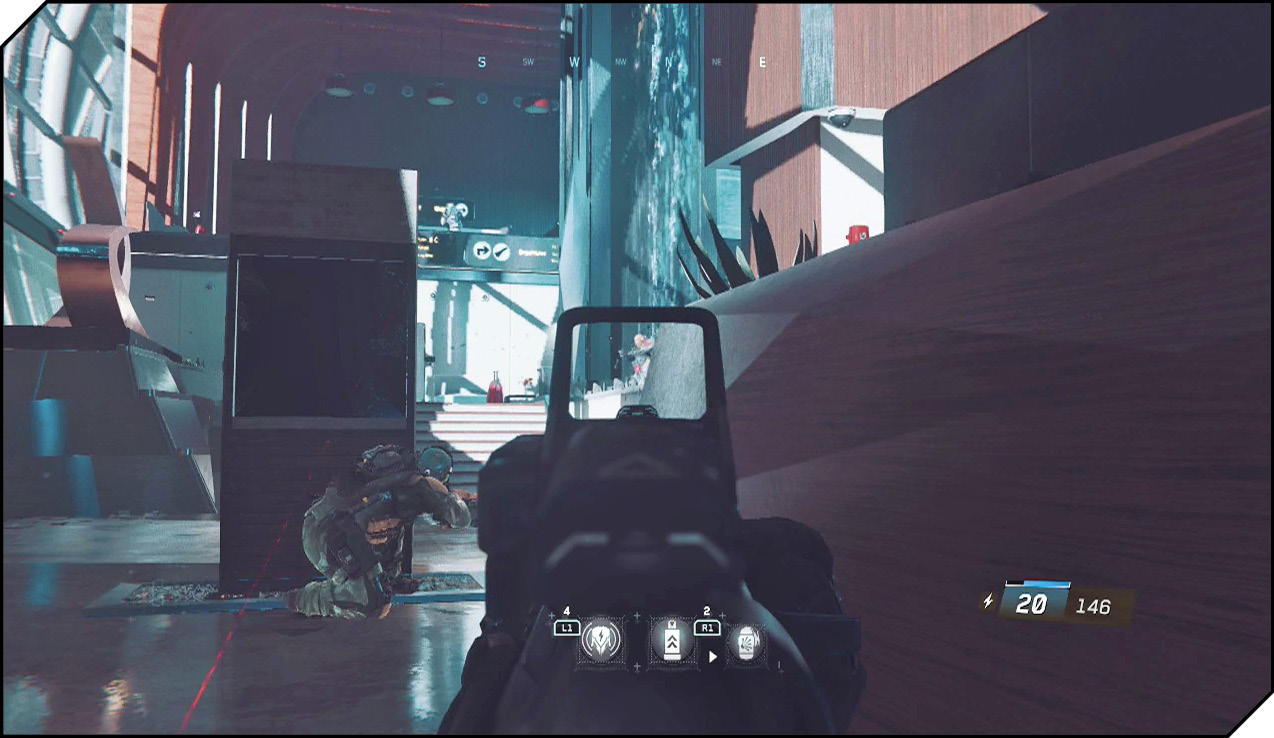
 OBJECTIVE: Meet up with the allied Coast Guard.
When the enemy retreats, pursue. The corridor bends and leads into a large room labeled “Gateway.” There are drones in here; make good use of your Hacking Charges. Use the Hacking Charge on any drone in the room. Then bring chaos into the enemy’s ranks meleeing and self-destructing a path through their defensive line.
Stay in the upper area and wait for Salter and the rest of the squad to advance forward before you drop down. The next room is also heavily defended, but there are drones here, as well. Use another Hacking Charge to weaken the defenders with a rogue drone.
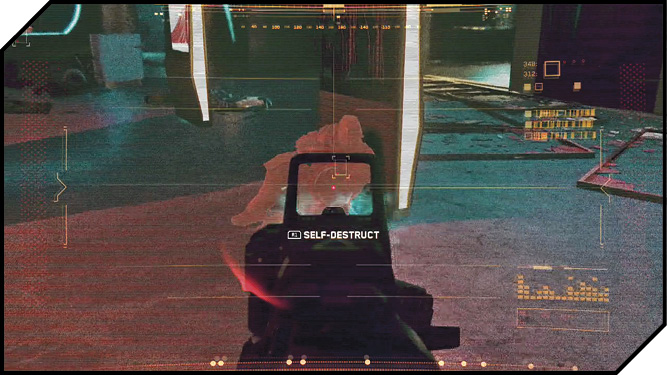
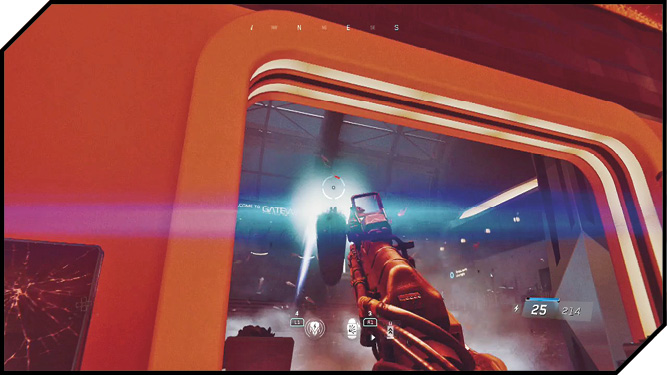
The enemies have several waves of reinforcements. Use up the rest of your Hacking Charges to safely dispose of them. When you’re out of charges, it’s time to advance into the back half of this room. When you near the rear exit, a new type of enemy arrives.
The C8 “Hunter” drone is an offensive and defensive powerhouse. It uses shields to deflect incoming fire, and they are equipped with powerful weapons. This C8 variant has both Frag and Anti-Grav Grenades.
Since this room is circular, you are reliant on the rest of your squad to draw the C8 away from you to allow for you to score hits. Use a Volk to nail it with headshots whenever it is turned away from you. Watch out for incoming grenades. The Anti-Grav Grenades can be just as deadly as the Frag Grenades, but there is no warning indicator on Anti-Gravs.
If you are having trouble getting a good angle on the Hunter, toss an Anti-Grav from behind cover. Light the robot up with your energy weapon. It will take a few clips to down the mechanical beast, but it will go down.
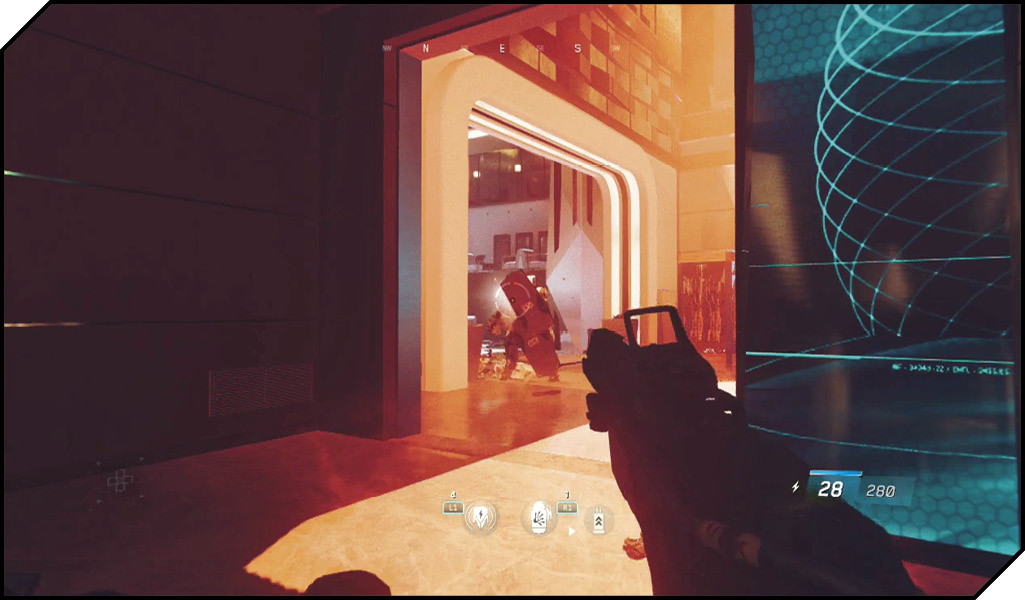
When the C8 is defeated, retrieve one of its Personal Shields. The shield is one of the best Tactical items available in the game. Not only does it provide you with full cover against enemies, it also acts as a radar—pulsing enemy locations while it is retracted. Deflecting enemy fire and making melee attacks requires energy, and will drain the shield’s battery more quickly.
Follow Salter to the blast doors. Hit Activate to open the doors. Have a finger on your Tactical button; deploy your shield as soon as you are through the door. Take cover behind the advertisement stand. Peek out and pick off the enemies defending on the other side.
There’s a second C8 in the next room. Instead of taking it on directly, boost up to the glass ceiling to the left of the robot. Crouch behind cover and unload with your Volk into its head.
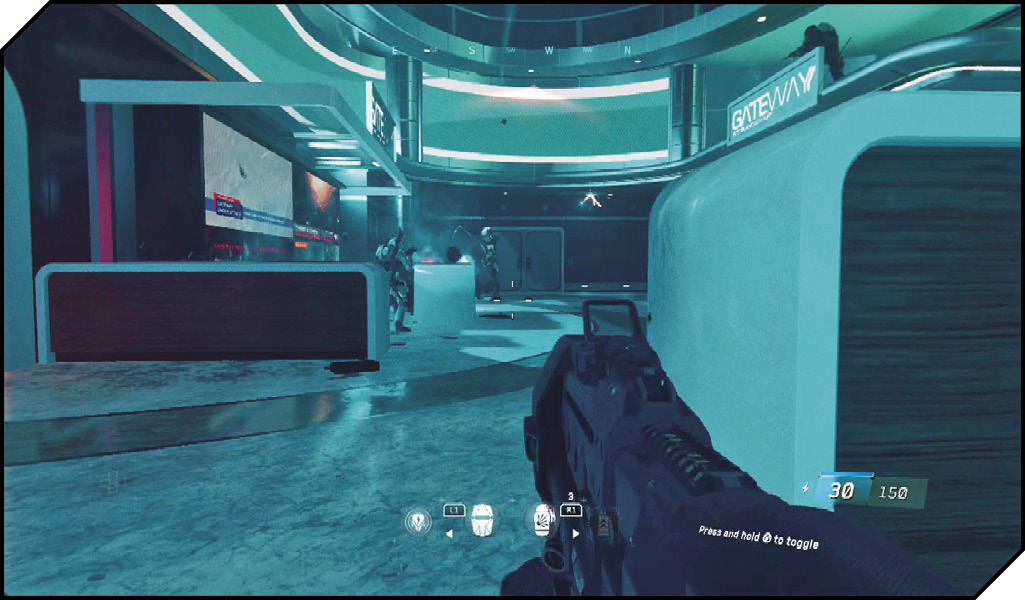
This C8 was armed with an F-SpAr Torch, the same weapon you used in the first mission. Switch this weapon out for your secondary weapon. Hit Activate on the next door to rendezvous with the Coast Guard.
When you hear the call for help, sprint up the stairs at the back of the area. Use your torch to cut through the enemies in the security area. On Veteran difficulty, using the torch effectively against regular enemies can be tricky. If you are having trouble, switch back to your normal primary weapon and engage them from cover.
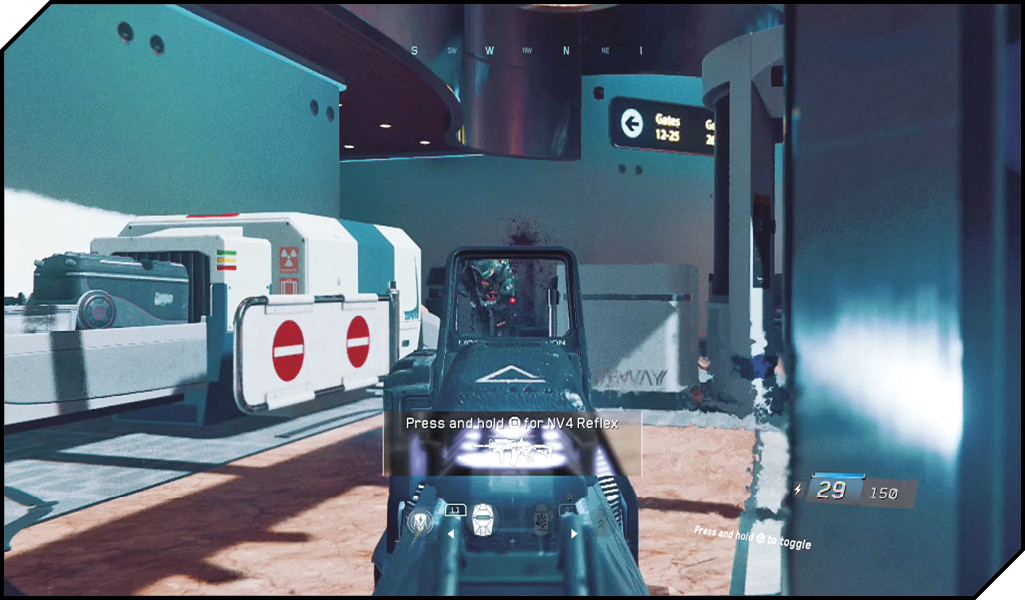
Don’t forget to use Anti-Grav Grenades and your shield. This is the last section before a full weapons restock.
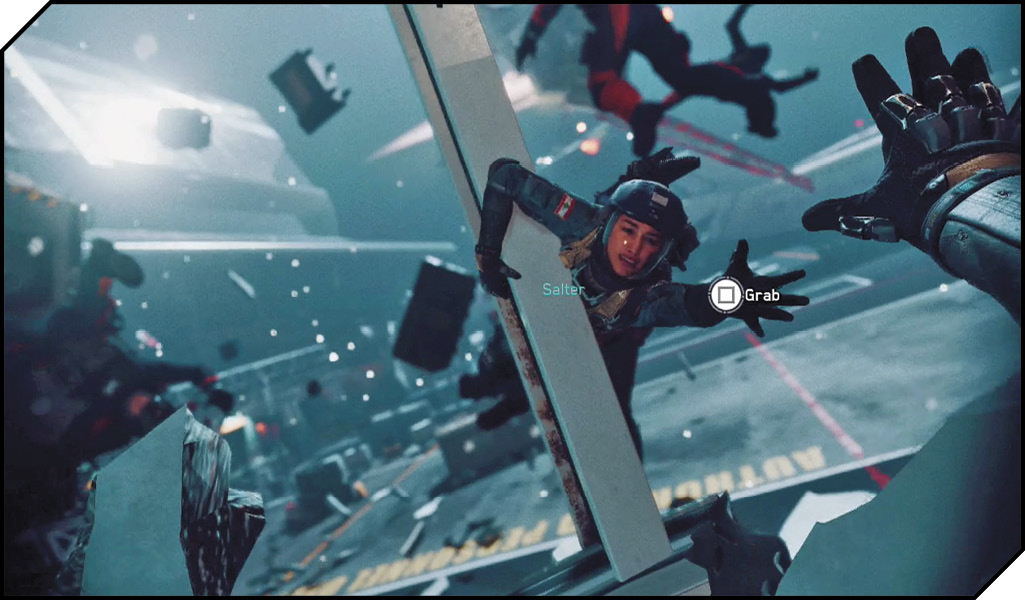
Keep pushing down the corridor, and a Skelter blows up the entire area. Grab Salter’s hand with the Activate button before you get sucked out into the moon’s orbit.
When you regain control of Reyes, you are low on oxygen and can’t sprint. Stick close to your squad and jump to get some extra speed. Tap the Activate button when you get to the door to get some sweet O2 back inside the port.
 OBJECTIVE: Repel the SDF forces from the cargo hangar.
You are weaponless after the near-escape. Follow Omar through the base up to the armory. Hit the Activate button to get inside.
Get the Shock Grenades, Mauler LMG, and the Reaver Shotgun in the armory.
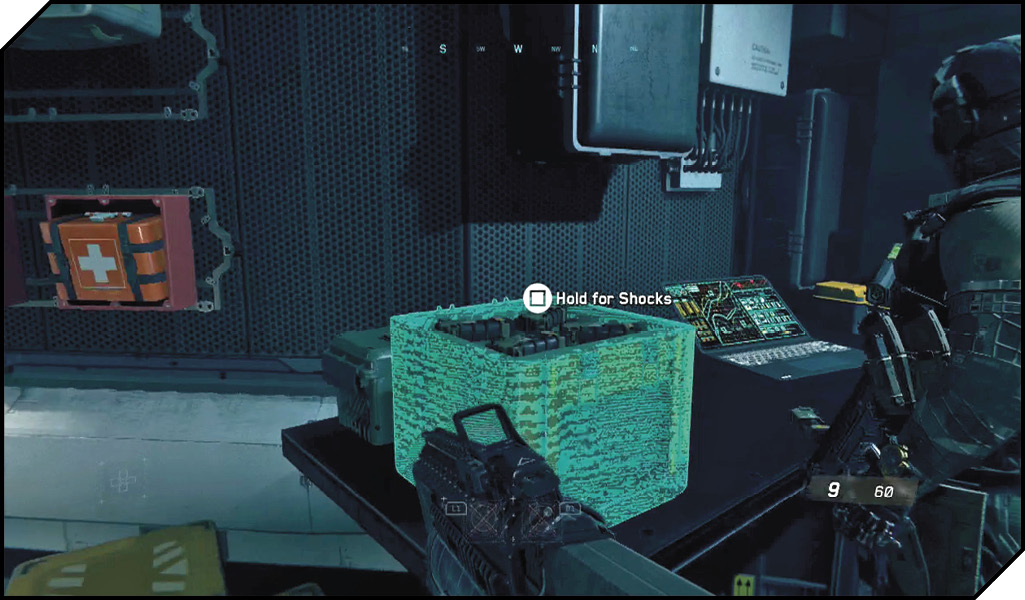
Now that you are fully stocked, follow Salter out the back door. The corridor loops around to a giant hangar. The marines are engaged with SDF forces on the floor below. Use a Shock Grenade on the robots below, and then let loose your LMG. After you take out several robots, the squad orders an advance.
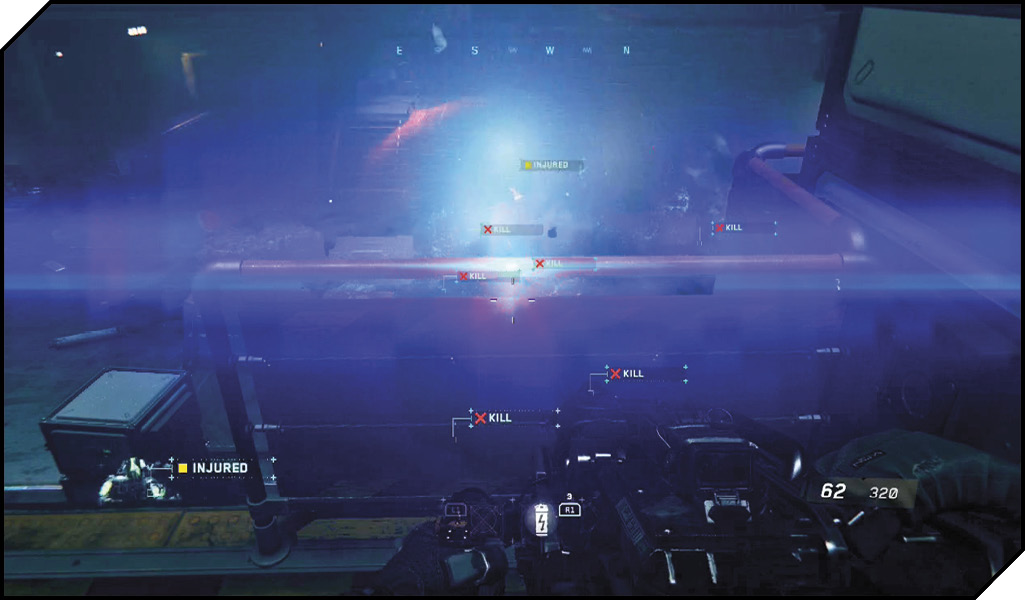
Instead of jumping down and losing your height advantage, do a wall run over to the opposite walkway. This leads to the next area, and allows you to attack from above. The enemy constantly reinforces this position, so you need to advance. Pick off the drone in the walkway directly across from you, and then target the soldier on the yellow ledge to the right. Now, ignore the rest of the enemies and wall run across to where you killed the drone.
On the other side, you have a flanking opportunity on the enemies across from you. Open up with the LMG to clear out the room directly opposite. Watch the window on the left and shoot the snipers above the control room.
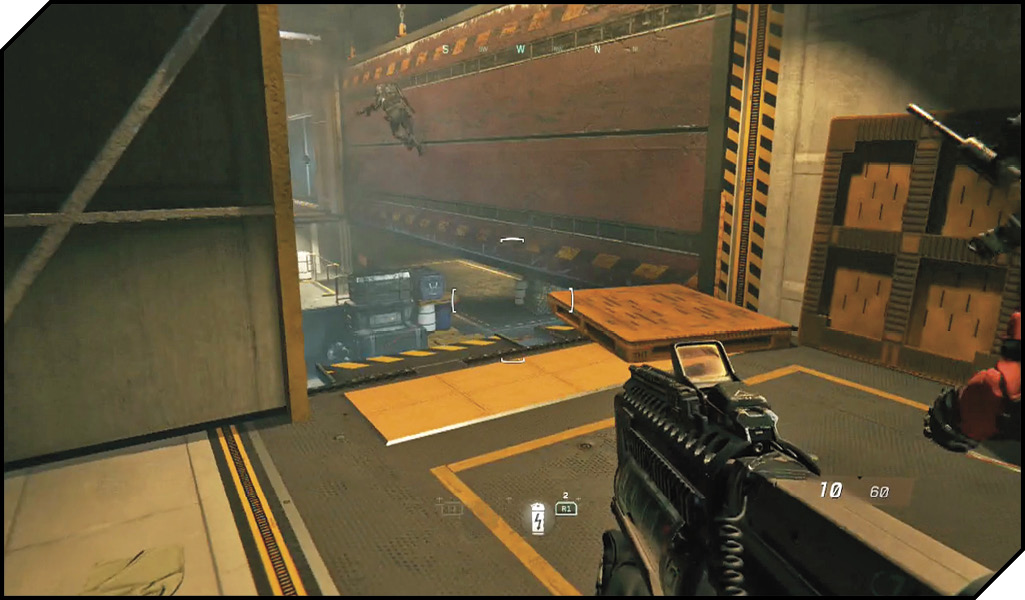
Another wall run directly ahead leads to an ammo crate and a Shock Grenade crate. Right next to the Shock Grenades is a Spartan SA-3 Rocket Launcher. The launcher isn’t particularly useful on this level, but pick it up to make sure you have the scan, and feel free to try it out, if you like.
Keep in cover and fire on the enemies. As soon as you get an opening, wall run on the wall near the ammo crate across to the hatch door. This forces the SDF to retreat.
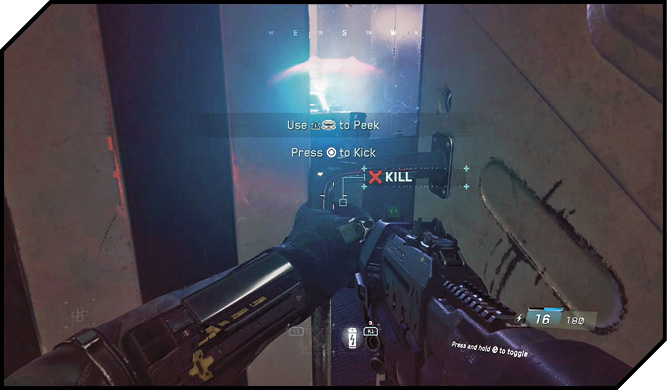
Activate the door and hit the Lethal Grenade button to toss a Shock inside. Kick the door in and toss a second grenade dead ahead. A third grenade tossed to the left will clear out a large group of drones defending the area.
Before you leave this area, search it to restock your ammo. There is also a crate of Shock Grenades in one of the side rooms. Your ammunition here carries over into the third part of this mission, so it’s important to be fully stocked before boarding your Jackal.
 OBJECTIVE: Board your Jackal.
Stick with Salter as you move through the cleared room. She spies some Jackals in a nearby bay. Step onto the elevator to descend to the fighters.
Shipping Storage
 OBJECTIVE: Eliminate the SDF Skelters.
Back in your Jackal, it’s time to take flight and wipe out the remains of this SDF attack force. Prime your engines to blast outside.
This is another straightforward fight against SDF Skelters. The biggest threat here is crashing into the moon structures in the area. To avoid an accidental crash, only lock onto the Skelters when absolutely necessary.
After you down a few bogeys, you get the option to call in for a stock of missiles for your Jackal. Hit the Inventory button indicated and a drone arrives almost instantly with a restock.
Save your missiles for now, reenter the battlefield, and continue shooting down Skelters. After a few go down, two A-Jak Cutters arrive on the scene.
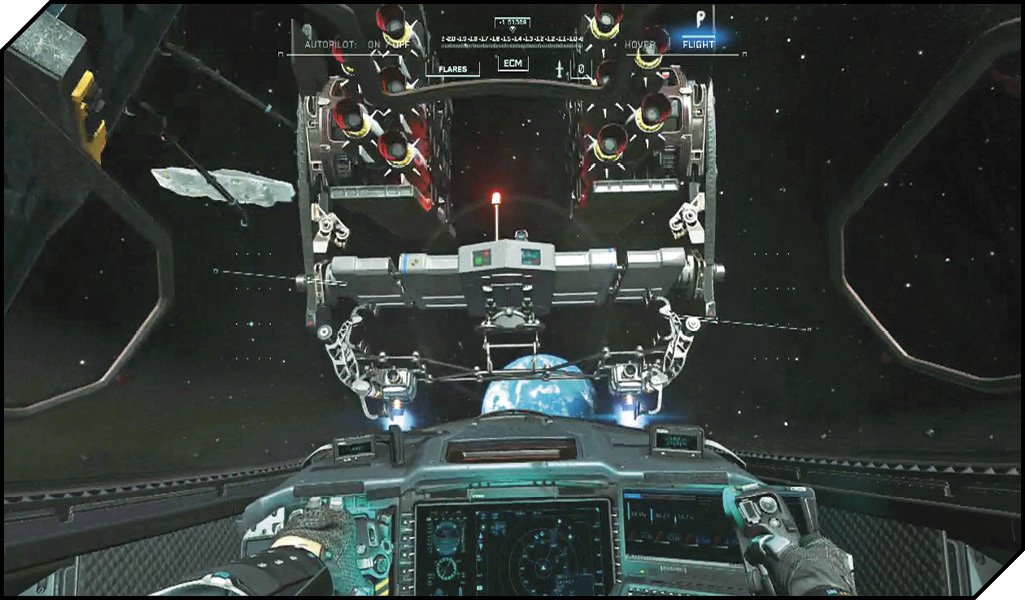
 OBJECTIVE: Eliminate the A-Jaks
A-Jaks are very powerful warships. They don’t have the hull strength of a full destroyer, but they have tons of weaponry. Switch to your 50mm cannons and begin pelting the A-Jak’s guns. When you have a shot on their engines, the engine will highlight in your HUD. Target and destroy both engines to destroy an A-Jak. You can dumb fire your missiles at the engines point-blank to expedite the process.
When you’ve destroyed two A-Jaks, the battle is won. Now it’s time to take out the destroyer that helmed this attack.
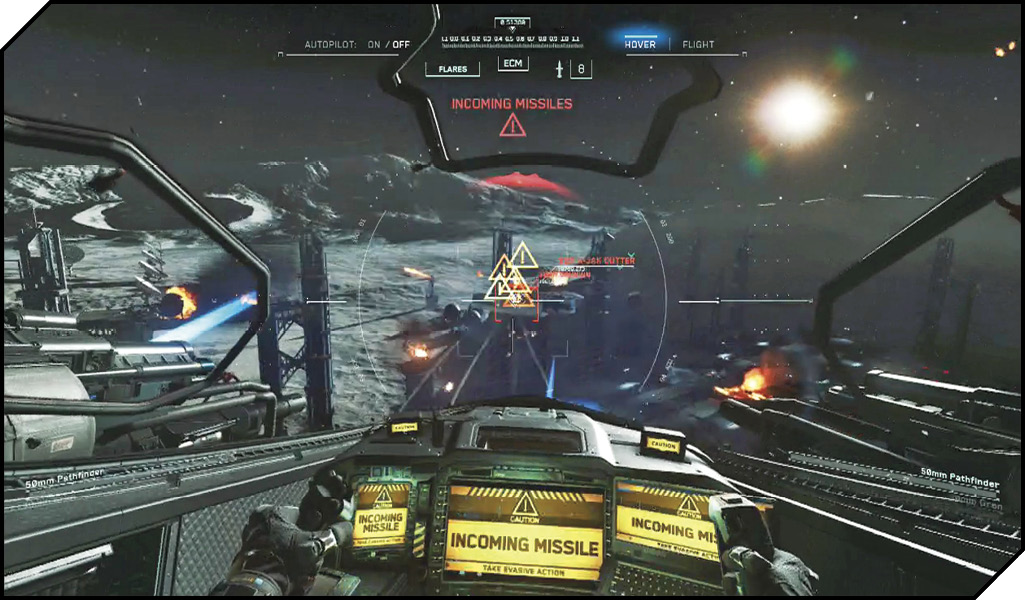
 OBJECTIVE: Assist Tigris to neutralize the SDF Destroyer.
Fly to the center of the area, and then hit the Reload button to ready the fleet’s launch to the Tigris. Prime your engines to blast off to the fleet.
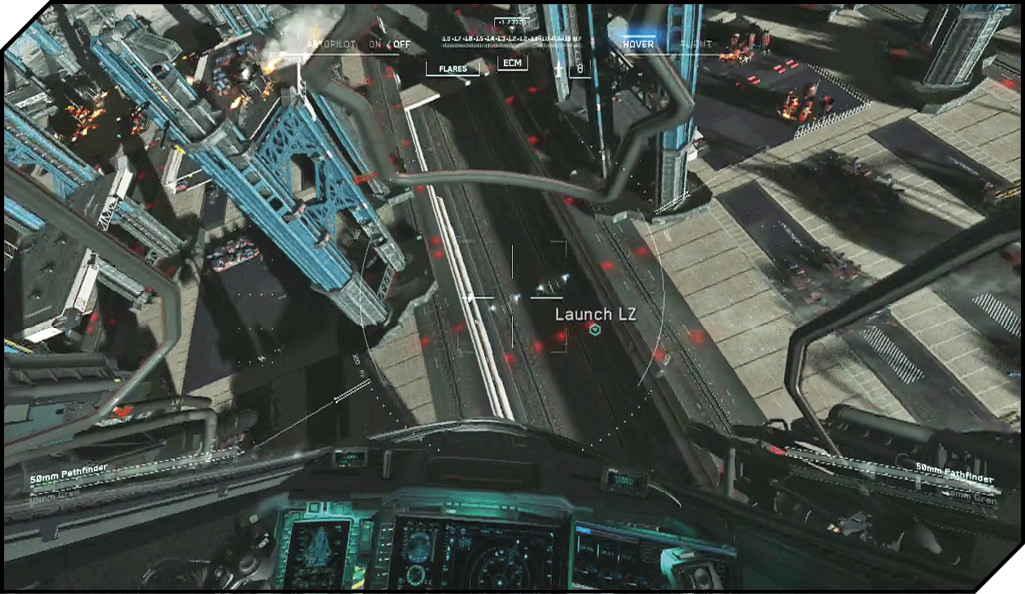
Boarding Party
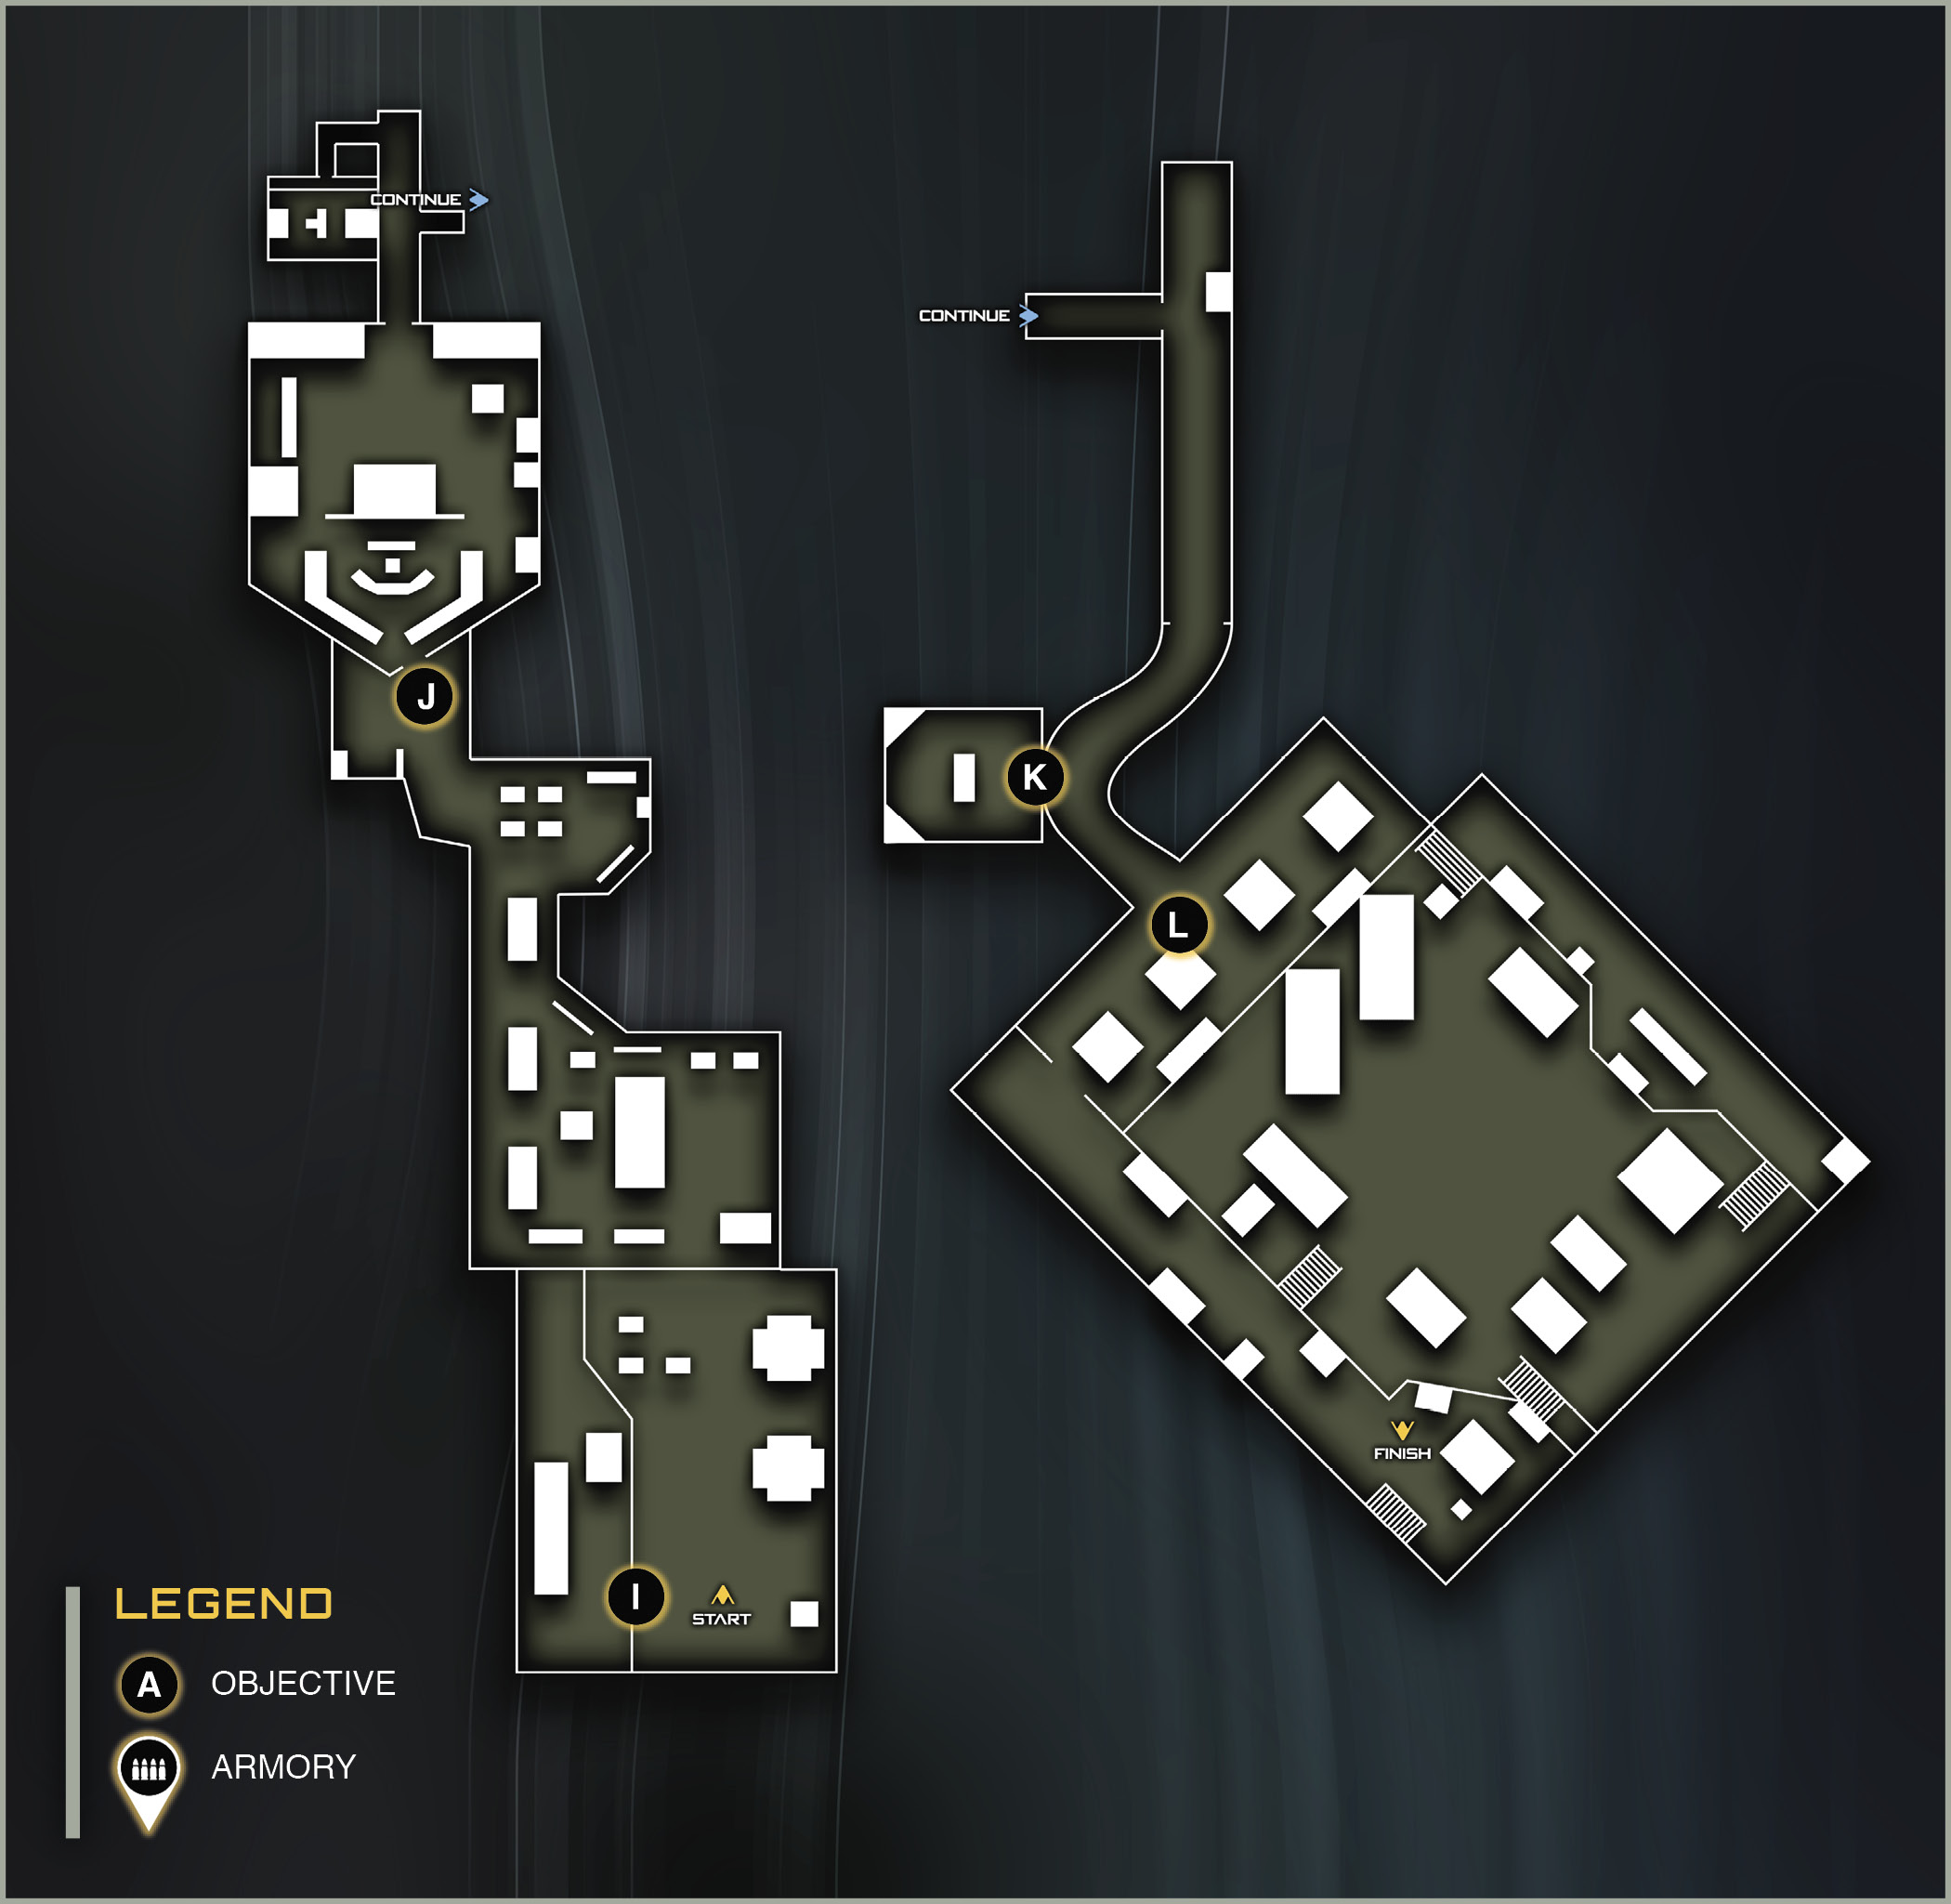
 OBJECTIVE: Board the SDF destroyer.
Immediately after this level begins, you will find yourself in Zero-G combat. This type of combat can be tricky, as you can’t maneuver as precisely as you can in regular gravity.
Use your grappling hook (Tactical button) to hook onto some nearby cover. Use the Crouch and Jump button to maneuver behind the cover.
Enemies are highlighted with orange brackets on your HUD. This makes them easy to differentiate from the rubble. If you see a group of enemies together, hit the Lethal button to deploy a homing rocket-powered grenade.
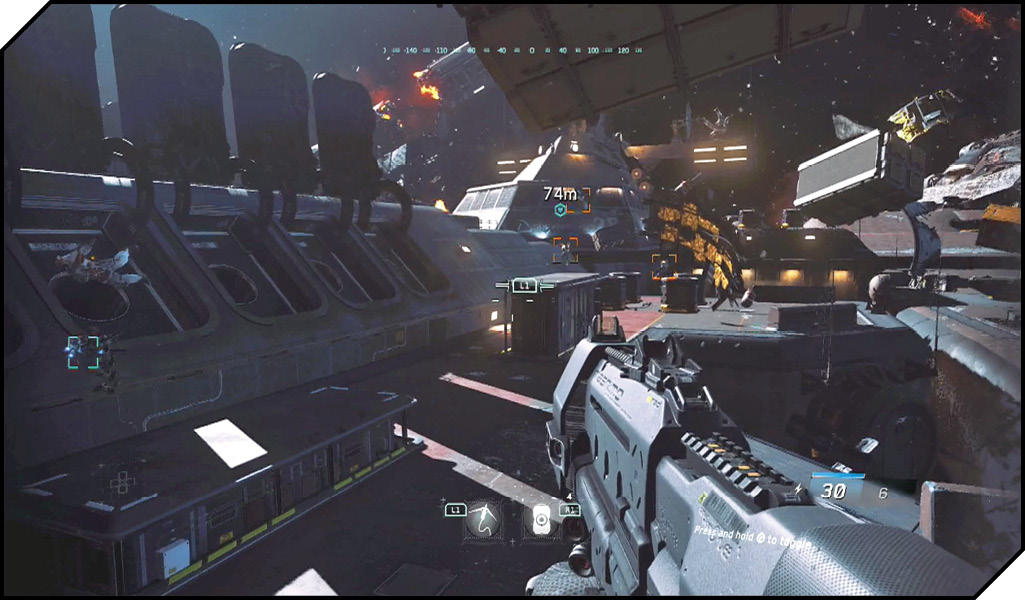
You need to defeat a few groups of enemies. When you’ve killed them all, Salter says, “Zone is clear.”
 OBJECTIVE: Shut down the Primary Defenses.
Float up to the blue objective indicator. You will plant a charge there that completely clears out the destroyer’s bridge. Wait for Ethan to restore gravity to the bridge. Grab the key card off of the captain to get your first Most Wanted kill.
 OBJECTIVE: Shut down the Secondary Defenses.
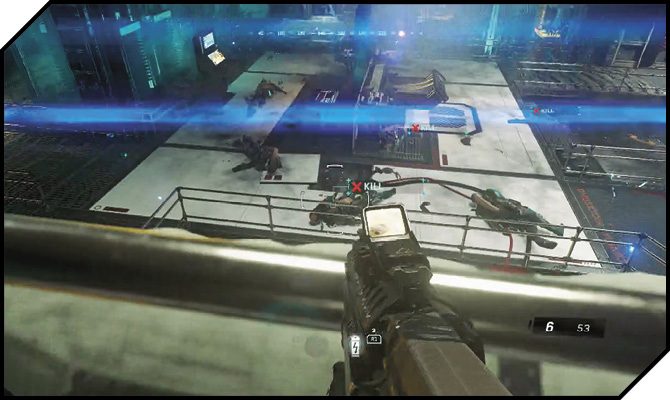
Omar opens the elevator shaft. Slide down the rope and follow him into the maintainance shaft. This shaft leads down to the Secondary Defense station. Hopefully you still have some Shock Grenades from the first section of this operation. Toss one down into the center of the computer consoles. This should kill all five enemies with one blast.
 OBJECTIVE: Escape the carrier.
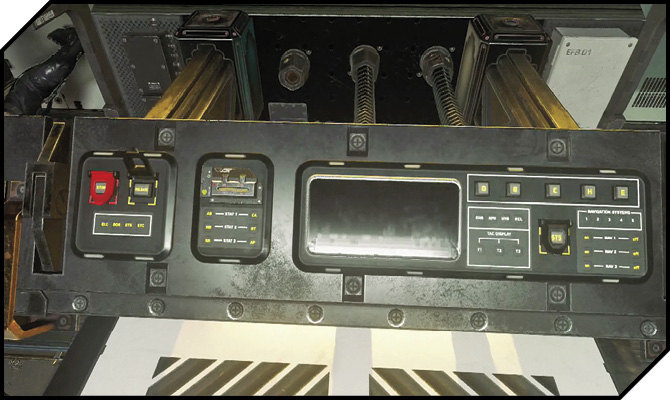
Use Activate to hack the terminal. Ethan grabs some intel from the computers. Follow Omar as he opens the doors leading into another corridor. Hang back and let Ethan and Omar take care of the approaching enemies.
Captain Ferran gives you three minutes to get off the carrier.
The enemy arrives to stop you from escaping. With Ethan and Omar leading the charge, it’s an easy push forward.
The hall leads to another breach door. Peek through the door, toss a Shock Grenade, and then kick the door open. Kill the two guards directly ahead. Search this room for an ammo restock, Anti-Grav Grenades, and a shield.
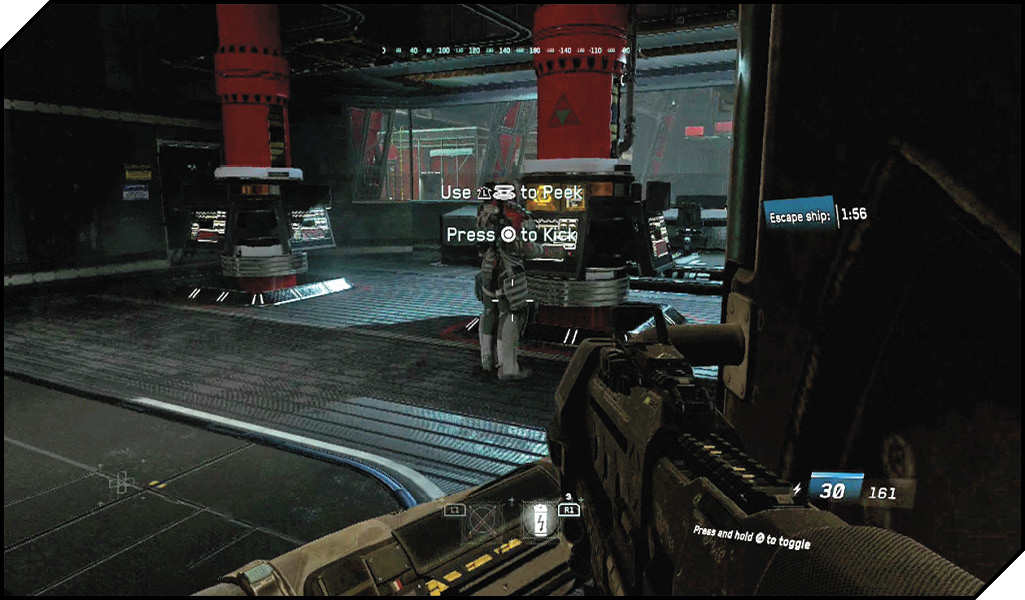
 OBJECTIVE: Open the cargo bay doors.
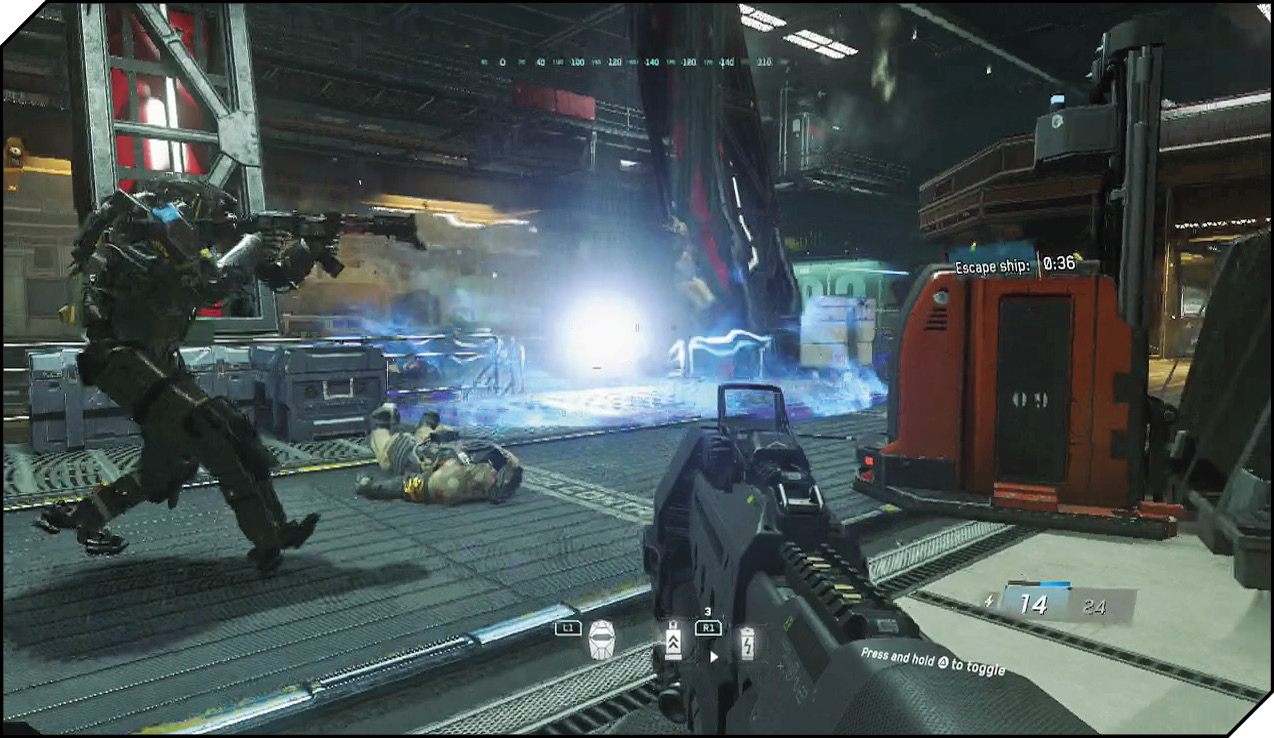
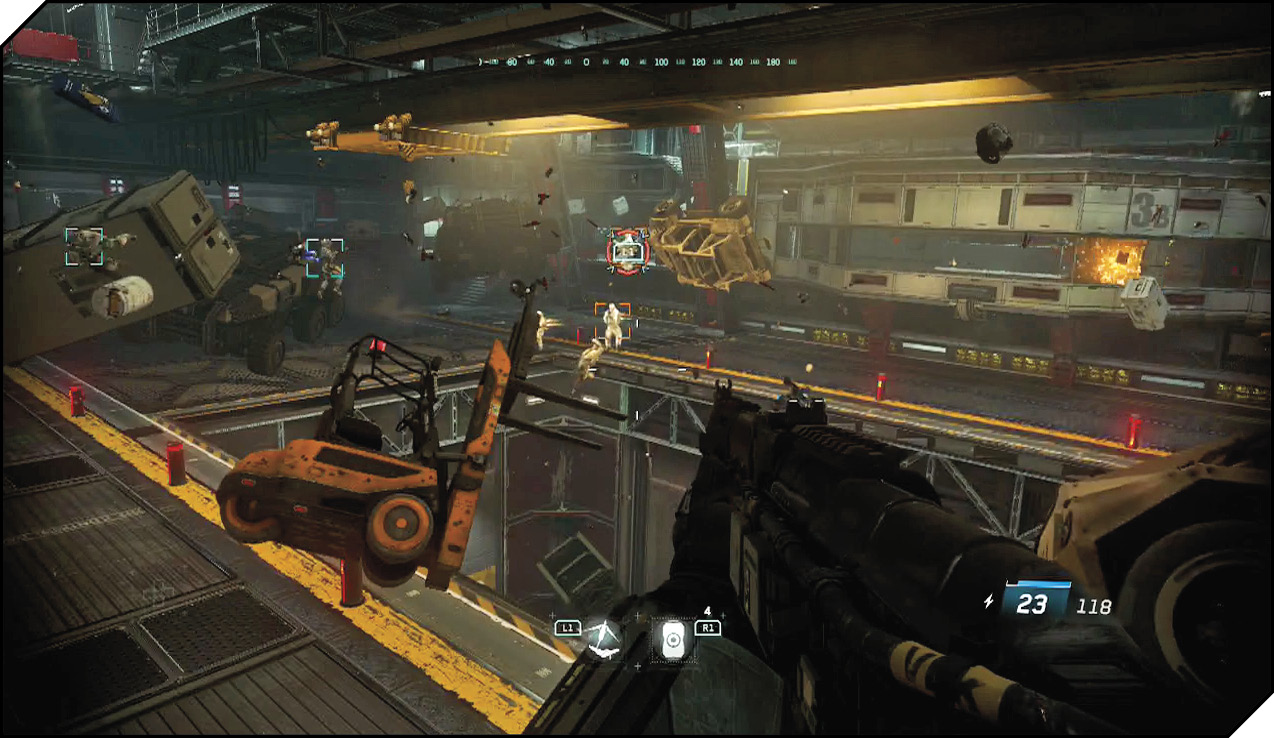
The next large area has your escape path, but you must open the cargo bay doors to get out. The switch for the bay doors is way at the back of the area behind the layers of SDF soldiers and drones.
Use your Anti-Grav grenades to remove the enemies from cover one step at a time. If you use the grenades effectively, you should be able to safely move forward quickly toward the back room.
Alternatively, you can use your shield to sprint forward through the room, charging past the enemies. As long as you can Activate the switch in the control room at the end before you die, you complete the section. (Everyone gets sucked out the bay doors.)
After the doors open, there are a few SDF stragglers who had oxygen suits equipped. Pick them off with your grenades or grappling hook. When it’s safe, move to the bay doors and rappel down to the Jackal parked below.