Call of Duty: Infinite Warfare Guide Call of Duty 4: Modern Warfare Multiplayer Map Tactics
Backlot
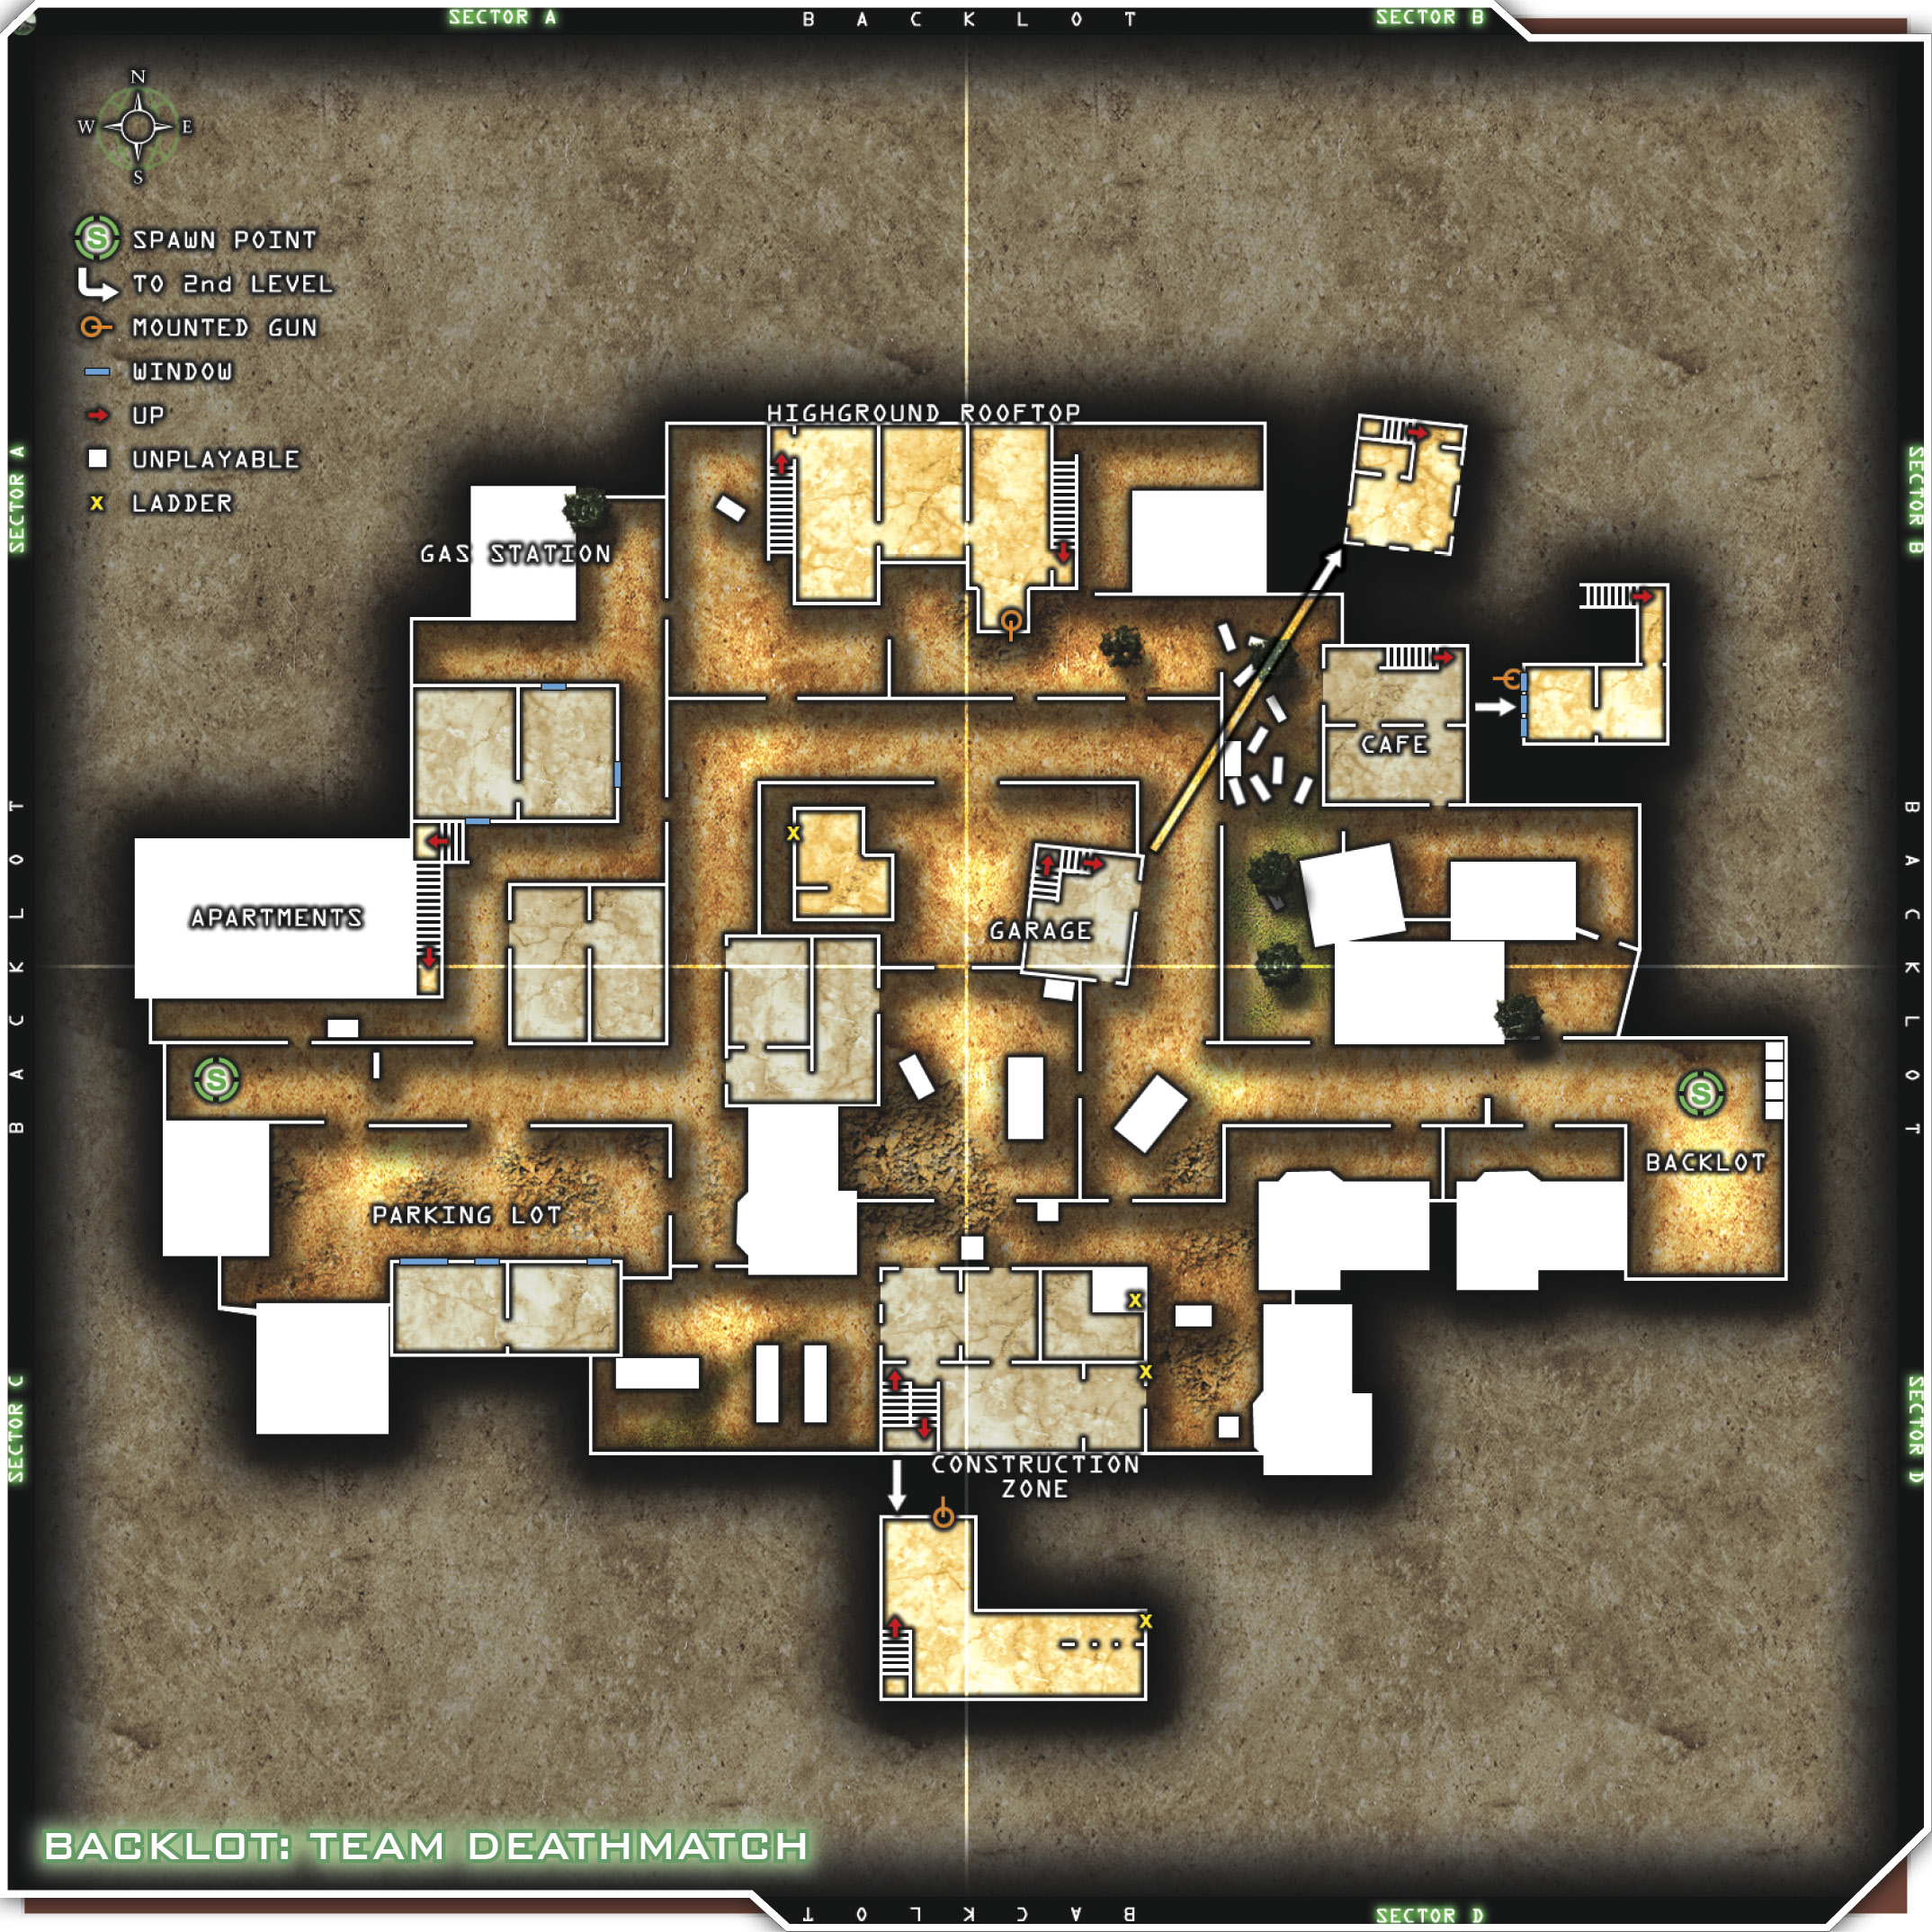
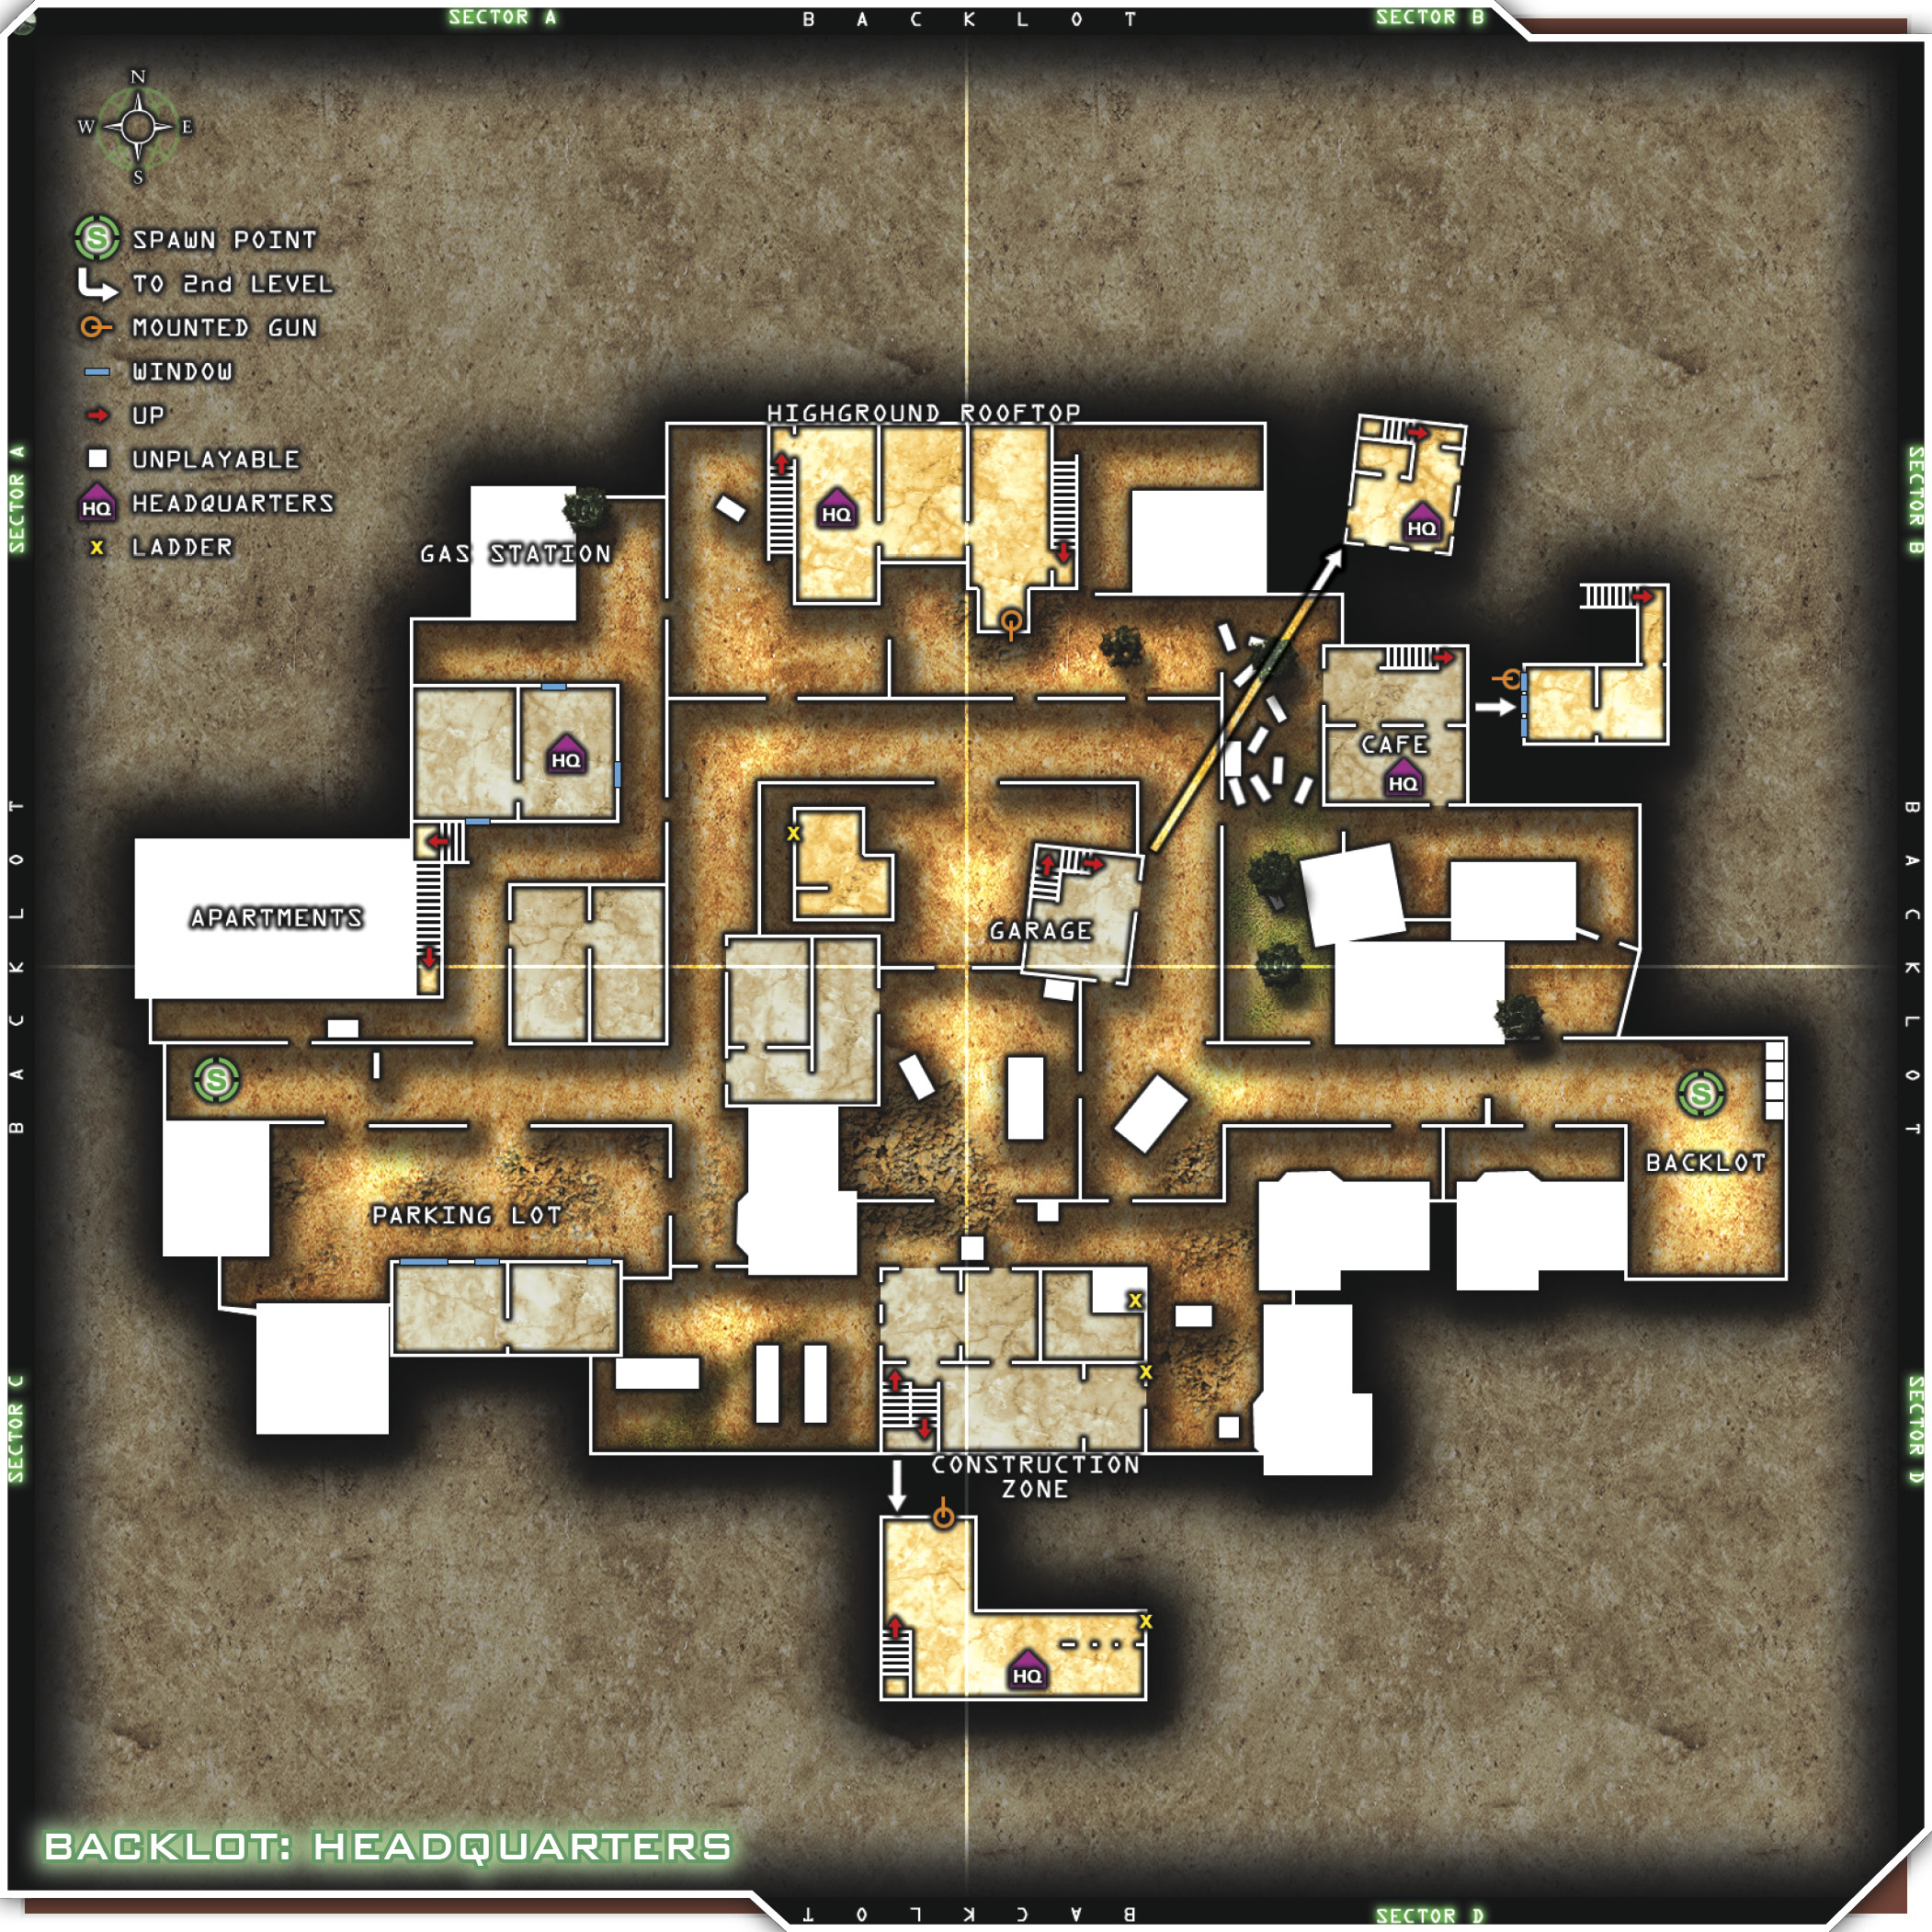
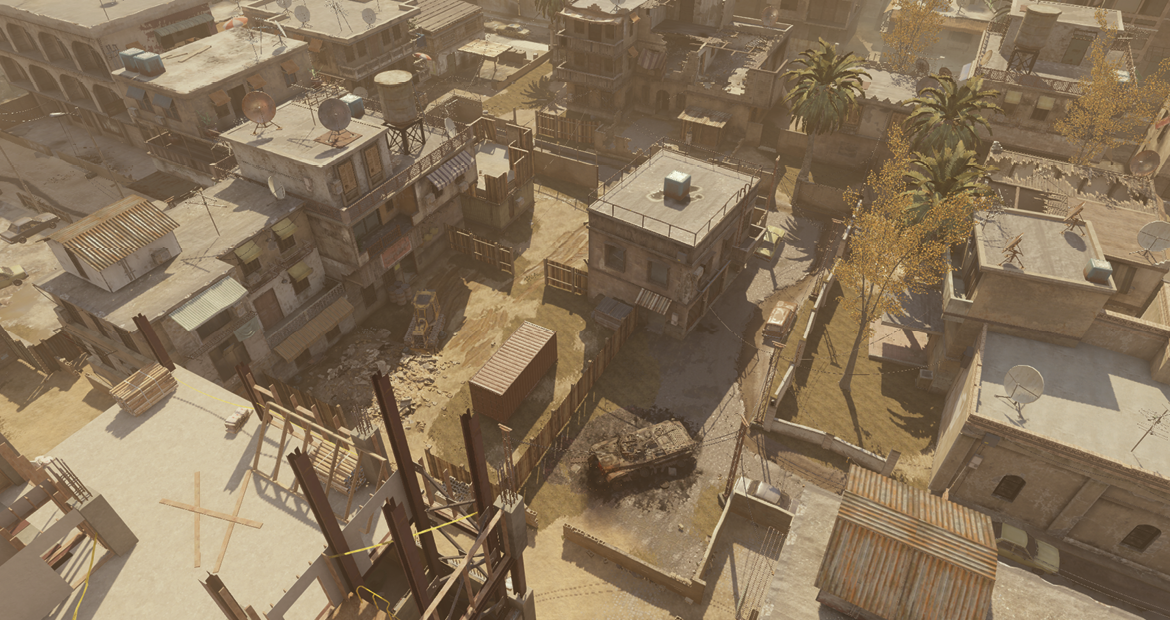
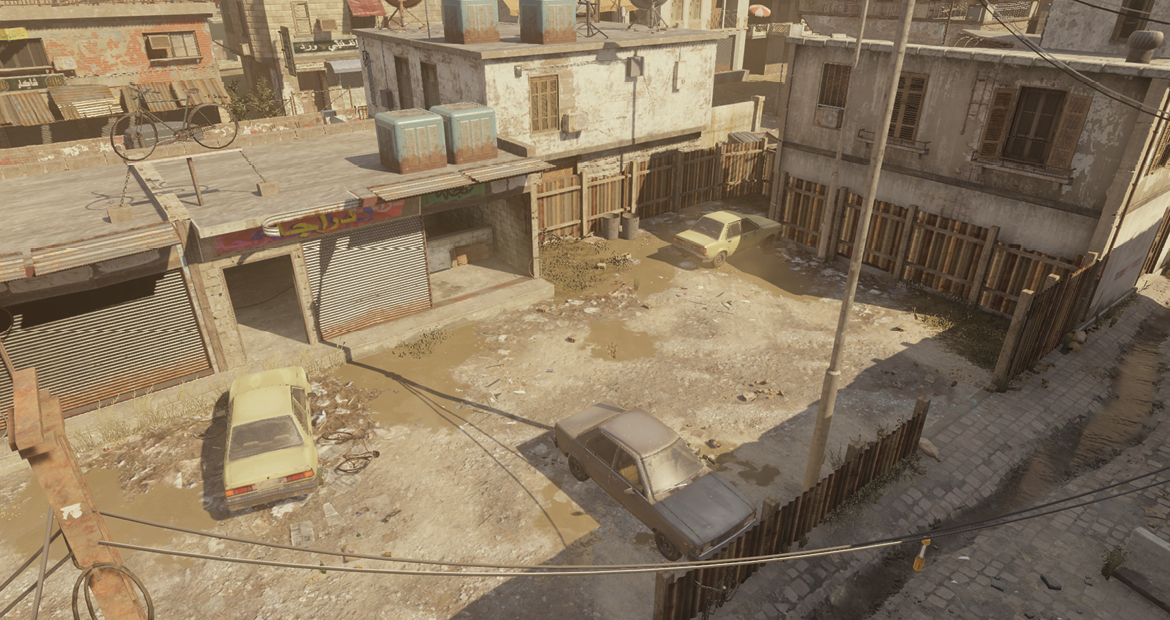
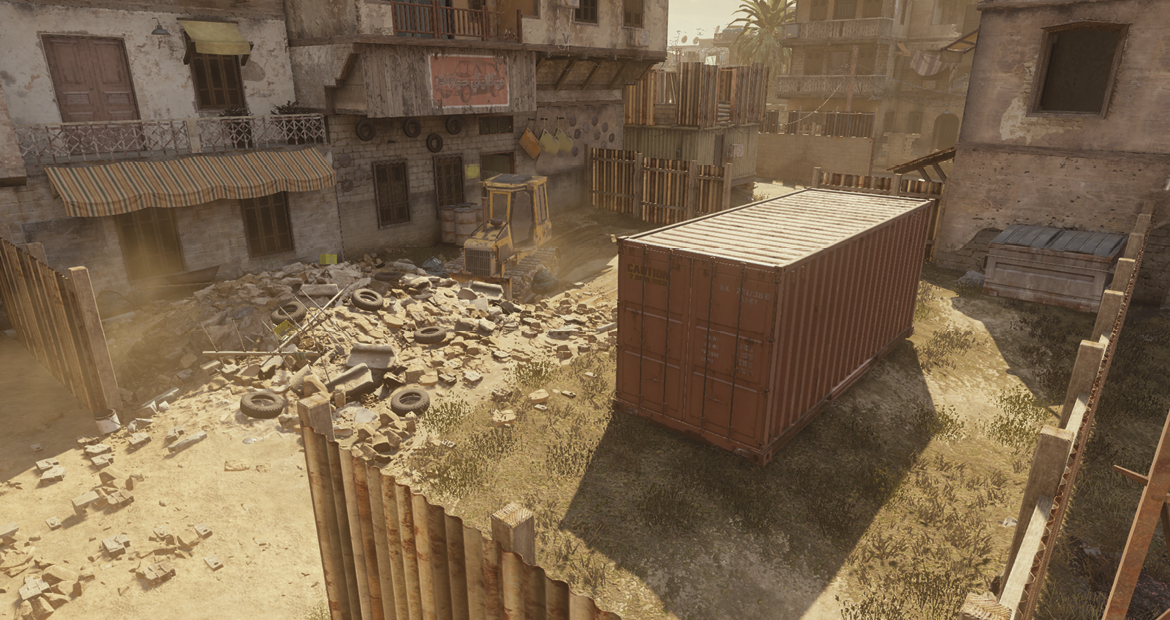
U.S. Forces vs. OpFor. This urban desert setting contains many two-story buildings, including the hotly contested Construction Zone. A lot of fighting takes place just in front of it, especially down the north/south streets on either side. There’s plenty of cover here, but you’ll need a buddy to watch your back.
These are basic suggestions for ground-pounders and snipers. The Basic Assault CCS is great for tooling around and infiltrating enemy strongholds. This custom class setup enables you to quickly acquire targets on the run with the Red Dot Sight, and still lets you fire from the hip with good accuracy from the AK. Use the additional frags to clear out those pesky squirrels hiding in your attic, and if they bite you to death even with your extra health, Martyrdom will finish the job (or at least aid the next gang that tries to come in).
The Sniper class is designed for sniping from the high-ground rooftop of the Construction Zone. Use your .50 cal to pick off counter-snipers and stop the enemy advance on the roads. Set up your Claymores on any ladders and stairs leading up to your position. Use the UAV Jammer to conceal your position, and the Iron Lung to steady your hand for longer periods of time.
Suggested Loadouts
Basic Assault
| Slot | Name |
|---|---|
| Primary Weapon | AK-47 |
| Notes/Attachment | Red Dot |
| Side Arm | M1911 |
| Special Grenade | Stun |
| Perk 1 | Frag x3 |
| Perk 2 | Juggernaut |
| Perk 3 | Martyrdom |
Sniper
| Slot | Name |
|---|---|
| Primary Weapon | Barrett .50 cal |
| Side Arm | M1911 |
| Notes/Attachment | Silencer |
| Special Grenade | Smoke |
| Perk 1 | Claymore x2 |
| Perk 2 | UAV Jammer |
| Perk 3 | Iron Lung |
Tips & Locations
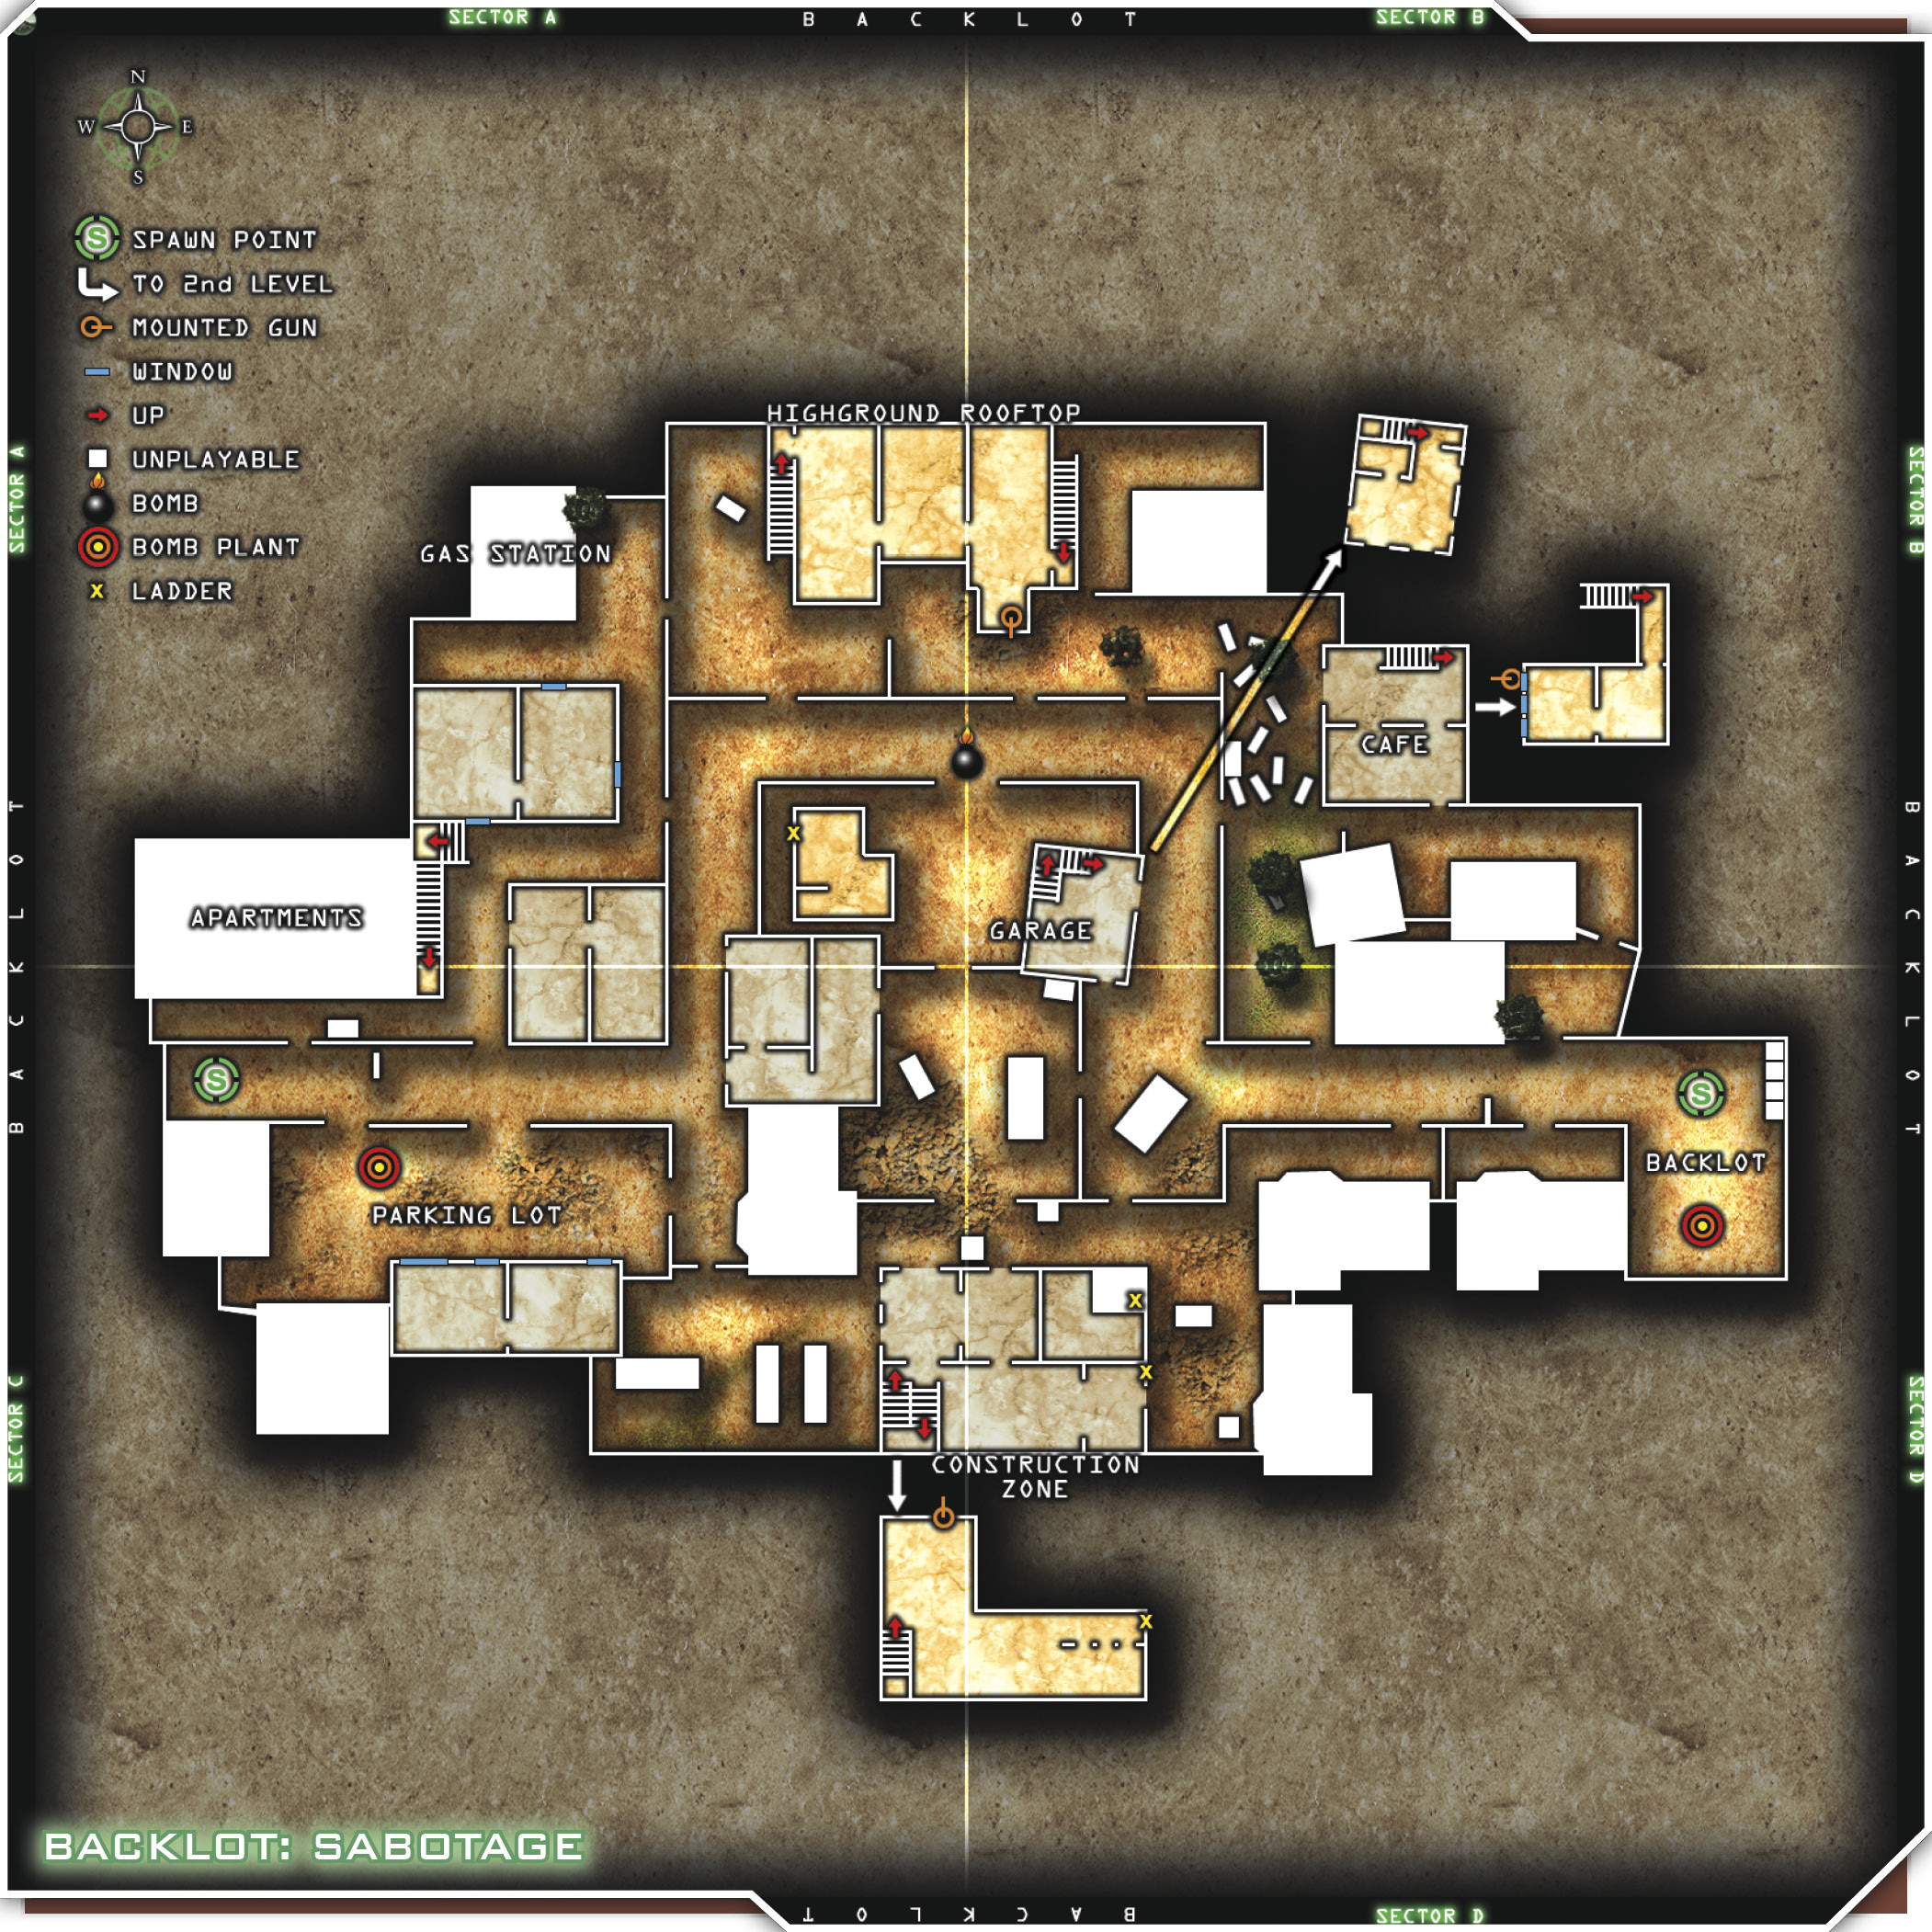
Use the rooftops to your advantage. There are several buildings that only offer two-story levels or balconies from which to shoot down on your enemy. These are great spots, but use them sparingly because you’ll stand out before too long. There’s a lot of cover on this map, so consider ghosting (UAV Jammers and silencers). There are plenty of places to hide even out in the open, such as certain tall grass patches and various other nooks. The two roads in the center of the map, the east and west roads that run north and south, are where most action develops, but try to get a UAV up as quickly as possible. There are so many avenues of approach on this level, and it’s easy to lose someone in the alleys and buildings.
Since this map is chock full of rubble, walls, buildings, cars, etc., use motion to detect enemies when UAVs are unavailable. Wait for someone to move before you decide which way you’re going to head. Think about using the Eavesdrop perk on this map, because you’ll be in fairly close quarters and might hear something useful that you can relay to your team. Try setting up in the Garage in the center of the map, where you’ll have a great vantage point on most of the map. Be wary of snipers while you’re up there. Don’t forget to use Martyrdom on this map from time to time, because there are many things to get hung up on while you’re trying to run away from the clink, clink, c-clink…
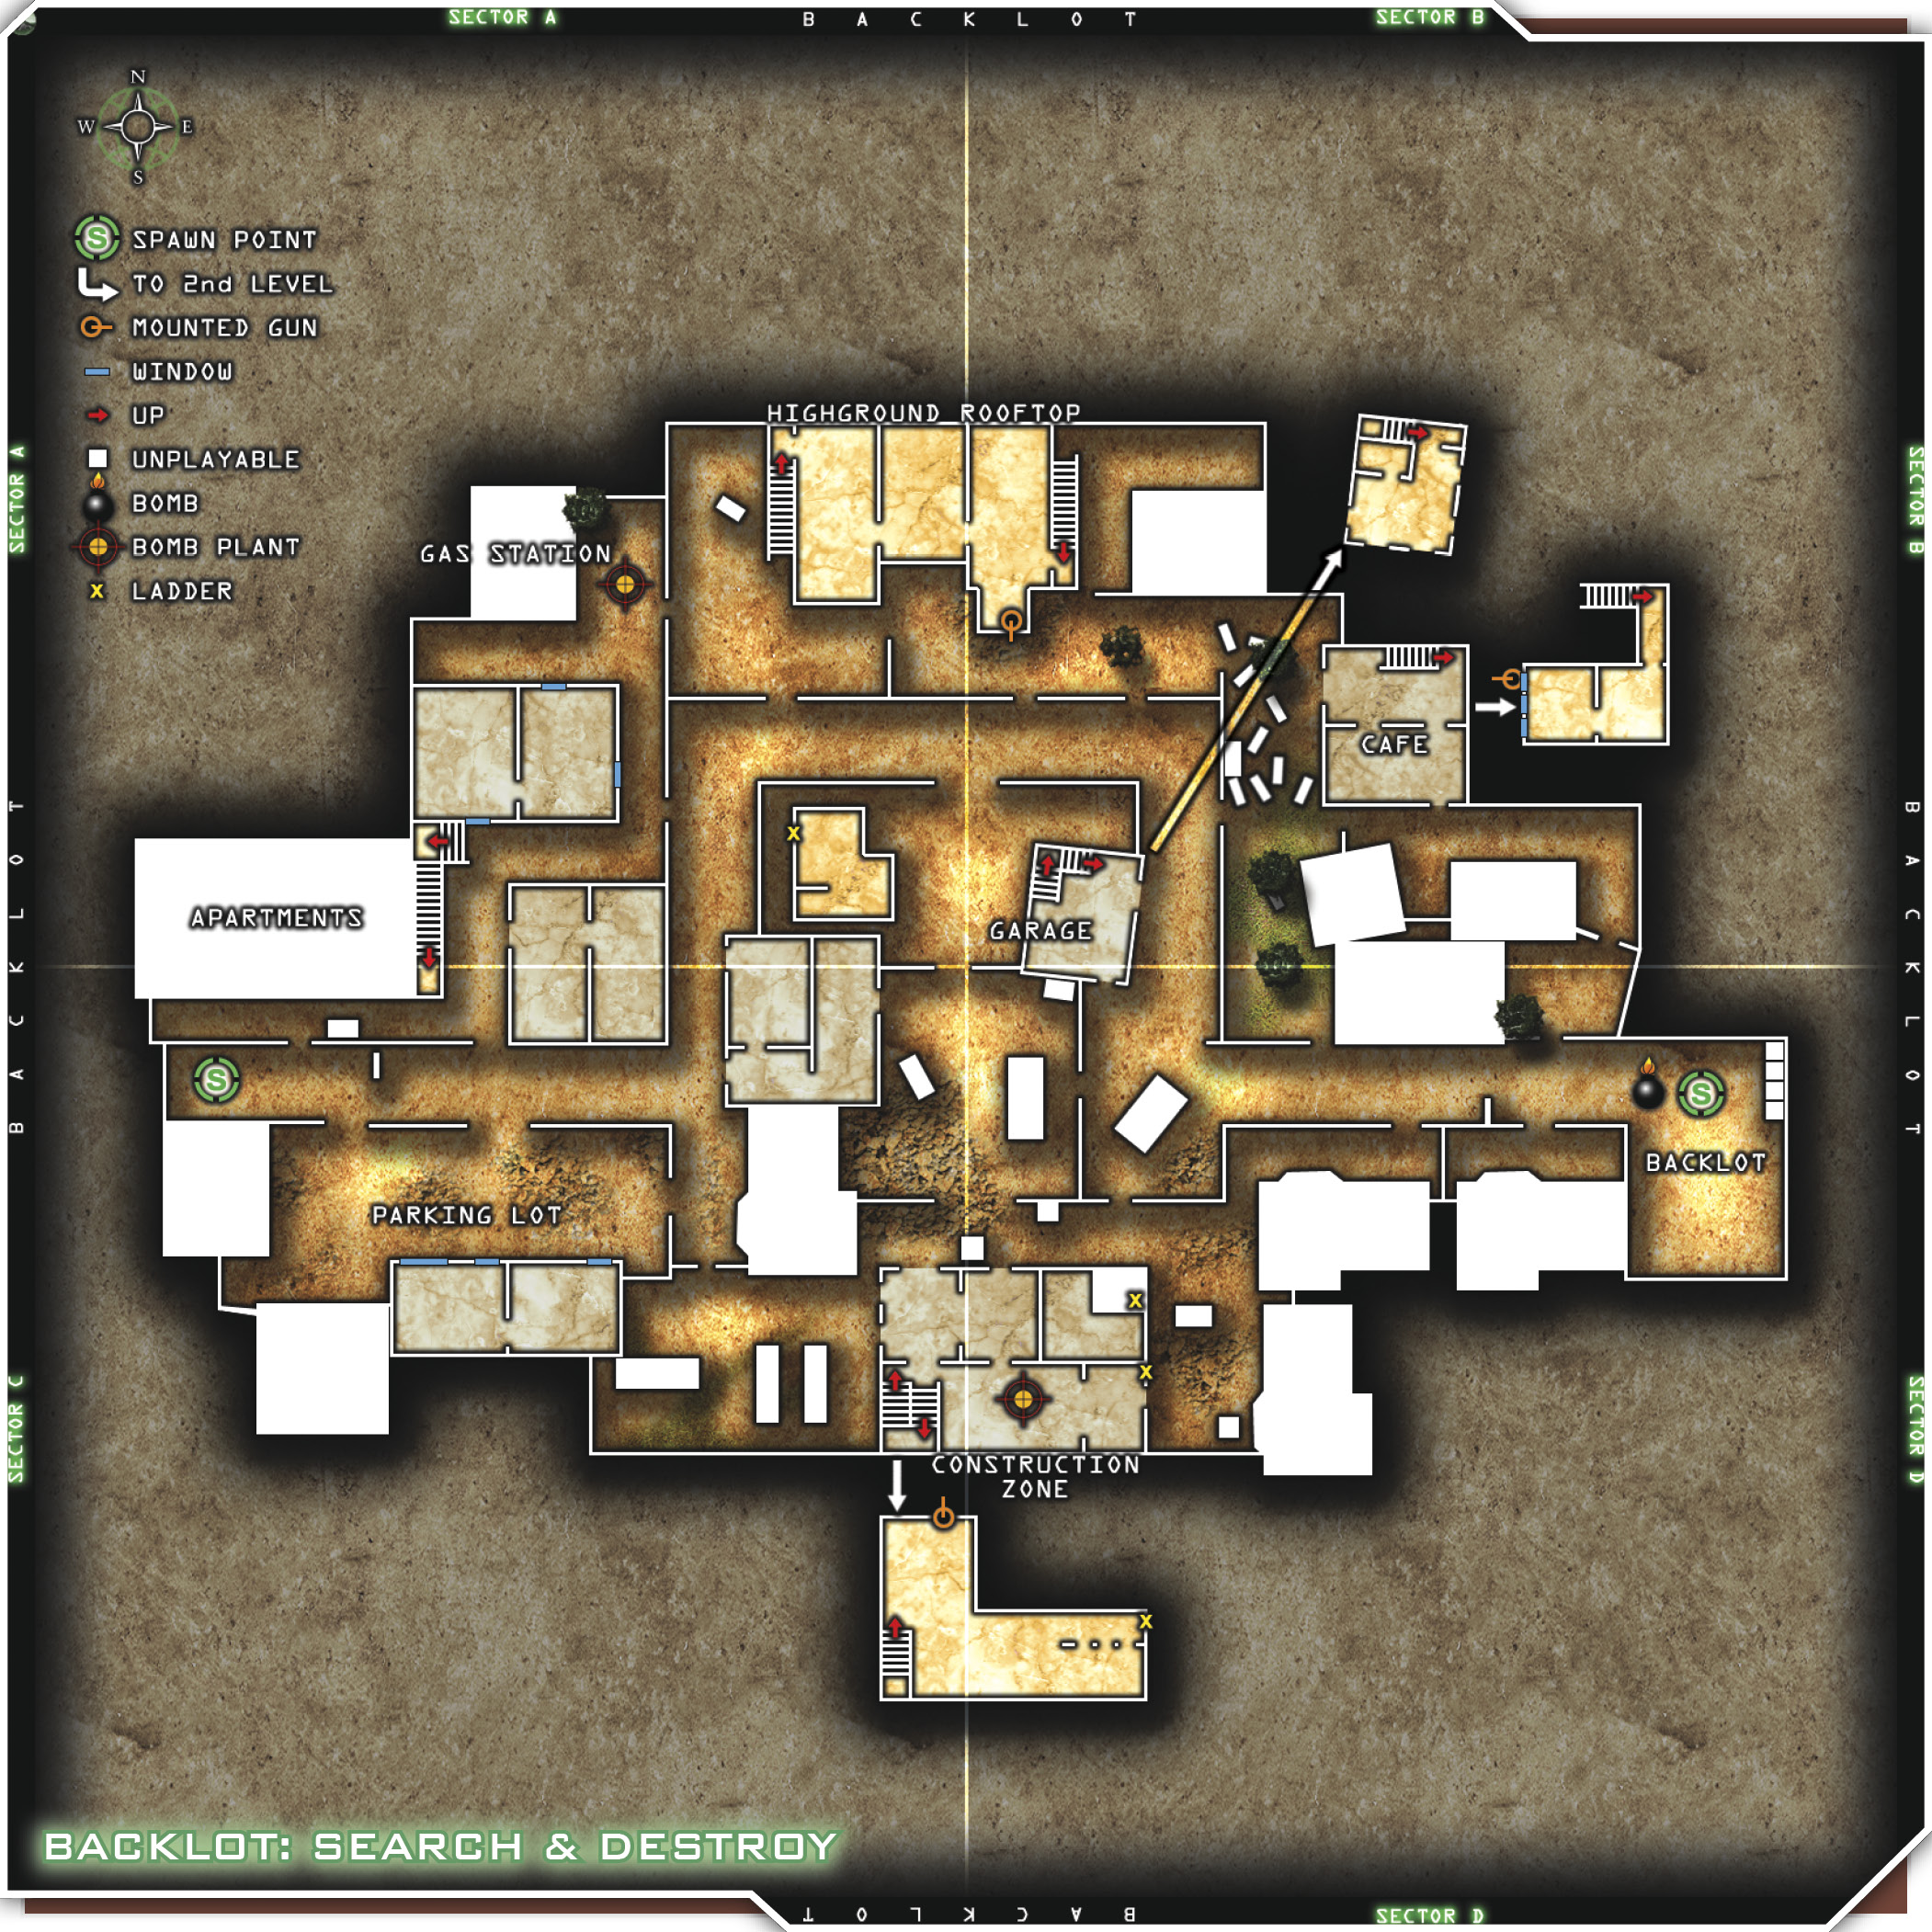
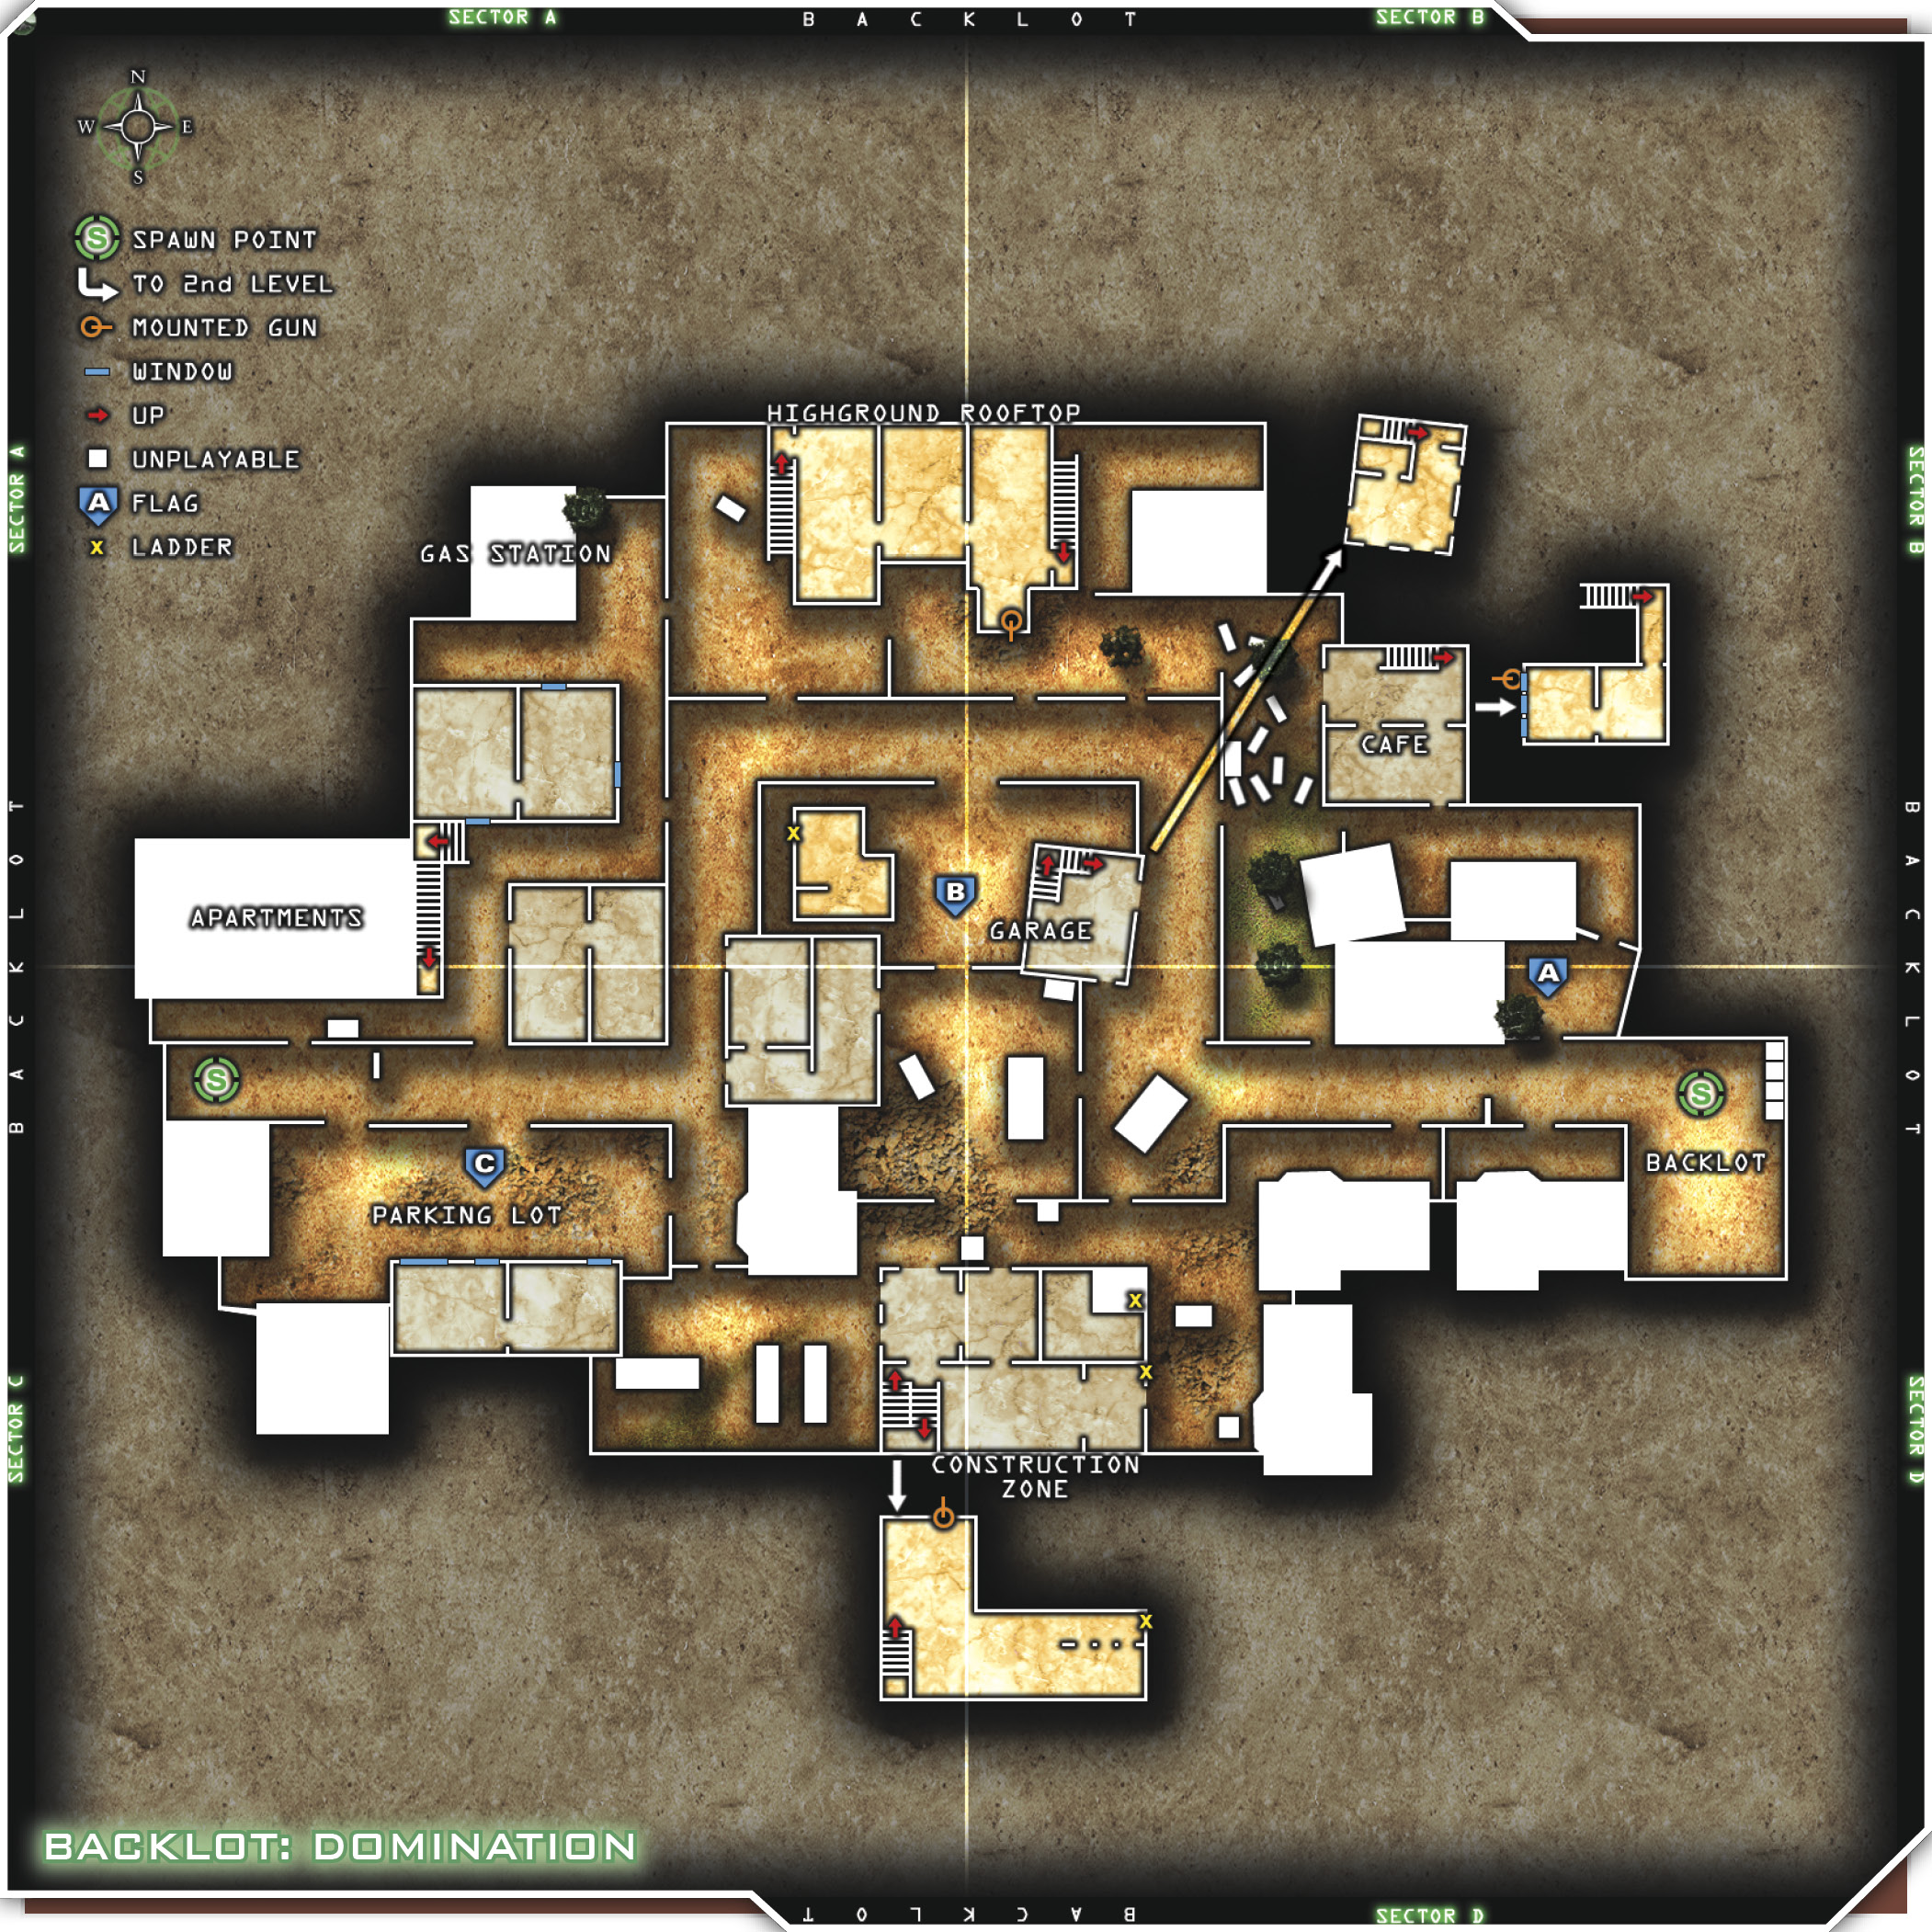
When playing Domination on this map, note that the Construction Zone offers a great view of the B flag. You can camp the C flag fairly well from inside the building at the parking lot, but most players will immediately look for enemies there. Try waiting for enemies to come in and retake the C flag, and then detonate your C-4. The B flag area in the center of the map just west of the garage can be guarded by one player in each building west and east of it. You can access the second stories of both of those buildings, making it more difficult for the enemy to see you and eliminate you.
In Headquarters, take note of the Café, the Construction Zone, the Highground Rooftop, and the Apartments, and keep teams close to those points when possible. It may be more beneficial to let the enemy capture an HQ and then destroy it, as opposed to losing too many players trying to capture it yourself. Remember that your camouflage, on both your body and your weapon, will make a big difference. Be sure to use flanking maneuvers as often as needed, and try to bounce from cover to cover to avoid the mass carnage on the main roads connecting the high ground rooftop to the Construction Zone.
Team Tactics
A solid plan here is to set up at least two snipers with UAV Jammers or Overkill in case they need to help you out on the ground. While your two snipers get set up on the Construction Zone, Highground Rooftop or Garage, Café, etc., make sure they set Claymores to watch their backs (the rest of your team will be on the ground, assaulting either the Construction Zone or the Highground Rooftop). By the time you get the ground team up to the Construction Zone, hopefully you’ll have racked up enough kills to call in a UAV. Find out what the enemy is doing before you decide what to do. If they’re holed up in the Construction Zone, use your grenade launchers or frags to take control of it. Use stun grenades and Juggernaut or Martyrdom to assist.
Split into two squads of three (assuming you’re running a six-person team), and use similar tactics as those described for Ambush. Smoke both sides of the road to mask your numbers and direction. Take one squad up each side and commandeer the building of your choice. The next round, switch it up on your enemies by popping smoke on both sides again but running up one side as a single unit. Be sure someone brings grenades, and blast your way through to your destination if necessary. The Construction Zone is fairly easy to camp if you have a few players in there, so lock it down once you’ve gained control. Set up Claymores on the bottom level, and then sit up top and snipe.
Ultimately, you want to kill everyone else as many times as possible, right? Try splitting up into wingman teams and take over a few of the smaller buildings in and around the Garage in the center. Try to control the Garage, the Café, and the Highground Rooftop or the Construction Zone to keep a good eye on things. Have a long-range rifleman and a defender on each team. While the rifleman picks off enemies from up high, his wingman can cover his back. This is a great way to cover a larger portion of the map, but it will be difficult for all teams to commandeer their buildings. If you can get only two of your three teams into buildings, either split up your third team or bring one team over to the heaviest action.
Try splitting up your team again into two squads, but this time divide them into four and two. Send the team of two up one of the main roads to make some noise and draw the enemy’s attention, while the squad of four moves off to the right to take the Garage. Once your team of four is set, have the other team call them in to sandwich the enemy on the street. Use grenade launchers and Sonic Boom to take out as many enemies as you can with the two grenades you have for your tube. The rest of your team should also send out volleys of grenades if they have them, and you should call in an airstrike at this point. This is a great distraction tactic to throw into the mix whenever possible. Keeping the enemy back on its heels only works in your favor.