
Call of Duty: Infinite Warfare Guide Call of Duty 4: Modern Warfare Multiplayer Map Tactics
Crossfire
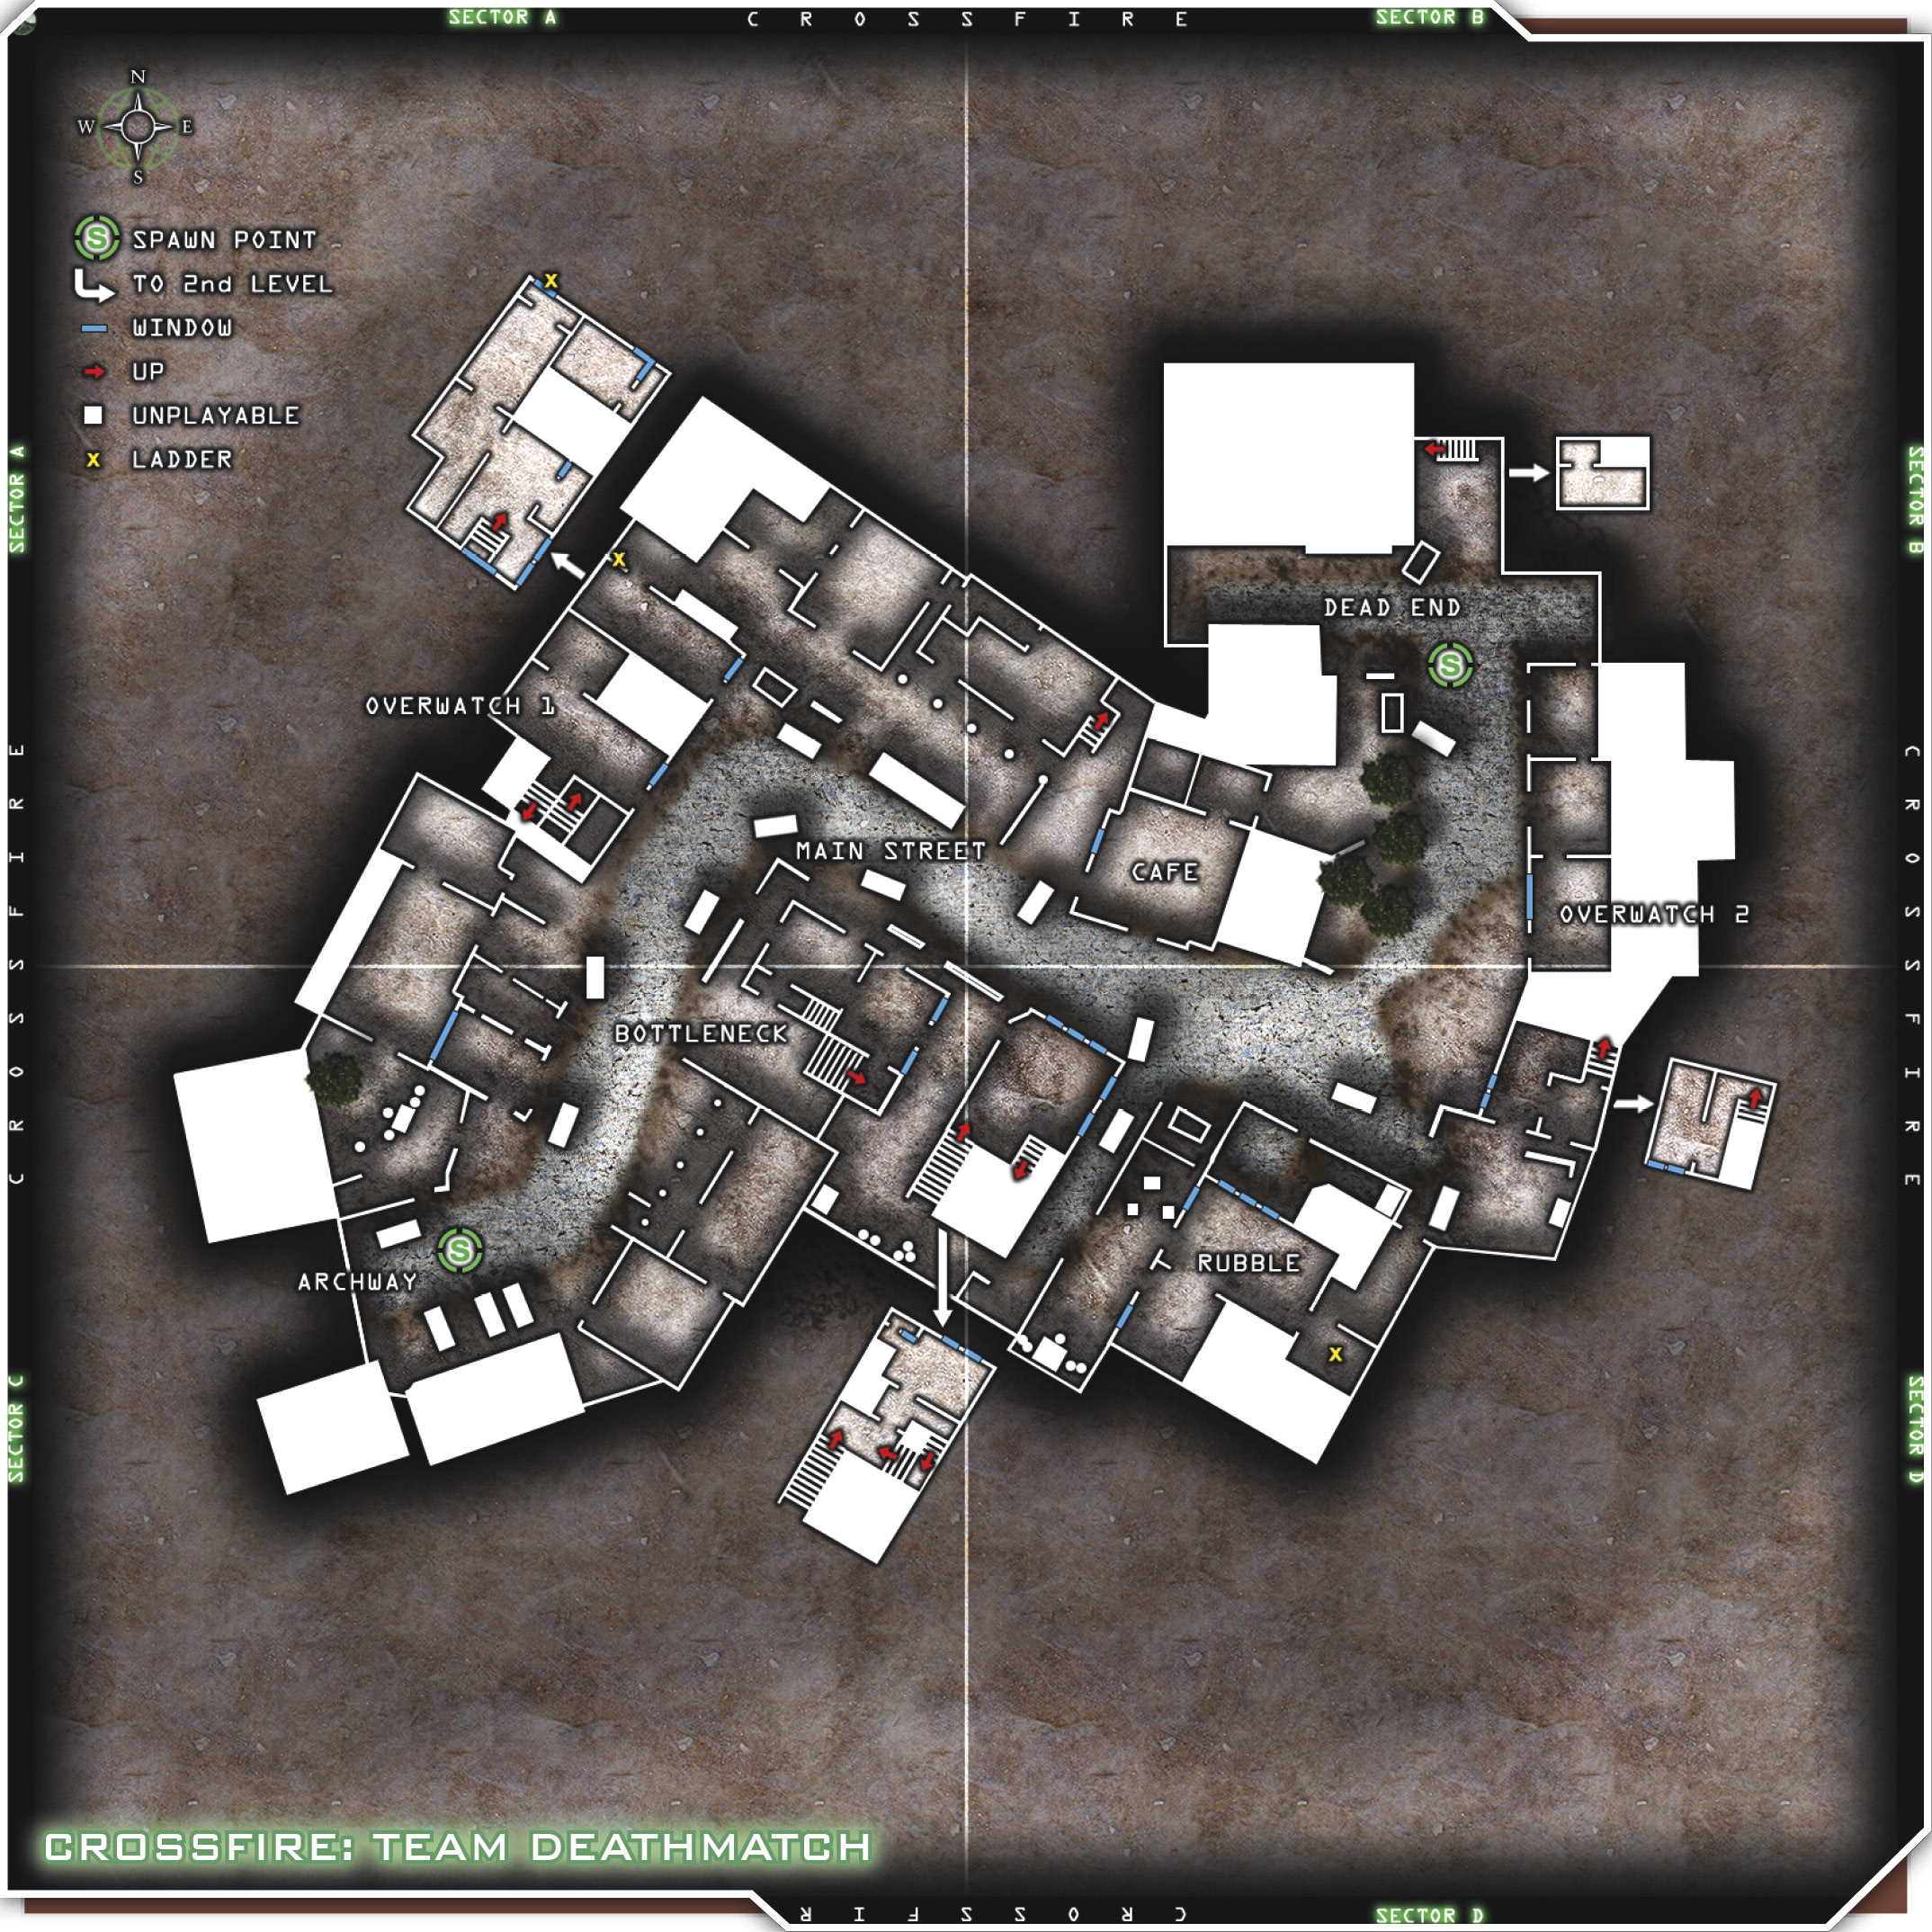
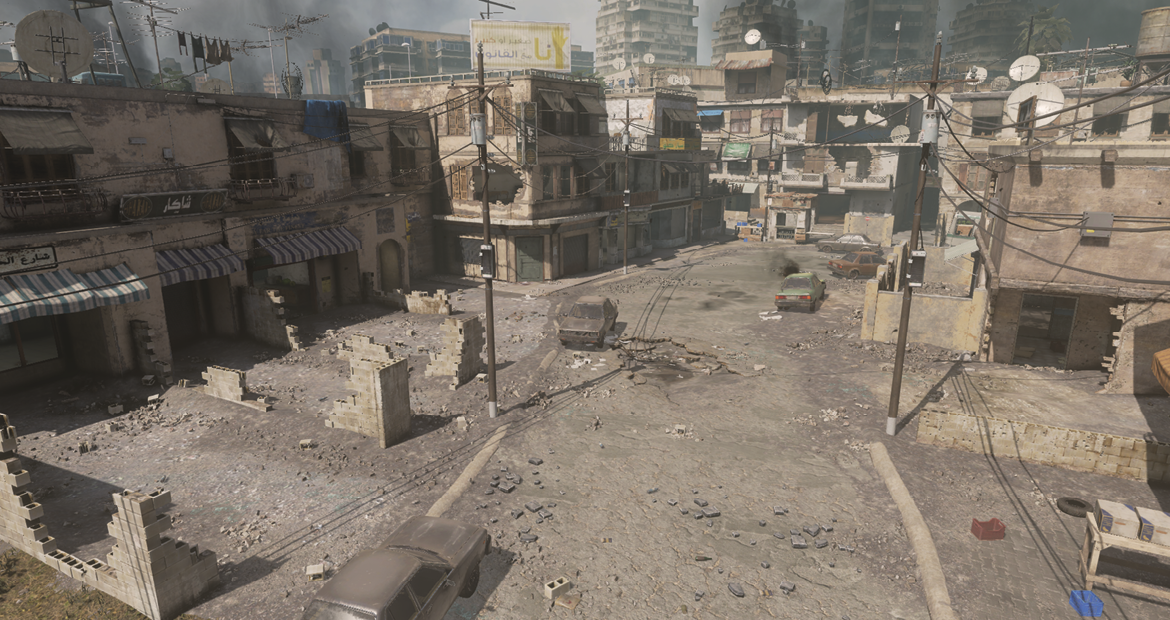
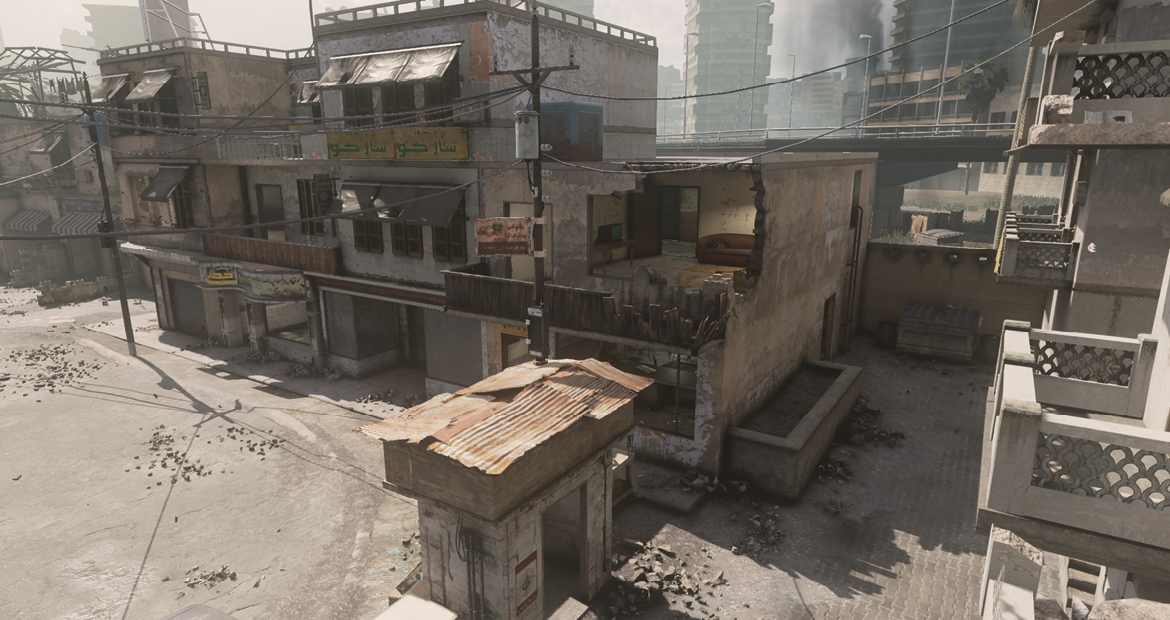
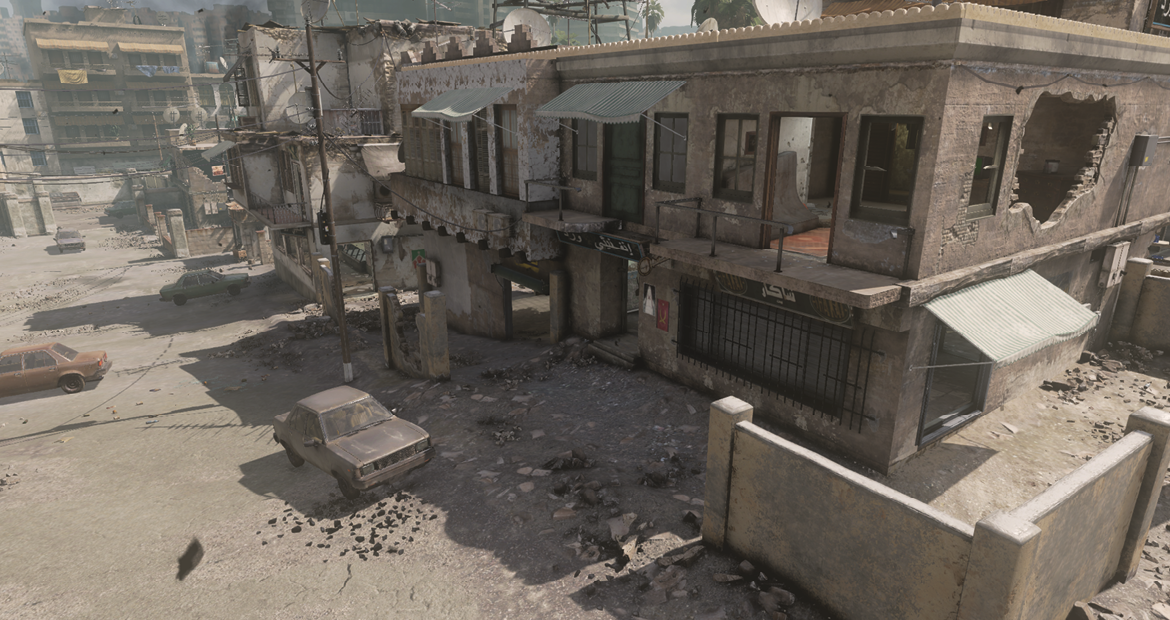
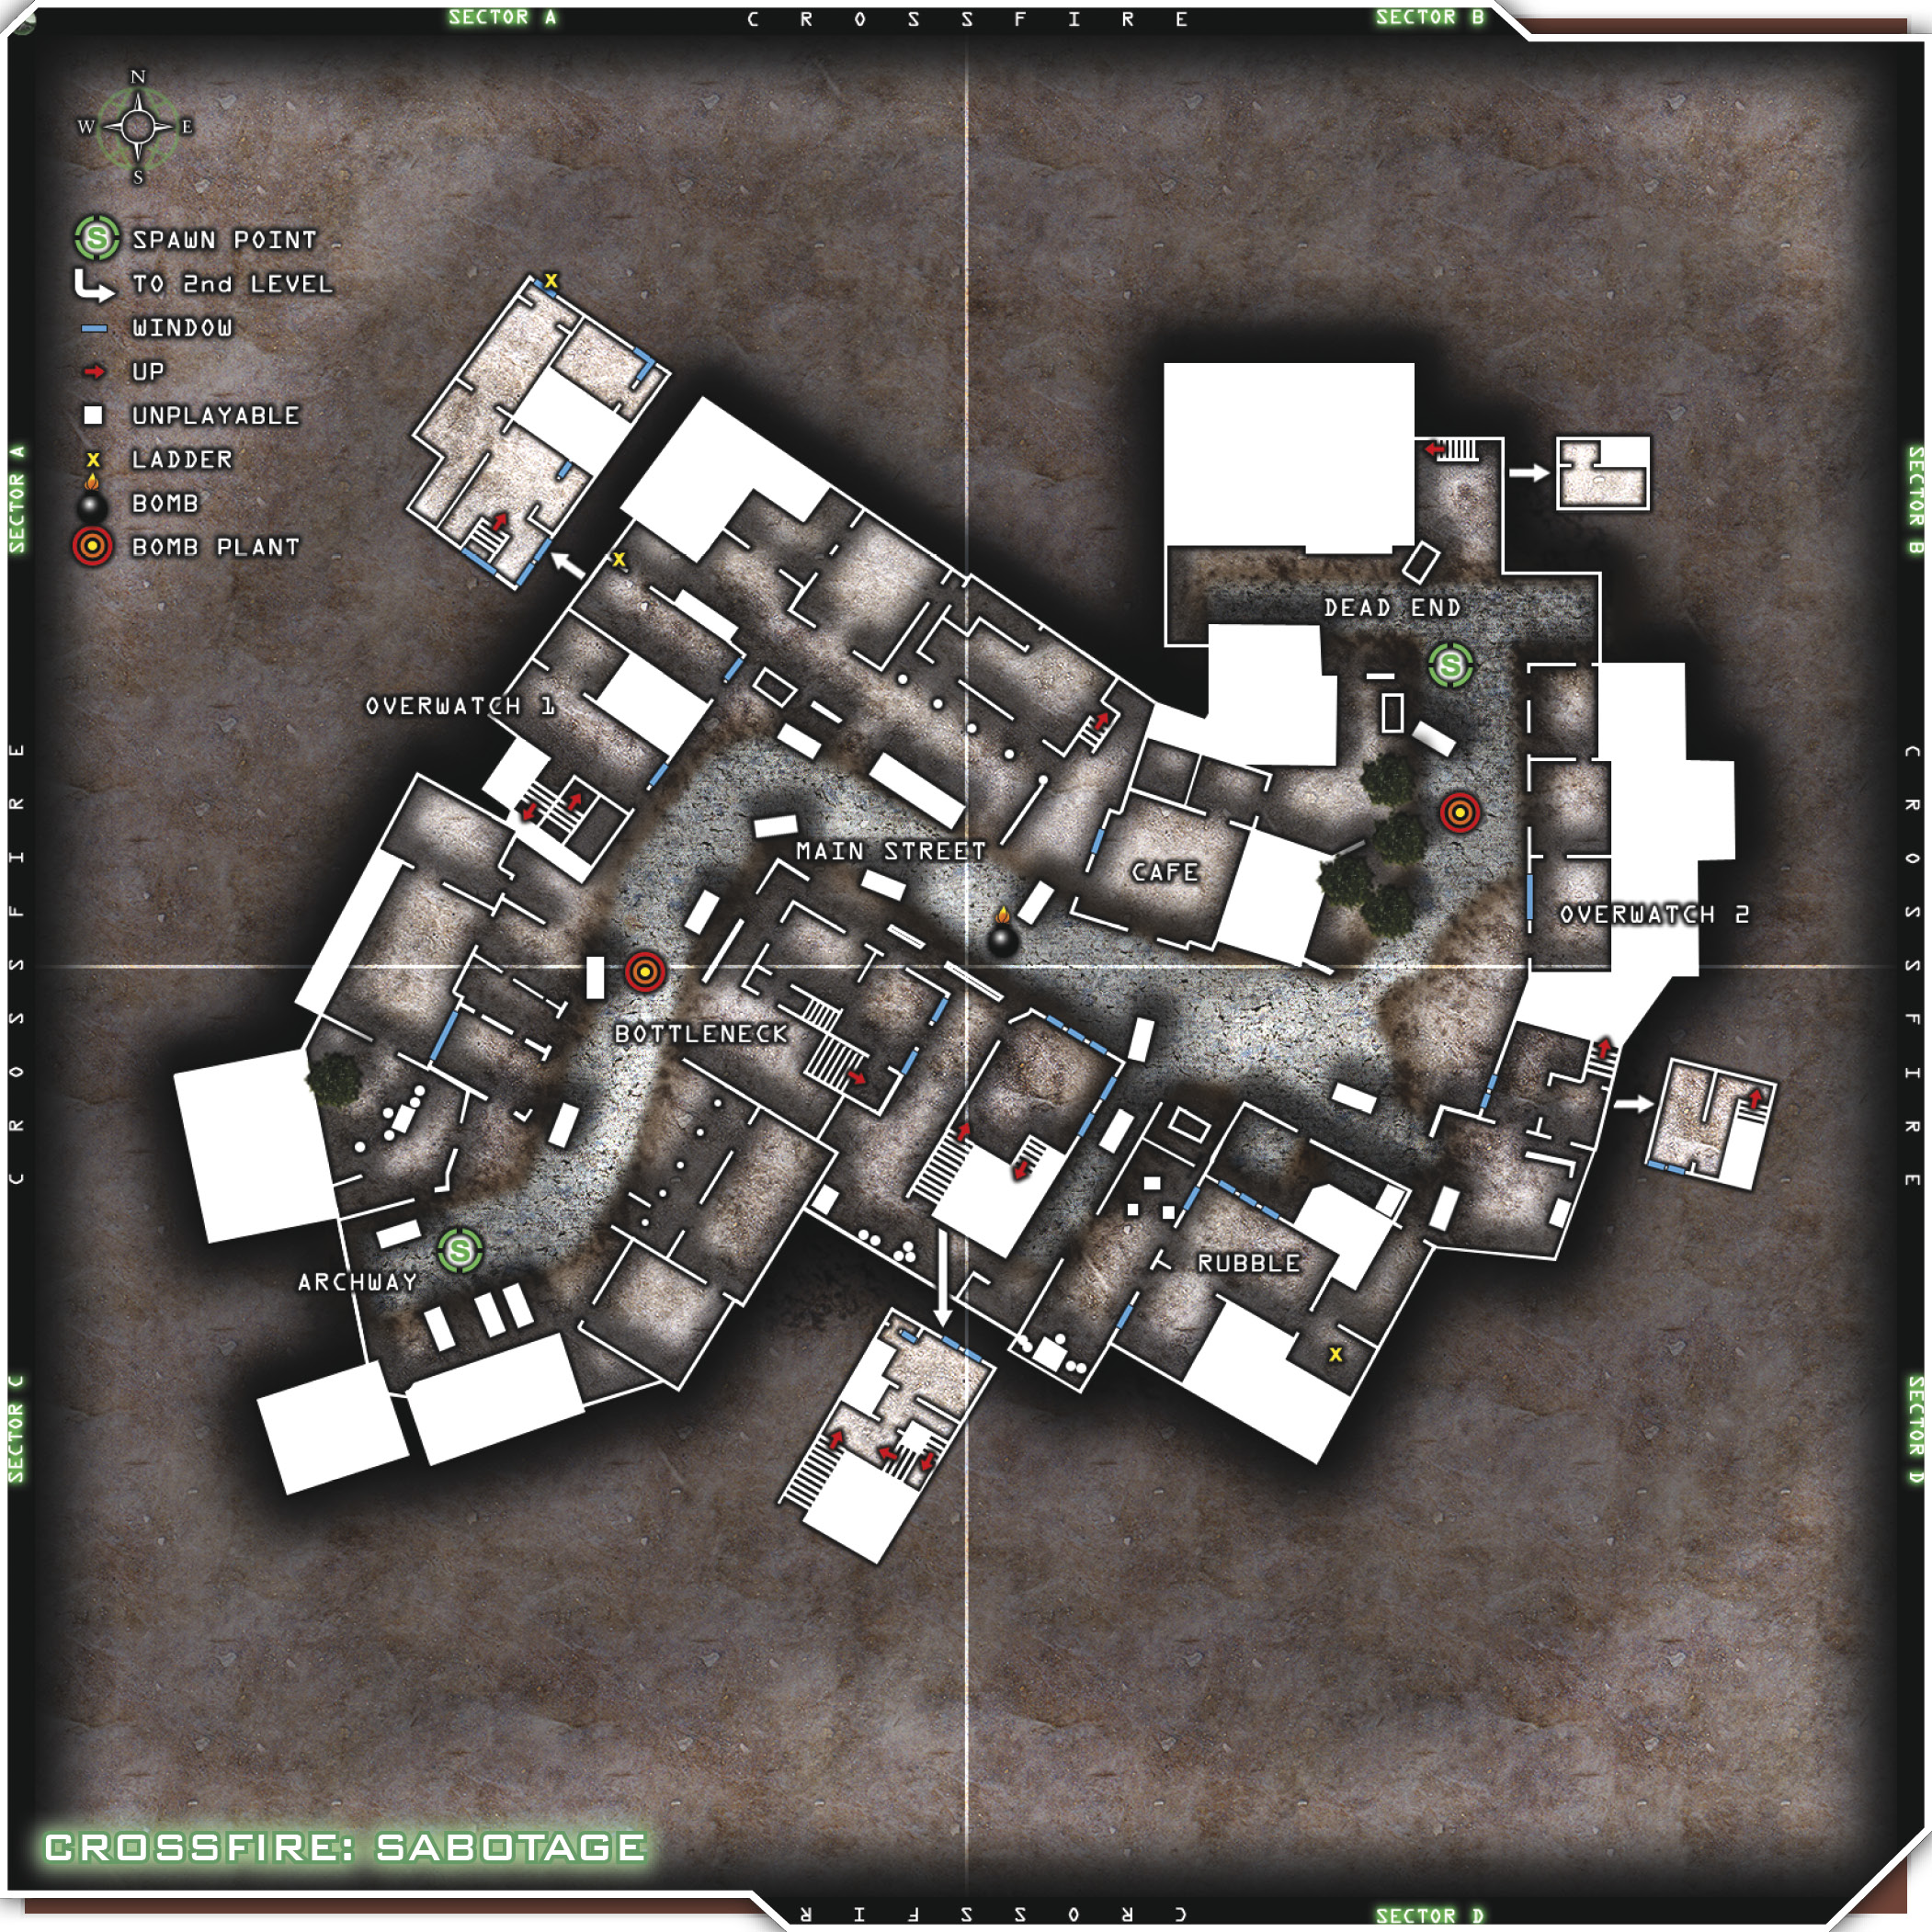
U.S. Forces vs. OpFor. Split by an S-shaped road, this urban desert town is filled with tons of accessible buildings. Two main Overwatch buildings bookend the street, which is lined with buildings that your team can use to advance from one end of the road to the other.
These loadouts are designed to give you a good range of options during gameplay. The Basic Assault loadout includes a grenade launcher for wasting those annoying enemies trying to pop you from the end of the street. Combined with the Sonic Boom perk, the grenade launcher really helps you rack up points and lets your team make their way through the buildings and around the enemy. Martyrdom is recommended for both CCSs, because there’s a lot of building-to-building fighting.
The CQC Sniper is a great multi-function class. The Overkill perk allows you to find some good high ground and pick off a few insurgents, and you can swap to a submachine gun for building-to-building fighting with the rest of your team. Claymores cover your back when it’s time to snipe.
Suggested Loadouts
Basic Assault
| Slot | Name |
|---|---|
| Primary Weapon | AK-47 |
| Notes/Attachment | Grenade Launcher |
| Side Arm | Desert Eagle |
| Special Grenade | Smoke |
| Perk 1 | DISABLED |
| Perk 2 | Sonic Boom |
| Perk 3 | Martyrdom |
CQC Sniper
| Slot | Name |
|---|---|
| Primary Weapon | P90 |
| Notes/Attachment | Red Dot |
| secondary Weapon | Barrett .50 cal |
| Side Arm | M1911 |
| Special Grenade | Smoke |
| Perk 1 | Claymore x2 |
| Perk 2 | Overkill |
| Perk 3 | Martyrdom |
Tips & Locations
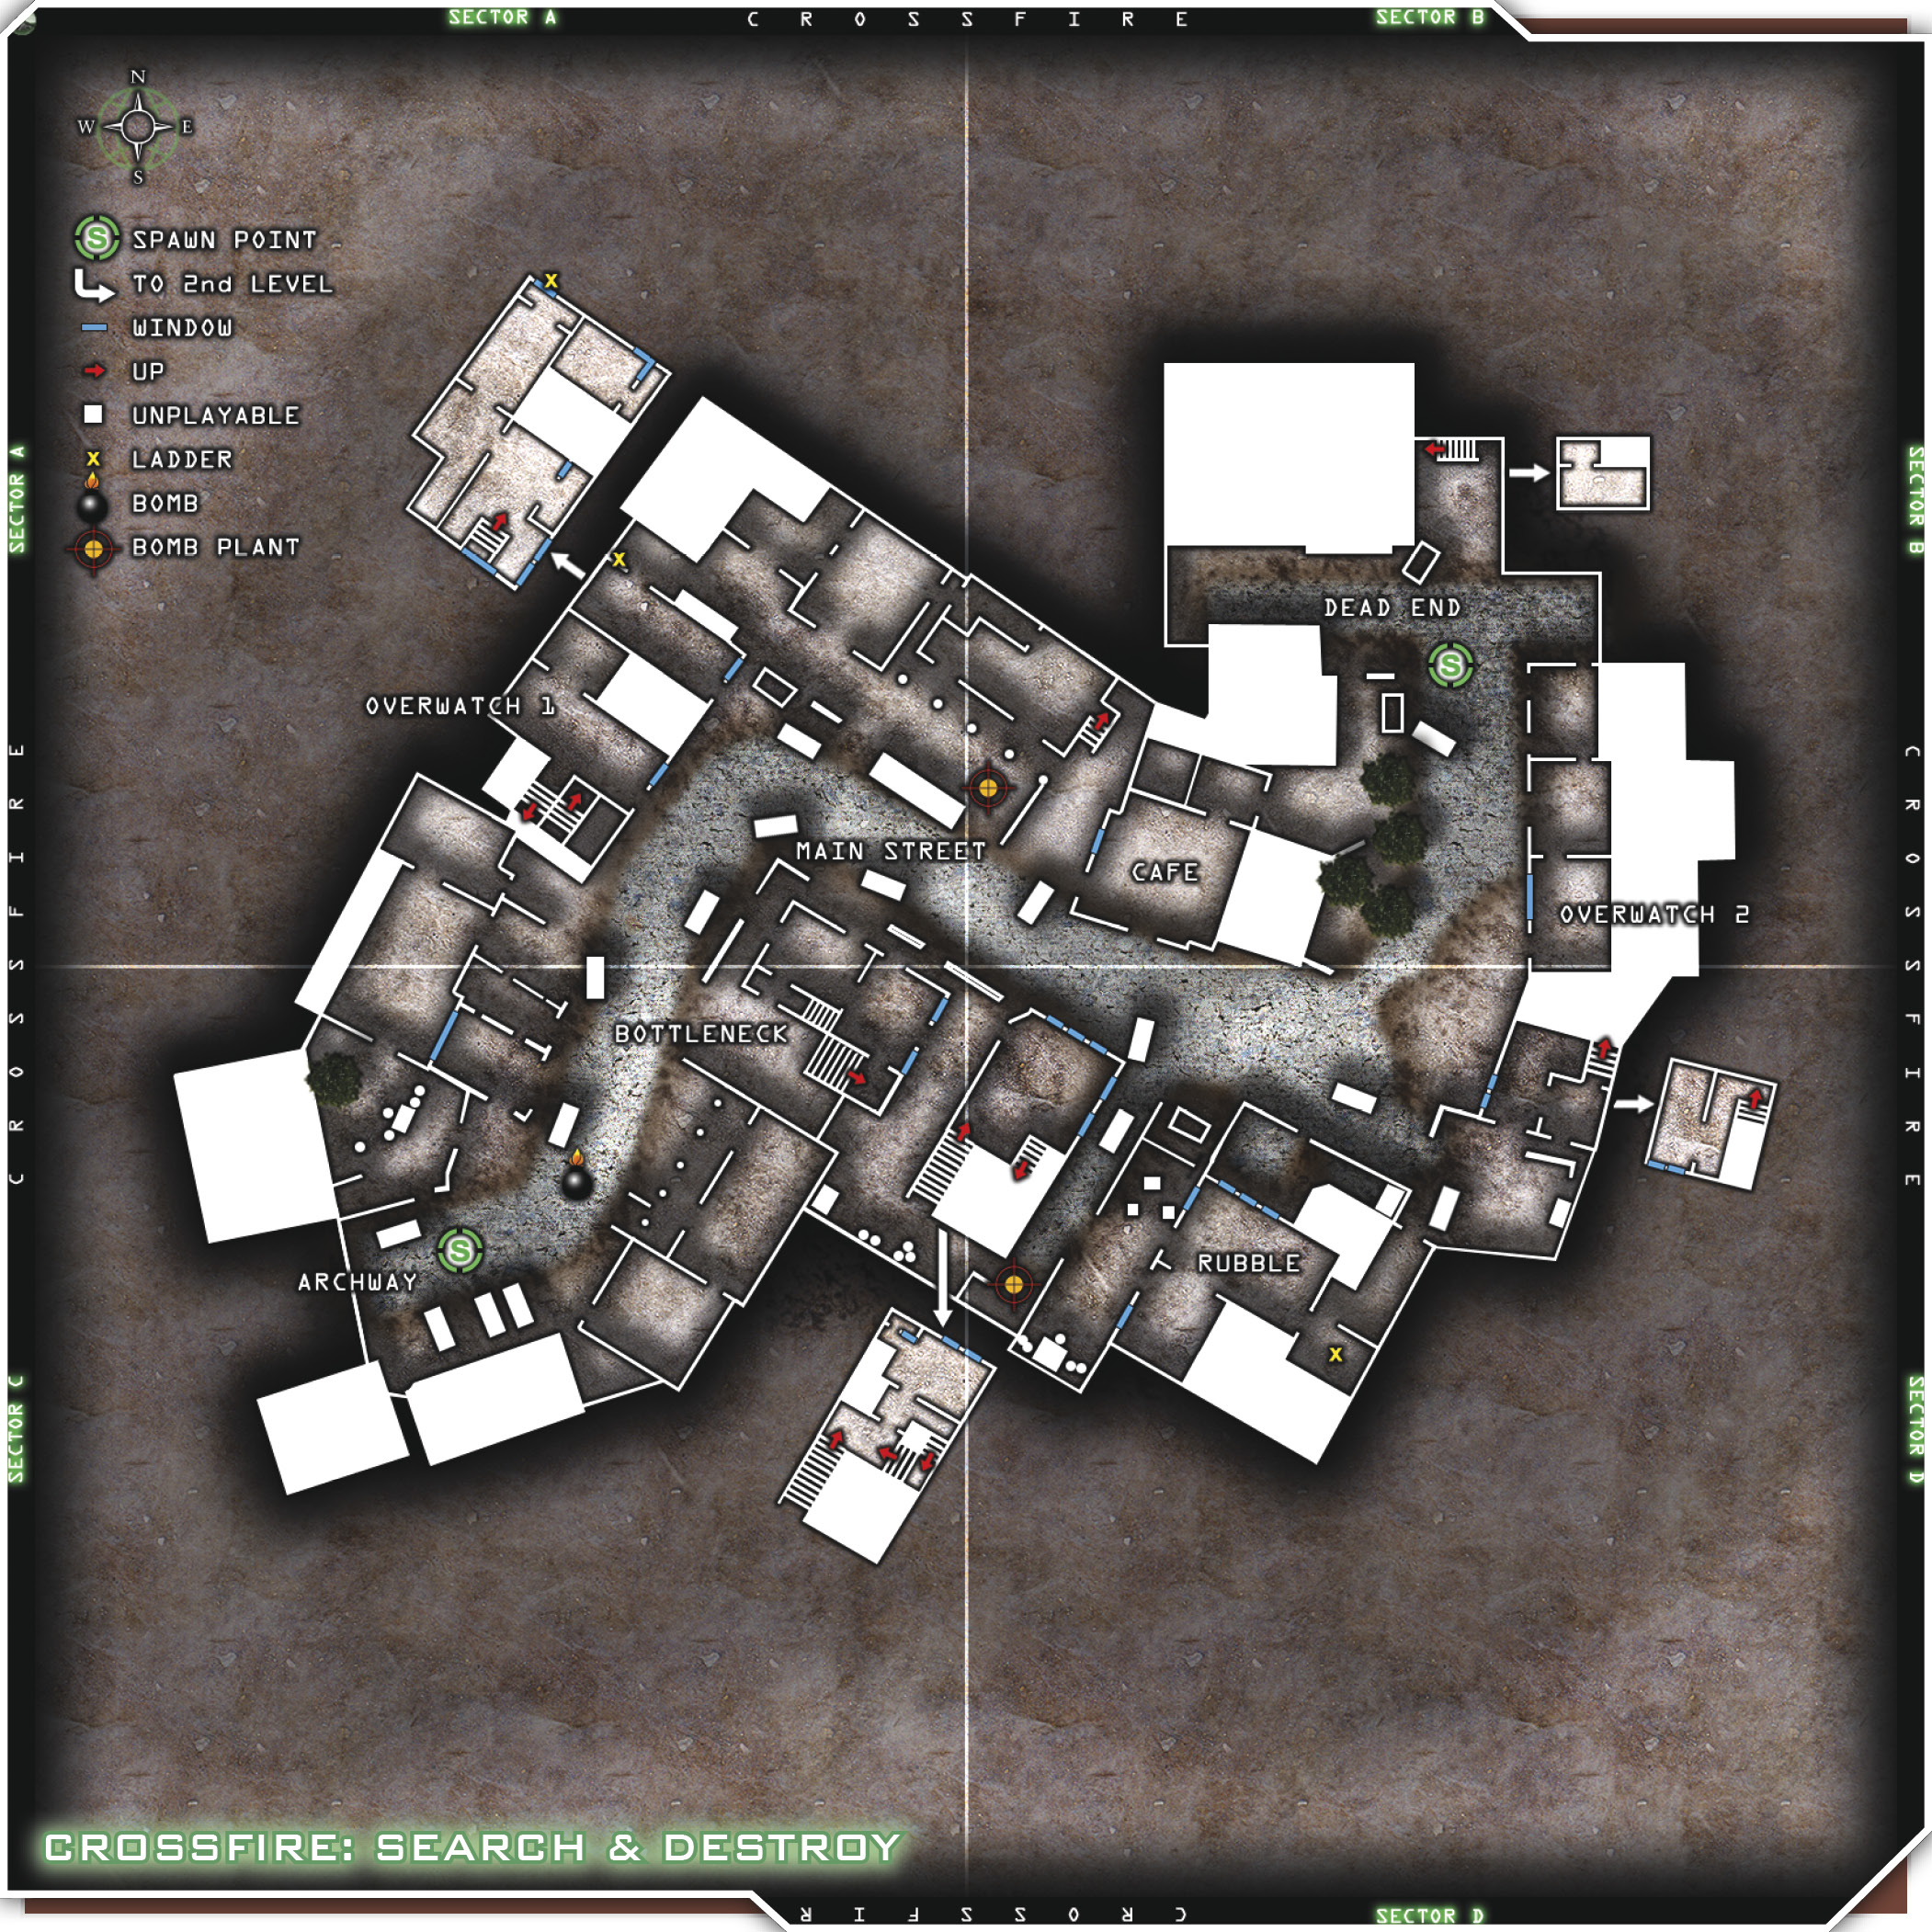
The Café and adjacent buildings, as well as the Rubble building and Bottleneck building, are ideal for ambushing and accessing the opposite ends of the map. The two Overwatch buildings are great for teams to control, and for snipers. Most engagements occur right down Main Street, so be ready to duck into one of the perimeter buildings for cover or relocation. The Bottleneck building has a large hole in the eastern wall that you can use to ambush flanking enemies. Or you can booby-trap it with Claymores or C-4.
Many secondary levels afford you great lookouts and sniper points. Be sure to watch for enemy snipers waiting pick you off. Try planting C-4 on some of the disabled vehicles scattered along the main road. Find a good second-story vantage point, and don’t worry about sniping enemy players. Instead, wait for a group of enemies to wander near your trap, and snipe the C-4 pack that you’ve planted. The explosion will be twice that of C-4 alone, because the car will explode.
Snipers on this map can grab a UAV just about as easily as your ground-pounders, so call one in as soon as you can. Just make sure that your buddy isn’t calling one in at the same time. Again, try to stagger your UAVs so that you get a continuous stream of radar sweeps. Once you know where the enemy is, you can decide as a team how to proceed. On the second level of the Overwatch 1 building, there’s a couch you can crouch behind for some great surprise attacks. Just remember that it’s only soft cover and the enemy can shoot through it. This could be bad if you’re using it for protection, but you can continue blasting through it if someone stumbles into your trap. The Overwatch 2 building offers a closet on the second level that’s also a prime spot for an ambush. You can even set up Claymores to assist you in laying your trap.
The northern building offers a decent sniping platform that you can access by jumping from the east end of the building. This is a good place to hide out and cover the Overwatch 2 building if your team is camping out there. Overwatch 2 offers some rubble on the second floor for cover, and will allow the snipers to see almost the entire map. Conversely, Overwatch 1 gives players a nice second story with windows, so you’re protected while sniping down the Main Street.
Team Tactics
Taking the aggressive approach on this map will require some patience. Gather your team and begin moving from the Dead End toward Overwatch 1 by way of the southwest. You can move into the Café building and smoke the road to move to the Rubble building, or you can progress through the Overwatch 1 building to the Rubble building. Once you’ve gotten your team to the Rubble building, move up through the southern side of the map via the buildings.
Here’s a great maneuver to employ in combination with this tactic: As you move your entire team from the Dead End to Overwatch 2, make sure you keep an eye on who has just died. When someone on your team dies, have your whole team hold up and take cover until your fallen teammate can respawn. He should rejoin the game very close to your team’s position. Give him whatever cover he needs to get back into formation. Once he’s rejoined the crew, continue moving up the south side of the map to your destination.
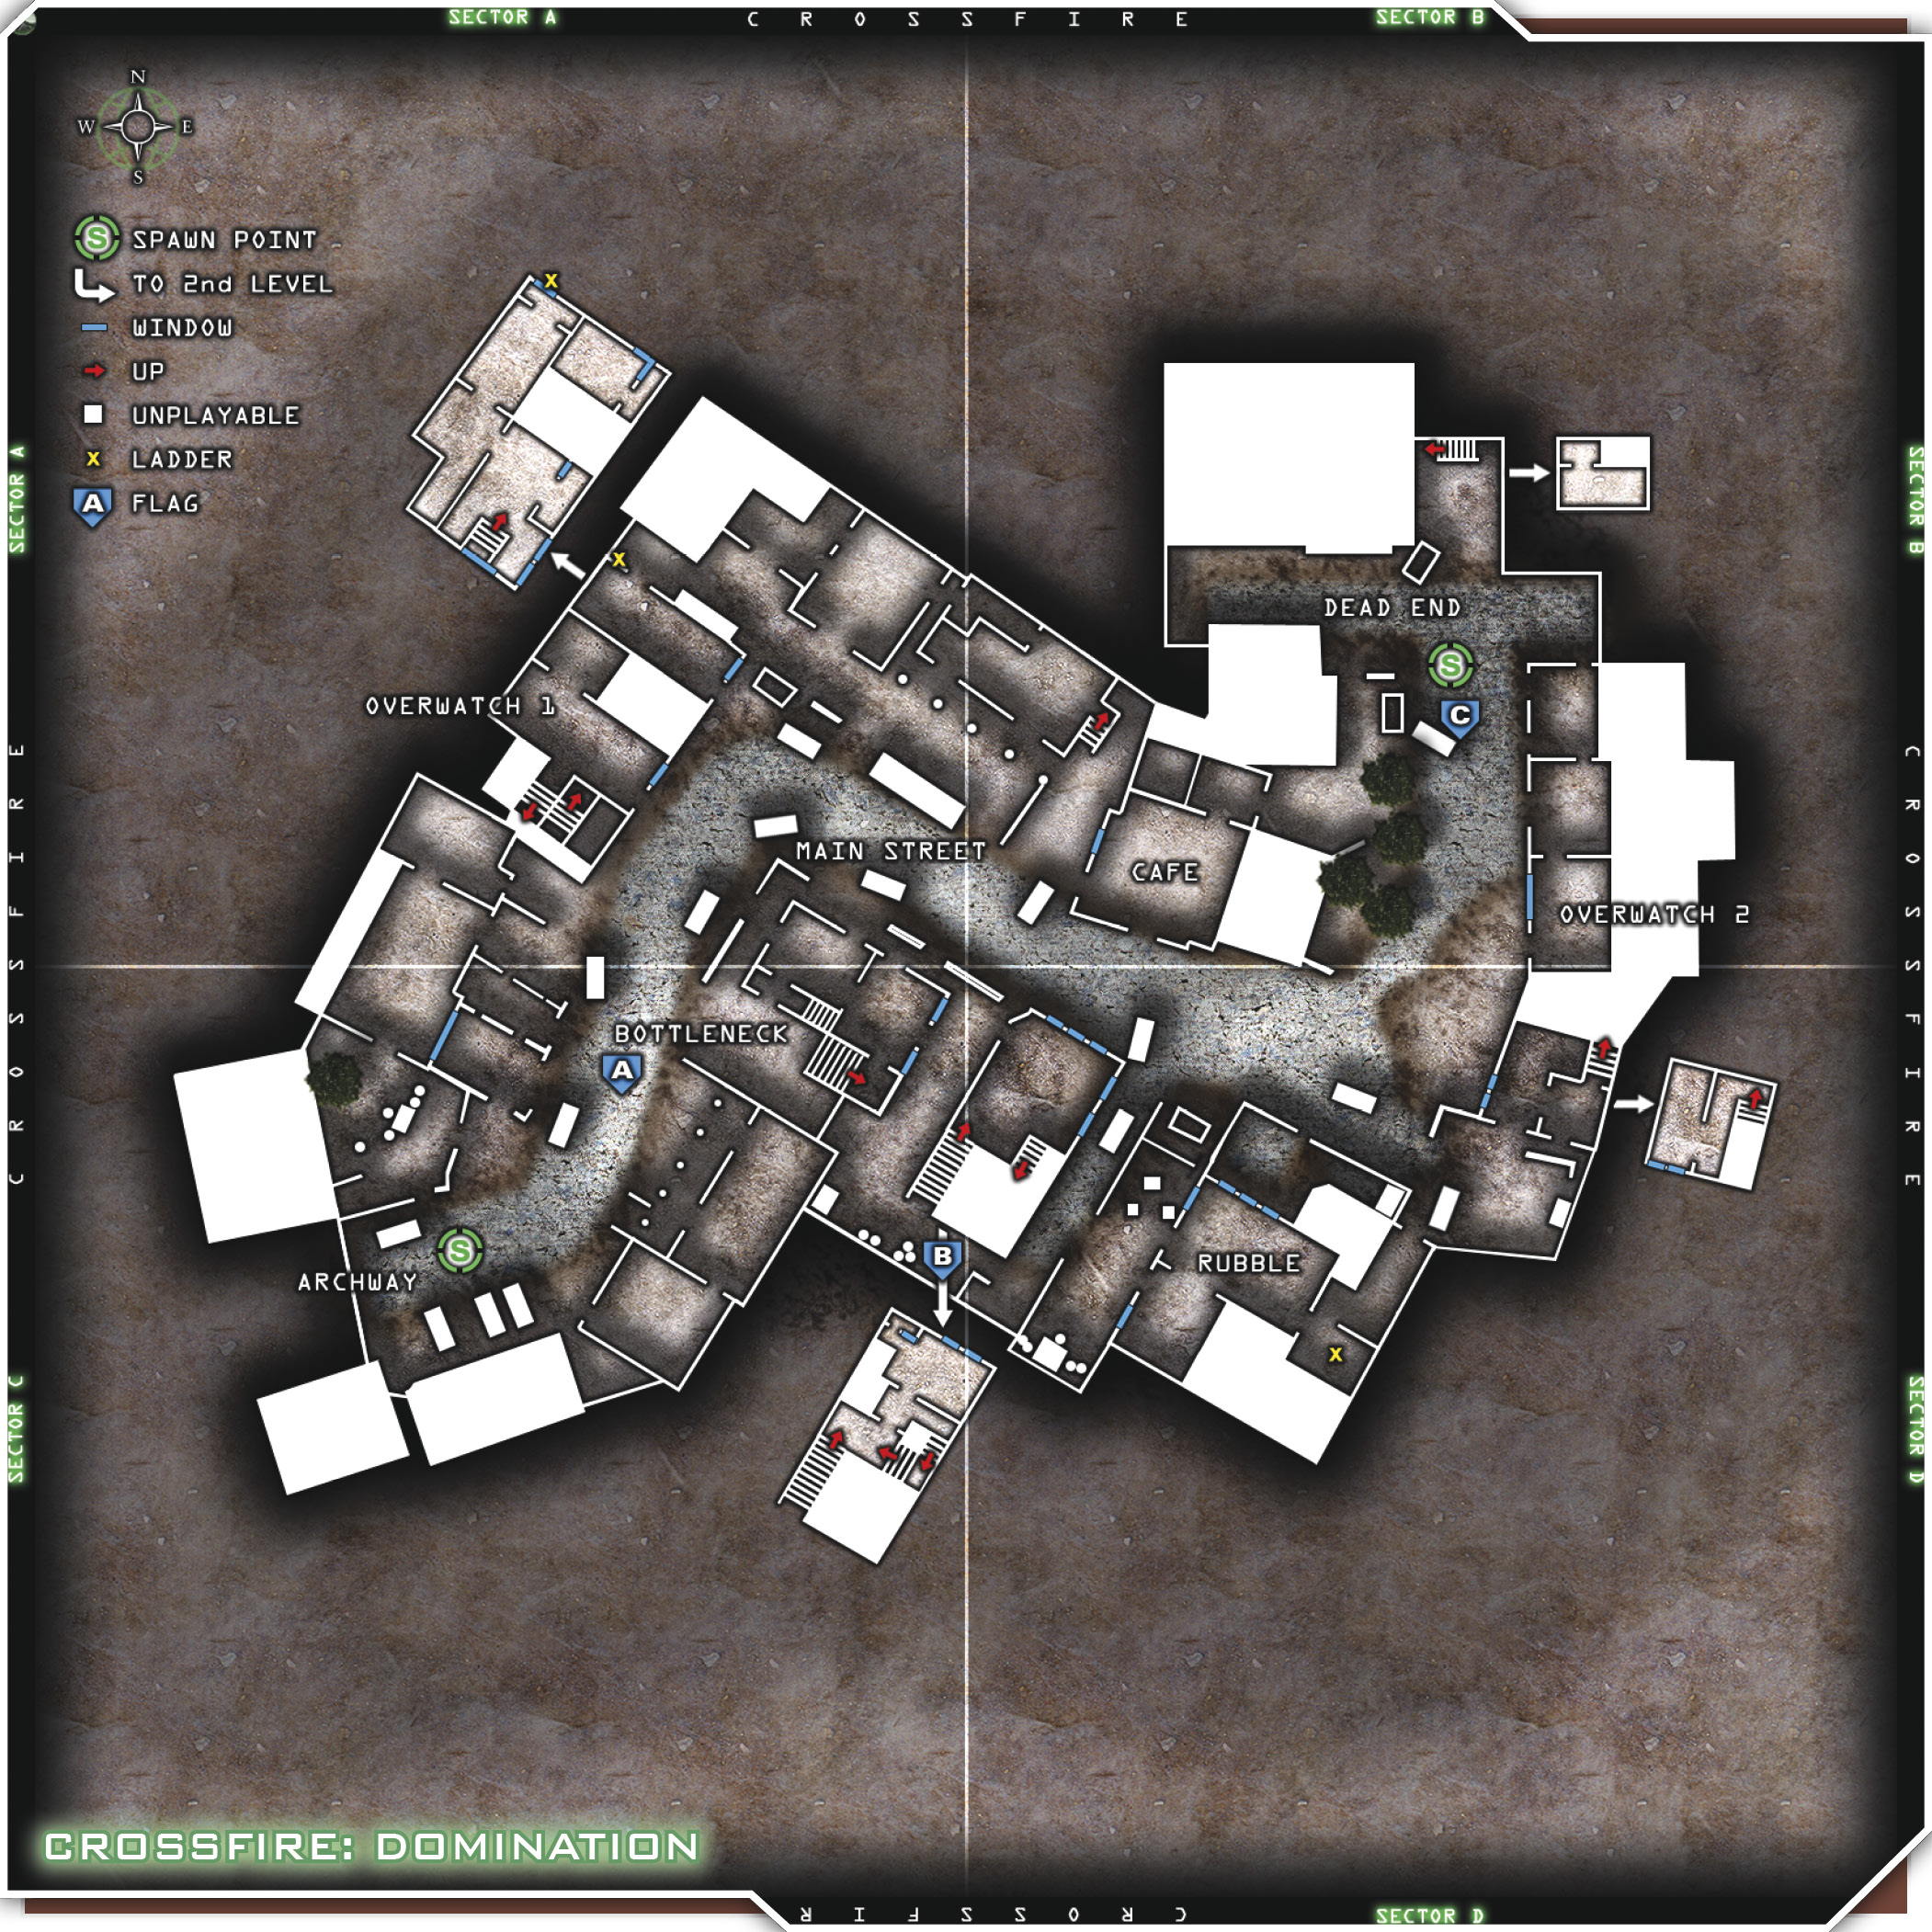
A more conservative approach is to take control of one of the buildings nearest your spawn. Let’s say you’re spawning at the Archway on the west side of the map. Move your whole team to Overwatch 1 and commandeer it. There are two levels in this building, with multiple entrances and windows. Set up a player on the east side of the first floor to guard the entrance and the ladder. Have a couple of players watch the front or south side of the building while they relay any intel about ground movement headed in your direction. Put a couple of long-range riflemen upstairs to shoot from the balconies or windows, and have a player watching the stairs just in case someone gets past your first-floor team. Use frequent communication to let your team know if you’re in trouble or if you can take care of it yourself. Having everyone in the same building will afford you the luxury of pulling a player or two off their positions to come help out. Those snipers are slackers! Make them earn their keep.
Keeping this tactic in mind, try moving your entire crew from base to base. Once you’ve set up camp in one building and held it down for a bit, wait for things to get a little hairy or die down. Then regroup, head to the next building, and move in. Camp out there for a while and move the battle closer to the enemy. Continue to move your team from building to building, not just to clear them out, but to set up shop and become a dominant force.
Split your team into two squads of three, and decide who will be moving up which side of the map. Initially, both teams should pop smoke on the Main Street to conceal your master plan. Then both teams should split off and move into the Café and the Rubble building, respectively. The only reason you’re moving through these buildings is to conceal your advance. When you’re moving from the Rubble building to the Bottleneck building, you can bypass the building between them by moving around back. It’s okay to split up your squad for a second to maneuver from the Rubble building to the Bottleneck building. The northern advance team may need to use more smoke than the other squad. You can move from the Café to the adjacent buildings north of it, but you’ll have to expose yourselves in the street for a brief period of time. Use smoke when you need to break out into the street.
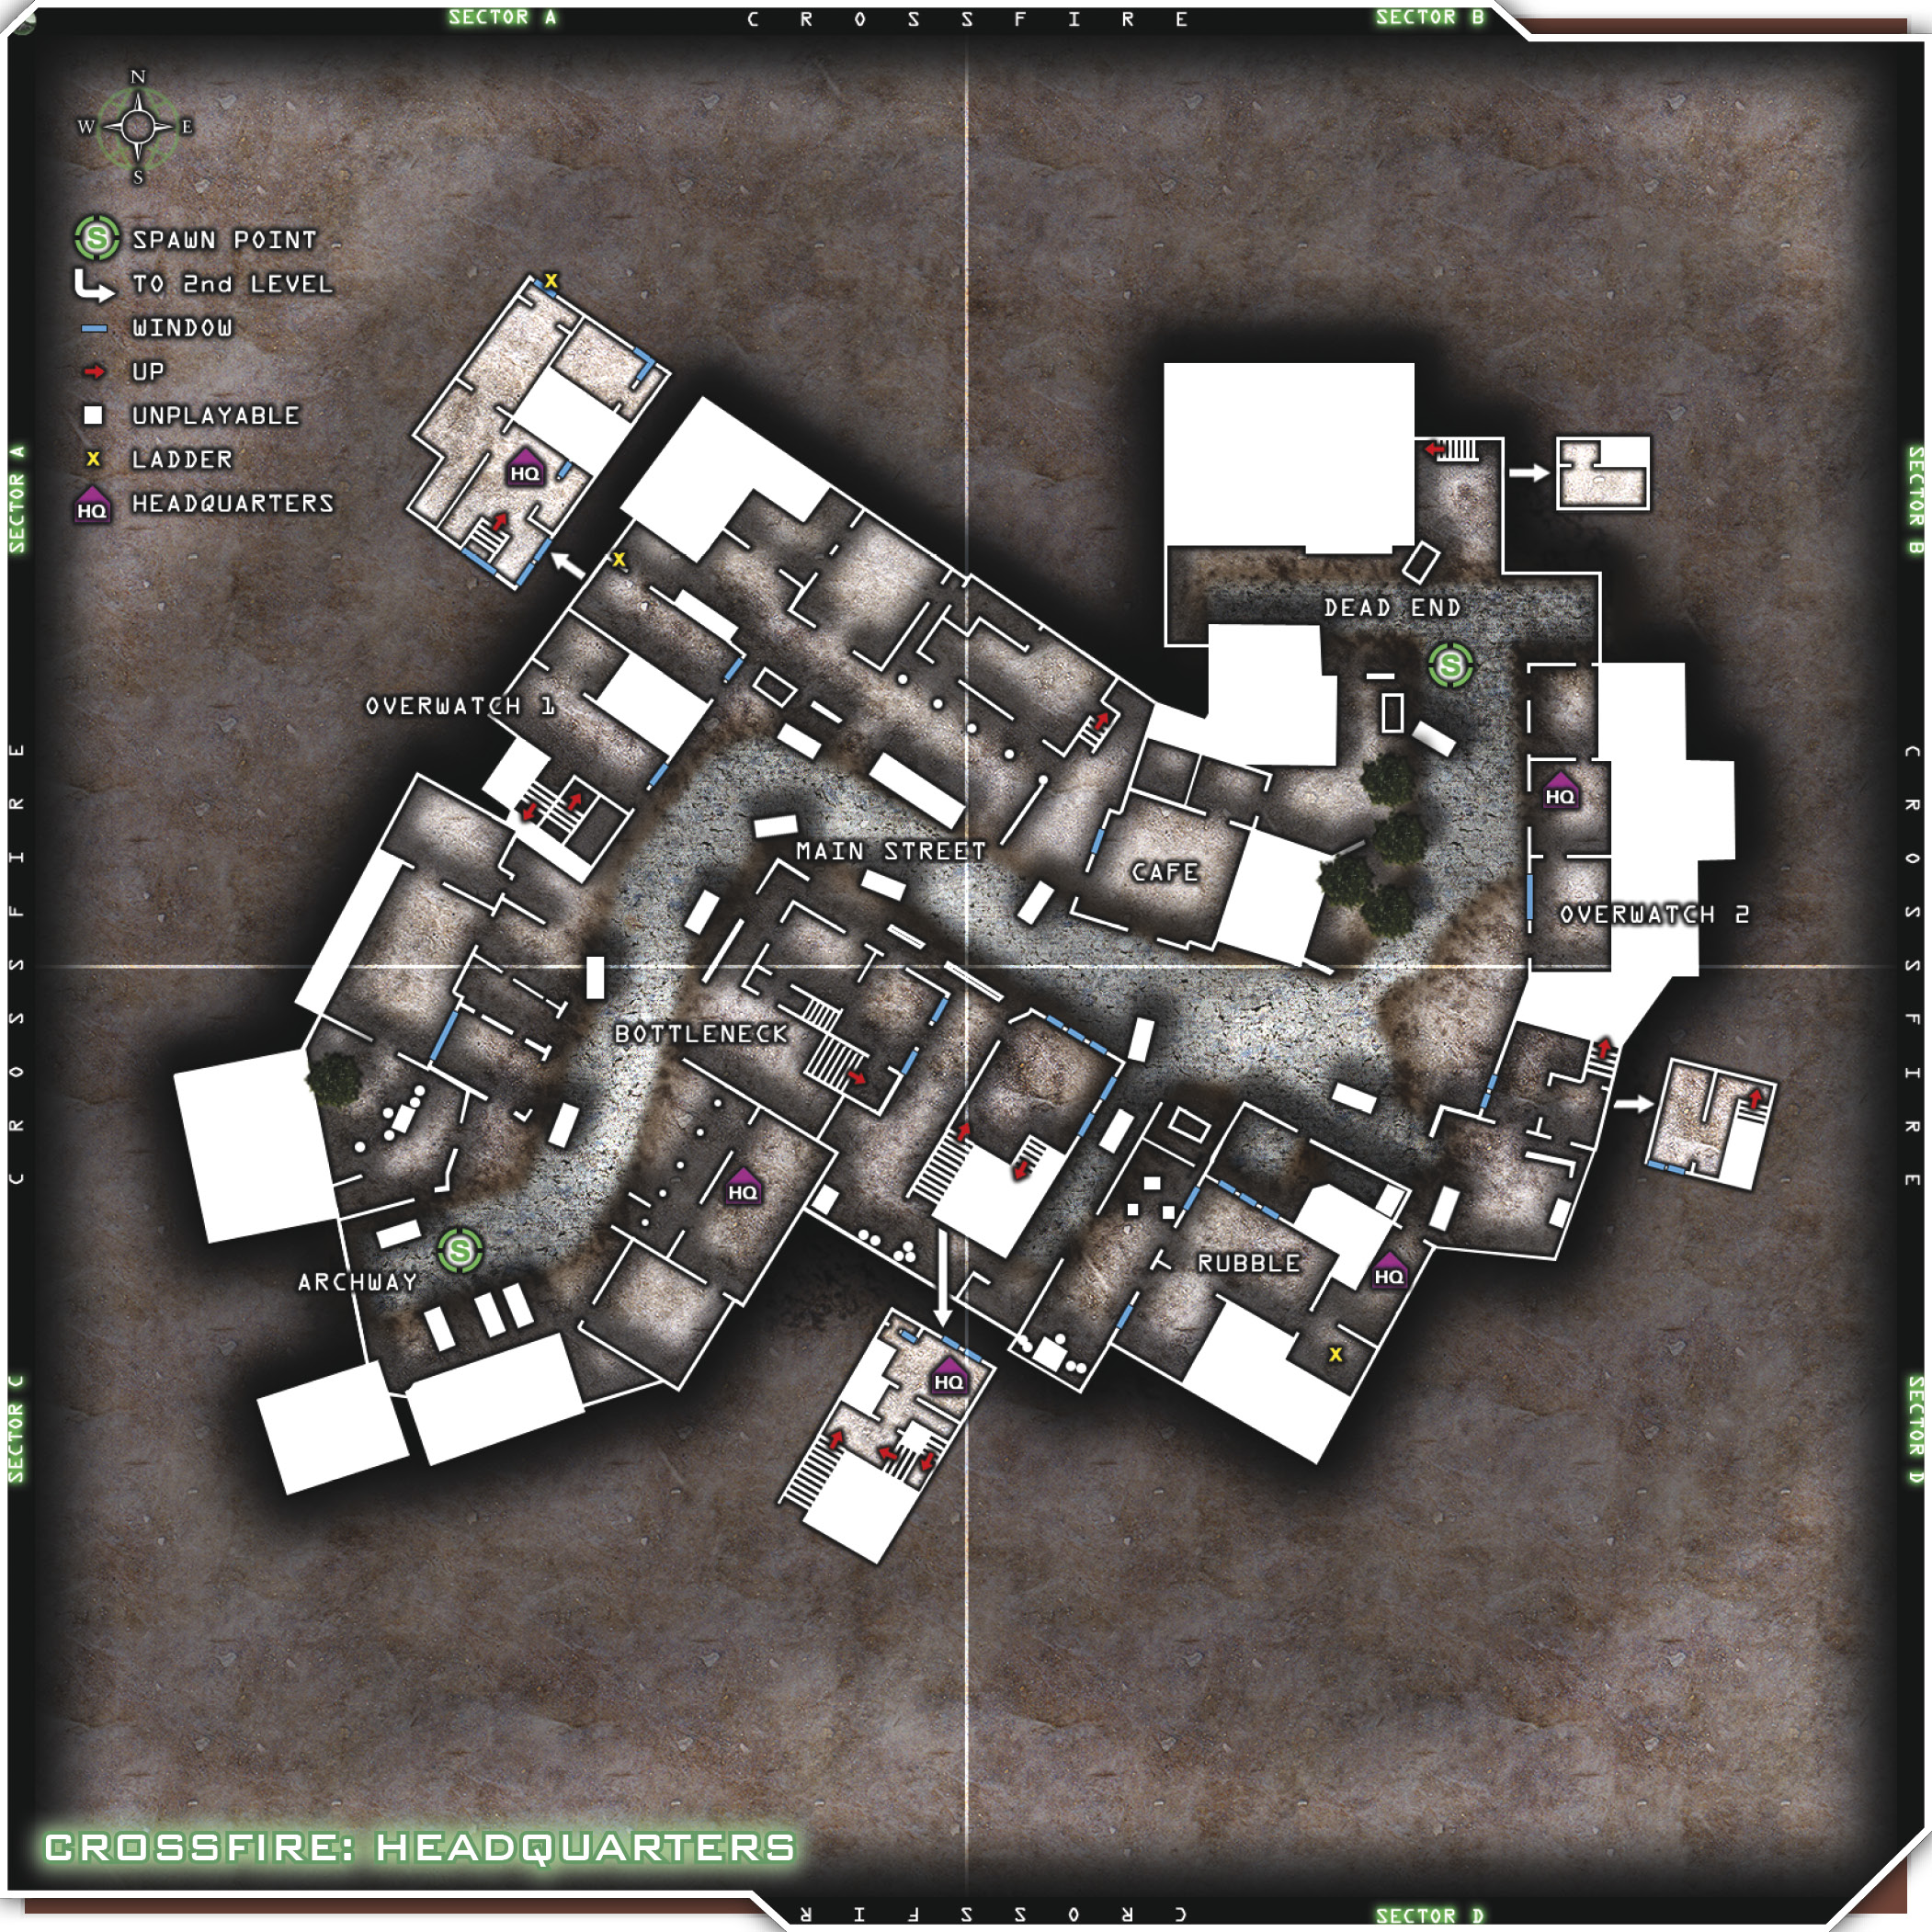
Once both teams have made their way to the opposite end of the map, stack up each squad on an opposite entrance, and use your breaching skills to enter and clear the building one level at a time.