
Call of Duty: Infinite Warfare Guide Single-Player Campaign Walkthrough
Target of Opportunity: Operation Deep Execute
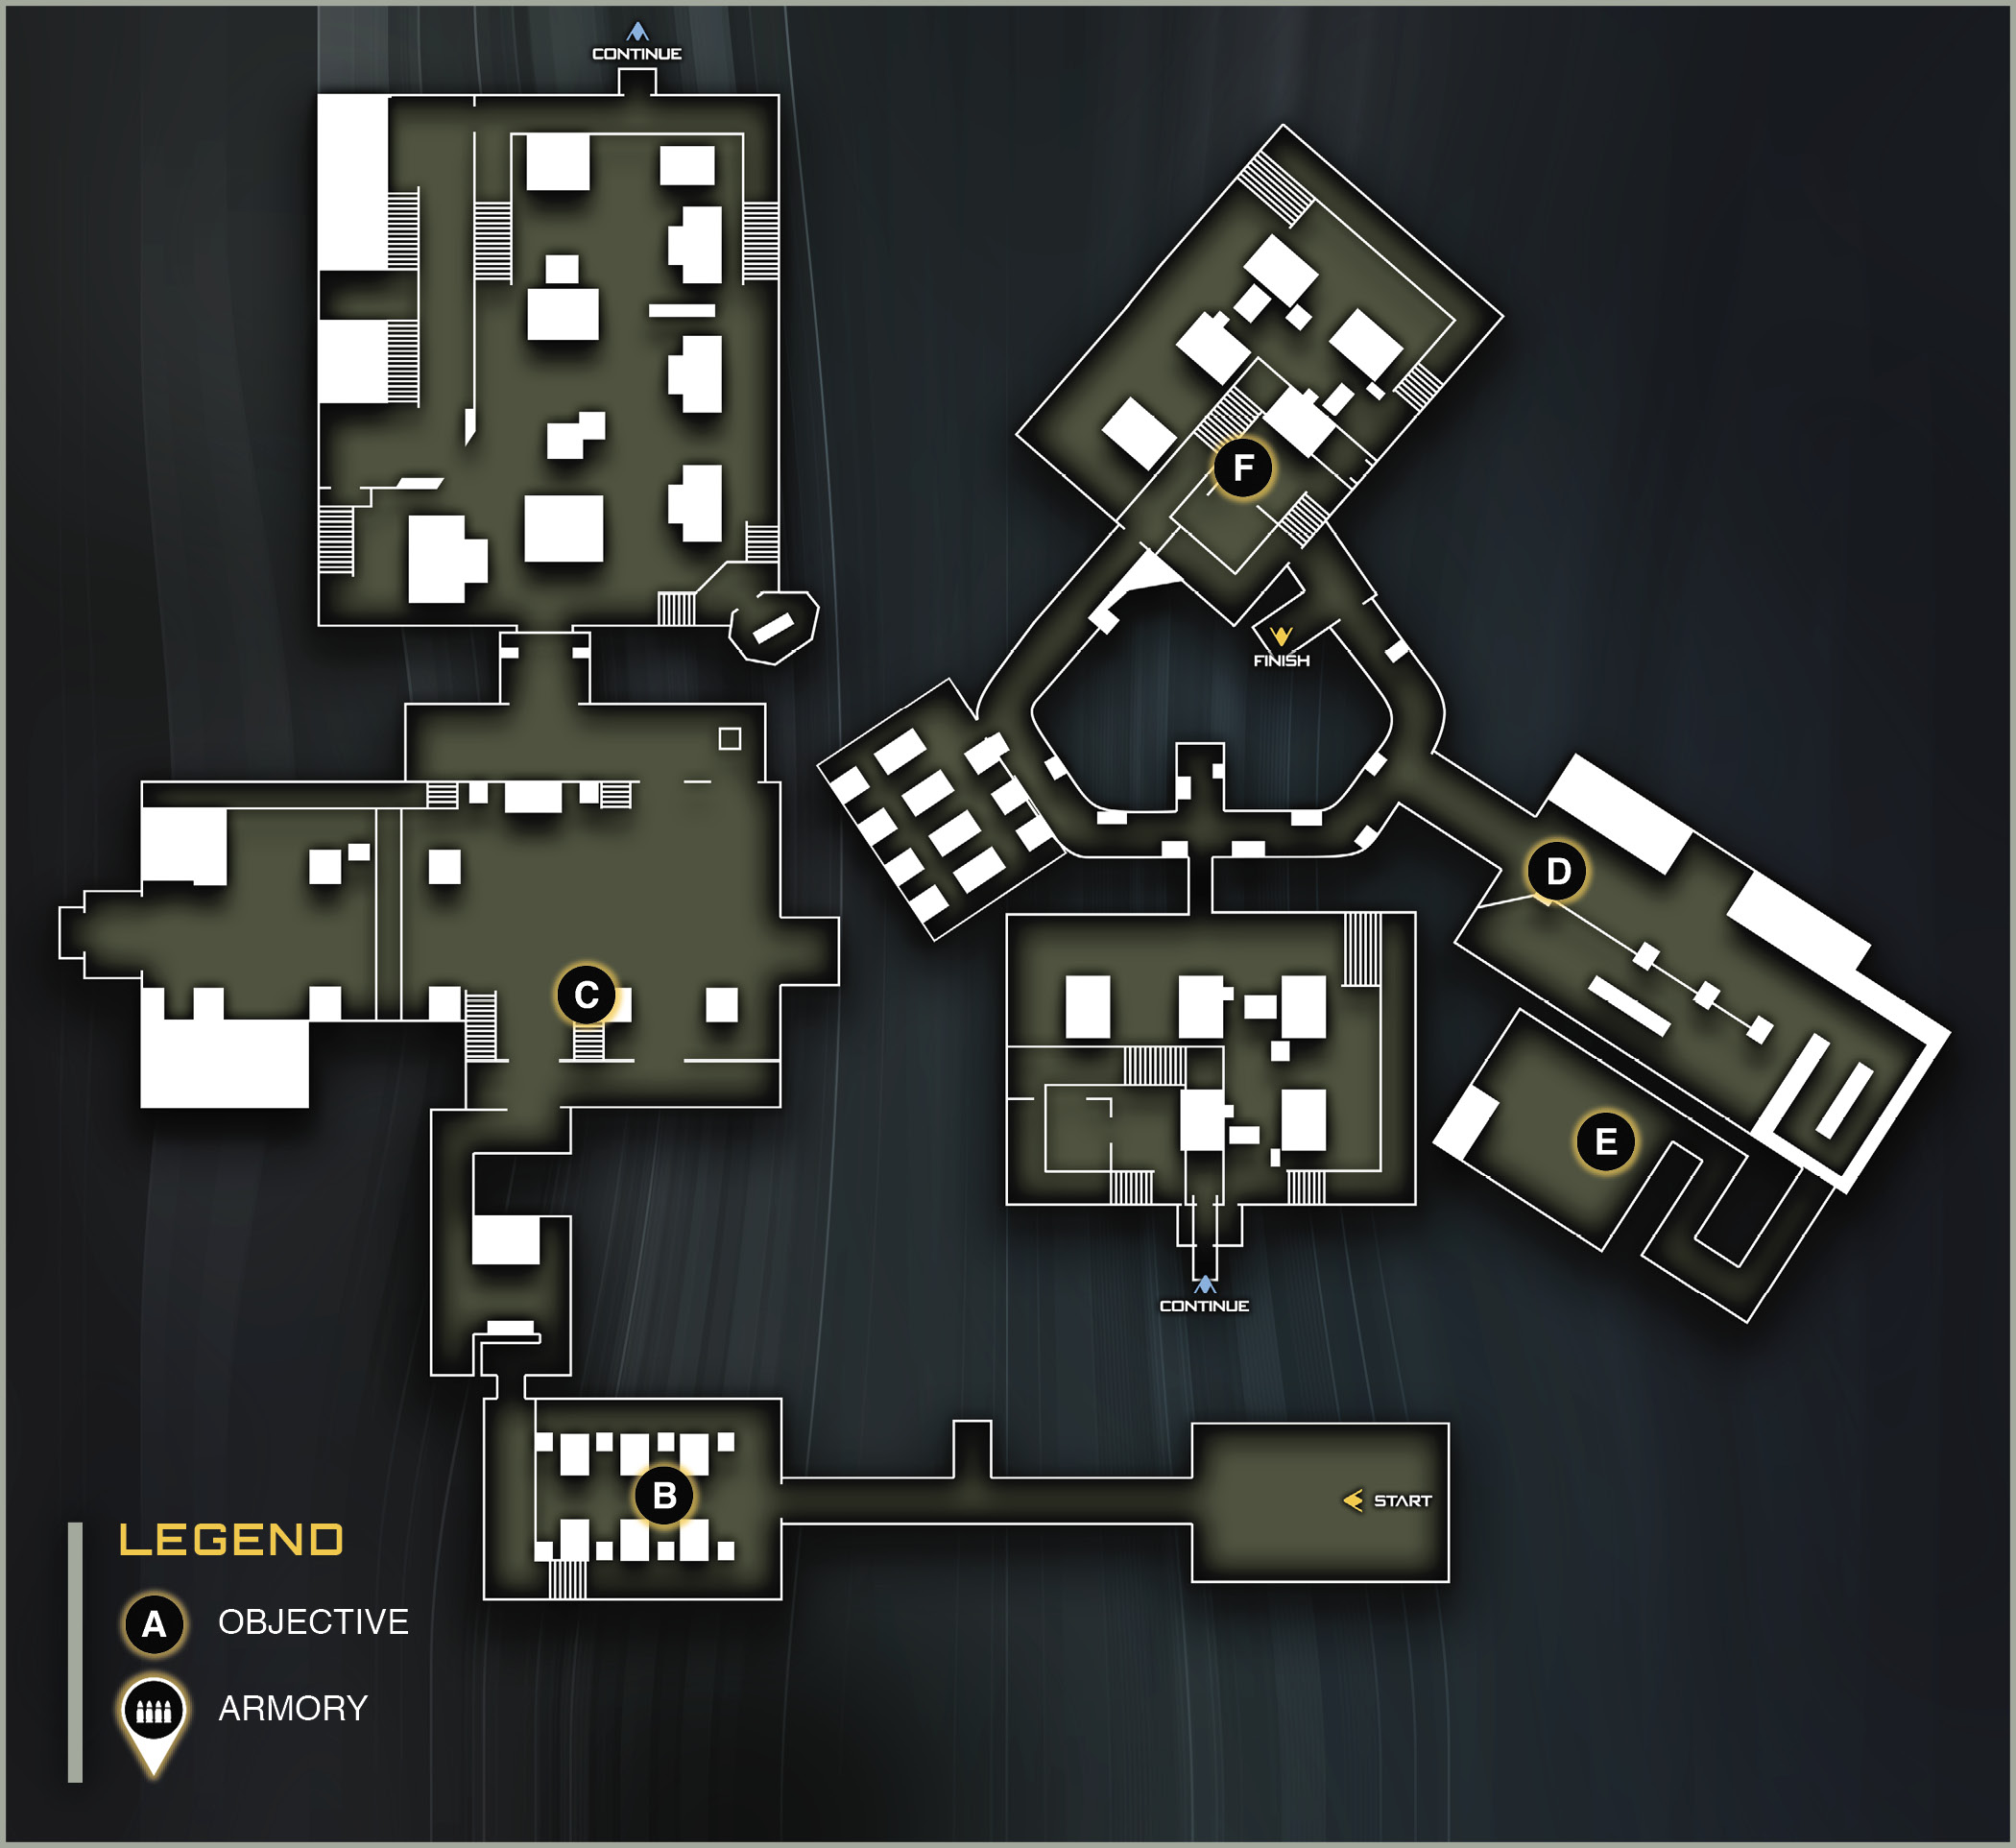
Location: Pluto Cluster
Target: SetDef Destroyer Icarius
Mission Summary: Take out three SDF high-ranking officers.
Mission Description: We have received intel that SDF leadership is gathering to discuss the war. We see an opportunity for a covert strike to cut the head off the snake.
Unlockable Perk: Fast Regen
Team: LT Nora Salter SCAR Ground Support |
GRIFF’S RECOMMENDED LOADOUT:Weaponry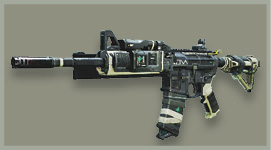 Primary: NV4 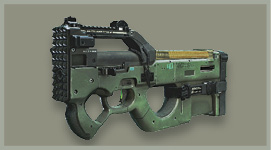 Secondary: FHR40 Tactical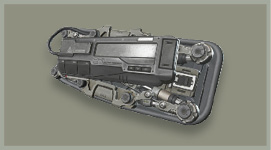 Retractable Shield 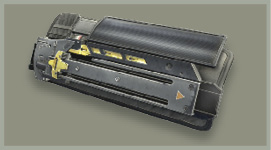 Hacking Device Lethal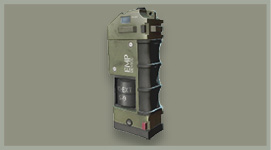 EMP Grenade 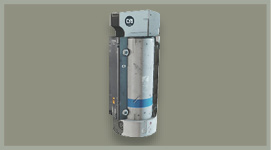 Anti-Gravity Grenade |
You start this mission with Salter in deep space. You are waiting for the SetDef ships to arrive so you can sneak aboard. Unfortunately, the arrival is taking longer than expected, and your suits are running low on oxygen.
Just when it’s looking like a busted mission, the SDF cruisers arrive.
 OBJECTIVE: Enter SDF Destroyer Icaria.
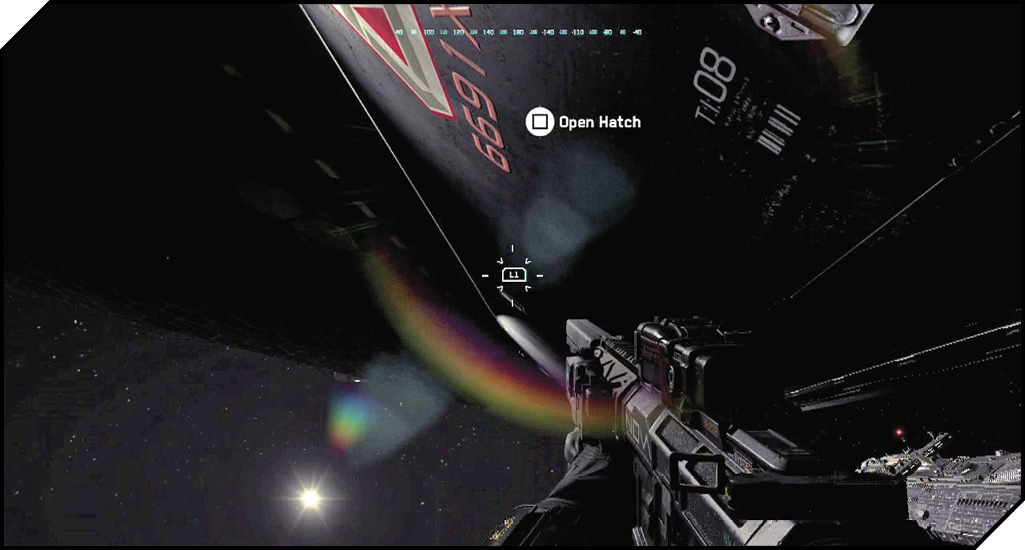
Your target is the Icaria, the ship directly overhead. Wait for the objective marker to pop, and then fly towards it.
Hit the Activate button to open the indicated hatch. Follow Salter through the maintenance hatch.
 OBJECTIVE: Acquire SDF disguise.
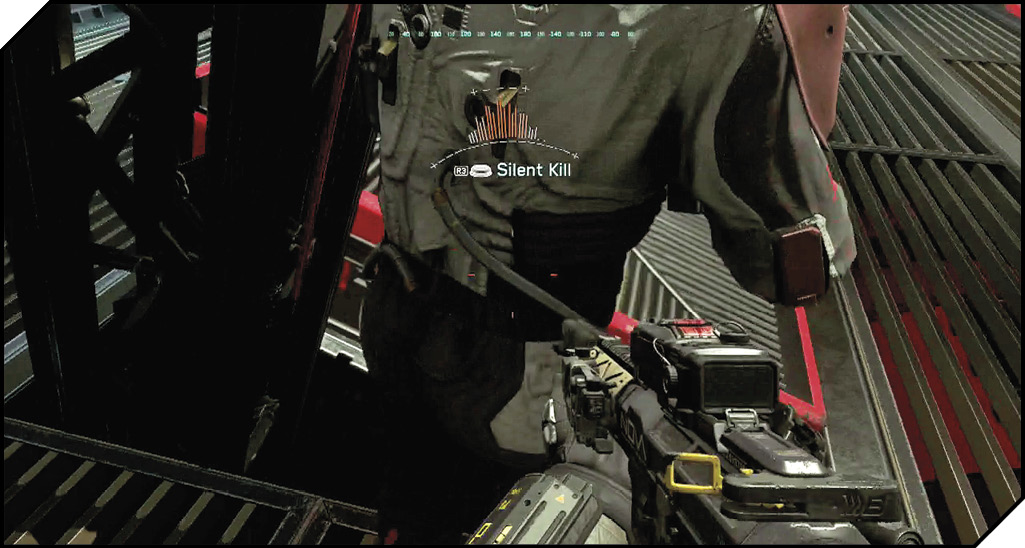
Peek through the door; you can see an enemy with his back to you. Push forward to open the door quietly. (Don’t kick the door.) Now, crouch and approach the enemy. When you see the Silent Kill indicator on your HUD, execute a melee attack to silently kill him.
Climb the ramp and up the ladder to the hatch with the objective indicator. Activate the hatch.
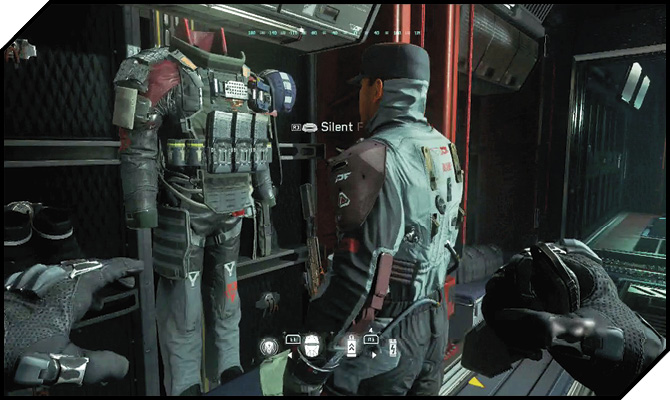
When you get up top, move forward and melee-kill the enemy in front of the beds. The barracks has two more enemies, but they both have their backs to you. Silent Kill these enemies as well.
Hit Activate on the uniform in front of the last guy you killed. You are now disguised as a SDF guard!
 OBJECTIVE: Acquire Tech Officer credentials.
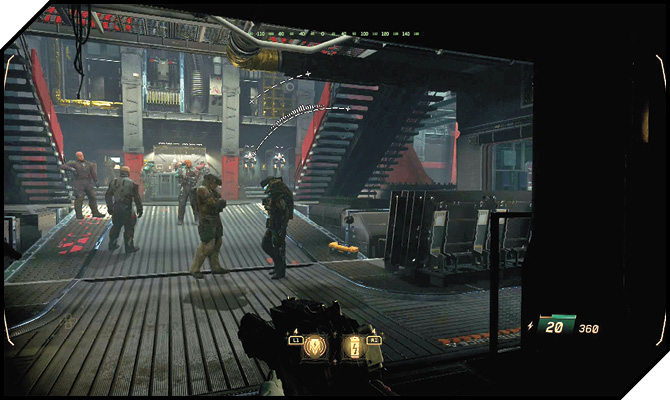
Wait for Salter to open the door out into the main area. Since you have a uniform, you won’t be detected unless you get too close to one of the other SDF. Avoid detection by quickly moving through the ship. If you stop moving, always make sure you are away from SDF patrols to avoid being detected.
If the stealth meter starts getting too hot, just back away from whomever is setting the meter off.
Move quickly through the first room into a larger second room. You will see the Technical Officer highlighted in your HUD. Move through this room, avoiding the guards’ line of sight.
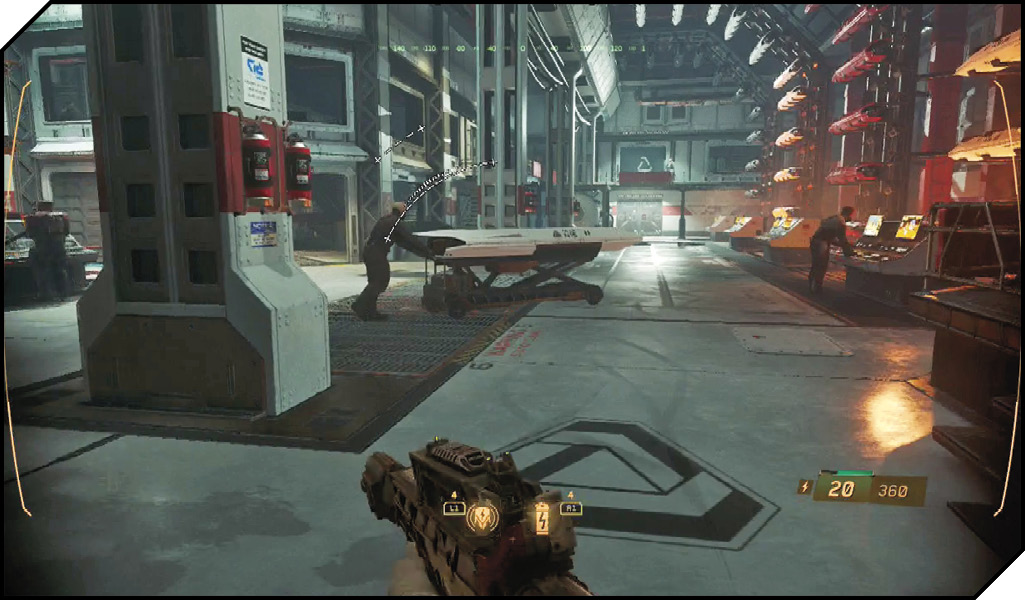
A good route to get up to the officer is to take the far right catwalk. There is one guard who patrols there, but he’s easy to run past before he can get a good look at you. Wait for the Technical Officer to go into the back room and begin working on the crates there. When he is alone, silent-kill him and use Activate to acquire his credentials.
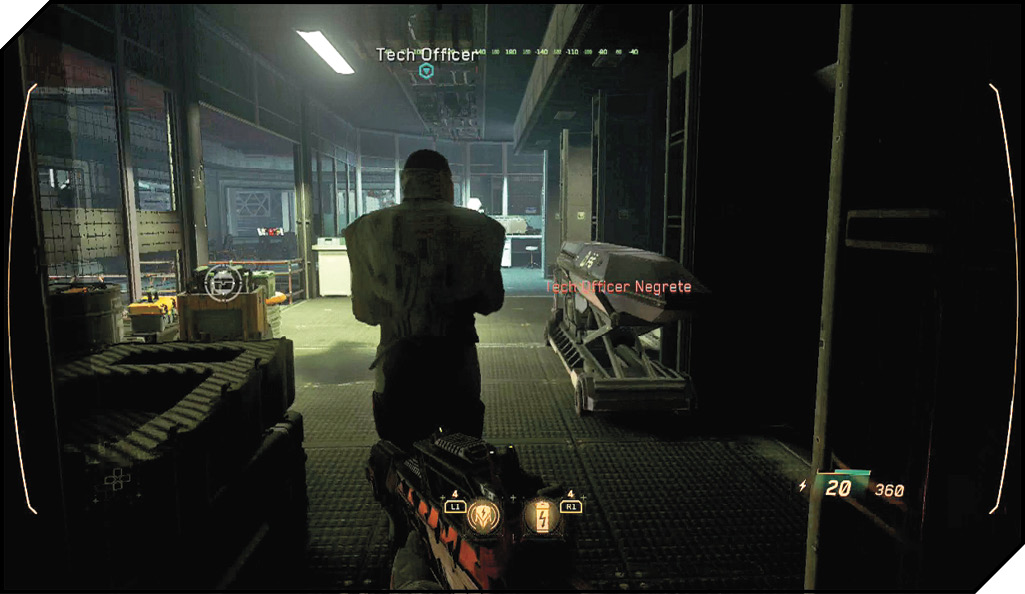
 OBJECTIVE: Gain access to conference center.
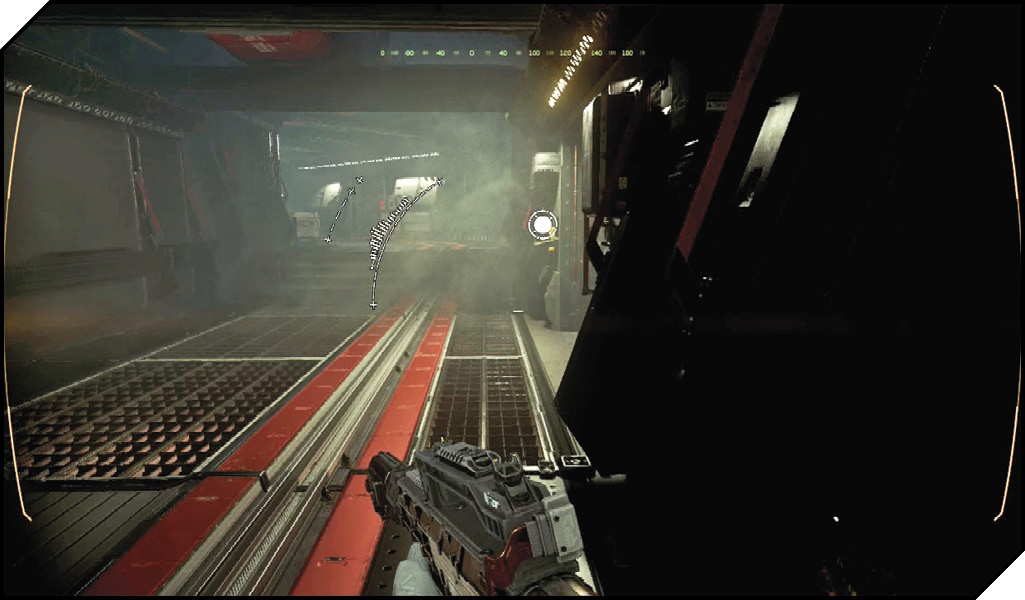
Now you need to make it to the conference center undetected. Jump down to the lower area and follow the objective indicators into the third room. There are a lot of patrolling guards in here. Don’t linger too long in front of any of them and quickly move up the stairs, following the blue indicators.
This leads back into another corridor. Move down the corridor and Activate the ID plate.
 OBJECTIVE: Eliminate SDF leadership council by shutting down Life Support.
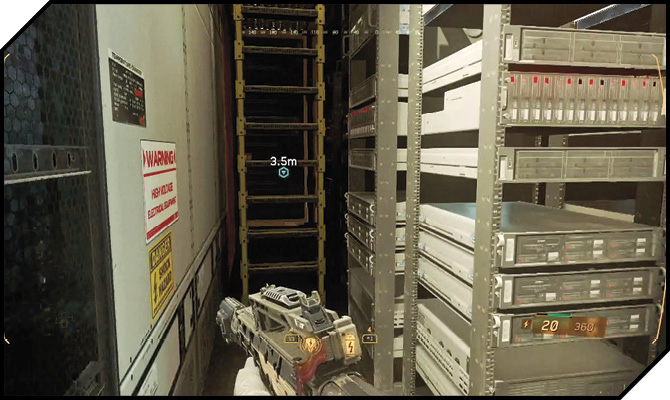
After passing through the security door, you find yourself in a conference area. Move quickly through the area; avoid getting too much attention from the patrolling guard. At the back of the room there is a yellow ladder that leads up to the Life Support access.
Climb the ladder. Look for the hatch that leads into Life Support.
 OBJECTIVE: Escape with Salter.
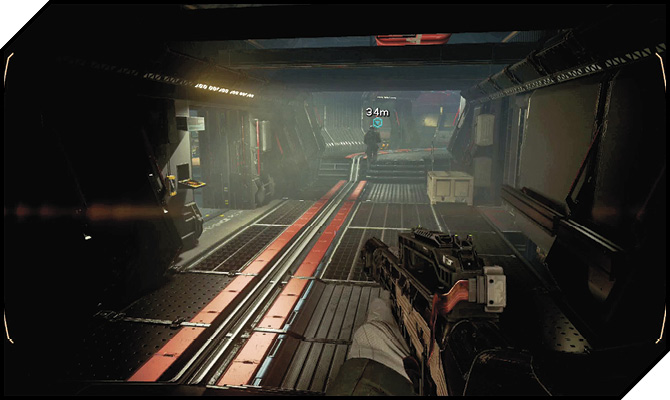
Quickly move down the ladder and back out the way you came. (Take the left path to avoid notice.) The guards all ignore you as the ship’s crew goes into a frenzy. When you get to the vertical room with the stairs, look for an officer. This is another Most Wanted target. Follow him out to the beginning area.
As you rush down the corridor, Reyes will warn Salter of his approach. When the SDF get behind cover, open up with your weapon. The time for stealth is over.
Meet up with Salter. Look for some crates of Seeker-Bots; stock up.
Follow Salter back down the corridor. Use your Seekers to clear the hall. Return to the hall where you met Salter and grab the Frag Grenades there.
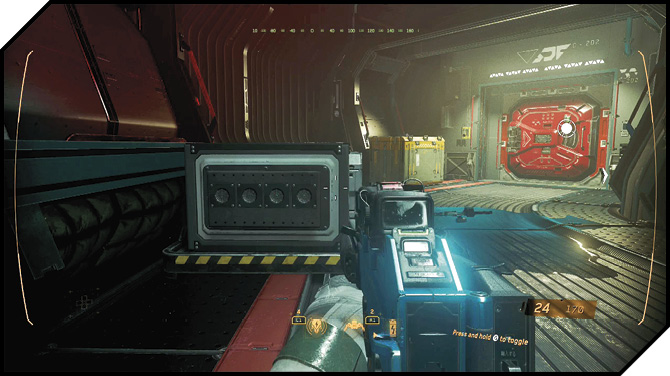
Return to the corridor and avoid the mess hall on the right. Fight your way down through the passage. When you get back into the large room, kill the enemies defending on the right. Then sprint ahead to the red hatch. Open the hatch to effect an escape to Zero-G.
In space, several SDF are waiting for you. Take cover on the hull of the ship and use your grenades to take out the enemies.
 OBJECTIVE: Eliminate the SDF Aces.
Wait a moment, and your Jackal autopilots into the area. Grapple inside. Aces have arrived to the battlefield; time to engage.
There are three Aces here; two of them are Most Wanted. This mission conclusion isn’t as hard as it could be because your squad does an excellent job of running interference with the Skelters for you. You need to prioritize the Aces to complete the mission.
Find them by looking for the yellow hash marks on your radar. Then move in to pursue. If one gets on your tail, evade by immediately reversing direction and opening fire on them.
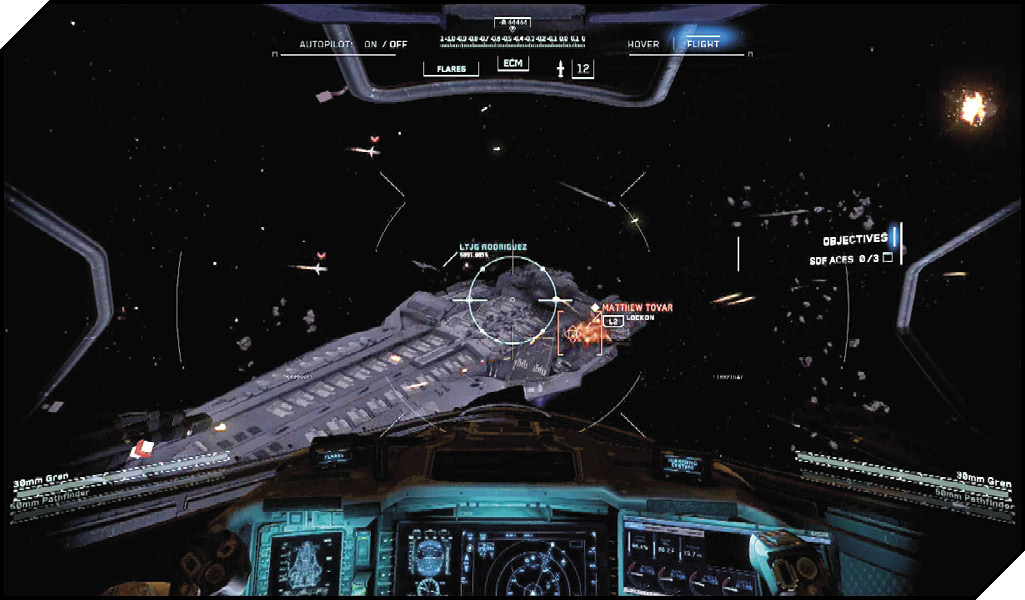
The Aces don’t tend to gang up on you, so you should be able to easily pick them off one by one.
 OBJECTIVE: Return to the Retribution.
When you have killed the last SDF Ace, you are clear to land on the Retribution. No time to waste; line up the drone assist and land on the hangar.