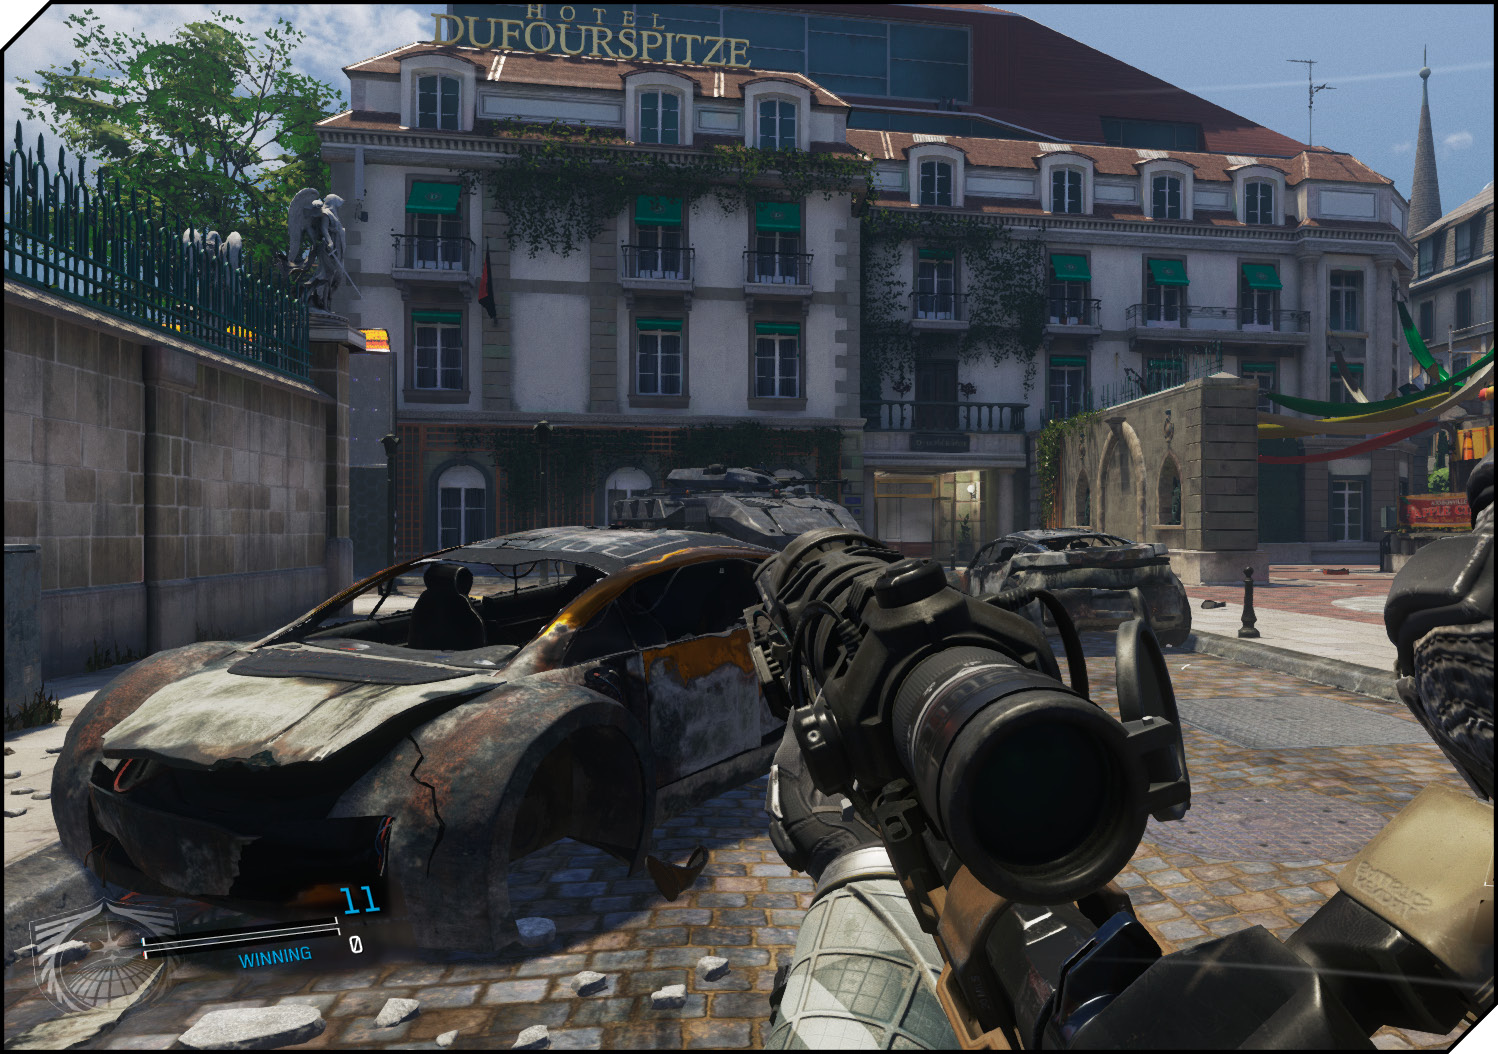
Call of Duty: Infinite Warfare Guide Multiplayer Game Modes
Deathmatch Modes
TDM
Kill players on the opposing team. The first team to reach the score limit wins!
TDM is the most popular, and most straightforward of all game modes. No objectives exist other than killing the enemy team for score.
Despite its simplicity, TDM is actually a surprisingly challenging mode to play well, simply because shifting respawns can get you in trouble easily. If your team pushes into an enemy spawn area (and this is going to happen), the enemy team’s entire spawn is likely to shift elsewhere on the map.
If you’re separated from your team when this happens, it isn’t uncommon to be blitzed by half the enemy team, sometimes from your flank or rear.
Informational loadouts and gear are highly valuable in this mode, as are stealth setups. The former allows you to keep tabs on enemy positions, and the latter lets you ambush the enemy team.
Situational awareness is vital in TDM. You need to pay careful attention to where your teammates are, and where the enemy team is likely to be respawning. If you can keep a handle on spawns, you can do quite well roaming and slaying as players shift and move around the map.
Kill Confirmed
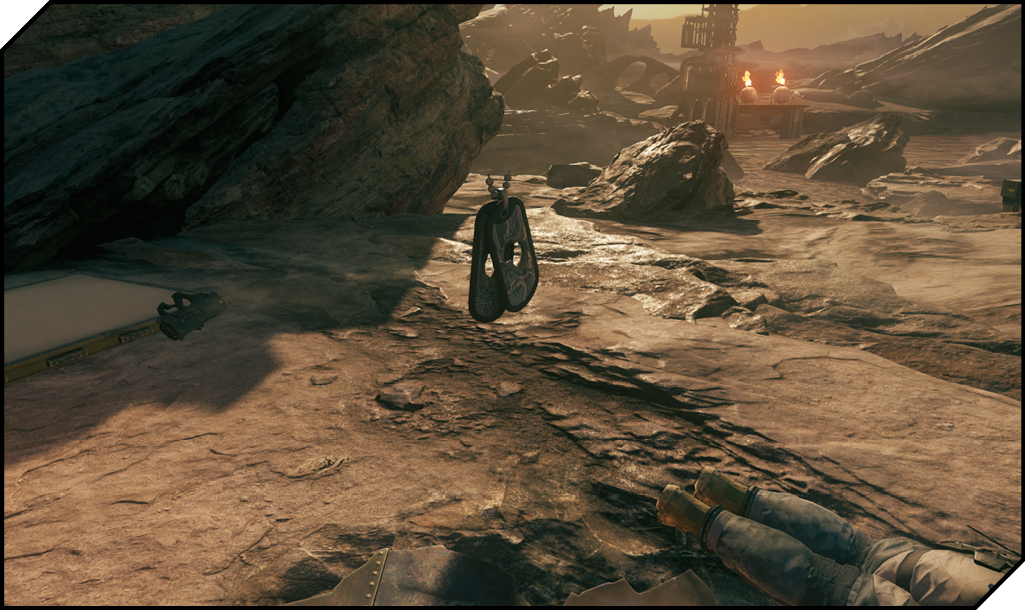
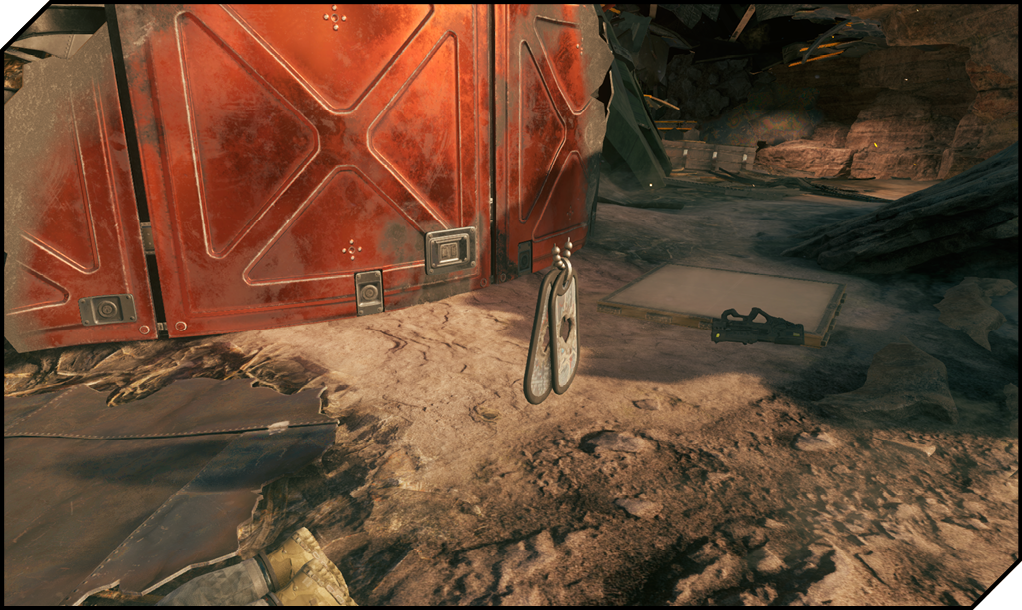
Recover dog tags to score for your team and deny enemy scores.
A spin on TDM, KC adds a basic objective in the form of dog tags dropped by enemy players. To earn full credit for a kill, you or a teammate must pick up the dropped tag.
As a result, KC heavily favors aggressive CQC builds that can get into an enemy’s face, down them, and pick up the tag quickly.
Long-range builds tend to have a hard time excelling in this mode, as enemies downed at long range often leave tags that are easily recovered by their teammates.
It is very possible to use tags as bait, killing an enemy in the open and then waiting nearby to take down their teammates as they are looking for the tag recovery.
Just be careful this doesn’t backfire on you. Everyone playing KC knows this trick, and a tag sitting in the open that’s a bit too obvious is likely to make enemies more alert than they would be otherwise.
FFA
Kill everyone. The first player to reach the score limit ends the game. The top three players win.
Free-for-all is pure combat: you against everyone else, with no objectives to worry about and no teammates to back you up.
Stealth setups and suppressed weapons are highly recommended, because the instant you fire an unsuppressed weapon, every nearby enemy is going to converge on your position.
This even applies if you kill an enemy who managed to fire their unsuppressed weapon before you finished the kill, so be sure to move on quickly if that happens.
Handling spawns in FFA requires practice. The easiest way to go on long sprees in FFA is to pick one defensible area on the outer edge of a map and roam back and forth, picking off players as they respawn nearby.
Another method is to roam around the outside of the map, constantly staying mobile so that spawns behind you are less likely to catch up and ambush you.
Roaming freely and moving through the center of the map is usually a very bad idea, because players respawn constantly in different places around the map, and if you aren’t certain where nearby players are spawning, you’re at significant risk of being shot from the side or rear.