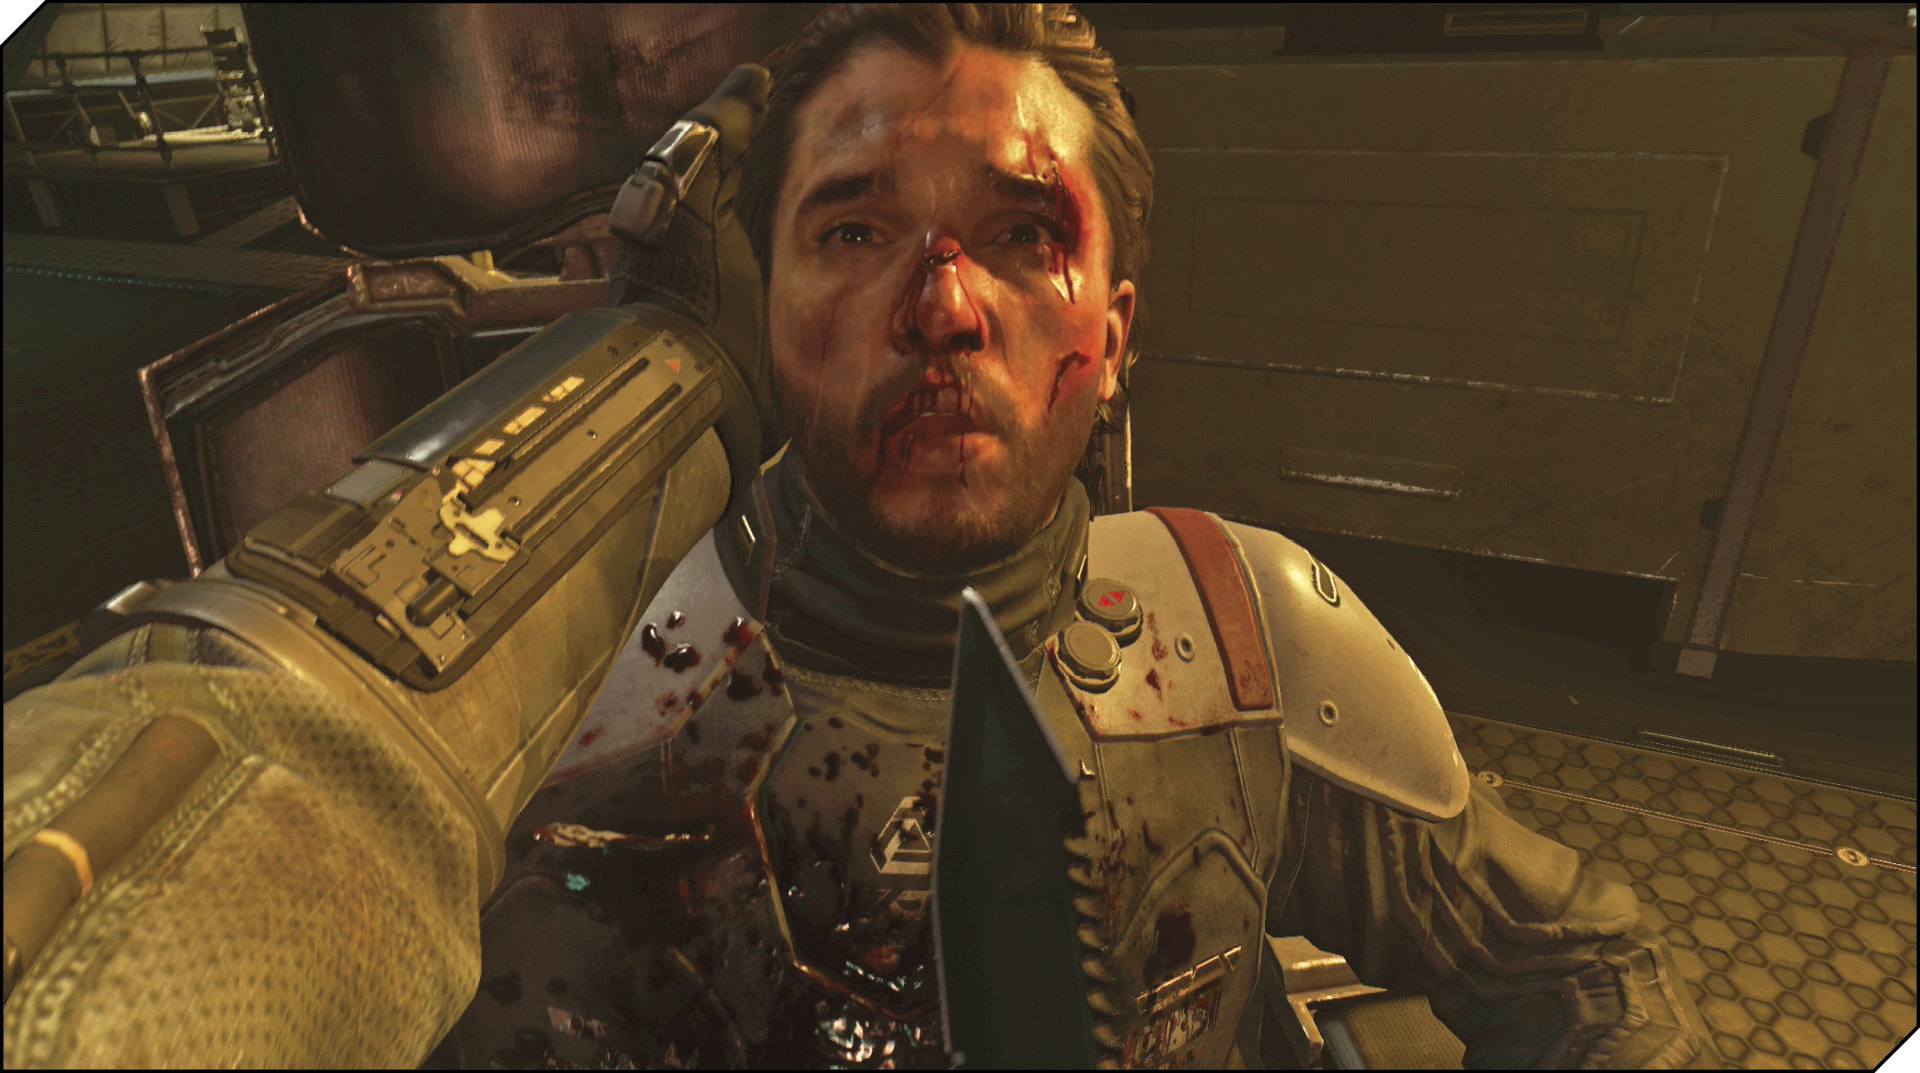
Call of Duty: Infinite Warfare Guide Single-Player Campaign Walkthrough
Operation Black Flag
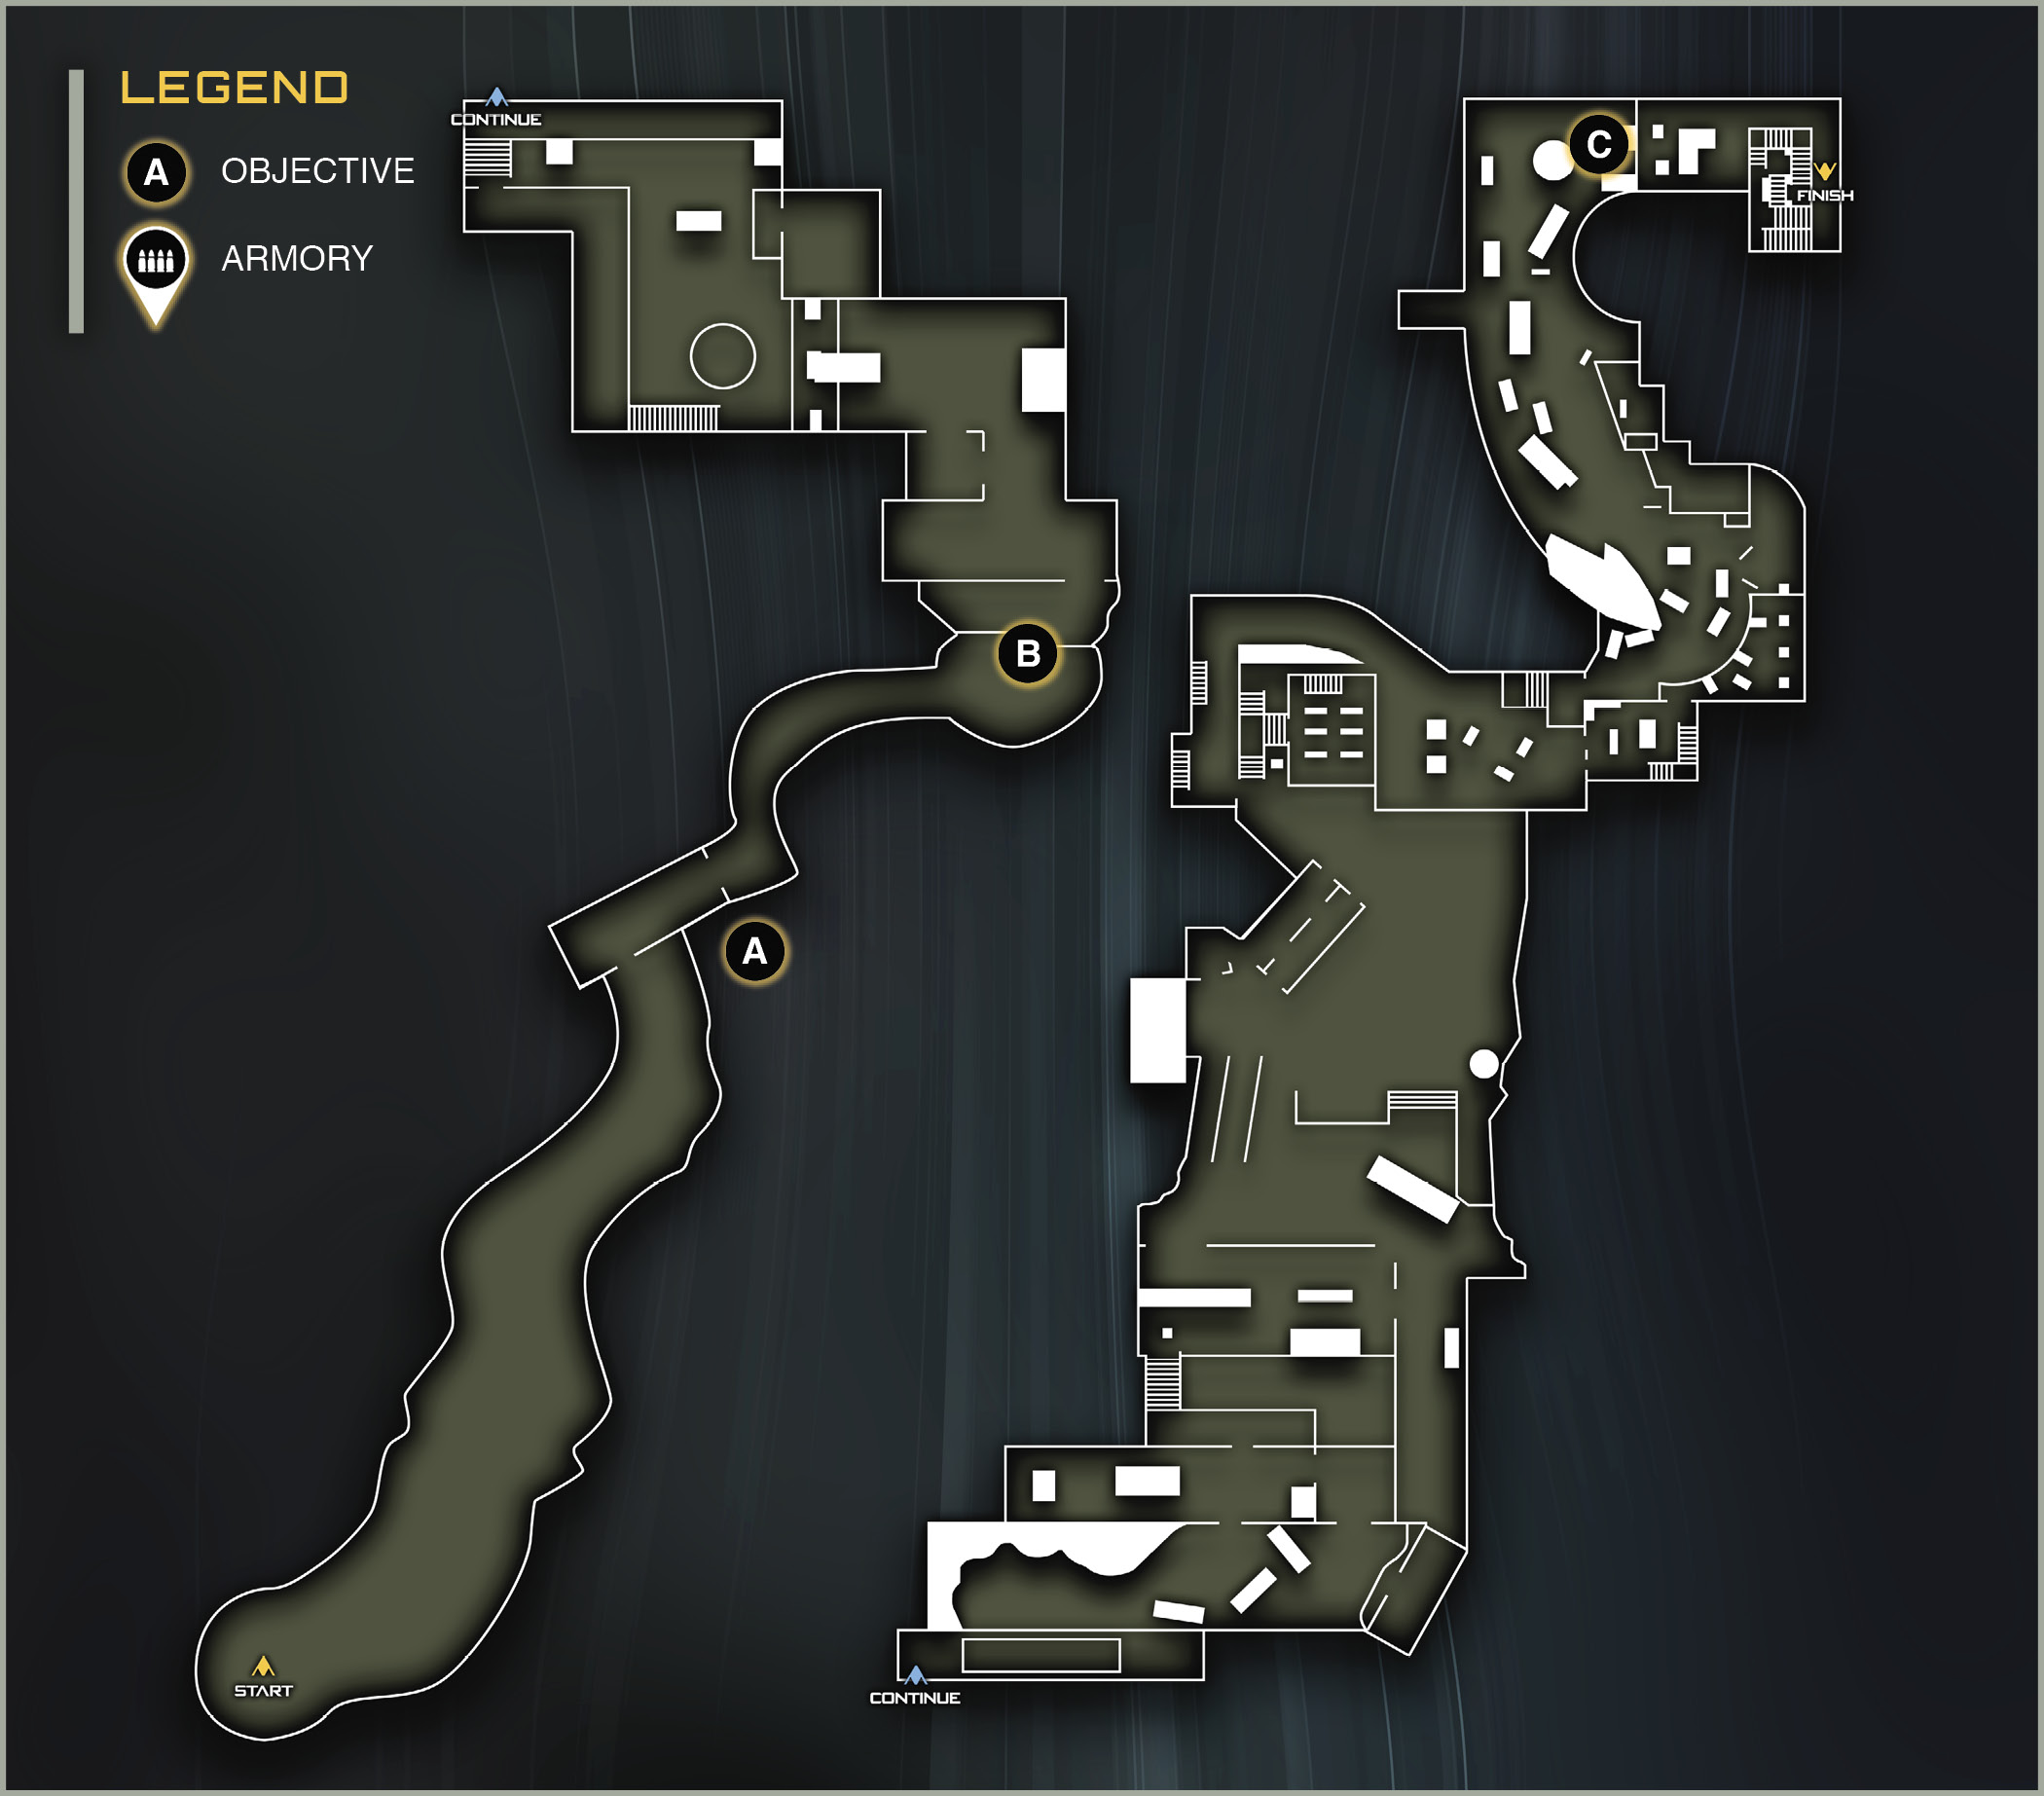
Location: Earth
Target: Olympus Mons
Mission Summary: Ambush SetDef fleet in Earth’s atmosphere.
Mission Description: Prisoner Riah is being escorted to Geneva. You will extract his signaling device to fool the SDF fleet into thinking the UNSA is unprepared for an invasion.
Unlockable Perk: Agility
Team: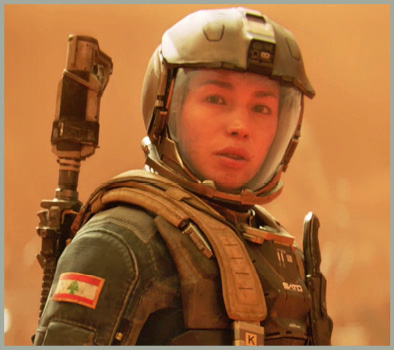 LT Nora Salter SCAR Ground Support 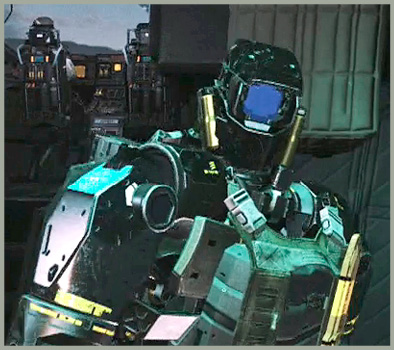 PO1 E3N (Ethan) SCAR Ground and Flight Support |
GRIFF’S RECOMMENDED LOADOUT:Weaponry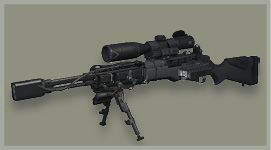 Primary: EBR-800 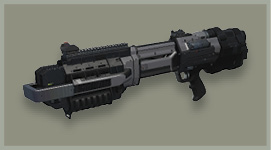 Secondary: Banshee Tactical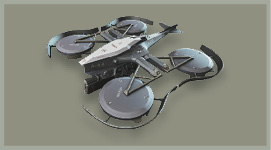 ATAD 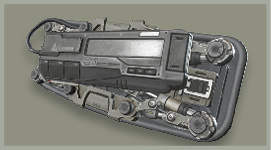 Retractable Shield Lethal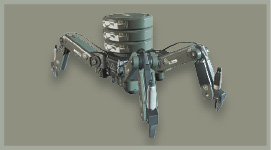 Seeker-Bot 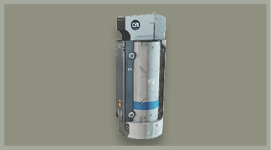 Anti-Gravity Grenade |
You’ll be fighting alongside Ethan again, and Salter will be flying the transport. Enter the transport and Activate the spot at the front of the ship.
Prisoner Escort
Unfortunately, things with the convoy aren’t going well, and it’s up to the SCARs to get your prisoner back before he can warn the SDF.
 OBJECTIVE: Find the crashed UNSA transport.
Ethan uses his advanced navigation systems to locate the truck. Follow him out the back of the transport and through the bridge wreckage.
In the middle of the debris is the crashed transport. Activate the door, and you’ll find Major Auguste inside.
 OBJECTIVE: Stop Riah from calling in the SDF fleet.
Riah has escaped, and you need to get him before he can remove his transponder.
This first half of the mission is a chase. Luckily, Riah won’t get away if you take too long to catch him. The enemies on this level are well armed and armored, so take your time as you move through each section, making sure the area is clear before proceeding.
If you followed Griff’s outfitting advice, you should have both a sniper rifle and a shotgun. Both will be required, depending on what section of the level you are on. We’ll refer to both throughout this chapter, assuming you have one or the other available. If you missed grabbing a sniper or scoped assault rifle, there is a longbow to find about halfway through the mission.
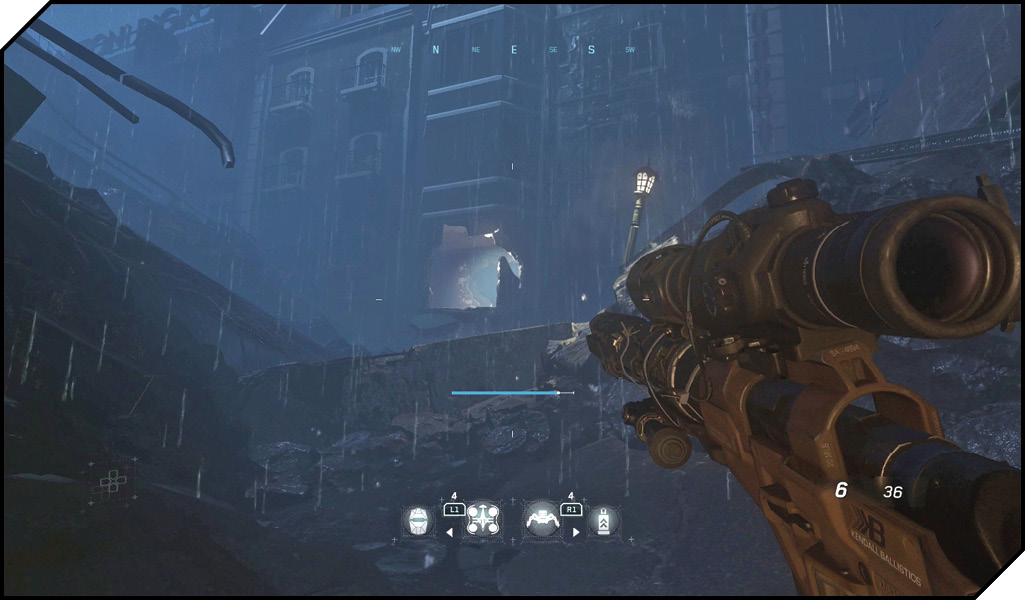
Move down the tunnel until you slide to the bottom. Double-jump up to the road above. You can catch of glimpse of Riah in an opening above. Have your sniper ready and down the soldier that pops up in the doorway.
There’s a trap in the alley on the other side of that doorway. Jump down and take cover. The enemies deploy an Anti-Gravity Grenade. There is one soldier below, and one on a railing above. It may be hard to get a visual on them, so use the scanner pulse on your shield to more easily pinpoint their locations.
This is a good spot for a Seeker-Bot. Deploy one after the Zero-G effect goes away, and it will take care of the bottom soldier.
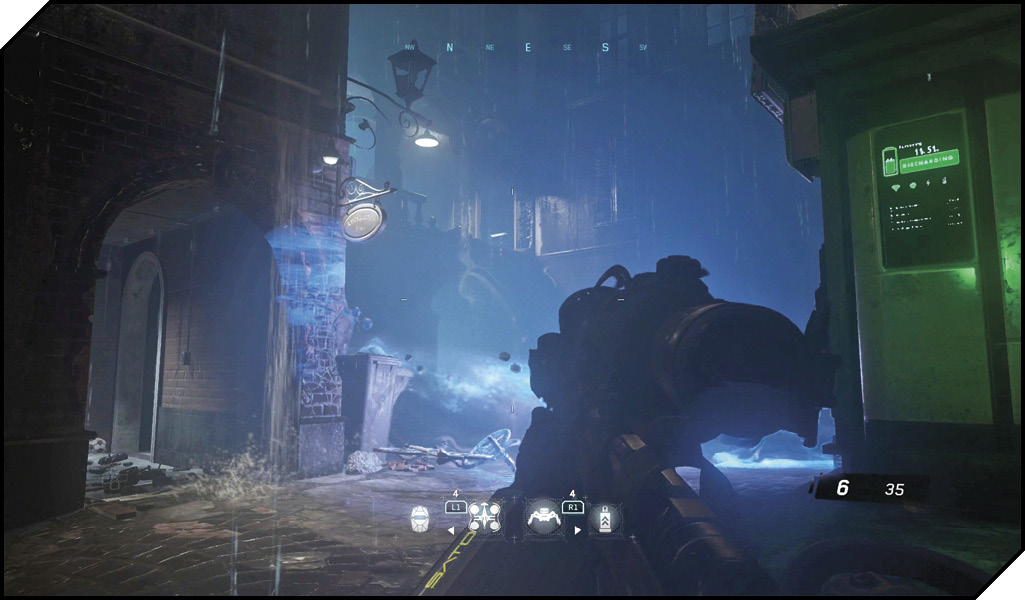
Three more SDF are in the next area, and immediately engage you as you approach. There are two on the left and right sides of the second floor structure, and one down on the street.
You’ll see Riah make a jump through to another building on the second floor. Climb up there with a double-jump. There are more enemies defending him on the lower level. Use your sniper rifle to creep around the corner and headshot them.
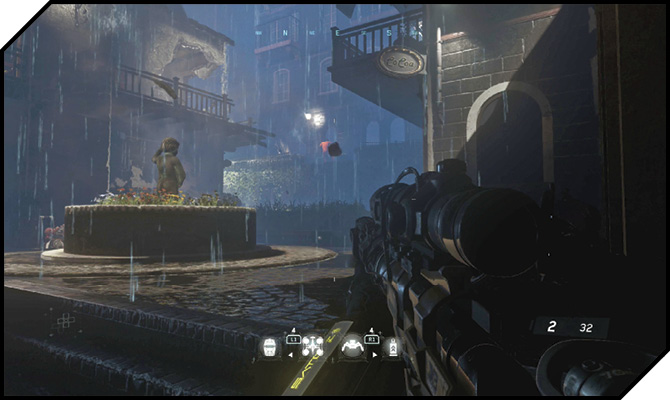
As you emerge back onto the street, a destroyed building shifts its weight above you. When you see this, immediately sprint directly ahead to the rubble. You’ll need this for cover. There is an SDF sniper on the second floor building at the back of this area, and another in the middle of the street. After you’ve taken those two guys down, the area isn’t completely clear. There is a C8 drone hiding behind a car on your left. He uses Anti-Grav grenades as you approach. Use a Seeker-Bot to flush him out.
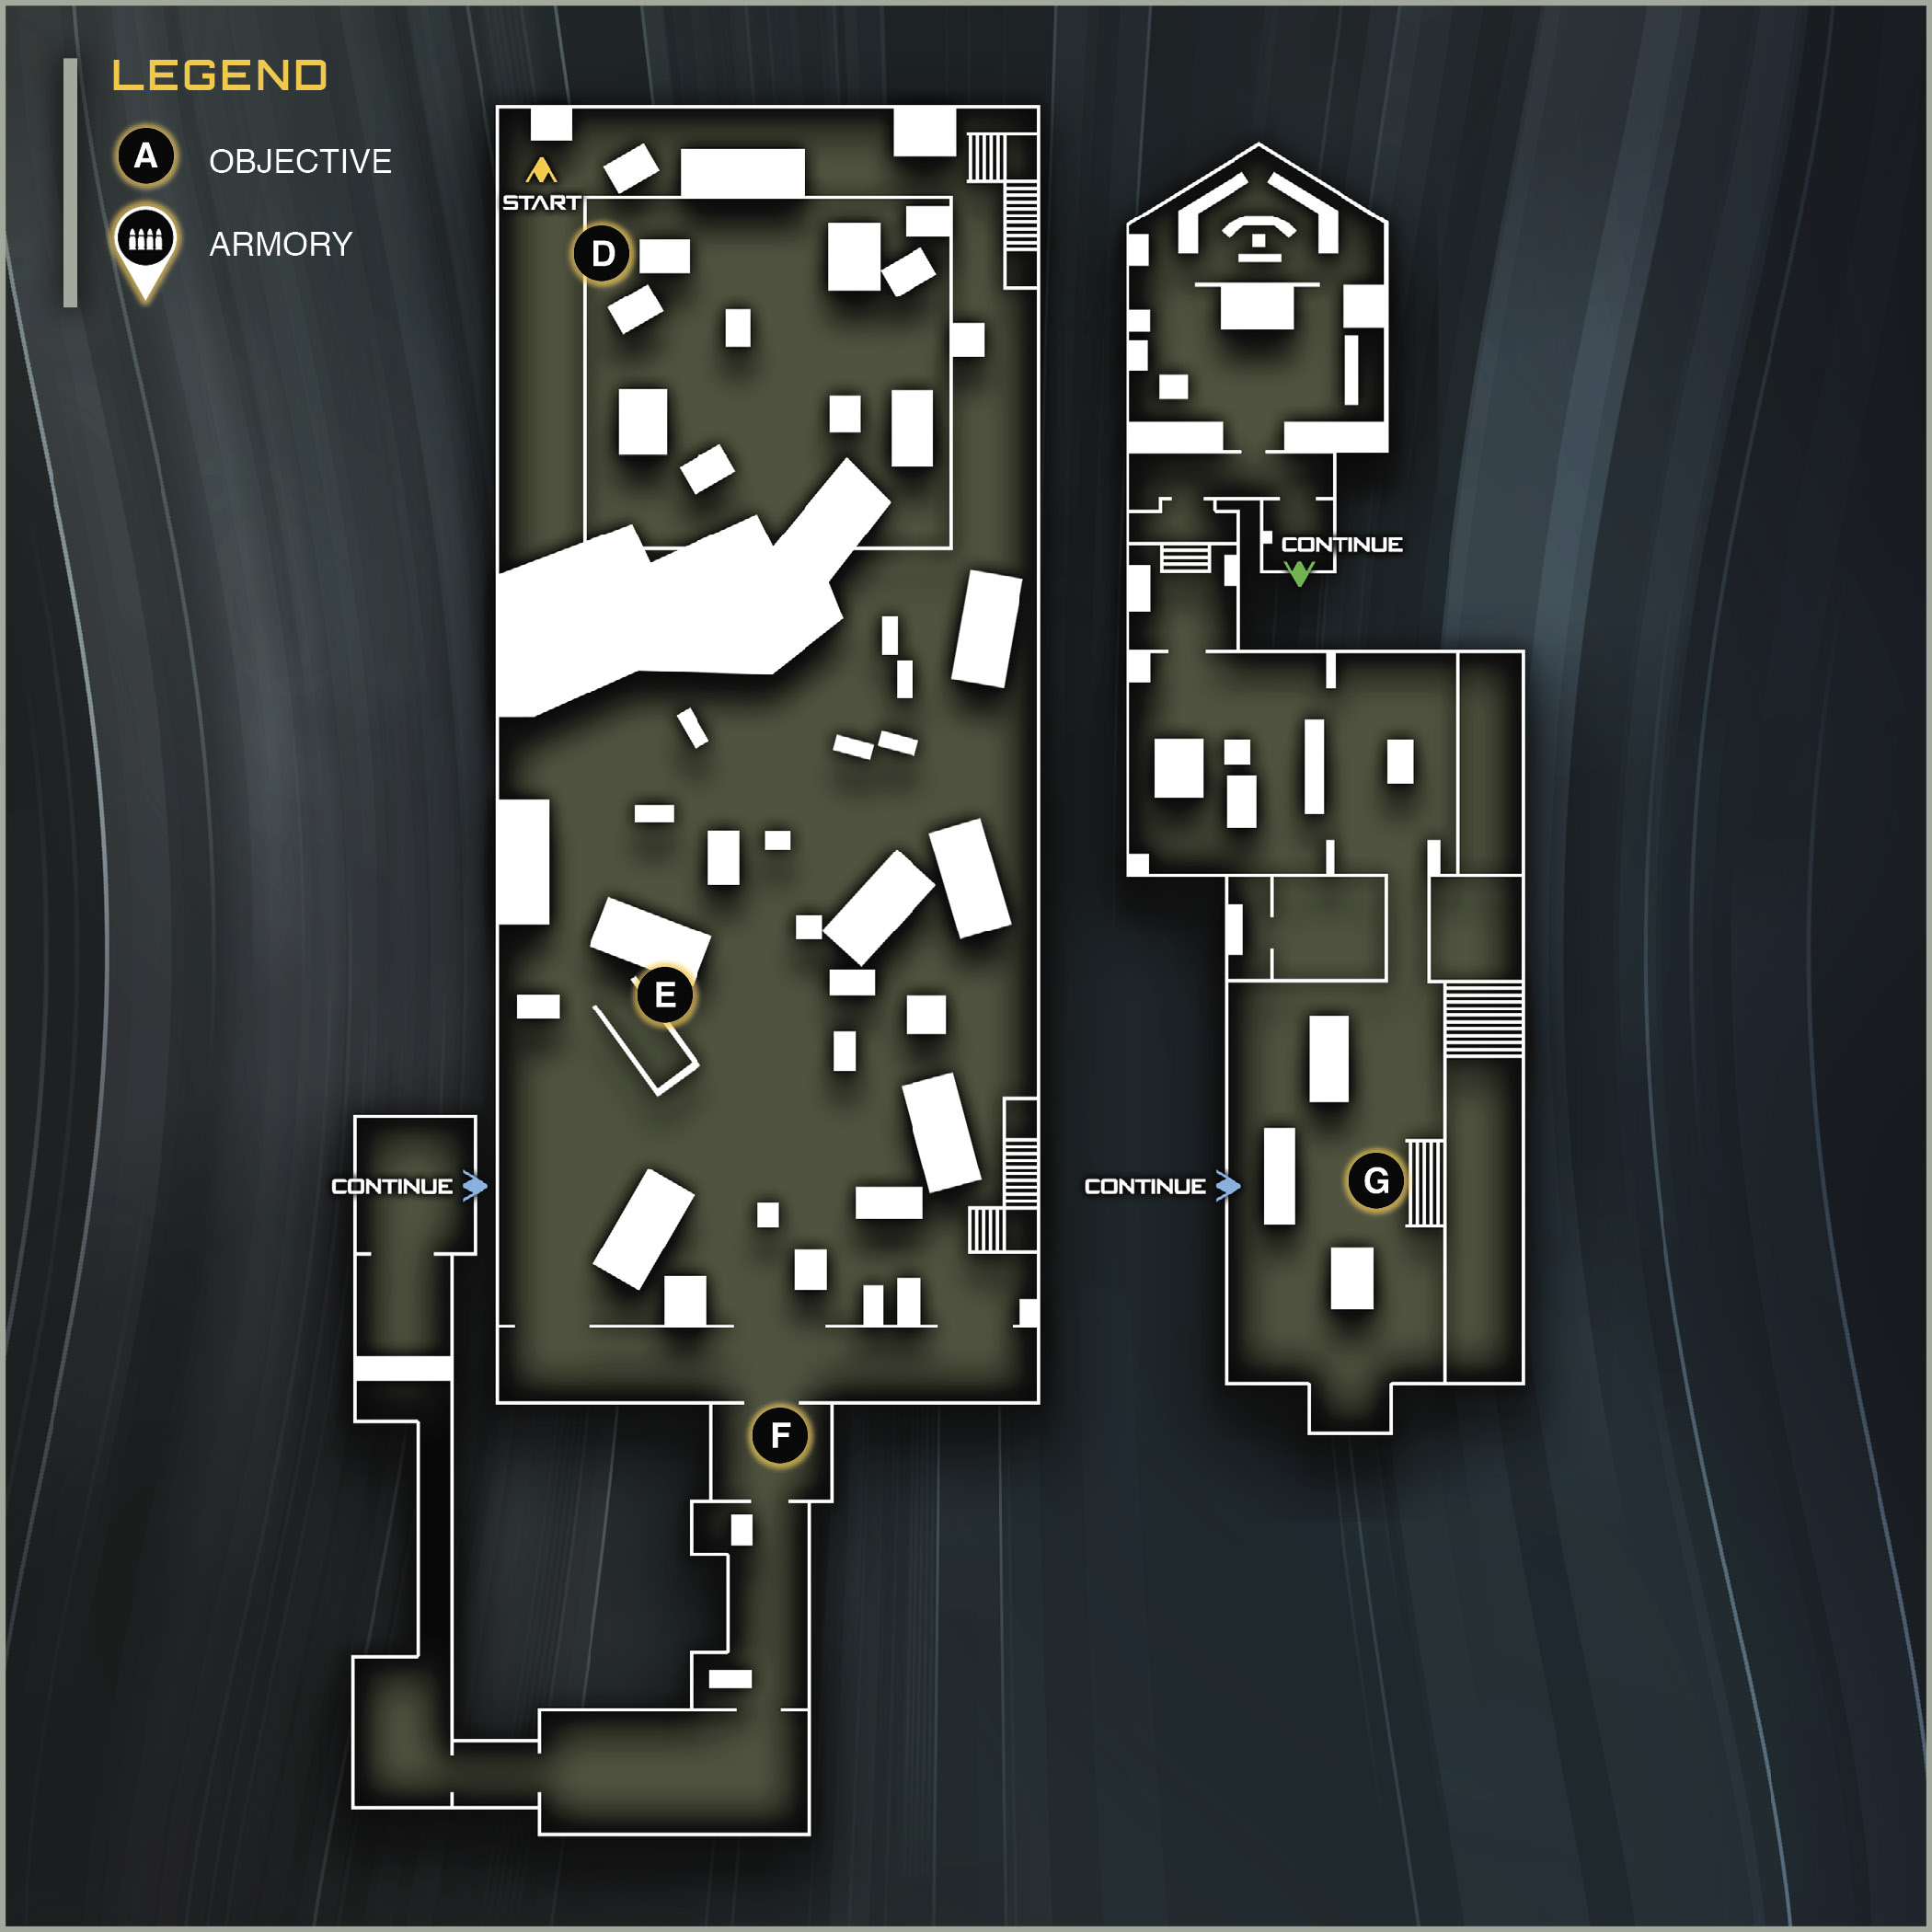
Once the area is clear, jump up to the brightly lit door where the sniper had perched. The armory for this mission is inside. There’s an array of weapons for all ranges of engagement and an equipment upgrade terminal inside.
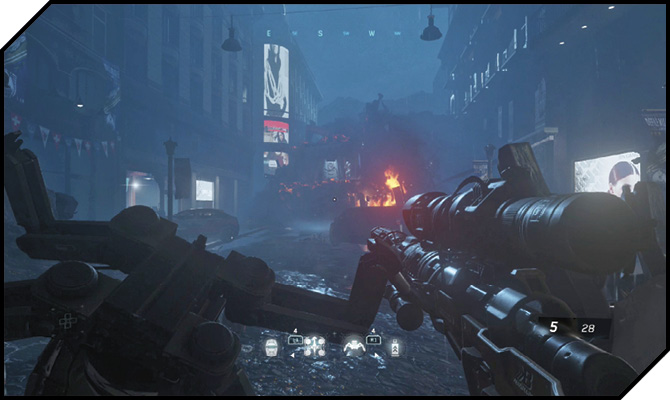
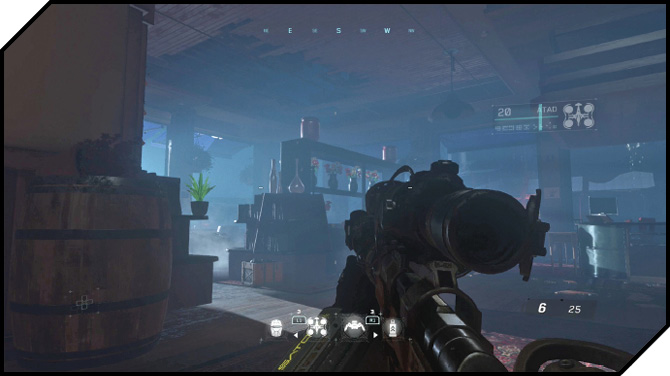
Behind the robot is a bike shop. There may be a civilian in here, so be careful not to shoot her. Walk up to the door and Activate it to peek inside. Riah pushes a guard toward you; shoot the guard and kick the door.
Another guard waits for you at the top of the stairs here. Kill him and walk up the stairs. Riah has a trap ready for you; a convoy arrives and fills the shop with machine gun fire.
There are a lot of enemies here, so hang back and use all your Seeker-Bots to thin out the enemy. Don’t worry, there’s a Frag Grenade box in this room. On the other side of the room is a shield; this is a great thing to have for this level, as it will help you locate enemies.
As you work through this ambush, be aware that this enemy group has a second layer of support in the buildings behind the street. Shoot the bright light to make it easier to find enemies.
When the area is generally clear, try to make your way into the destroyed building on your left. There are many enemies inside, which you need to engage at close range, so a shotgun is recommended.
The enemy movements and positions change playthrough-to-playthrough so we can’t give too much specific advice on how to get through this section. We recommend keeping your shotgun ready, and firing on anything that moves as you clear room-to-room.
Move up the double stairs on the left of the destroyed building, and then proceed to the back of the second floor of the building. Use your shield to uncover enemies hiding in doorways and behind debris. You may need to switch back to your sniper rifle if you find an enemy with a shield that is out of range of your shotgun.
When you get to the back of the second floor of the destroyed building, you find yourself in a futuristic apartment. There are plenty of enemy reinforcements around the next corner, so advance carefully. There are more Lethal Grenades ahead, so feel free to use any you have remaining to weaken the reinforcements.
Keep a look out for an ammo supply crate outside the coffee shop. Directly across from the coffee shop, you can replenish your Seeker-Bots with a crate on the second floor.
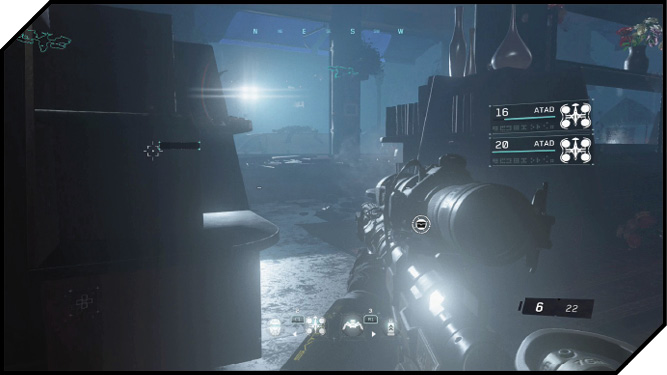
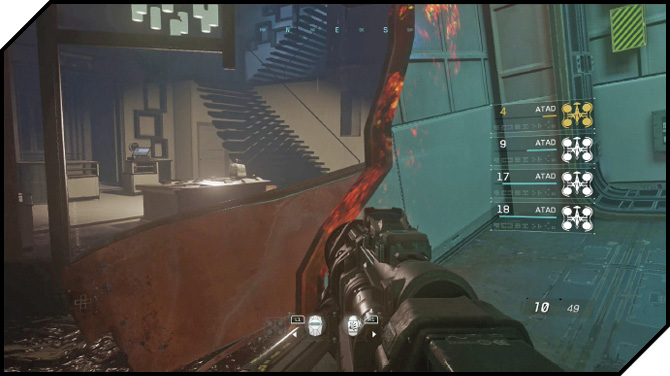
When ready to move on, proceed to the second floor of the coffee shop. Up here, you can find a Longbow Sniper Rifle. This is a very powerful gun, so add it to your collection. Once you’ve equipped it, a second huge defense arrives to assist Riah’s escape. Use the sniper to pick off the rocket launcher soldier to the right, then the two snipers in the windows directly across.
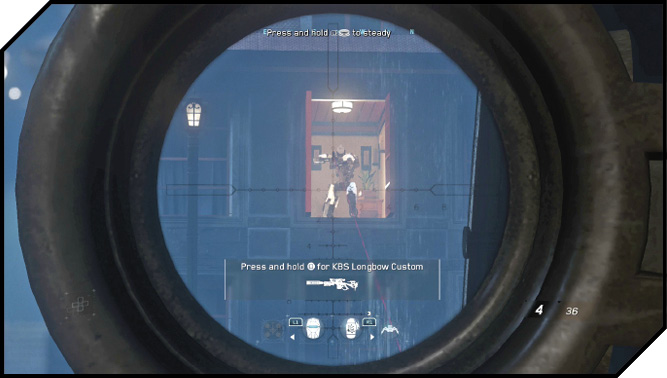
Continue firing with the Longbow to kill the remaining enemies. If any are stuck in cover, use a Seeker-Bot to flush them out.
Run to the gift shop where the snipers were positioned. Switch back to the shotgun and clear out the enemy that tries to jump you inside.
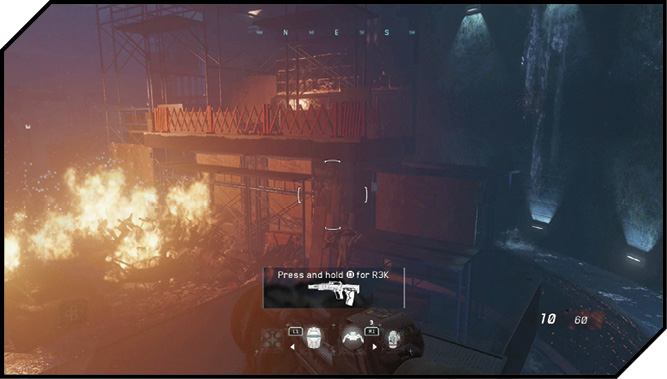
The gift shop exits back out to the side of a cathedral. Stay inside, and use your Longbow to pick off the two rocket launcher soldiers on the scaffolding and any other enemies you can spot with your Shield.
There are more enemies in the area below. Toss a Seeker-Bot down there, then pick them off with the Longbow while they scramble.
Just outside, you can grab a rocket launcher leaning on piece of plywood. The rocket launcher isn’t a good fit for this level, so you might as well leave it behind. As you loop around to the scaffolding, use the Ammo box to refill your shotgun and sniper rifle.
Double-jump up the scaffolding and walk towards the street on the other side of the large fire. Don’t jump down just yet. If you look through the scaffolding, you can see the enemies approaching on the other side. The scaffolding provides excellent cover, and you can pick the enemies off from safety up here.
When the street is clear, walk up past the cathedral. Watch out for an enemy at the fountain ahead.
 OBJECTIVE: Climb the Annex to capture Riah.
The cathedral is the Annex, and Riah has escaped inside. Double-jump up to the second floor window in the side. Switch to your shotgun, and jump to the ledge. There are several enemies below. Drop a grenade, and unload your shotgun to clear the room.
Drop into the room and follow the back corridor around. Be ready for two more enemies—easily dispatched with the shotgun. One more SDF guards the stairs on the right. Climb to the second floor, but approach the staircase here carefully. Enemies will toss primed Frag Grenades down the stairs, so approach with extreme caution. (Your shield is handy here.)
On the third floor, watch the bookcase at the back of the room. Have your shotgun ready as you approach. Shoot the bot that blasts the bookcase open. Watch out; he has backup in the secret study.
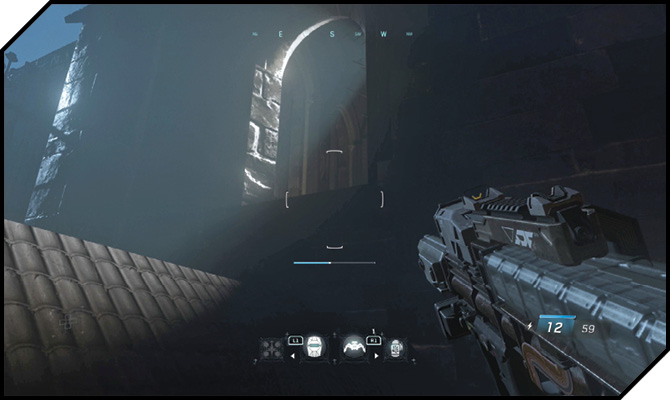
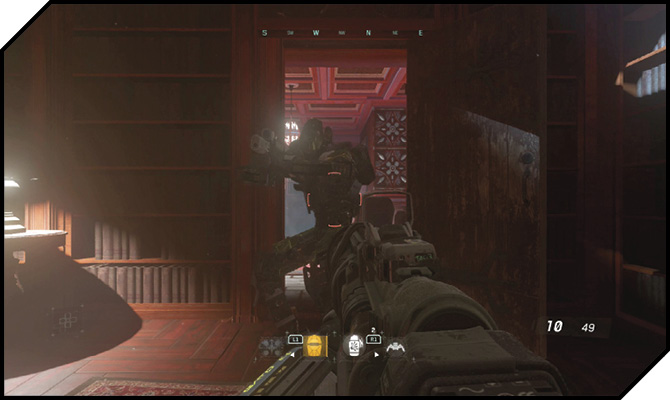
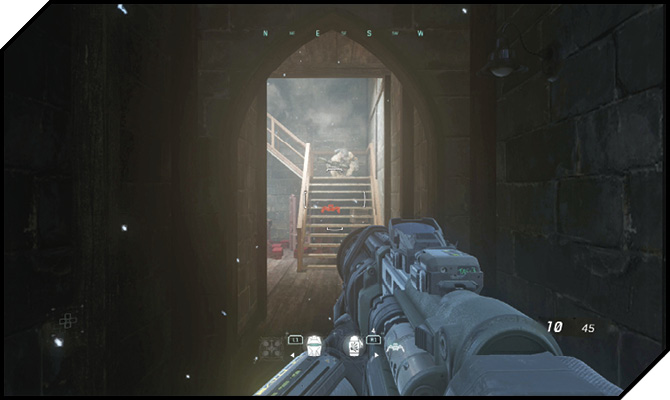
At the back of the secret study is a spiral staircase. Climb it. At the top, there is a rocket launcher enemy. He’s easily killed with the shotgun, but watch out for a crawling Seeker-Bot. Shoot it with the shotgun before it gets to you.
A guard attempts to stop you by knocking a ladder down. Kill him from below, and then double-jump up to his position. Immediately take cover behind the wooden crate on the left. There are two enemies you can kill with the shotgun, but the LMG guy has good cover. Use a Seeker-Bot if you have it, or switch to the sniper rifle and creep out to shoot him between LMG bursts.
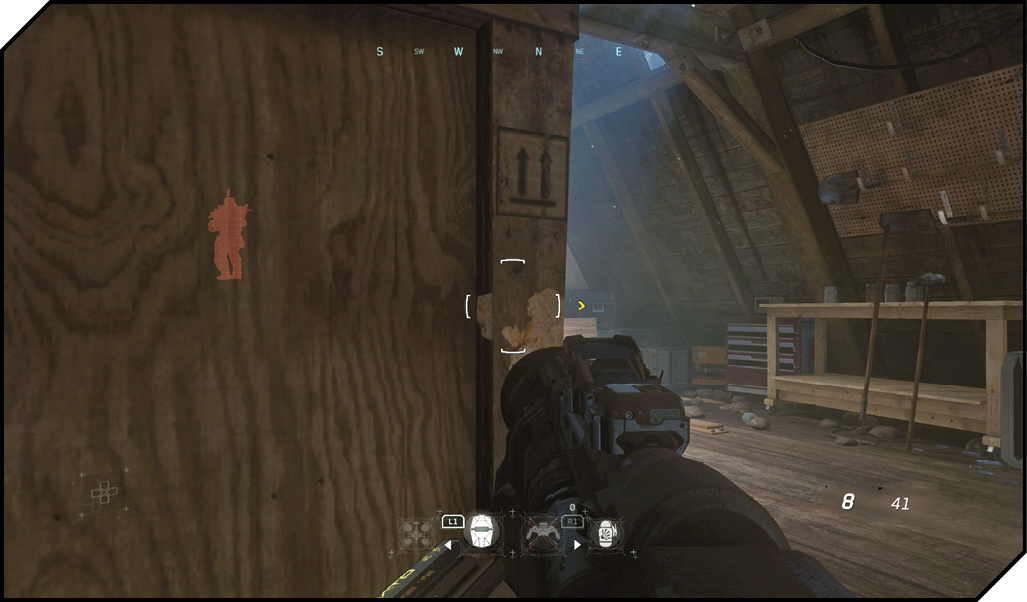
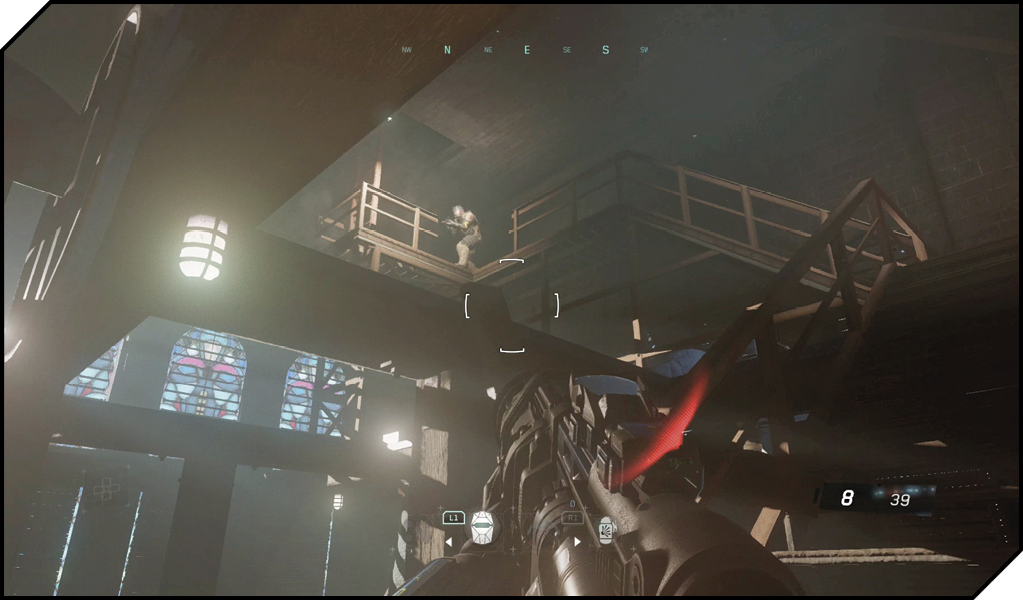
There are three more guards in the bell tower. This is the last bit of this section of the level, so if you have any Lethals or Tacticals to use, do so. Charge up the wooden stairs and exit the trapdoor at the top.
Trap is Sprung
After the cinematic, jump into your Jackal. Charge your Afterburners and take off to the Mons.
Unfortunately, you don’t get too far before the Jackal takes critical damage. Hit the Activate button to eject, and then boost to make the landing.
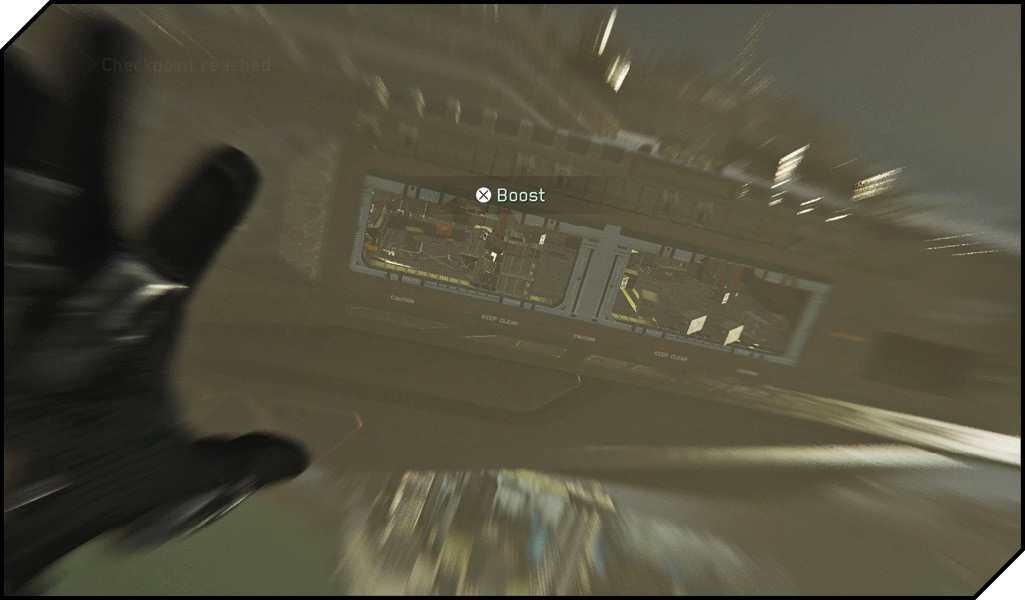
 OBJECTIVE: Secure the hangar of the Olympus Mons.
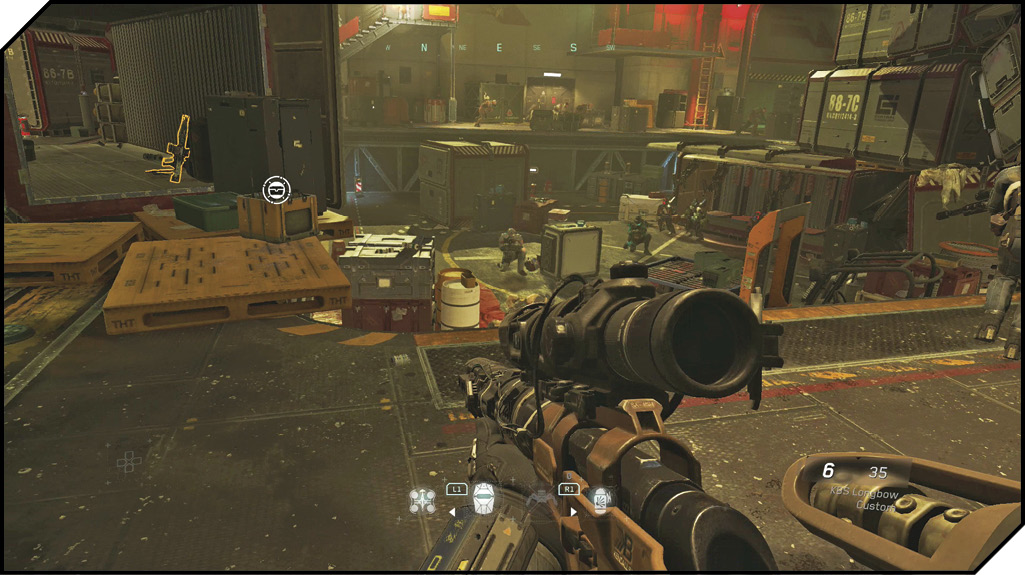
With Salter and the rest of your team on the deck, you need to make it to the ship’s bridge to cut out the heart of the SDF fleet.
You probably still have the weapons from the previous mission in your inventory. The shotgun is much less useful on this mission, but you are welcome to keep it. Take cover, and look into the first open crate for a Titan LMG.
The Titan is an excellent weapon for most of this level, but ammo is limited, so keep an eye out for crates as you advance. There’s also a crate of Frag Grenades near the Titan. Refill with those and toss them down into the SetDef attacking from the lower area.
Now, kill the near enemies fighting from the other side of the open crate. Peek out of the crate and pick off the soldiers who are attacking from the upper stairs in the large room. Sneak around the left side and look for a crate of Hacking Devices. These will make neutralizing the defending forces here much easier.
Carefully peek around the corner of the crates here. You should have a good flanking position on the defending enemies. Freely use your Frags here to flush out enemies, using the crates for cover.
Move around the upper area, using crates for cover. This will push the enemy back as your team advances. Look for an ammo crate on your left, and a crate of Seekers on the top of another directly ahead.
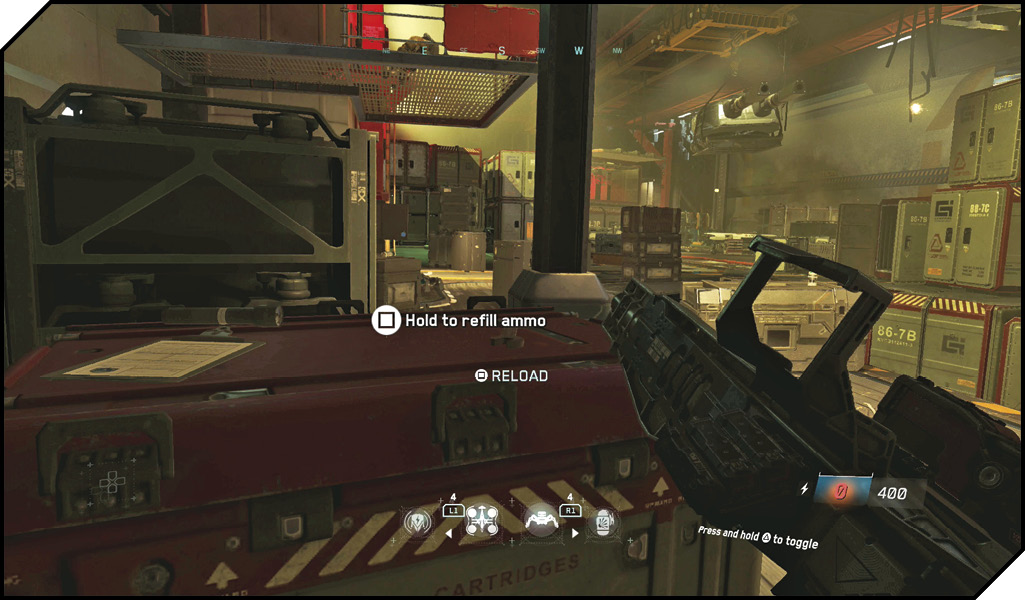
Near where you grab the Seekers, an elevator ascends. There’s a bot on the elevator here. Return to cover and hack the bot. Kill all the visible enemies before self-destructing the bot.
Stay in cover and advance through the large room. When you take a few more steps forward, a crate ejects several bots. Stay in cover and hack one of the bots. Use it to clear out this new wave of enemies.
When you walk to the back half of this hangar, several SetDef troopers arrive to attack your squad. Stay in cover and use your Seekers and your LMG to wipe them out. Watch out; a C12 arrives when you get too close to the rear elevator!
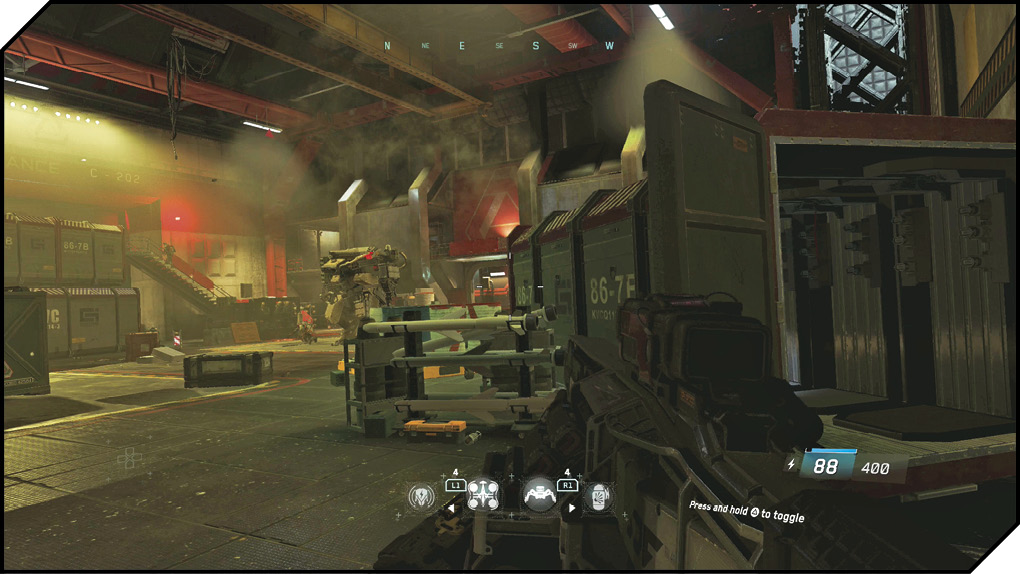
 OBJECTIVE: Take out the C12 guarding the elevator.
To kill the C12, you need to get a rocket launcher. There are several in the area, mostly located inside crates. It’s very important that you make the most of the ammo you find because several of the ammo refills are located on the other side of the C12, and will require daring sprints between cover to reach.
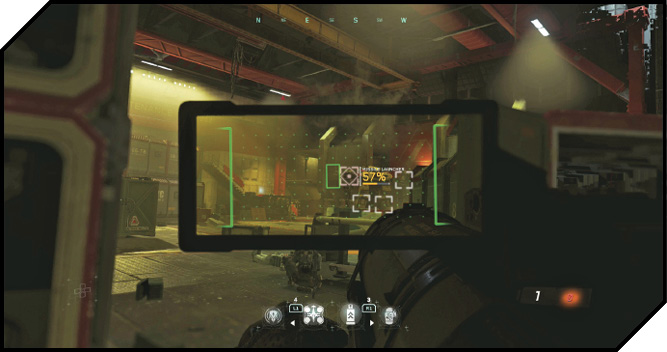
Look for the missile icons to locate the rocket launcher positions. The easiest one to initially secure is inside a one-sided crate to the right of the area. As soon as you grab this launcher, the C12 blows up the crate, so grab it and sprint back to safety.
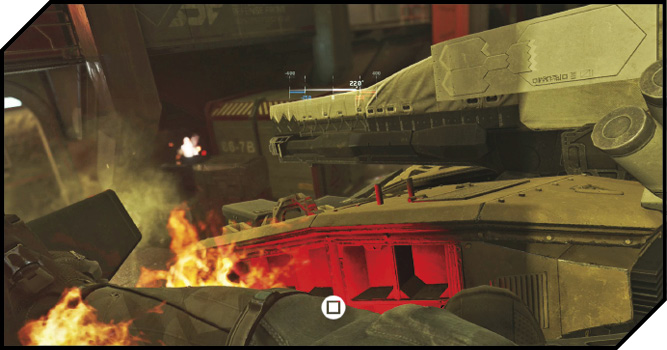
This isn’t your first C12 rodeo, so you know what you need to do. Each launcher only has two missiles, so you need to hit both on one arm to weaken it so you can jump on the back of the mech. If you miss, you will need to sprint to one of the other launcher locations for more ammunition.
As soon as one arm of the C12 is down, sprint forward and jump on its back. You can’t die as long as you are in the Quick Time Event to destroy the mech.
With the mech down, take your time exploring the area to switch your rocket launcher for a more useful weapon. (Retrieving your shotgun or LMG is ideal.) There is also a ton of Lethal and Tactical grenade boxes in the area. We recommend you take Seekers and Hacking Devices. Don’t forget about the ammo crate you passed while fighting your way into the hangar.
 OBJECTIVE: Get on the elevator.
When you are restocked and ready to go, follow your squad to the elevator. Kotch has a special message for you on the elevator ride. The clock is ticking; you must get to the bridge before the Mons can turn its guns on Geneva.
 OBJECTIVE: Get to the bridge of the Olympus Mons.
The enemy is fleeing to better defensive positions. Pick them off as they run and follow the airlock corridor to the right.
When Kashima grabs you, use the Jump button to boost back up to safety. Ahead, you must wall run to make the jump. Jump toward the right wall and use a healthy boost before you
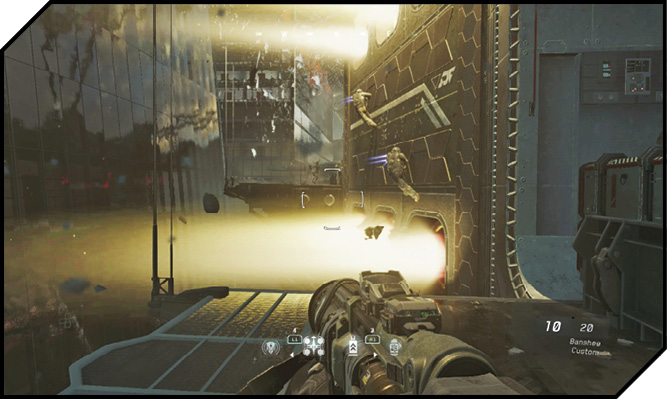
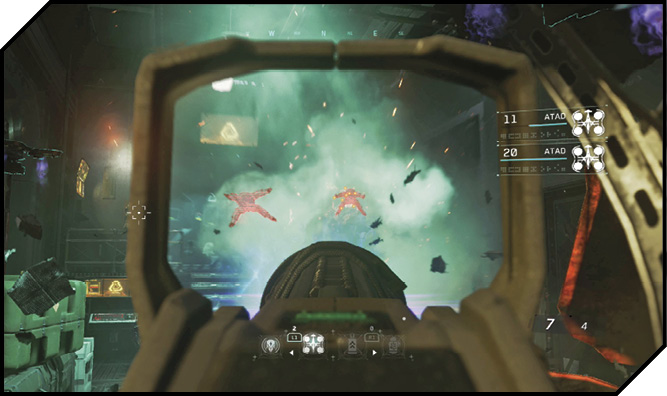
SetDef is defending the bridge. Luckily, there are drones among their numbers. Use a Hacking Device from behind cover to capture one of the drones and clear out the enemies in this initial area. Once they are dead, run with the drone around the corner to find several more enemies defending the area. Use the bot’s self-destruct to clear the room for your squad’s advance.
Ethan marks a spot for your breach charge. Before planting the charge, switch to a short-range weapon and reload. When you open the doors, several Seekers fly at you. Pick off as many as you can to avoid getting grappled. If two of them manage to grapple you, it’s instant death. attach to the wall to get as high above the flames as you can.
 OBJECTIVE: Hack a robot on the bridge.
You now need to hack a drone through the bridge door. There are plenty of extra Hacking Devices in this room, in case you are out. Hack one of the robots.
 OBJECTIVE: Stop Admiral Salen Kotch before he self-destructs the Olympus Mons.
Kill the enemy with his back to you, and then immediately proceed to the main bridge. You will see Kotch standing at the helm. Use a melee attack on him to knock him out.
Charge through the door to take control of the Mons.
 OBJECTIVE: Go to Admiral Kotch.
Press the Melee button on Kotch to complete the level.