Call of Duty: Infinite Warfare Guide Call of Duty 4: Modern Warfare Multiplayer Map Tactics
Bog
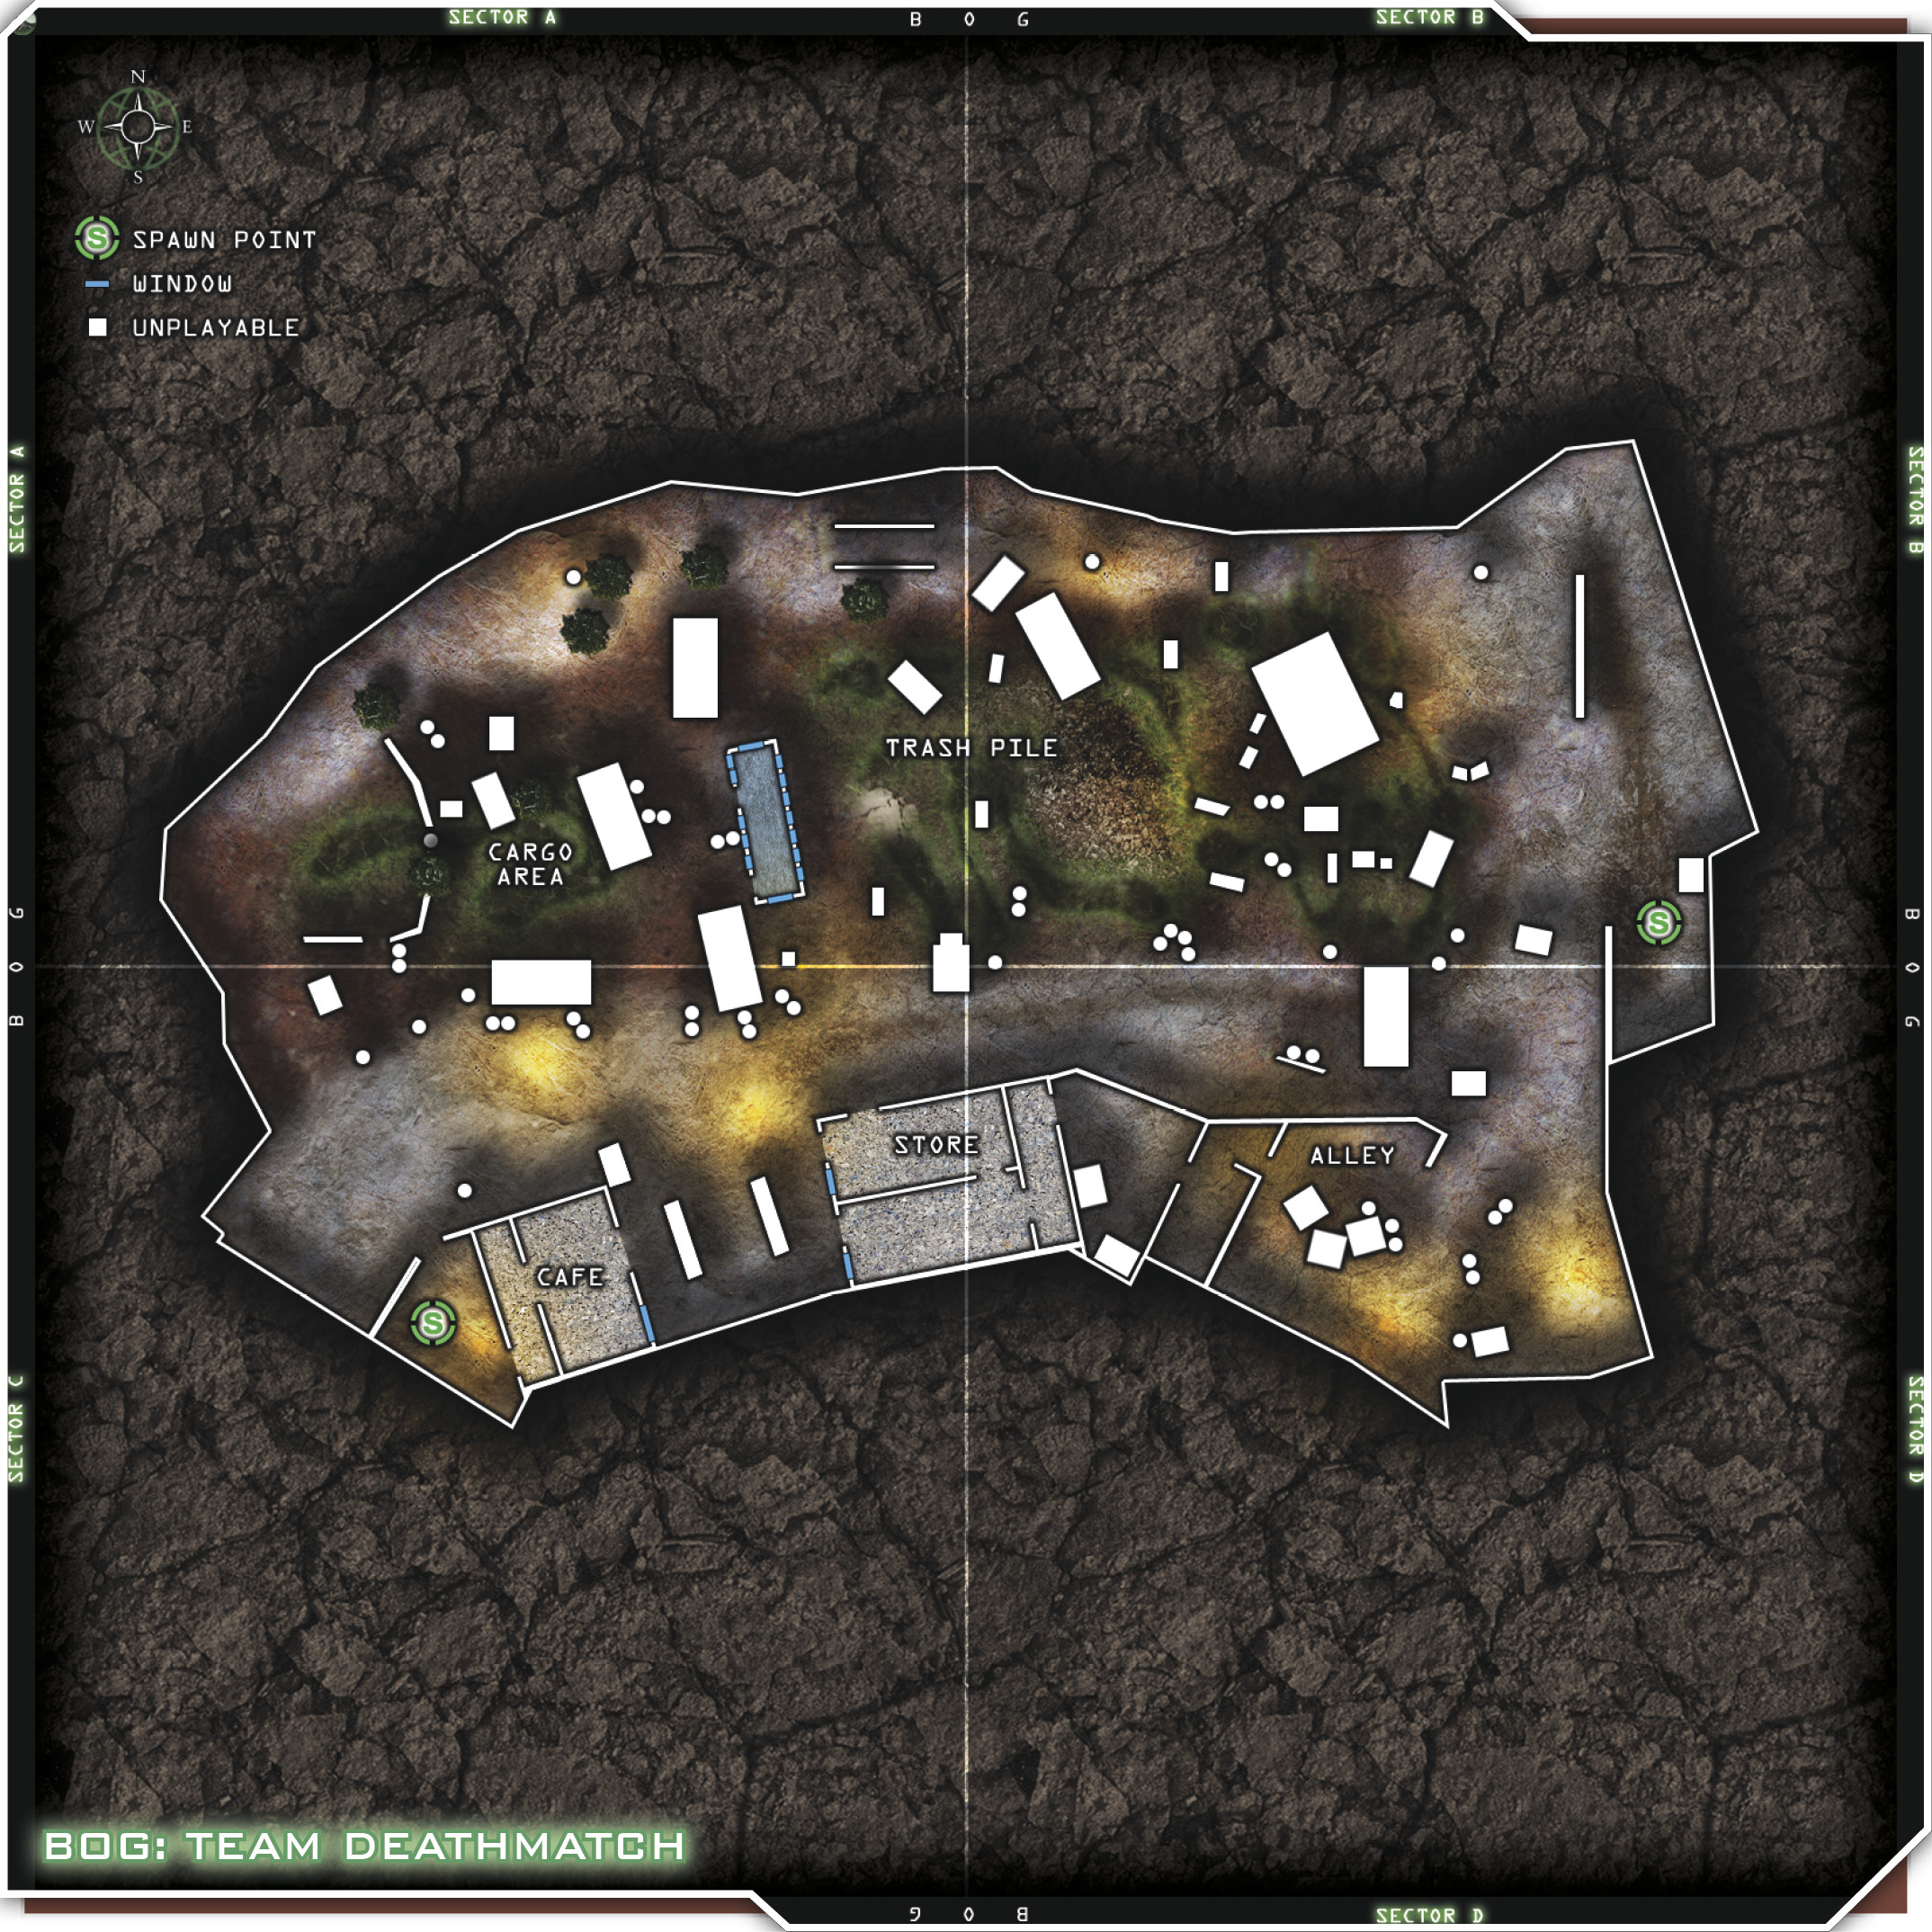
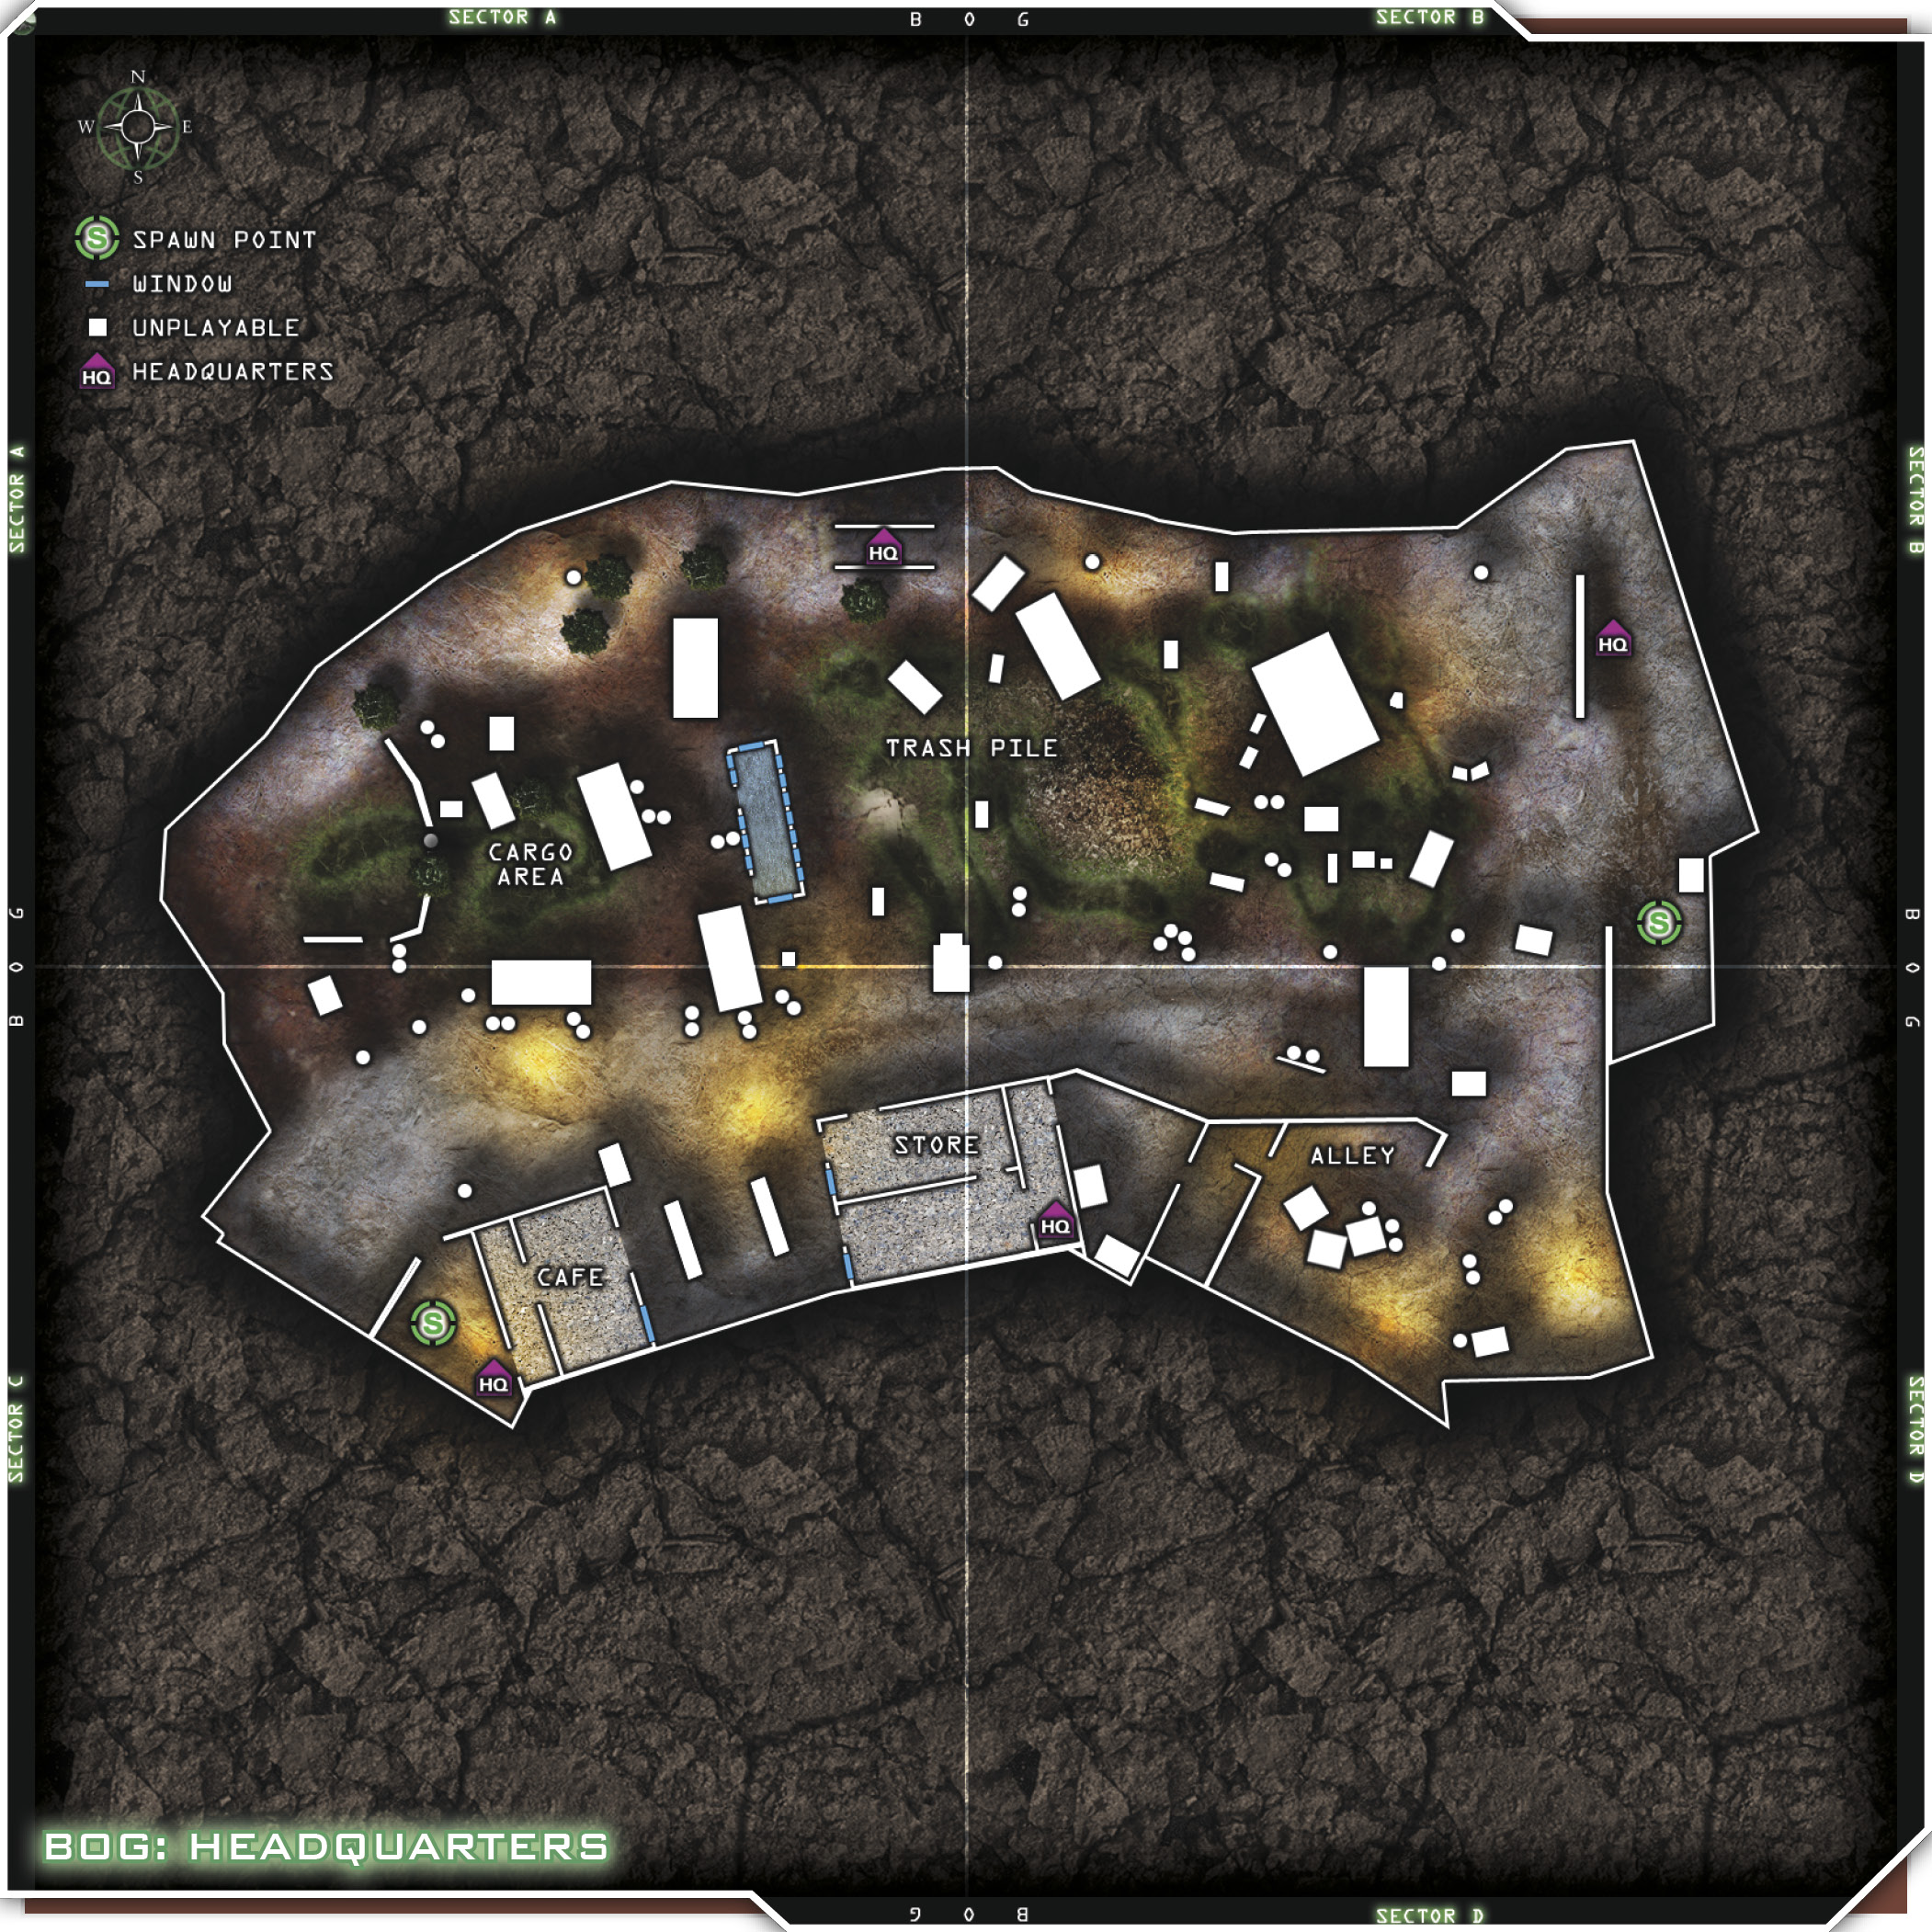
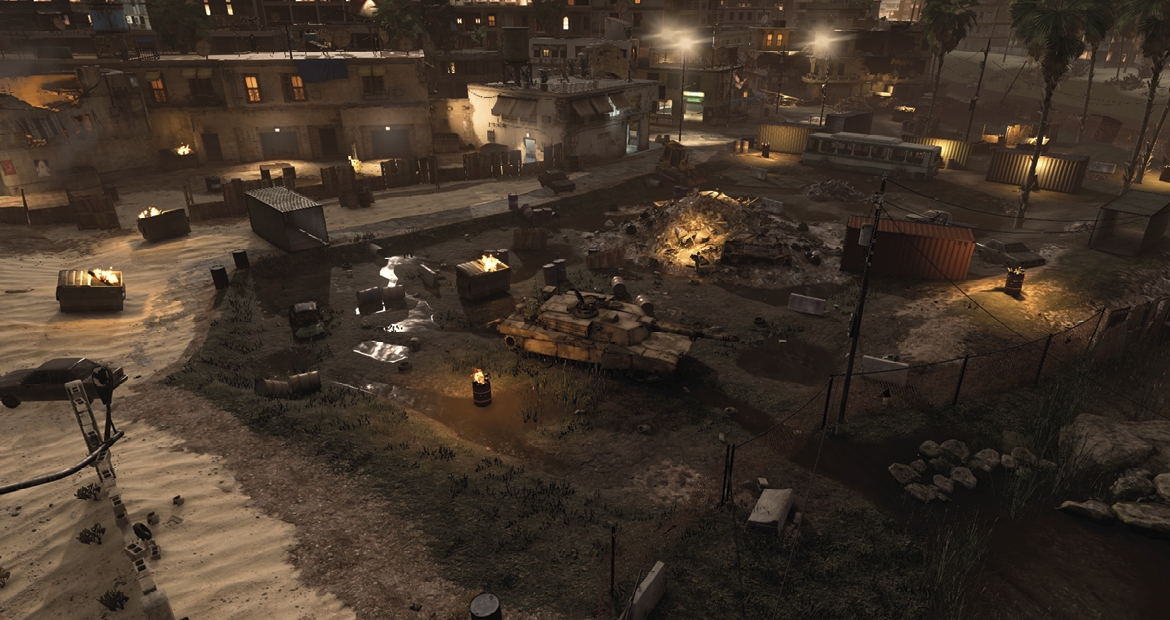
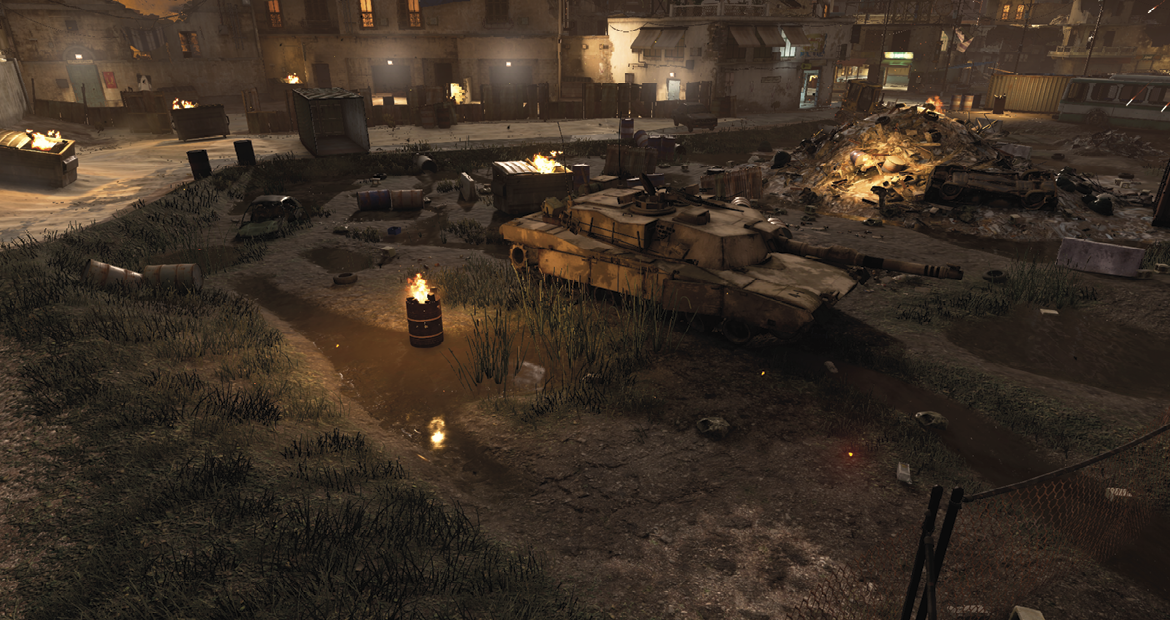
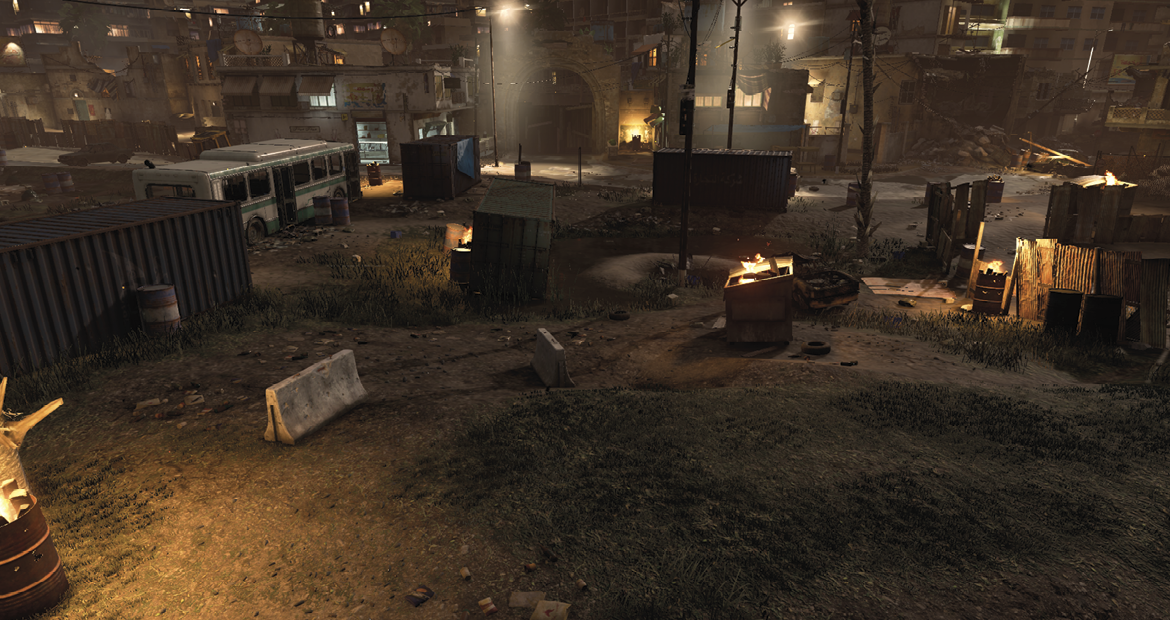
U.S. Forces vs. OpFor. This is a swampy, nasty dumping ground at night, featuring a large trash pile in the center as well as broken vehicles, a bus, and several cargo containers. There are two buildings you can enter on the south side of the map, and they feature one level only.
These kits will pretty much cover all the bases you’ll need on this map. You might want to employ a sniper from time to time, but a Long-Range Rifleman should be adequate. Your long-range players should load out with either Juggernaut or Stopping Power, whichever they think will help them more, while using Extreme Conditioning and Smoke to relocate when needed. The CQC players should run with a submachine gun and a Red Dot Sight for quick acquisition of targets outdoors, as well as additional frags to flush out hidden enemies. If the enemies just won’t leave, let them fear the power of Deep Impact. The submachine guns, combined with the Double Tap perk, are just devastating in short-range battles.
Suggested Loadouts
Basic Cqc Assault
| Slot | Name |
|---|---|
| Primary Weapon | AK74u |
| Notes/Attachment | Red Dot Sight |
| Side Arm | Desert Eagle |
| Special Grenade | Stun |
| Perk 1 | Frag x3 |
| Perk 2 | Double Tap |
| Perk 3 | Deep Impact |
Long-Range Rifleman
| Slot | Name |
|---|---|
| Primary Weapon | M4 Carbine |
| Notes/Attachment | ACOG Scope (M4 Carbine) |
| Side Arm | M1911 |
| Special Grenade | Smoke |
| Perk 1 | Frag x3 |
| Perk 2 | Juggernaut or Stopping Power |
| Perk 3 | Extreme Conditioning |
Tips & Locations
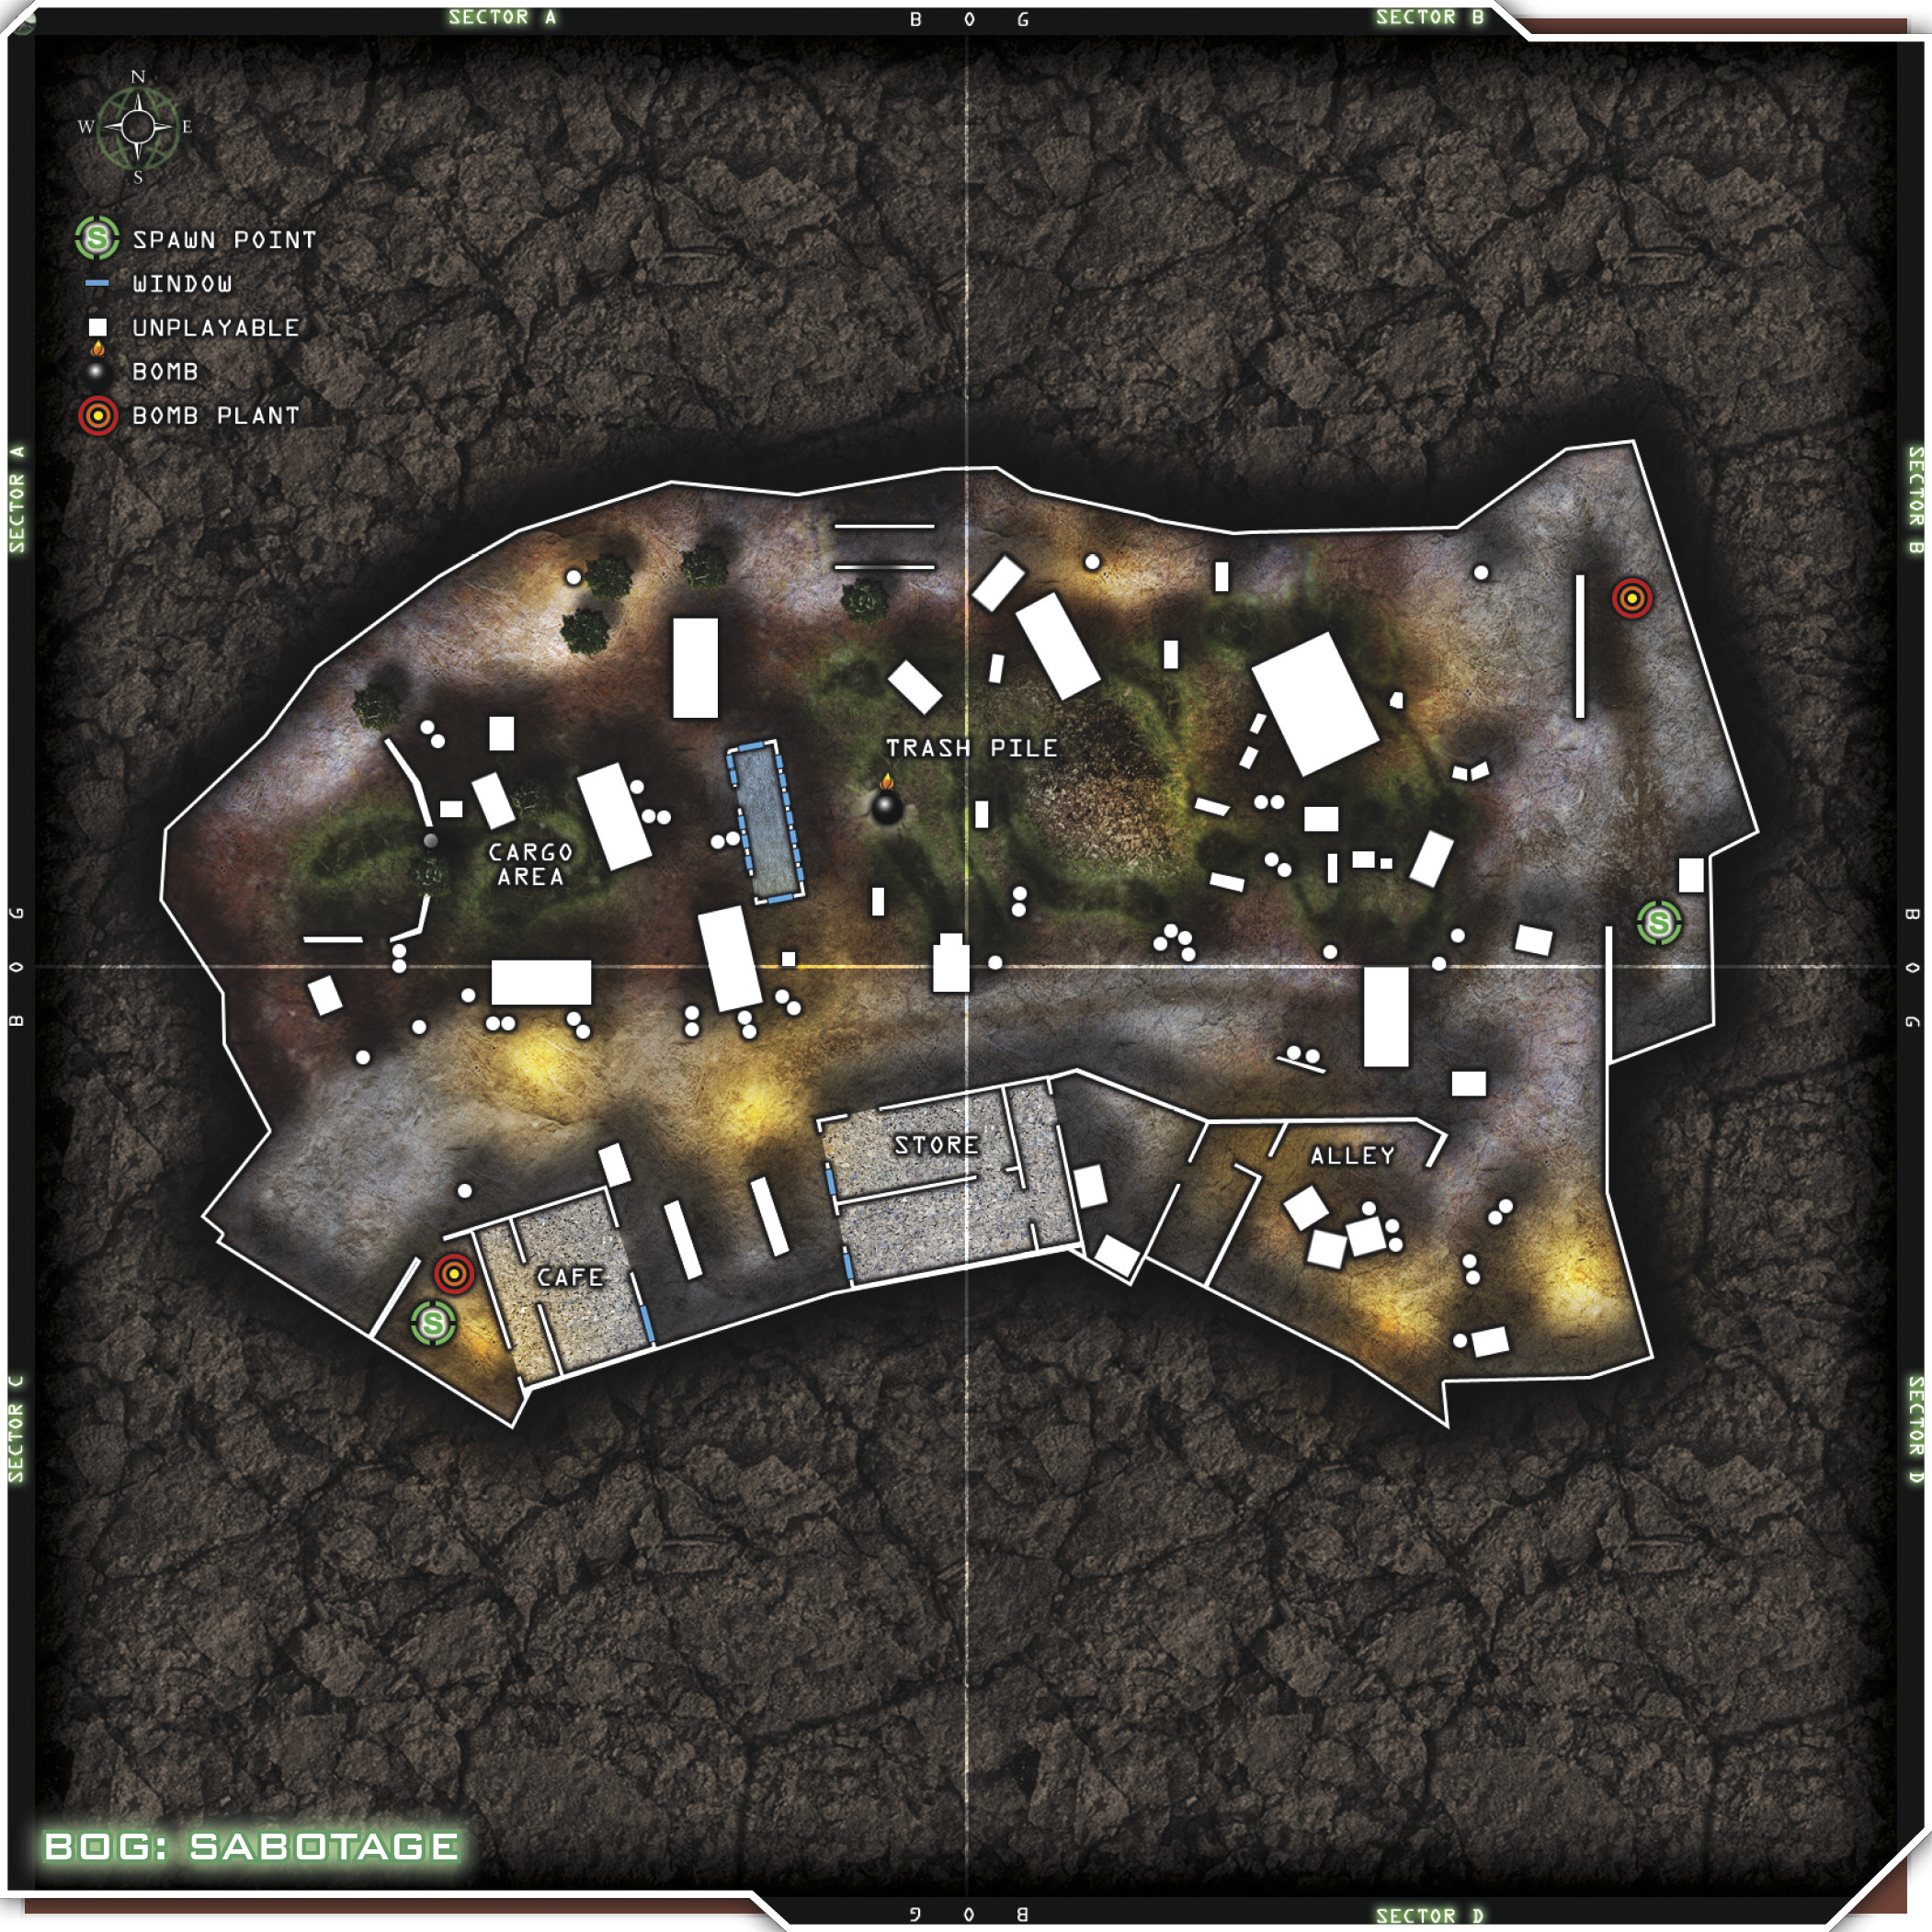
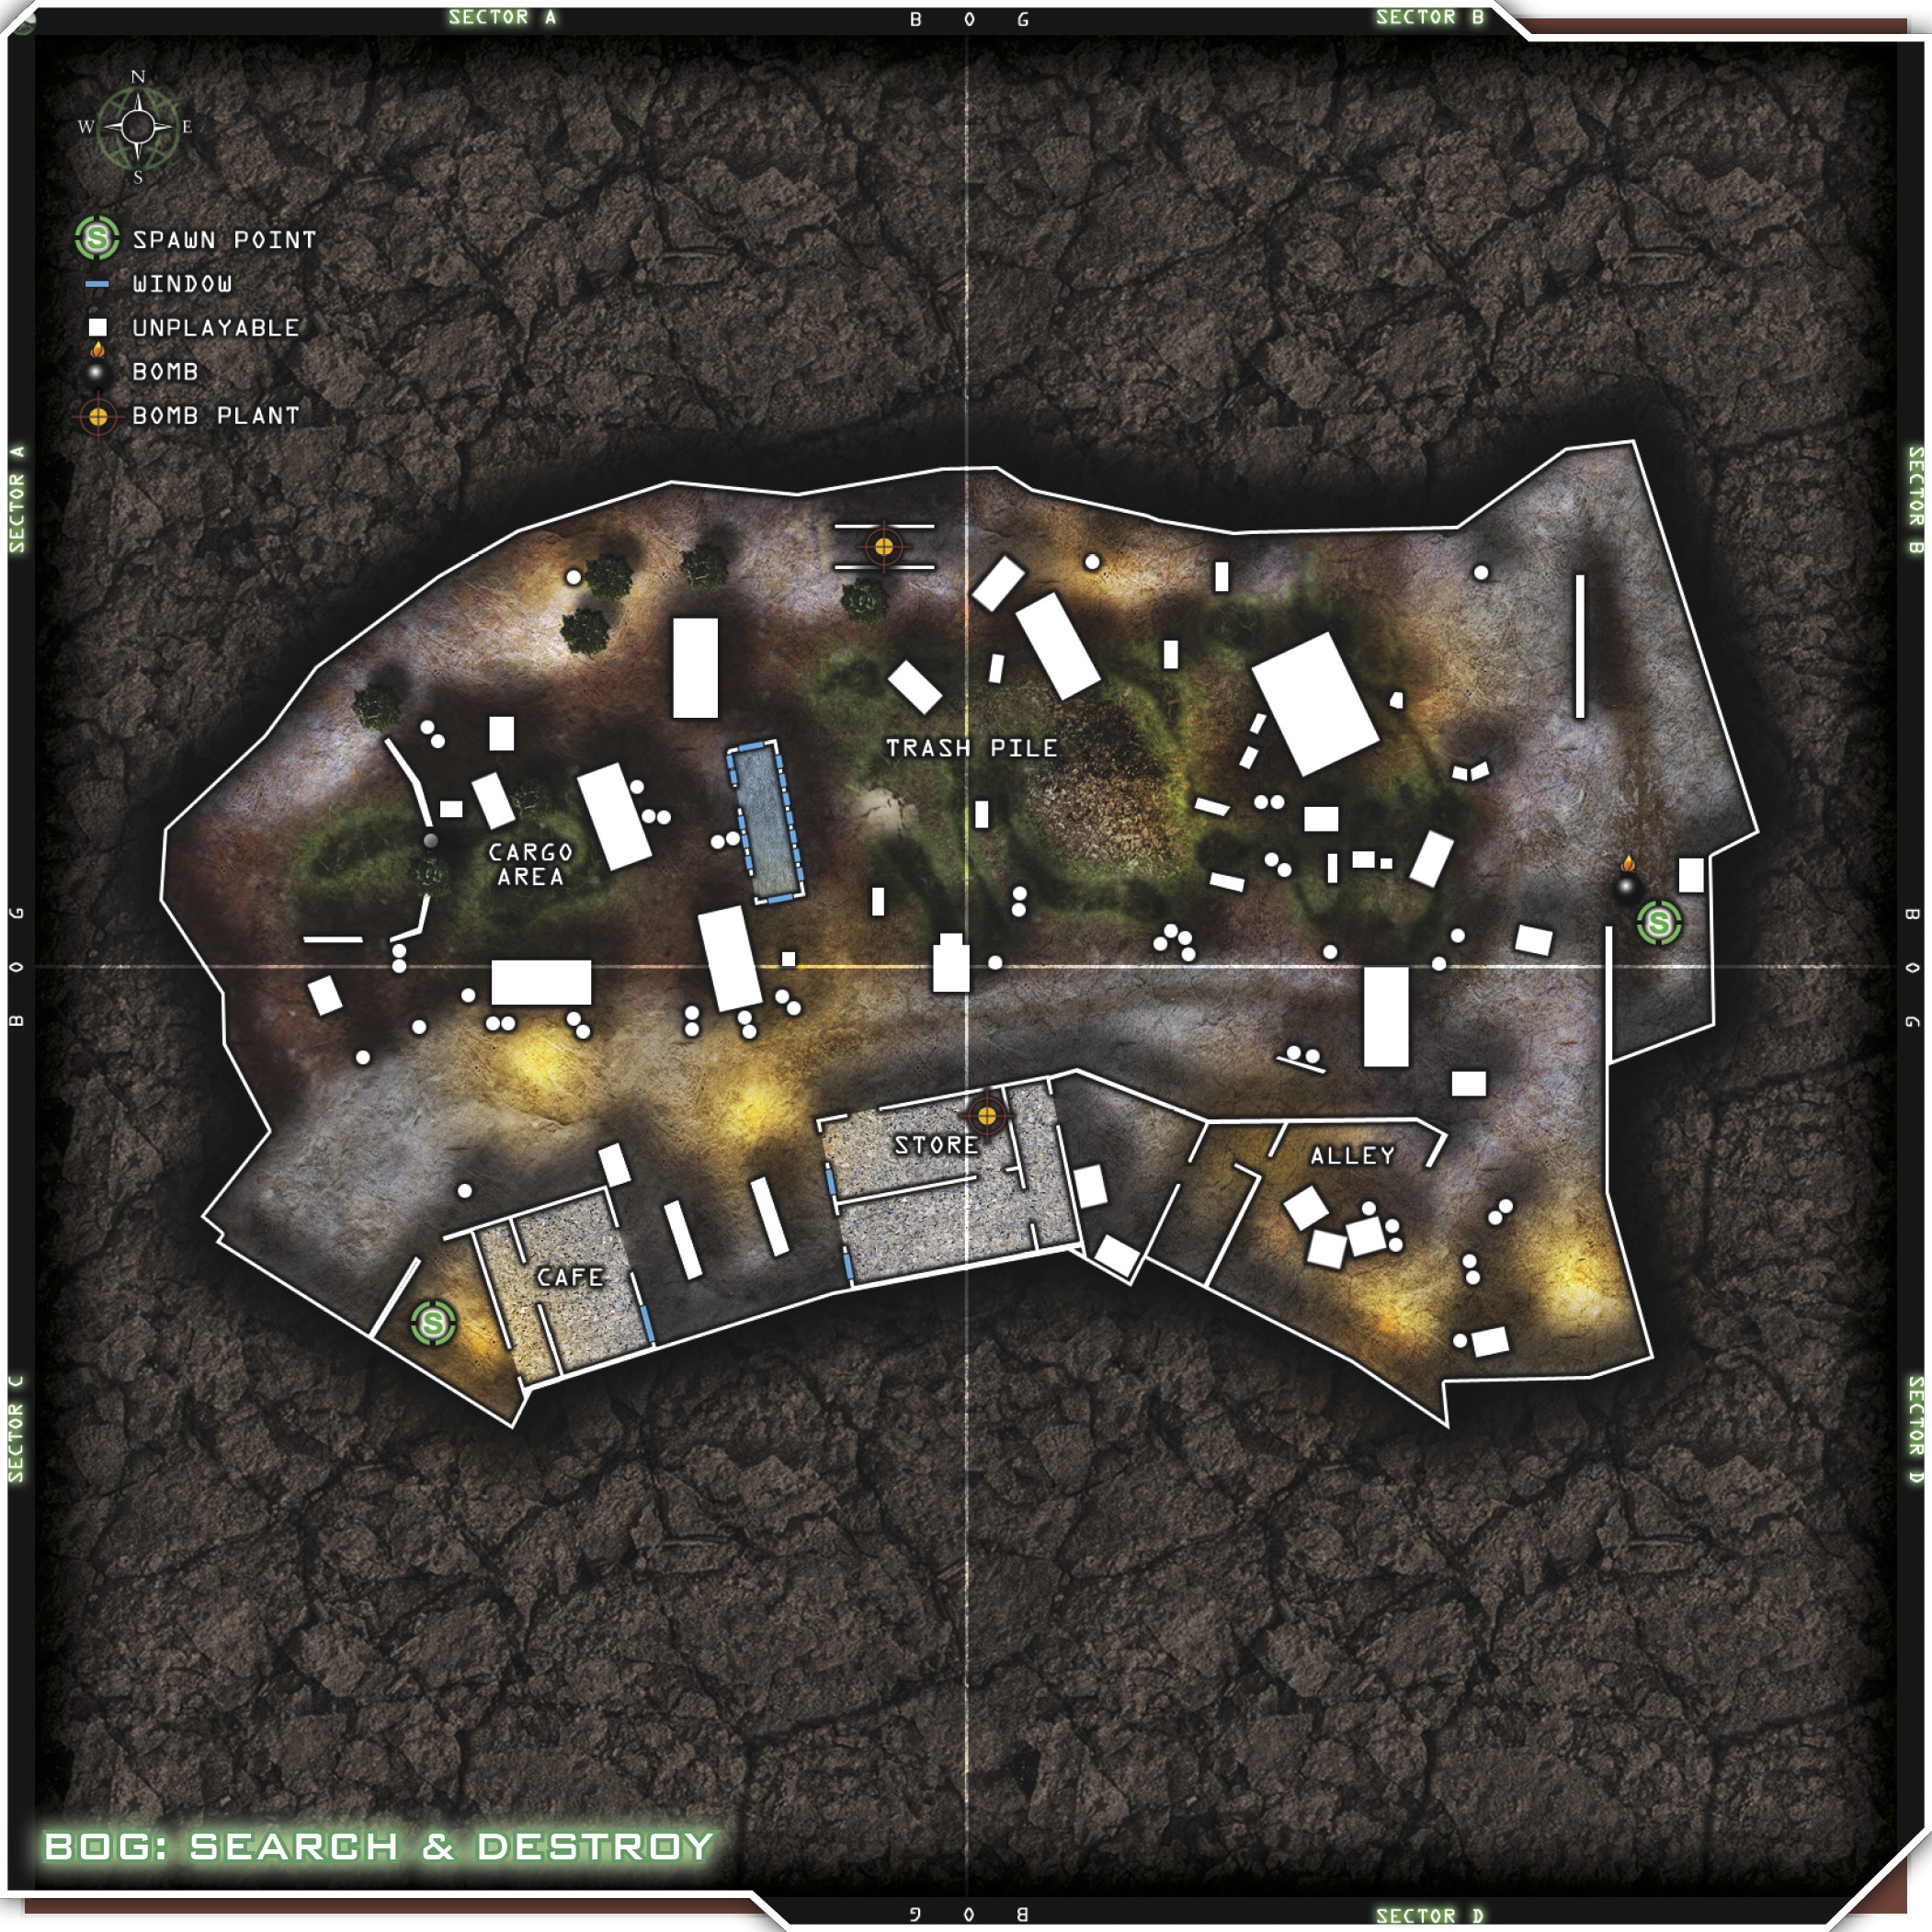
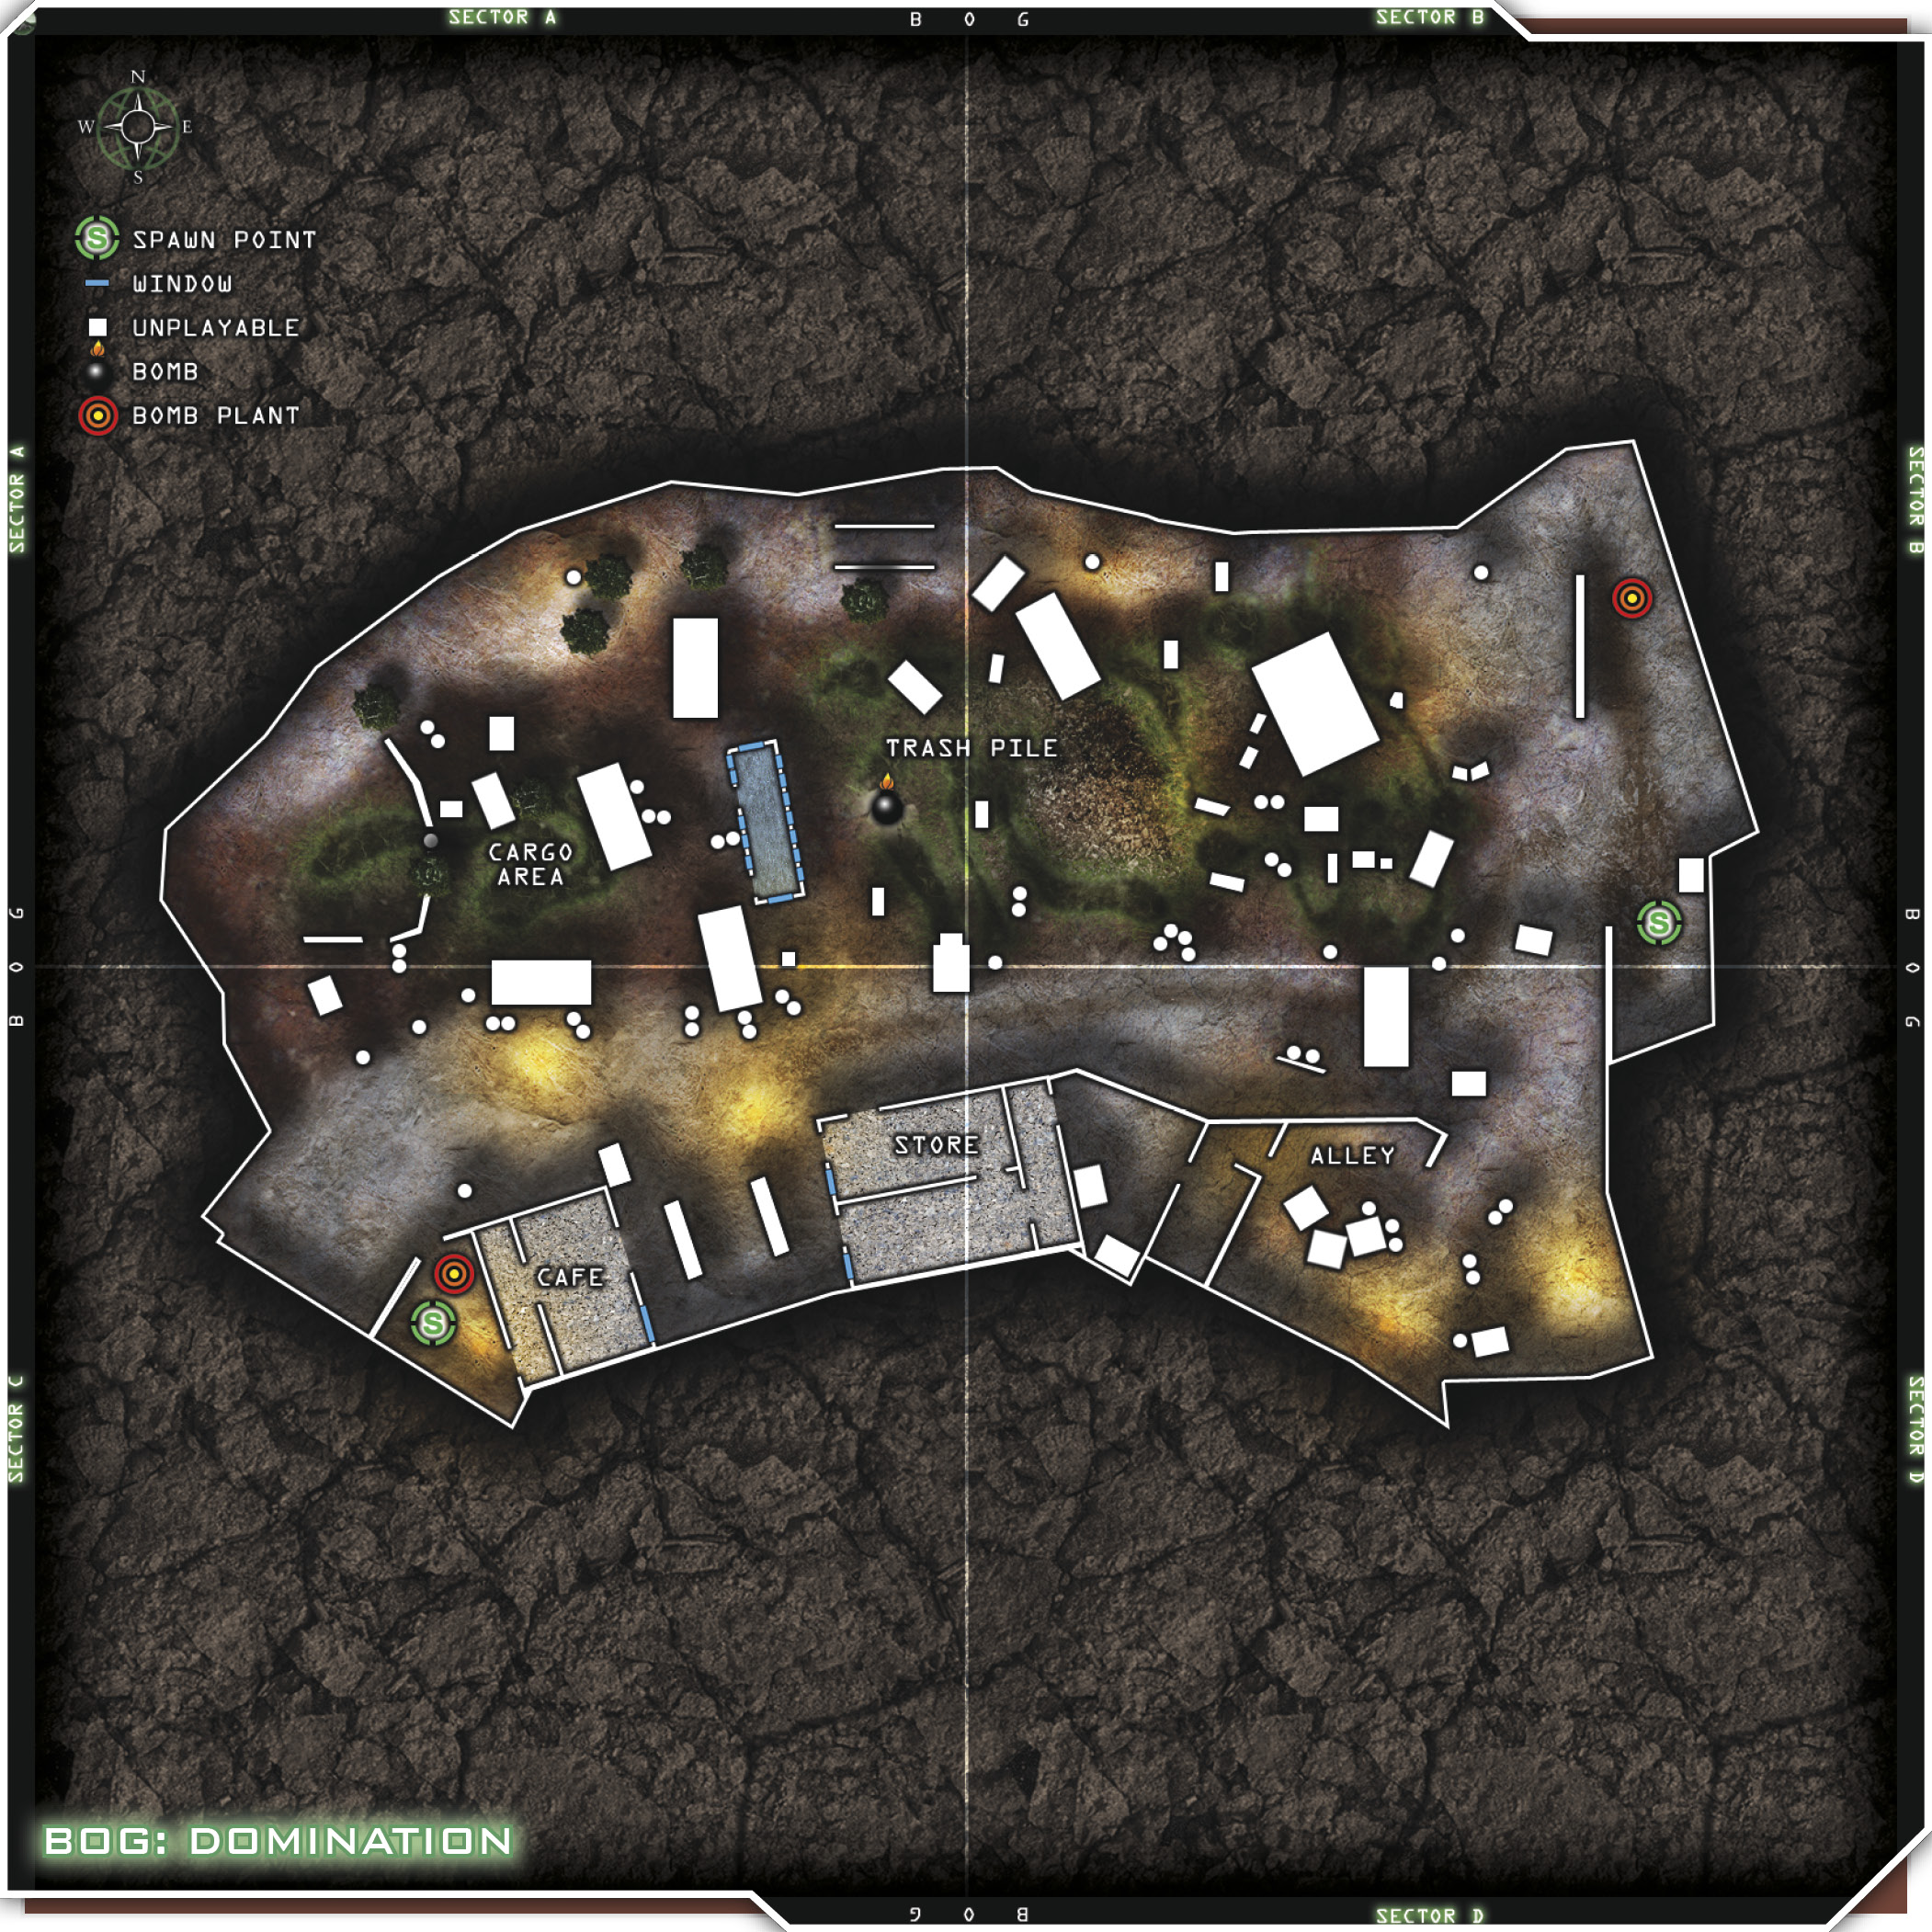
With the Trash Pile in the center of the map, this turns into a game of King of the Hill. You’ll almost always find someone there. A fun way to humiliate enemies is to go prone and then knife them in the Achilles tendon when they walk right over you. The Café and the Store get a lot of visitors as well, so be prepared to meet someone new in there at any time. The Cargo Area on the west side of the map offers a bit of cover, including a bus that you can enter and snipe from. Just be sure to plant some Claymores at the entrances so you don’t get knifed in the back.
It’s difficult to stay alive very long on this map, because the close-quarters fighting will trigger a UAV pretty quickly and you’ll be spotted. Try to stick to the borders of the map, and move quickly from cover to cover to get where you’re going. Cargo containers are good cover, but they’re more sparse on the east side of the map. Use any cover you can to stay protected, and use grenades, both smoke and frags, to make your way across the level.
Some good long-range rifle battles sometimes take place along the road from the Café to the Alley, so try not to run across it very often if you don’t have to. To get from east to west via the south side of the map, run through the Store and into the back portion of the main building. Then use the window on the west wall to see if it’s clear to advance through the west door and across to the Café. When crossing from the Store to the Café, either pop smoke or sprint, because there’s almost always some crossfire directed at you.
Holding down either of the two main buildings is a good idea, but once the enemy knows you’re in there, you’d better hope you’ve got Juggernaut because the grenades are on their way. Alternately, you can send a squad to circle the outer border of the map. Bog is not the best map to go silent, but running with silencers on your primary weapons can help you get the drop on enemies. Communication will be very helpful here, as with any map. Don’t be shy about calling out that you’ve got one in the bus but you can’t get a shot on him. Maybe your buddy has a clearer view but just wasn’t bothering to look there.
Team Tactics
As a team, you can try to control the building closest to your initial spawn. You may not have enough room for everyone in the Café, depending on how many players are on your side. If not, send the remainder of your men to watch the perimeter and relay intel about incoming enemies. Do your best to lock down your building. You’ll probably want to run with the Juggernaut perk while camping, because you might get grenaded out of business. You can even send out a runner as a distraction. Send someone out to make some noise and be seen, and wait for the enemy to shoot at him. When they reveal their positions, your camp team can use whatever windows and doors are accessible to send a few rounds downrange at them.
When camping, also consider selecting a shotgun with either Double Tap or Sleight of Hand. The shotguns are brutal with Double Tap on this map, but they take a while to reload, so Sleight of Hand is a useful asset here as well. Decisions, decisions…
Since this map is fairly small and open, you could use the positions we talked about earlier. Run with a four-man frontline and a two-man defensive line. Line up vertically across the map from north to south, and move your lines from either east to west or west to east, depending on where you spawn. Let your forward line push up, while your defense slowly progresses behind them and uses grenade launchers and frags to help clear a path in front of your offense. Since the defense is back a bit farther, they have a bit wider field of vision. They can spot enemy movement and either frag them or relay their location to the forward lines.
You can also use this tactic in a more condensed manner. Squeeze the defensive line up a little closer to the forward line and make a mad rush toward the enemy. The idea is the same, covering the whole map in a sort of search party line, and your defensemen can still lob grenades at enemies in front of the team, but the pace changes. It’s quite intimidating, seeing an entire team running toward you. Always use grenades in this formation to clear the way in a splash of shrapnel.
Splitting up into highly mobile wingman teams works great on this map, due to its small size. When running in a wingman team, try to alternate who leads your team. This way, each player gets a chance to do their thing one time and help out the next time. Someone should always be leading so that the wingman can just follow and watch the team’s back. Help each other out and keep moving. Circle the map quickly, and breach and clear any buildings you encounter. You may lose your wingman at some point, so team up with another wingman team until your buddy comes back from the dead.
Inevitably, wingmen will start to work together so well that they won’t even need to communicate verbally. One will just watch the other and know what to do or where to go. This is what you should strive for, as mic clarity is golden. If you don’t have to talk, don’t talk. It’s much more efficient to just shoot, rather than say, “Hey, I’m gonna shoot now.”