
Call of Duty: Infinite Warfare Guide Single-Player Campaign Walkthrough
Target of Opportunity: Operation D-Con
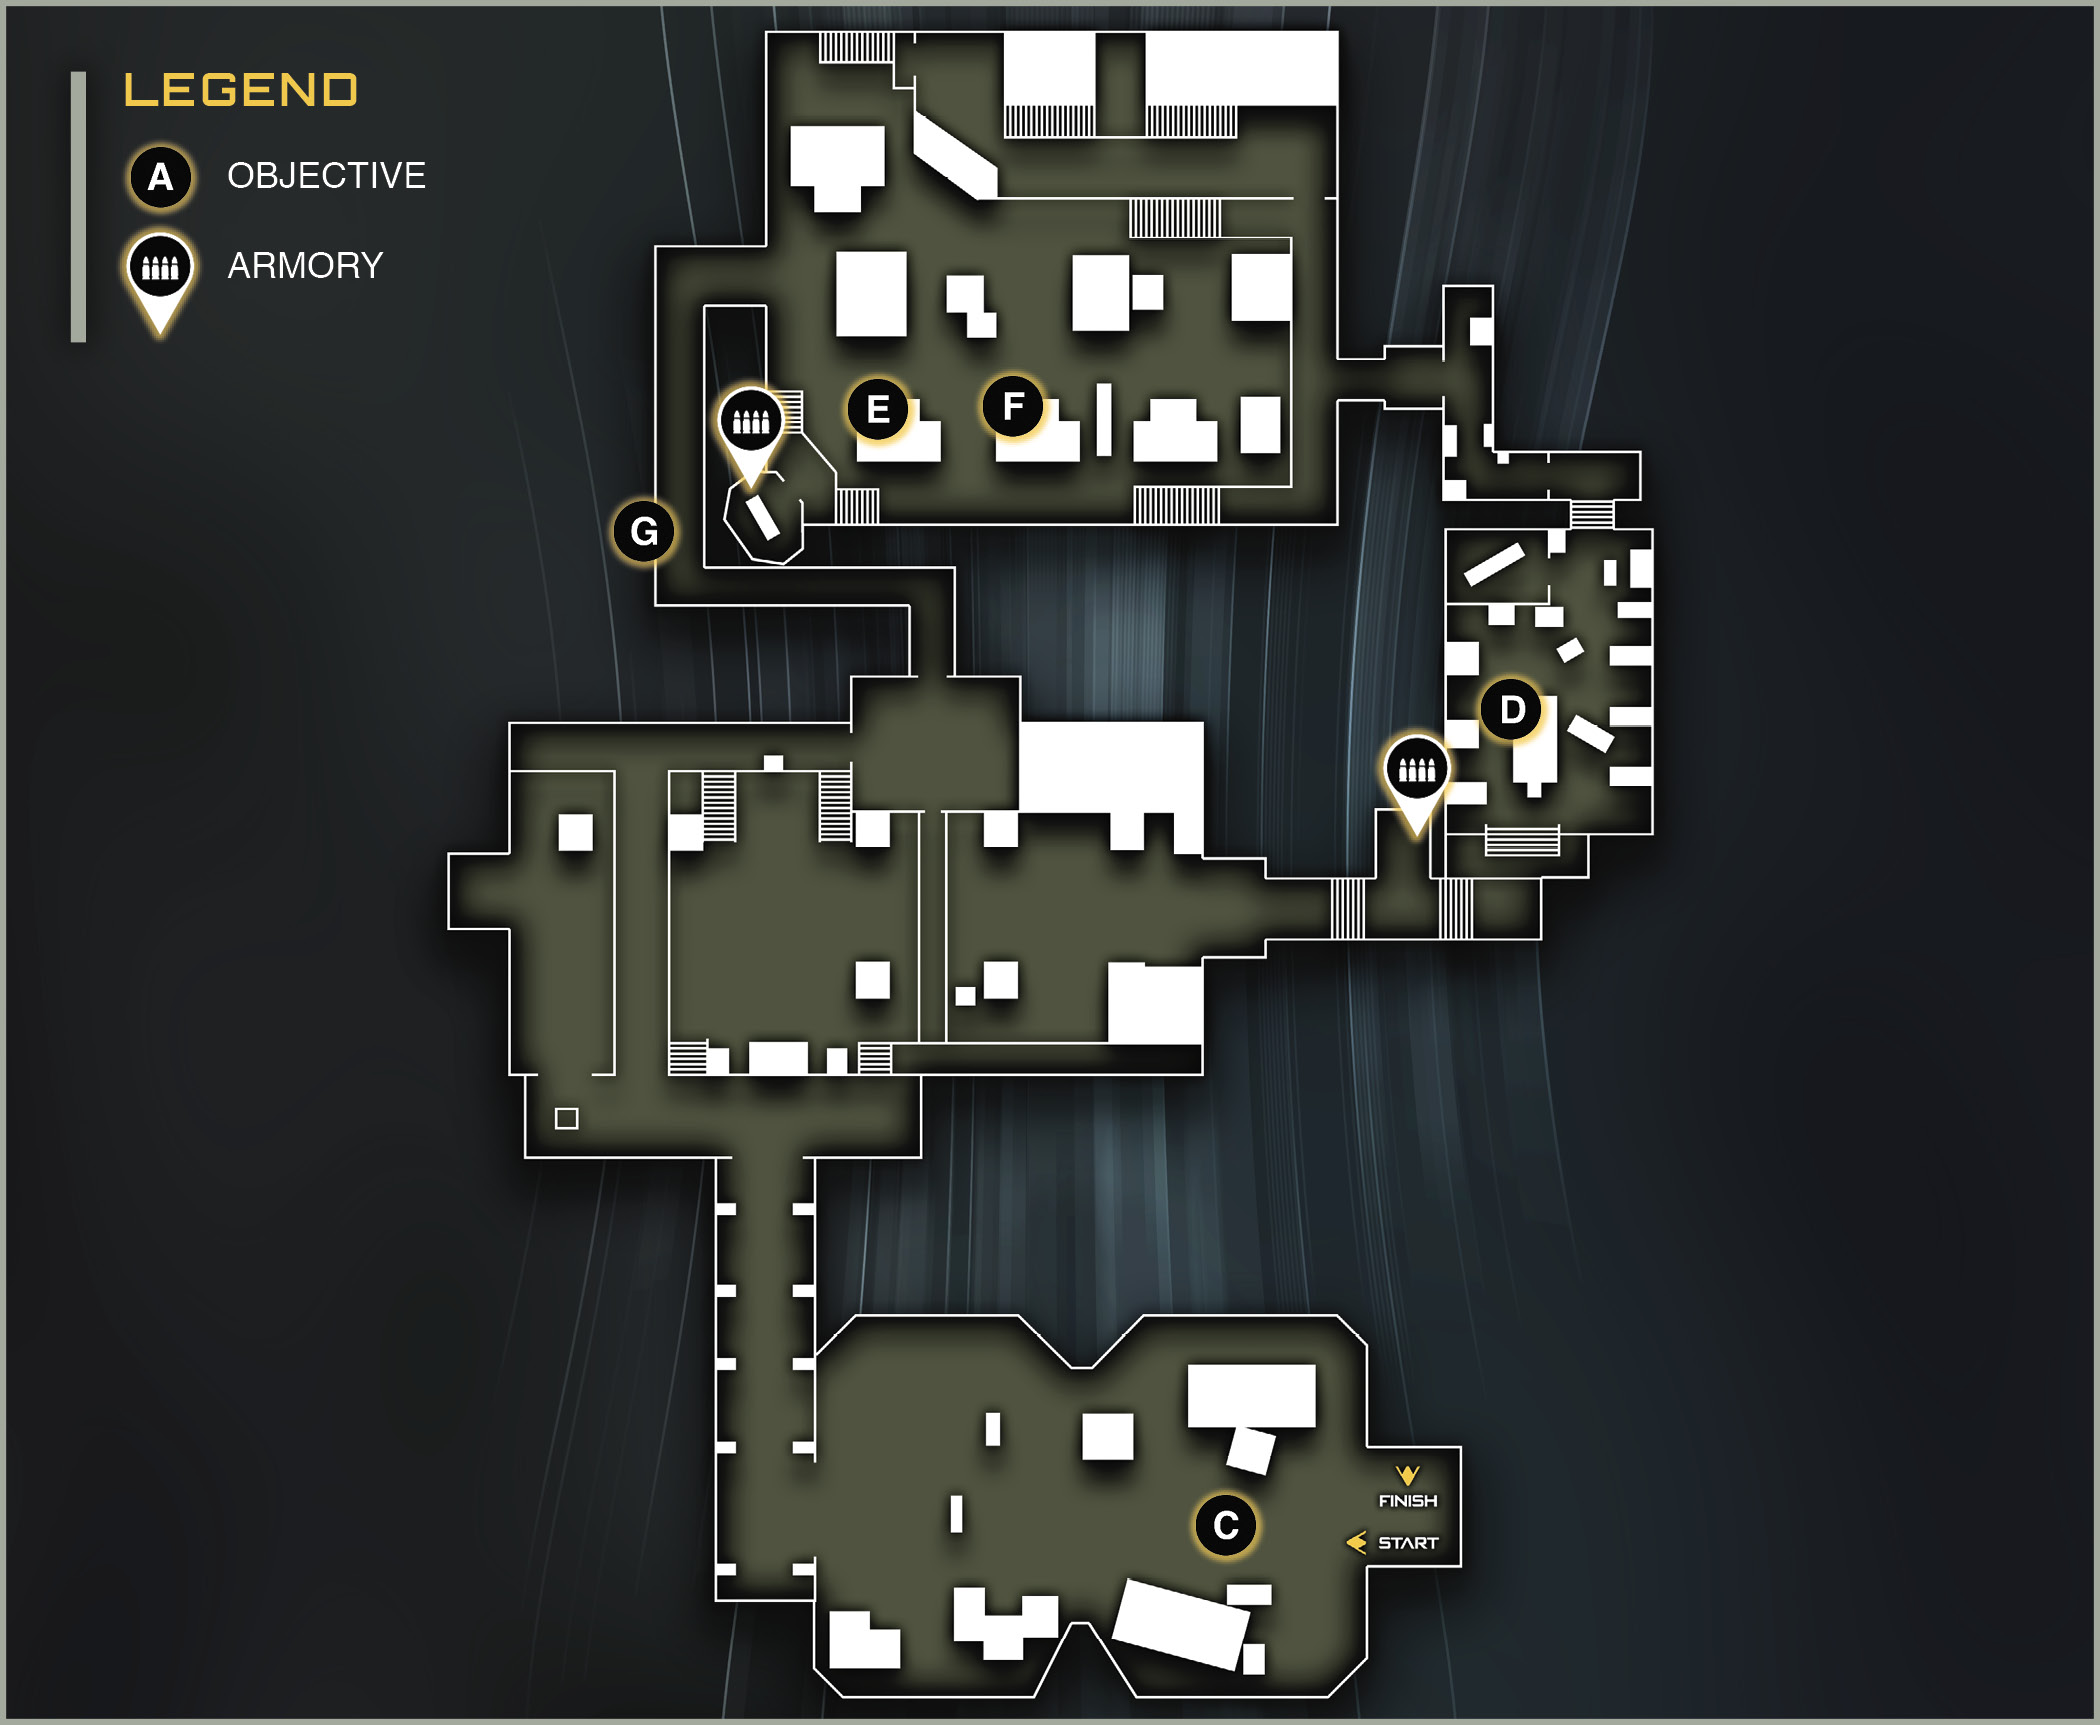
Location: Venus Cluster
Target: SetDef Carrier Hellas
Mission Summary: Chemical weapon search and destroy.
Mission Description: Hellas is being repaired from a recent engagement. This is an opportunity to take out the chemical munitions before they can be used against you.
Unlockable Perk: Quick Draw
Team: LT Nora Salter SCAR Flight and Ground Support  PFC Brooks Marines Flight and Ground Support |
GRIFF’S RECOMMENDED LOADOUT:Weaponry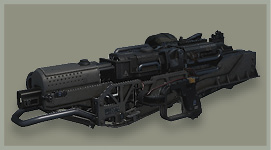 Primary: Mauler 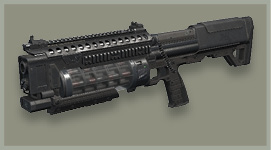 Secondary: Reaver Tactical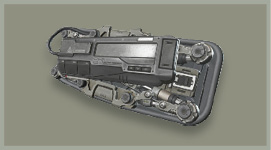 Retractable Shield 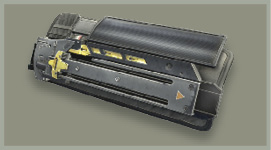 Hacking Device Lethal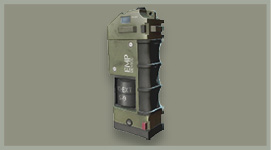 EMP Grenade 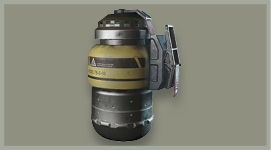 Frag Grenade |
 OBJECTIVE: Destroy SDF Jackals.
The Hellas may be disabled, but it is well defended by seven Skelters led by two Aces.
This dogfight is a difficult one. This is the only flying portion of the level, so feel free to use your missiles throughout the fight. No need to save them for later.
If you are playing on Veteran difficulty, you do not want to advance directly into the fray. Let Salter run interference for you. Hang back while she blasts forward.
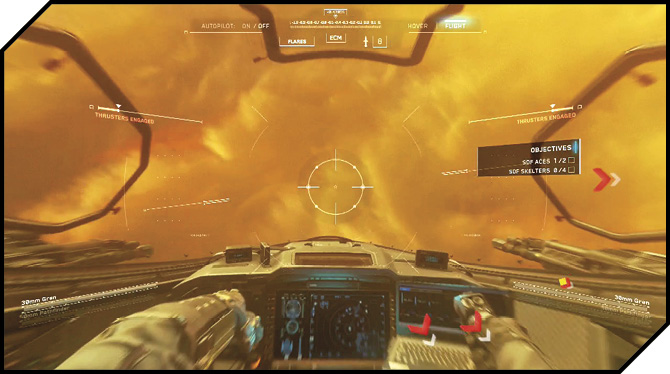
Cautiously approach the Skelter squadrons. Prioritize targeting the Aces as they come into range, but don’t charge forward. As soon as you see one in range of your guns, hold back on the throttle and do your best to get hits on the Skelters from a safe distance. If a Skelter passes by you, immediately stop forward movement and flip around 180 degrees to face the opposite direction.
Continue engaging like this until you have taken out most of the Skelters. When there are only a few left, it is safer to approach the Hellas. Engage as normal.
When you’ve destroyed all ships, the Hellas starts making a run for it.
 OBJECTIVE: Intercept SDF Hellas.
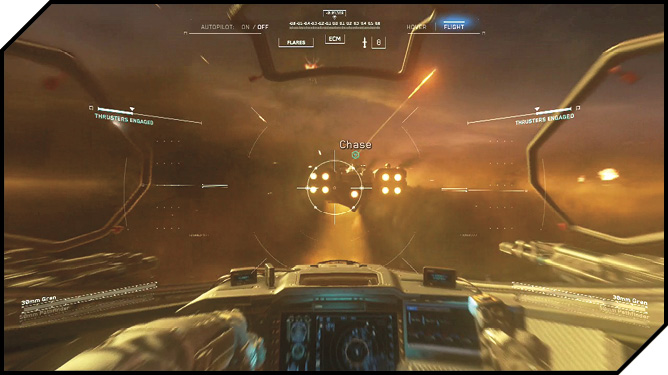
Get behind the Hellas and use your Afterburners to keep up. Stay back and under the ship to avoid taking fire from the Hellas’ now-active guns.
 OBJECTIVE: Approach the hangar.
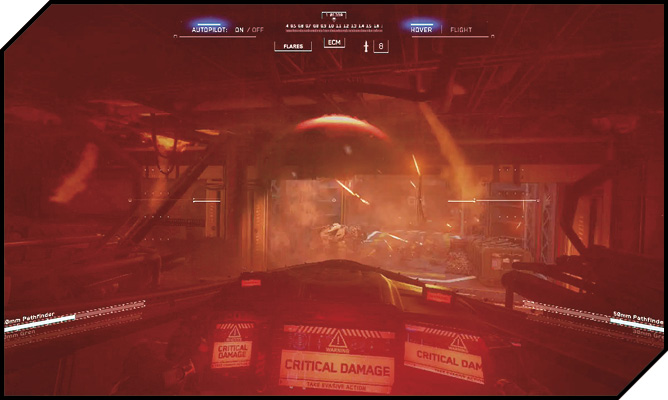
Salter will find an entry point on the Hellas on the port (left) side. Use your Afterburners to approach on that side. If your Afterburners exhaust, wait until they fully recharge before reengaging them. This is the best way to get the most out of your engines.
When you get close to the hangar, you automatically enter. Use your guns to cut through the soldiers and the C12 waiting for you.
 OBJECTIVE: Access life support.
You are now boots on the ground with Salter and Brooks. Charge down the corridor and take the right path. When the double doors open, blow the explosive container on the second floor directly ahead. This should kill two soldiers taking cover there.
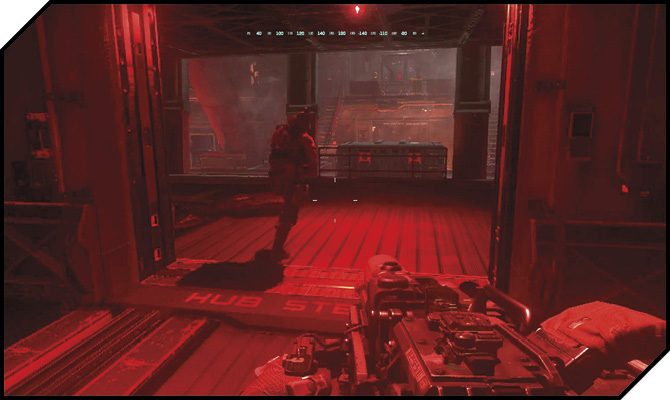
Toss a Lethal Grenade to the right. Several enemies arrive to reinforce that position. When you’ve killed them, search their bodies for a Banshee Shotgun. (This is one of the first points you can scan this shotgun for your Armory.)
Follow your squad to the end of the corridor and enter the lab. The lab is full of enemies. Throw some Lethal Grenades into the room. A well-placed Frag Grenade can clear the entire room.
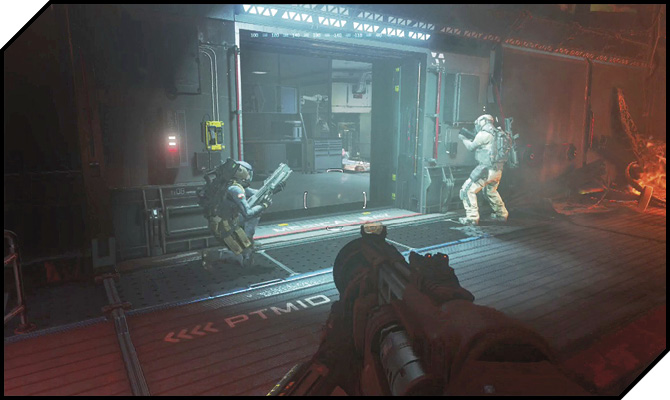
The room is clear, time to access life support on the console. Immediately after you have hacked the life support, several enemies charge into the far end of the room. Use some grenades to soften them up as they enter. Now, you can turn off gravity with the Inventory button. Doing so will temporarily make the enemies helpless and easy to pick off with your automatic weapons.
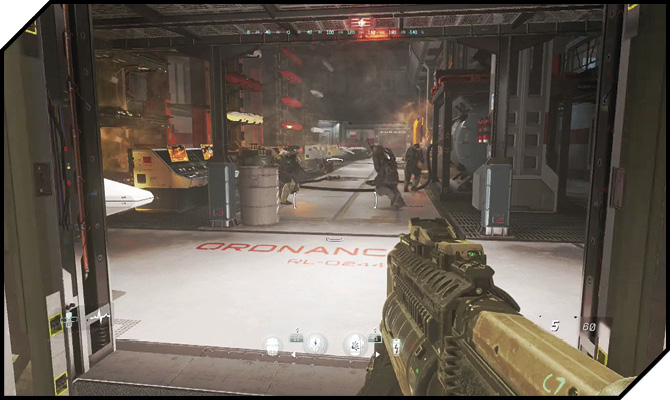
Killing the gravity lasts for about twenty seconds. When the gravity returns, you must wait about a minute before you can kill it again.
When the room is clear, Salter charges forward to lead the way to the armory. Follow her.
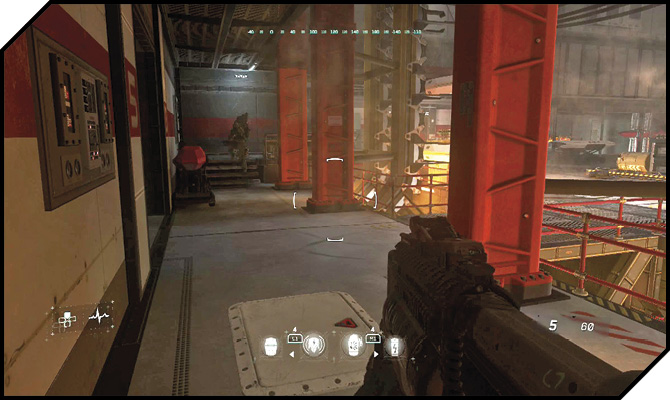
The armory has four enemies inside. Kill the gravity and kill them while they float away.
When you get the all clear, approach the armory at the back of the room.
 OBJECTIVE: Acquire the weapon sample.
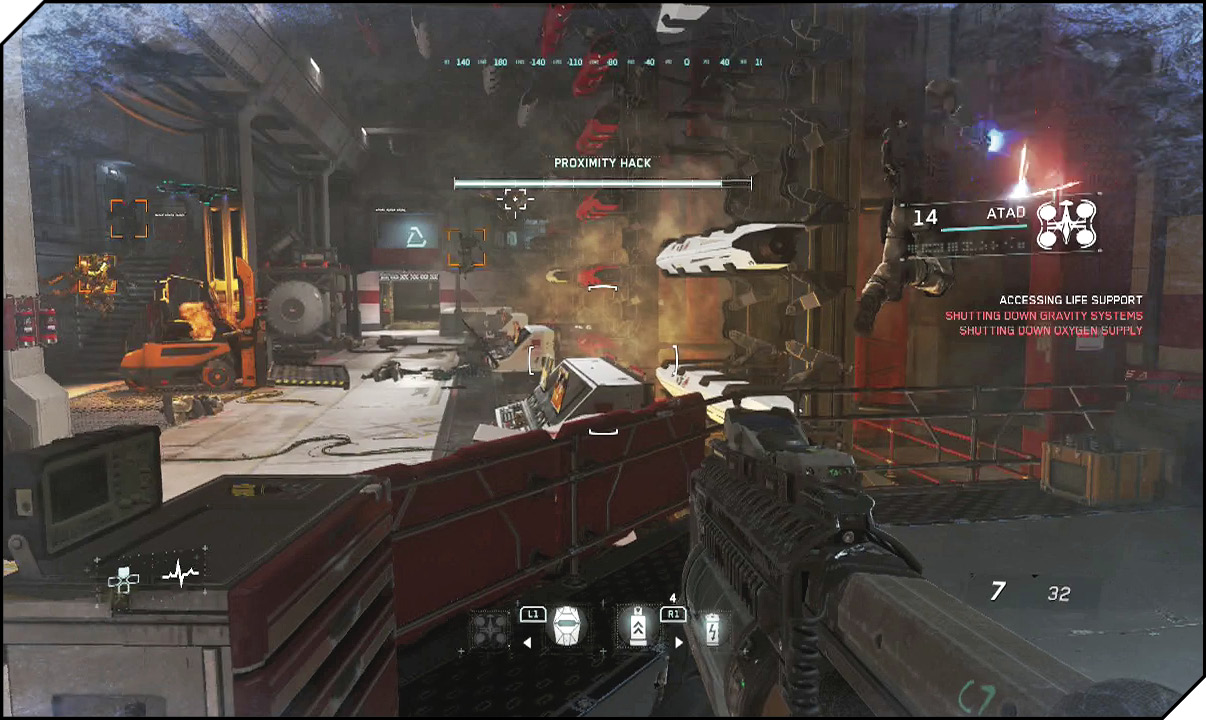
When you are ready to fight, start the Proximity Hack by activating the door. Unleash four Seeker-Bots immediately. Take cover behind the low wall in front of the door.
Use Hacking Charges from safety here. If you are out of drones and feeling in danger, kill the gravity. This gives you time to restock your crates and pick off groups of enemies.
The biggest threats here are the rocket launcher soldiers and snipers. These guys tend to hang back in the center of the room, so be sure to concentrate fire there.
Clear the room before opening the door after the Proximity Hack.
Once you start the hack, a huge squad flies into the room. Luckily, there are a ton of ammo crates here to help you in the defense. Grab the drones and immediately deploy them. For this fight, the Hacking Charges are most useful, buying you time and the ability to kill massive numbers of enemies with each use.
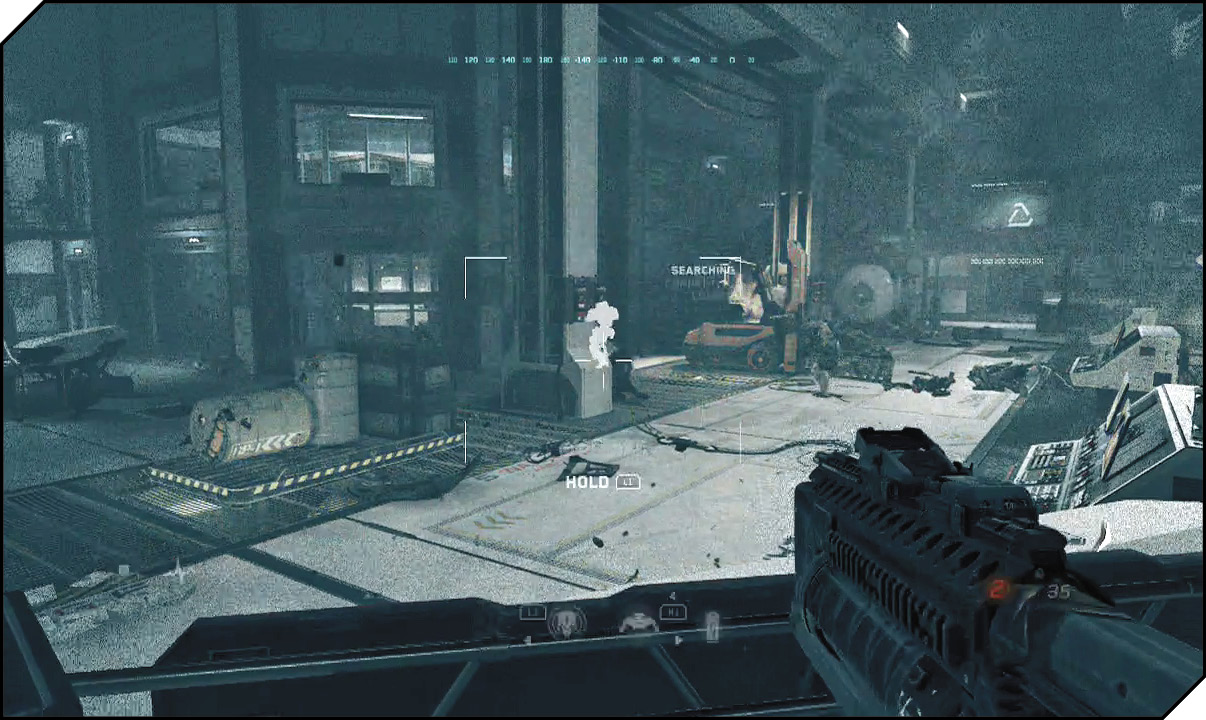
 OBJECTIVE: Plant charges.
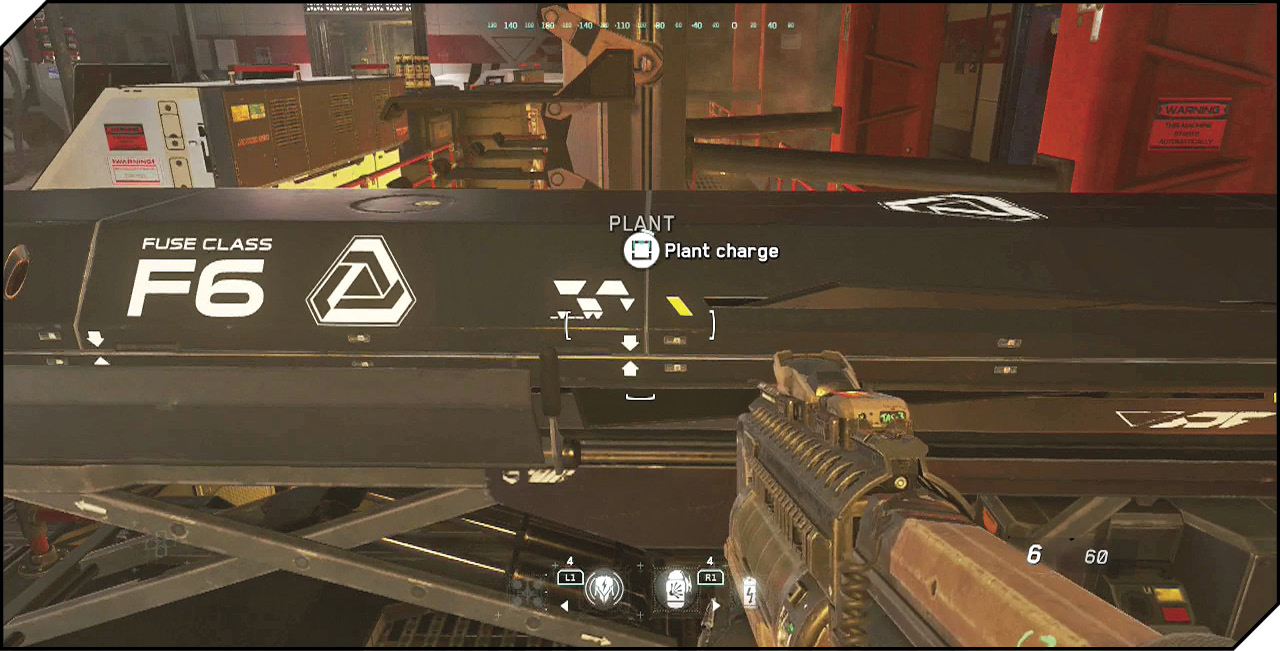
Now that you have the sample, you must blow up the munitions that have been armed with this new chemical weapon. The charges go on the two missiles in this room: one black, and one red. Before you leave, find an energy weapon among the corpses. (The ERAD works.)
 OBJECTIVE: Return to Jackal.
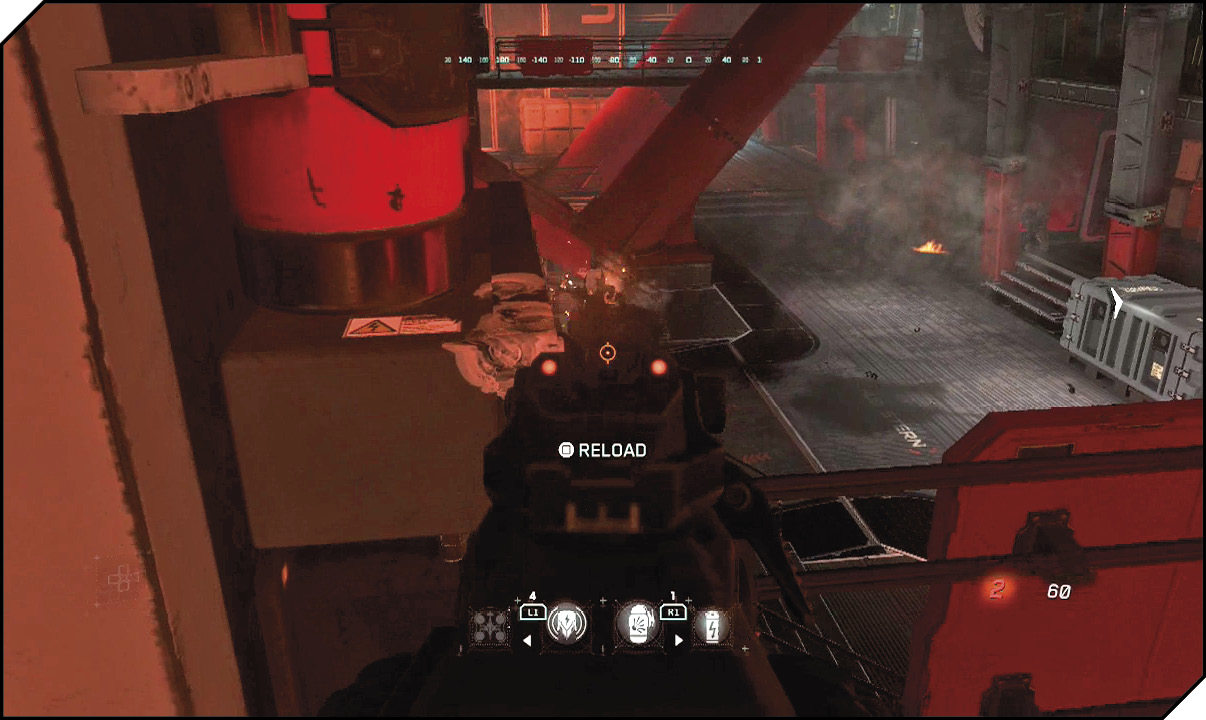
With the charges planted, it’s time to jet out. Charge through the flaming corridor. This exits back to another large room. Watch out; there’s a C8 in here. Use your grenades to slow down the C8, and peek out with your energy weapon to hit its openings.
Brooks and Salter provide a good distraction for the C8 that makes getting around and behind it easy. This is the last fight of the level, so be sure to use up any equipment you have left.
The C8 isn’t alone. Be sure to take out the two SDF Marines that are with him before they can affect your escape.
When you’ve cleared the room, follow Brooks through the door. Sprint ahead to your Jackal. Hit Activate on the side of the ship to escape.
Blowing the ship automatically kills one more Most Wanted enemy: Vice Admiral Vlad Derhachov.